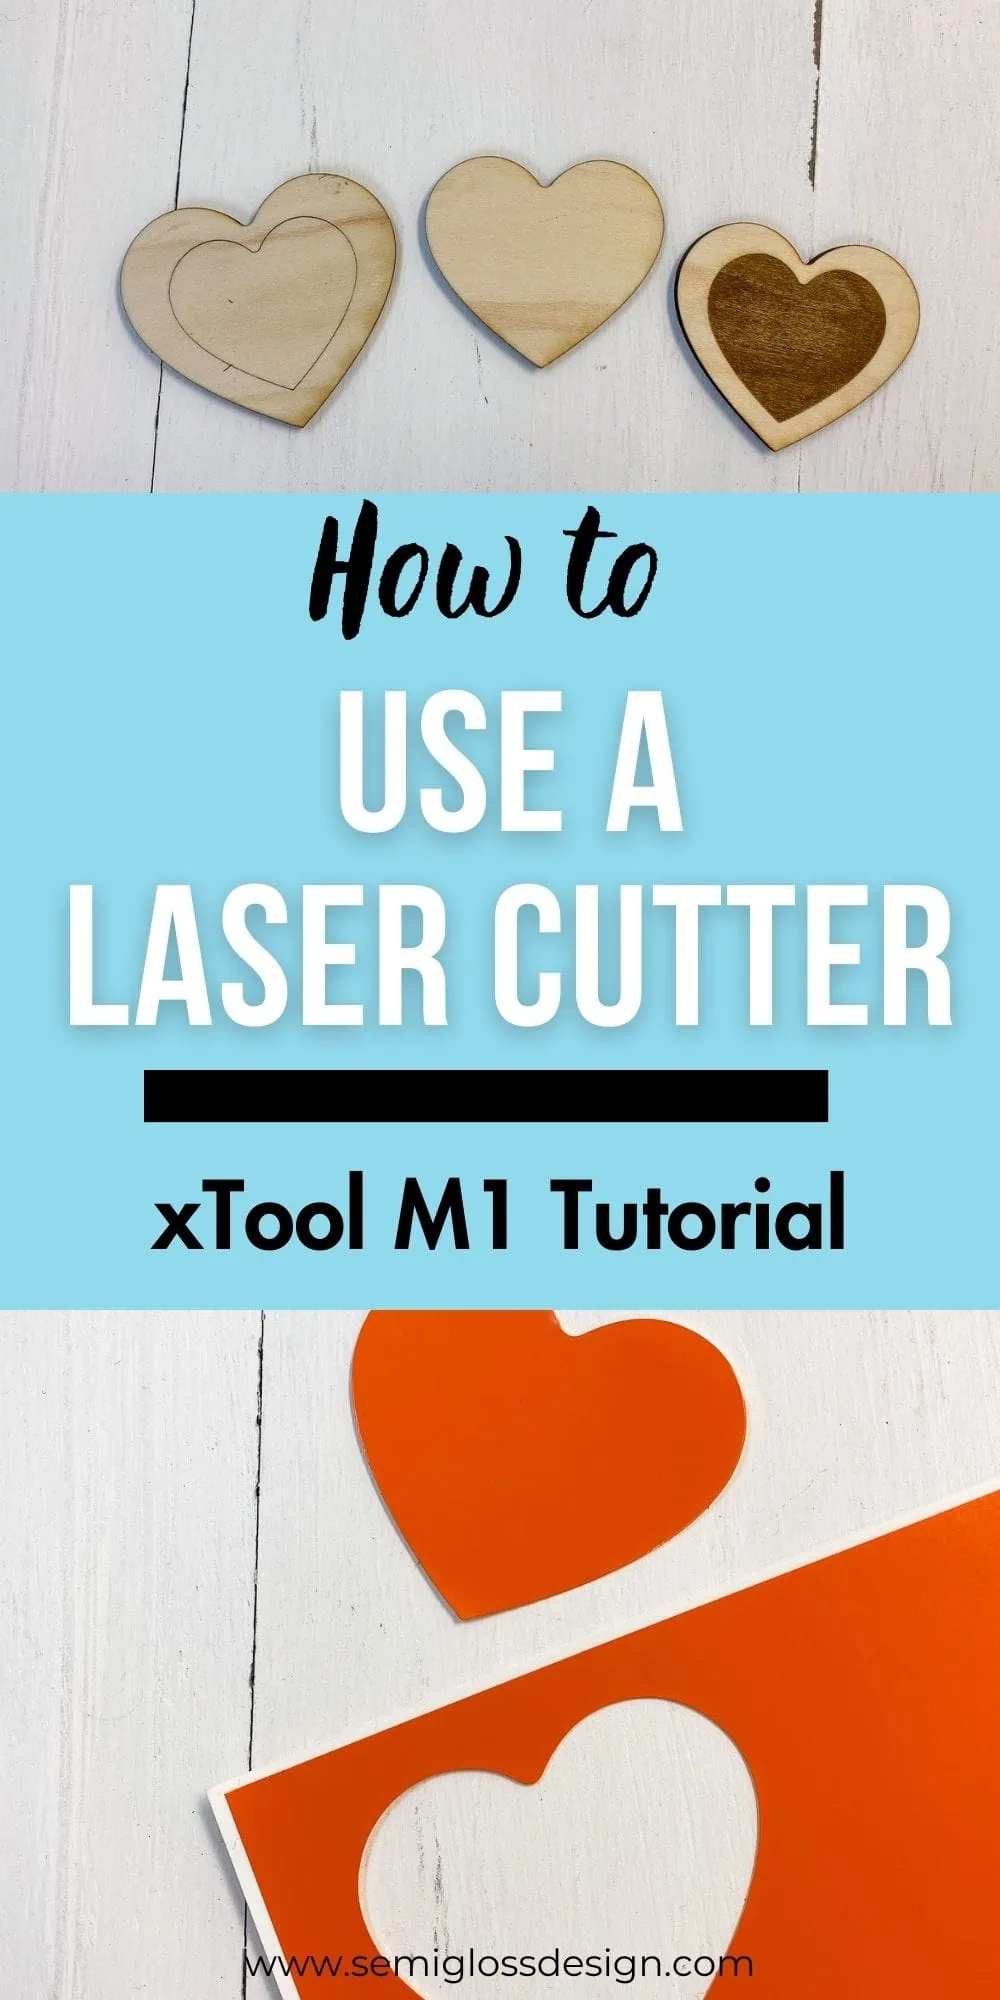
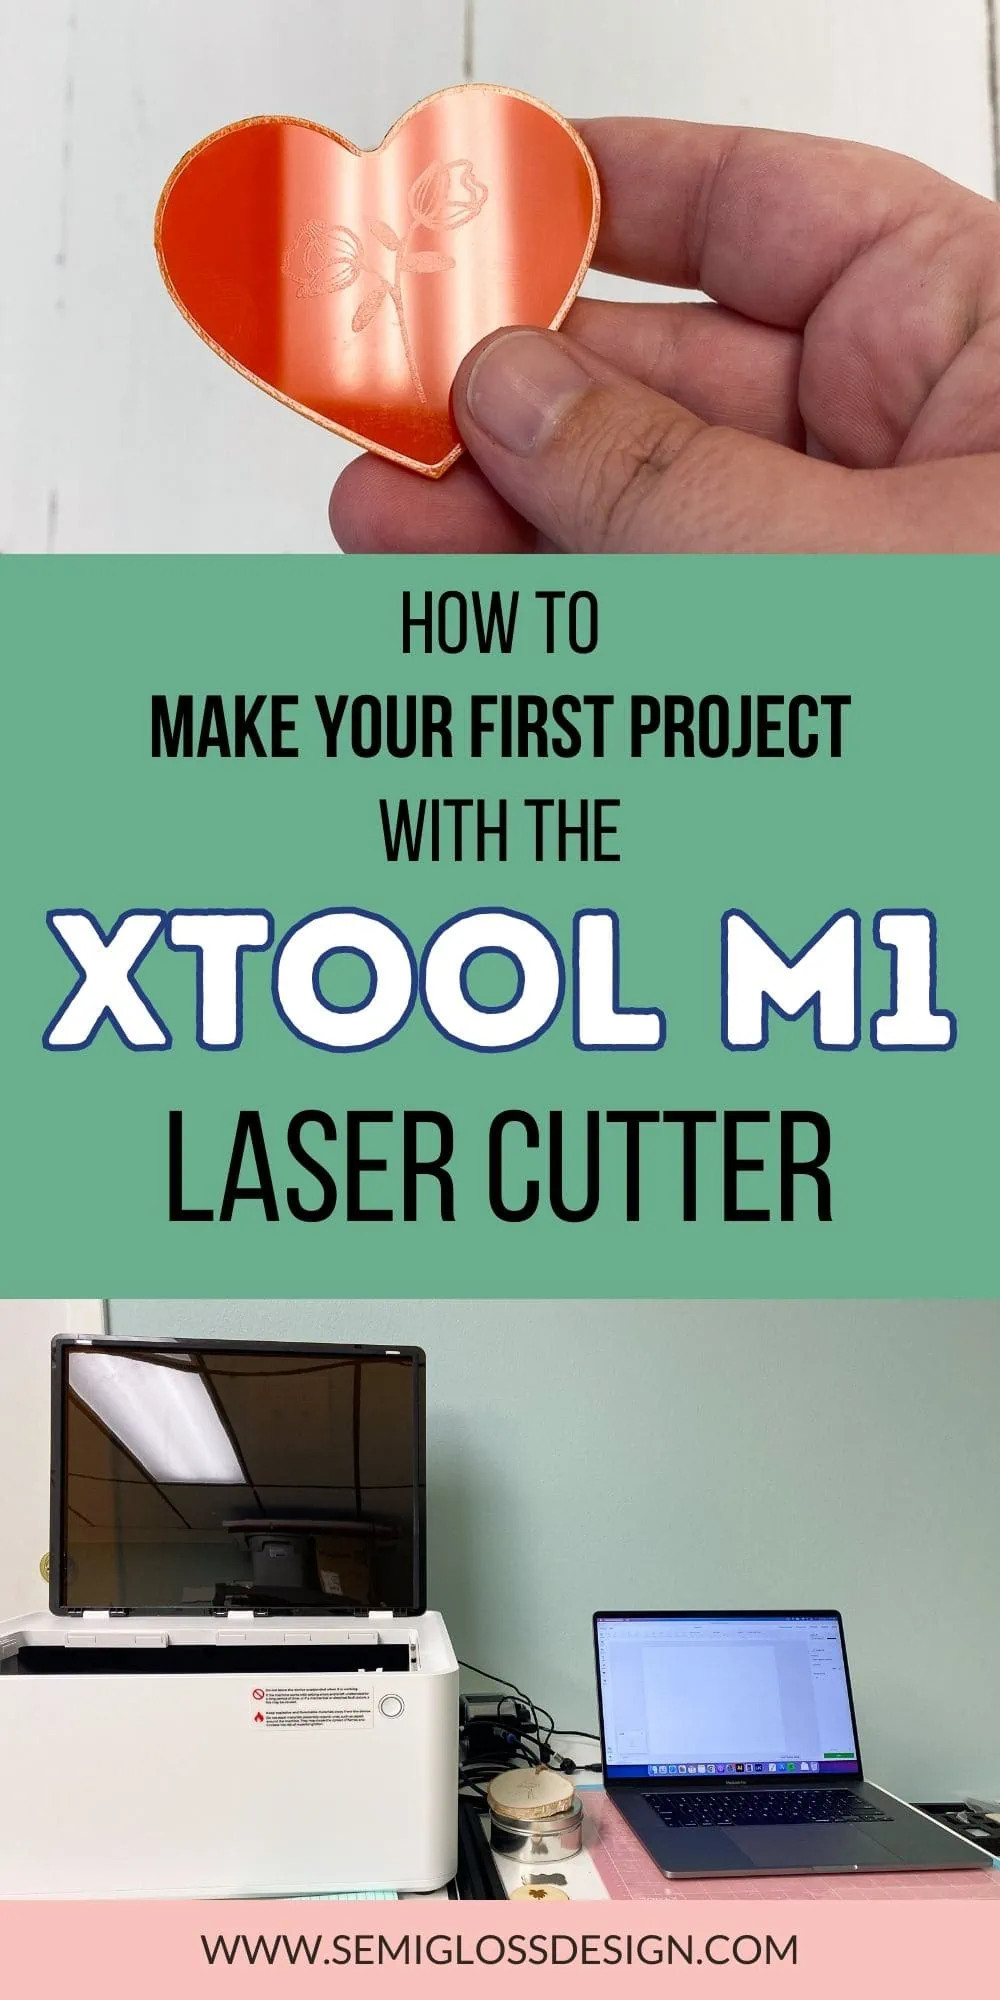
How to Use the xTool M1: Make Your First Project Today
Learn how to use the xTool M1 to make your first project, even if you’re afraid to take it out of the box. Don’t let this laser cutter intimidate you anymore. Get started crafting today!
If you’re new to the xTool M1, best sure to learn more about it here.
xTool provided me with this machine, but all opinions are my own.
The xTool M1 is a machine that laser cuts, laser engraves, and blade cuts materials. Check out this post here to learn more about the xTool M1.
If you recently bought an xTool M1, but you’re afraid to take it out of the box, this post is for you. New technology can feel so scary to use the first time, so I’m here to hold your hand and encourage you to make your first laser cut project.
This post contains affiliate links. By purchasing an item through an affiliate link, I earn a small commission at no extra cost to you. As an Amazon Associate I earn from qualifying purchases.
How to Use the xTool M1
Before we get started, I want to give you a pep talk because I always feel like I need one before using a new tool.
It’s okay if your first project doesn’t work 100% of the way. It will NOT break the machine. So it’s fine. My worst failure was that it didn’t do anything to the material. While frustrating, it didn’t damage anything and I was able to start over.
By the way, my failed projects were because I didn’t understand the user-defined settings and power percentage. So if you’re using non-xTool branded materials, pay attention to that section.
My final piece of advice is to test everything. Use the materials pack that came with the M1 and just play around before you make an actual product. You might even make something that you love!
Getting Started with the xTool M1
- Take your xTool out of the box and remove any plastic wrapping.
- Insert the plug into the back of the machine.
- Use a screwdriver to attach the vent with the provided screws.
- If you bought the Air Assist, install it according to the instructions.
- Install the XCS software onto your computer.
- Connect your computer to the machine with a USB cable. If you have a newer iMac, you may need an adapter. Make sure that it works with Apple before you buy it. If it only says Windows, it won’t work.
- Turn the machine on with the button on the back.
- Select the “Connect device” button.
- Select your machine.
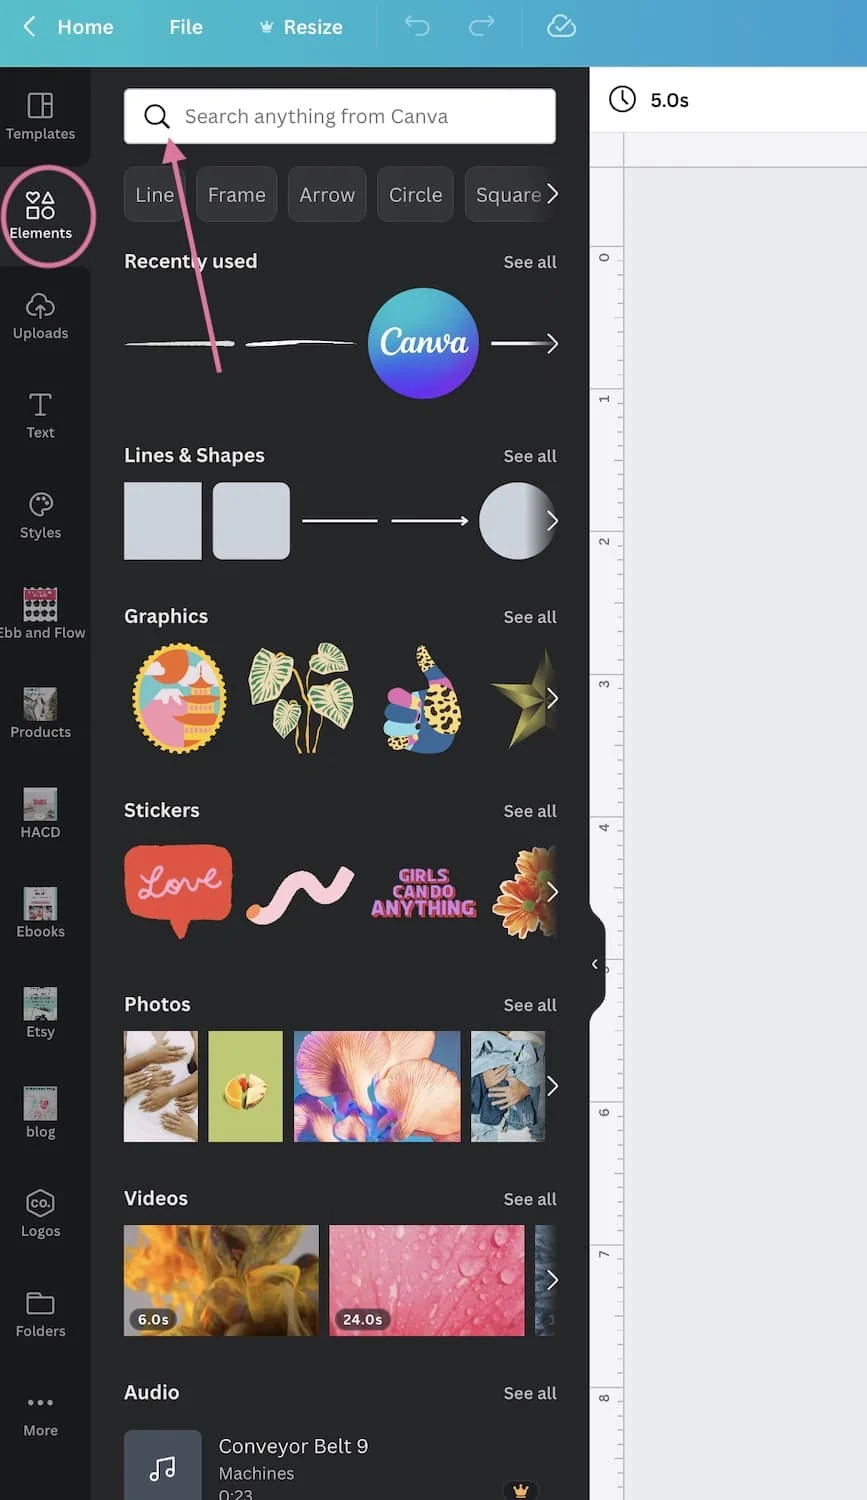
How to Use XCS Software
Here’s a brief overview of what you need to know about the xTool Creative Space software.
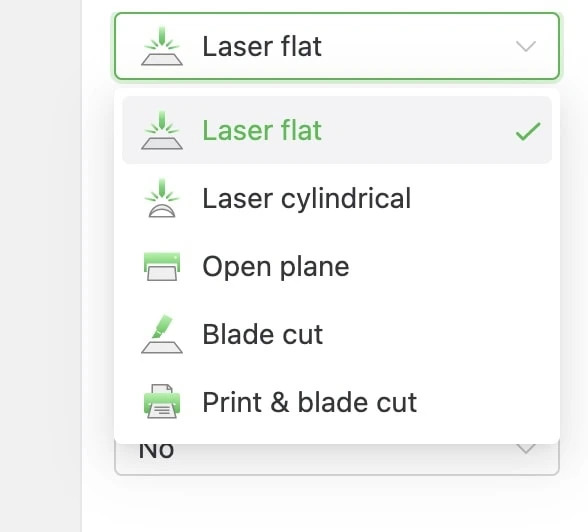
Select Your Process Mode
There are 5 process modes to choose from: laser flat, laser cylindrical, open plane, blade cut, and print and blade cut.
You will need to select an option when you start a project.
Laser flat is for laser cutting, engraving, and scoring flat materials.
Laser cylindrical is for laser cutting on a cylindrical surface, like a travel mug. This setting requires a 4-in-1 rotary tool.
Open plane is for cutting, engraving, or scoring larger or thicker materials. This mode requires you to remove the bottom of the machine. It’s recommended to use this setting with the riser.
Blade cut is for cutting vinyl, htv, or felt. It is similar to a Cricut. This setting requires the use of a mat to hold the material in place. The M1 comes with 2 mats: a light grip mat and a fabric mat. They are both sticky on the bottom to ensure that they don’t shift during the process.
Print and blade cut is for making labels, stickers, or other paper items. It works with anything that can be printed and then cut.
Laser Mode Options
The laser cutter has 3 options: score, engrave, and cut.
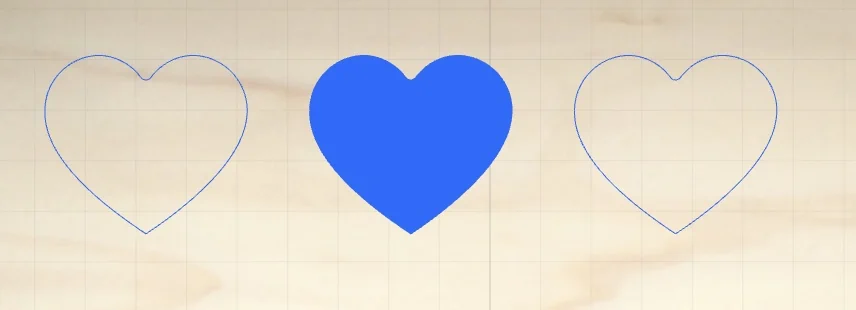
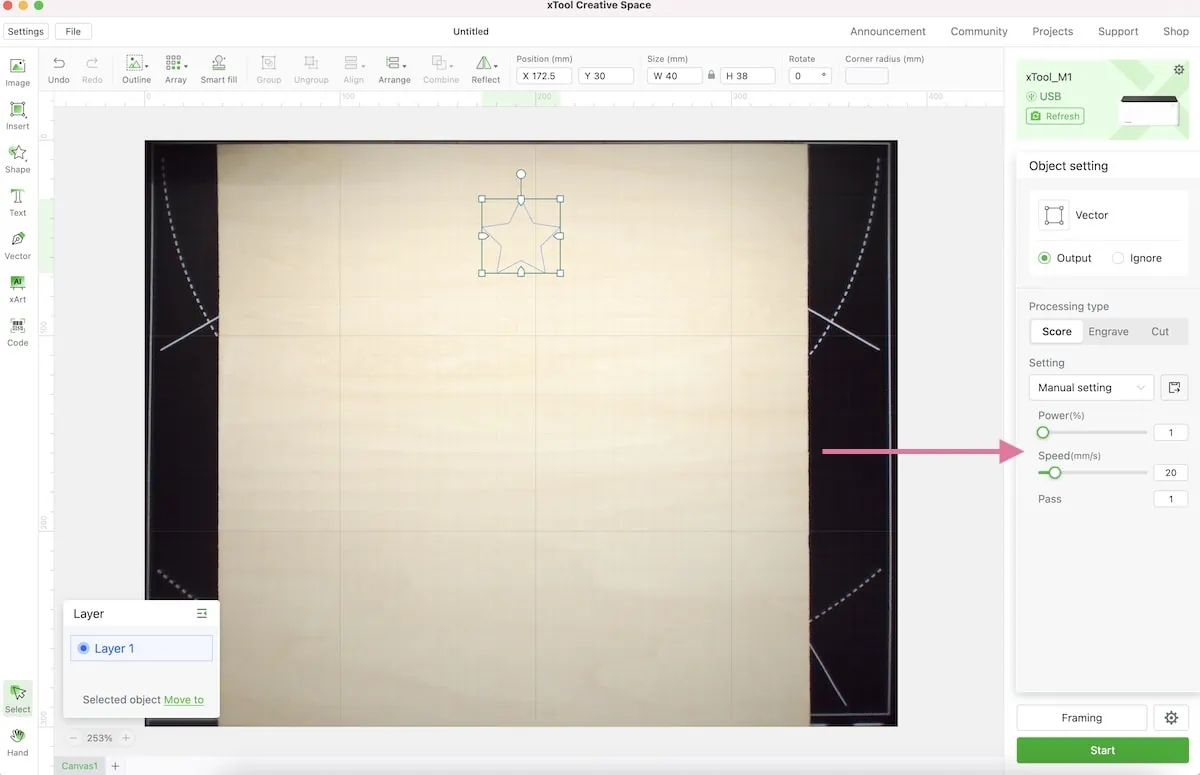
Score cuts a line into the surface, but doesn’t cut all the way through. Use score to create a line to mark areas for painting later or just to create a thin line in the design.
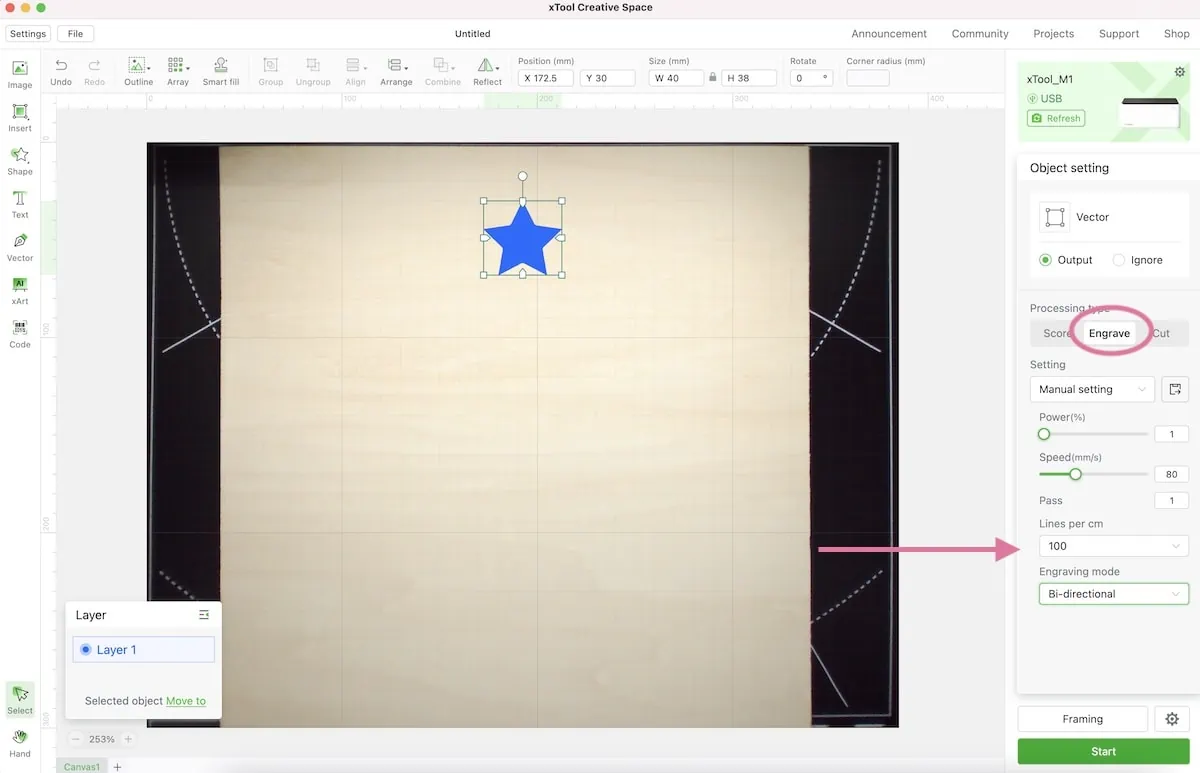
Engrave creates a solid shape on the surface without cutting all the way through. It’s great for adding details to a design.
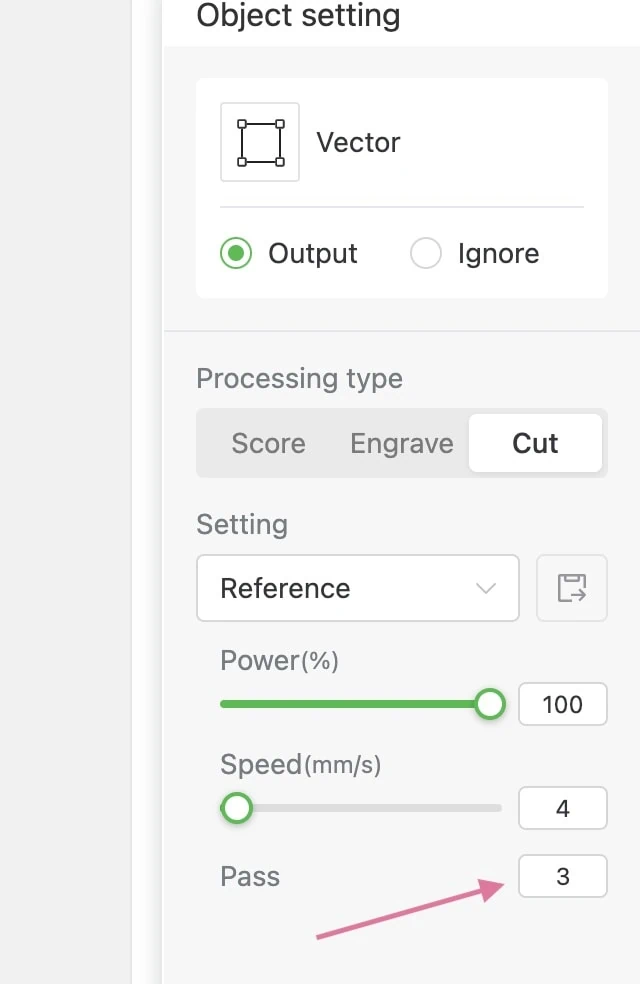
Cut cuts through the material.
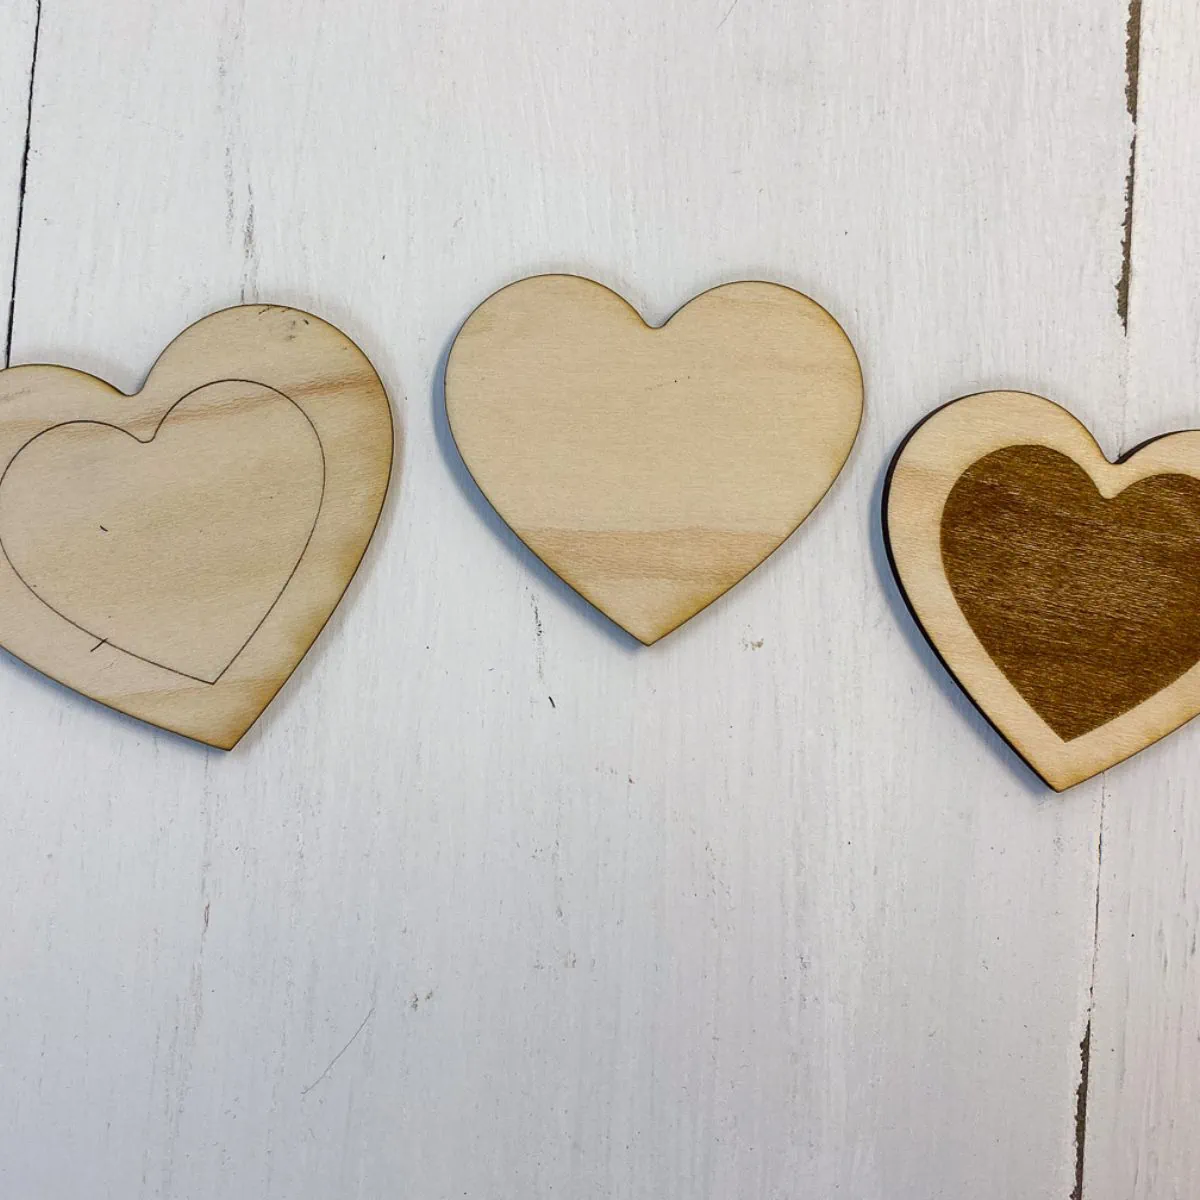
If you’re still confused about how score and engrave are different, think of score as an outline and engrave as a colored-in shape. If you’re familiar with Adobe Illustrator, it’s like stroke vs fill.
Engraving looks different on different materials. Wood that has been engraved looks burnt. Engraved metal looks dark and engraved acrylic looks white.
File Types that Work with the xTool M1
The xTool M1 works with SVG, PNG, JPG, BMP, and DXF files. So if you already have a ton of files for your Cricut or Silhouette, they will work with the XCS software as well.
Although it accepts all of these file types, make sure that you provide the cleanest file possible, which I’ll address later in this post.
The file type all have different default settings and capabilities. SVG seems to work the best so if you have the ability, vectorize your image first.
SVG – SVG is a vector graphic, which means that it can be scaled infinitely without losing quality.
The default option is score, but it can be changed to engrave or cut as needed.
PNG – A PNG is a raster-based image, usually on a clear background. If you zoom in, you will see tiny little pixels. Quality can change when resizing a PNG.
The default option is engrave and it cannot be changed.
JPG and BMP– A JPG is also raster-based and the quality changes when resized. JPG images have a background even if it’s white.
The default option is engraved and it cannot be changed either.
DXF – DXF files are CAD files and are typically used for 2D and 3D work. They also work with Silhouette.
The default option is score but can be changed to engrave or cut as needed.
Selecting Your First Laser Cutting Project
Your first project can be something from the project center or just something that you throw together from shapes and text.
XCS has a ton of fun shapes to get you started. It also works with every font that is installed on your computer.
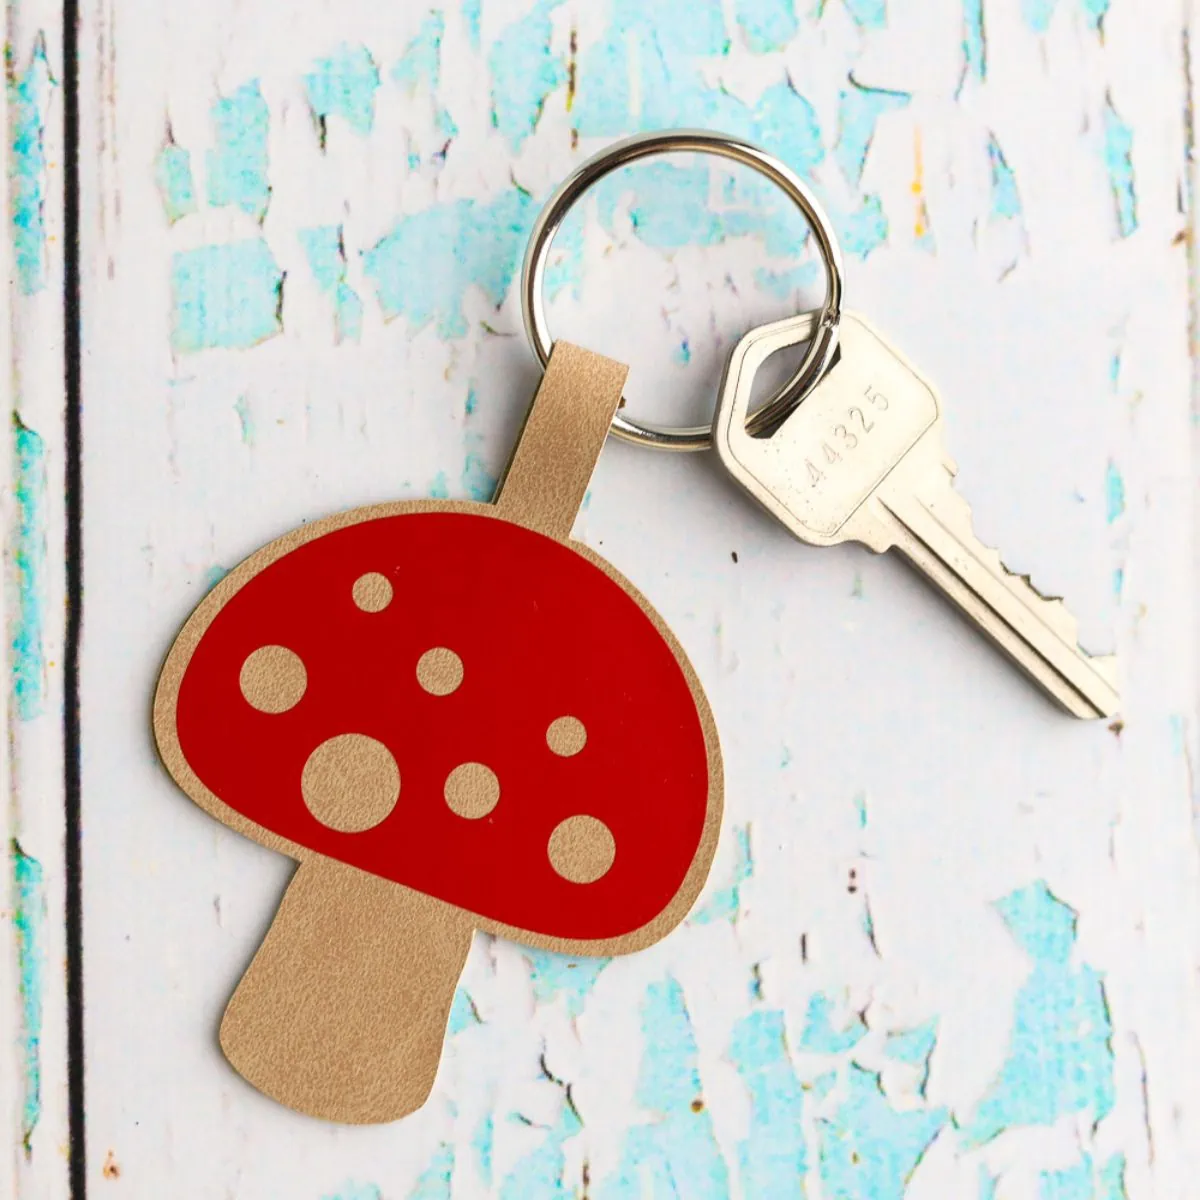
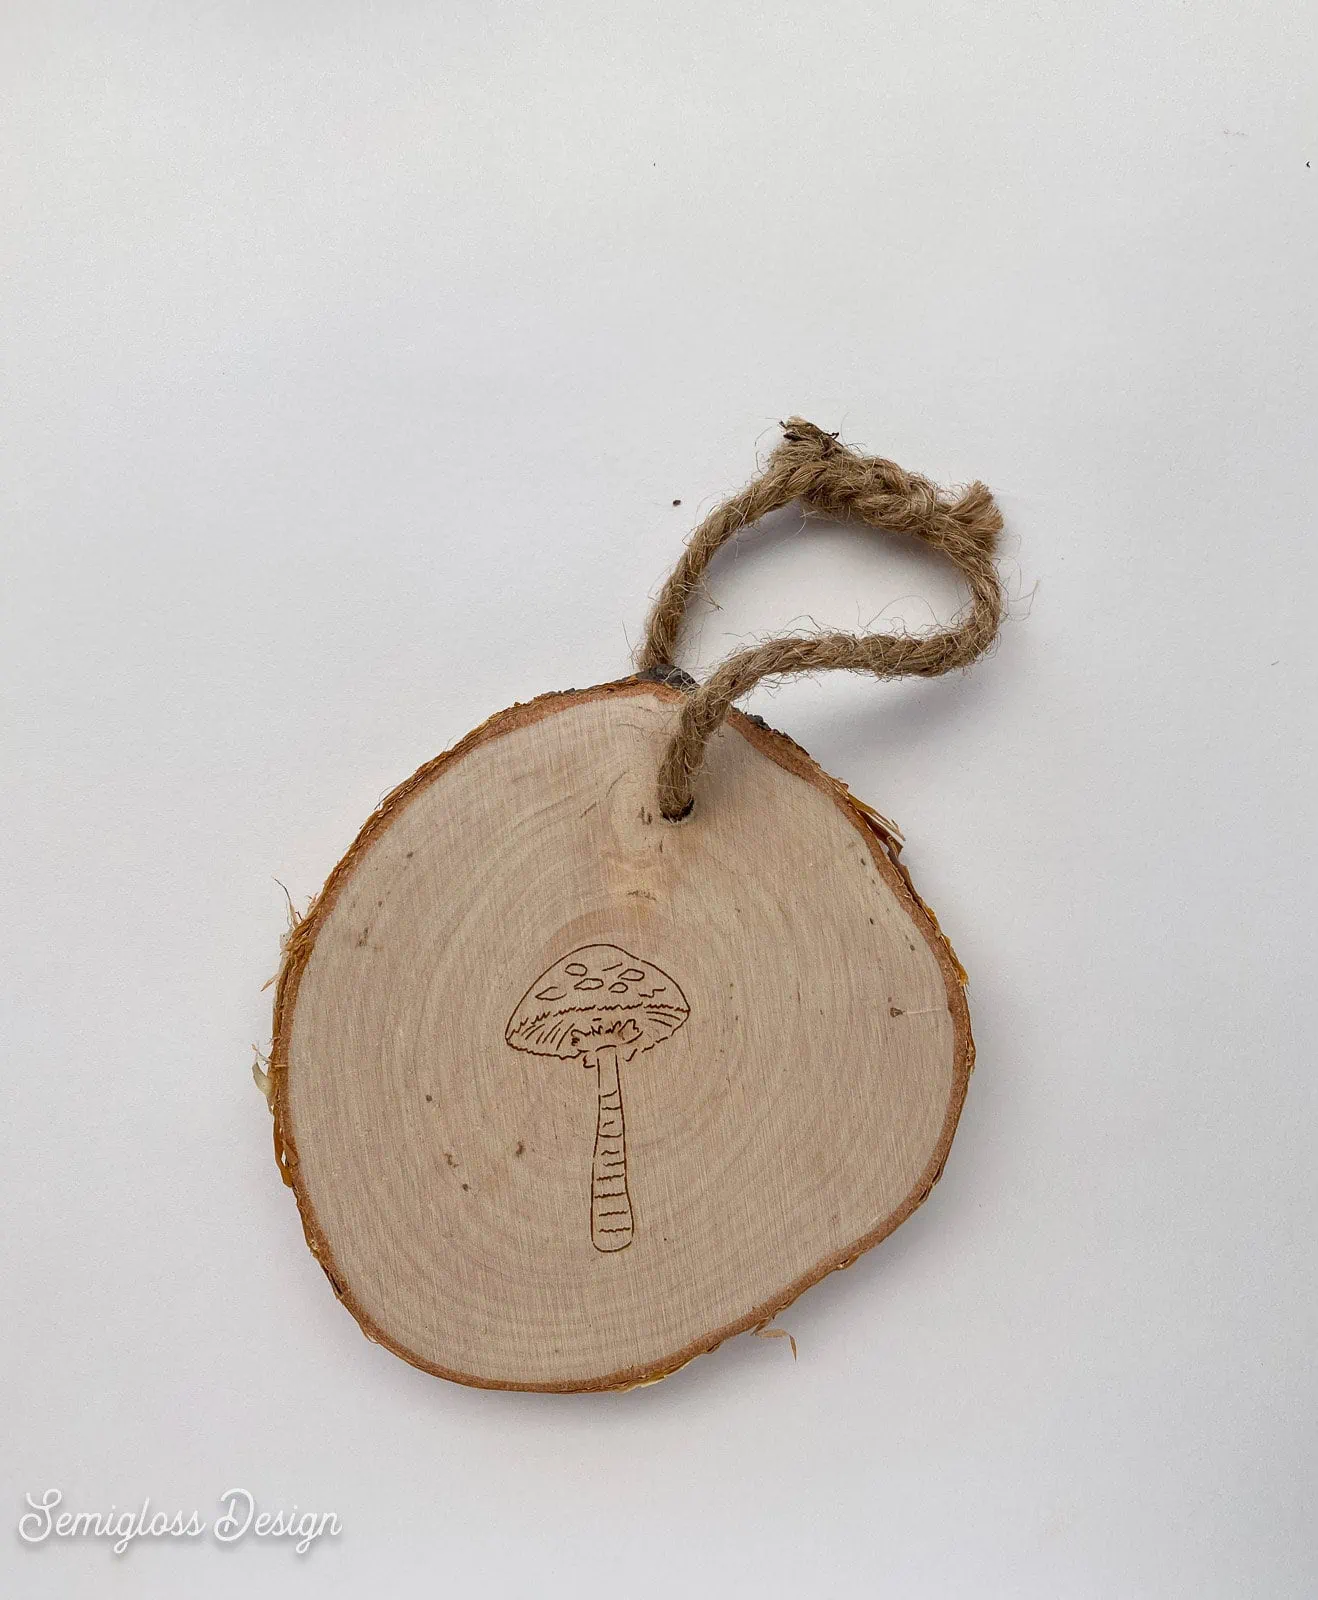
My first project was a simple basswood cut circle with a palm engraved in it. The dog tag was also really easy to make.
Keep the design simple. I wouldn’t test intricate patterns or designs right off the bat.
Once you know how to make one thing, it’s so easy to make everything else. Just pay attention to the settings and you’re good to go.
How to Make Your First Project
Here’s an overview of how to use the xTool M1 to make your first project. Material-specific settings are below.
- Turn on the xTool with the switch on the back.
- Open the xTool software.
- Connect your computer to the machine.
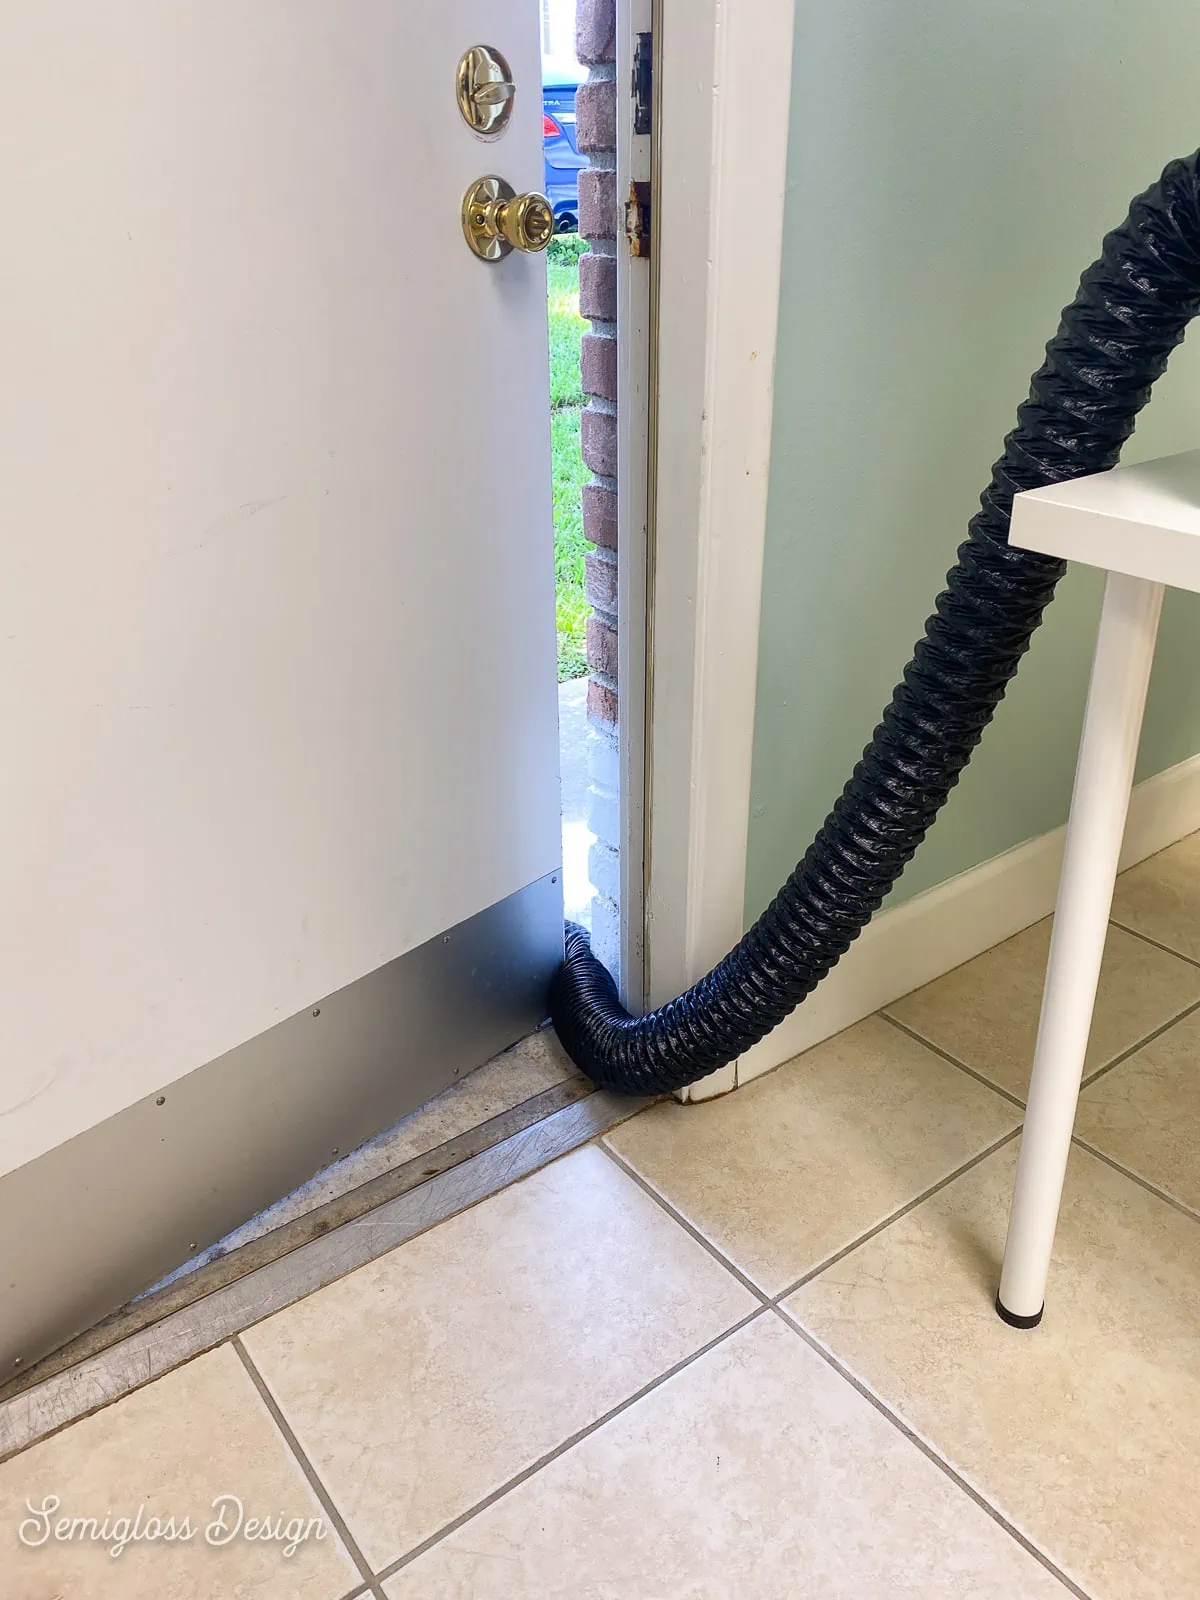
- Place the vent in a window or open door.

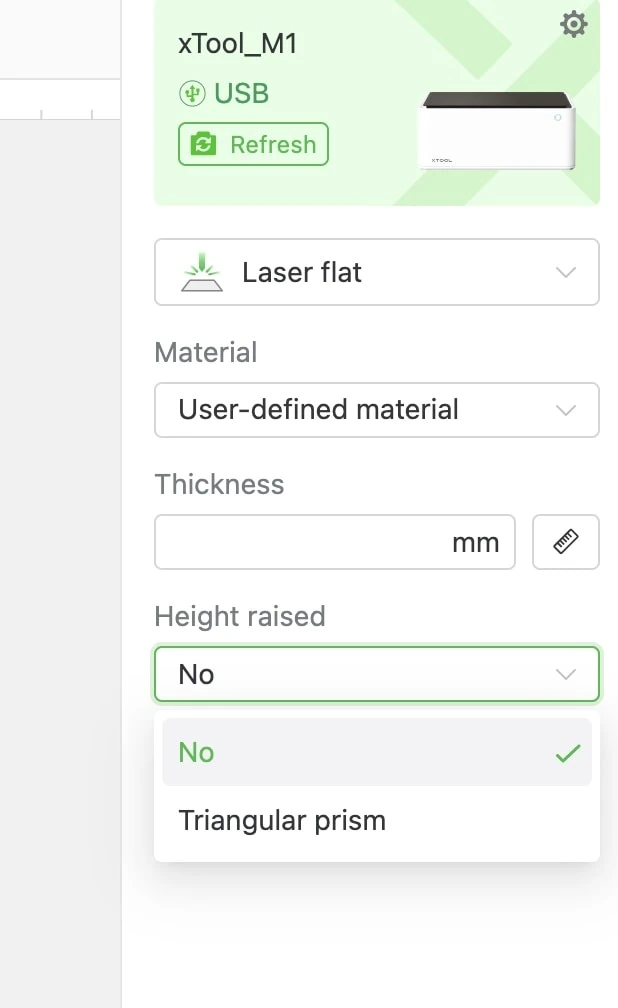
- Select your process mode.
- Be sure to check the triangular prism option under “Height raised” if you’re going to use them in the next step.

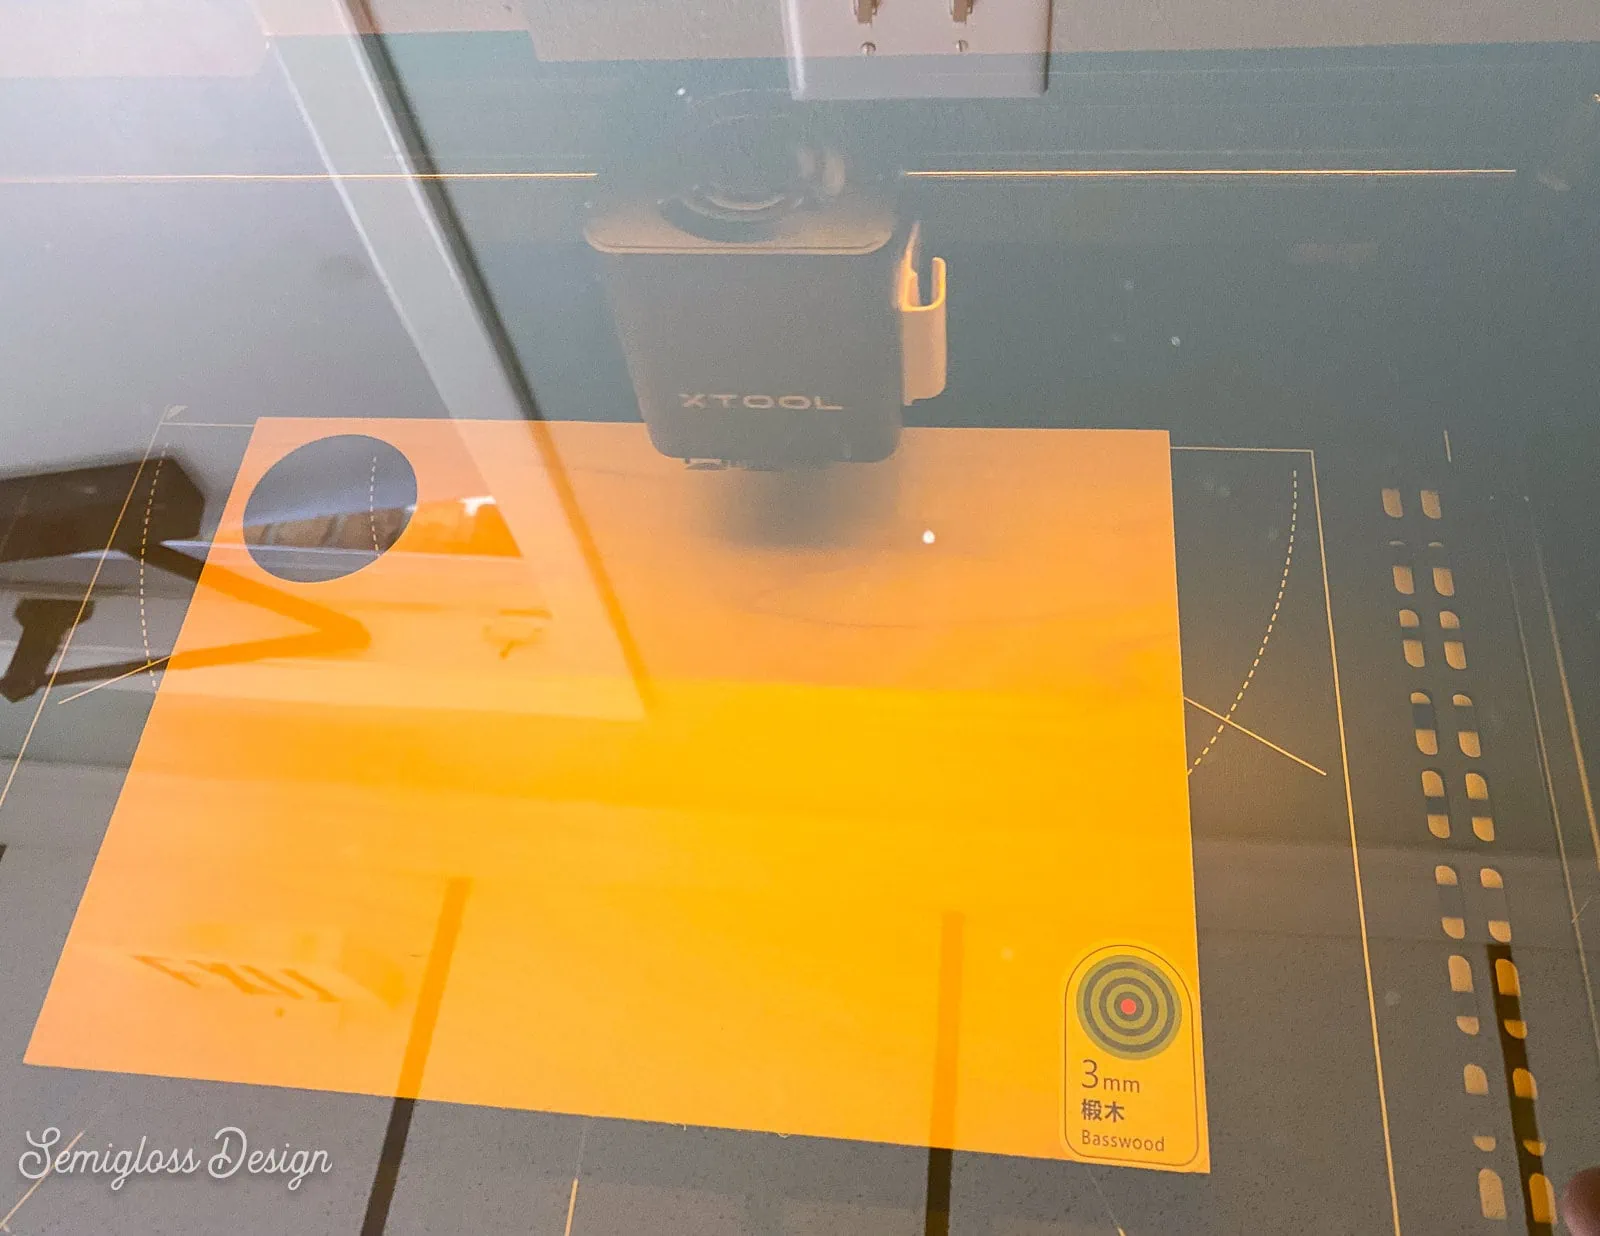
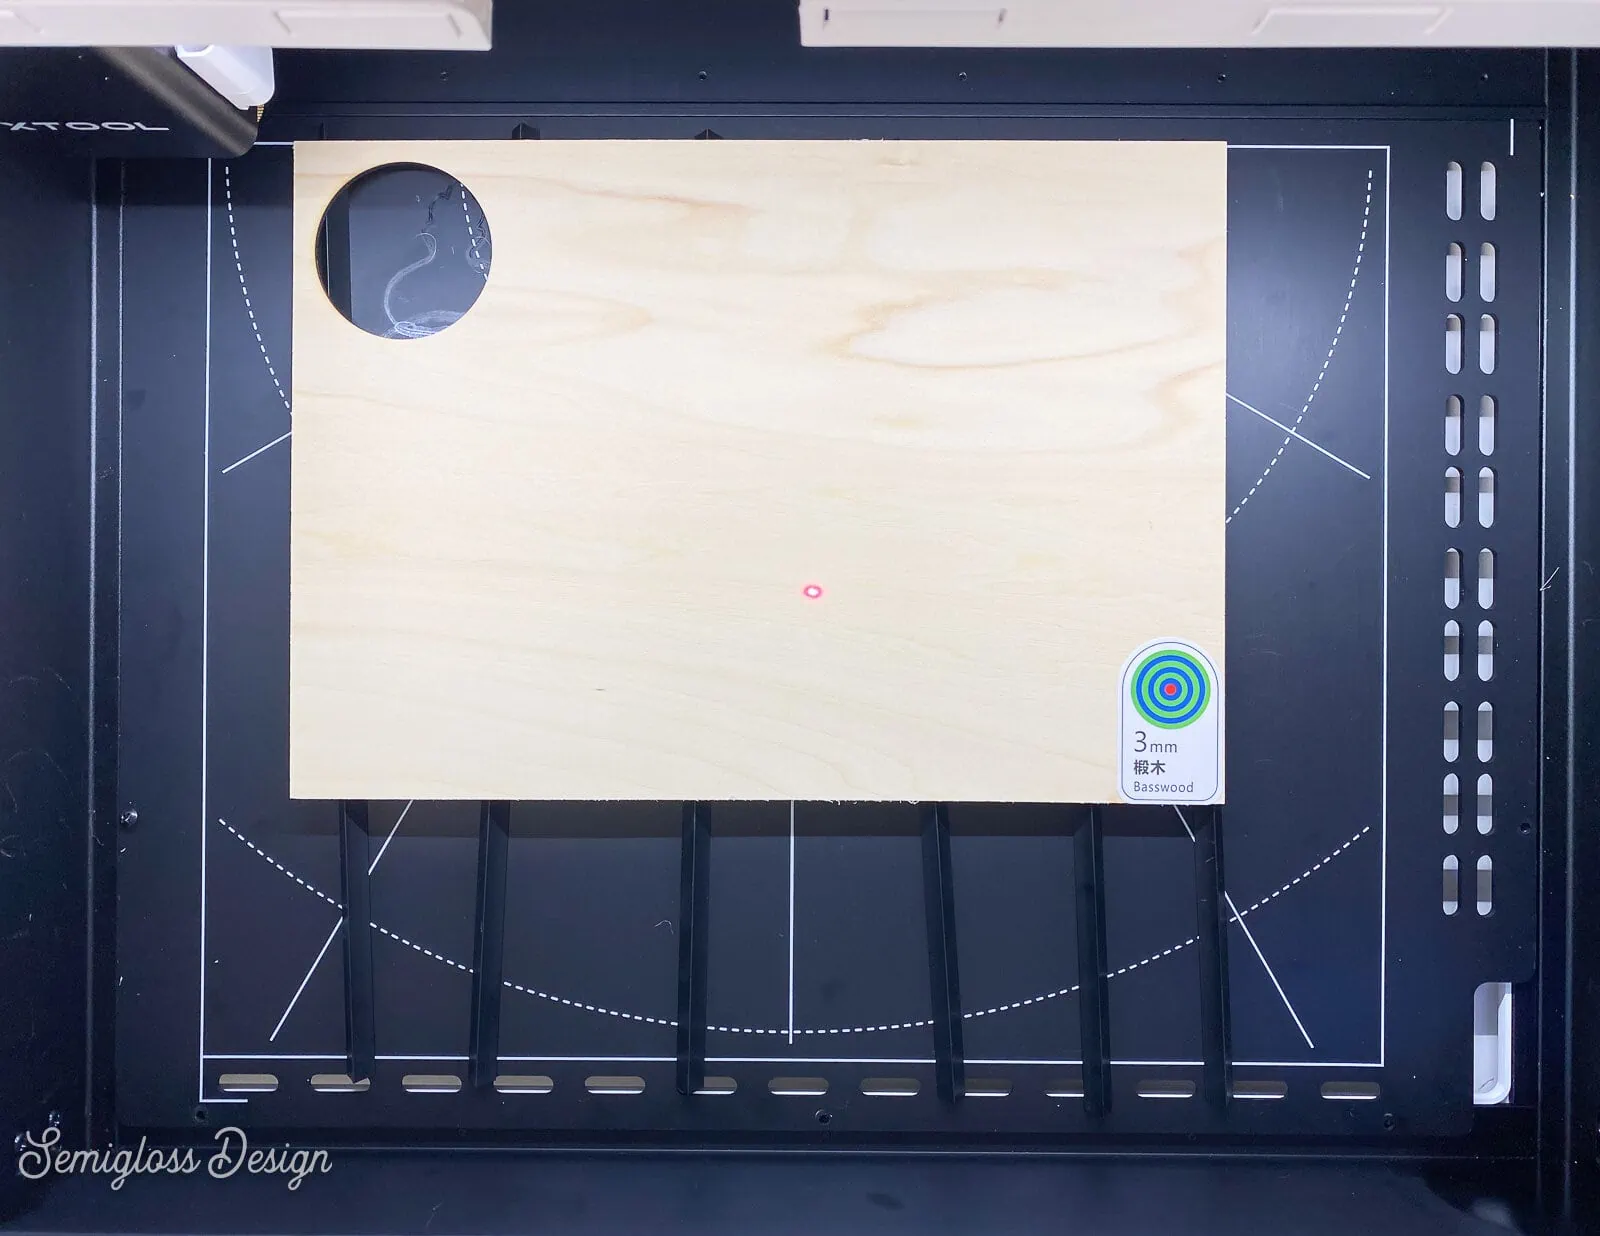
- Place your material at the bottom of the machine at the center top. You can use the triangular prisms to raise the material from the bottom. This allows air to flow under the surface and prevents burning.
- Close the lid.
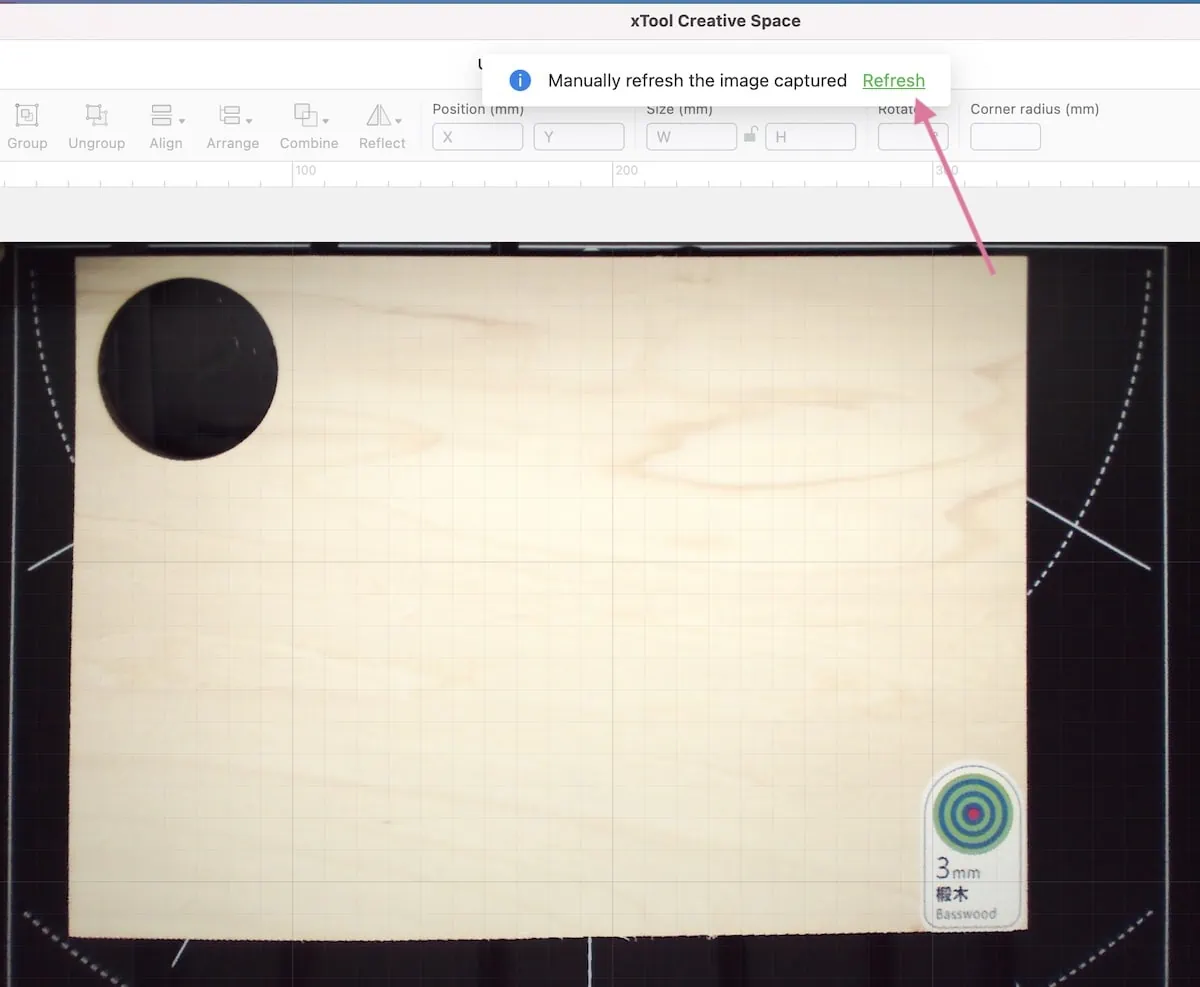
- Hit Refresh on your computer to see the material in the software.

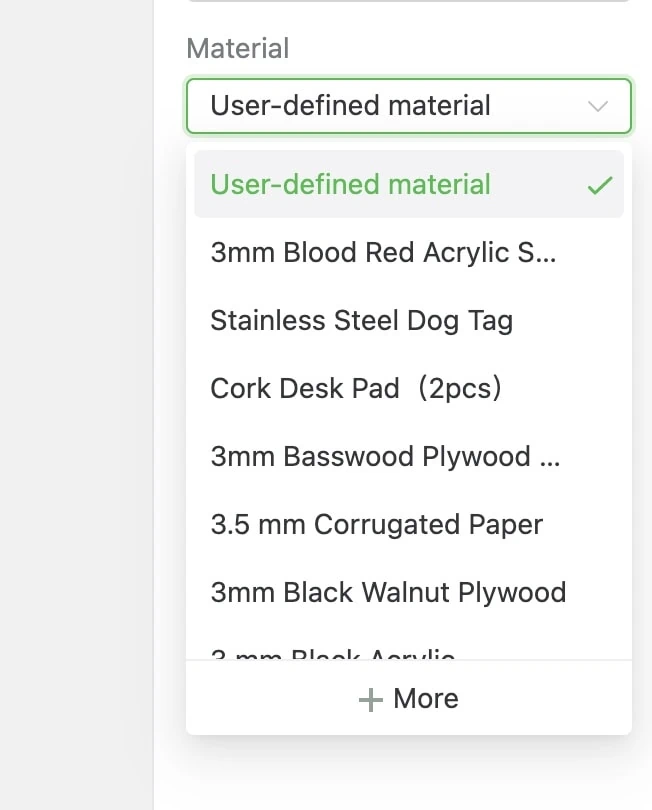
- Select the material type. It comes with a few suggestions for the branded materials (you can still use these settings for non-xTool materials). You can find one that is similar or you can select user-defined if it’s really different. We’ll cover this in a minute.

- Make your design or import an image. You can also use a project from the project center. If you aren’t seeing the entire project, there are tabs at the bottom of the page for the layers.
- Move and resize the image as needed. Make sure that the lock button is activated to keep the aspect ratio so that your design doesn’t skew. Place the design on the image of your material. It’s easy to get it just right.

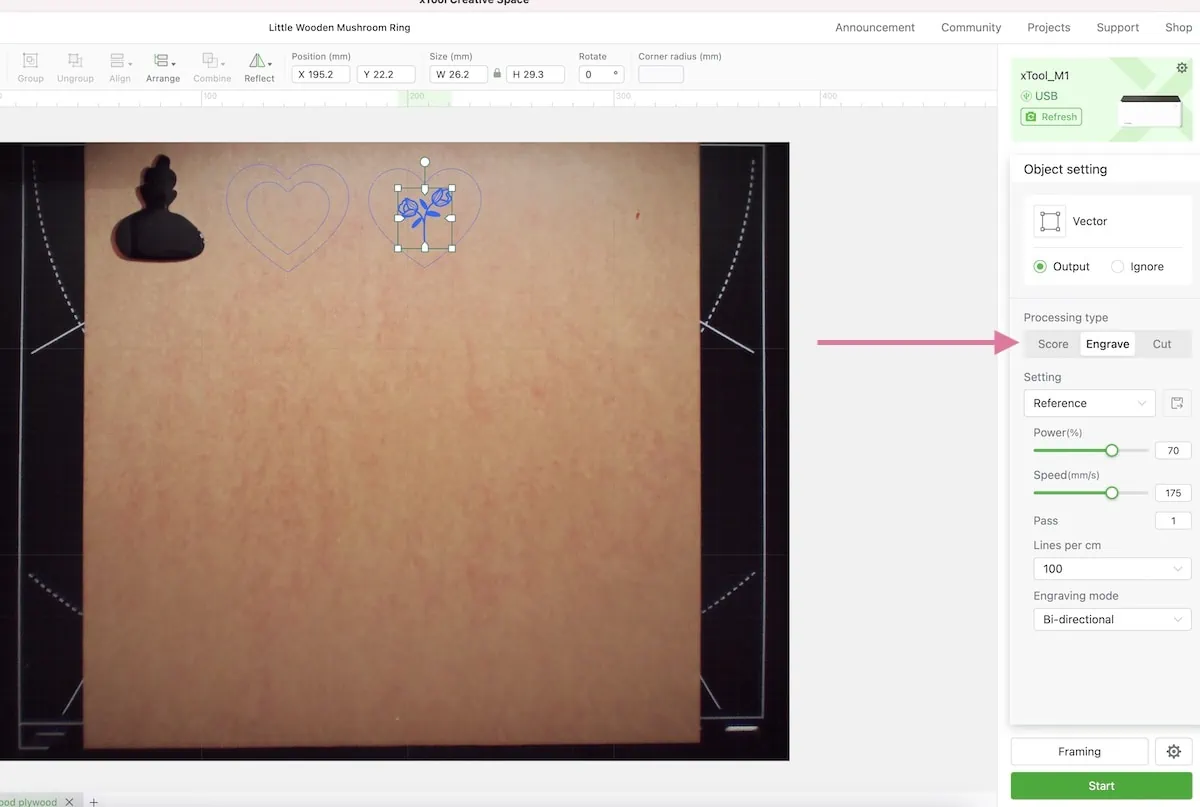
- Select each part of your design and choose either engrave, score, or cut. (It’s possible to do all 3 in one design at once.)
- When you have everything ready, hit start.
- This screen will show a preview of the design.
- Hit Frame to make sure that the design is going to process as intended. Click okay when done.
- Hit start to process your design.
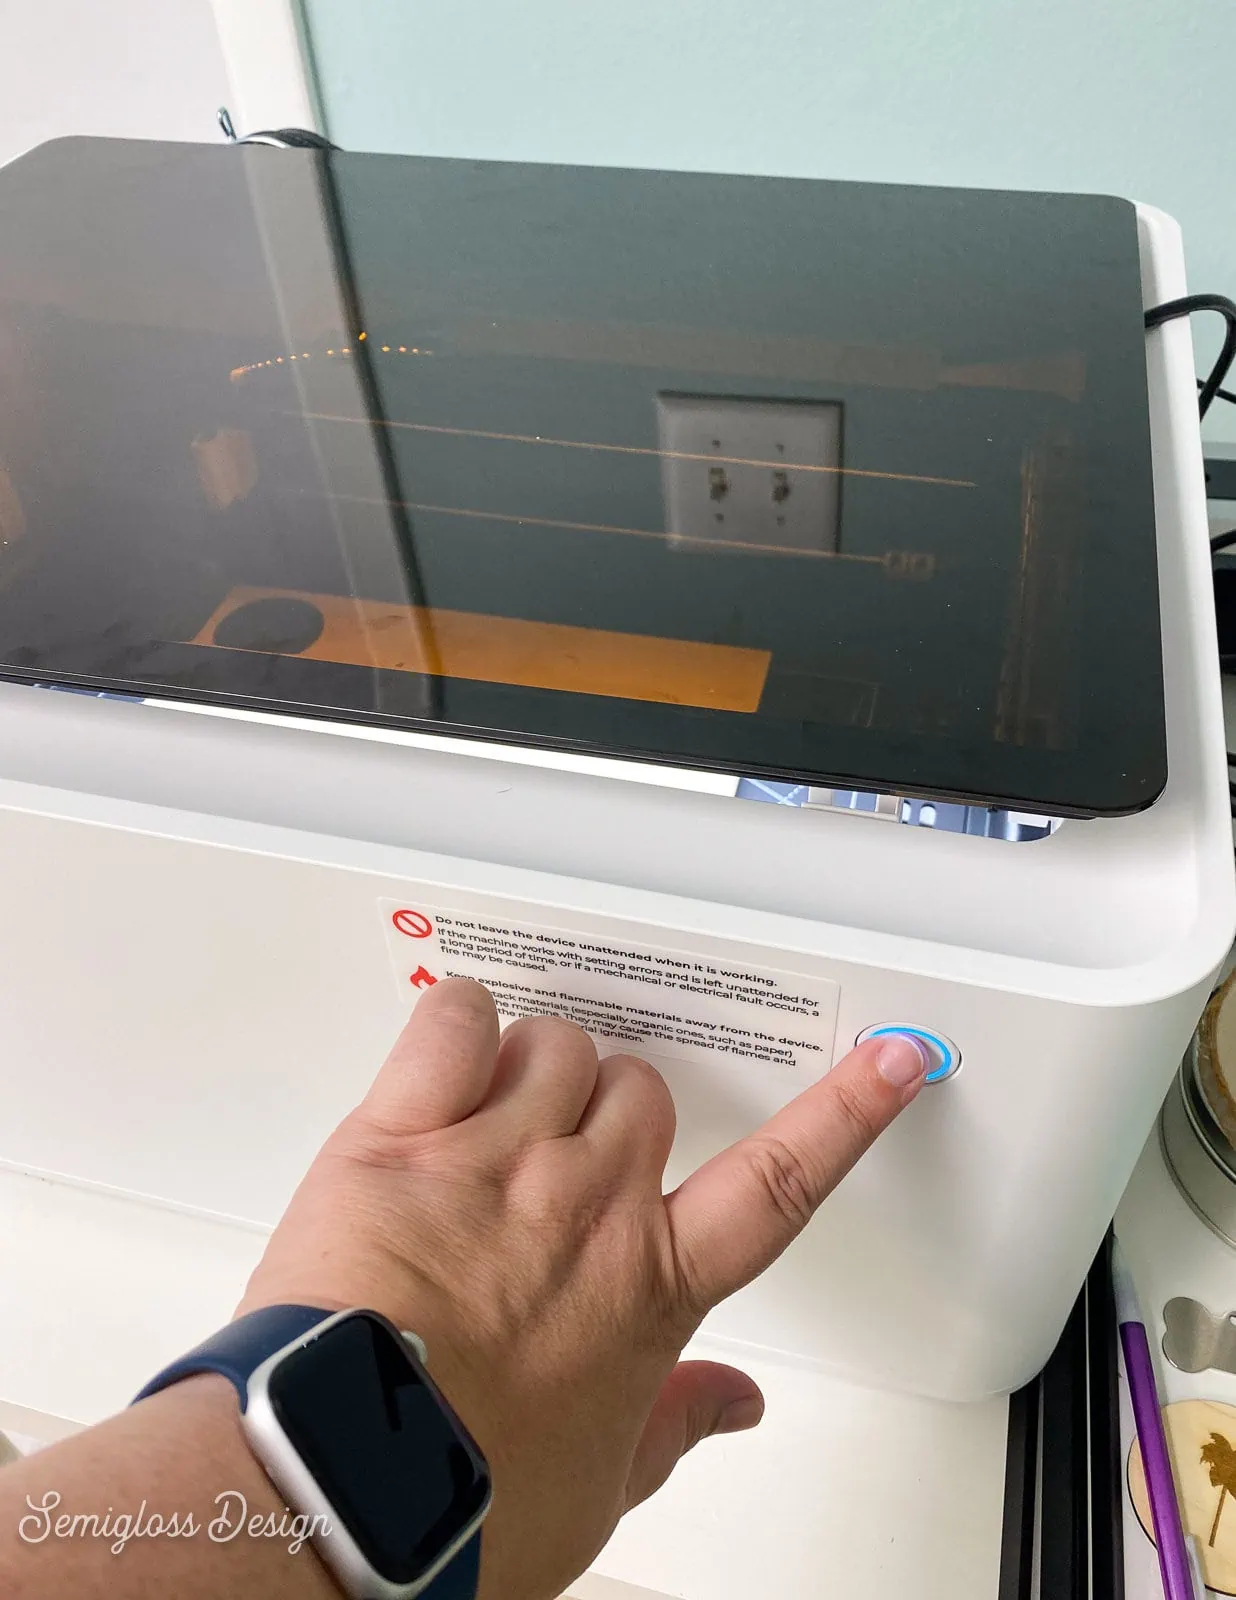
- Then hit the button on the front of the machine.

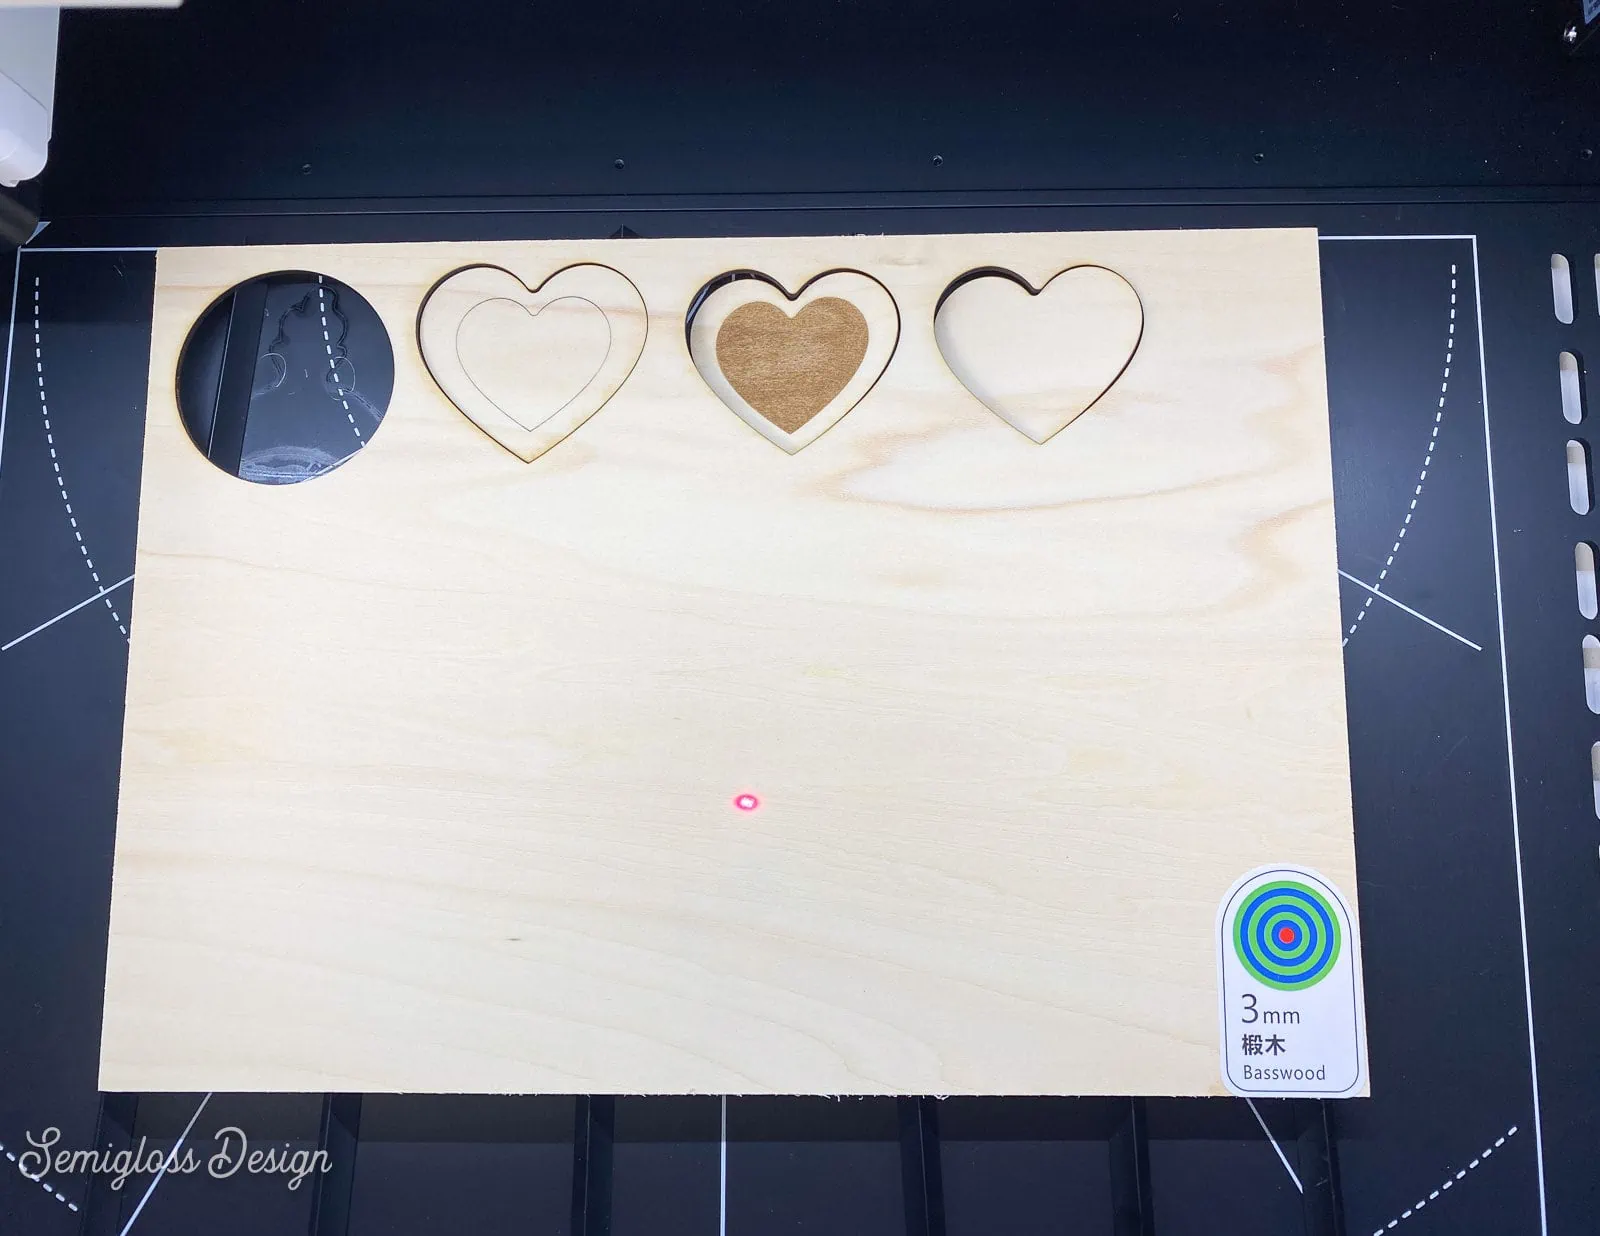
- Watch the laser from the top of the machine so that you can see if there’s a mistake.

- Let the machine do its job. It beeps and says done when it’s finished.
- If it’s a stinky material like acrylic, give it a few minutes to air out through the vent before you open the lid. Otherwise, it’s safe to open it as soon as it finishes.
Troubleshooting Tips
- If the laser didn’t do anything to your material, there’s an issue with the settings. Make sure that your settings are correct and try again.
- If you need to access the process mode or materials later in the process, click off of the image and you will have access to that menu again. The same goes for accessing the process options for the design. Just click on the design(s).
- Accidentally bumping or moving materials is common in this process. To recapture the image of the material, open and close the lid. The hit refresh.
User-defined materials will be covered later in this post.
Useful Keyboard Shortcuts for XCS
The top 2 are the most useful when resizing a design.
- Spacebar: hold and drag the mouse around to move the image
- Control + or – (Mac: Command + or -) Zooms in and out
- T: Brings up a text box
- P: Brings up the vector drawing tool (similar to the pen tool in AI)
- R: Drag to draw a rectangle
- C: Drag to draw a circle
- L: Draws a line
Tips for Processing Wood with the xTool M1
Wood can be cut up to 10 mm, engraved, and scored.
Always select the correct material and processing type.
- If you’re not using the xTools branded basswood, check the dimensions before you start. It should be on the label, but you might need to measure it.
- Cutting wood works best when you use the triangular prism to create risers. It helps prevent burn marks and keeps the bottom of your xTool cleaner.
- If the wood leaks oil when it’s cut, it can be cleaned with some gentle dish soap.
- The Air Assist tool helps prevent burns by blowing air onto the surface while the laser cuts.
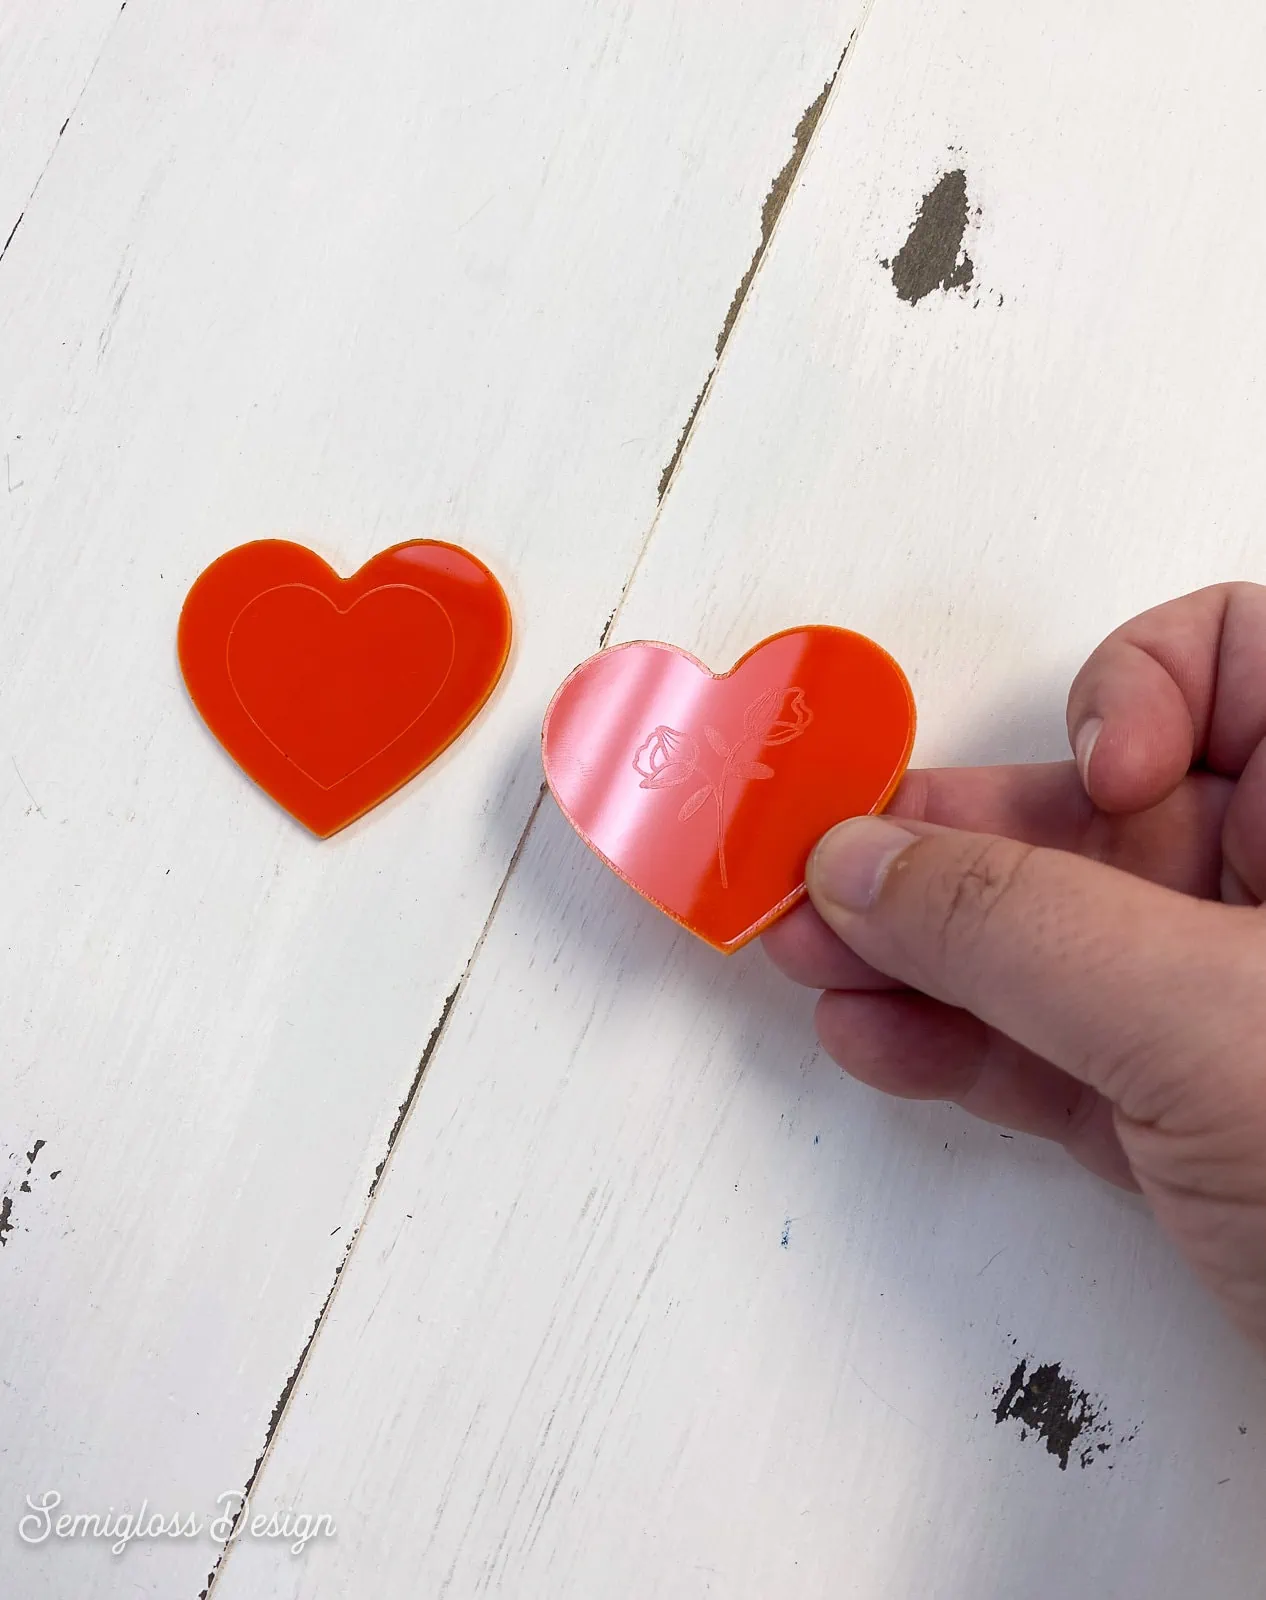
How to Process Acrylic
Acrylic can be cut up to 3mm, engraved, and scored.
- The xTool M1 only works with opaque acrylic sheets.
- The settings only show black and red, but it works fine on other colors as long as they’re opaque.
- Acrylic is pretty toxic when it’s cut so make sure that the machine is vented outside. Keep the lid closed for a few minutes after it’s cut so that the fumes don’t enter your workspace.
- Use triangular prisms with acrylic sheets.
- Keep the paper layer on the acrylic when processing.

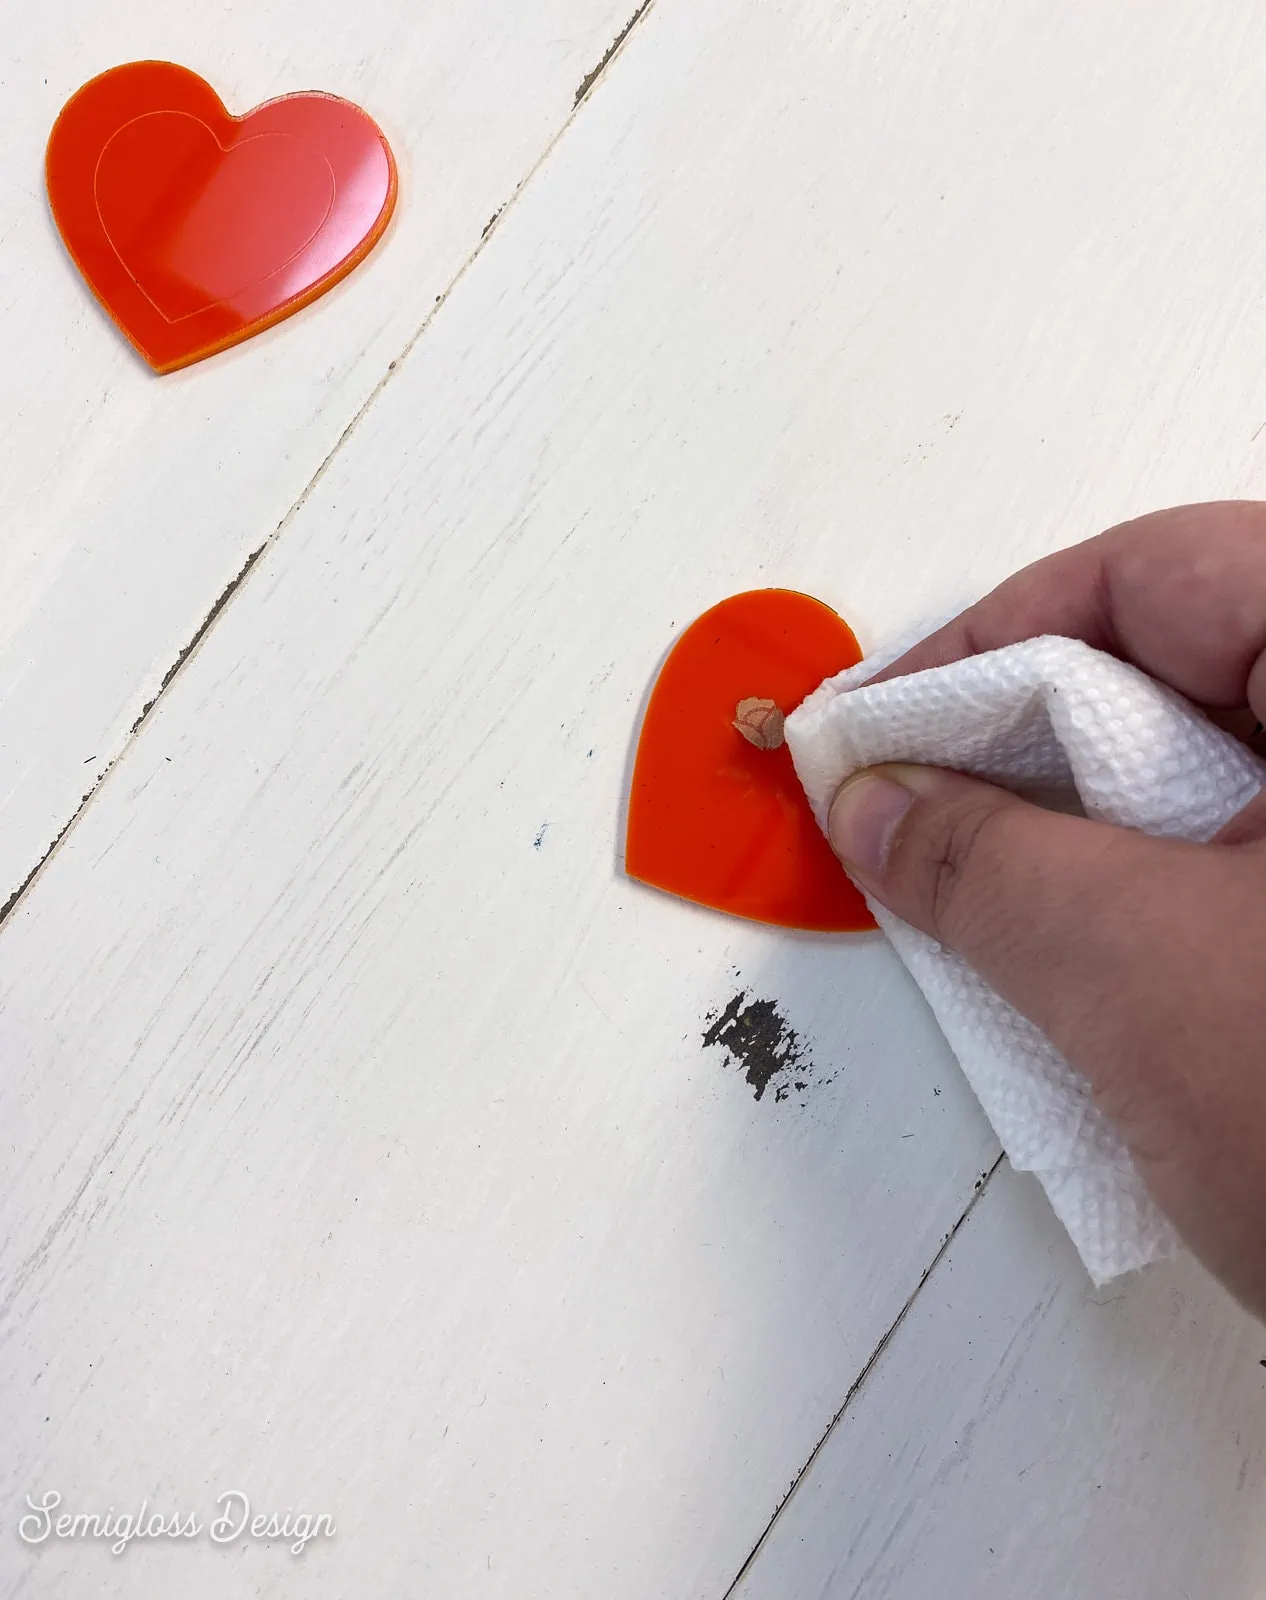
- If you have a hard time removing the paper layer after engraving, you can clean it with a bit of rubbing alcohol on a paper towel. The paper comes right off.

- You may need to test an engraved design to get it thick enough. Mine was very faint.


How to Etch Metal
Please note that you can only “engrave” metal with the xTool M1. It cannot be cut.
I’m using the words “etching” and “engraving”. The software calls it engraving, but it’s technically etching the metal.
- Metal can be placed on the machine’s bottom without a riser.
- Metal etching has no smell.
- Lightweight metal may shift during the process.
- You may need to clean the metal after it’s done processing. A soft cloth works to remove any dust.
Using the Blade Tool
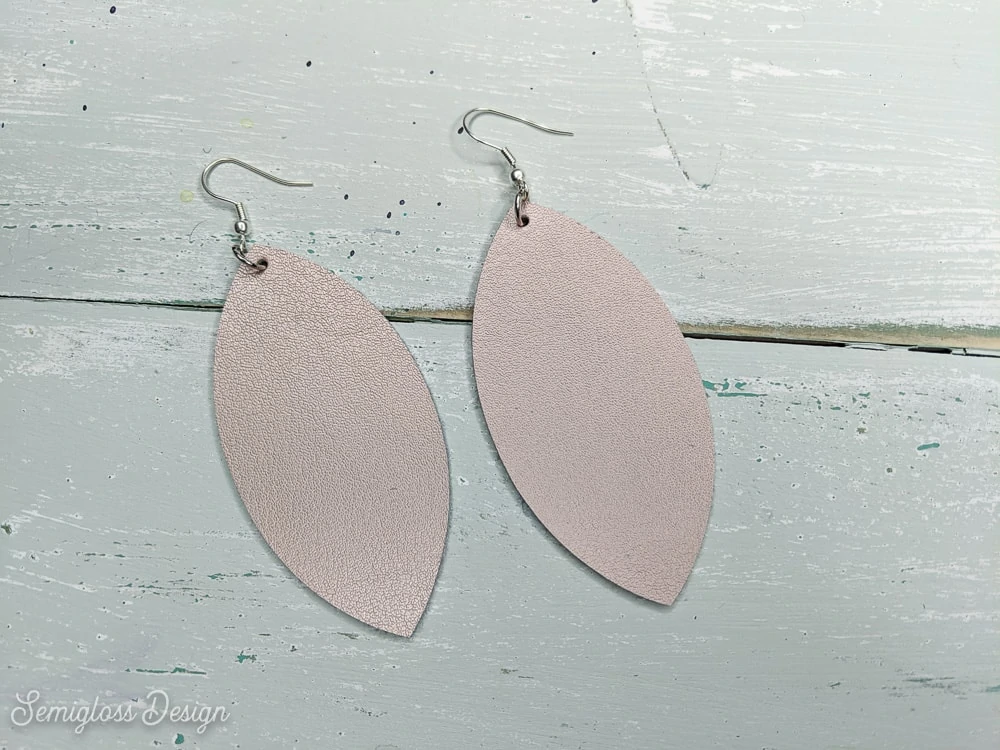
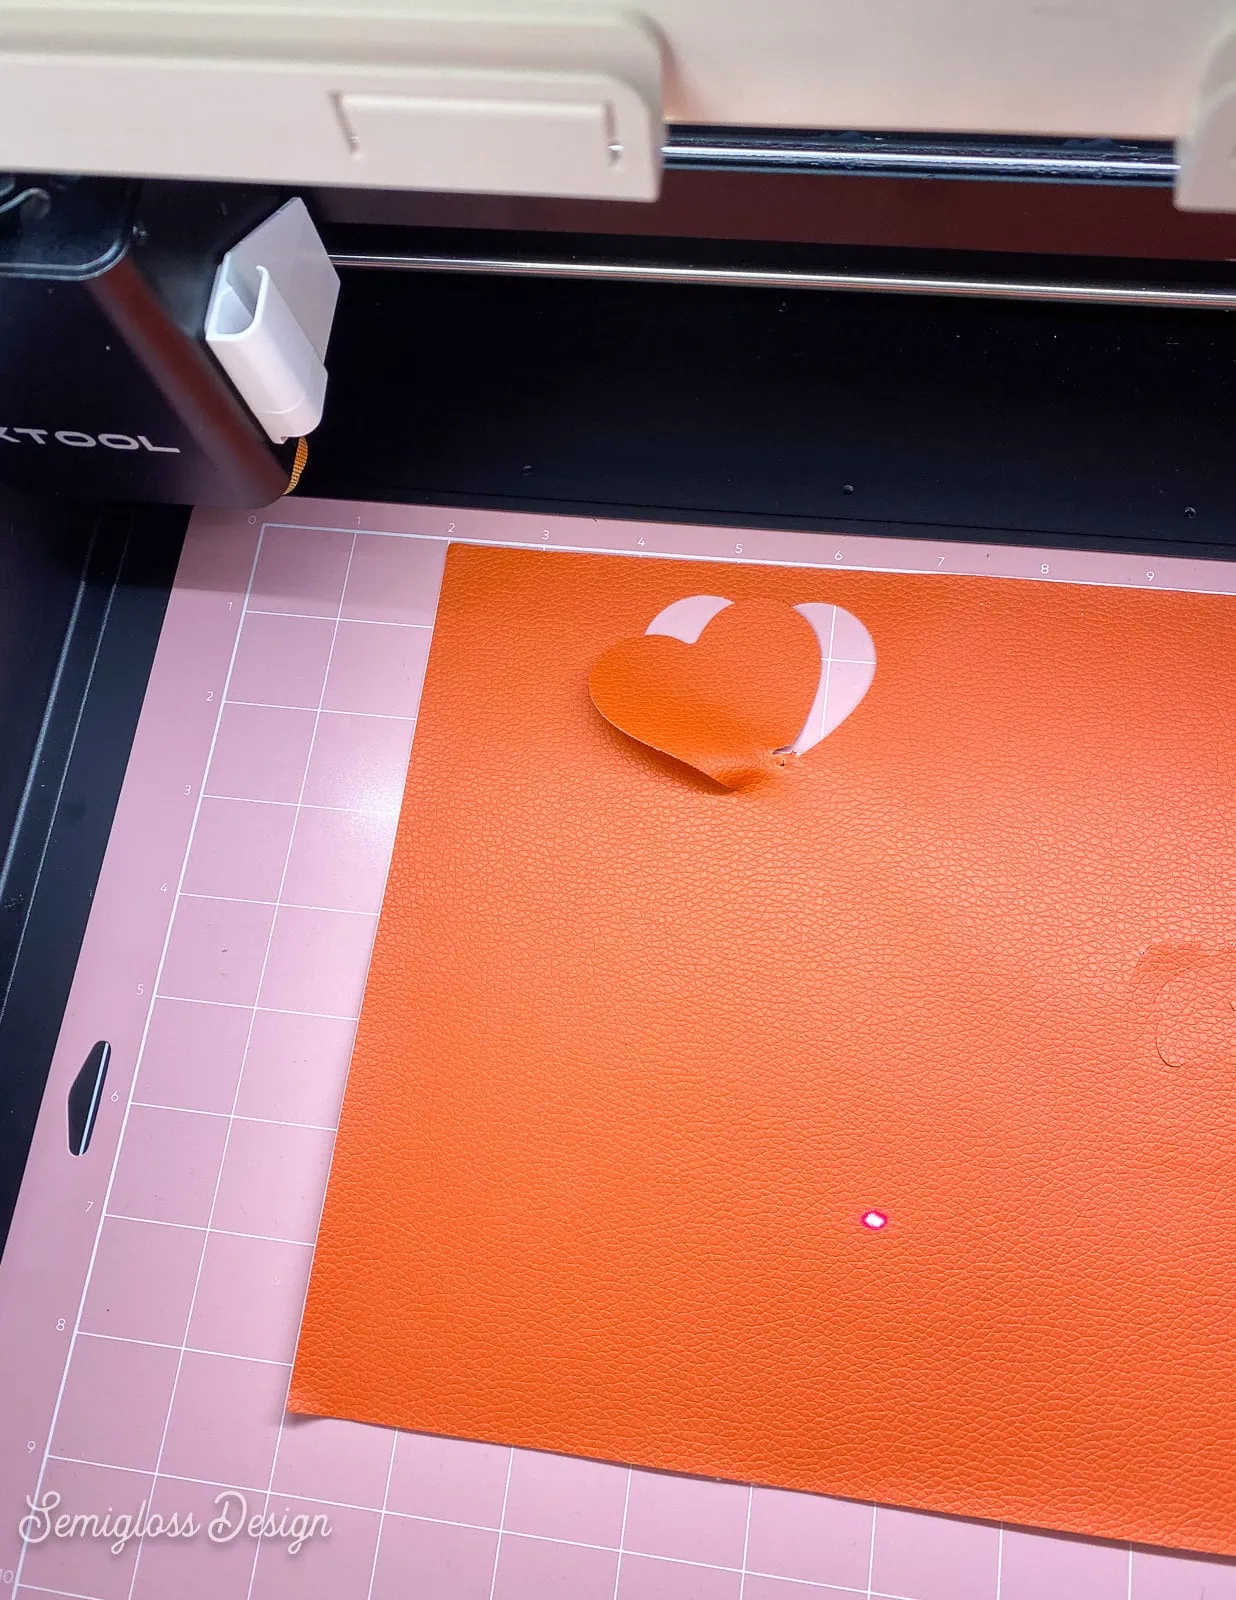
The blade tool can be used to cut vinyl, iron-on vinyl (HTV), and fabrics like felt and thin leather. It works similarly to a Cricut.
Although the xTool came with a sheet of faux leather, I couldn’t get it to cut even a simple design. To be fair though, it took me hours to figure it out on my Cricut. I’m really excited to try cutting felt with the machine though.
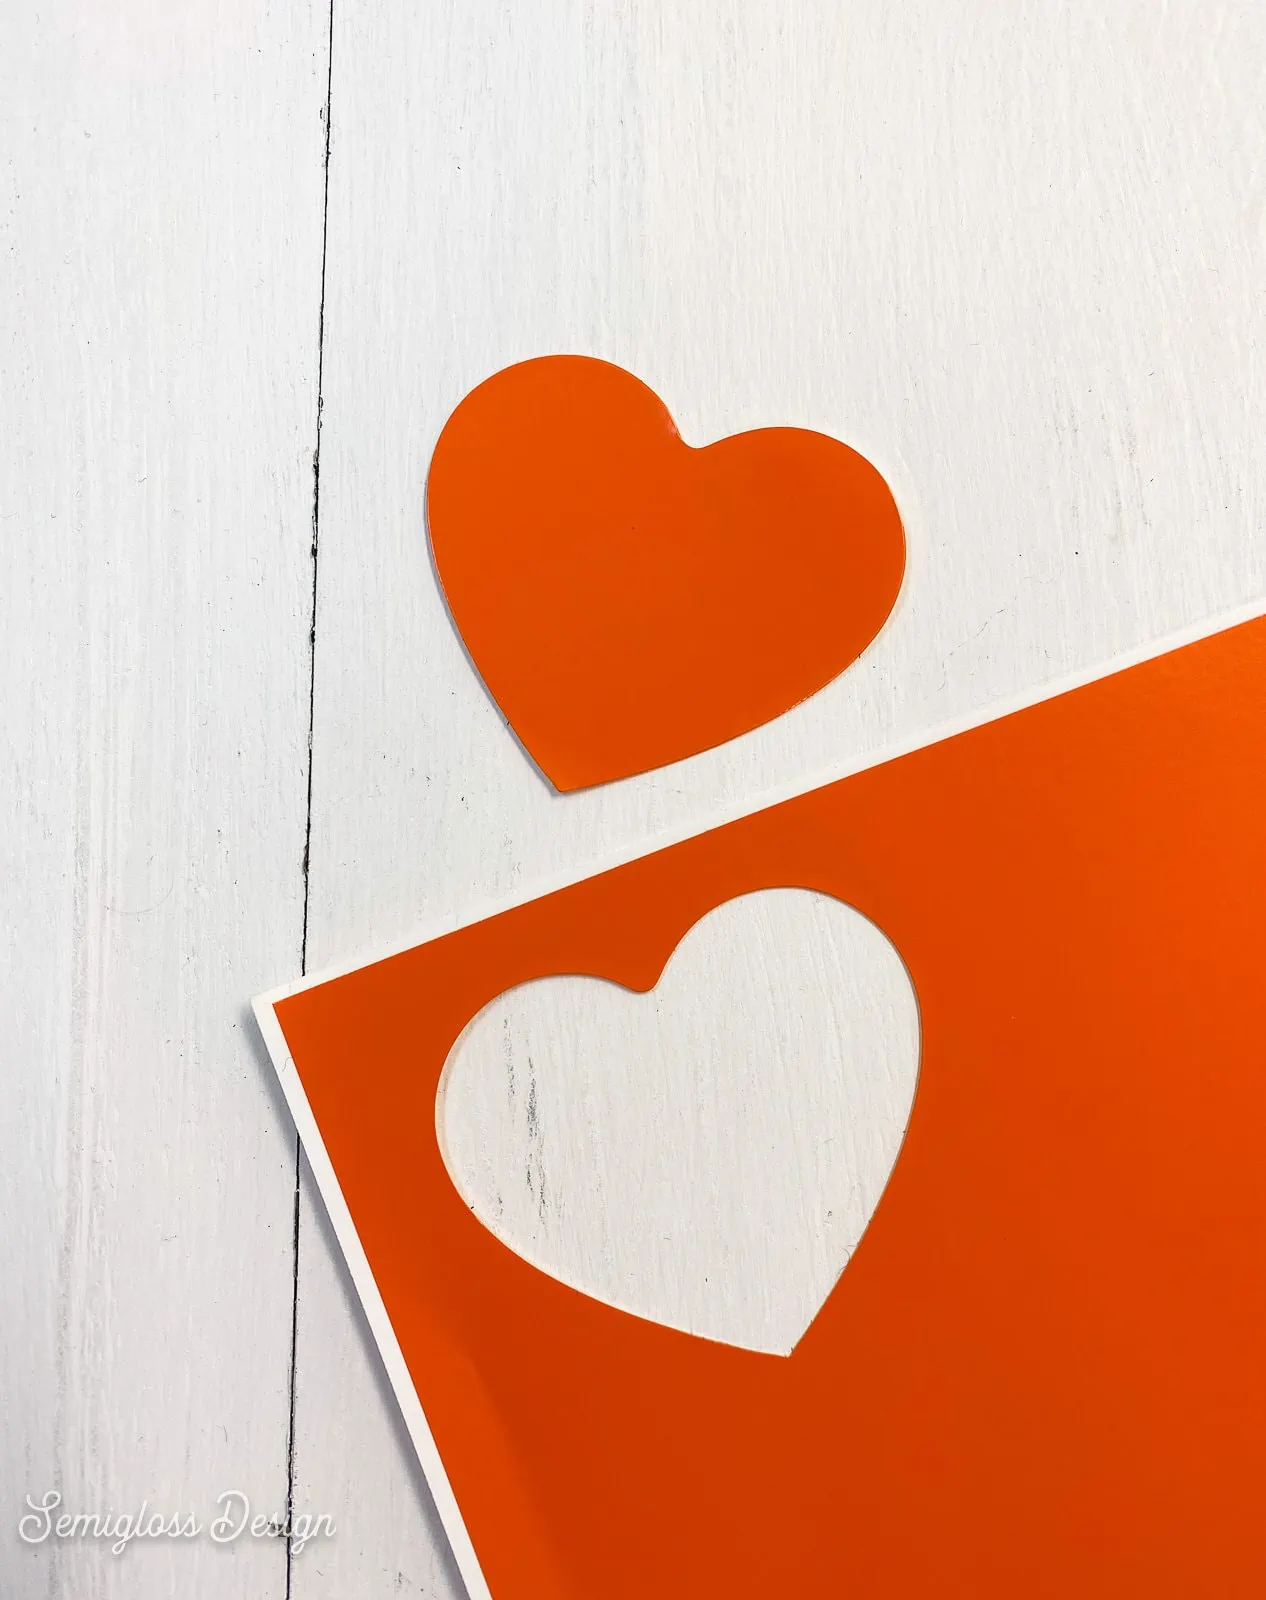
It cuts vinyl great though!
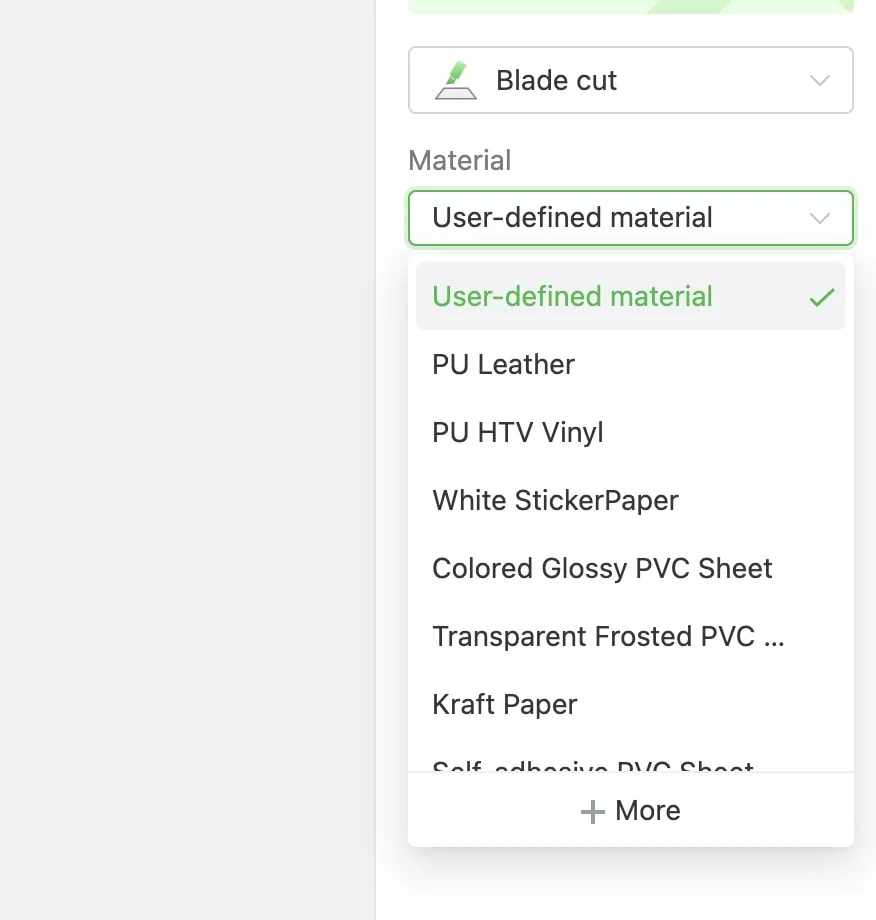
- When using the blade tool, make sure you select “blade tool” in the process mode options. The material options are different in this process mode.
- Some of the xTool materials are named differently than the names we commonly know them by. Vinyl is called “Colored Glossy PVC sheet”. So if you’re not seeing the option that you want, think a little outside the box.
How to Use the Blade Tool with the xTool M1
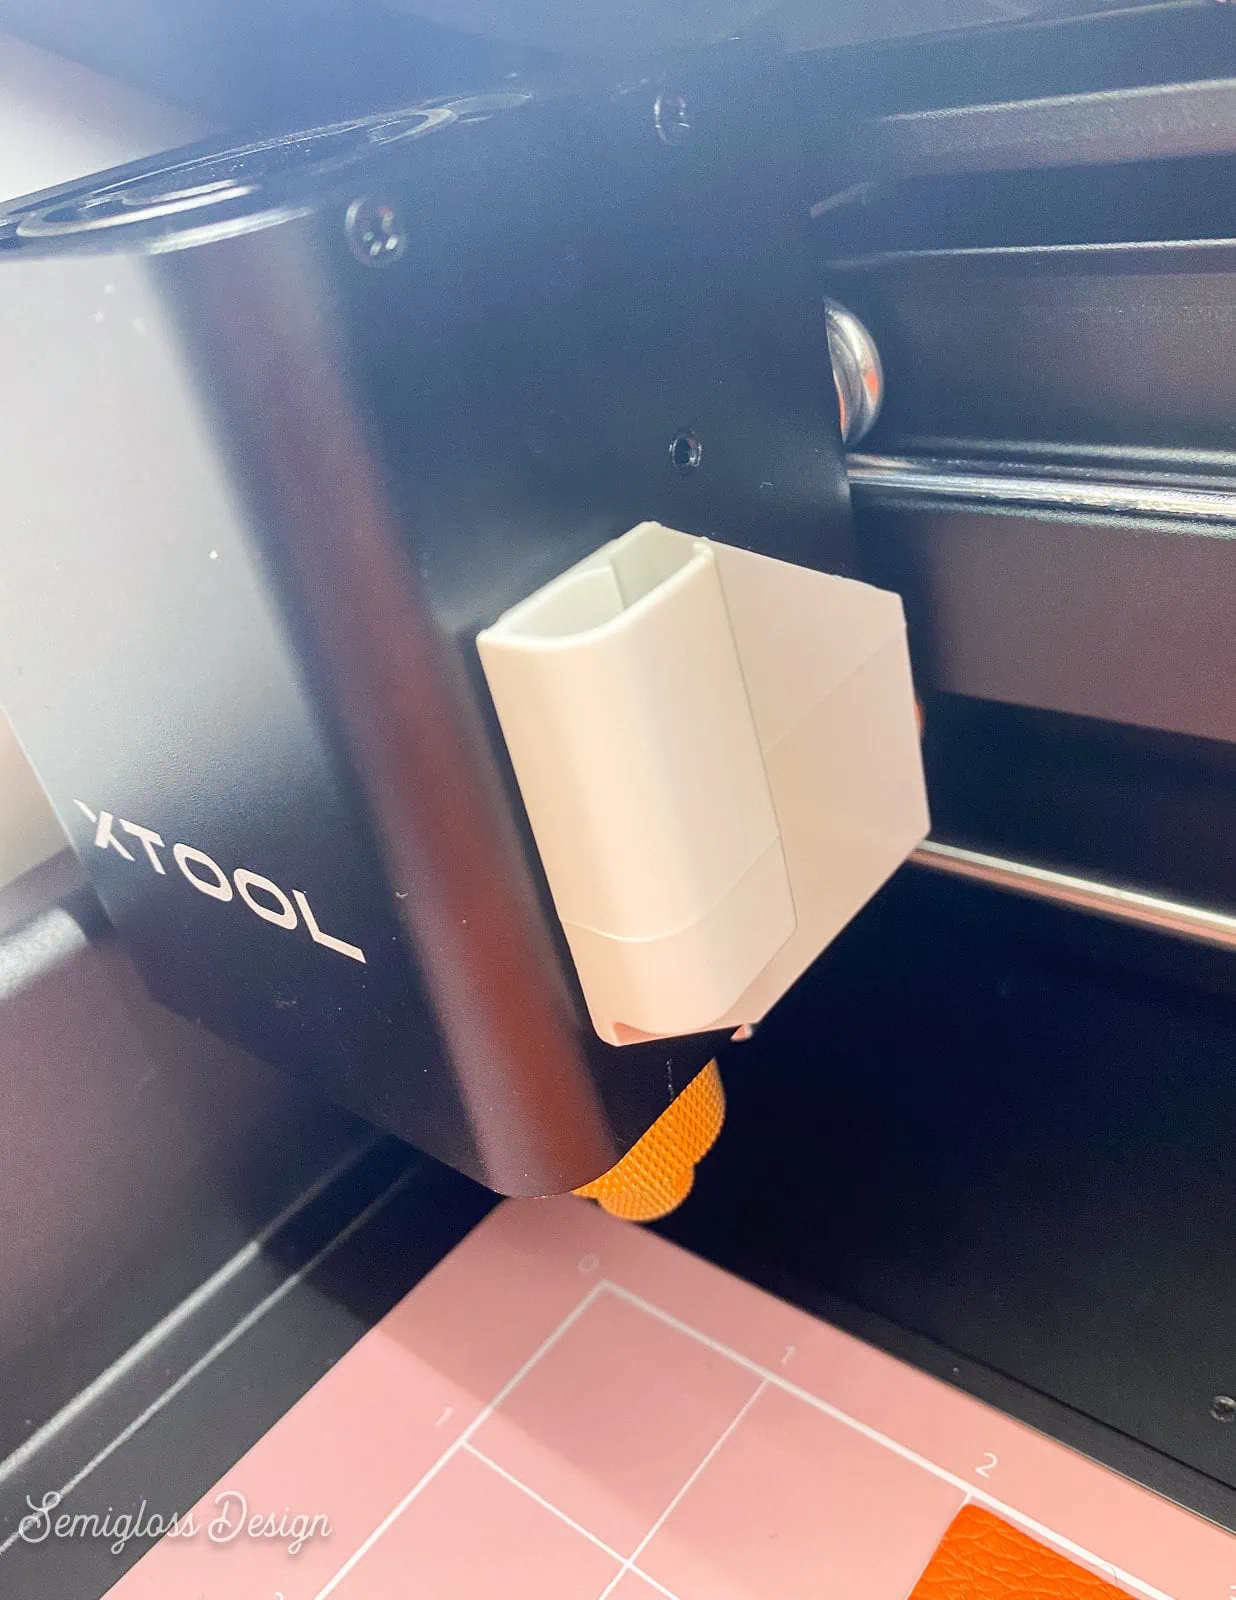
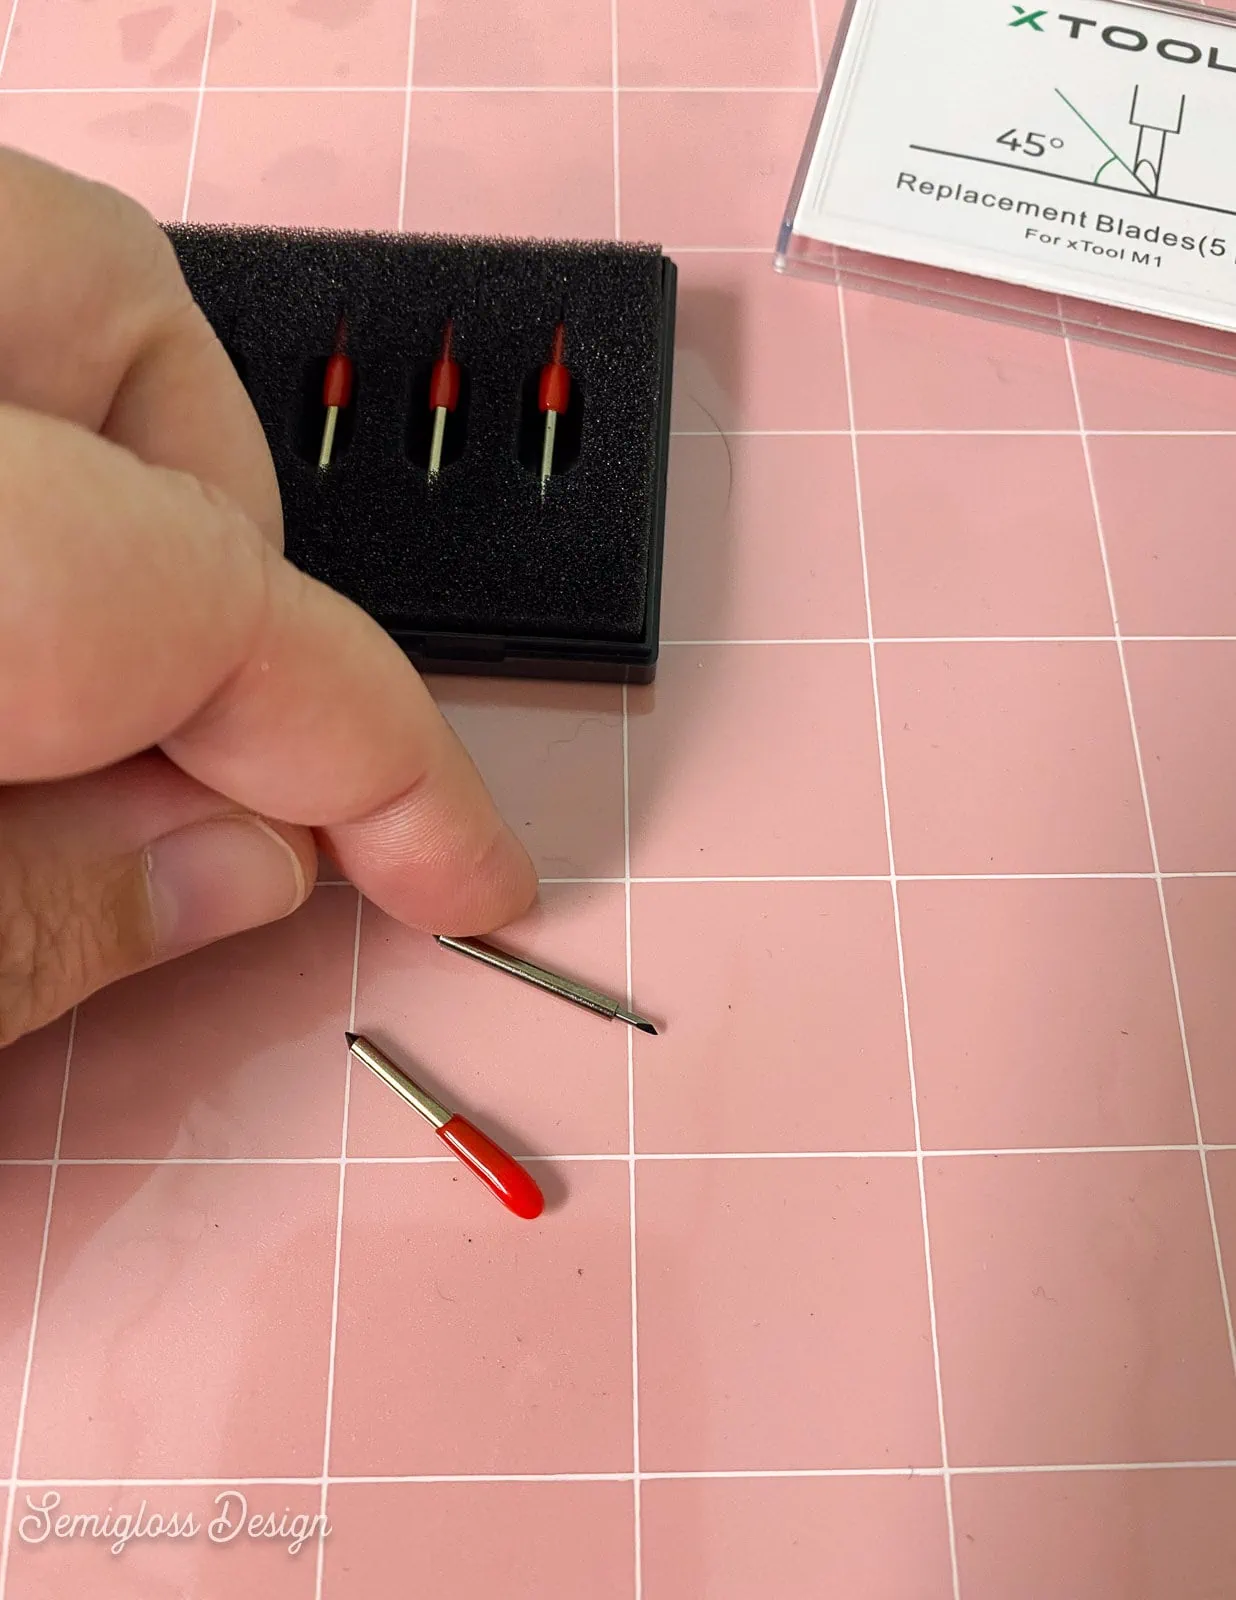
- Remove the blade housing from the machine. It’s under the white box in the machine and it’s held in place with a magnet. (This feels scary but nothing can hurt you if you haven’t installed the blade yet.)
- Get a blade from the blade box and remove the red plastic tip.
- Push the top of the blade housing down and insert the blade, pointy side out.
- Replace the blade housing in the white box. It should snap right into place.
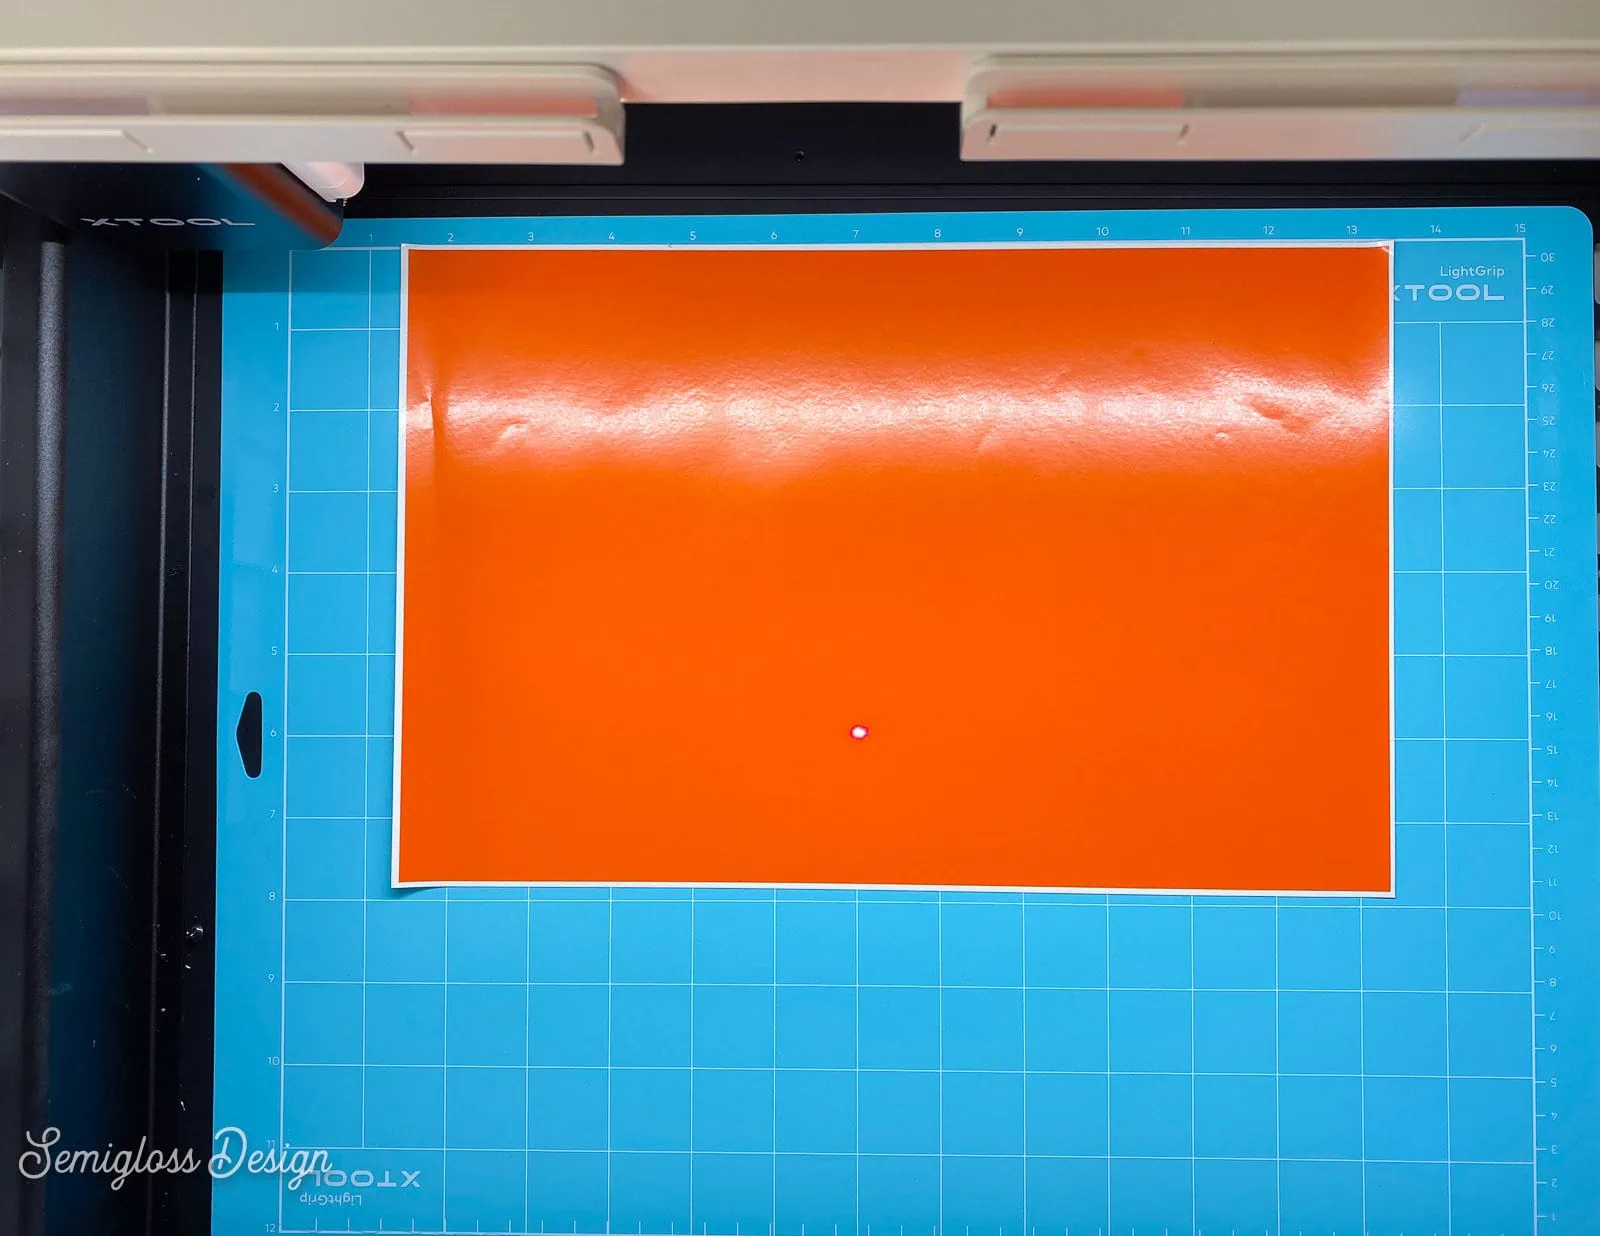
- Remove the protective sheet from the light grip mat.
- Place the vinyl onto the mat at the center on the top edge.
- Remove the protective sheet from the bottom of the mat and stick it to the bottom of the machine.
- Close the lid and hit refresh on your computer to see the vinyl.
- Select “Colored glossy PVC sheet” from the materials list.

- Import or add your design as usual.
- Click Start.
- Preview the image as usual.
- Click start when you’re ready.
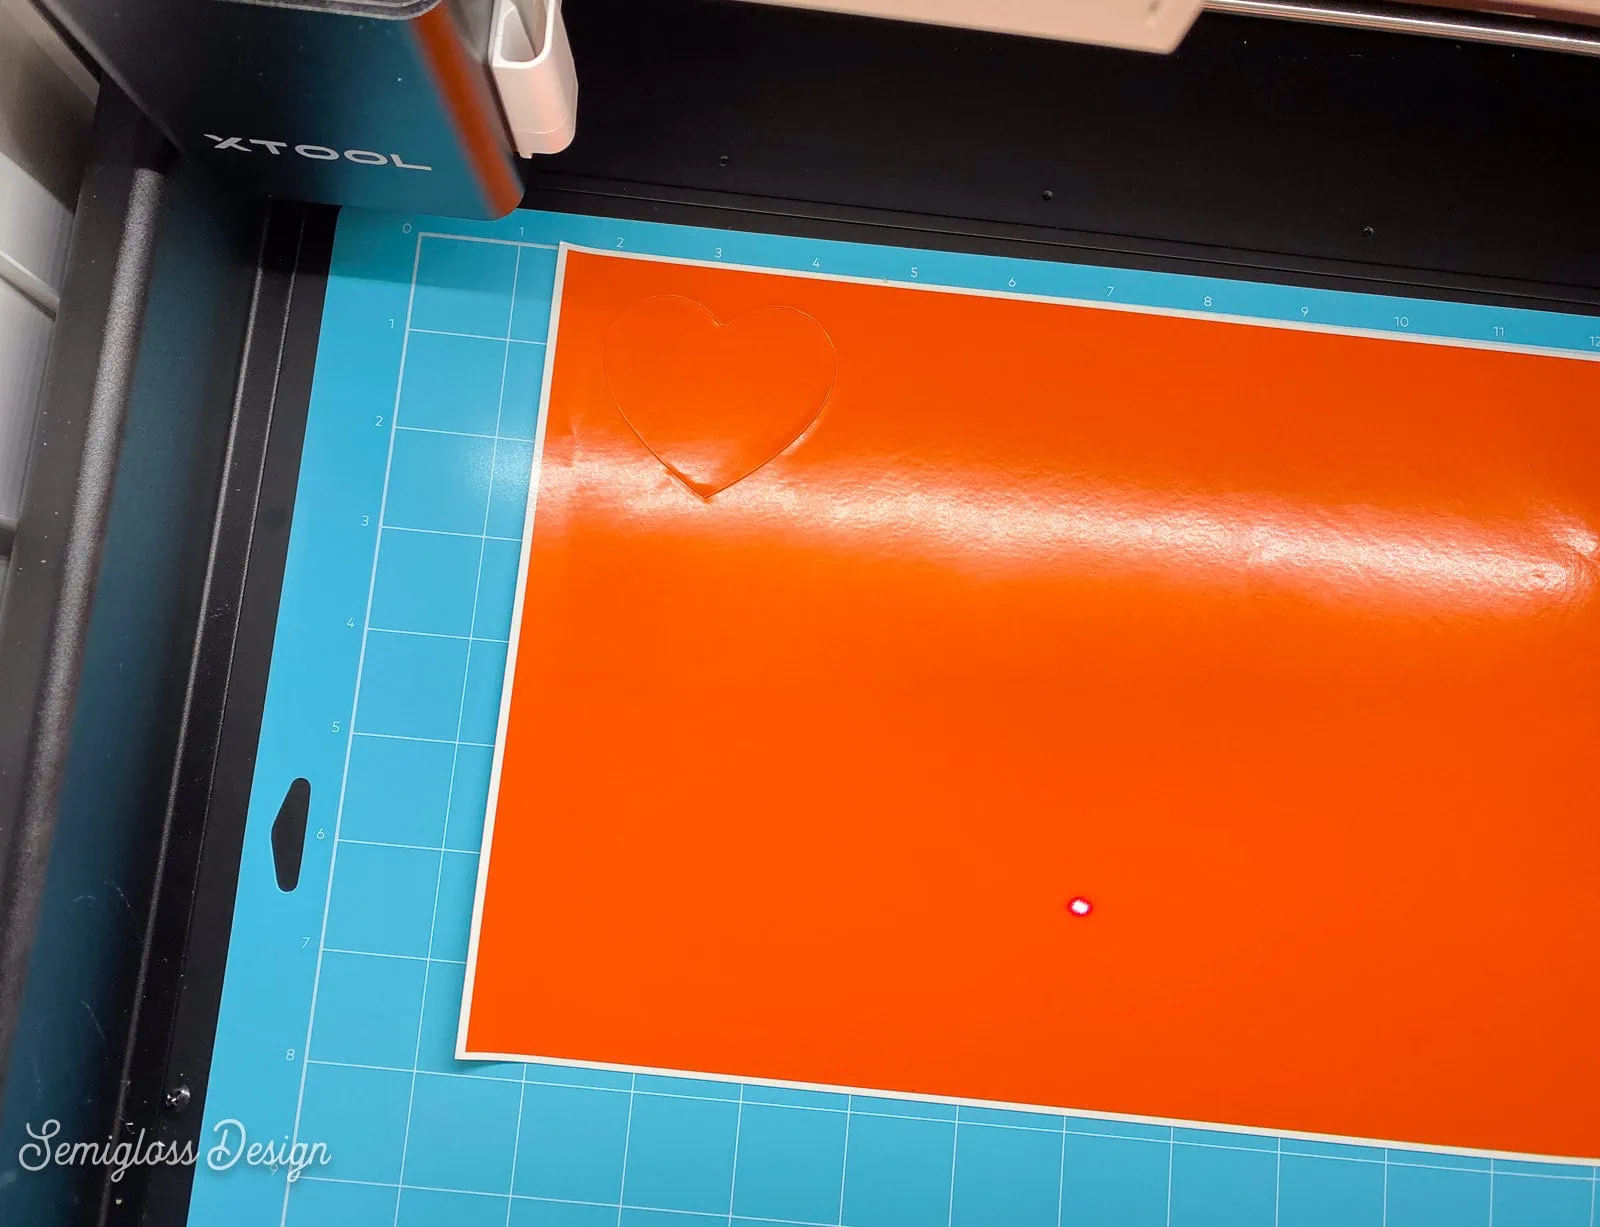
- Hit the button on the front of the machine to blade-cut the material.
- It beeps and says done when it’s finished cutting.

Don’t Have an xTool M1 Laser Cutter?
Check out my review of the xTool M1 here. Spoiler alert: I love it.
Tips for Using Non-xTool Branded Materials
Although xTool has a lot of options for materials and even fun material sample packs, it’s nice to be able to use the machine with non-xTool branded materials.
After using the xTool, I want to engrave everything that I see!
Here’s some tips to get started because this can be a frustrating process when you’re new to laser cutting.
- When buying materials like acrylic, basswood, and metal blanks, search for laser cutting to make sure that they work well.
- If the material is flat, look for a similar item in the branded materials options in XCS. Thickness and hardness is the only thing that matters here.
- If it’s not listed, select user-defined.
- Add the thickness of the material. It might be on the packaging or you may need to get a ruler and measure. You can switch from metric to imperial (inches) by clicking on the ruler button. Then input the amount.
- When you add your design, you will have different options for scoring, engraving, and cutting. These need to be set.

- By default, the power percentage is set to 1% on user-defined materials. It goes from 1-100% so as you can imagine 1% doesn’t do much. It can be scary setting it higher, but it needs to be higher to work.
- Engraving has a few more options. You can choose how many lines per centimeter. More will create a darker design and less will create a lighter design. There’s also the option to change the engraving mode from bi-directional to uni-directional.

- If there is a similar material in the material list, take a look at it to get an idea of power, speed, and number of passes. For instance, here’s the settings for 3mm acrylic.

- The power percentage amount depends on the material softness. For instance, wood burns at 100%, but it works great on stone.
- There are also options for speed setting and the number of passes that can be played with. If you’re having trouble cutting something, try slower speeds and more passes.
- I would test, test, and test some more to find your preferred percentages for your favorite materials. Then I would make a note of them so that you don’t forget them.
Here’s a guide from xTool about the perfect settings for materials. I would still test everything.
Tips for Making Your Own Designs
The best part about crafting is creating your own designs. At least I think so. Here are some tips to get started designing.
- Some file types only work with some processing modes. Check out the area above about tile types for more information.
- SVG and DXF files are the most versatile designs.
- When making a design, try to remove as much of the background as possible.
- Make sure that you have a clean file. Zoom way in to make sure that there are no stray marks or weird lines.
- I typically design things in Procreate and then vectorize them in Adobe Illustrator. Procreate is an app for the iPad.
- Think about which shapes you want to cut, score, or engrave when designing your image.
- You may need to duplicate the design a few times to get solid shapes or outlines for the image.
- A thicker line weight works better for details. Thin lines may not show up at all.
- Tiny details may not show up at all, especially if your design is small.
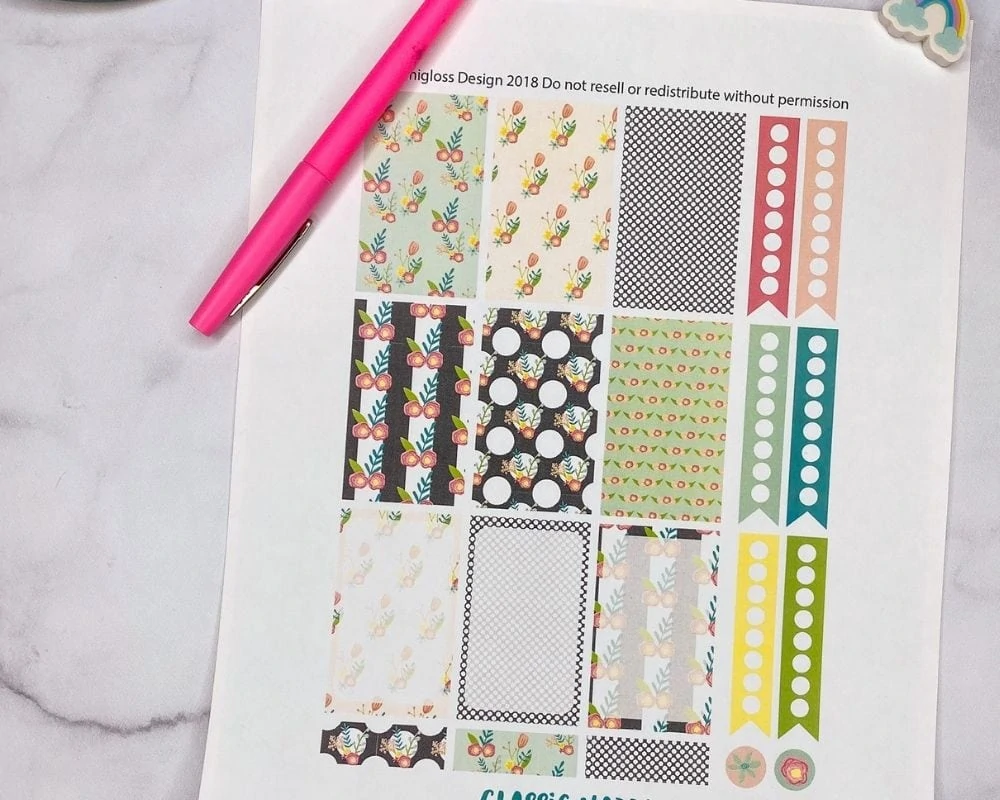
If you have no design experience but you still want to make fun designs, you have lots of options. You can use a program like Canva and use their pre-made designs to make SVGs. This does require a paid subscription to save files as SVGs though.
There are converters but I don’t always trust these sites so I won’t even link to them. They just seem sketchy, right?
You can also create simple designs in the XCS software. It has a library of premade shapes and images to use, as well as a project gallery that can be used.
Etsy is another resource that I want to recommend. There are so many shops selling laser cutting files.
Whew! That was a long one. I hope that you feel more comfortable crafting with your xTool M1 now. It’s not as scary as it seems, I promise.
Easy xTool Projects for Beginners
- DIY Napkin Holder with Retro Flower Design
- Scalloped Light Switch Cover
- Laser Cut Wood Pendant Necklace
Pin for Later!

Emy is a vintage obsessed mama of 2 DIYer who loves sharing affordable solutions for common home problems. You don’t need a giant budget to create a lovely home. Read more…