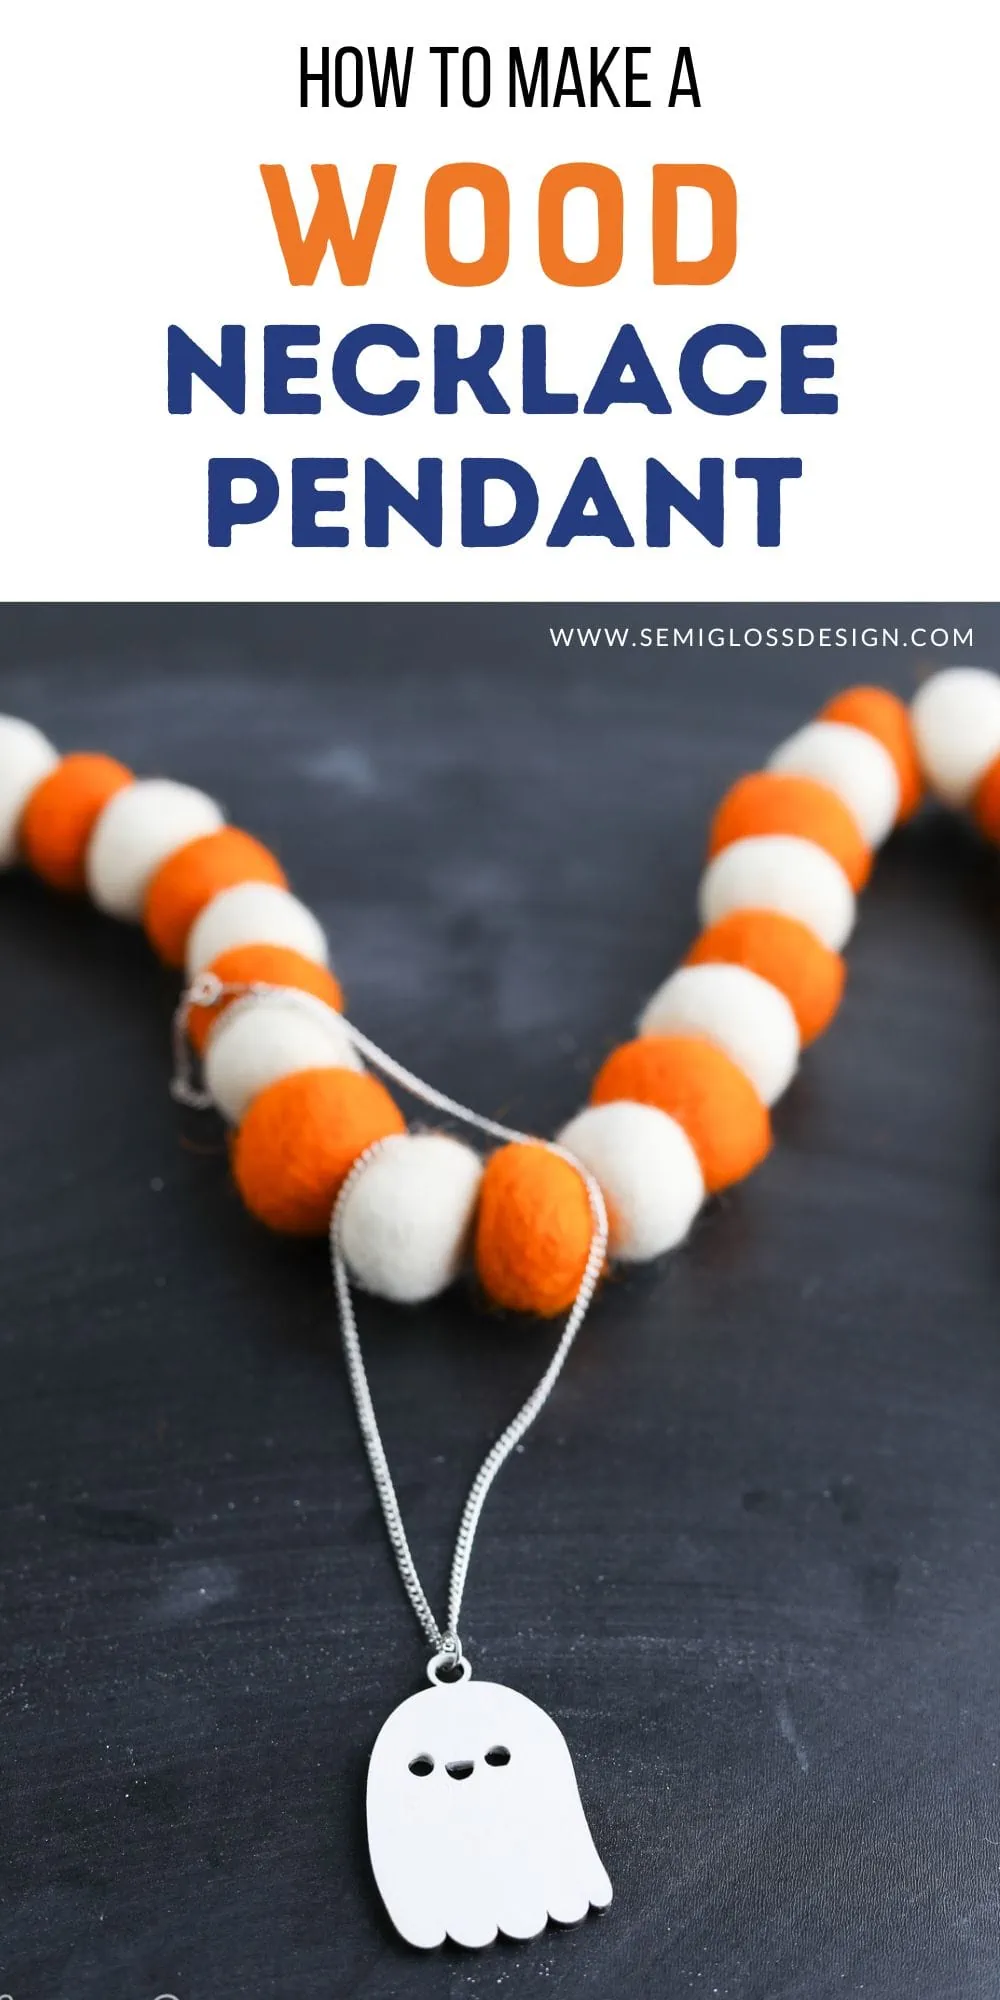
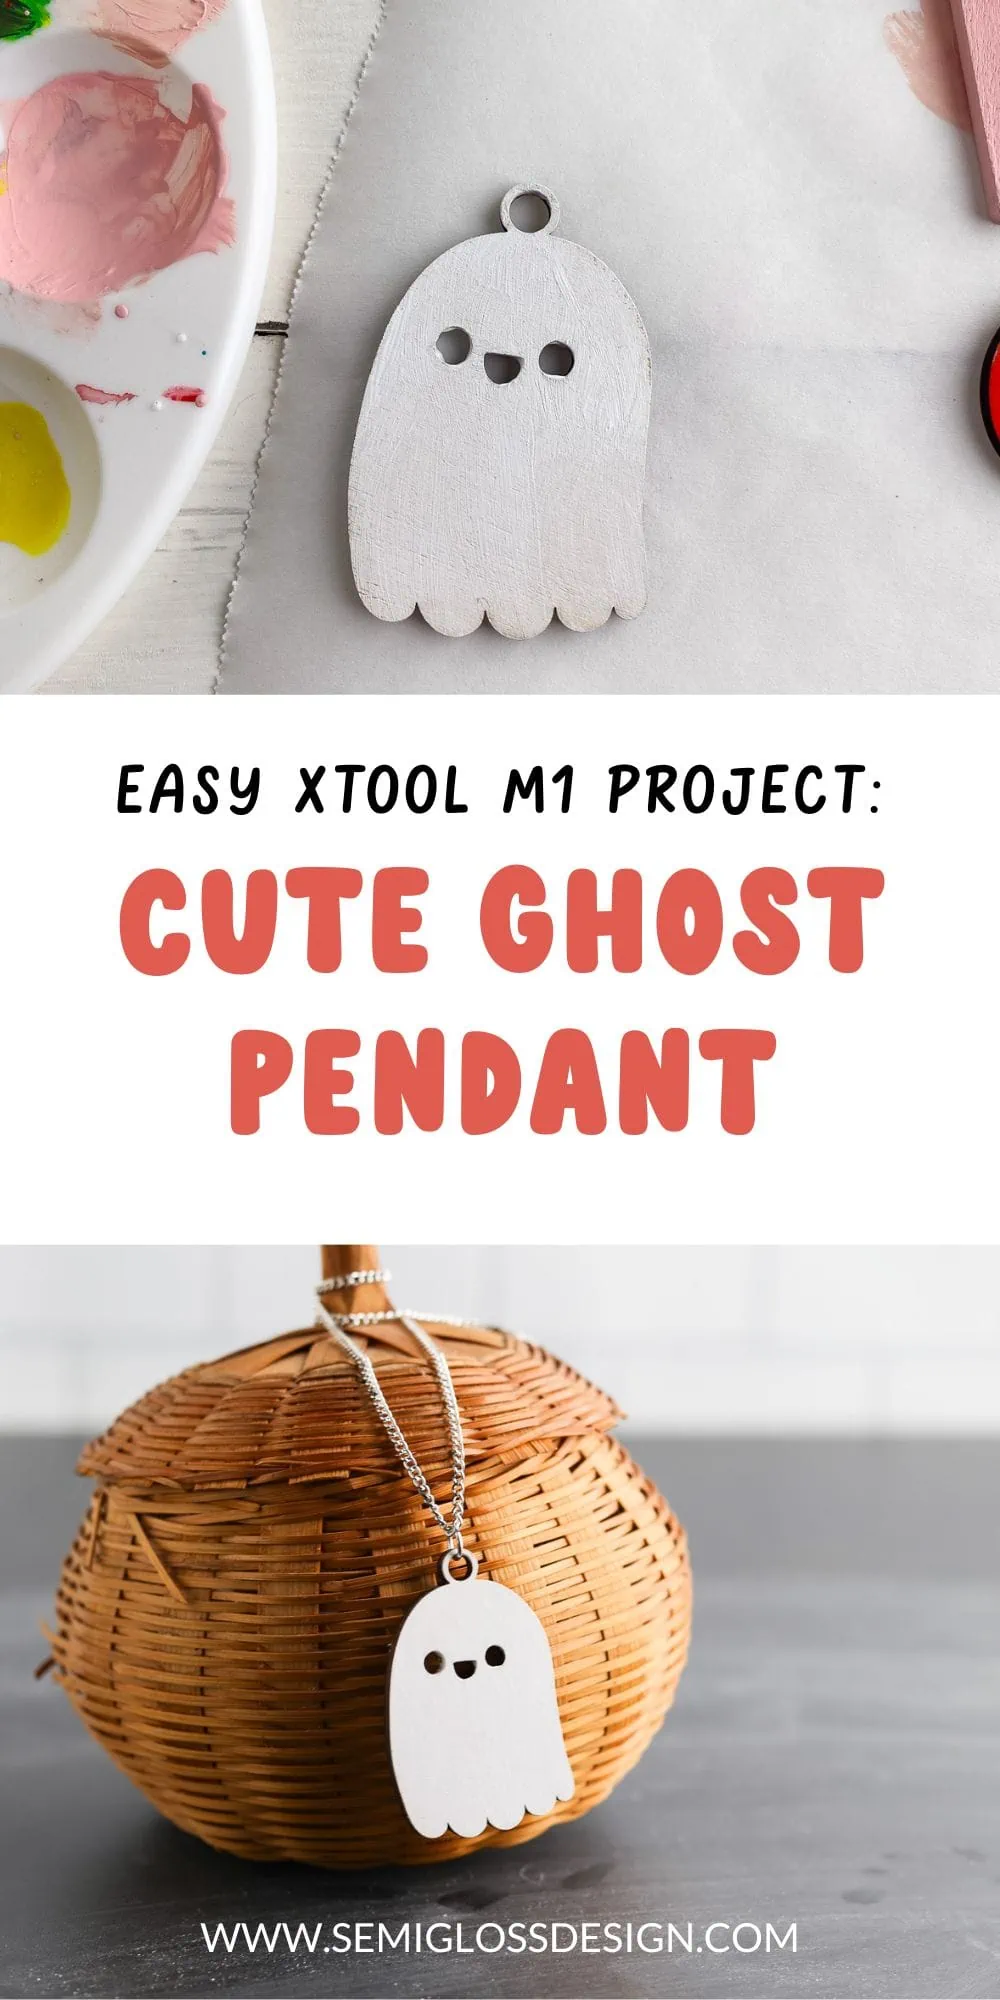
DIY Wood Pendant Necklace with the xTool
One of the most exciting things to use the xTool for is making jewelry. Learn how to make a DIY wood pendant necklace. Get easy tips to turn any shape into a pendant with this step-by-step tutorial.
If you’re new to xTool, be sure to check out this post about making your first xTool project.
This post contains affiliate links. By purchasing an item through an affiliate link, I earn a small commission at no extra cost to you. As an Amazon Associate I earn from qualifying purchases.
Okay, maybe it’s a bit early to post something Halloween-related, but we all have someone in our life who loves the spooky season a little too much right?
If ghosts aren’t your style, it’s really easy to create a necklace of any shape. The XCS software has a ton of cute shapes that can be used or you can create your own.
If you create your own design, avoid sharp corners and angles since you will be wearing this against your skin. The wood is smooth, but point edges may bother you.
DIY Wood Pendant Necklace
Supplies Needed:
- xTool M1
- Basswood
- Paint (if desired)
- Necklace
- Jump Ring
- Jewelry Pliers
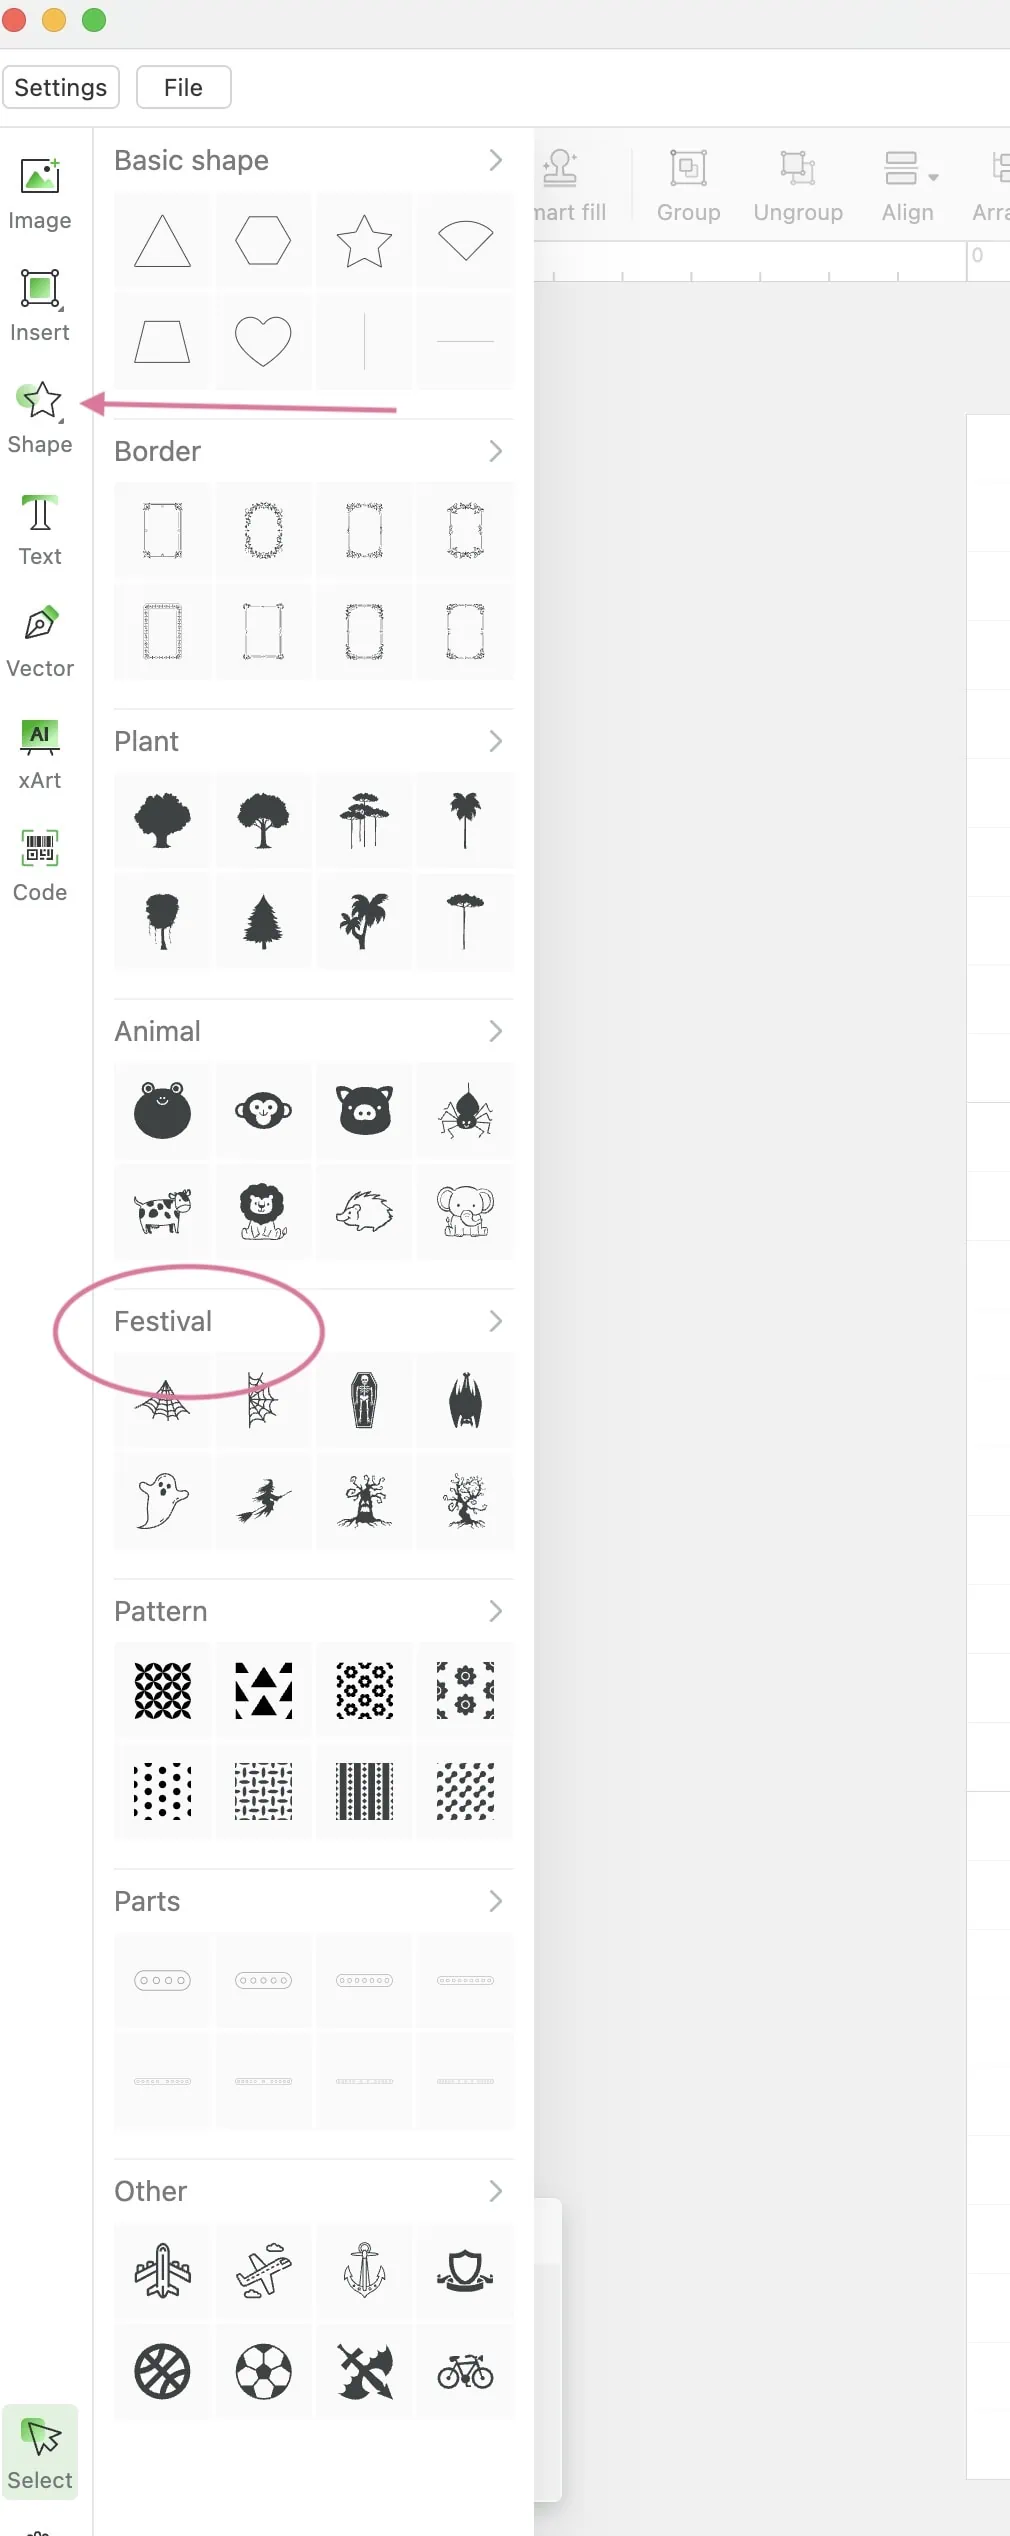
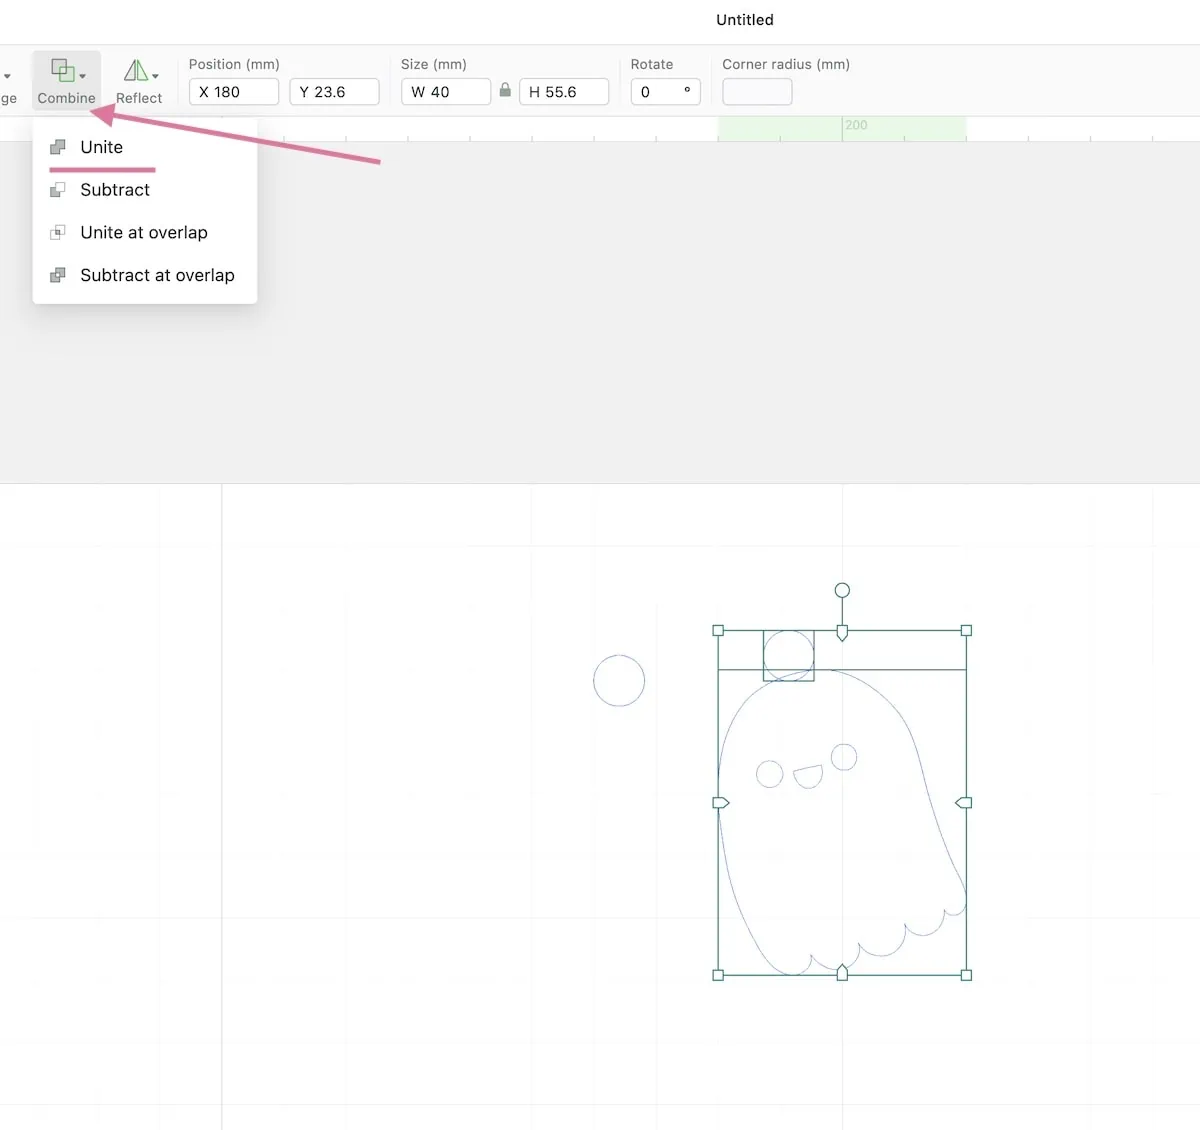
How to Weld Shapes in xTool Creative Station (XCS)
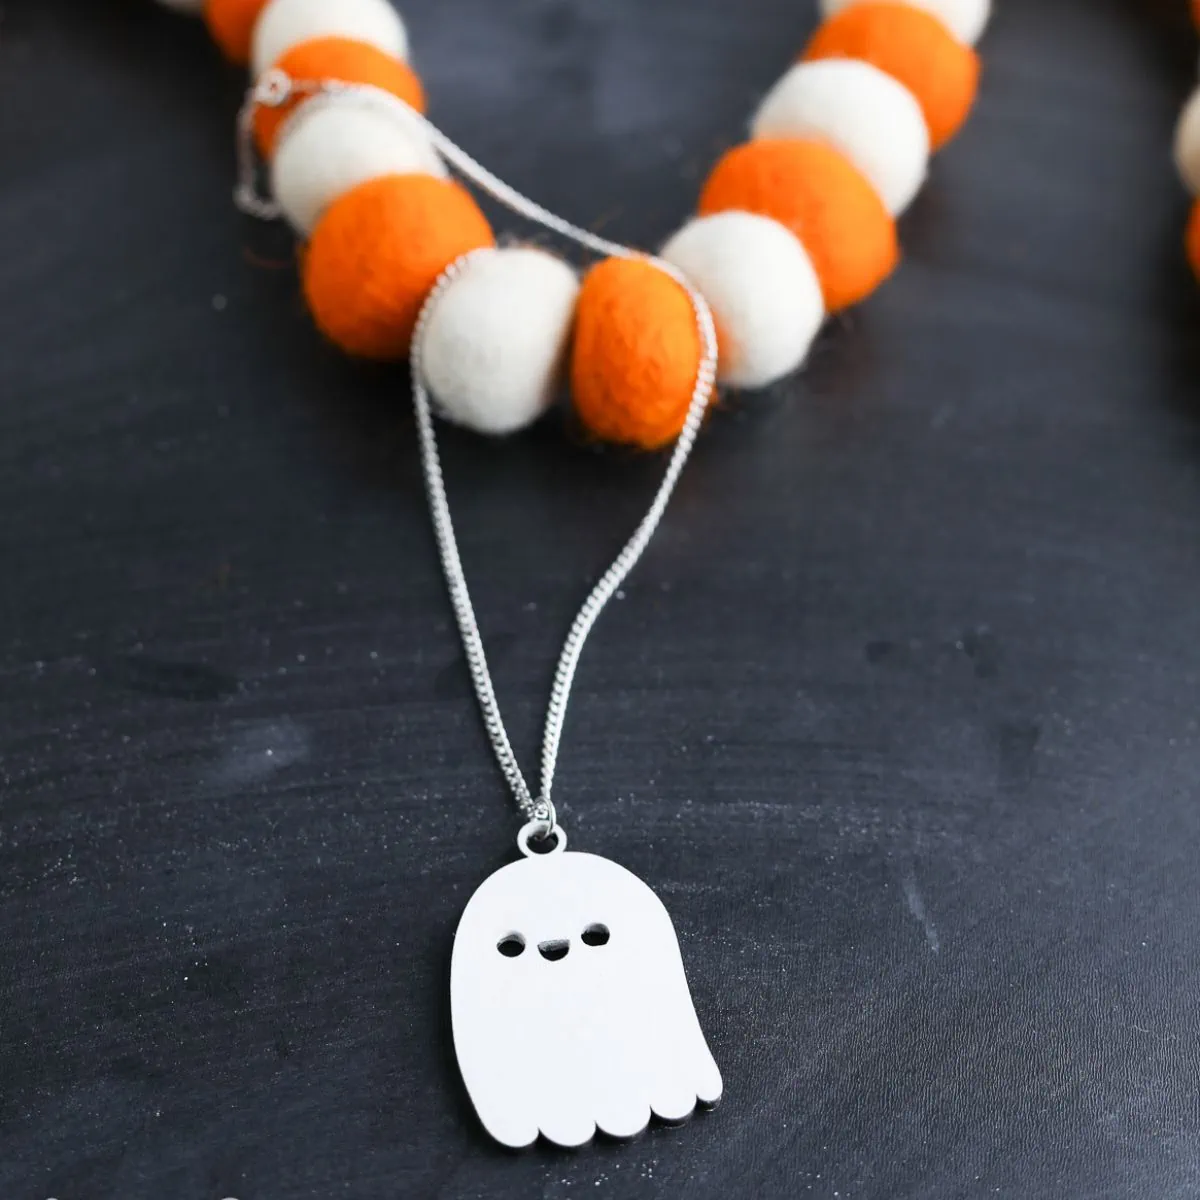
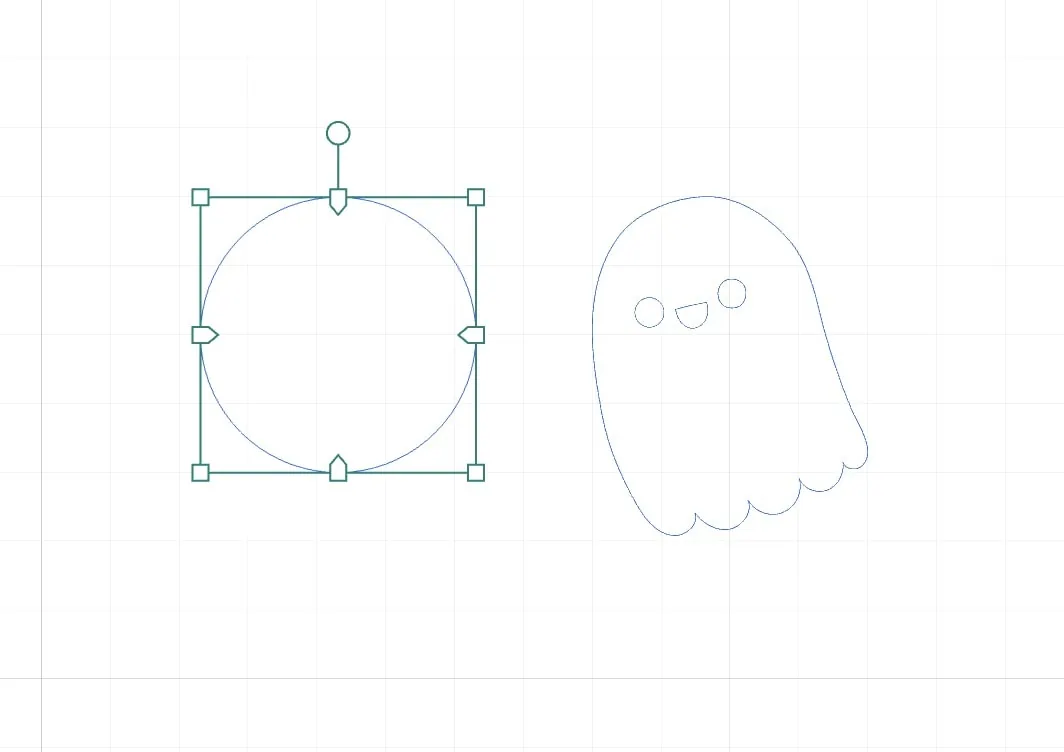
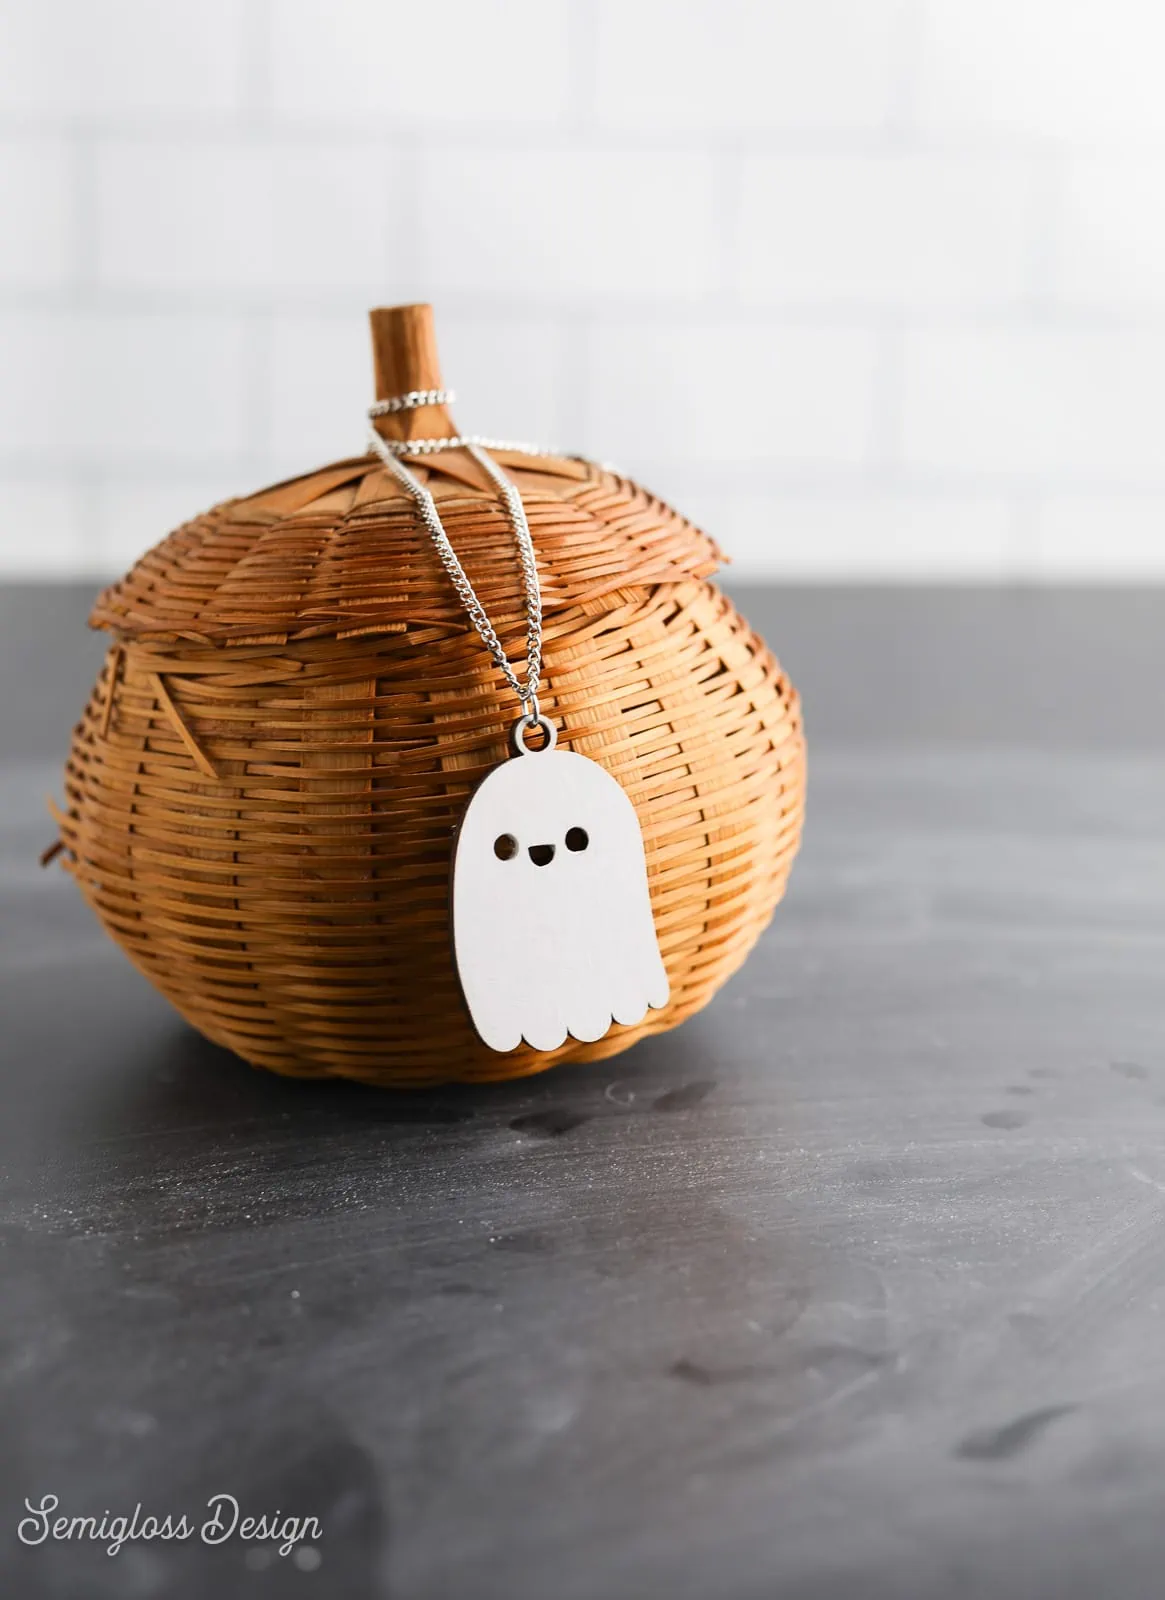
This ghost shape is available in the XCS software under festivals. As soon as I saw him, I fell in love and knew that I needed to make a necklace with him. Yes, he’s a him. Don’t judge.
He doesn’t come with the hole for the necklace, but that’s really easy to add. You can just add a hole in his head, but that seemed a little mean. He’s already dead, but still…
Instead, I like adding a little ring at the top of the shape. Here’s how I do it.
- Add your desired shape. The ghost is under “festival” in the Shape section.

- Create a circle and make it smaller. It’s about 8mm x 8mm.

- Place it at the top of the ghost head (or your design.)

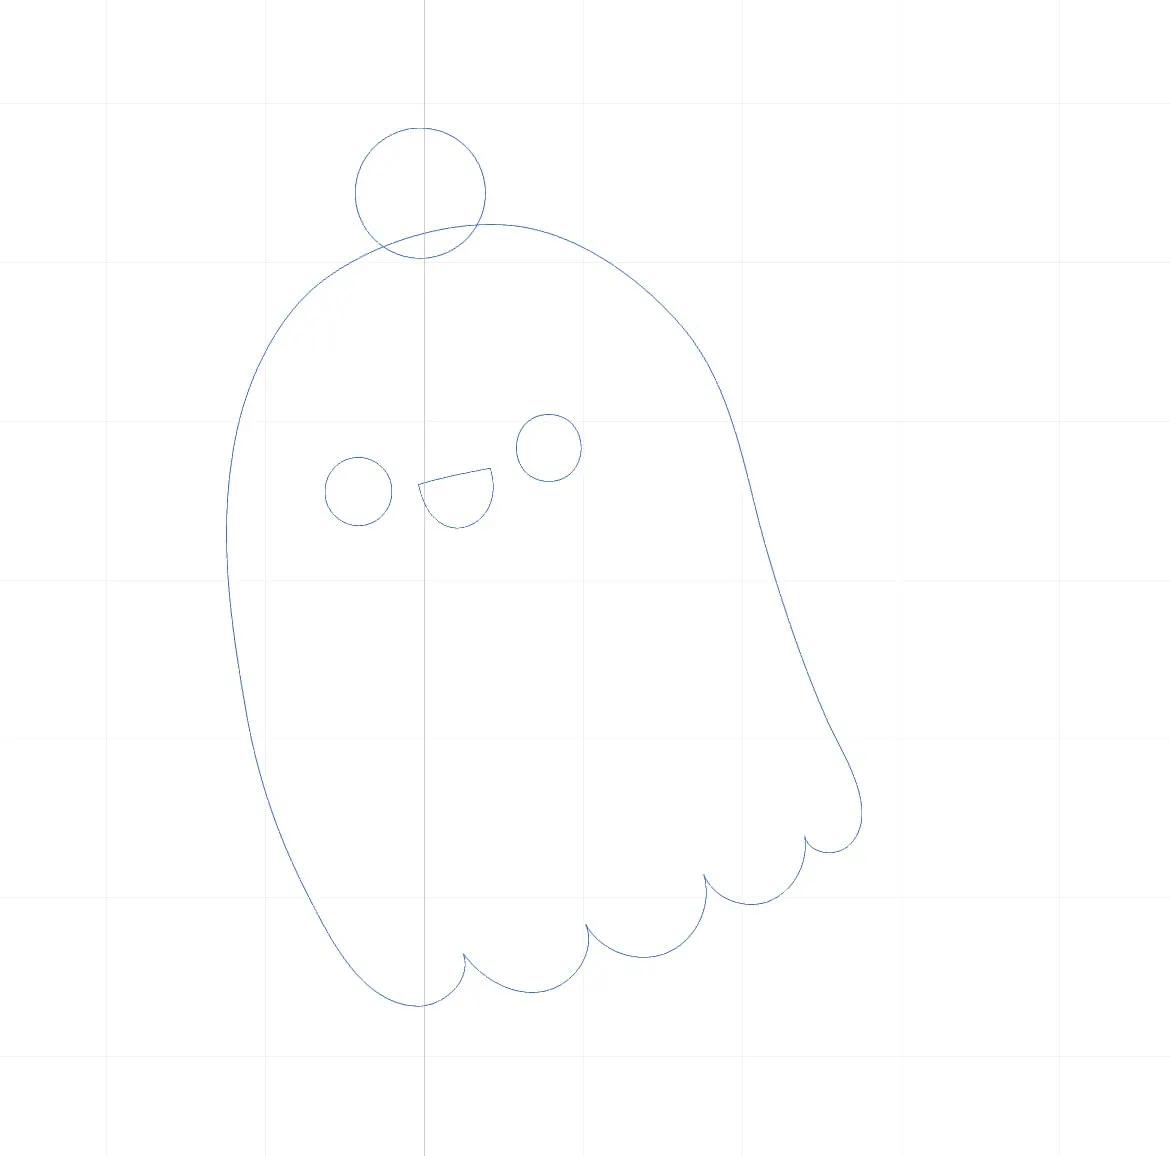
- Copy the circle and paste it.

- Select the circle on the top of the ghost and the ghost shape (or your design.)
- Click “combine” and select “unite”.
 This creates one shape.
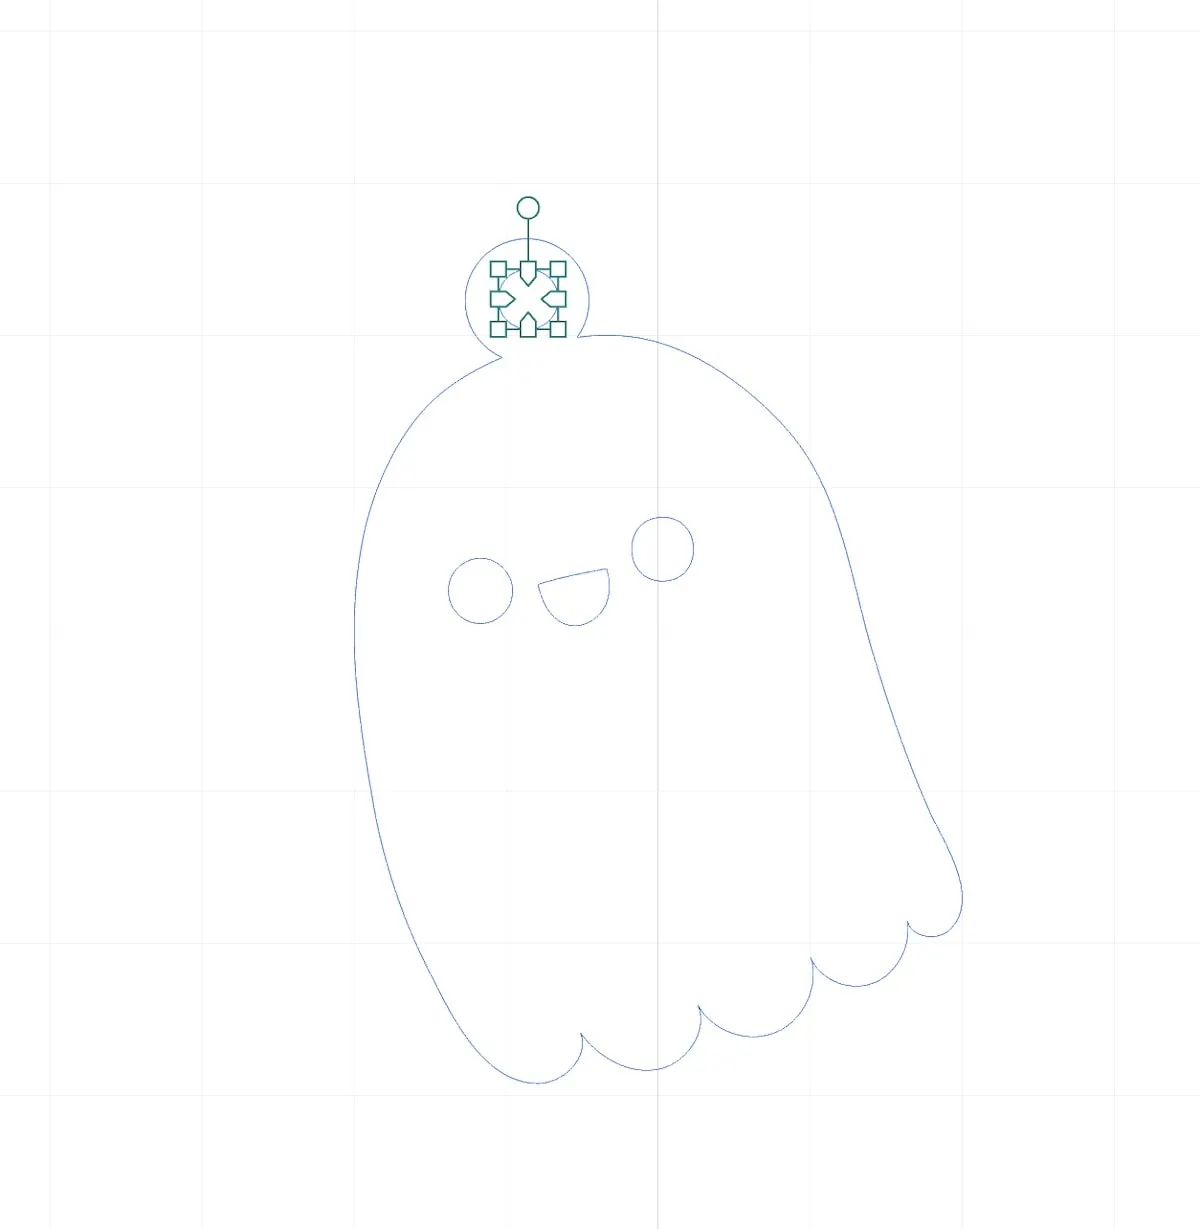
- Select the other circle and make it smaller than the 1st one (about 4mm.)
- Center the small circle in the circle shape. If it snaps to a weird spot, you can move it by using the arrow keys on your keyboard.

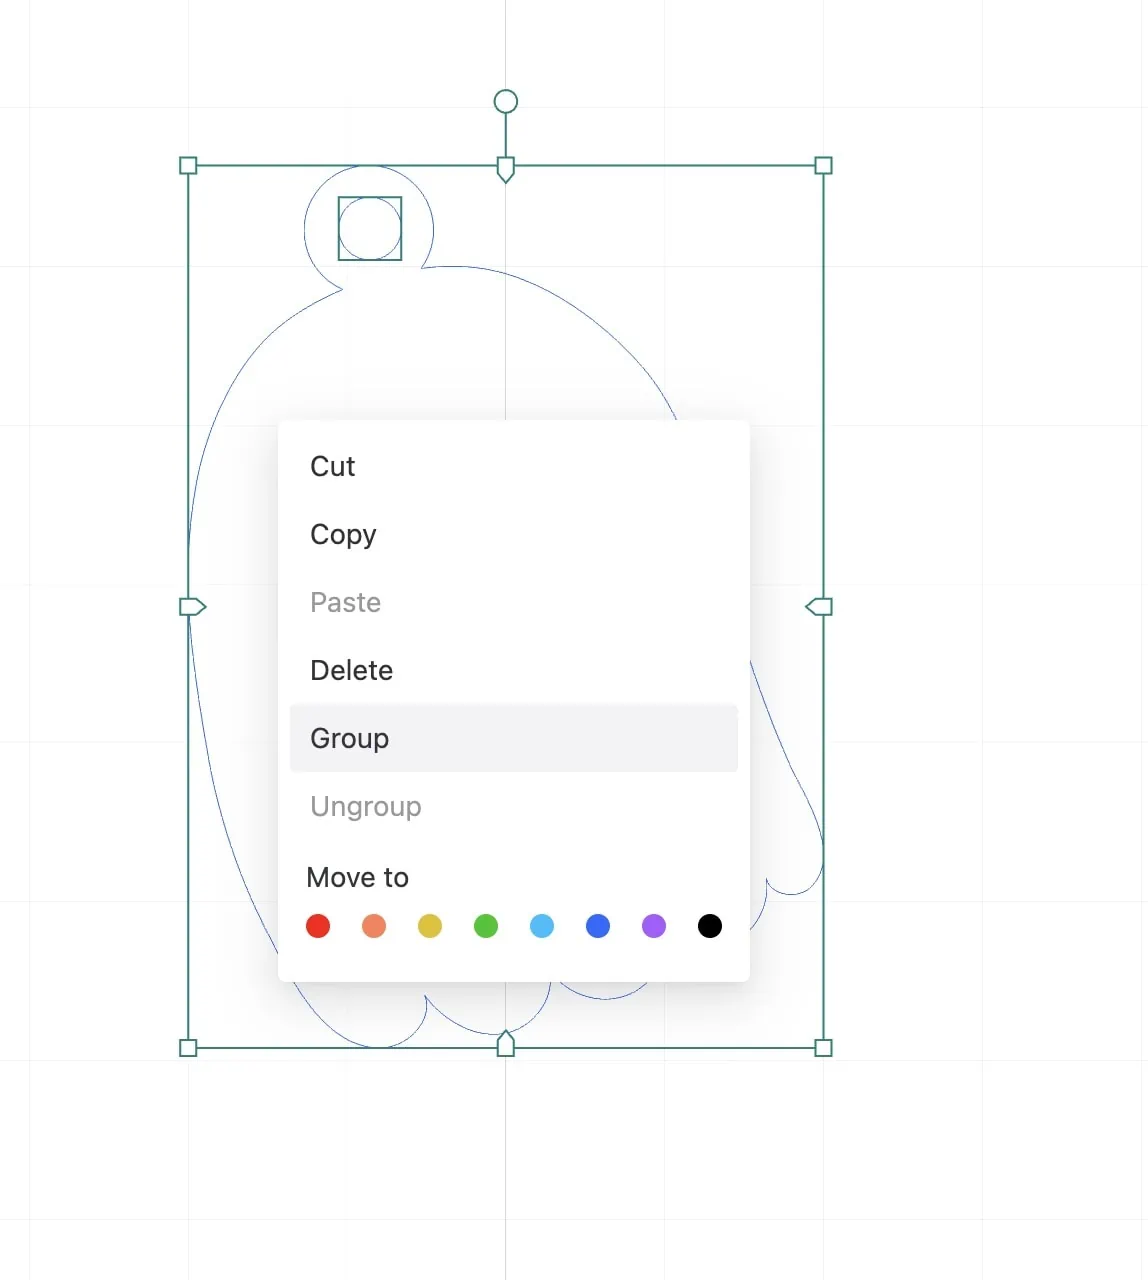
- Select the shape and circle and group them all together (right-click to bring up the menu.)

- You may need to set both shapes to cut.
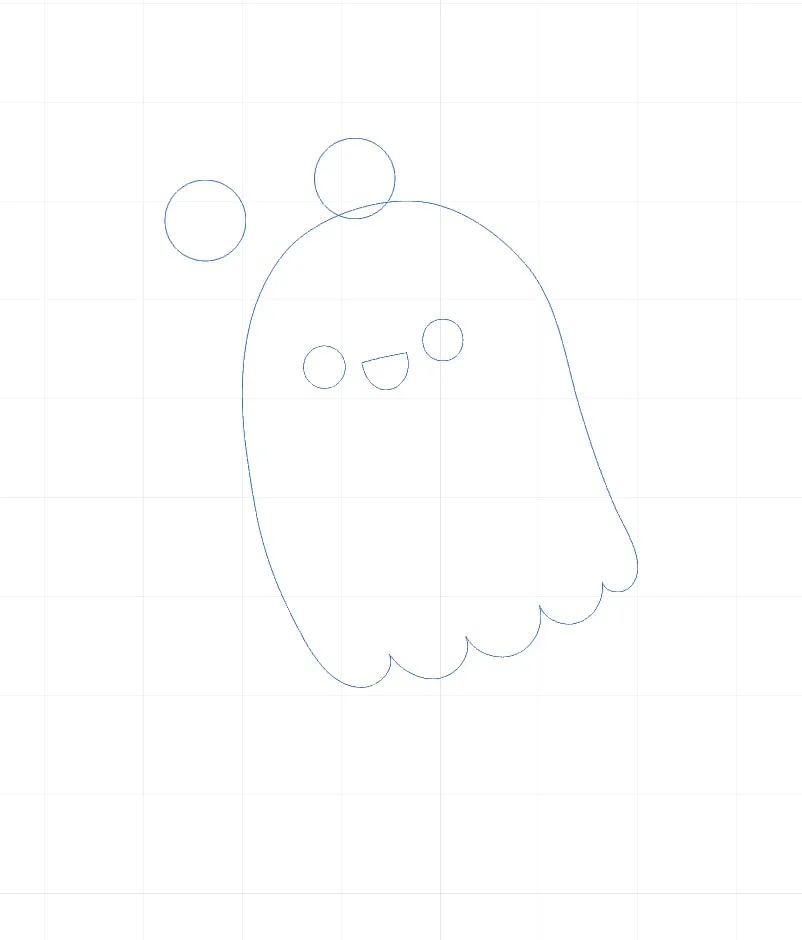
 This creates one shape.
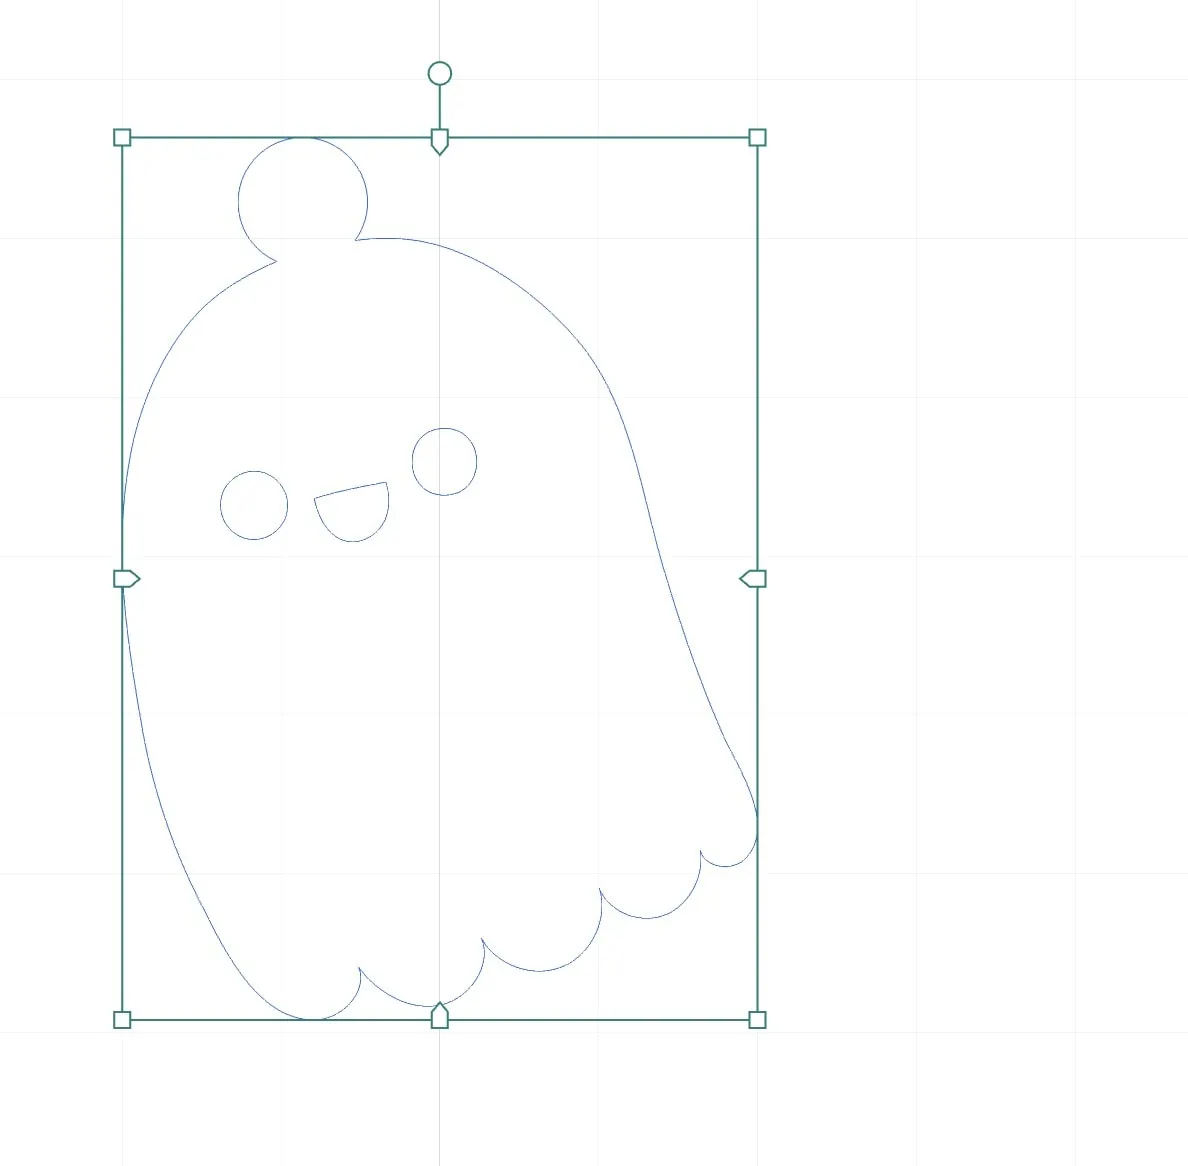
How to Make a Wood Pendant Necklace
- Cut the wood as usual.

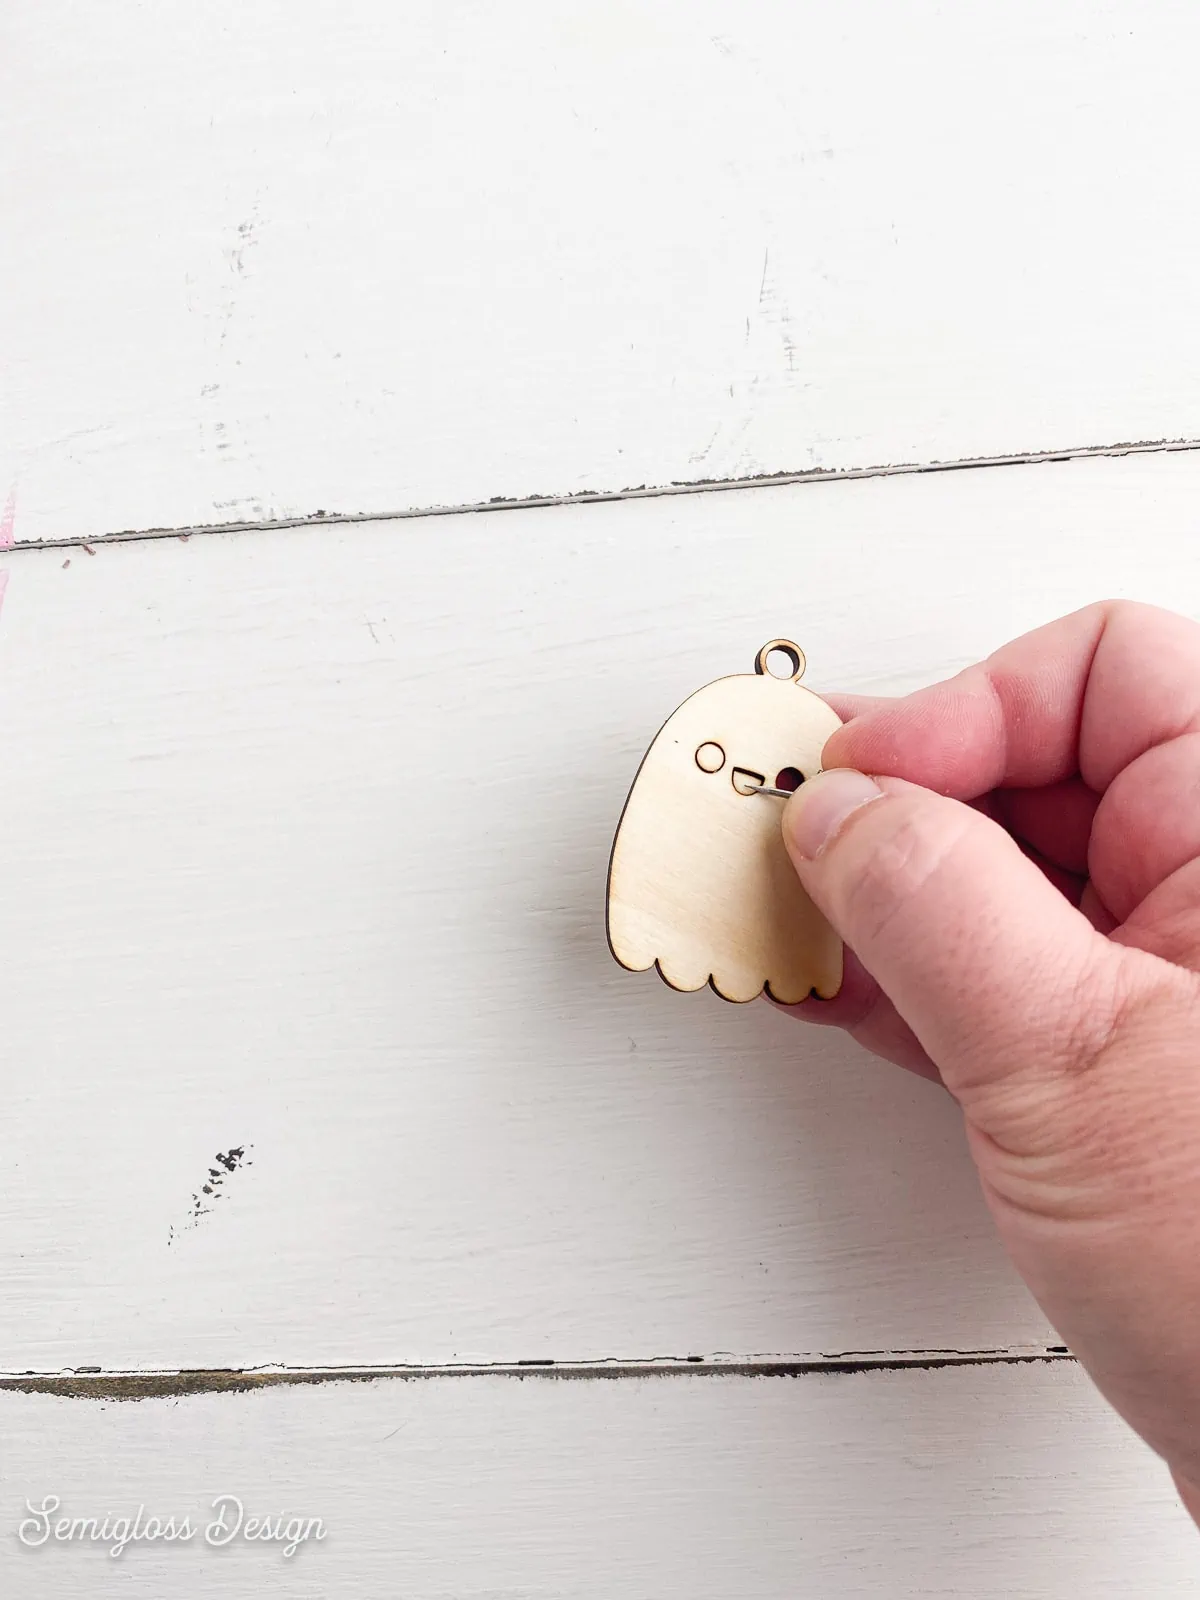
- Small unwanted pieces can be removed by poking them with something small.
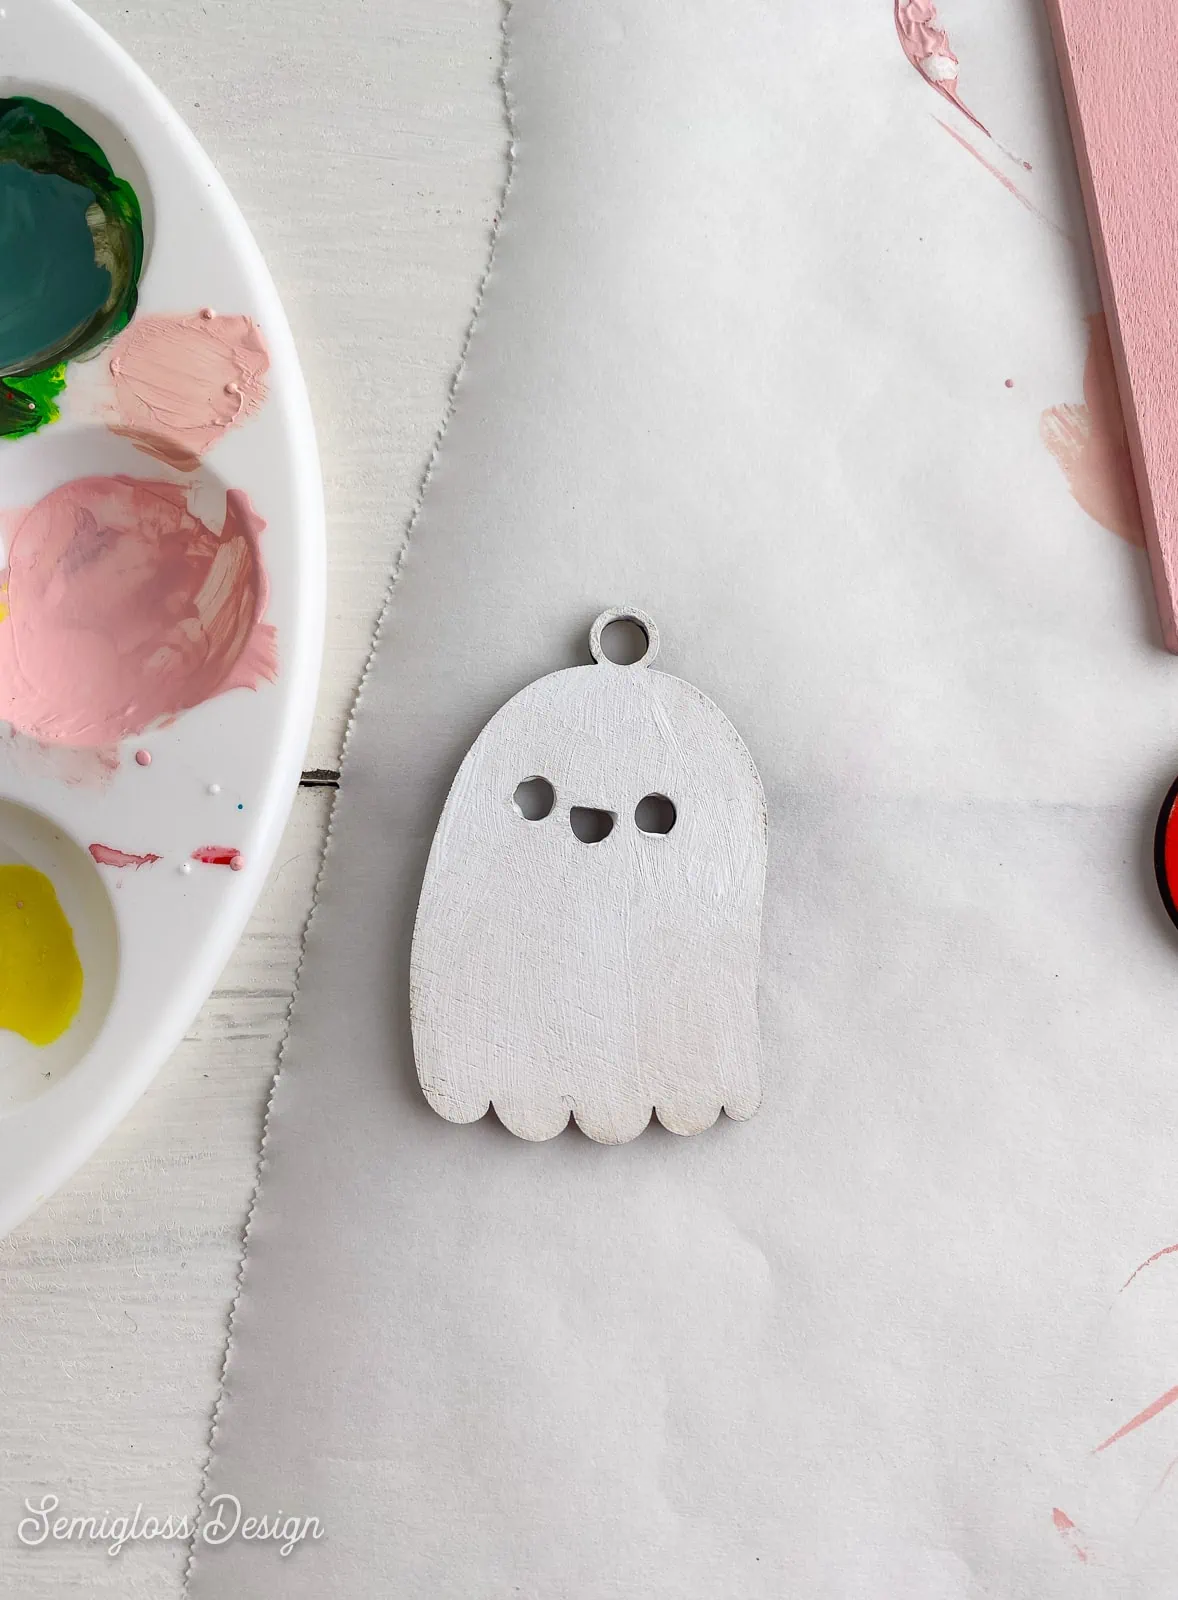
- Paint the cut wood if desired. You may need 2 coats for full coverage.

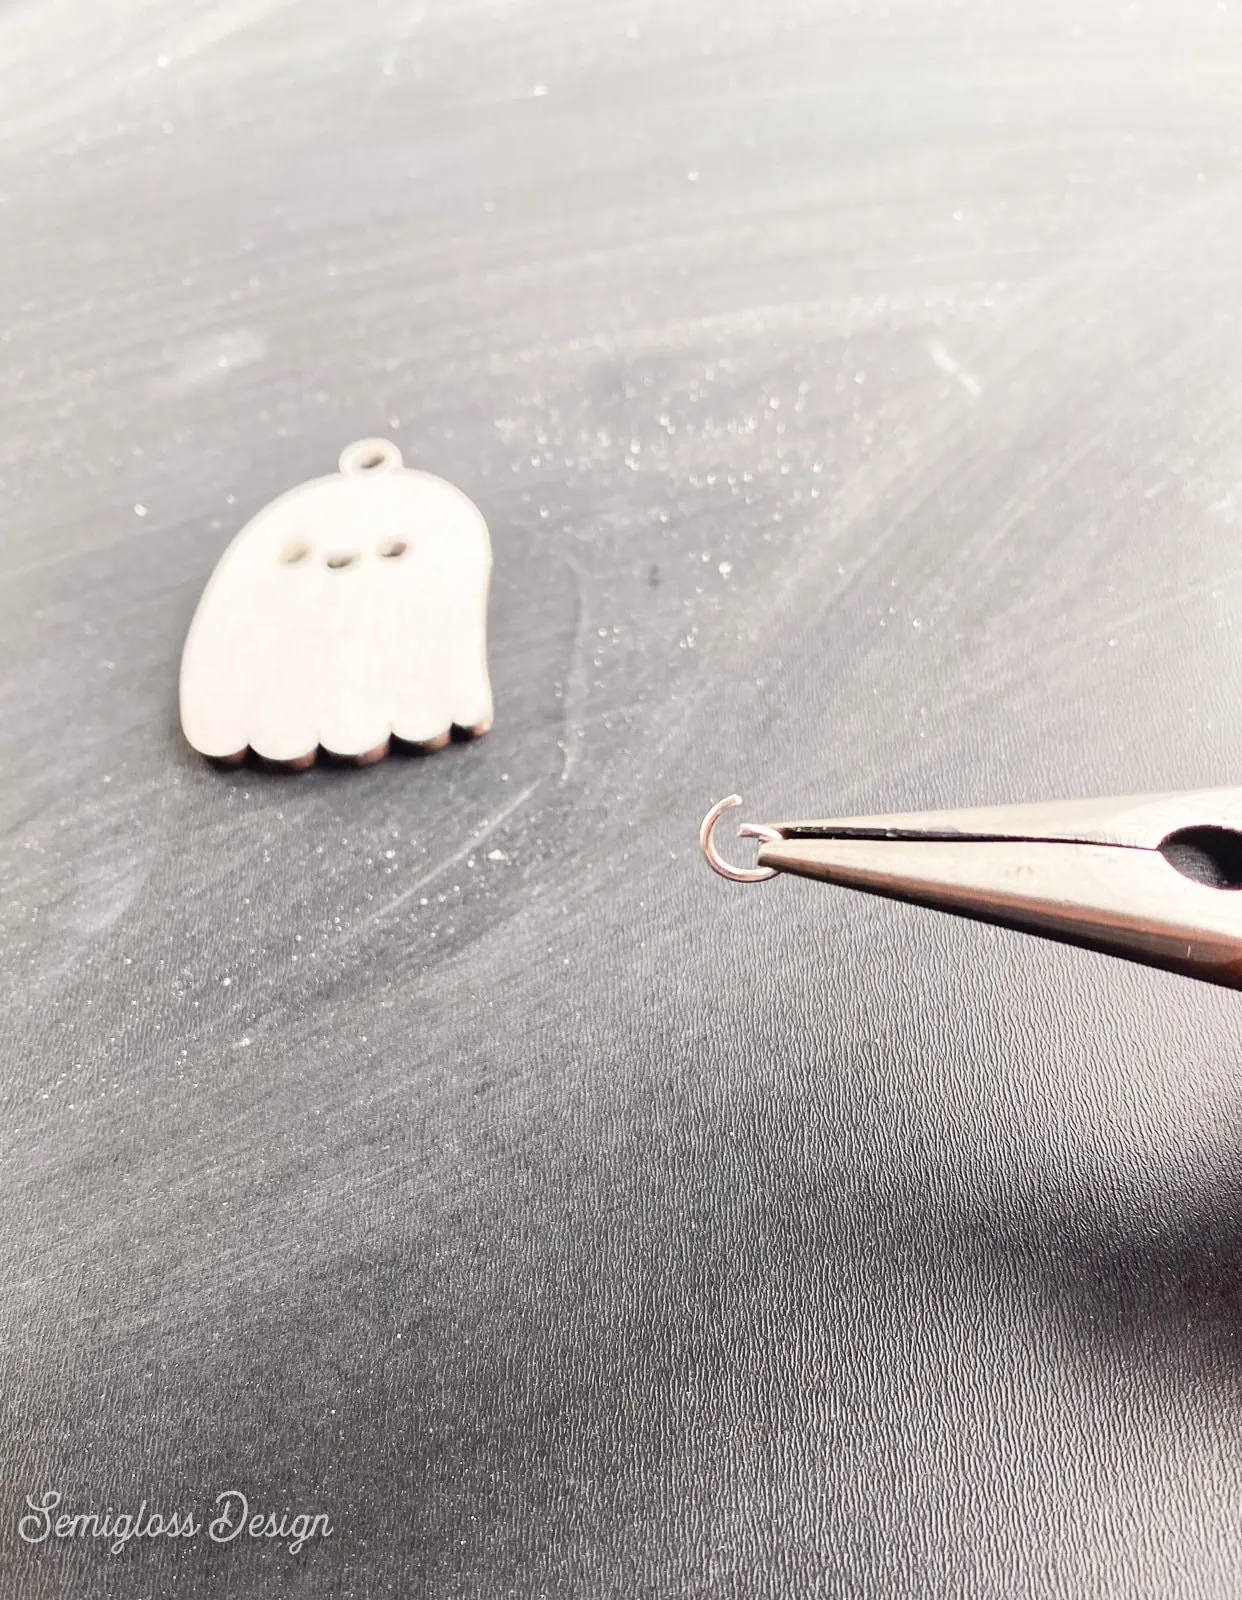
- Attach the jump ring through the hole at the top of the pendant onto the necklace. Use pliers to close the jump ring.

- Enjoy your new necklace!
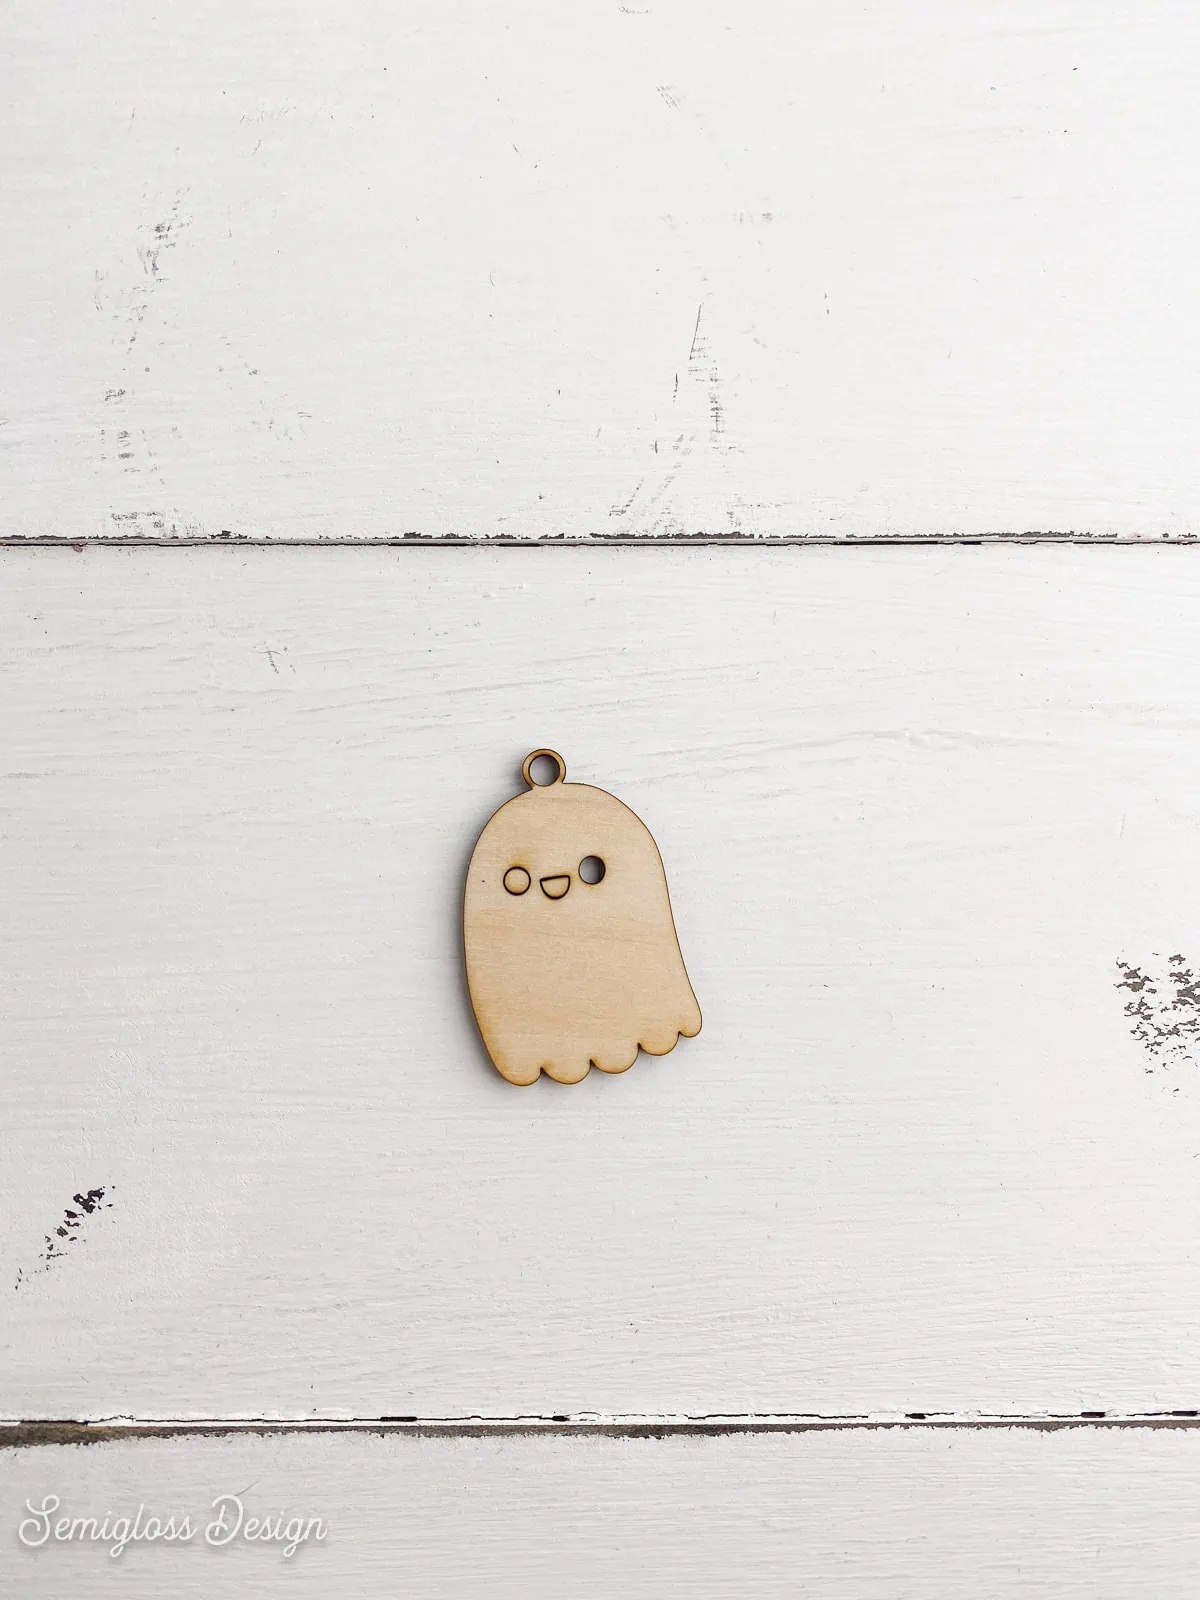
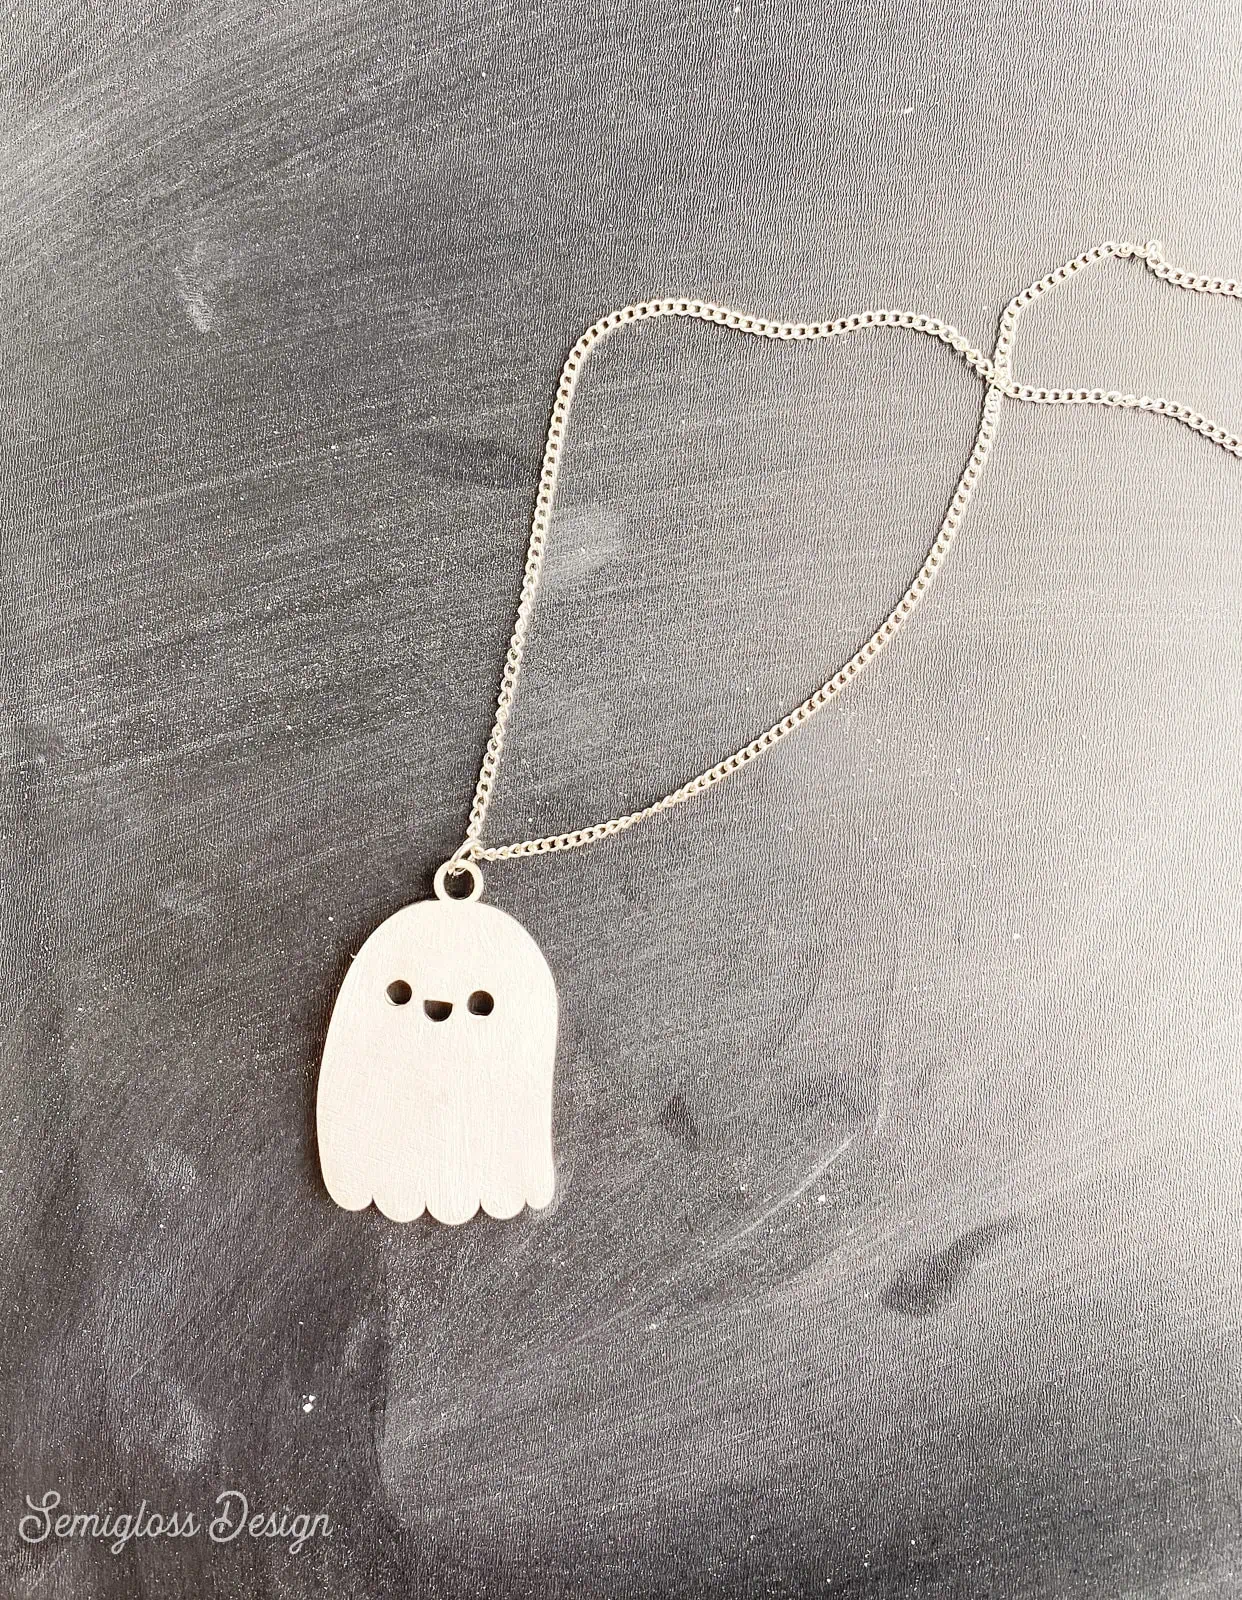
He’s so cute!! Look at that little smile!
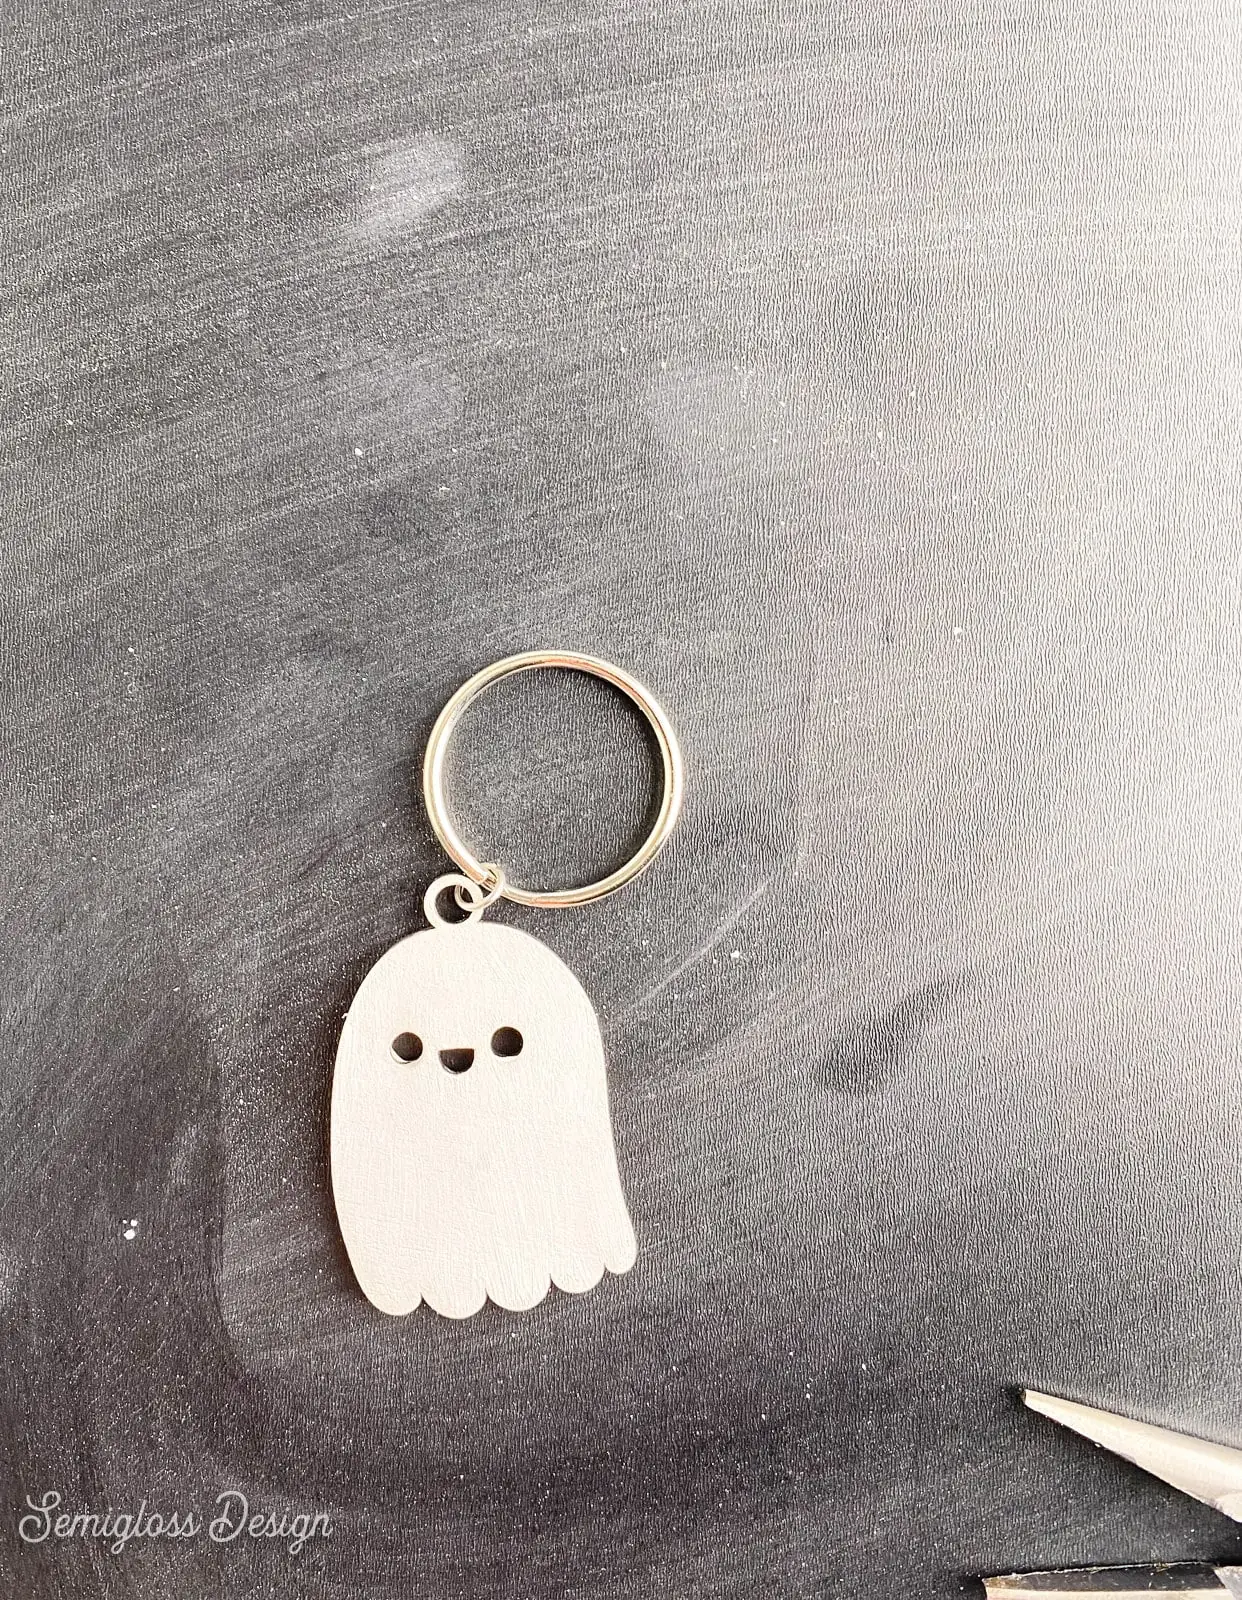
Alternative Use for Wood Pendants
You can use the same method to create keychains with the wood pendants.
You might also like:
Pin for Later!

Emy is a vintage obsessed mama of 2 DIYer who loves sharing affordable solutions for common home problems. You don’t need a giant budget to create a lovely home. Read more…