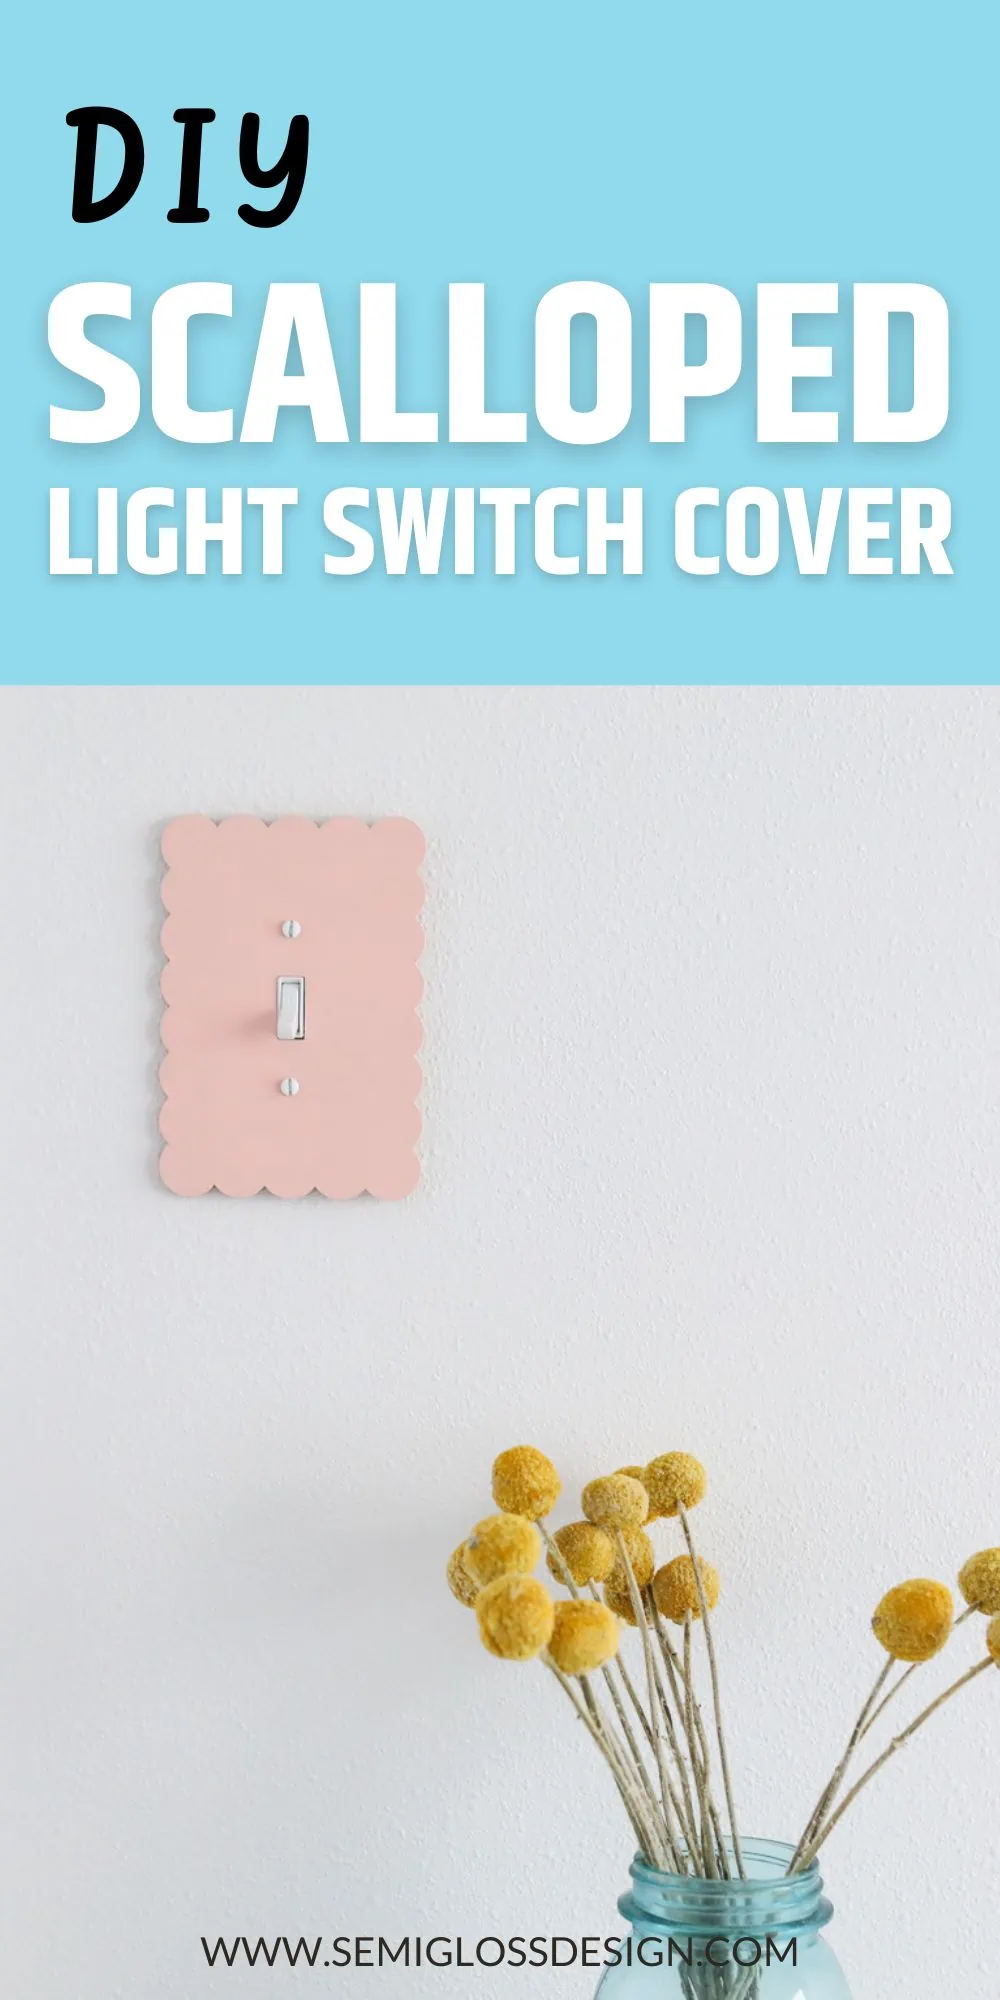
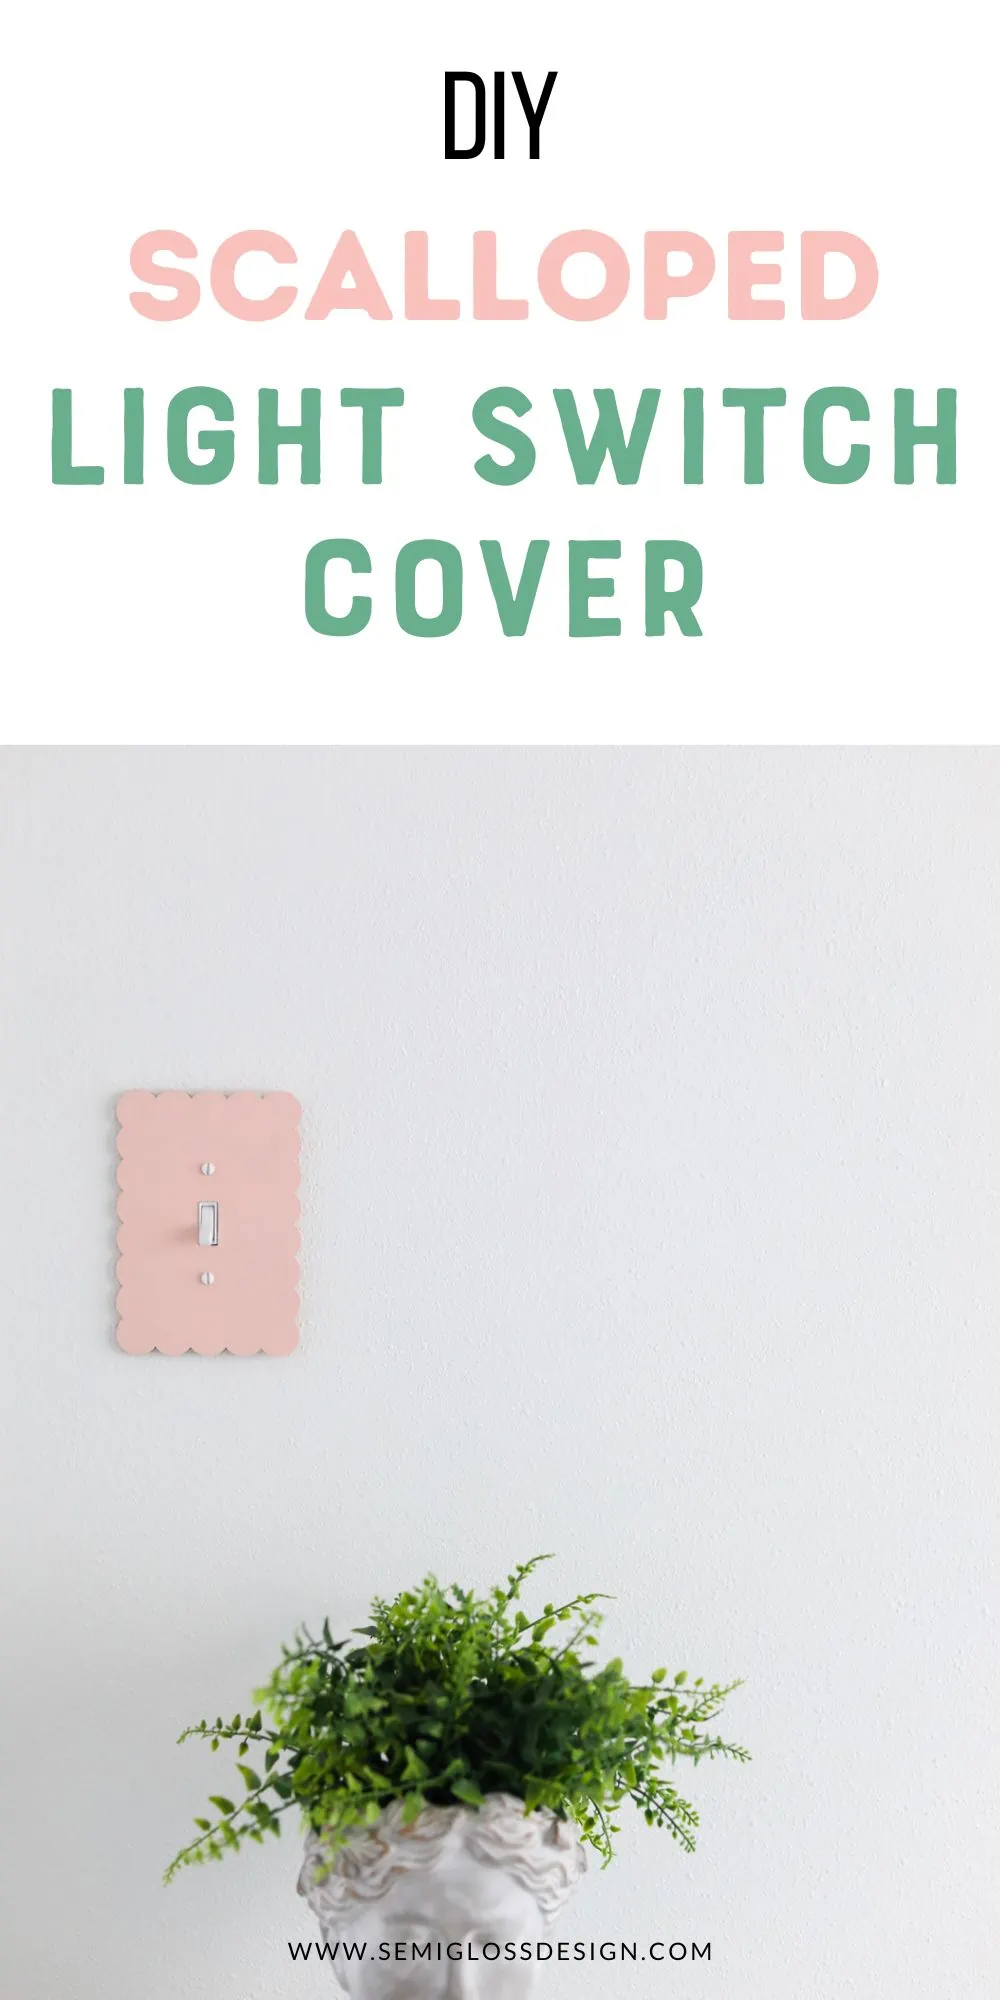
DIY Scalloped Light Switch Cover
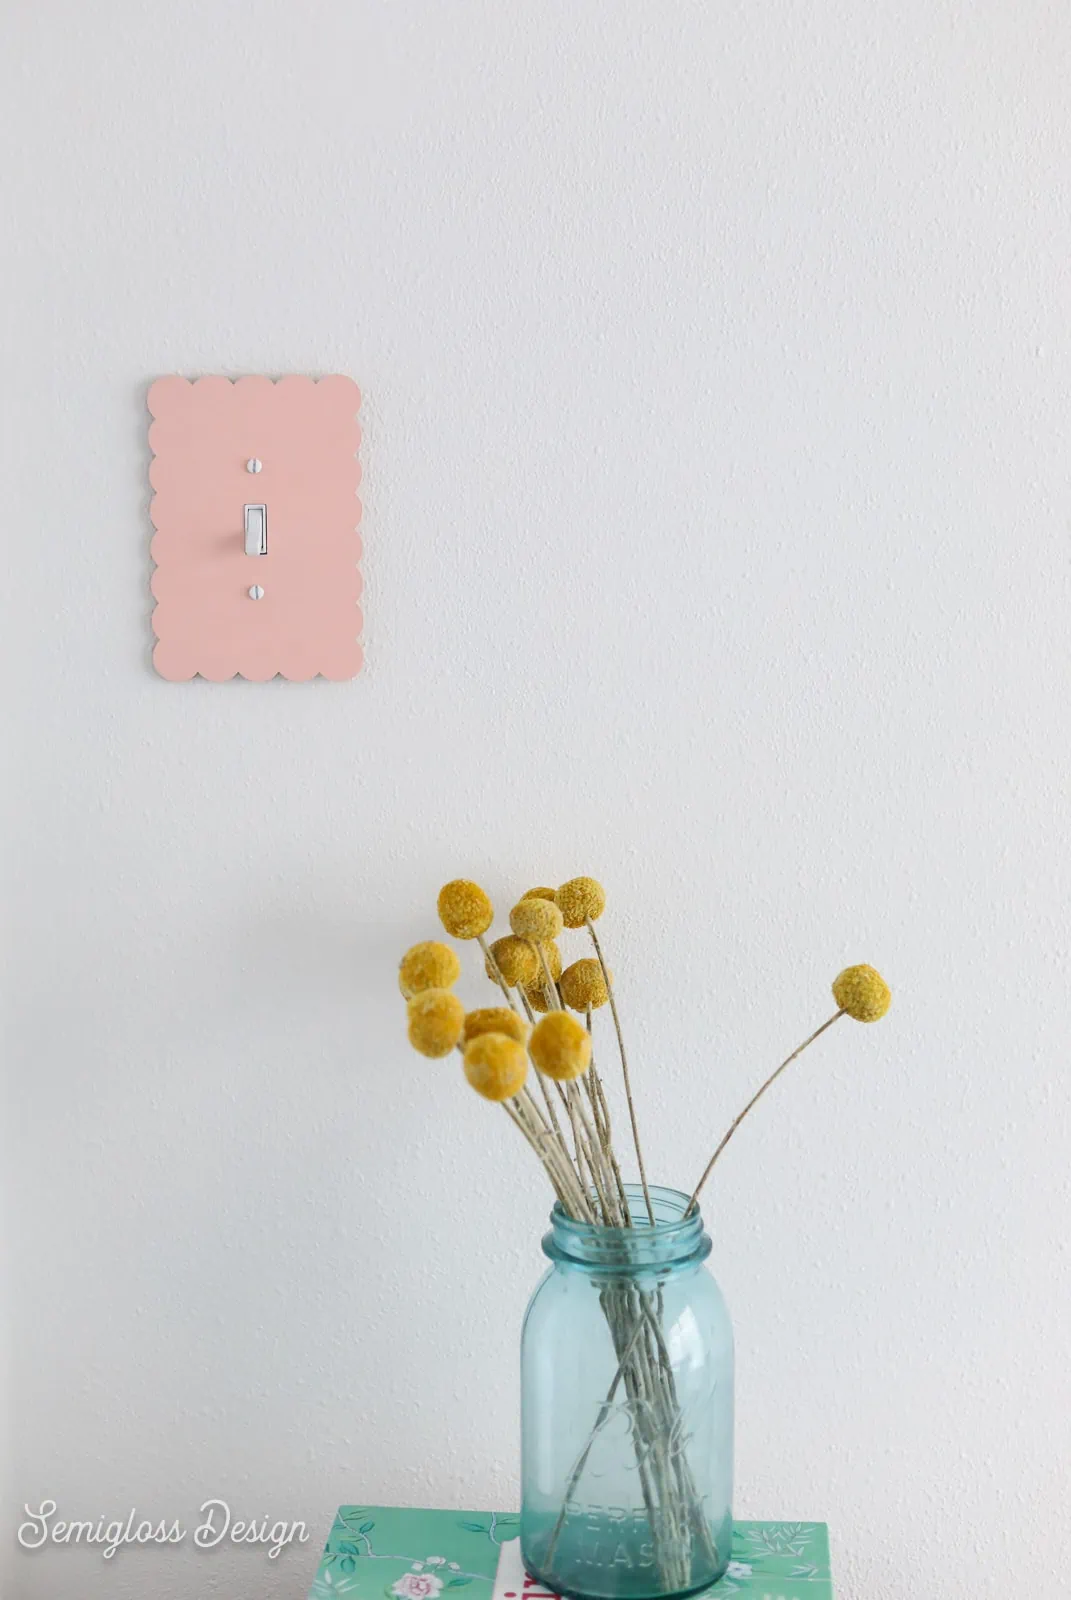
Tired of boring light switch covers? Why not make a DIY scalloped light switch cover for your home? This cute light switch cover can be painted to match any decor.
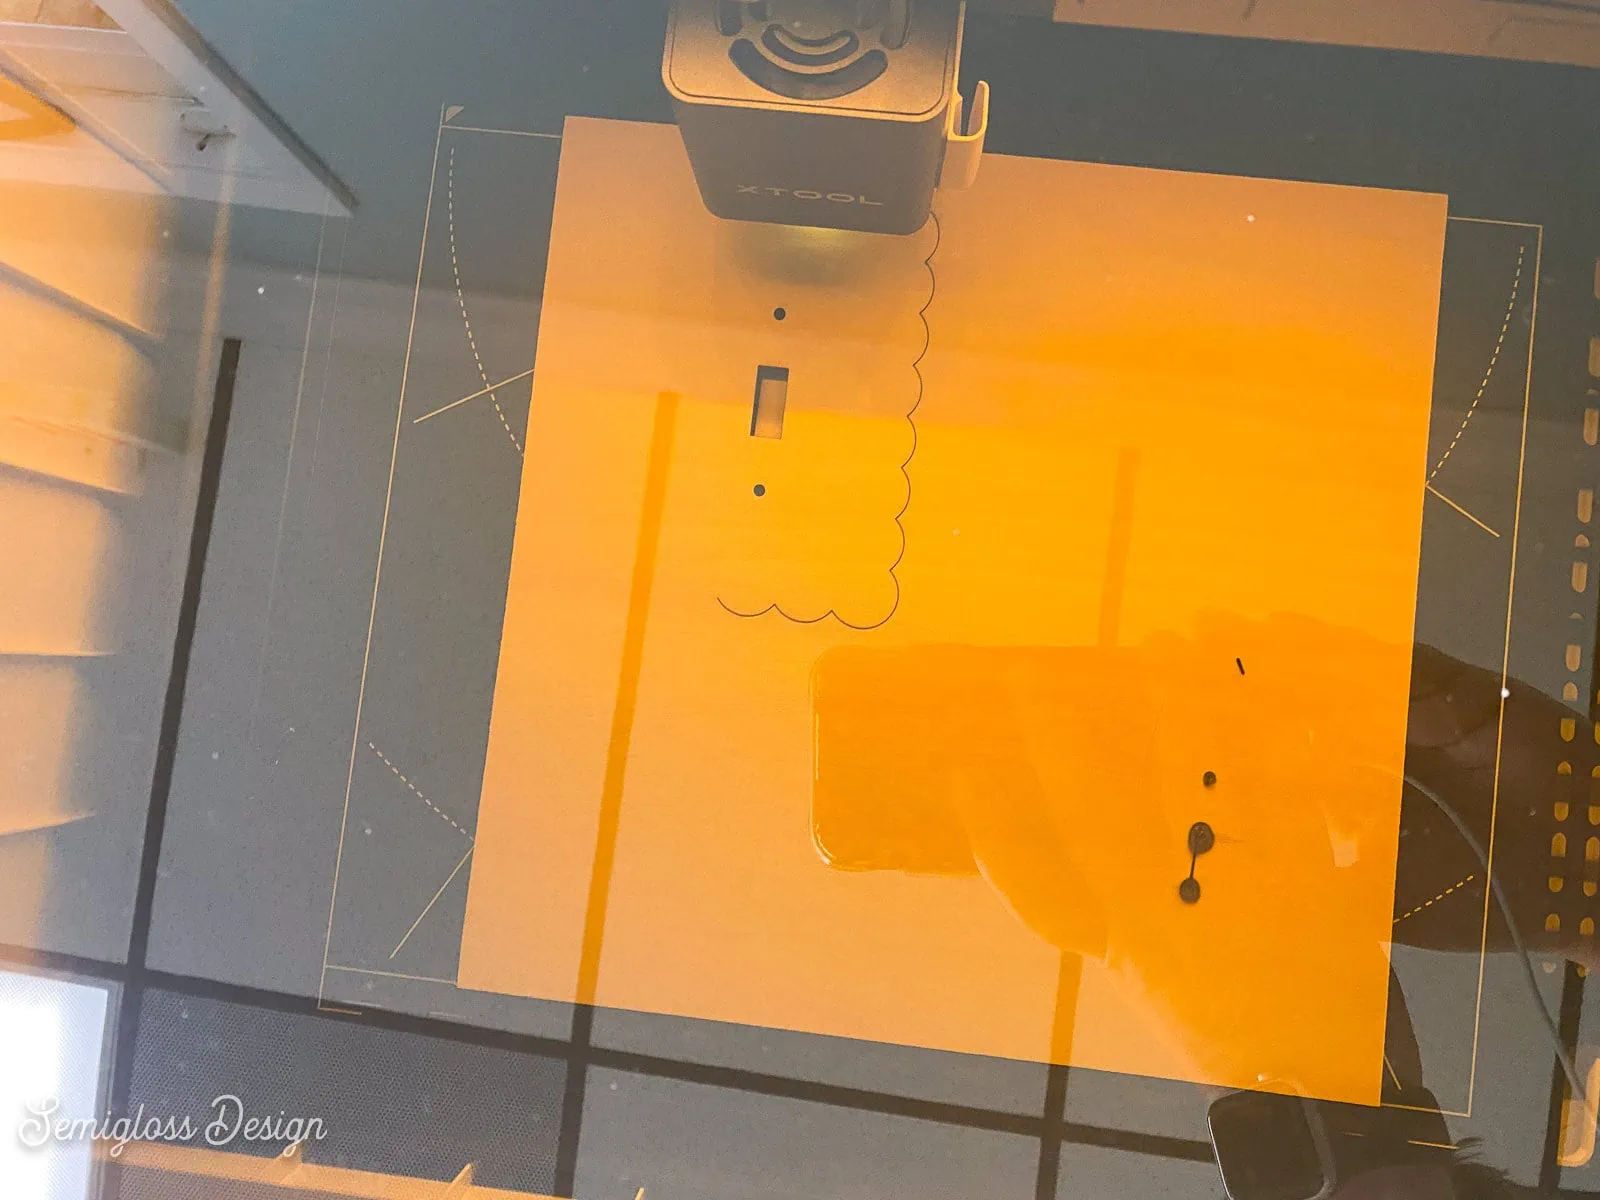
I used my xTool M1 laser cutter for this project because it makes cutting wood so easy!
This post contains affiliate links. By purchasing an item through an affiliate link, I earn a small commission at no extra cost to you. As an Amazon Associate I earn from qualifying purchases.
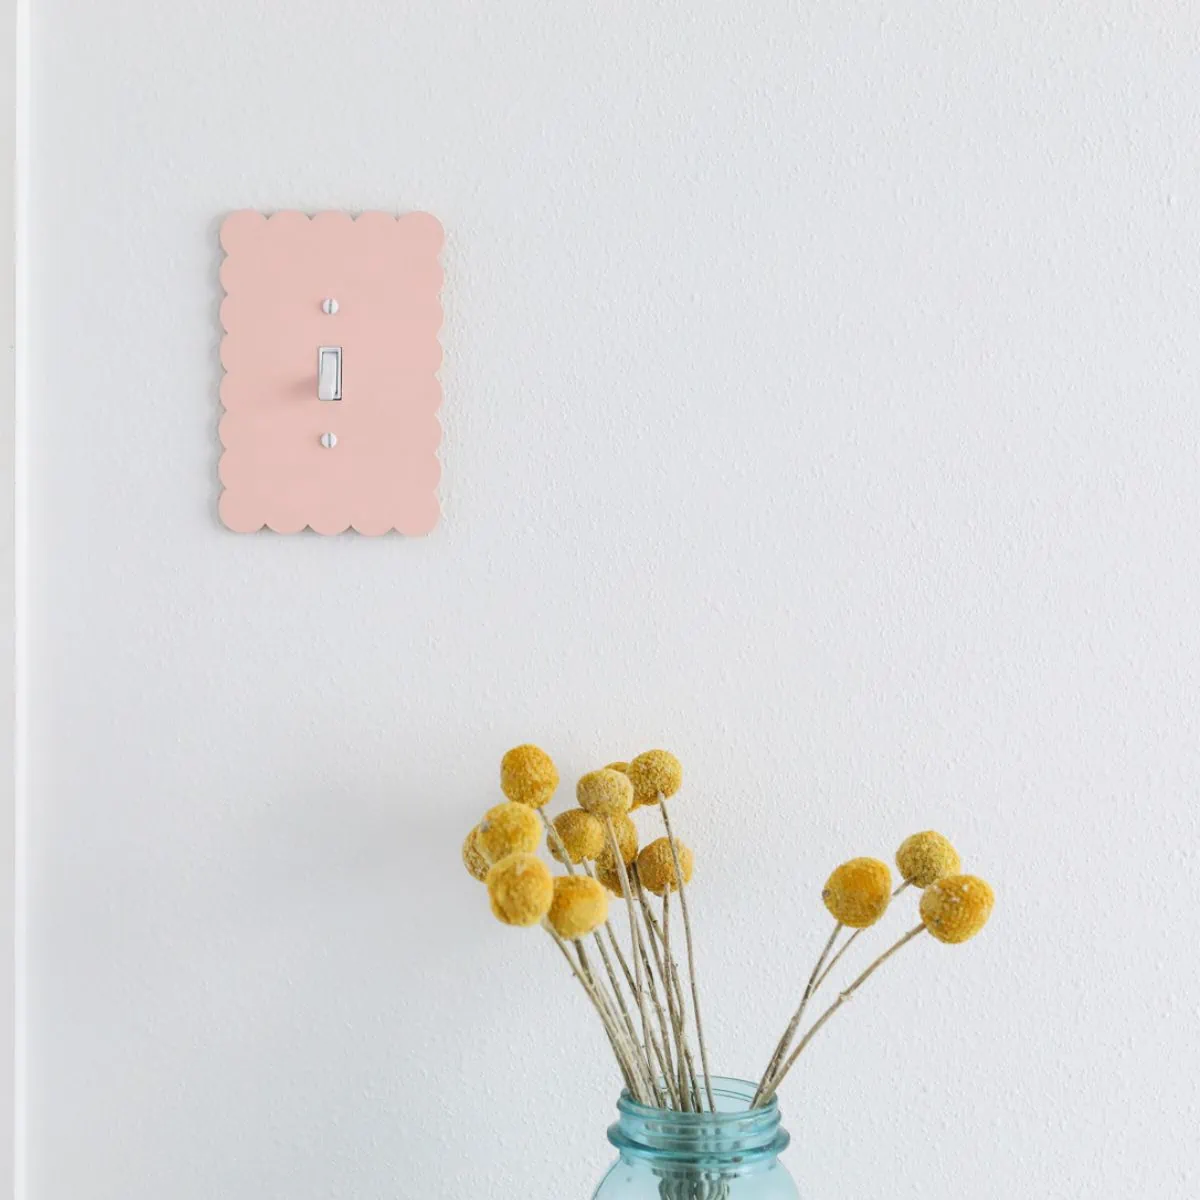
The idea for a scalloped light switch cover came to me in the middle of the night and I knew that I had to make it! It’s even cuter than I expected and I love it so much.
I’m always on the lookout for cute light switch covers. I’m not sure if you’ve ever priced specialty light switch covers, but they are expensive.
And to be honest, there aren’t a lot of places that make cute ones. So it’s fun to make your own light switch covers!
This scallop design is really simple and makes a perfect first project when you get a laser cutter. Wood is one of the easier things to cut and you will be so thrilled with the results.
DIY Scalloped Light Switch Cover
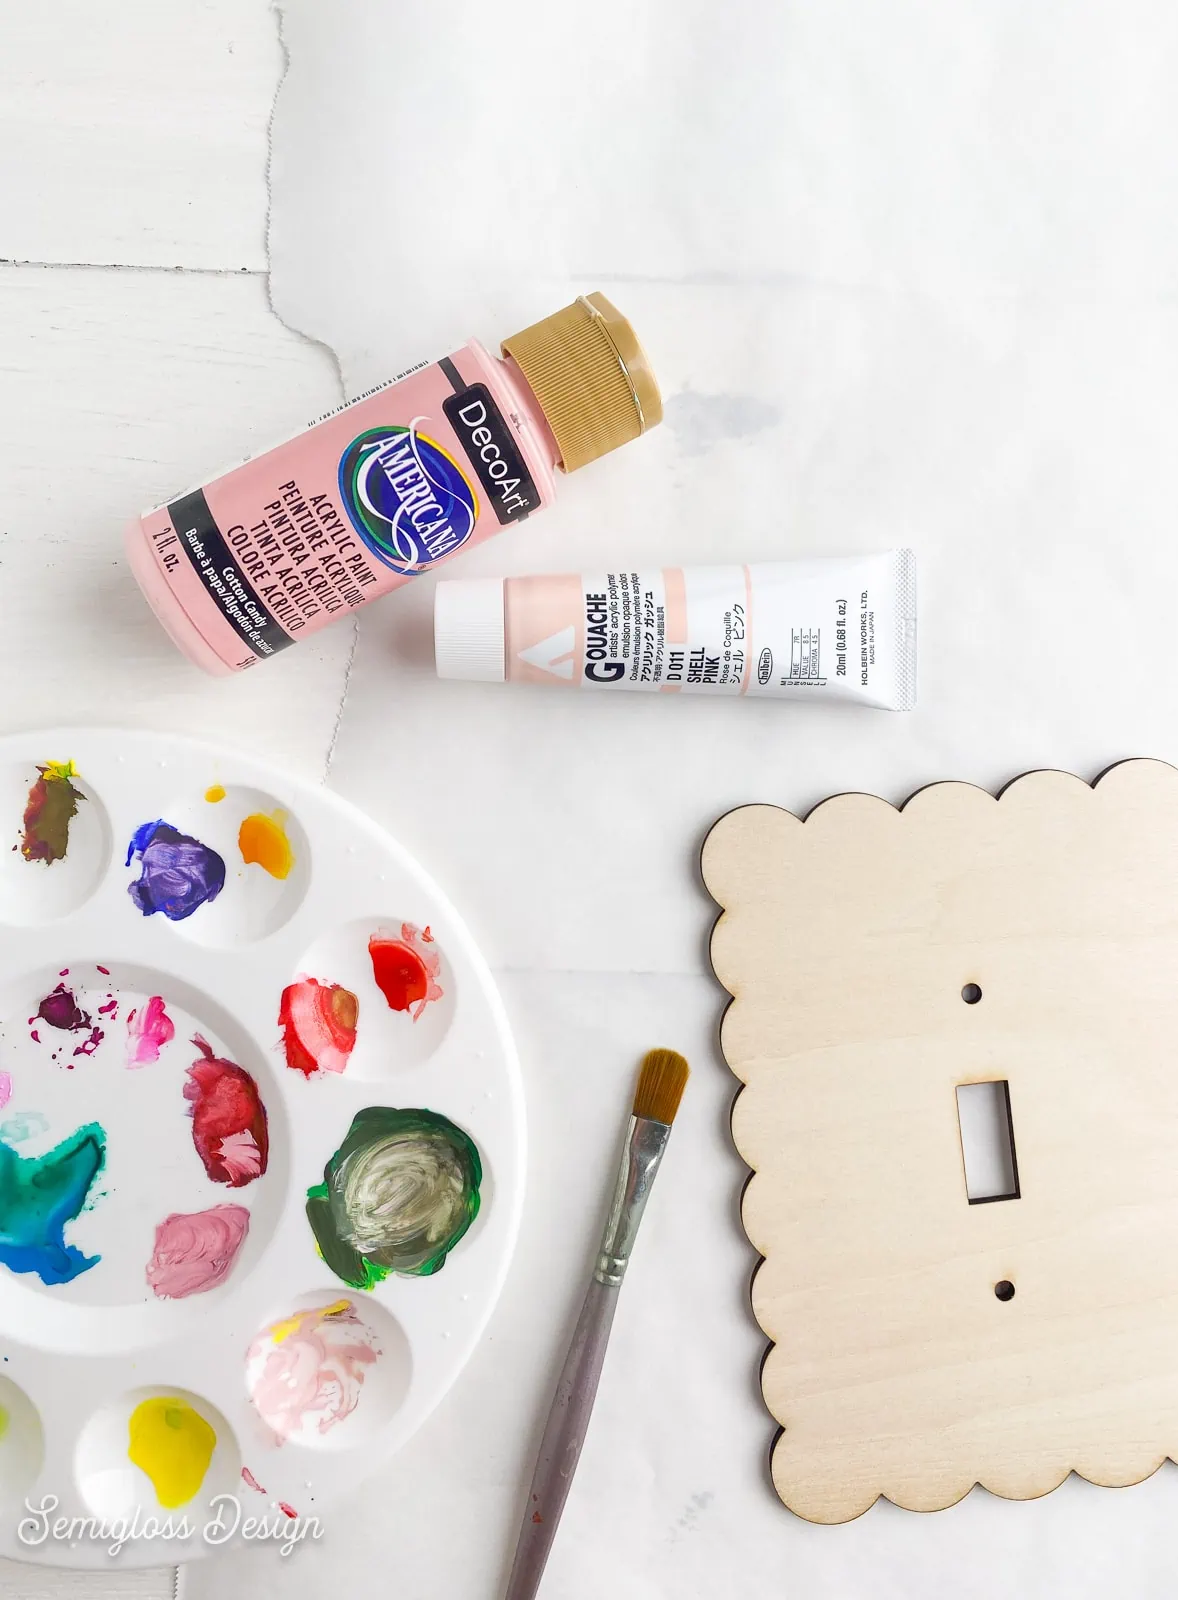
Supplies Needed:
I used acryla gouache for this project because that’s what I had on hand, but almost any paint would work. Just use smooth paintbrush strokes. Spray paint would also work nicely. For a shiny finish, I would prime the wood first.
- Cut the wood as usual with the xTool. If you’re new to xTool, be sure to check out this tutorial for how to use the xTool M1.

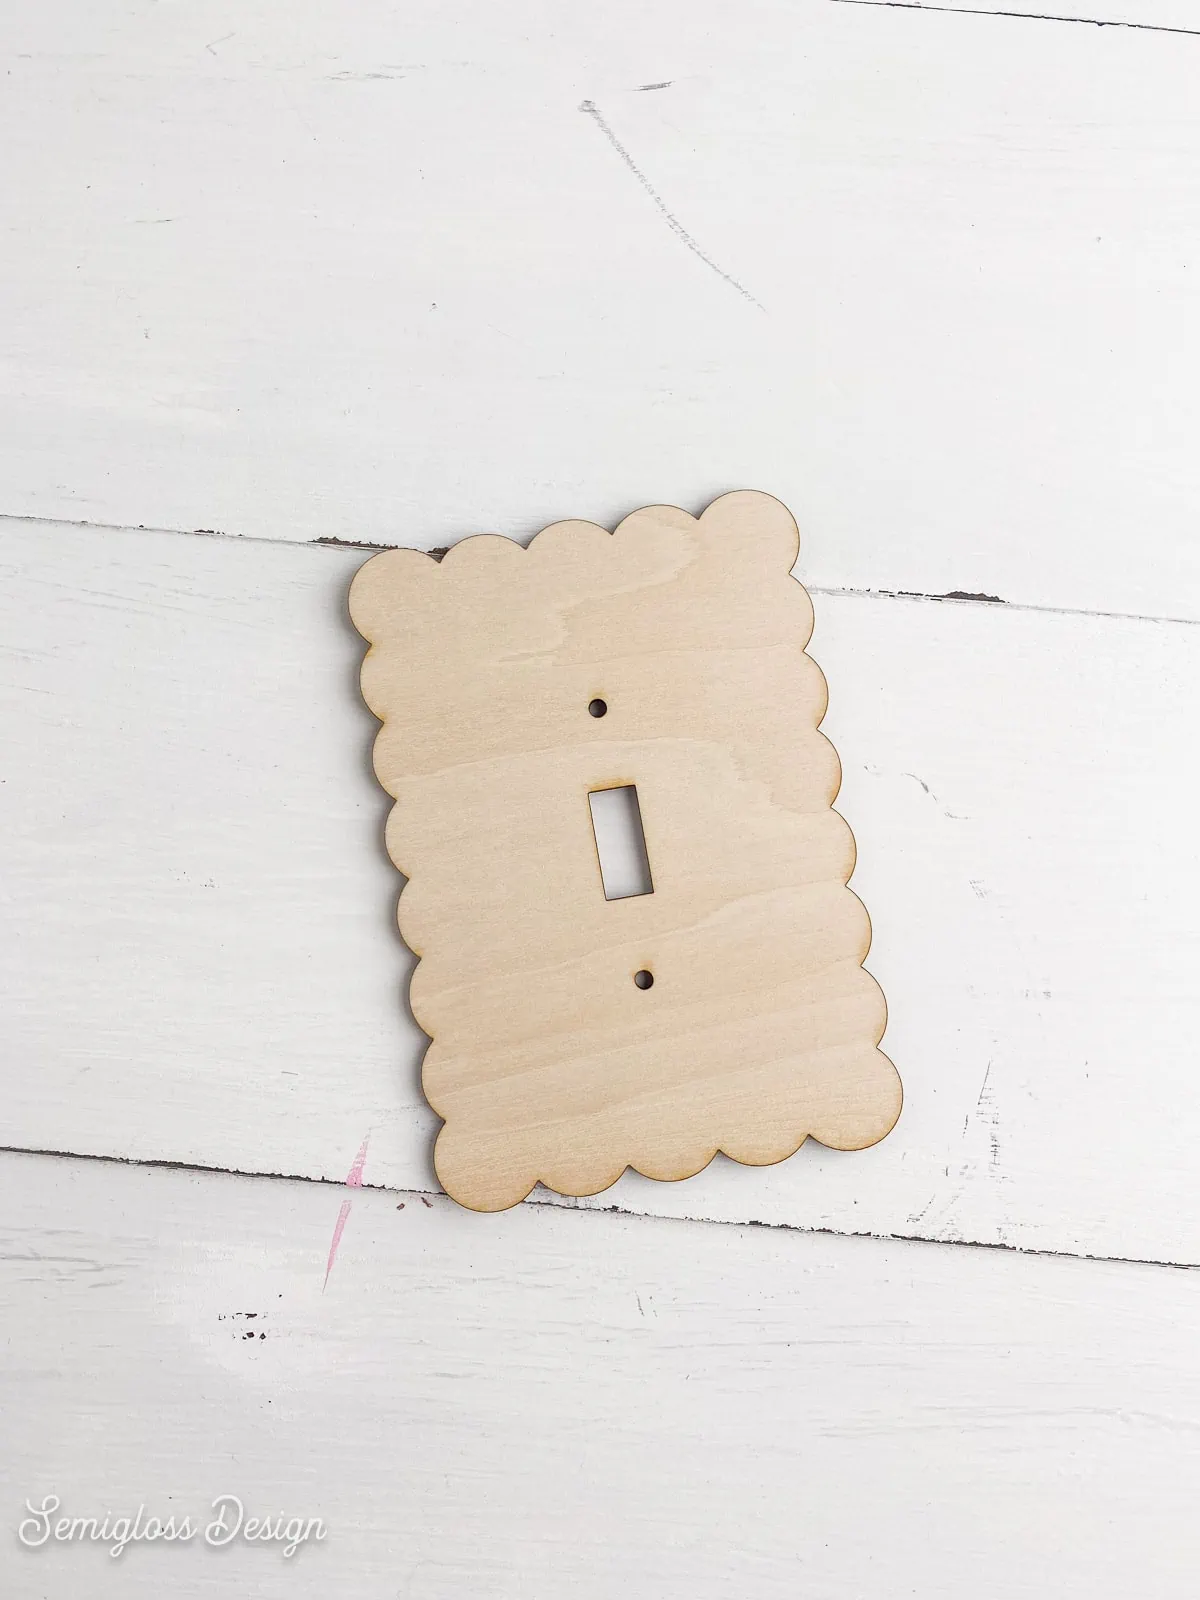
- Remove any spare bits of wood and discard.

- If the edges of the wood are dirty, they can be wiped clean with a paper towel.
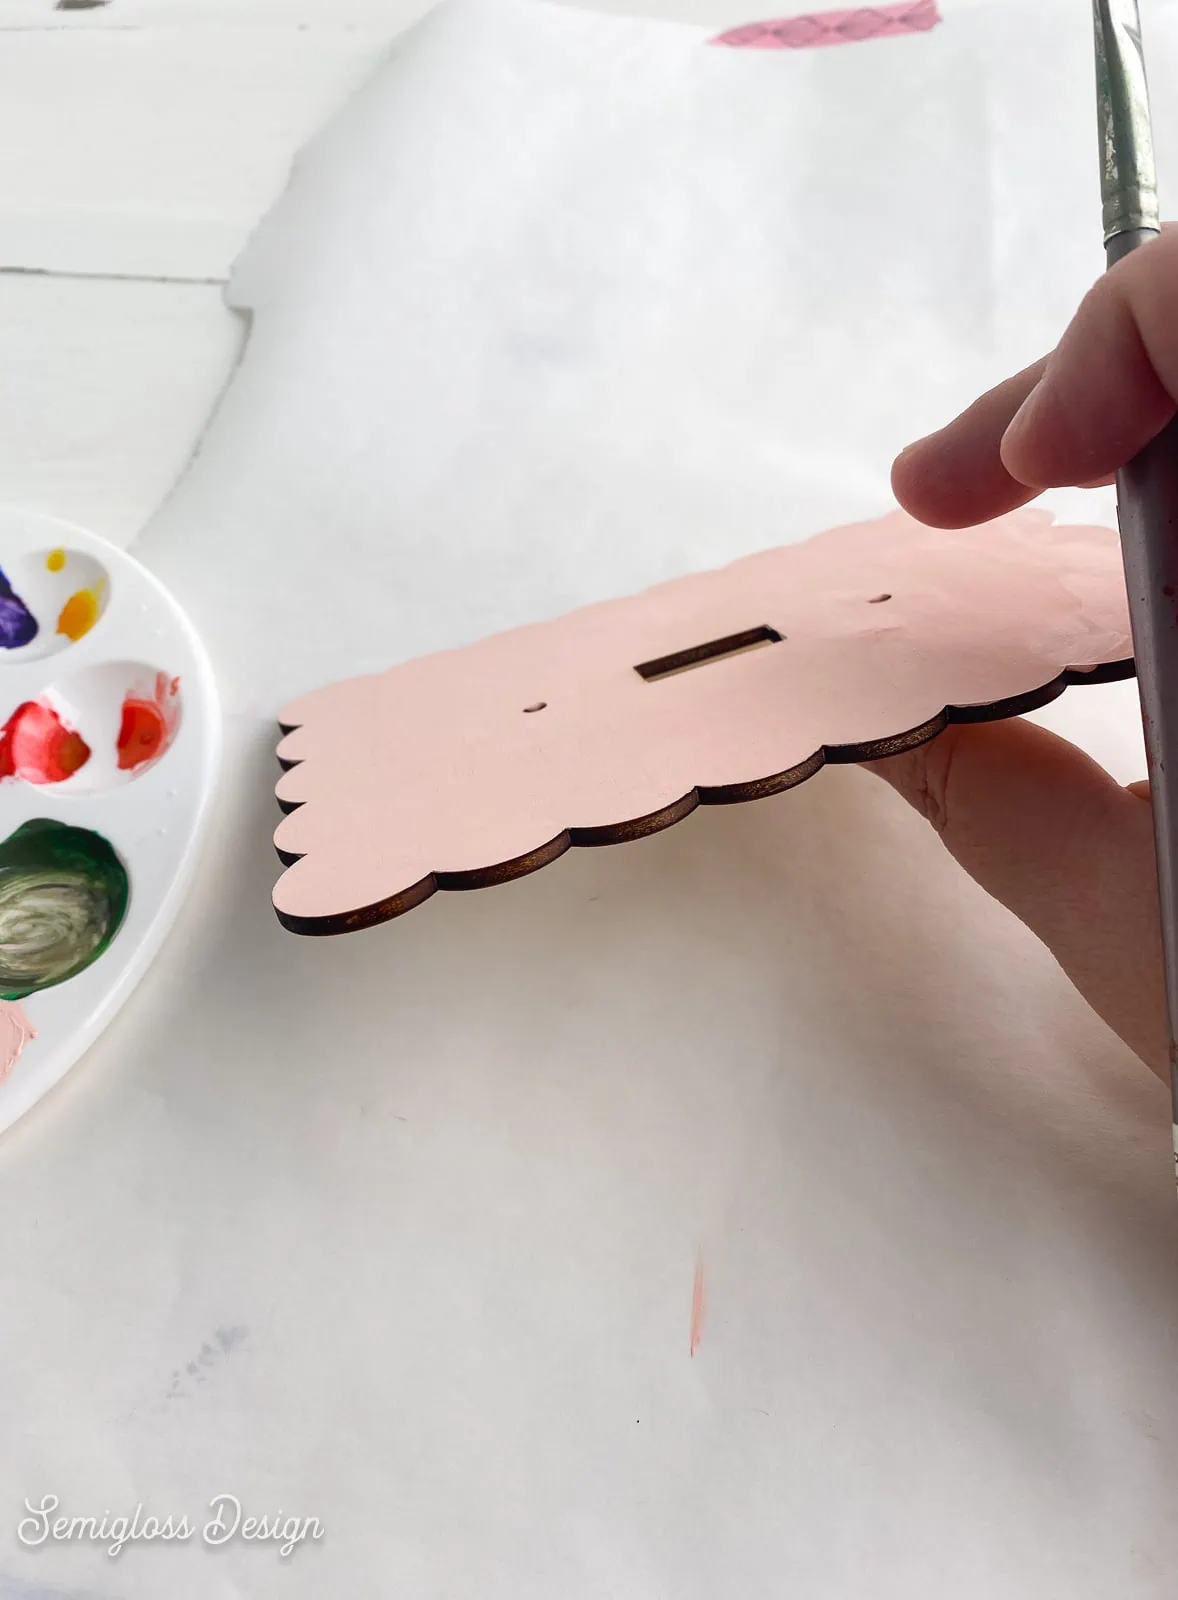
- Paint the wood using smooth brushstrokes. Since basswood is very thin, don’t use a lot of water.

- Paint the edges if desired.
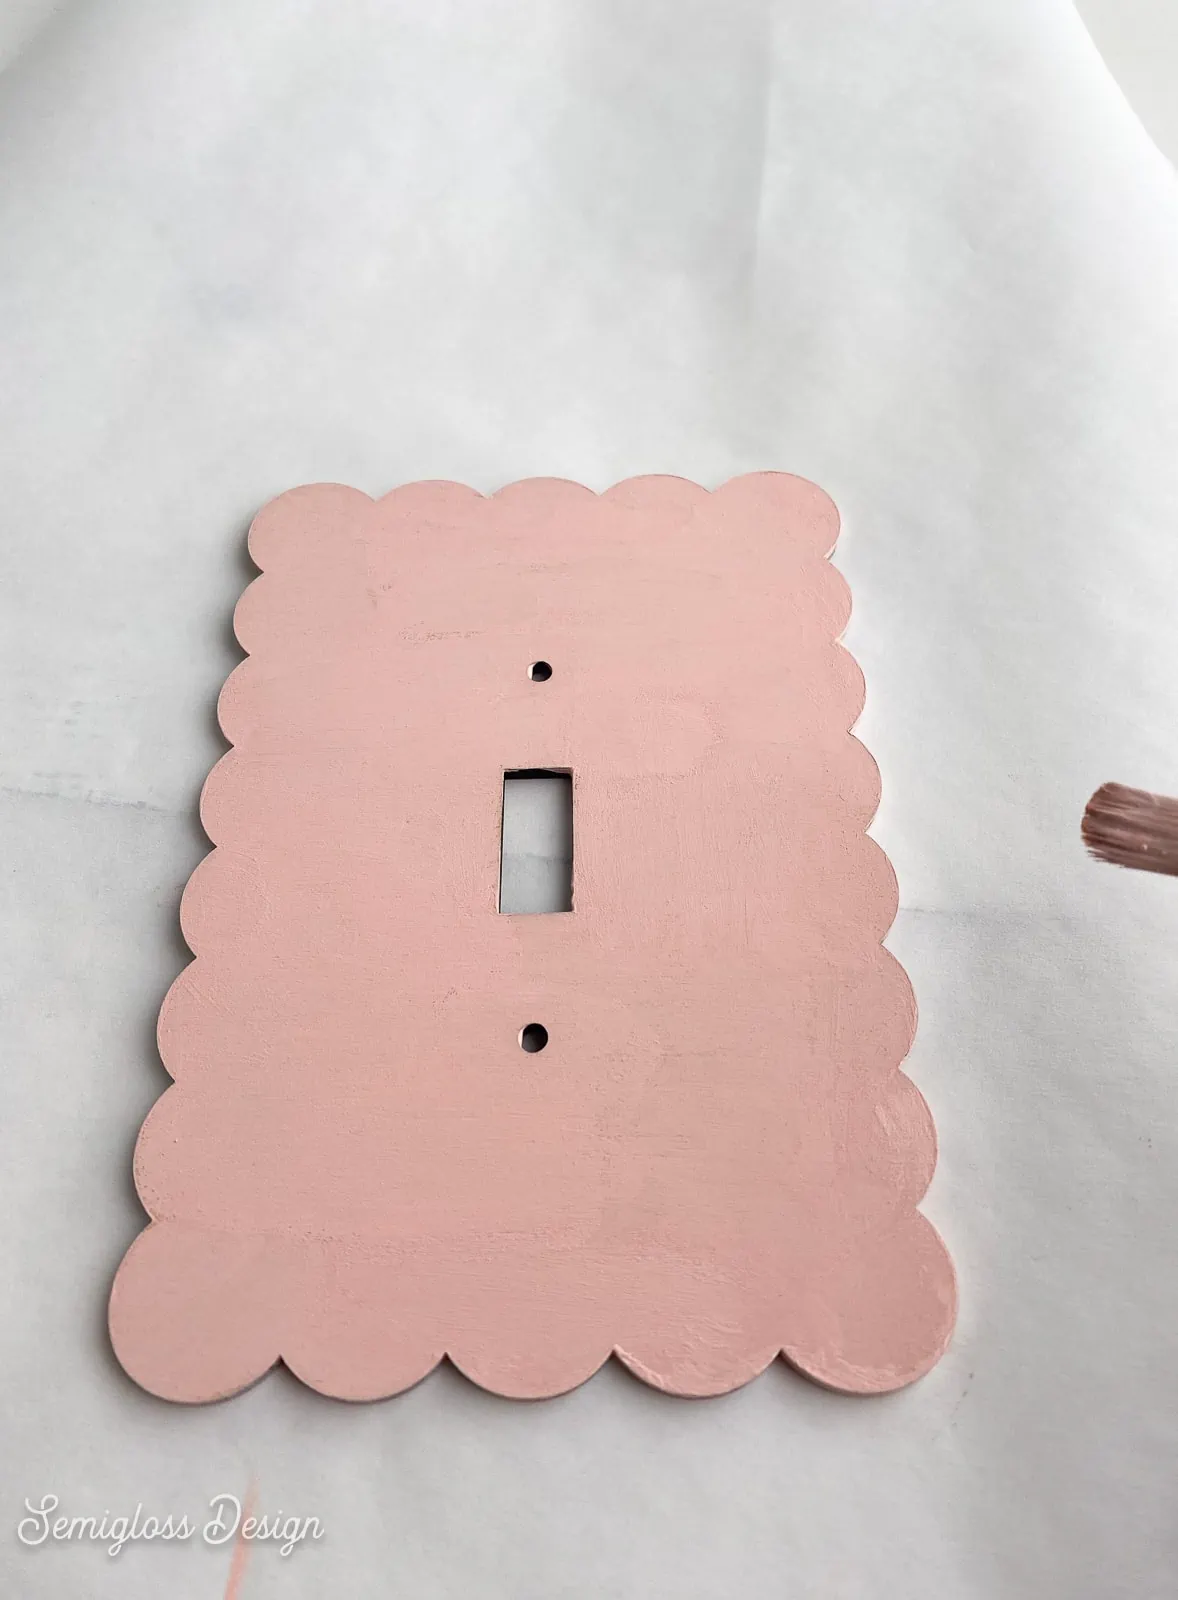
- Apply a 2nd coat of paint after the first one dries. Light colors may require 3 coats of paint.
- If you’re worried about wear, add a clear coat to the wood. I like polycrylic because it’s easy to use.
- Let the paint dry completely before installing the light switch cover.


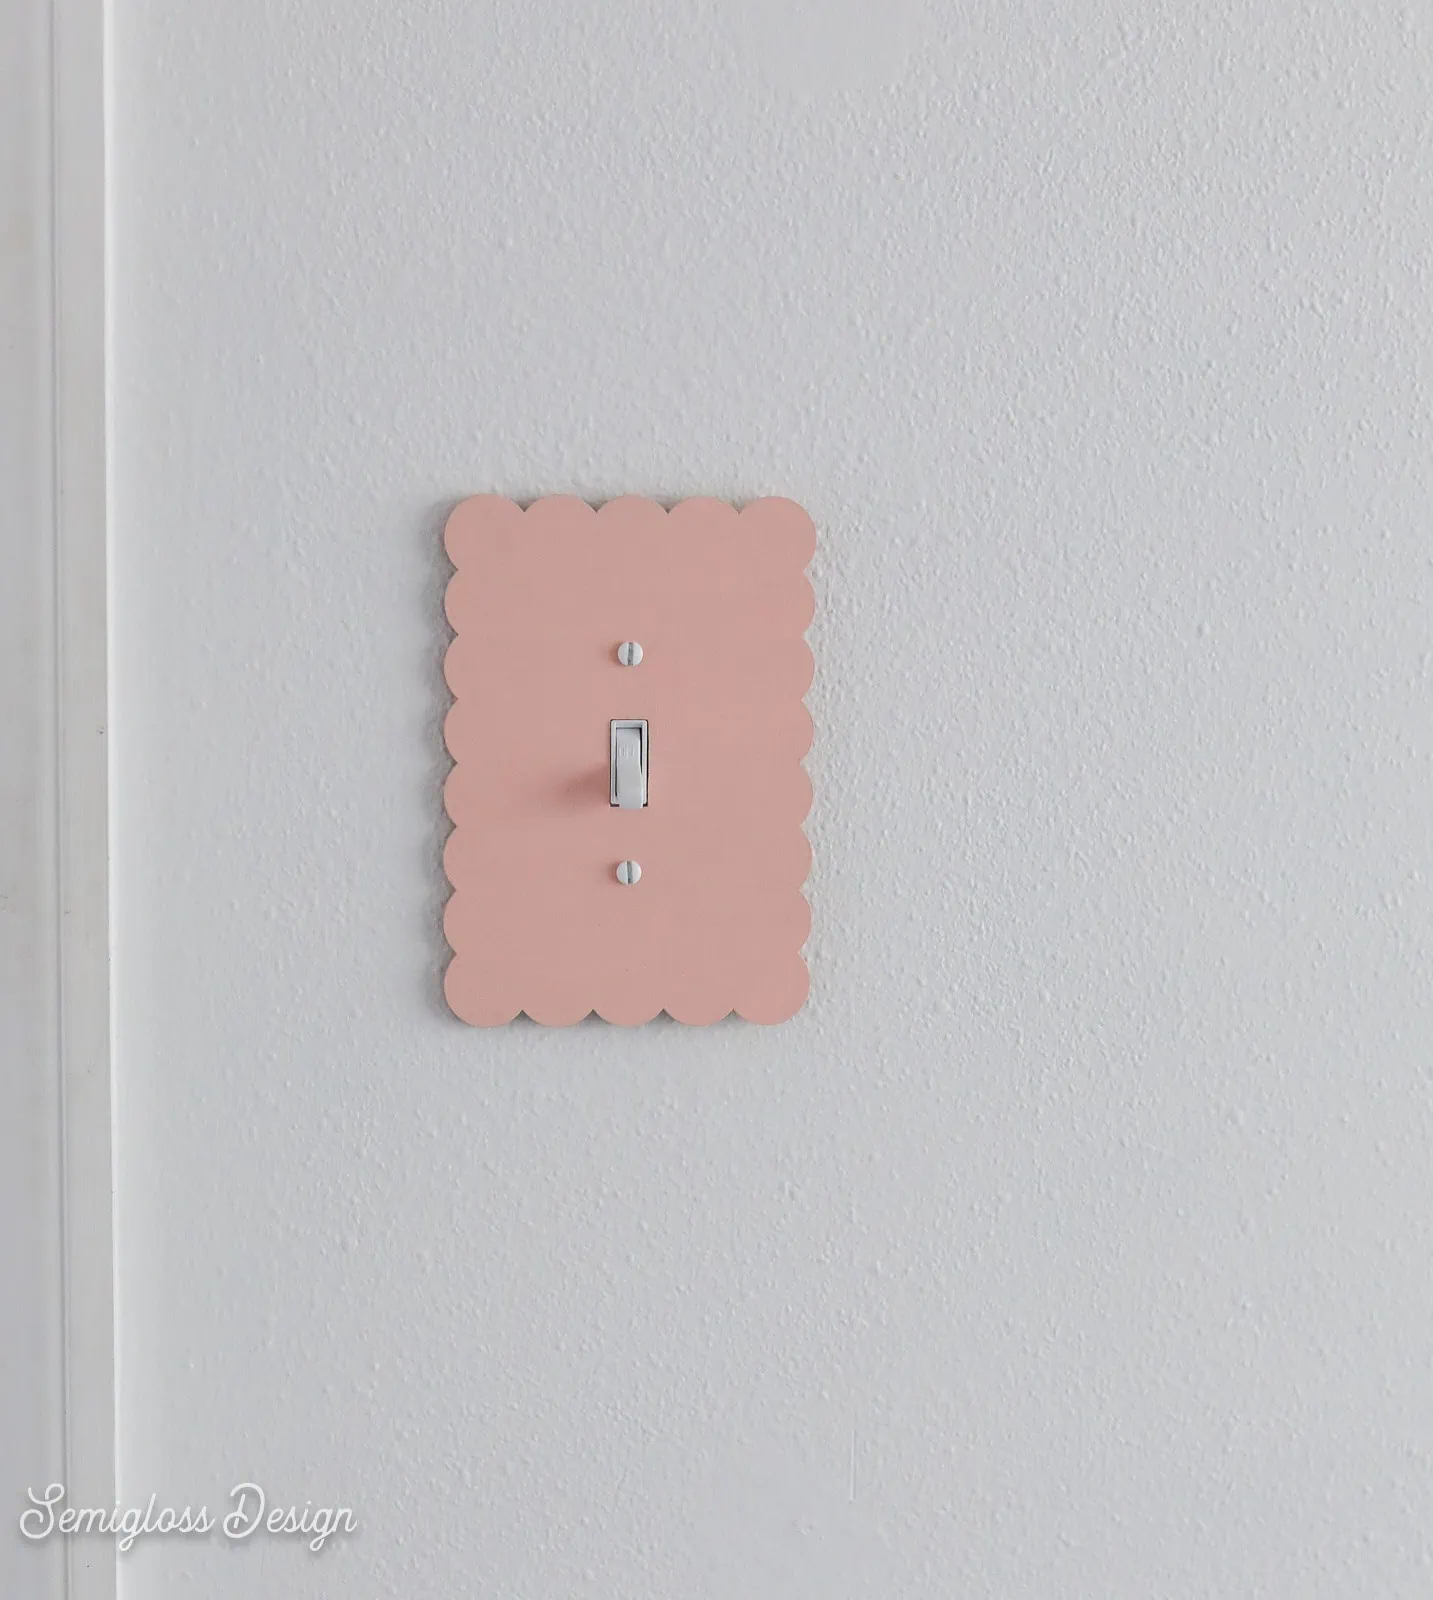
I love it so much!!
You might also like:
Scalloped Light Switch Cover Cut File
This download contains one SVG file. Do NOT resize. This file will only be free for a limited time.
All downloads are for personal use only. Please do not redistribute or sell files.
Pin for Later!

Emy is a vintage obsessed mama of 2 DIYer who loves sharing affordable solutions for common home problems. You don’t need a giant budget to create a lovely home. Read more…