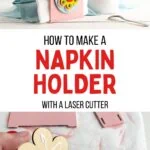
DIY Napkin Holder with a Laser Cutter
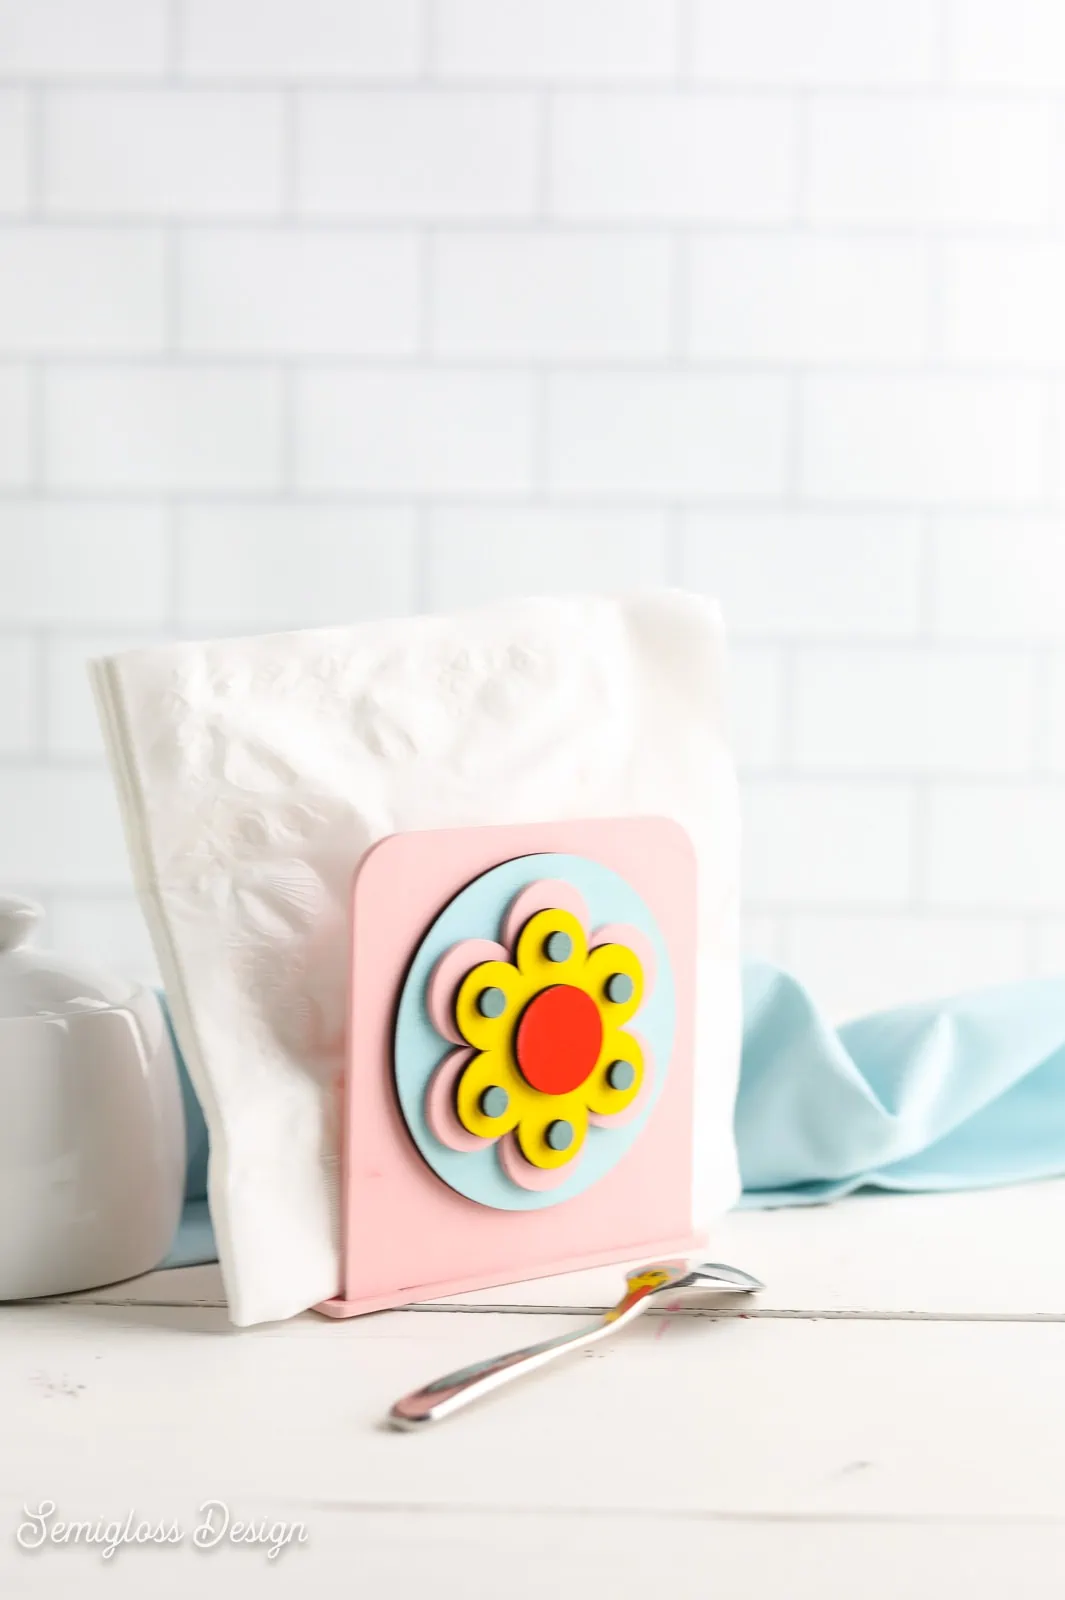
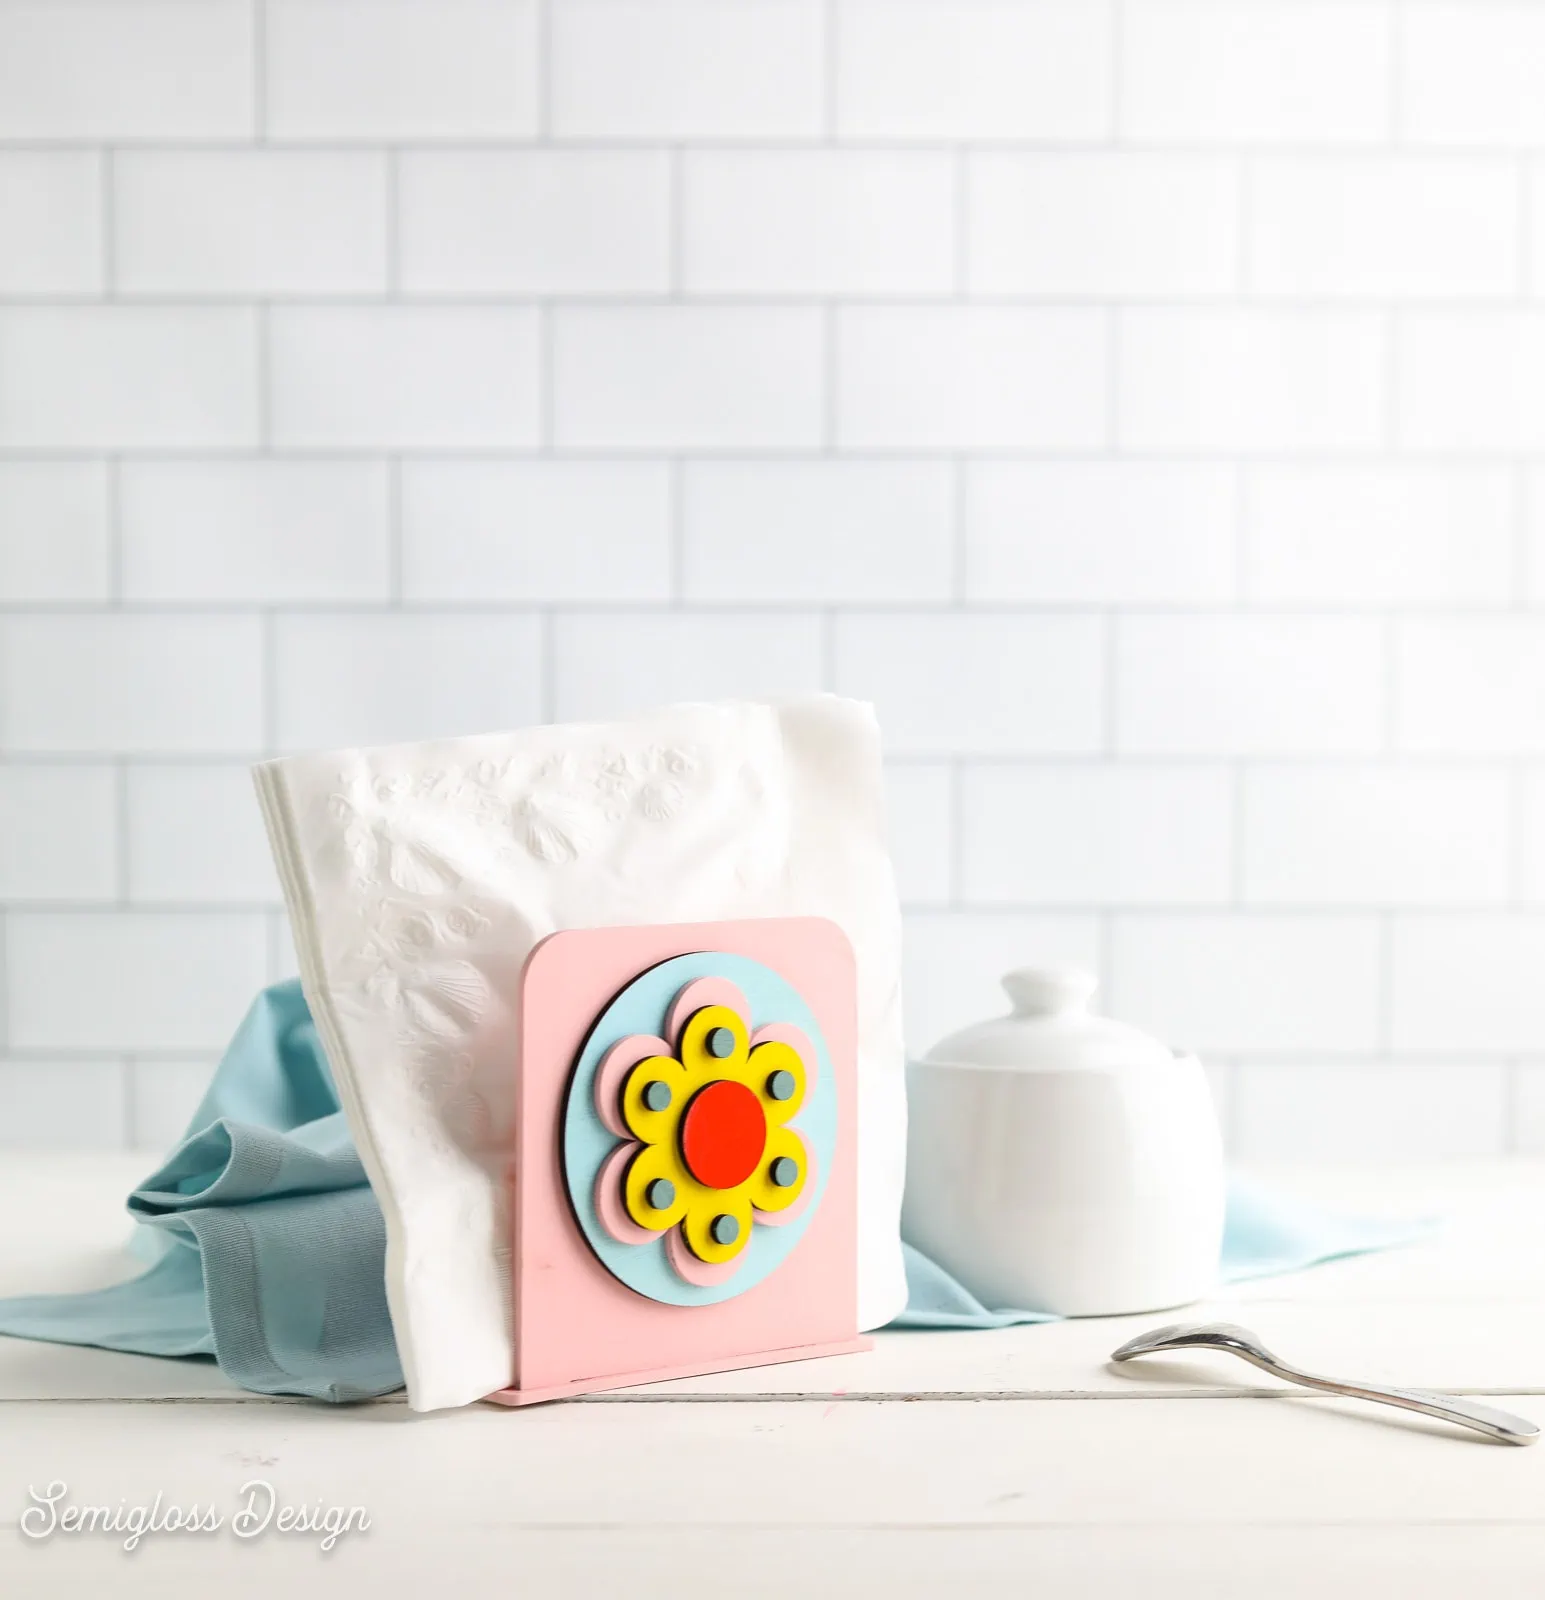
This DIY napkin holder is so easy to make. I used my xTool M1 laser cutter to create this cute retro napkin holder. Perfect for retro kitchens!
If you’re new to xTool, be sure to check out this tutorial for using the xTool M1.
This post contains affiliate links. By purchasing an item through an affiliate link, I earn a small commission at no extra cost to you. As an Amazon Associate I earn from qualifying purchases.
I’ve been searching everywhere for a cute napkin holder for my office kitchen, but so far no luck.
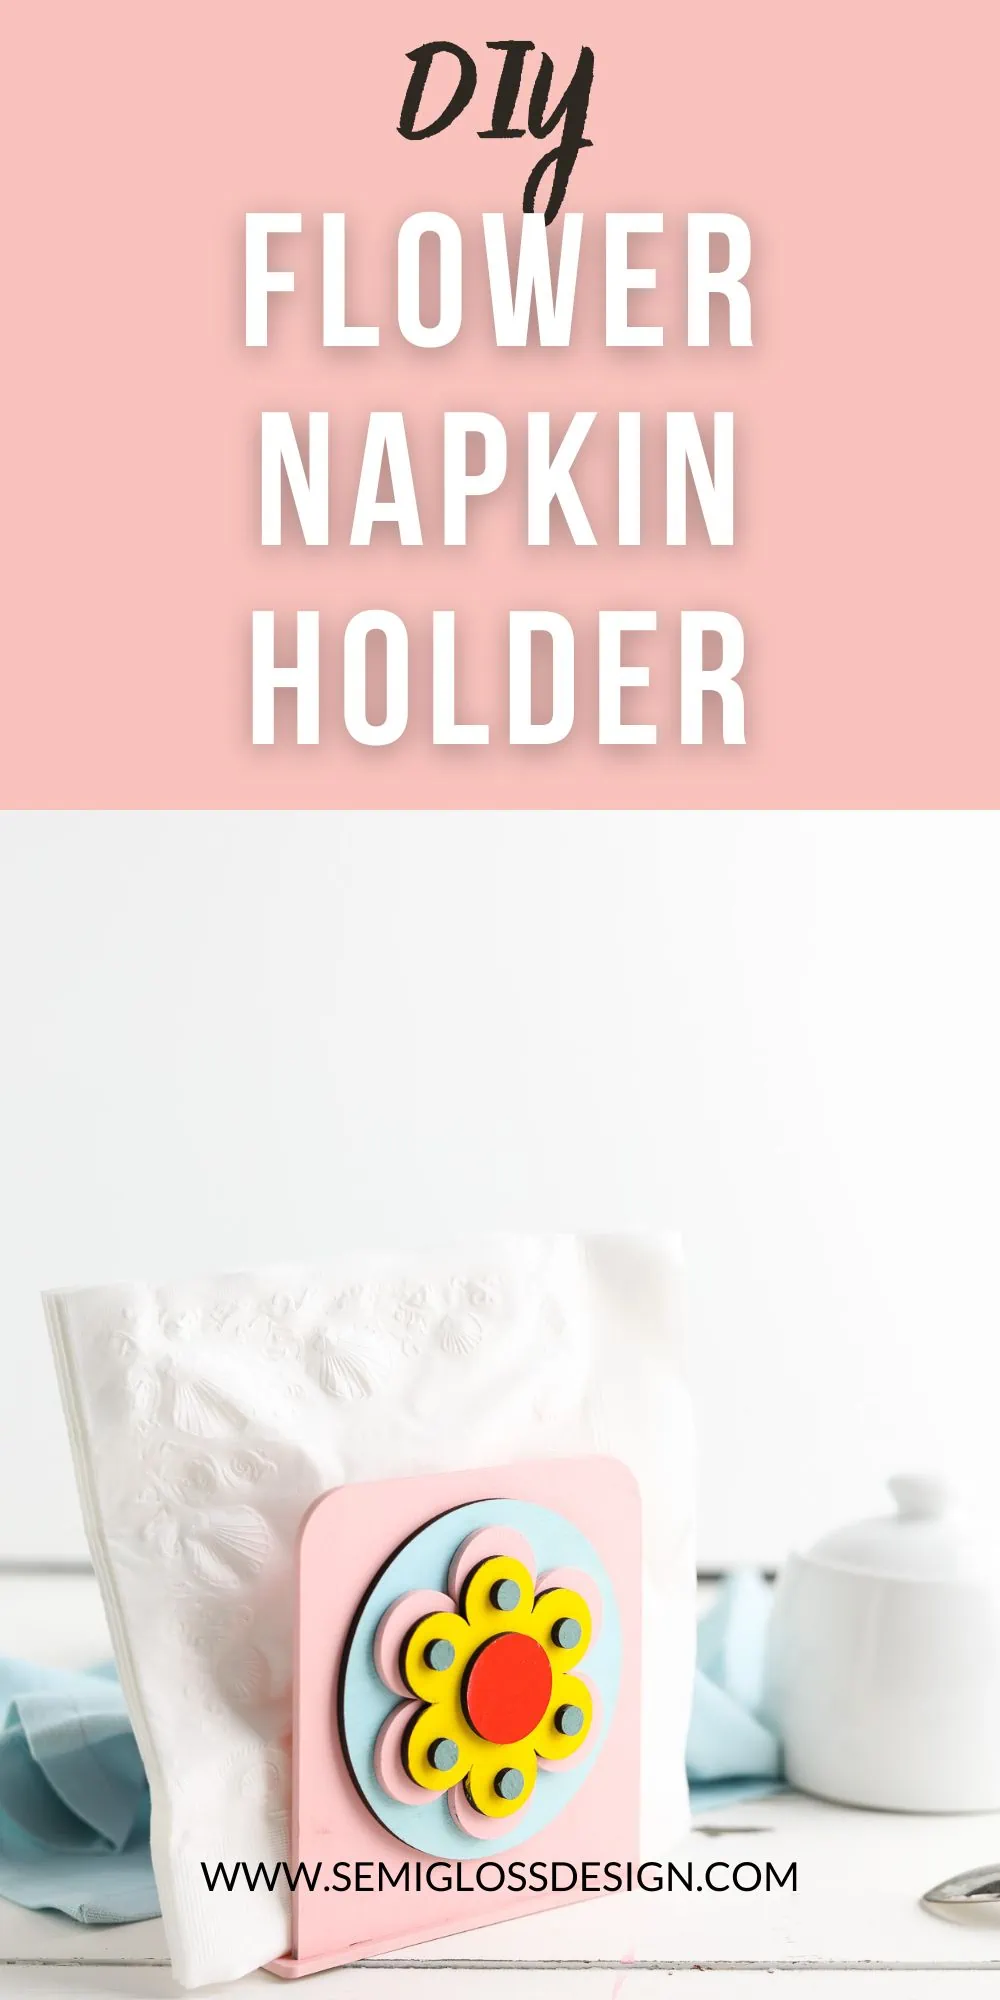
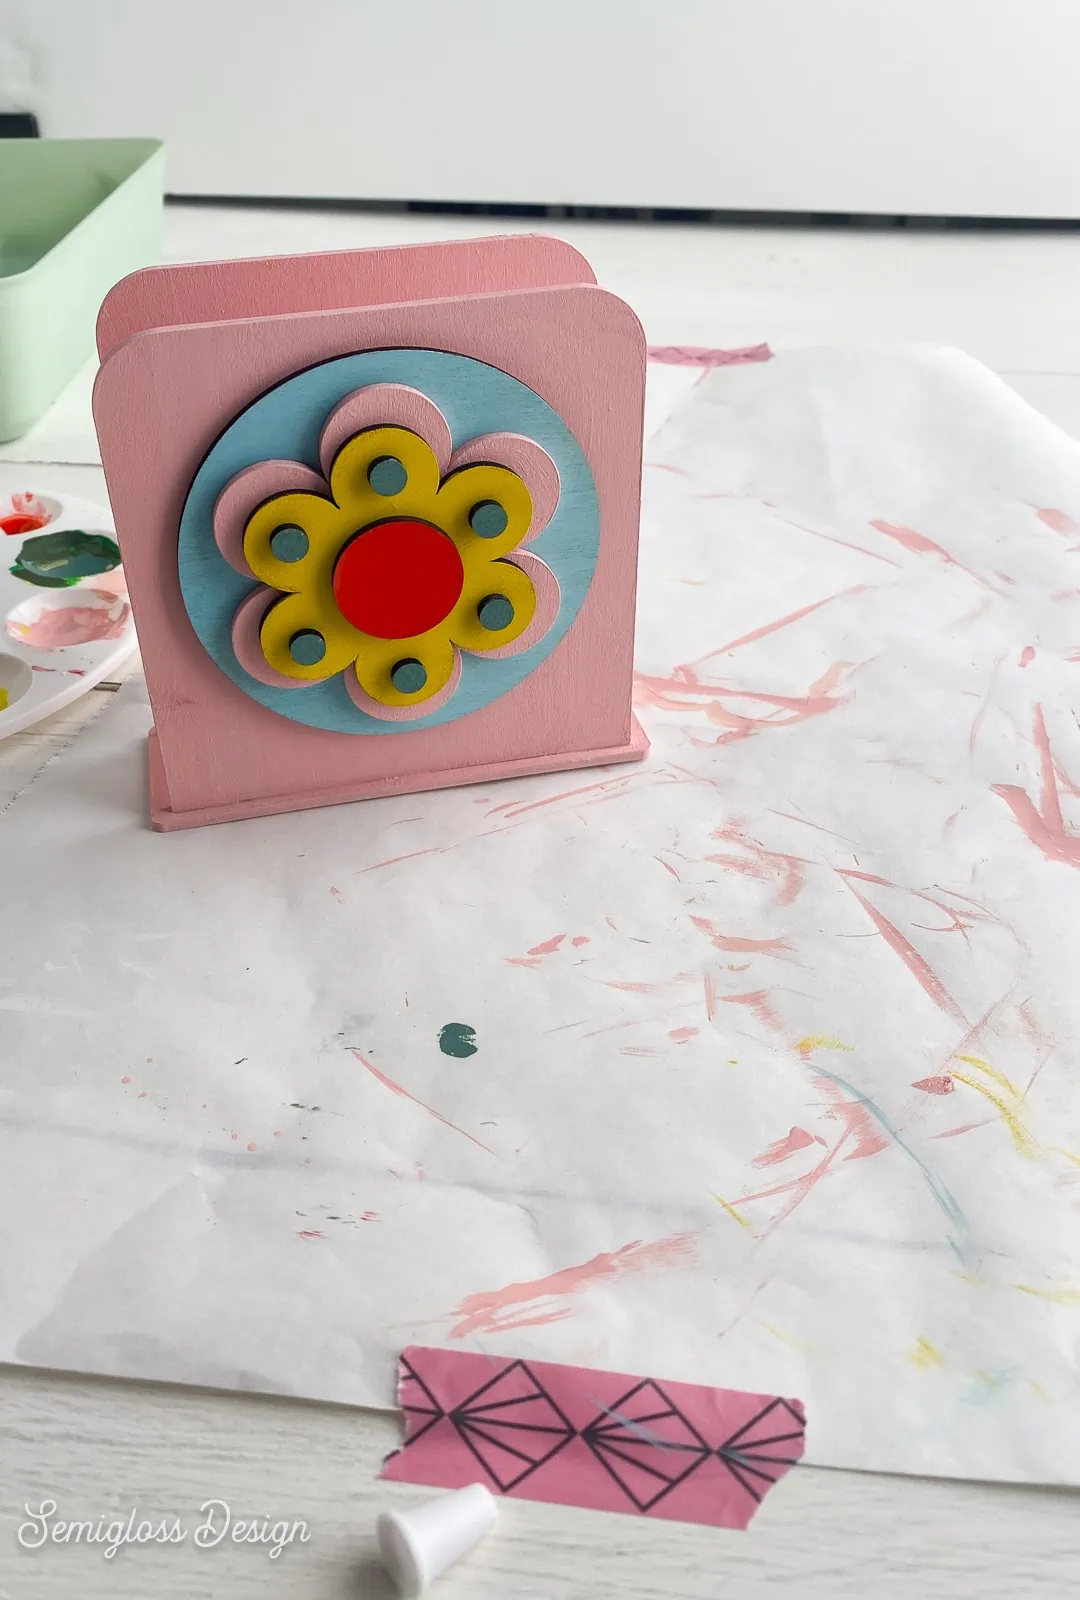
When I received the xTool M1, I knew that a cute napkin holder was one of the first projects I wanted to make. I love how this DIY napkin holder turned out!
Laser Cut DIY Napkin Holder
Supplies Needed:
- xTool M1
- Basswood
- Glue (wood glue is best, but PVA glue works in a pinch)
- Craft Paint
- Paintbrush
- Cut File*
*The base of the napkin holder was created using this file that I bought, so I can’t give it away. I’m only providing the flower cut file, which can be found at the bottom of this post. The napkin sides were lengthened to accommodate the flower design.
Directions
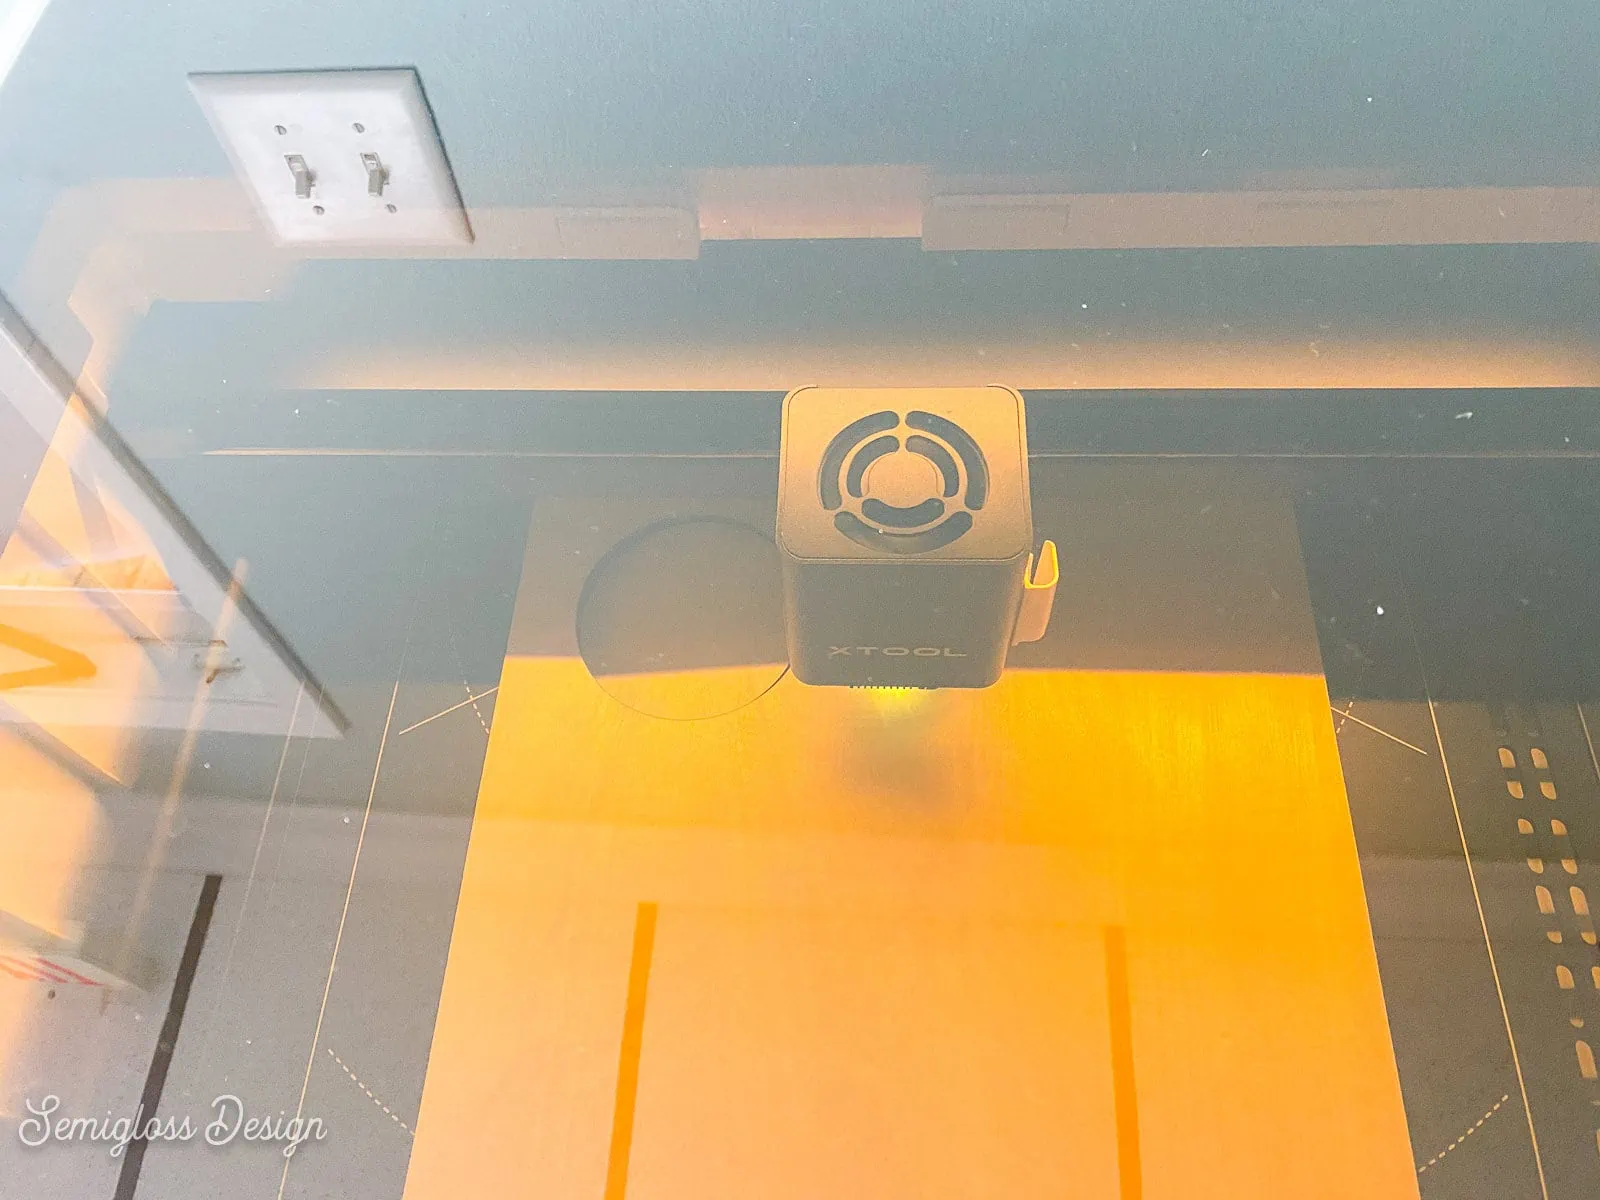
- Cut the basswood as usual with the xTool M1.

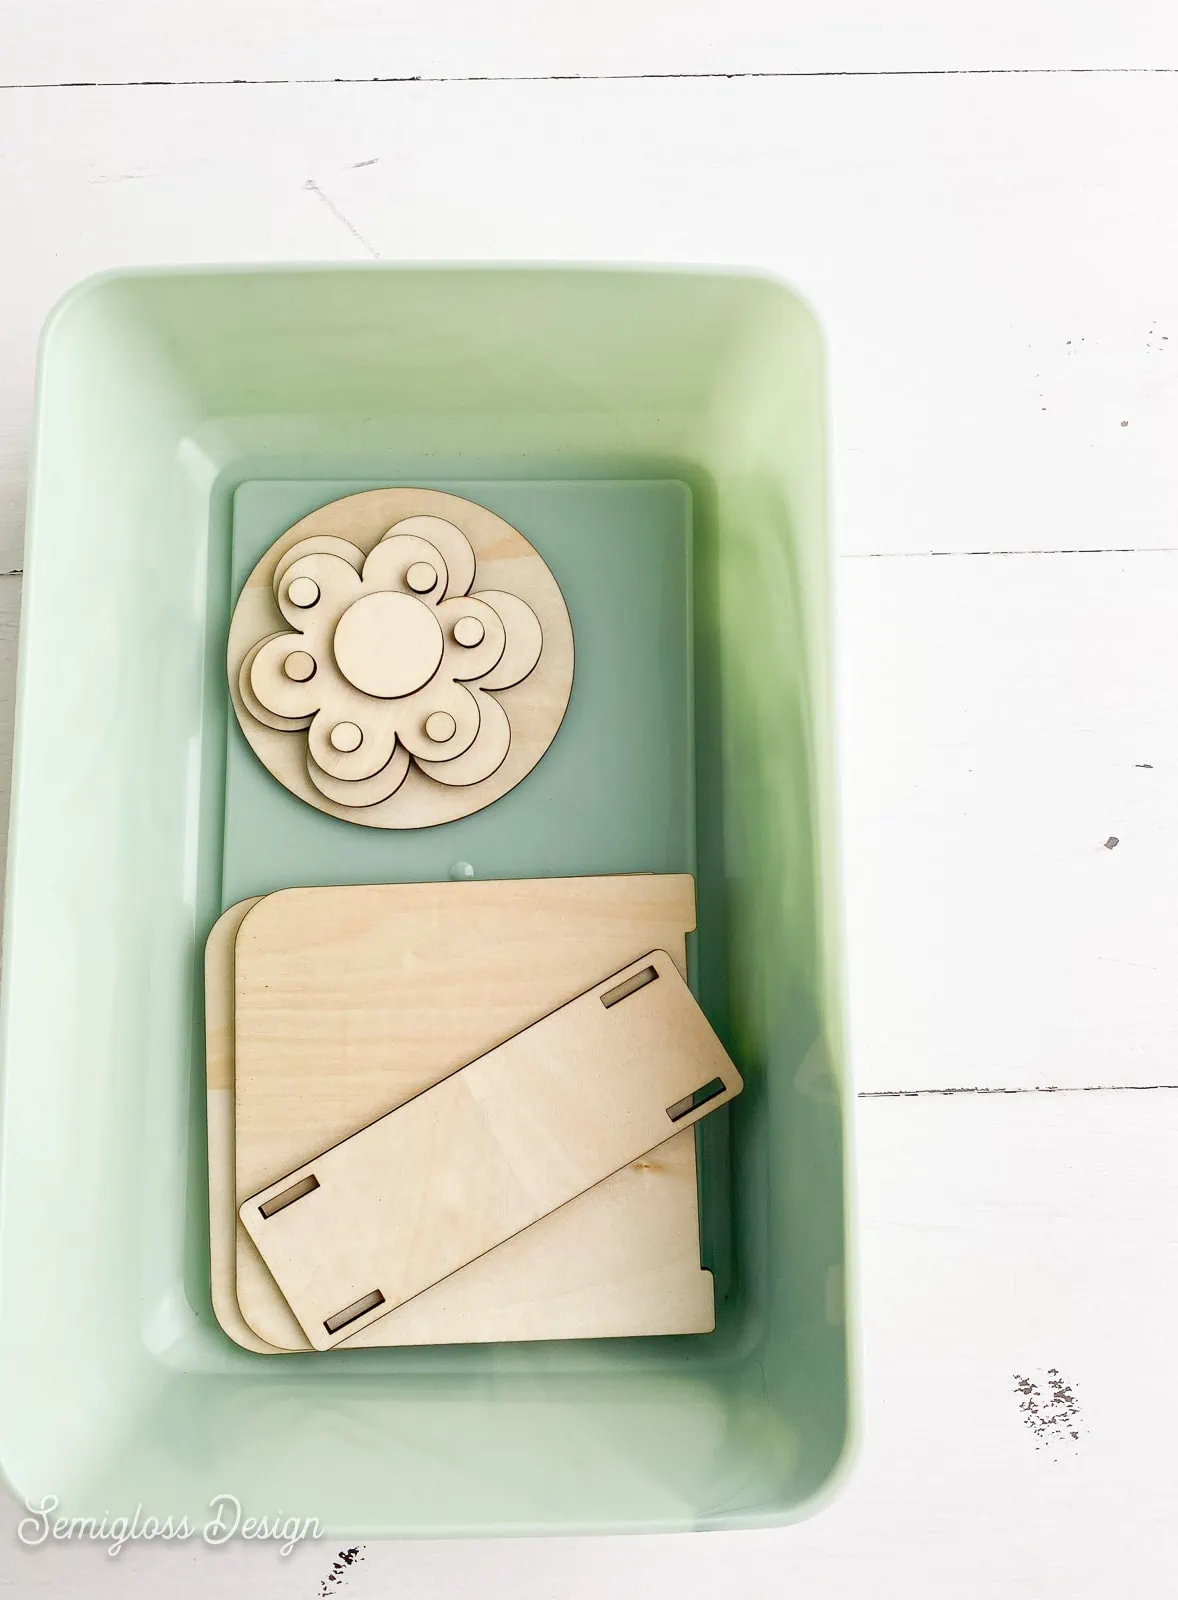
- This project has a lot of pieces so it’s helpful to place everything in a container to keep them from getting lost.

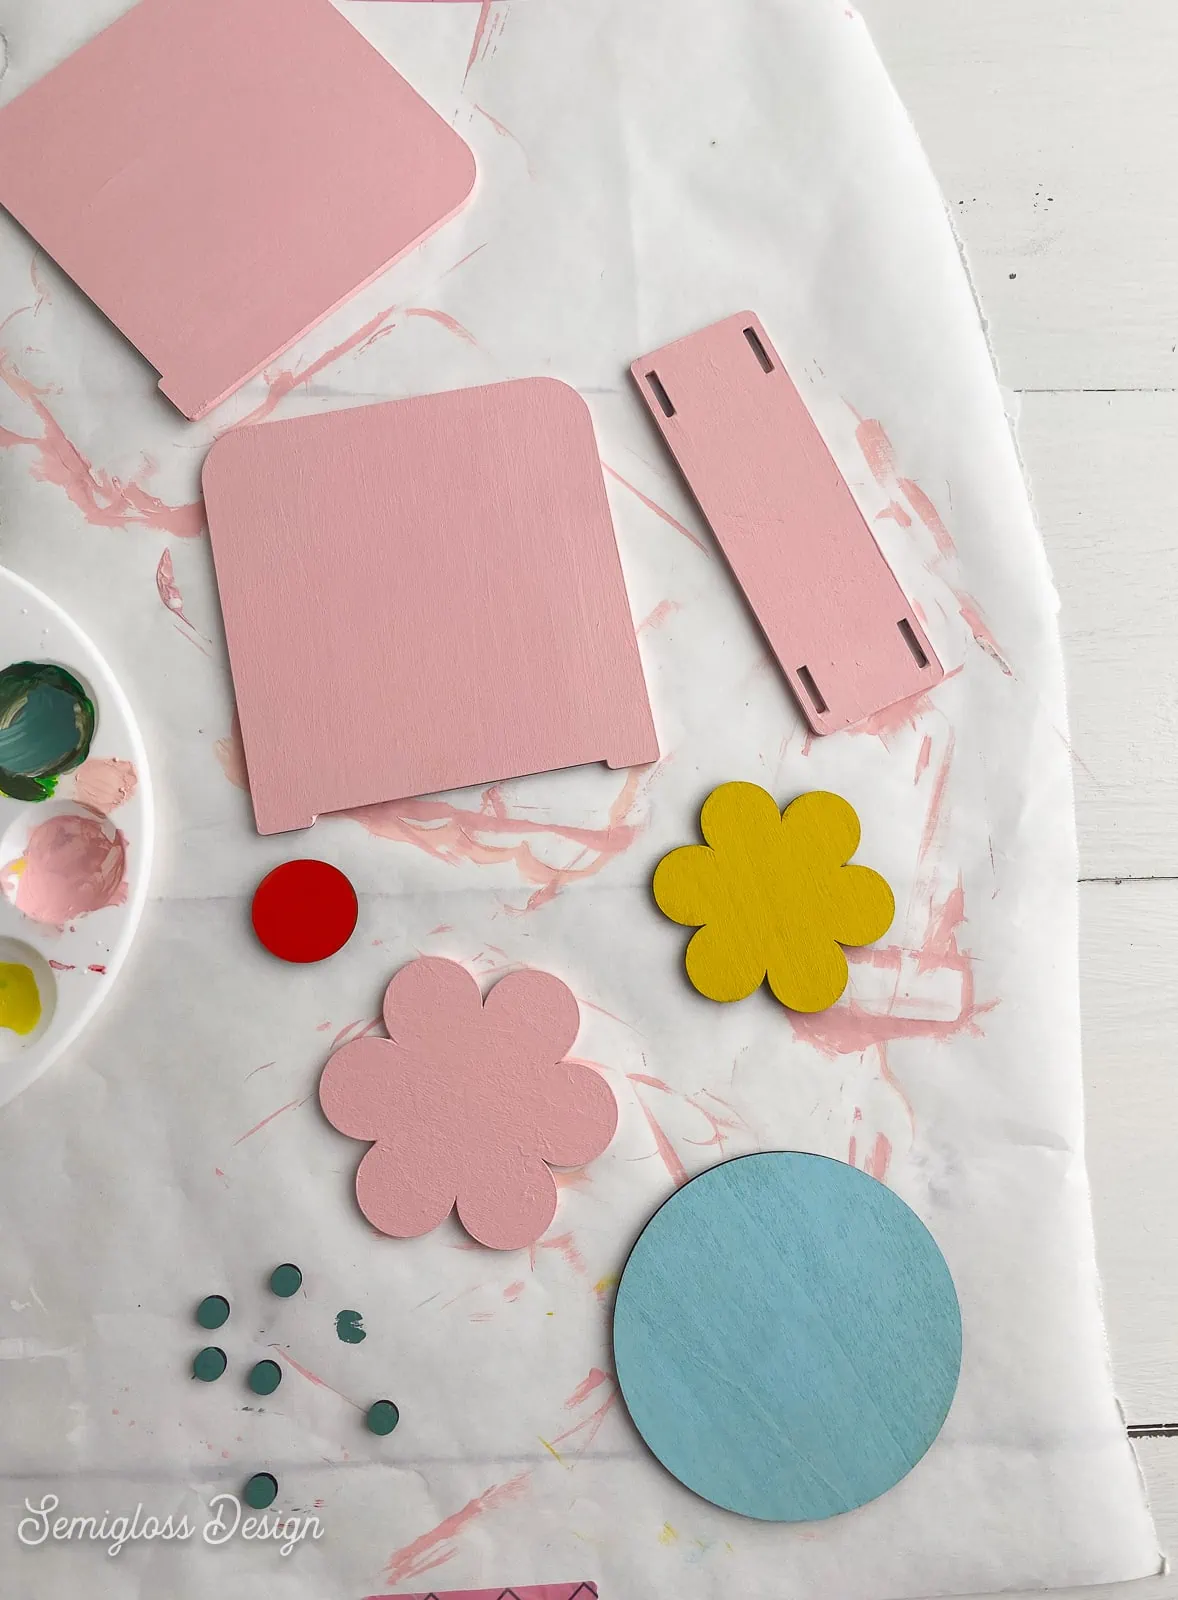
- Plan your color scheme. I chose to match my office kitchen plans, but a ’70s color scheme of hot pink, orange, and yellow would be fantastic.
- Protect your workspace as necessary. I like to use freezer paper because it’s cheap and the paint doesn’t stick as much as cardboard.
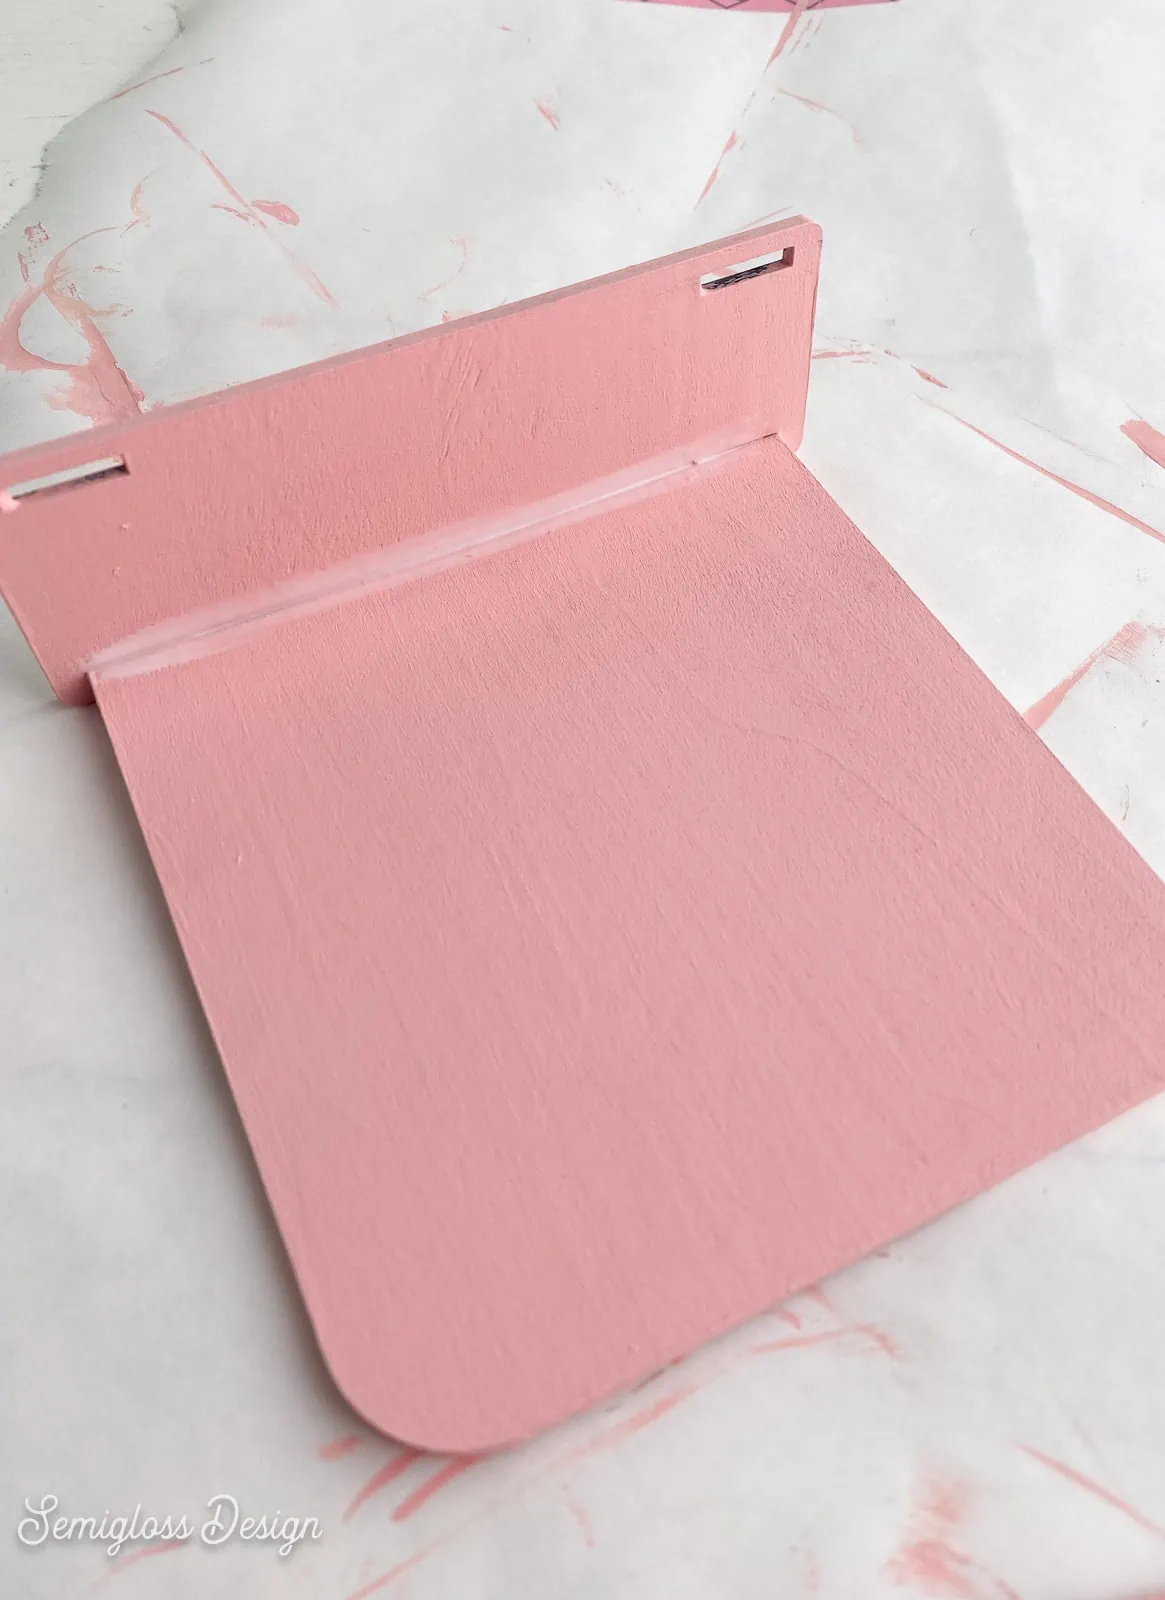
- Paint each piece. Since the wood is so thin, don’t dilute the paint too much or it might warp the wood.
- Paint the edges if desired. The edges are dark brown and can look pretty with some colors.
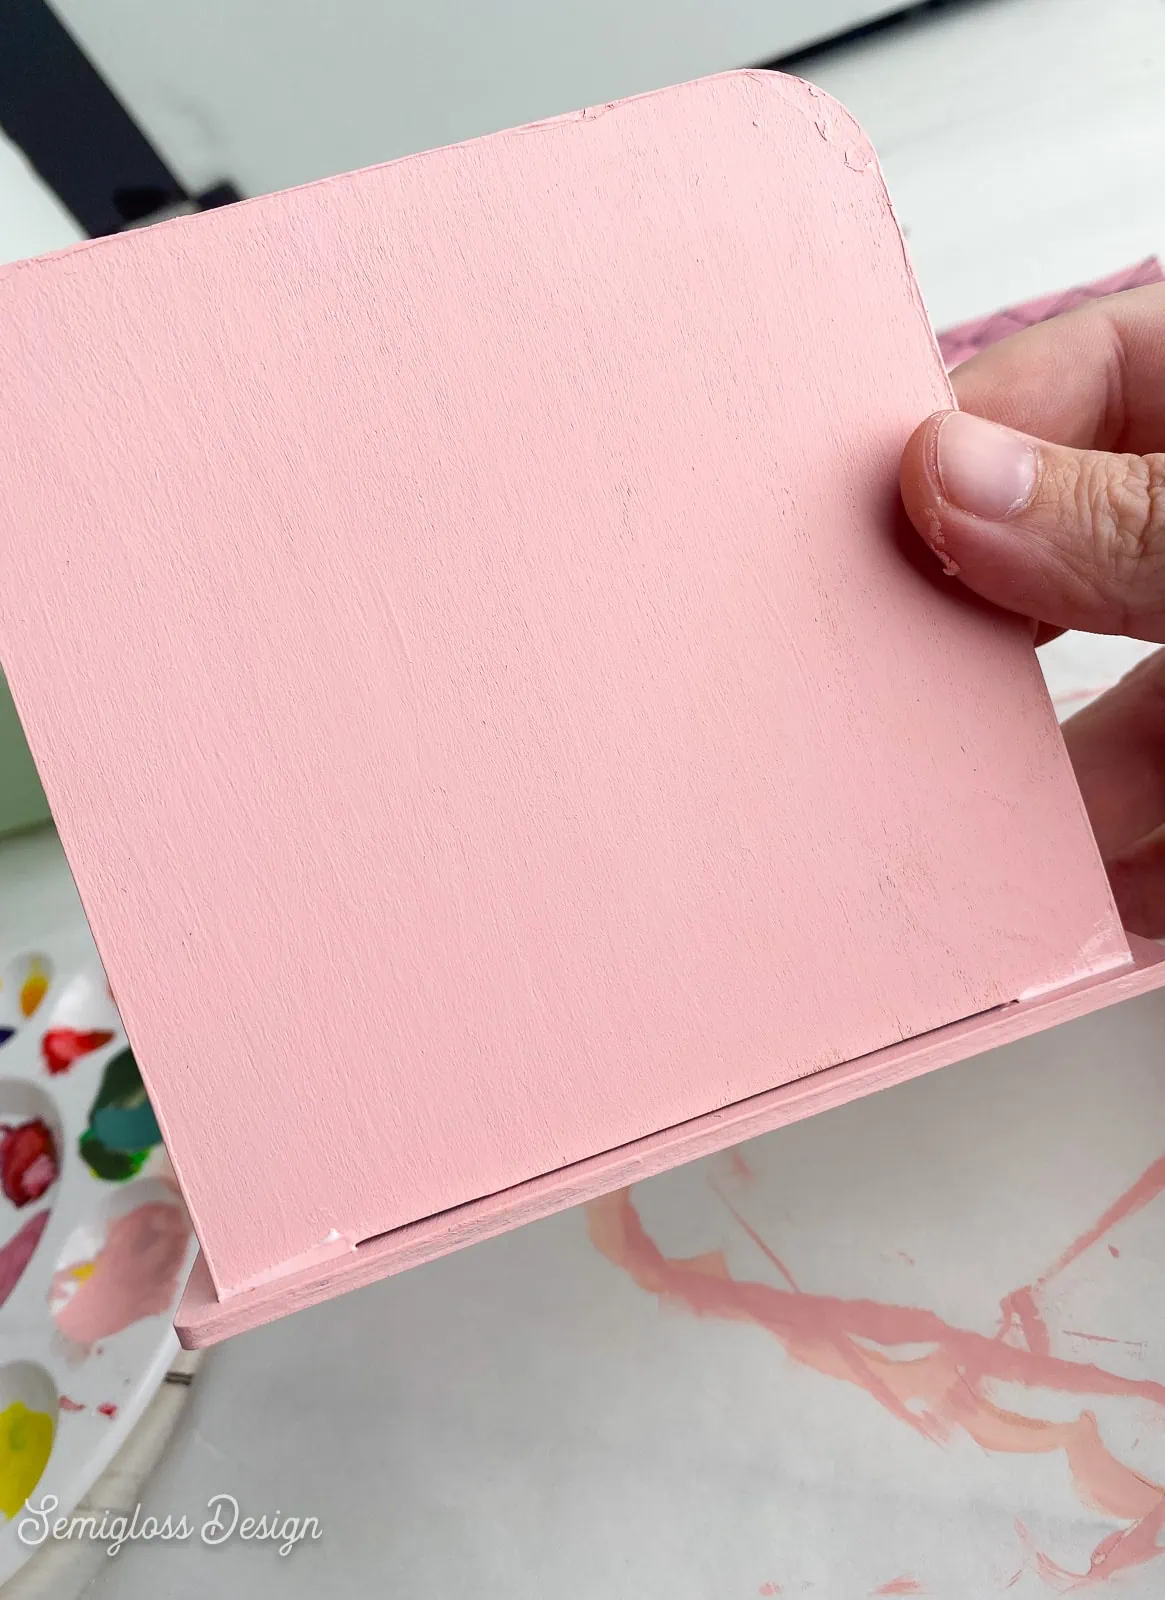
- Allow the first coat of paint to dry and add another.
- Both sides of the side panels need to be painted.
- When the paint is dry, start building the napkin holder. Apply glue to the tabs of one panel and insert it into the bottom panel.

- Use a damp brush to smooth any glue that spills out.
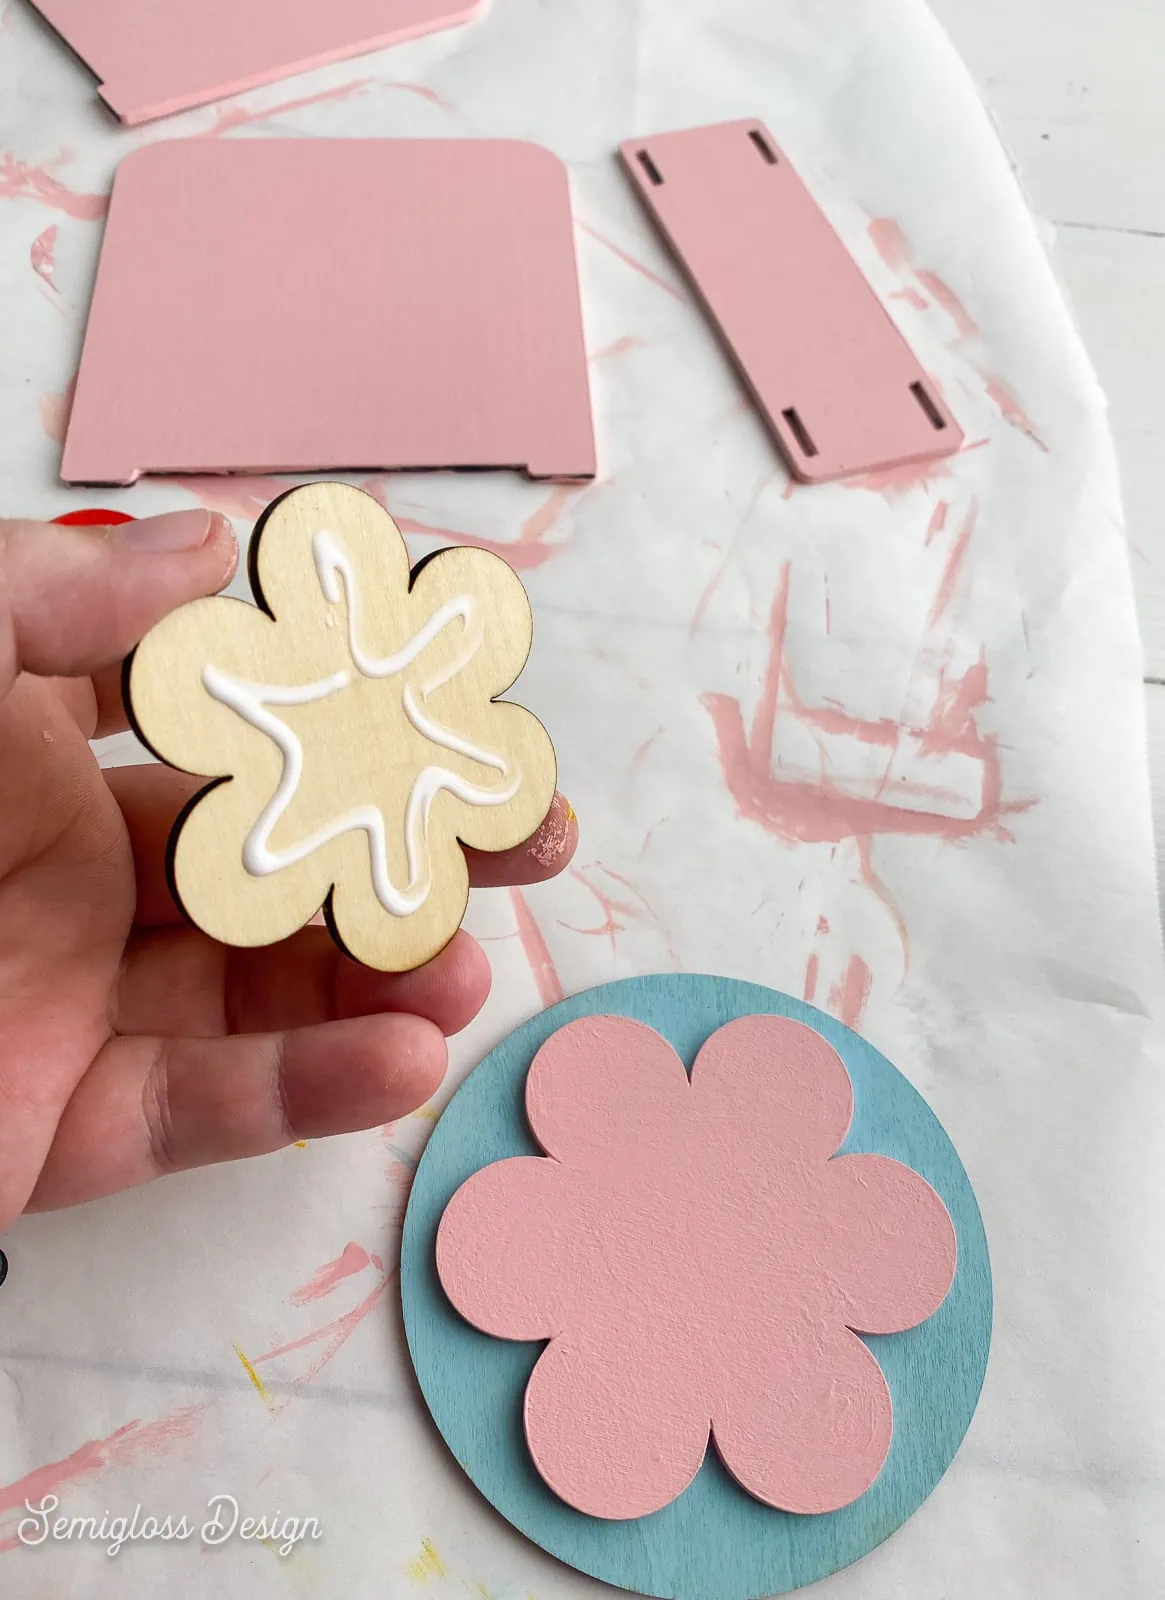
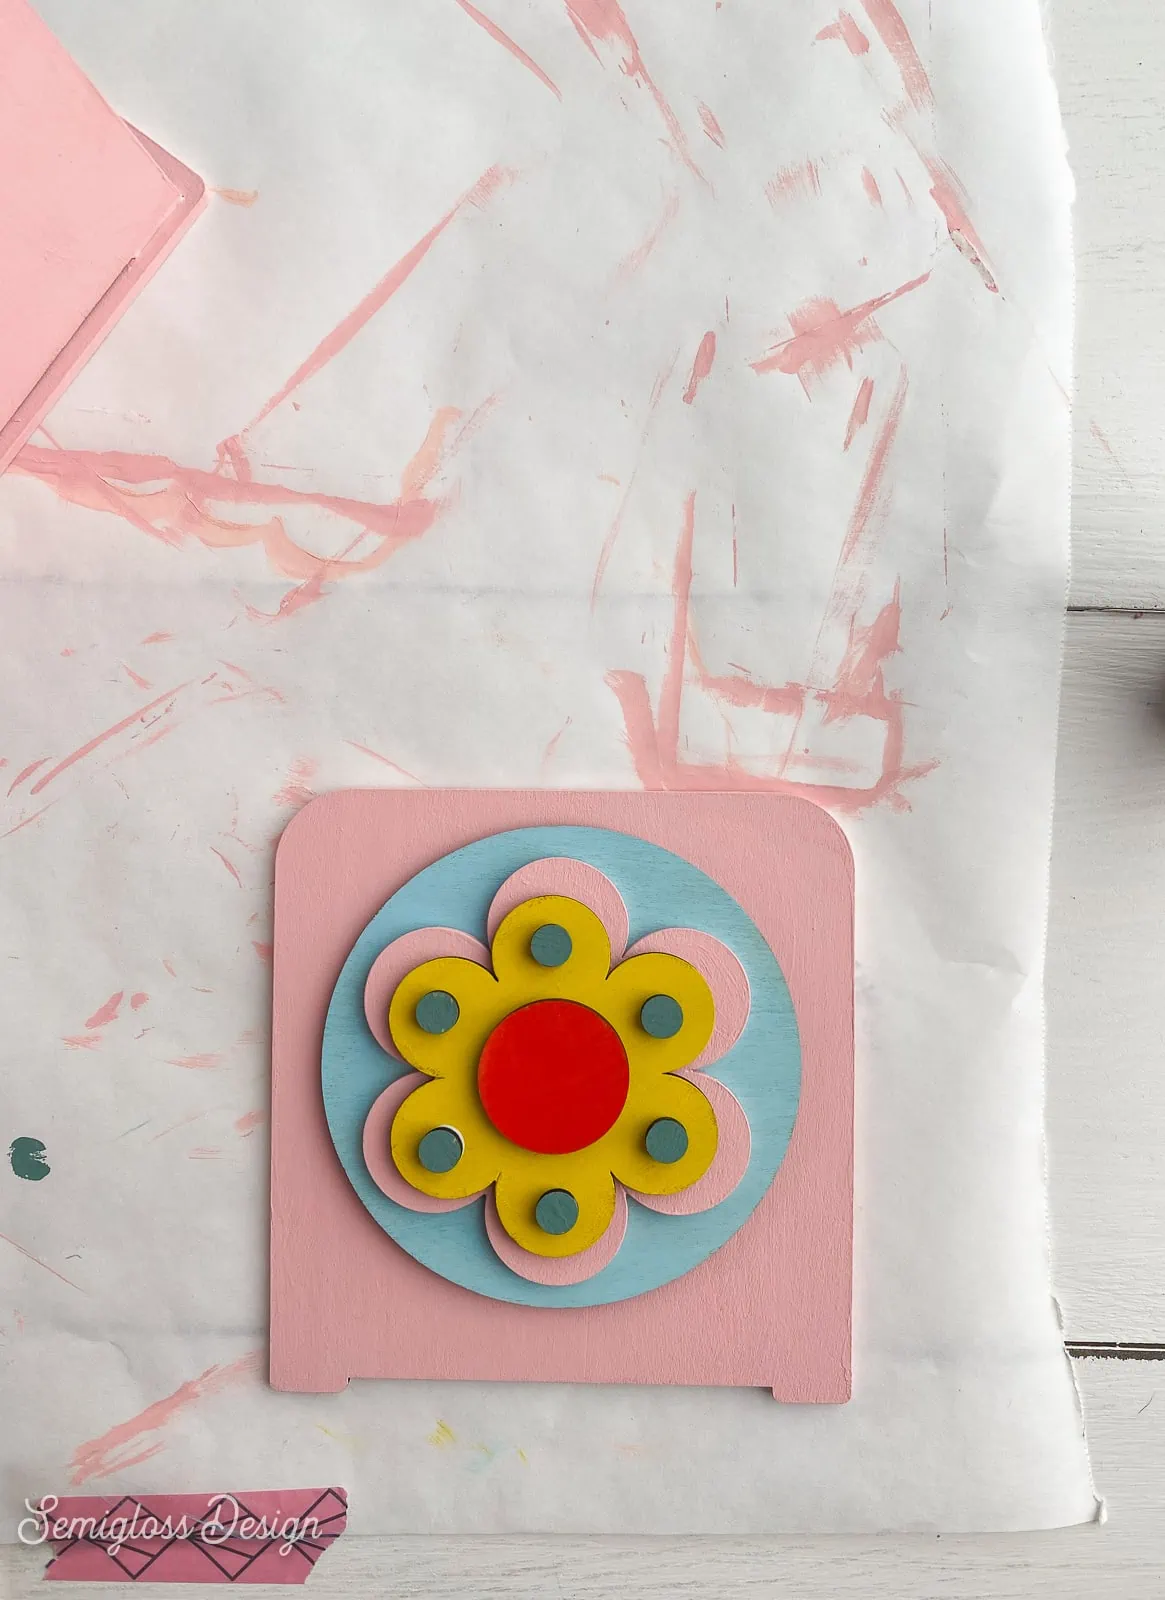
- Apply the circle and flower design to the other panel using glue.
- Let the glue dry before applying the remaining panel to the piece in step 8.

- Then use glue to attach the tabs to the bottom panel with the flower facing out.
- Use the paintbrush to smooth any glue along the edges.
- Let the glue dry before using.
You might also like:
Cut File
This is an SVG file that will work with the xTool software.
All downloads are for personal use only. Please do not redistribute or sell files.
Pin for Later!

Emy is a vintage obsessed mama of 2 DIYer who loves sharing affordable solutions for common home problems. You don’t need a giant budget to create a lovely home. Read more…