DIY Popcorn Ceiling Removal
Learn all about DIY popcorn ceiling removal. Is this a DIY job or is it best left to the professionals?
You might also like this post on painting a basement ceiling.
This post contains affiliate links. By purchasing an item through an affiliate link, I earn a small commission at no extra cost to you. As an Amazon Associate I earn from qualifying purchases.
One of the things that I hate most about houses in the south is the popcorn ceilings. WHY!?!
They’re ugly, dust collectors, impossible to paint, and make the ceiling feel lower than it is.
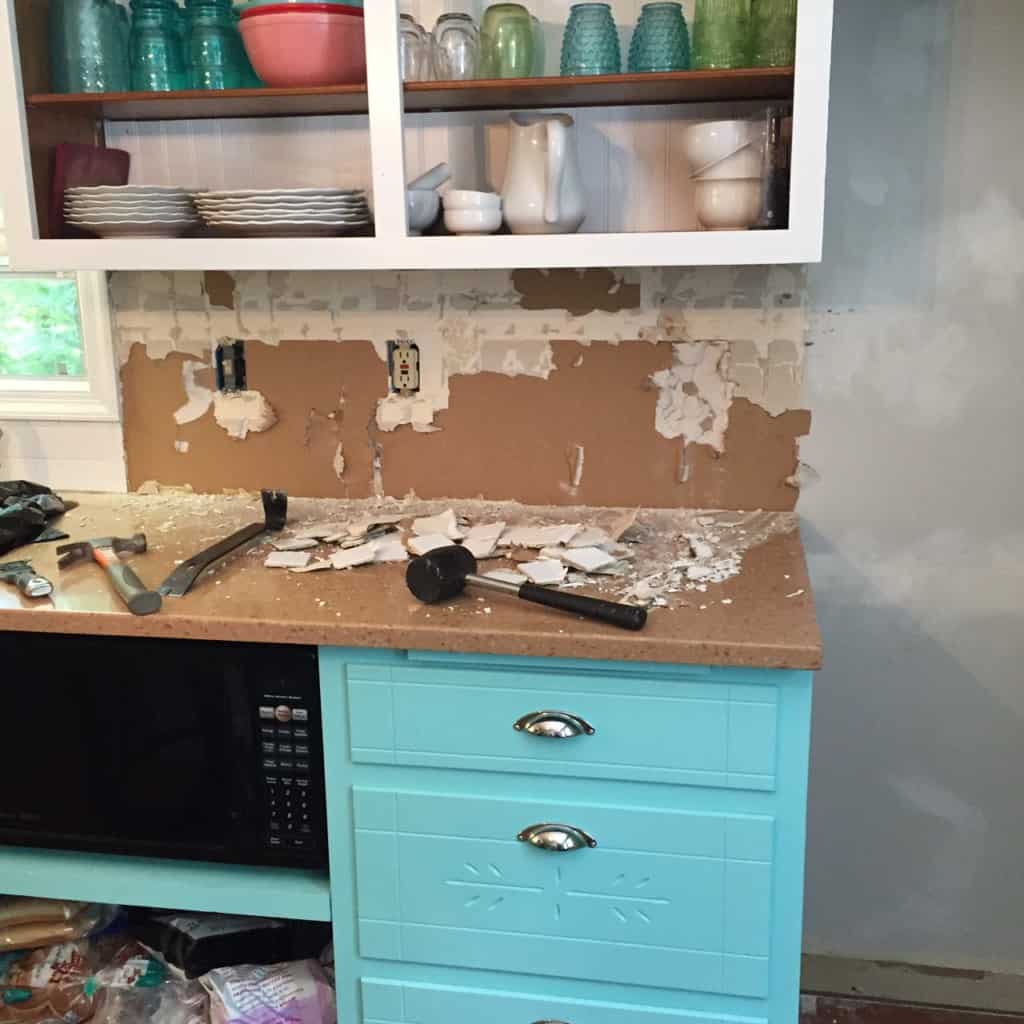
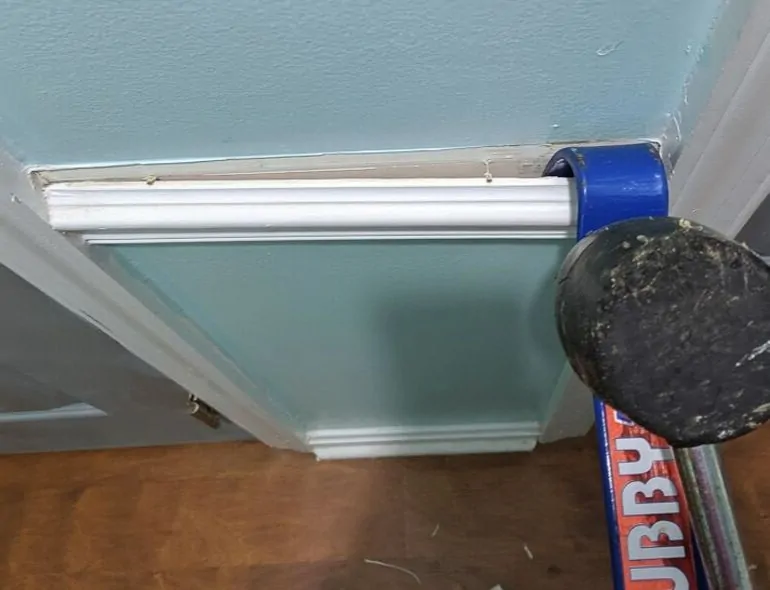
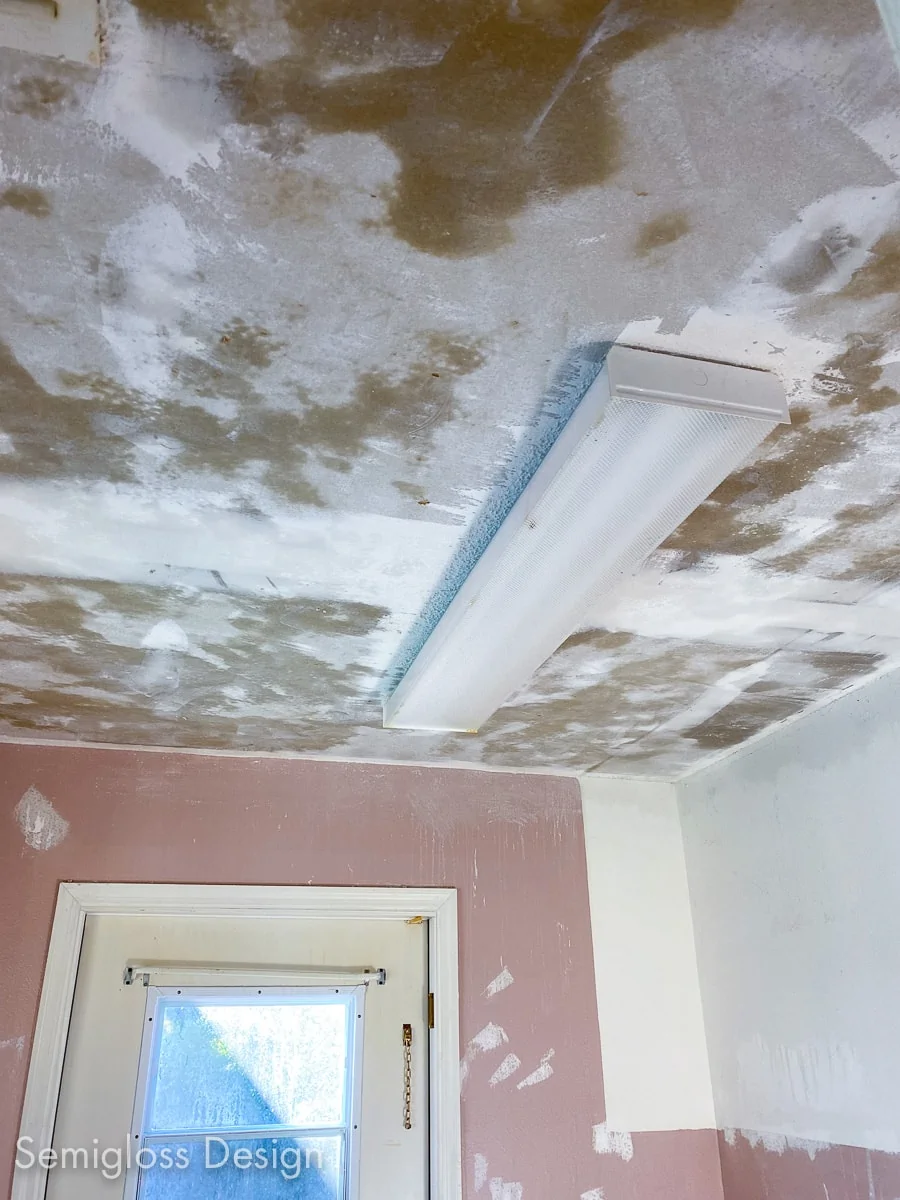
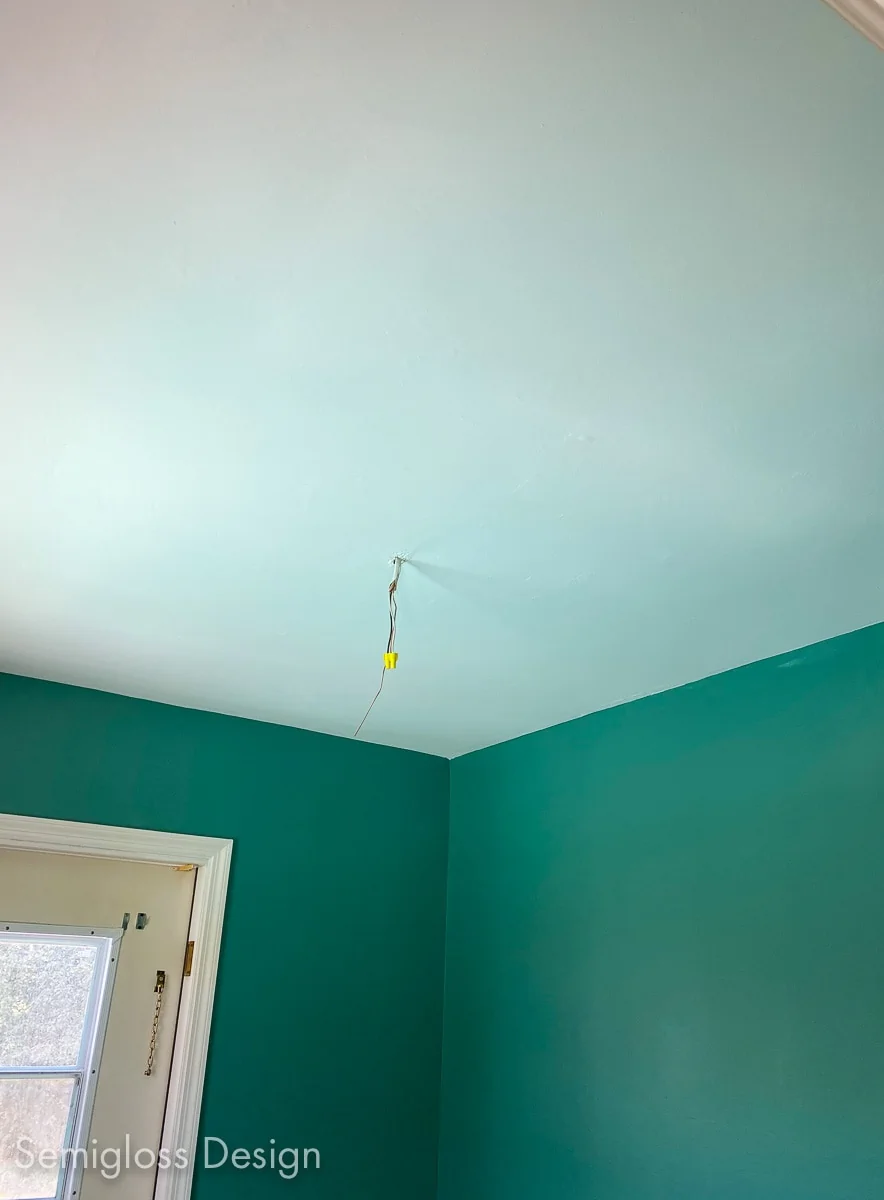
I’m in the process of making a room into my office and when we removed the cabinets, it left a line in the popcorn ceiling. I knew that it would drive me nuts, so I decided to get rid of the ugly popcorn texture.
Minutes later, I was regretting life.
Y’all, this tutorial needs a big disclaimer: Although this job is totally DIY-able, I’m not sure that it’s worth it. Also, maybe I’m just a weenie.
This was the messiest, grossest DIY project that I’ve ever done. Even grosser than removing insulation from our basement in our last house.
There was something about the peeling sheets of it that was so viscerally gross that I was moaning in disgust.
It wasn’t particularly hard or even time-consuming. It was just gross.
I will be saving our money to get our professionally removed in the future.
But just in case you’re braver than me, it’s a pretty easy process.
One more thing: you should do this BEFORE painting your walls because they will be a mess and need a new paint job.
If your home was built before 1980, this is not a DIY project. Older popcorn textured ceiling contains asbestos, so it will need to be tested and probably professionally removed.
DIY Popcorn Ceiling Removal
Supplies Needed:
- Spray bottle*
- Putty knife
- Tarps or drop cloths
- Eye Protection
- Mask
- Stepladder
If your room is large, use this larger sprayer instead.
Prep Work
This job is messy, so prep work is super important.
- Remove everything that doesn’t need to be in the room. I mean everything.
- Cover the floor and anything remaining with tarps or drop cloths. I used cloth drop cloths, which can be washed, but disposable ones could just be thrown away.
- Wear clothing that you don’t care about. And cover your hair if you care about such things.
- Use personal protection as needed. You will be breathing it in.
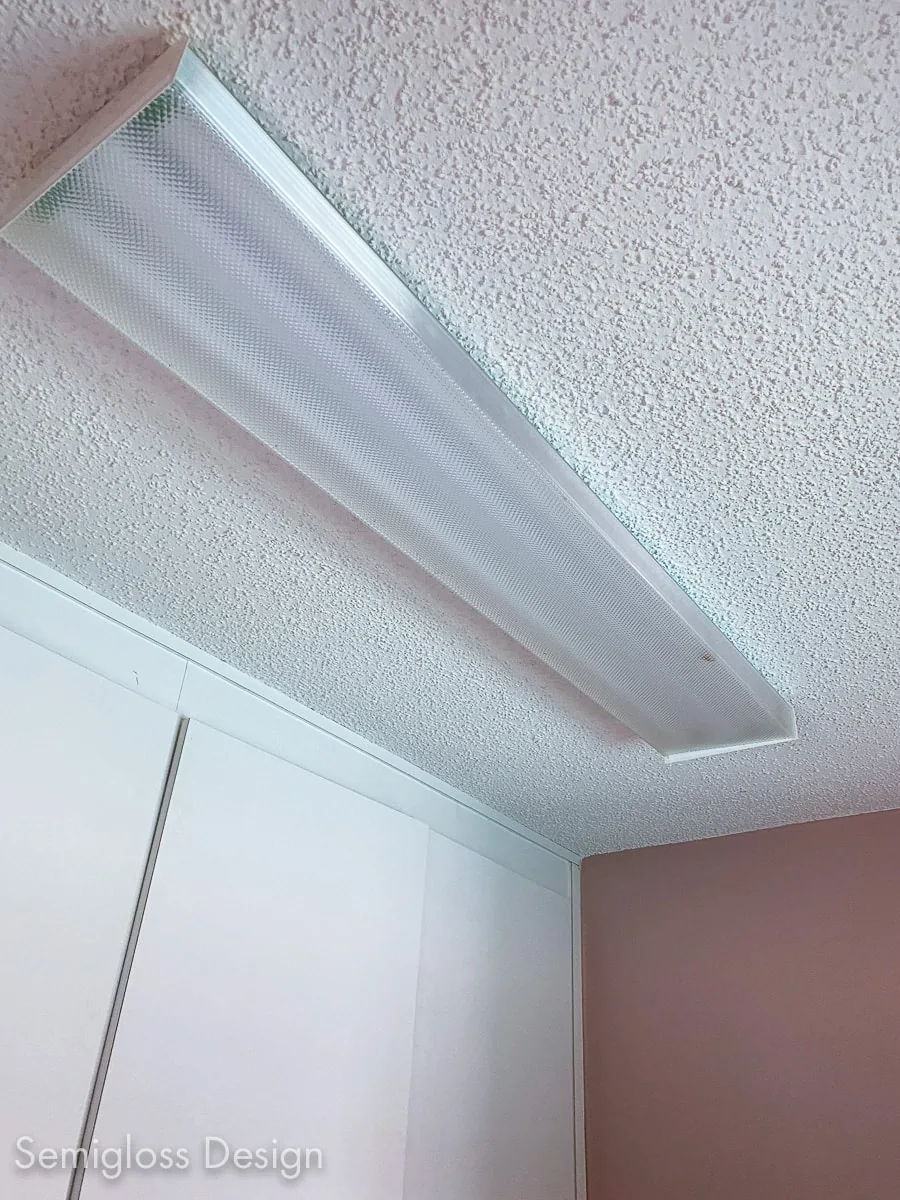
- Remove any ceiling vents or lights so that you don’t have to do this process in 2 days like I did.
Removing the Popcorn Ceiling
This process goes pretty fast. But be sure to rest your arms and shoulders because it gets tiring.
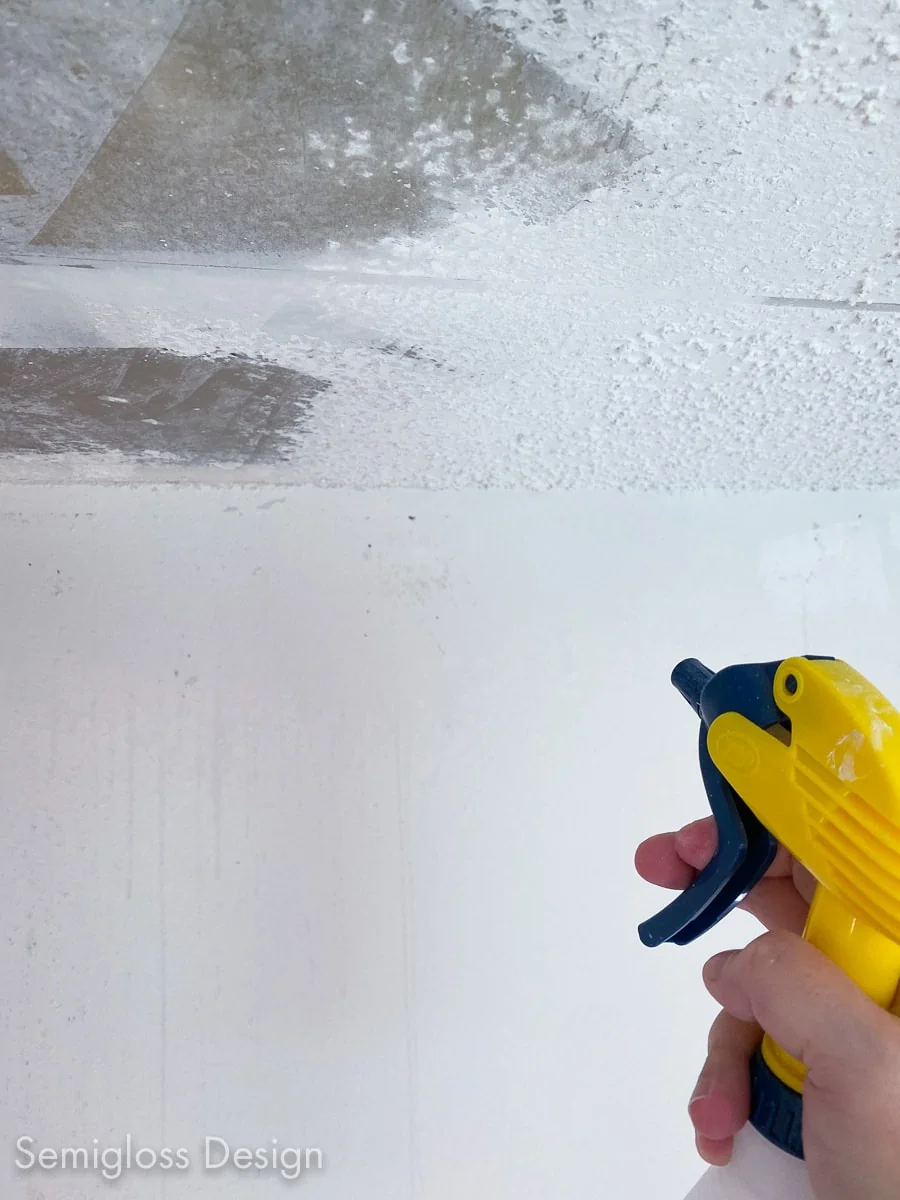
- Spray the ceiling with warm water.

- Let it soak in for a few minutes.
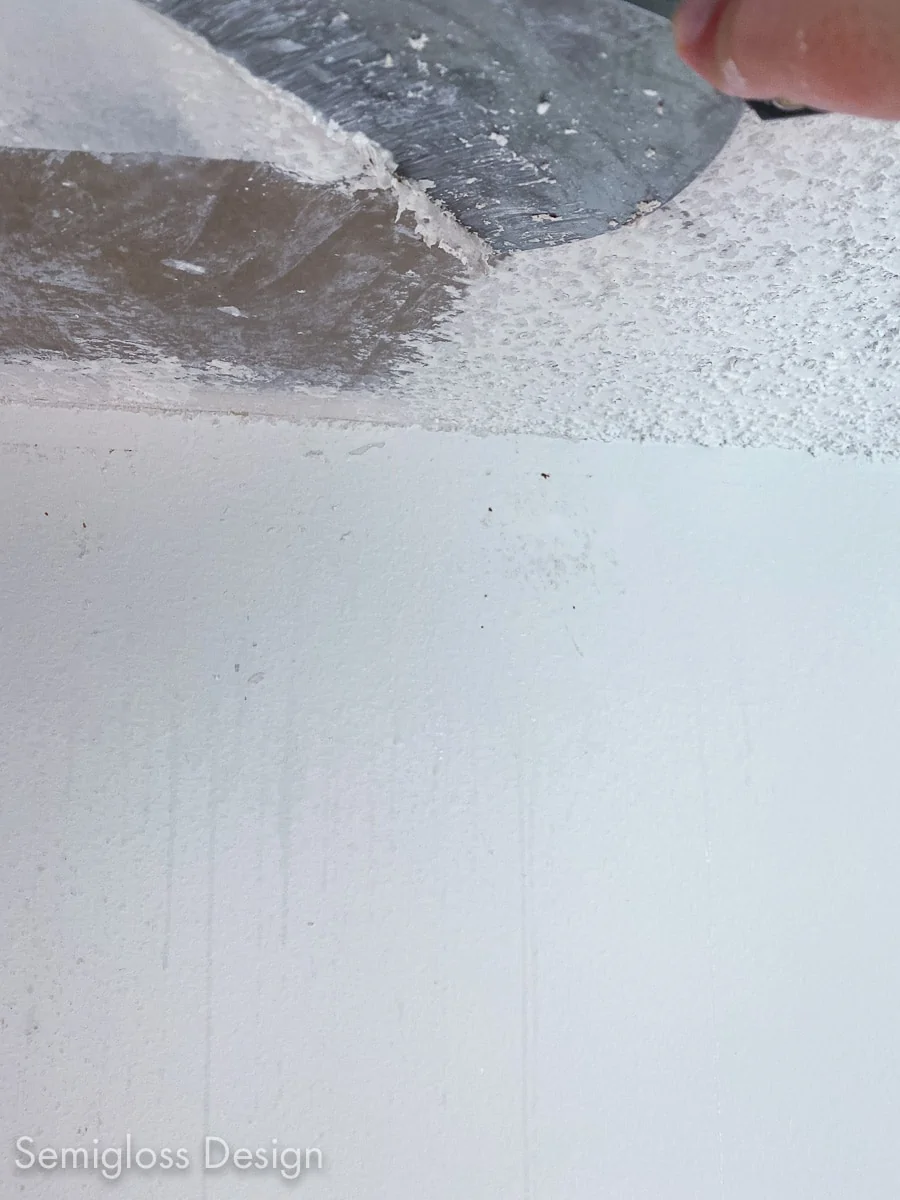
- Use a putty knife to scrape the texture away.

- If it’s crumbly and hard to scrape, it’s not wet enough. Spray it some more.
- Be careful as you go not to damage the ceiling.
- Keep going, working in small sections at a time until it’s done.
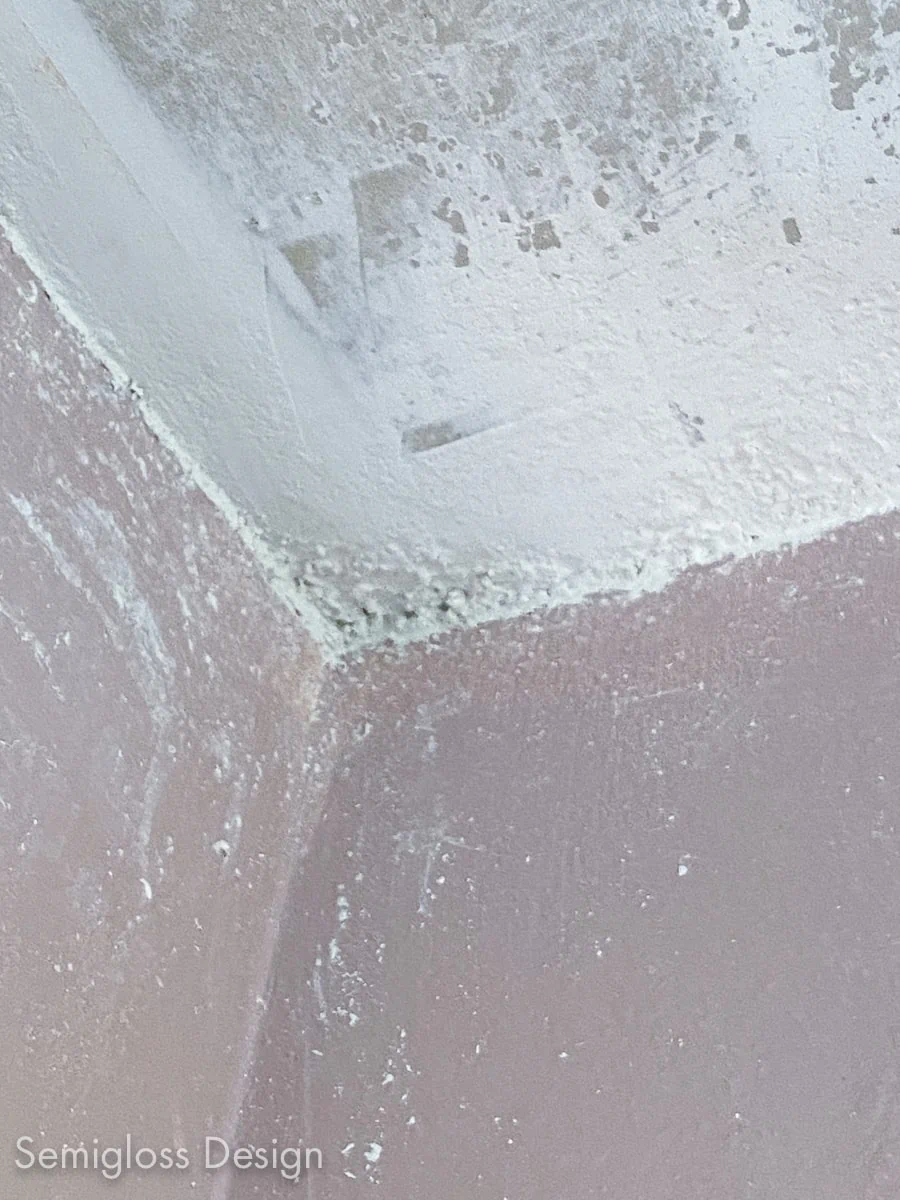
- Be really careful around the corners of the walls. They have paper drywall tape and it’s really easy to mess those up.
Clean Up
Since this job took me 2 sessions, I cleaned it up while wet and while dry. Both are equally bad.
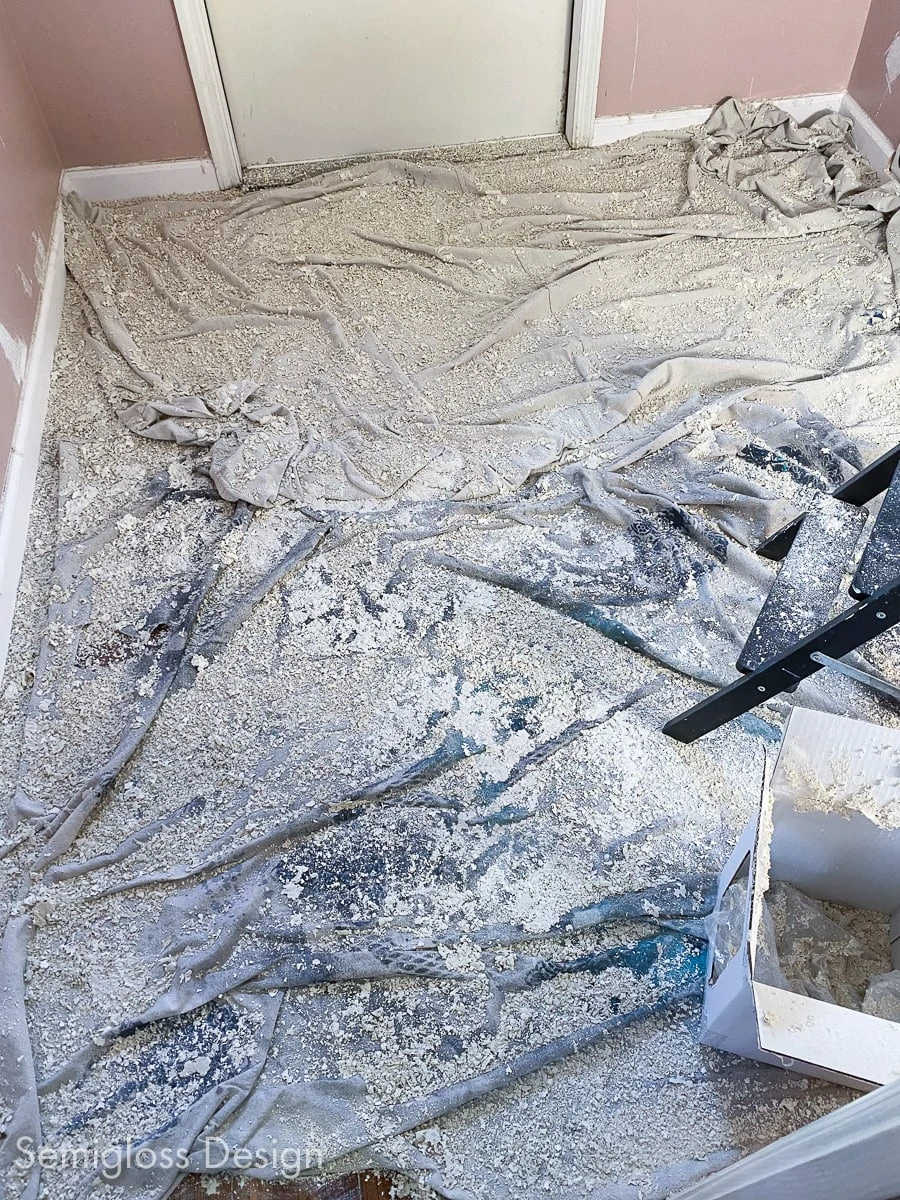
Cleaning up the wet mess is a lot heavier. You might need 2 construction-grade trash bags to keep them from getting too heavy.
I dumped the mess from the drop cloth into the trash bags and took the drop cloth to the washing machine immediately. All of the mess washed out of it.
I cleaned up the floor as best as I could with a broom and then mopped.
The 2nd time, I let everything dry and it was really dusty. I ended up opening the windows and the door to air out the space.
This time, I dumped it all into the mess into a bag. Then I swept up as much as possible.
The floor didn’t need to be mopped since none of the mess was wet.
The drop cloth got washed again.
(See, it’s probably easier to use a disposable tarp instead.)
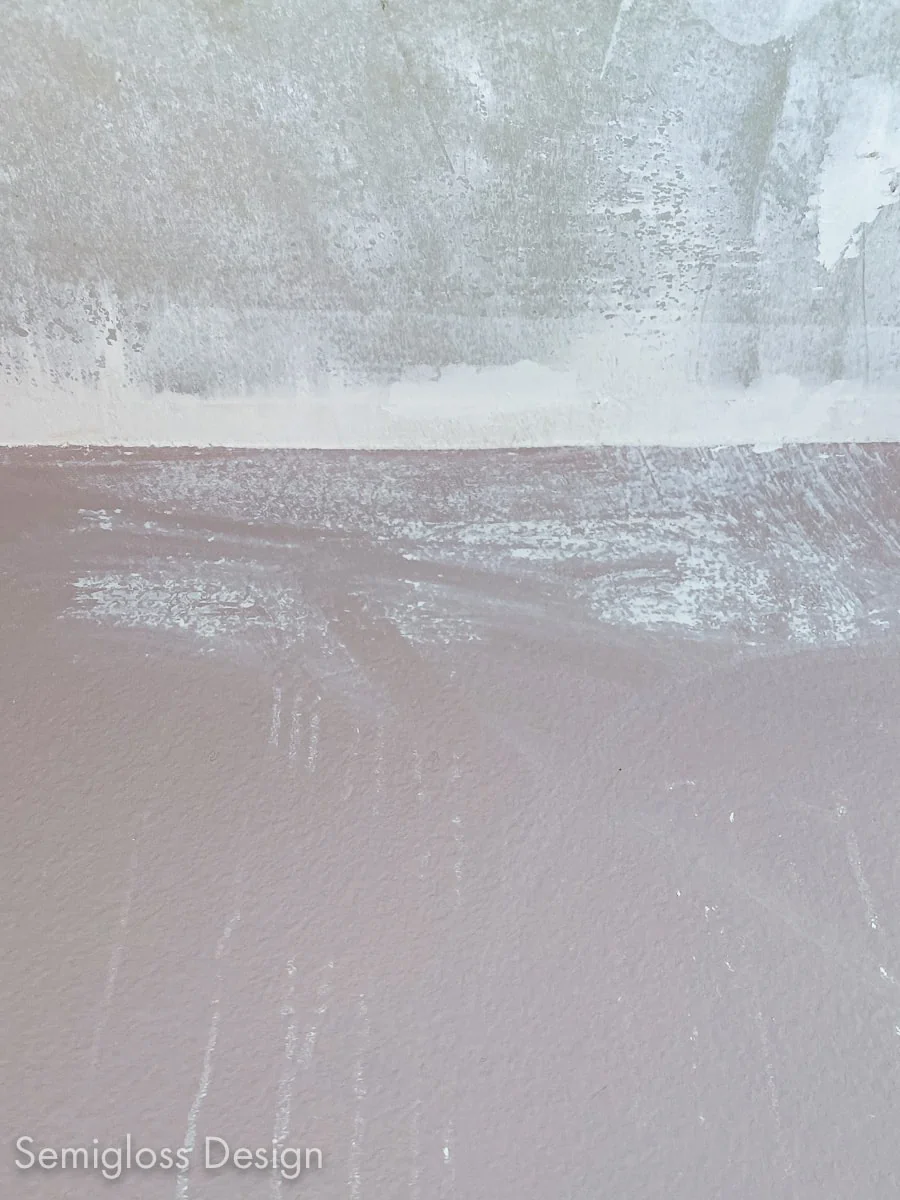
You might also need to wash your walls if they are a mess, like mine. I just used a rag and a bucket of water to wash the mess off. If it’s clumpy, it might need to be sanded instead.
Repairing the Ceiling
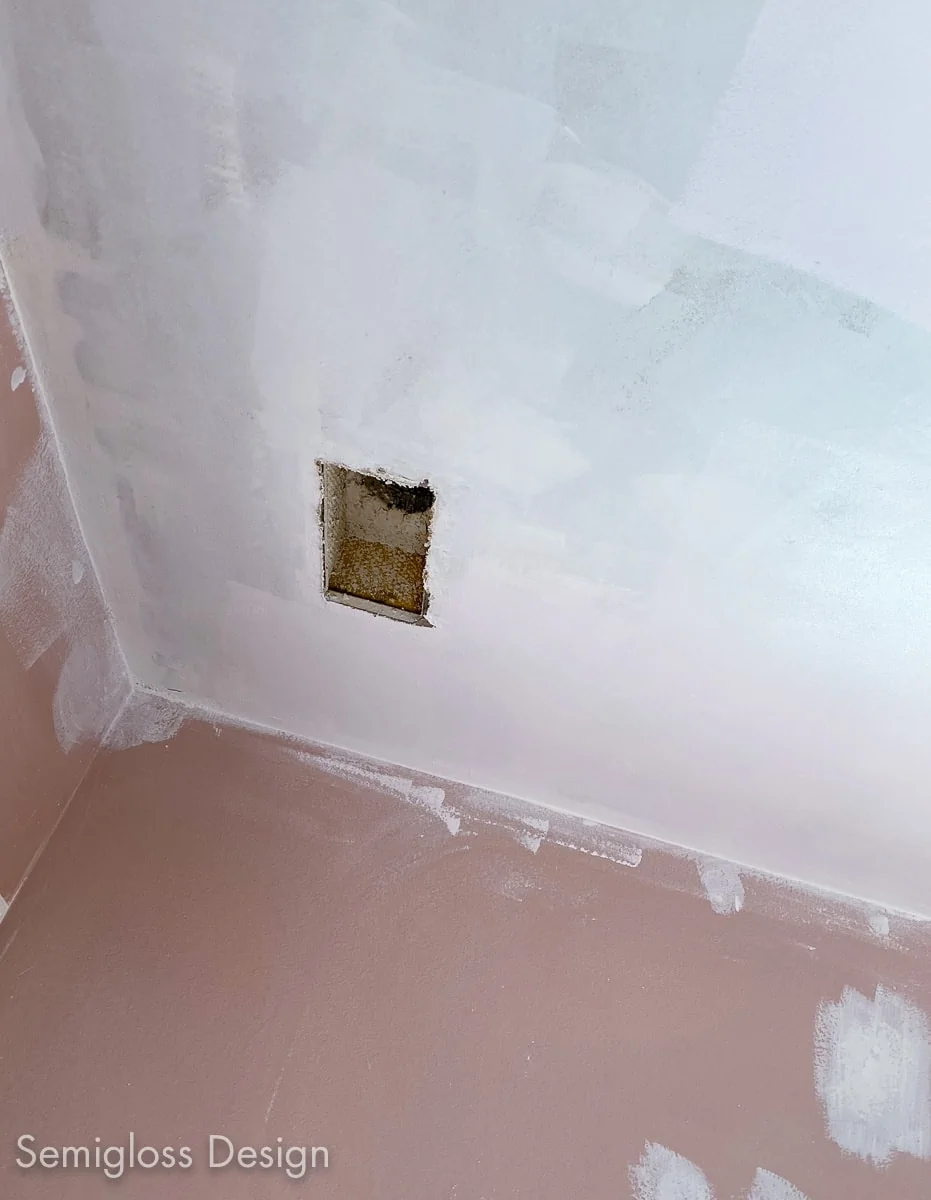
Once the dust cleared, it was time to fix the ceiling.
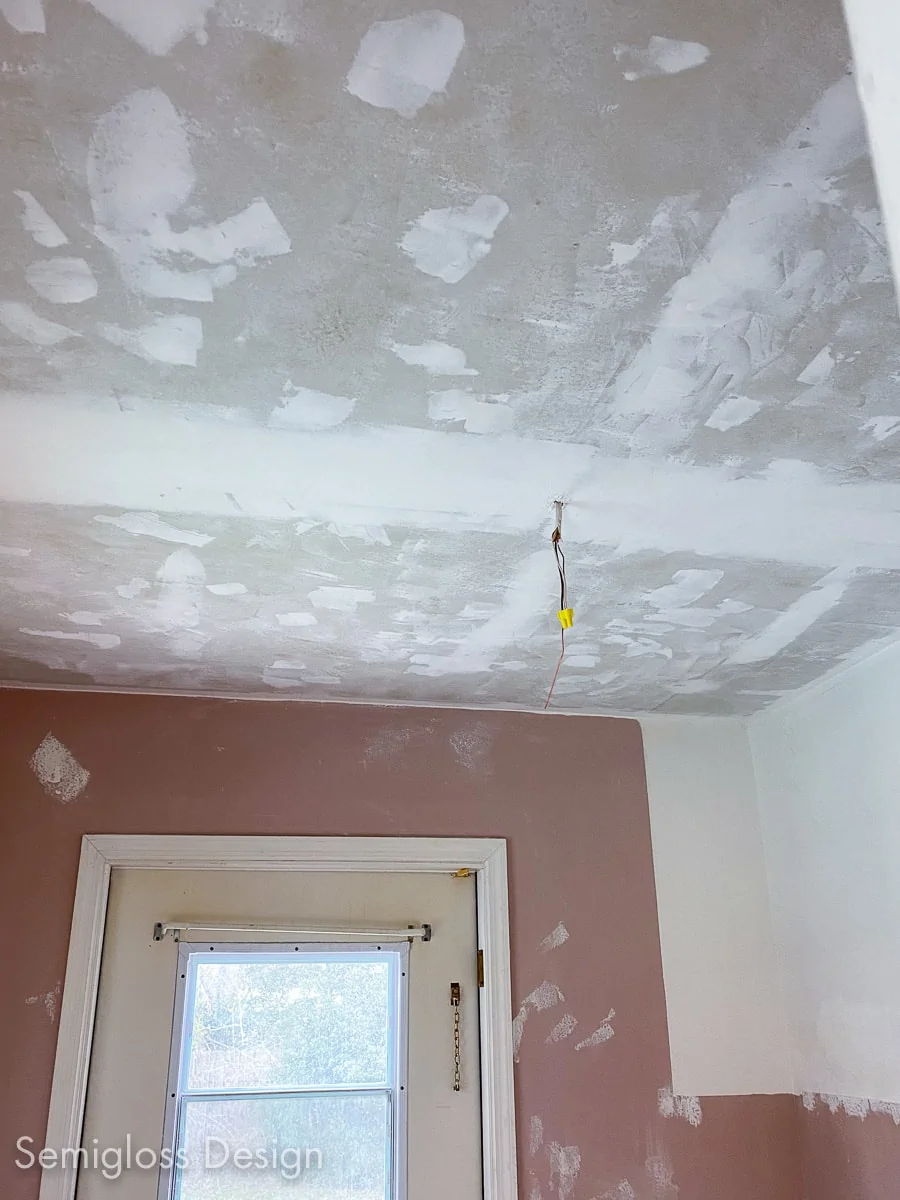
I used a putty knife and joint compound to repair any damage and holes left from the light.
If you’ve never used joint compound, you can learn more about mudding drywall here.
After the joint compound dries, it’s time to sand. Yippee, more mess to clean. Ugh.
Pay special attention to the corners, again being careful not to damage the drywall tape. Sand away the excess texture.
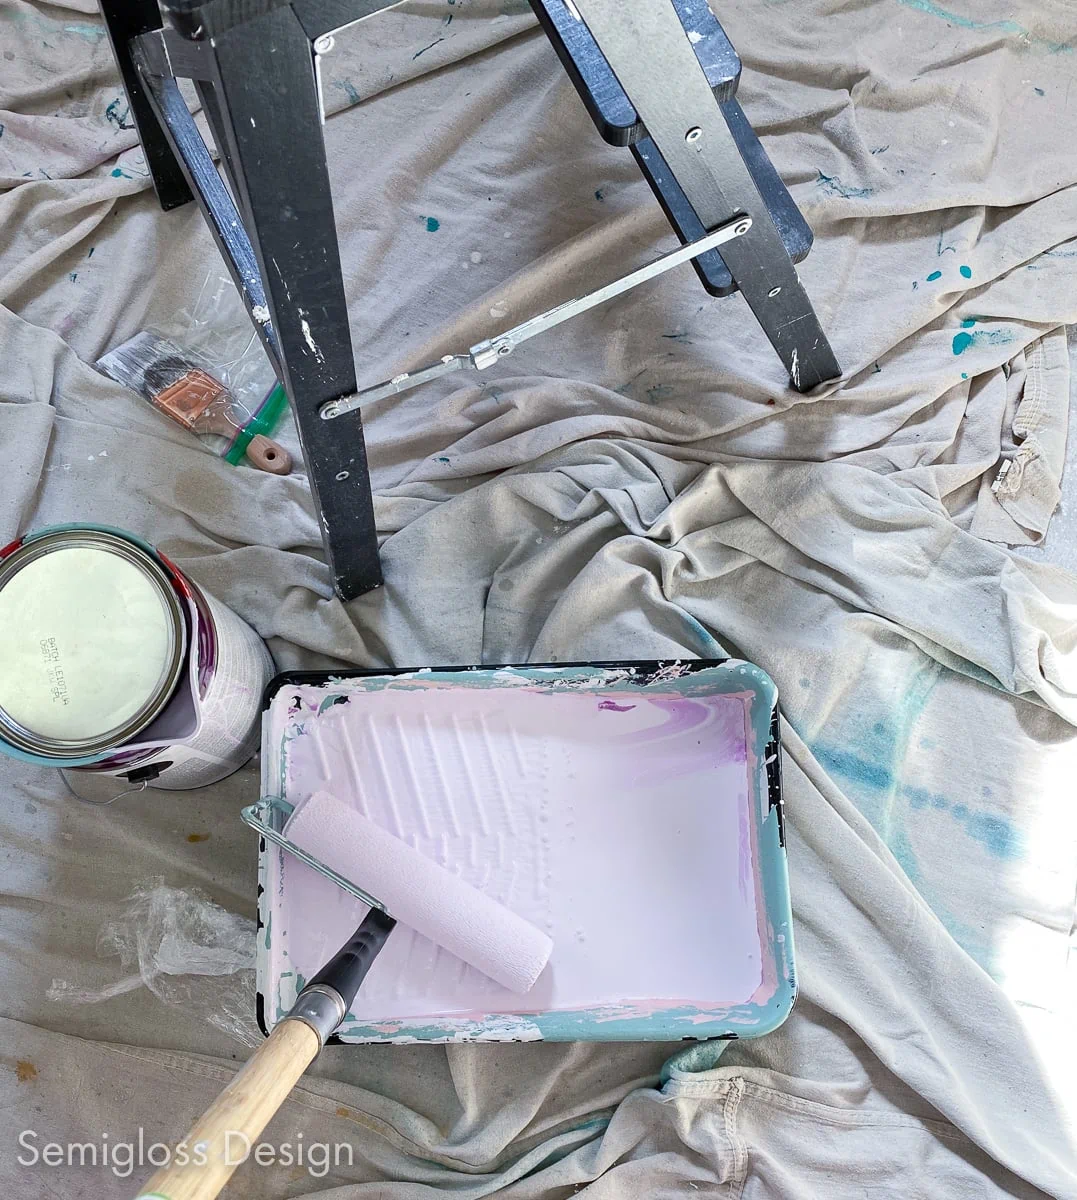
Repainting the Ceiling
You’re almost there. And it still looks bad. But this is the part where it starts looking better.
For best results, wait until the dust has cleared.
Supplies Needed:
- Primer
- Ceiling paint
- Rollers
- Roller extension pole
- Paintbrush
- Handy Pail (This makes climbing the ladder with paint for edging so much easier)
I swear by this ceiling paint because it’s easy to see where you’ve already painted.
If you don’t buy this paint, make sure that you buy MATTE or FLAT paint. This will hide all of the flaws and make your ceiling look smooth.
- Protect the floor again with clean drop cloths.
- Prime the entire ceiling, cutting in around the edges. You might be tempted to skip priming, but trust me. It’s very important if you want a paint job without roller marks.
- Let the paint dry. (It still looks ugly at this point.)
- Now it’s time for paint. Use an extension pole and roller to paint the majority of the ceiling.

- When it’s dry, you can edge the corners.
- The ceiling will need 2 coats of paint.

- After the ceiling was finished, I repainted the walls.
Voila! A smooth ceiling. It feels a few inches higher and it’s so much cleaner. The flaws show up more in the photos than in real life.
Was it worth it? Yes.
Would I ever remove a popcorn ceiling again? Absolutely NOT.
Leave me a comment and tell me what’s the worst DIY job that you’ve ever done?
You might also like:
Pin for Later!

Emy is a vintage obsessed mama of 2 DIYer who loves sharing affordable solutions for common home problems. You don’t need a giant budget to create a lovely home. Read more…