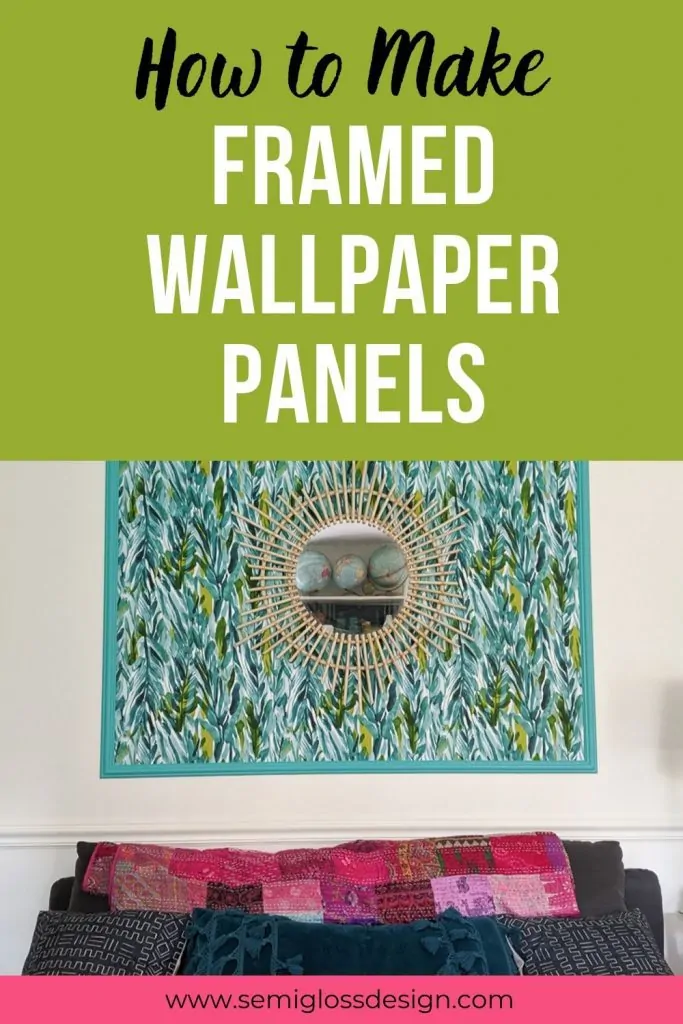
How to Install DIY Wallpaper Panels
Learn how to install DIY wallpaper panels on your walls.
I’ve been working on my living room since late winter and it’s finally coming together.
Some rooms just take forever to come together and my living room is one of those rooms. The addition of a DIY wallpaper panel helps to bring the room together.
This post contains affiliate links. By purchasing an item through an affiliate link, I earn a small commission at no extra cost to you. As an Amazon Associate I earn from qualifying purchases.
Why Wallpaper Panels?
After painting my walls white, I had a gallery wall, but I was never really happy with it. I wanted a bigger pop, but at the same time, something simple.
I have a framed wallpaper panel in my dining room and I love how it looks!

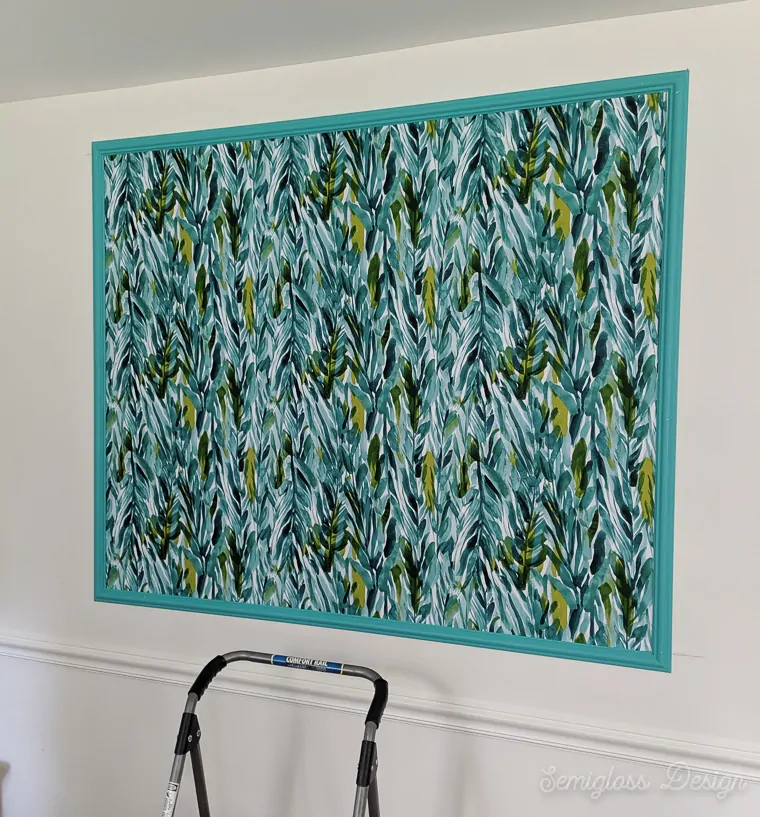
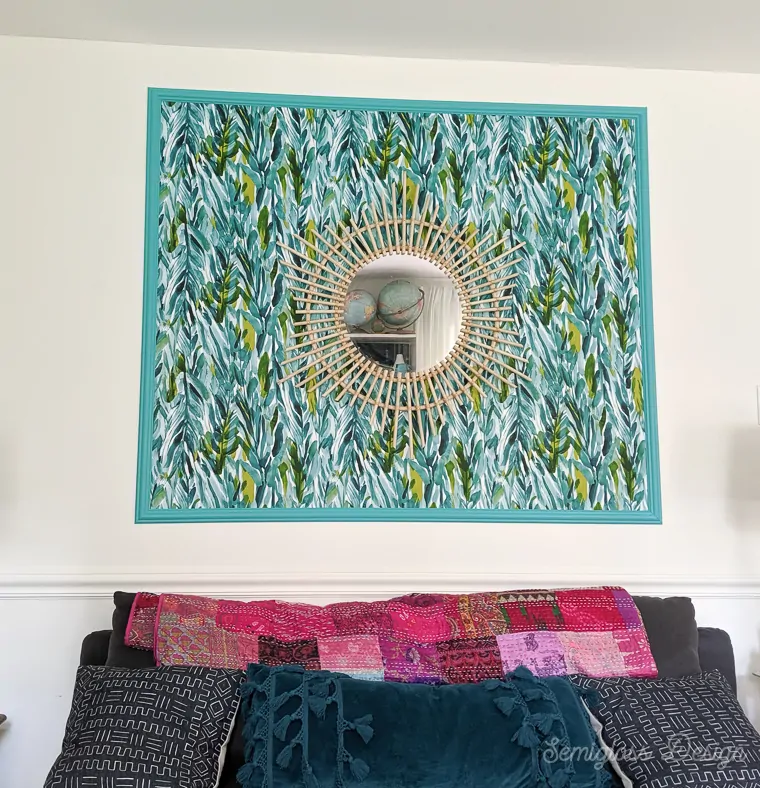
A focal point. A DIY wallpaper panel seemed like the perfect solution. This room has no cool architectural features or a focal point, so this wallpaper panel provides a focal point.
Pop of color. It also adds teal to that side of the room to go with my new teal chairs on the other side.
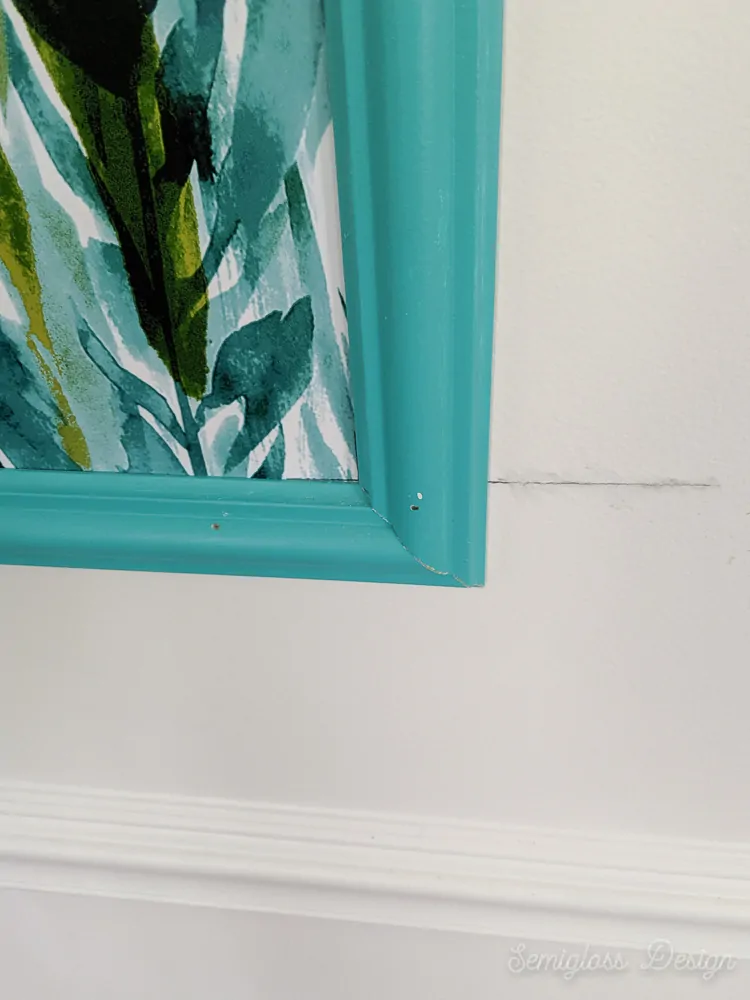
Easy to remove. Framed wallpaper panels are perfect for people who change their minds a lot or even renters. The wallpaper is removable and the frame is attached with tiny nails, so removal is easy.
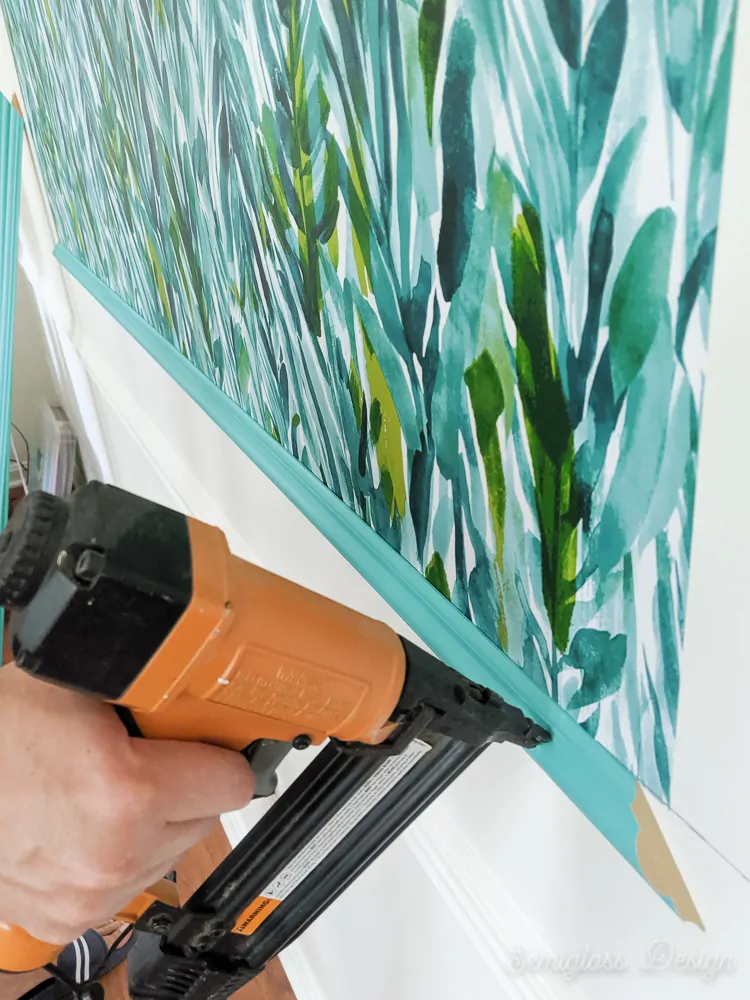
If you want it to be removable, use as few nails as possible to attach the wood. It’s not structural, so there’s no need to use a million nails anyways. I used 3 on each piece.
DIY Wallpaper Panels
Supplies Needed:
- Removable Wallpaper (similar)
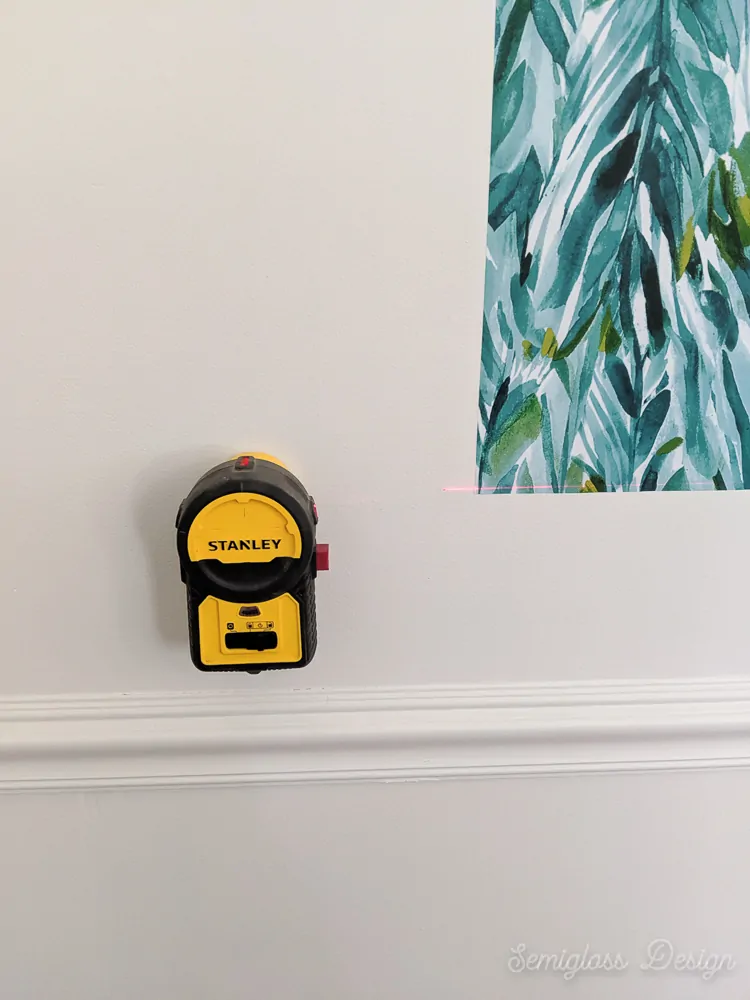
- Laser Level
- Pencil
- Wood Trim
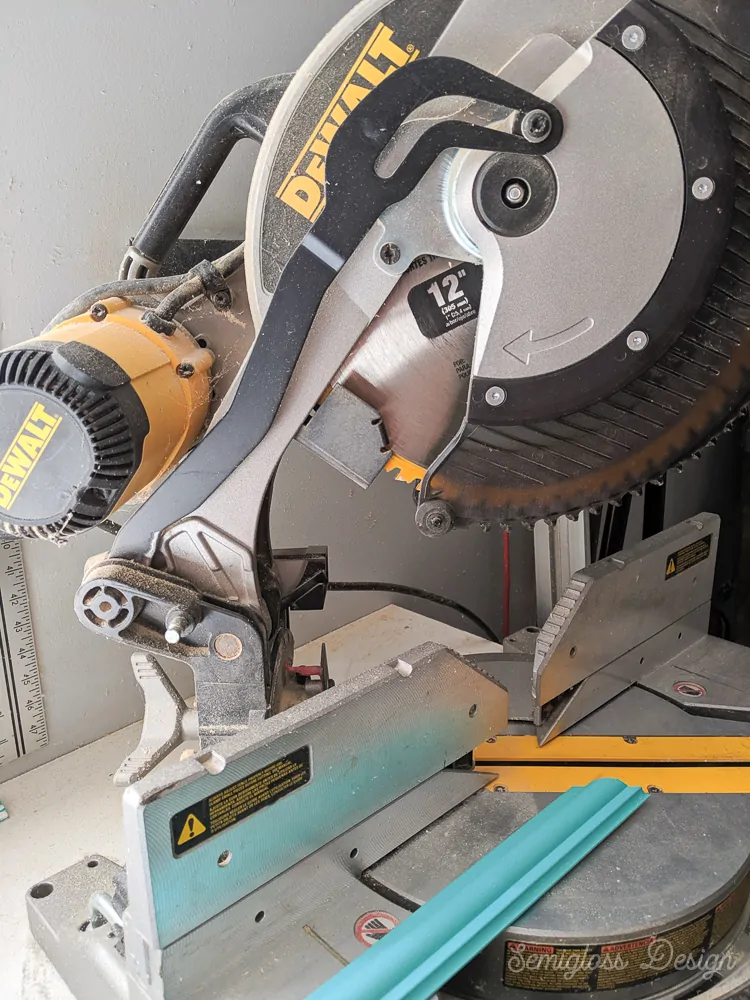
- Miter Saw
- Nail Gun
- Spackle
- Primer
- Sandpaper
- Paint
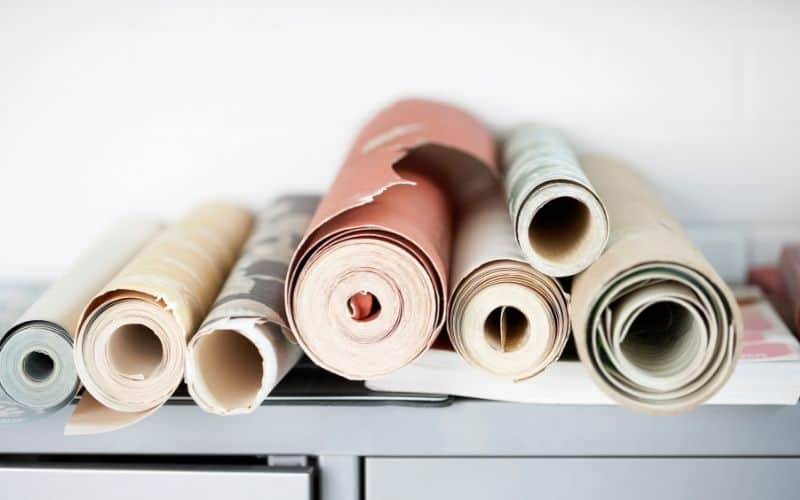
The wallpaper I used came from Target, but is no longer available. They get new designs all the time, so it’s worth checking out their selection periodically.
Prep Work for Installing Wallpaper Panels
Prep work is always important, even if the wall will be covered. I prefer to do things the right way so that I don’t have regrets down the line.
Since I previously had a gallery wall, I needed to fill all of the holes.
- Remove any nails from the wall.
- Fill holes with spackle.
- When the spackle is dry, sand it smooth.
- Prime the spots. (Primer helps prevent splotchy paint.)
- Touch up the paint spots.
How to Measure for Removable Wallpaper
- Figure out your spacing. I used painters tape to see how wide I wanted my wallpaper panel.
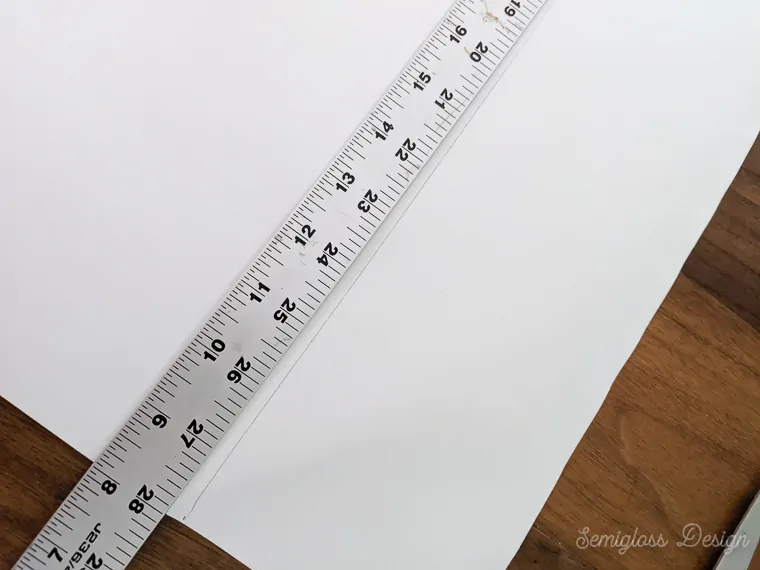
- Cut wallpaper to size. Measure it out and draw a line using a yardstick. Then cut.

- Cut the next panel. Line the panels up according to the pattern.
- Do this for all of the panels and label them on the back.
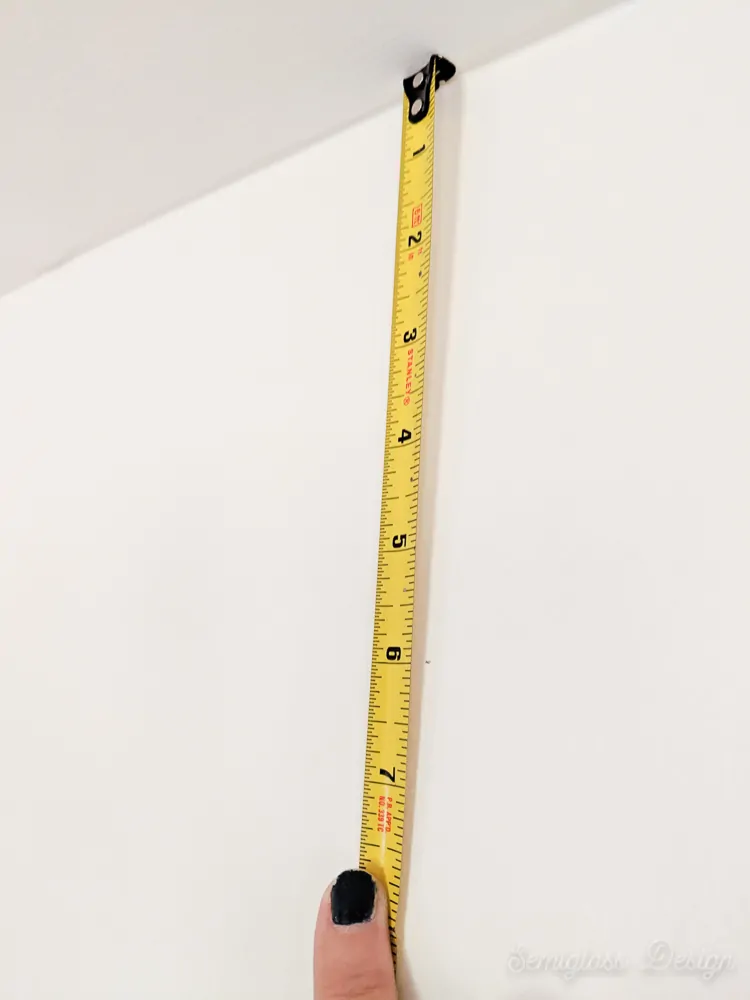
- Using the measurement you determined earlier, make marks on the walls going down from the ceiling. My wallpaper panels were 6″ from the ceiling.

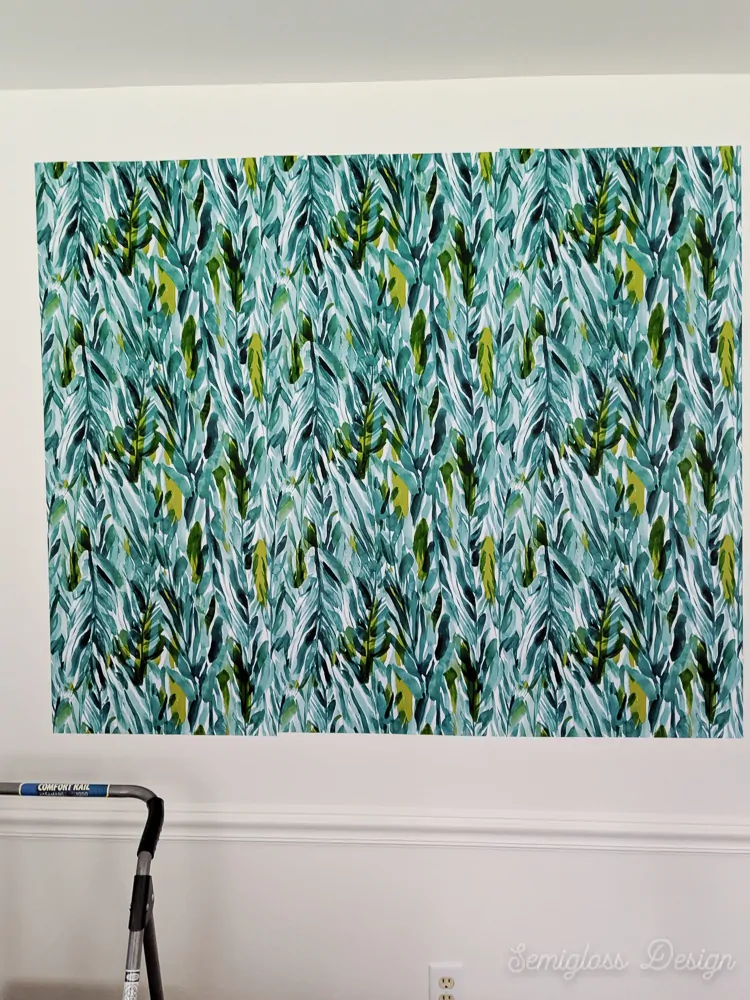
How to Install Removable Wallpaper
- Use a laser level to figure out a vertical line to align the wallpaper to. You can eyeball it, but you may need to play with the paper to get it right.
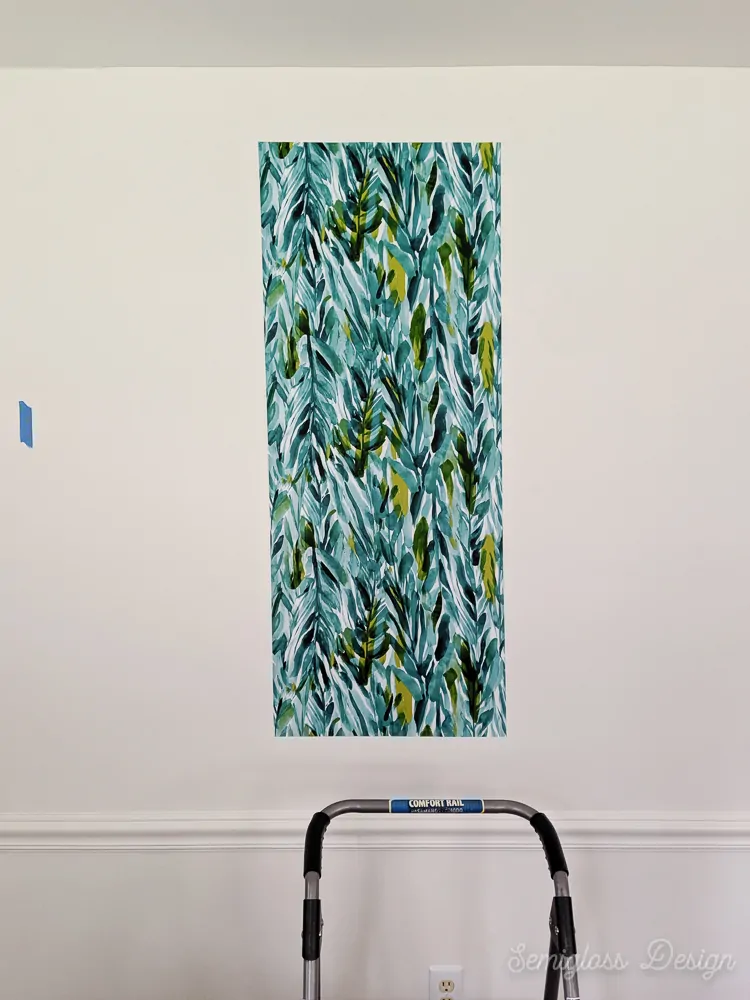
- Peel off the first few inches of paper and stick it to the wall aligning it to the marks you made and the level line.
- Peeling the paper at a sharp angle against the wall works best to get it to stick without bubbles.
- Let the weight of the paper do most of the work as you peel away the backing.
- Take breaks to stand back and see how it’s looking.
- You can use a smoothing tool, but I found that my hand worked best.
- When you’re done, stand back and make sure it looks good. It doesn’t need to be perfect because the edges will be covered with wood, but it should be close.
- If you need to readjust, carefully peel away the wallpaper and fix what needs to be fixed.
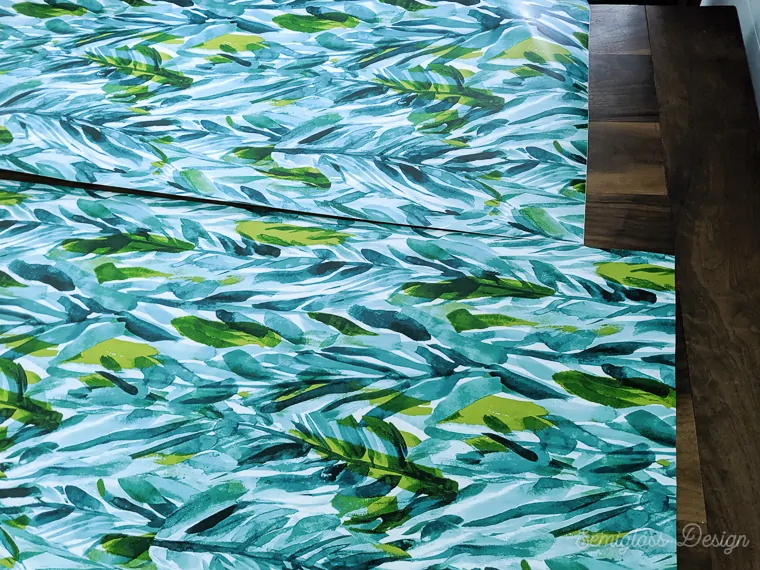
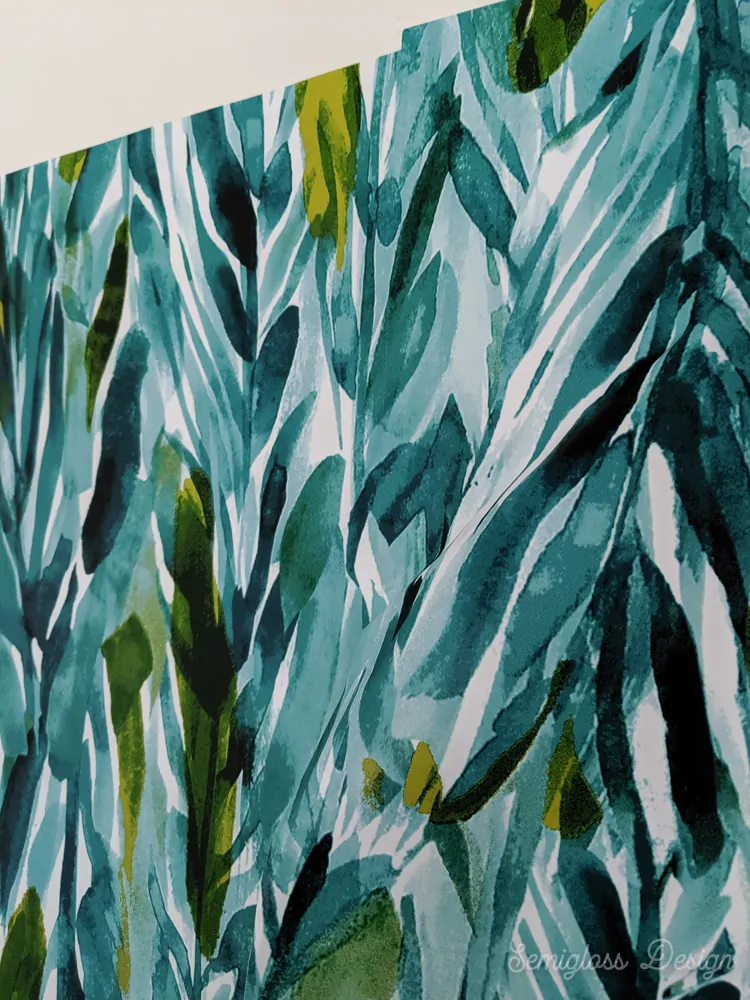
- Apply the next panel. It’s easiest to peel from the side touching the last panel to ensure that the pieces meet without a gap. Peel from the side for about 18″.
- Then start peeling from the top to remove the backing, smoothing from the inner edge as you go. This can be tricky, but go slow and peel it away to fix it if necessary.
- Once the top 18″ or so are attached, continue peeling away the backing at an angle against the wall again. Be sure that the design is matching up.
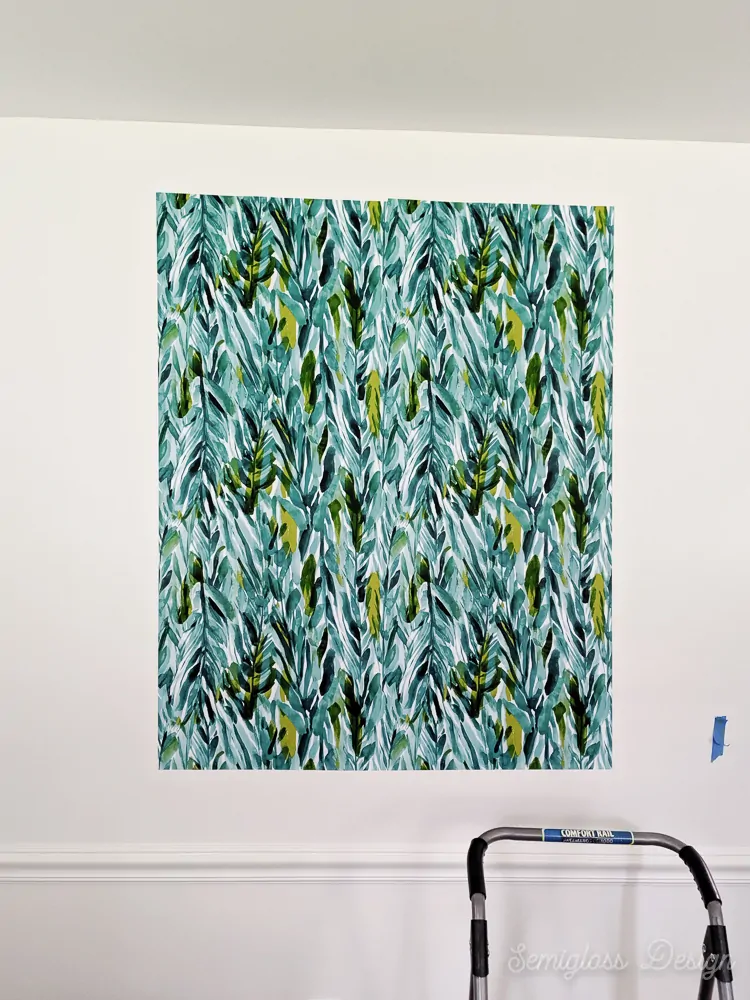
- Apply panels until you’re done.

How to Frame Wallpaper
- Paint your trim before cutting and installing.
- Measure the wall panels to determine how long to make the cuts. Marking level intersections works well to get a perfect rectangle.
- Use a miter saw to make the cuts.
- Install the bottom trim piece with a nail gun, making sure that it’s level.
- Install the side pieces of the wood trim frame, making sure they are plumb as you go. (Test as you go to make sure that the pieces will fit correctly.)
- Install the top piece.

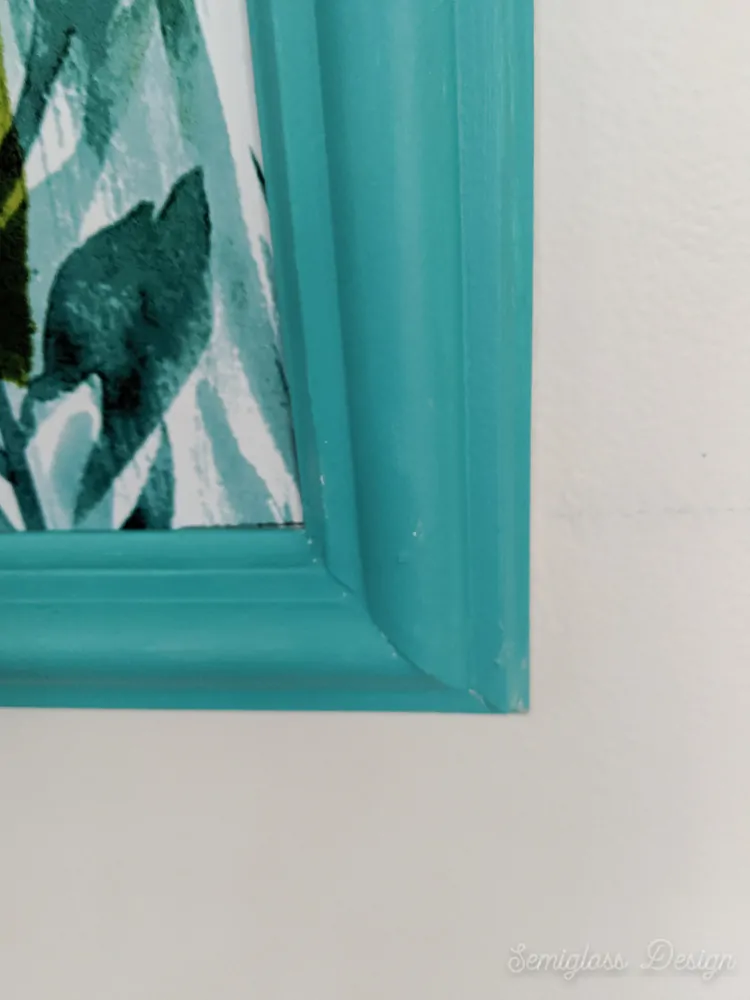
- Fill all nail holes and corners with spackle.
- Let dry and sand.
- Carefully touch up paint. Use delicate painter’s tape to tape off the wood if you need to.
Tips for Installing Removable Wallpaper
- Bold organic designs hide flaws in pattern matching the best.
- If you buy wallpaper online, be sure to buy enough. I only had enough for about 3 48″ panels. Special designs sell out fast, so buy enough to begin with.
- Smooth with your hand as you go to avoid bubbles.
- The backing can be cut away as you’re working if it gets too cumbersome. This is really helpful, especially on that 2nd panel that’s difficult to line up.
Great Sources for Removable Wallpaper
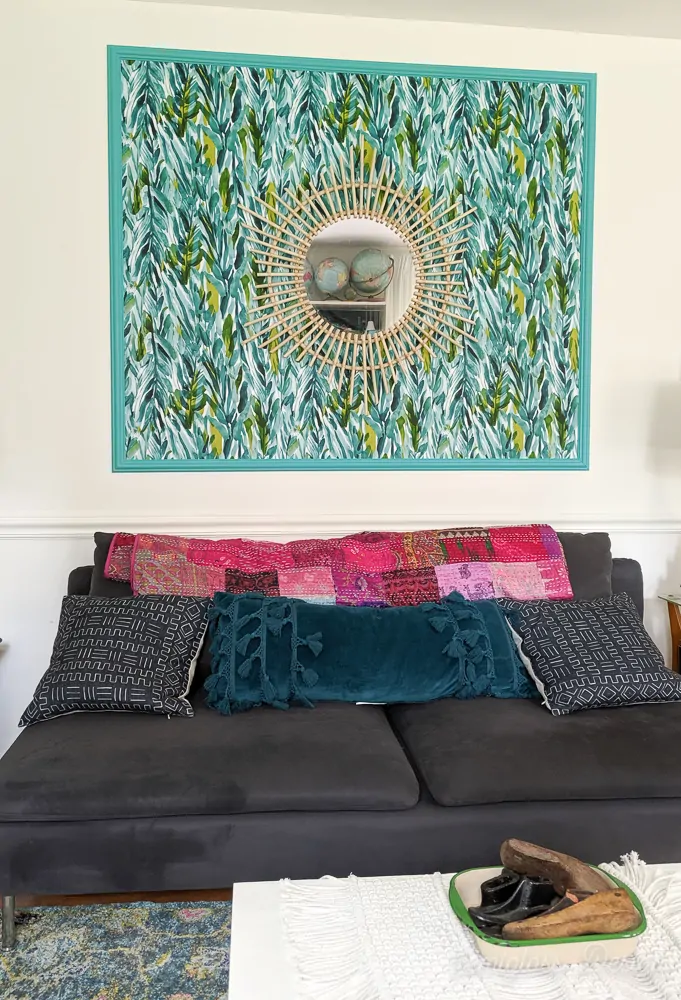
I love how my DIY wallpaper panel turned out! It’s the perfect background for my rattan mirror.
You might also like:
- How to Measure for Wallpaper
- Wallpaper Buying Guide
- How to Remove Wallpaper
- Tips for Removing Wallpaper Borders
Pin for Later!

Emy is a vintage obsessed mama of 2 DIYer who loves sharing affordable solutions for common home problems. You don’t need a giant budget to create a lovely home. Read more…