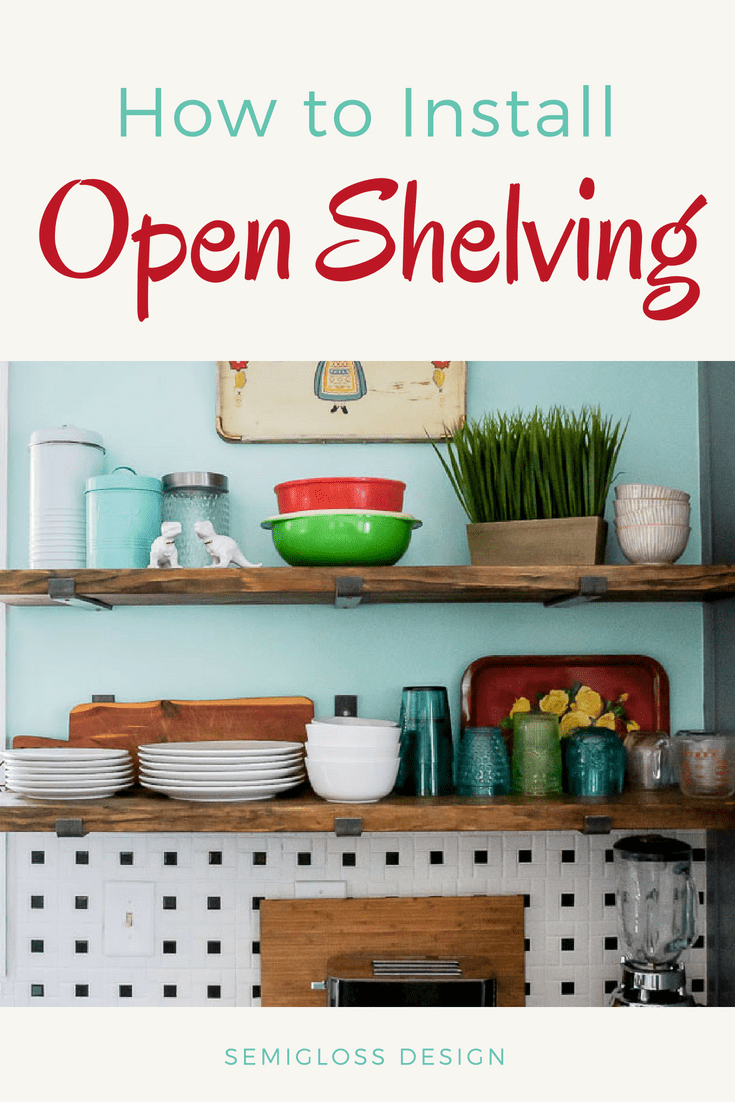
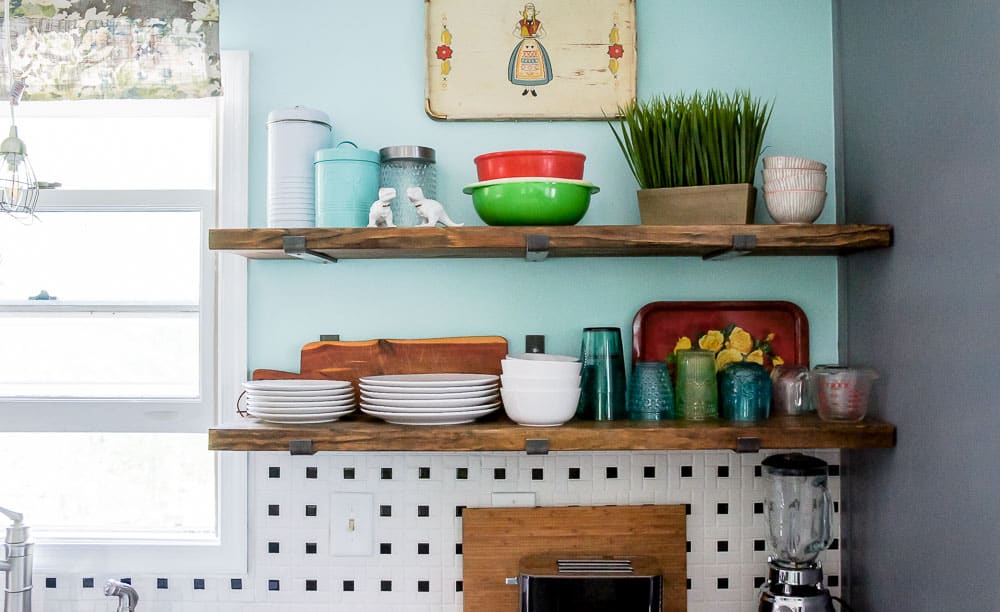
Get the look of floating shelves with minimal shelf brackets. This step by step tutorial walks you through installing these brackets to be super sturdy.
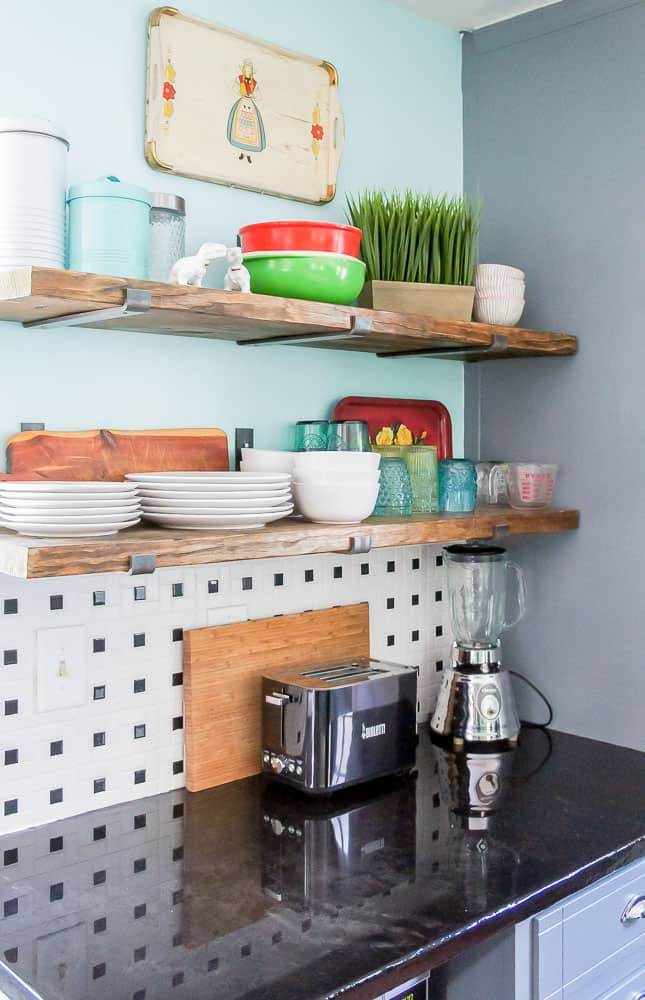
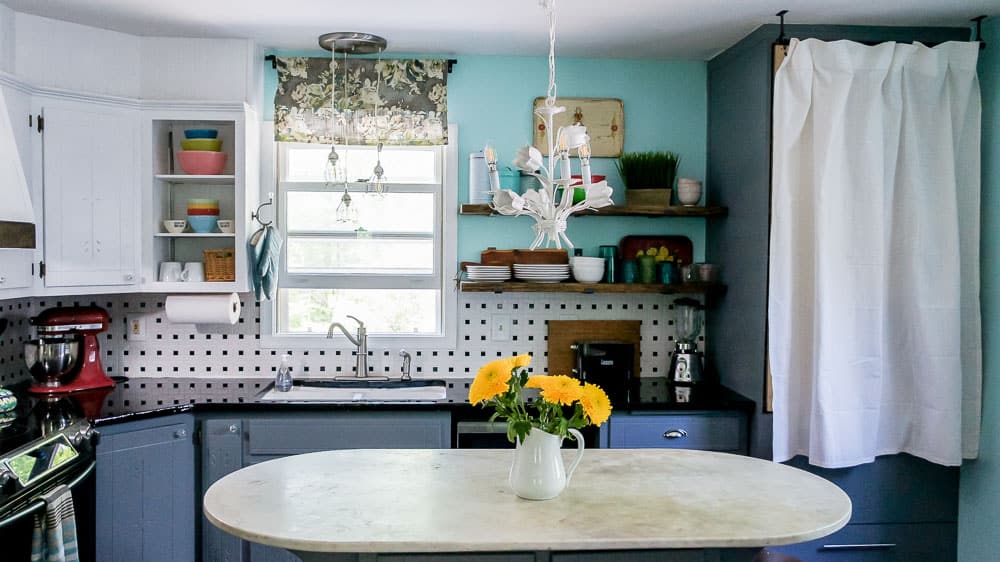
The DIY open shelving in my kitchen had some very specific needs. I needed my shelves to be at the right height so that we can actually reach everything. And I wanted very minimal brackets to make the shelves look like floating shelves.
I guess I could have done floating shelves, but I didn’t want to figure out how to make them super secure. Since all of my dishes are going on these, I needed these shelves to be extremely heavy duty.
Luckily, I was able to find the perfect shelf brackets for my needs. Learn how to install shelf brackets that are so minimal, they resemble floating shelves.
How to Install Shelf Brackets FAQs
Why Open Shelving in a Kitchen
I know that open shelving in a kitchen is a controversial choice, but it’s the perfect choice for or family. After living with open cabinets for close to 2 years, we love the convenience.
Putting dishes away is so easy. I sound really lazy, but not having to open a door cuts my time in half!
Guests have no problem locating dishes and I feel that it adds to our “help yourself” atmosphere. I want people to feel welcome here.
It keeps us from buying too much. I love shopping for home stuff and having limited space really helps me think about what I’m bringing home. It also means I can say no about the kids bringing home crappy plastic cups from restaurants. (Yes, we have plastic water bottles and such, but they’re stored behind doors.)
Dust is not really an issue, because we use all of these dishes on a regular basis. They don’t really get a chance to get dirty. (Yes, my kids really do use a billion cups a day.)
I love how it looks. Open shelving means that my small kitchen feels at least a foot larger. It doesn’t sound like much, but visually, that makes a huge impact.
How many shelf brackets for I need for a shelf?
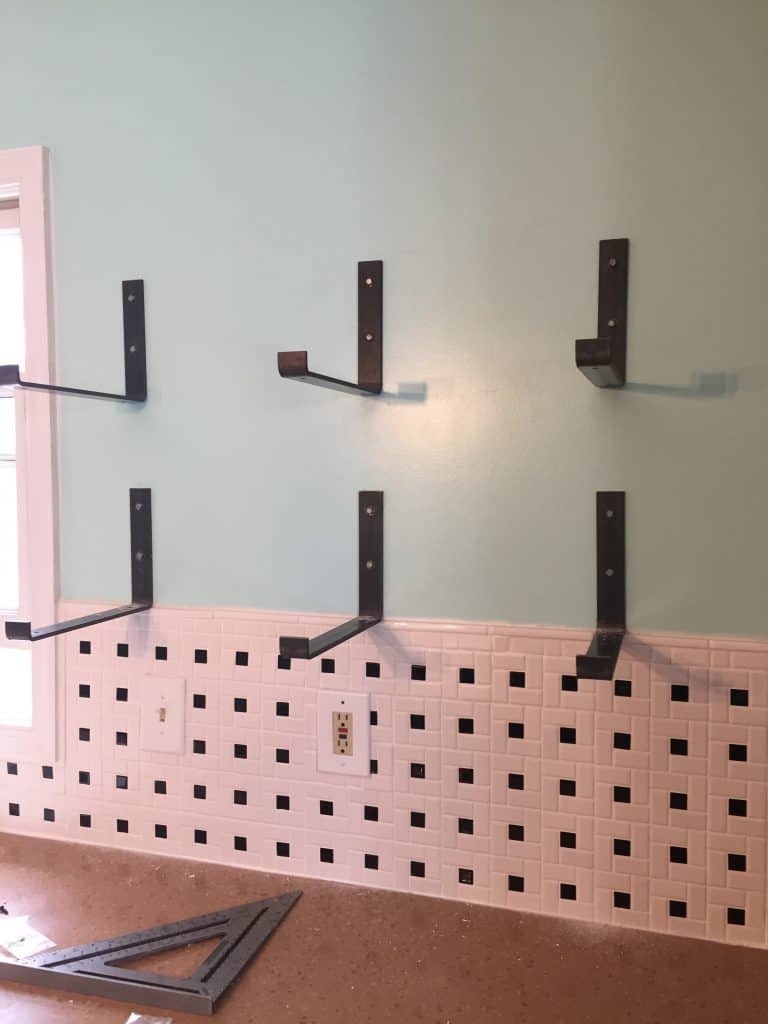
I spaced our brackets about 18″ apart due to stud locations. The 4 foot span used 3 brackets each and the shorter span used 2 brackets each.
How to Install Shelf Brackets for Open Shelving
This post contains affiliate links. By purchasing an item through an affiliate link, I earn a small commission at no extra cost to you.
***I used 2x12s for the dish shelves and 2x10s for the decorative shelving to get nice, chunky wood. 2″ wood is typically for outdoor use and comes pressure treated. This means that it has chemicals in it. It had been in my garage for a few years, so I didn’t worry about the chemicals, plus it was stained and sealed. It also means that it’s heavy. Use thinner wood if any of this concerns you.
Prep Work for Installing Shelves
Prep your wood. I cut mine to length, sanded it, stained it (Minwax Special Walnut) and sealed it several times(Polycrylic).
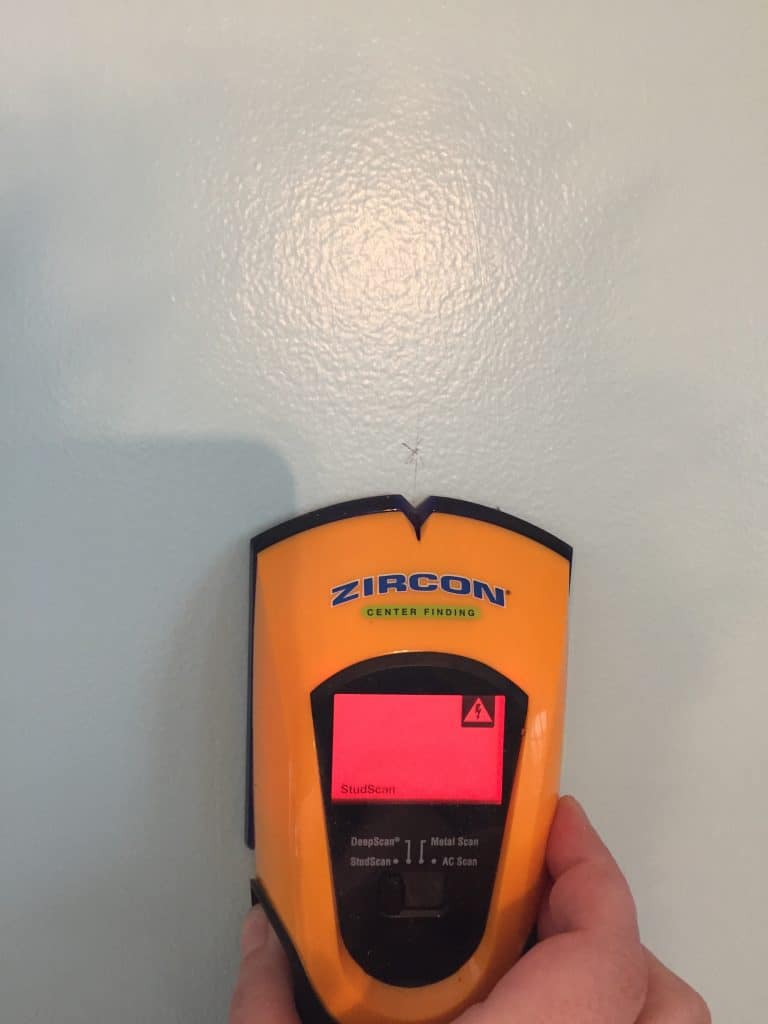
Use a stud finderto find your studs. Figure out your spacing. For my larger shelf (almost 4′ long), we went with 3 brackets on each shelf. The studs are not perfectly centered on the walls, but luckily these brackets are extremely minimal, so it doesn’t bother me. Like I said before, I need these shelves to be sturdy enough to hold the weight of the wood (a 2×12) and my dishes. This means drilling into the studs.
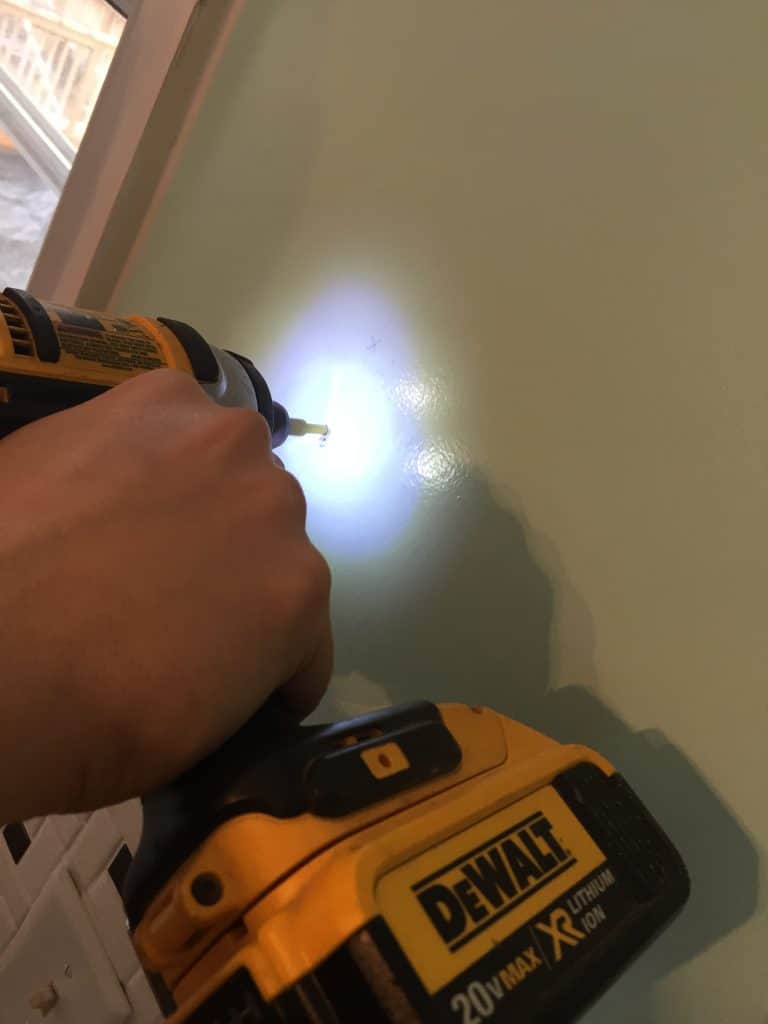
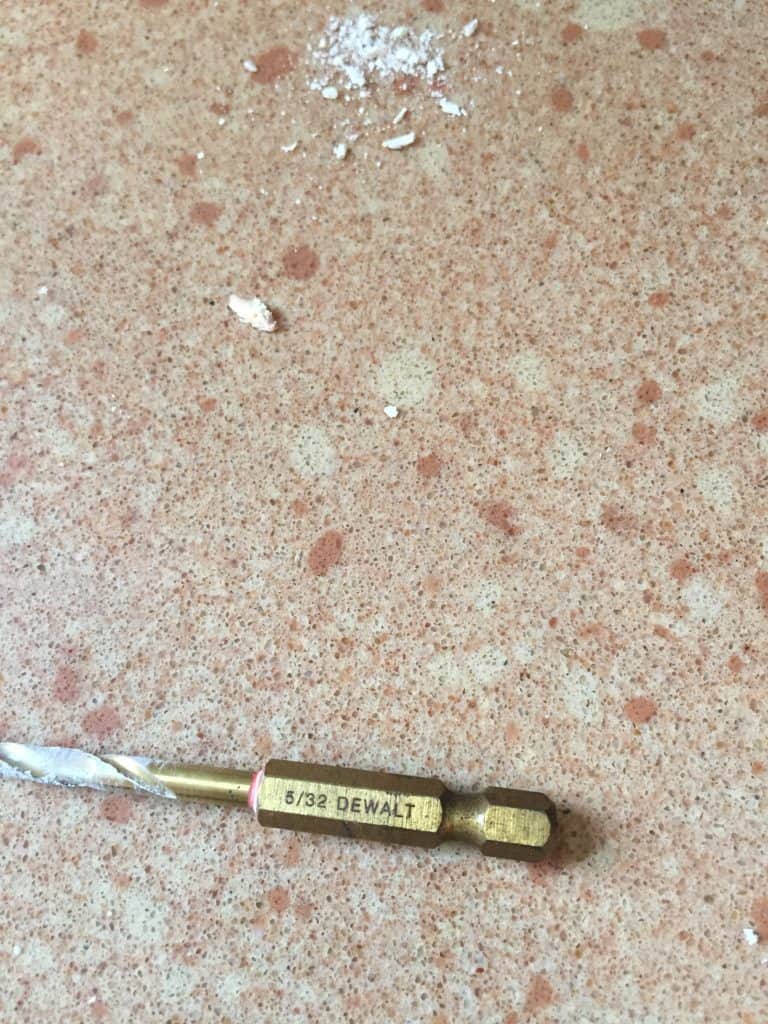
Drill pilot holes into the studs. We used a 5/32″ bit.
Installing the Shelf Brackets
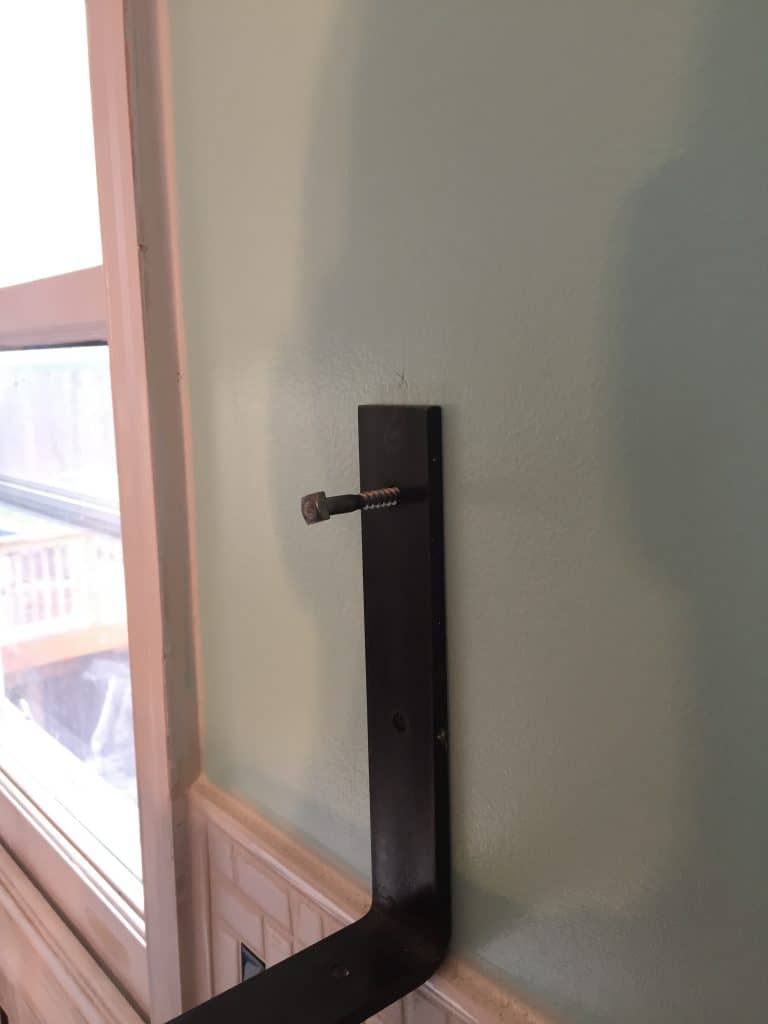
Put your bracket in place and use a wrench to install the bolt. Install the top bolt first. You can also use a ratchet to tighten the bolt. Because the head is of the bolt was square, we had to combine pieces together that were not quite intended to work together, but maybe you have the correct bit.
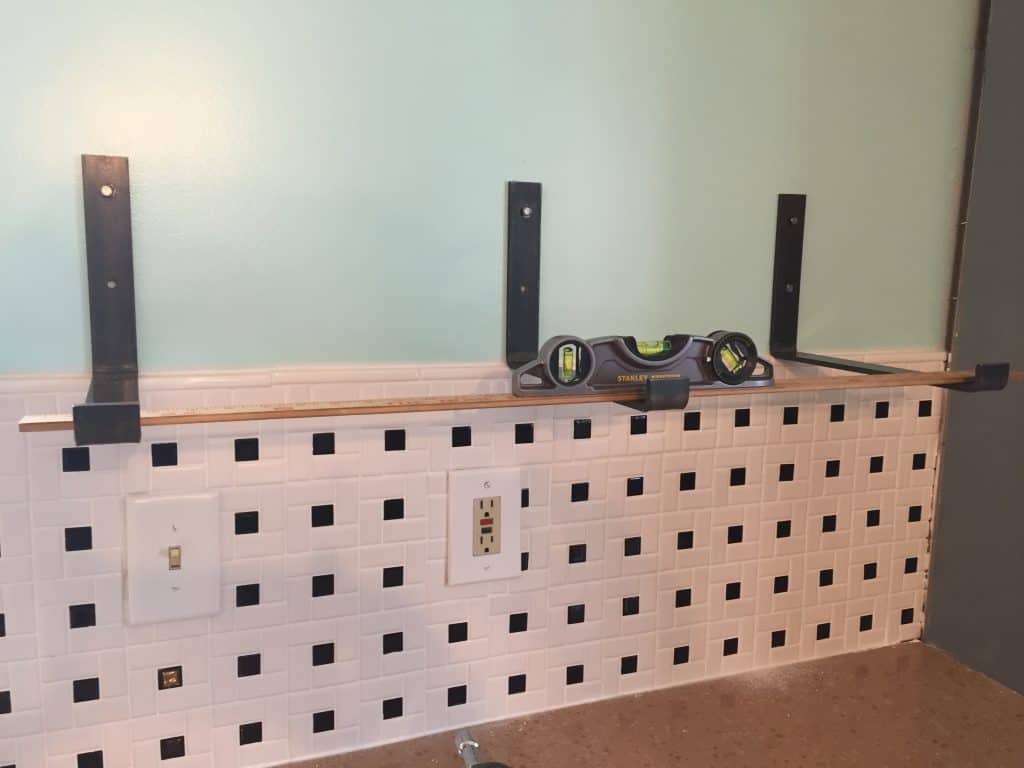
Place your next bracket against the wall and use a something long to get it level with the first bracket. We used a yardstick.
Repeat the steps for drilling a pilot hole and installing the bolt. If needed, use the level for another bracket. (We had 3 brackets, so it had to be repeated.)
Installing Shelves
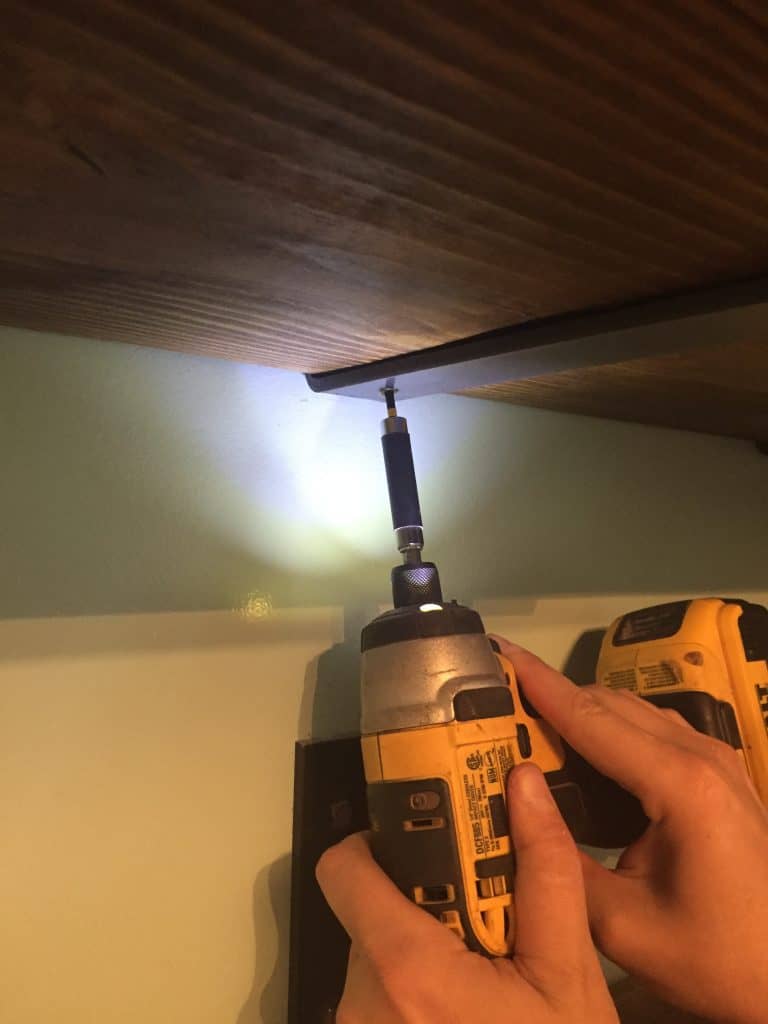
Once your brackets are installed, position your wood shelf in place.
Drill pilot holes where the screws will go to secure the brackets. Then install the screws. We use longer screws to make it extra secure since we used 2″ thick wood.
Repeat as many times as needed for your shelves.
Now that you know how to install shelf brackets, where will you add some open shelving? I’m thinking I need one more set in my entry way for keys and sunglasses…
Emy is a vintage obsessed mama of 2 DIYer who loves sharing affordable solutions for common home problems. You don’t need a giant budget to create a lovely home. Read more…