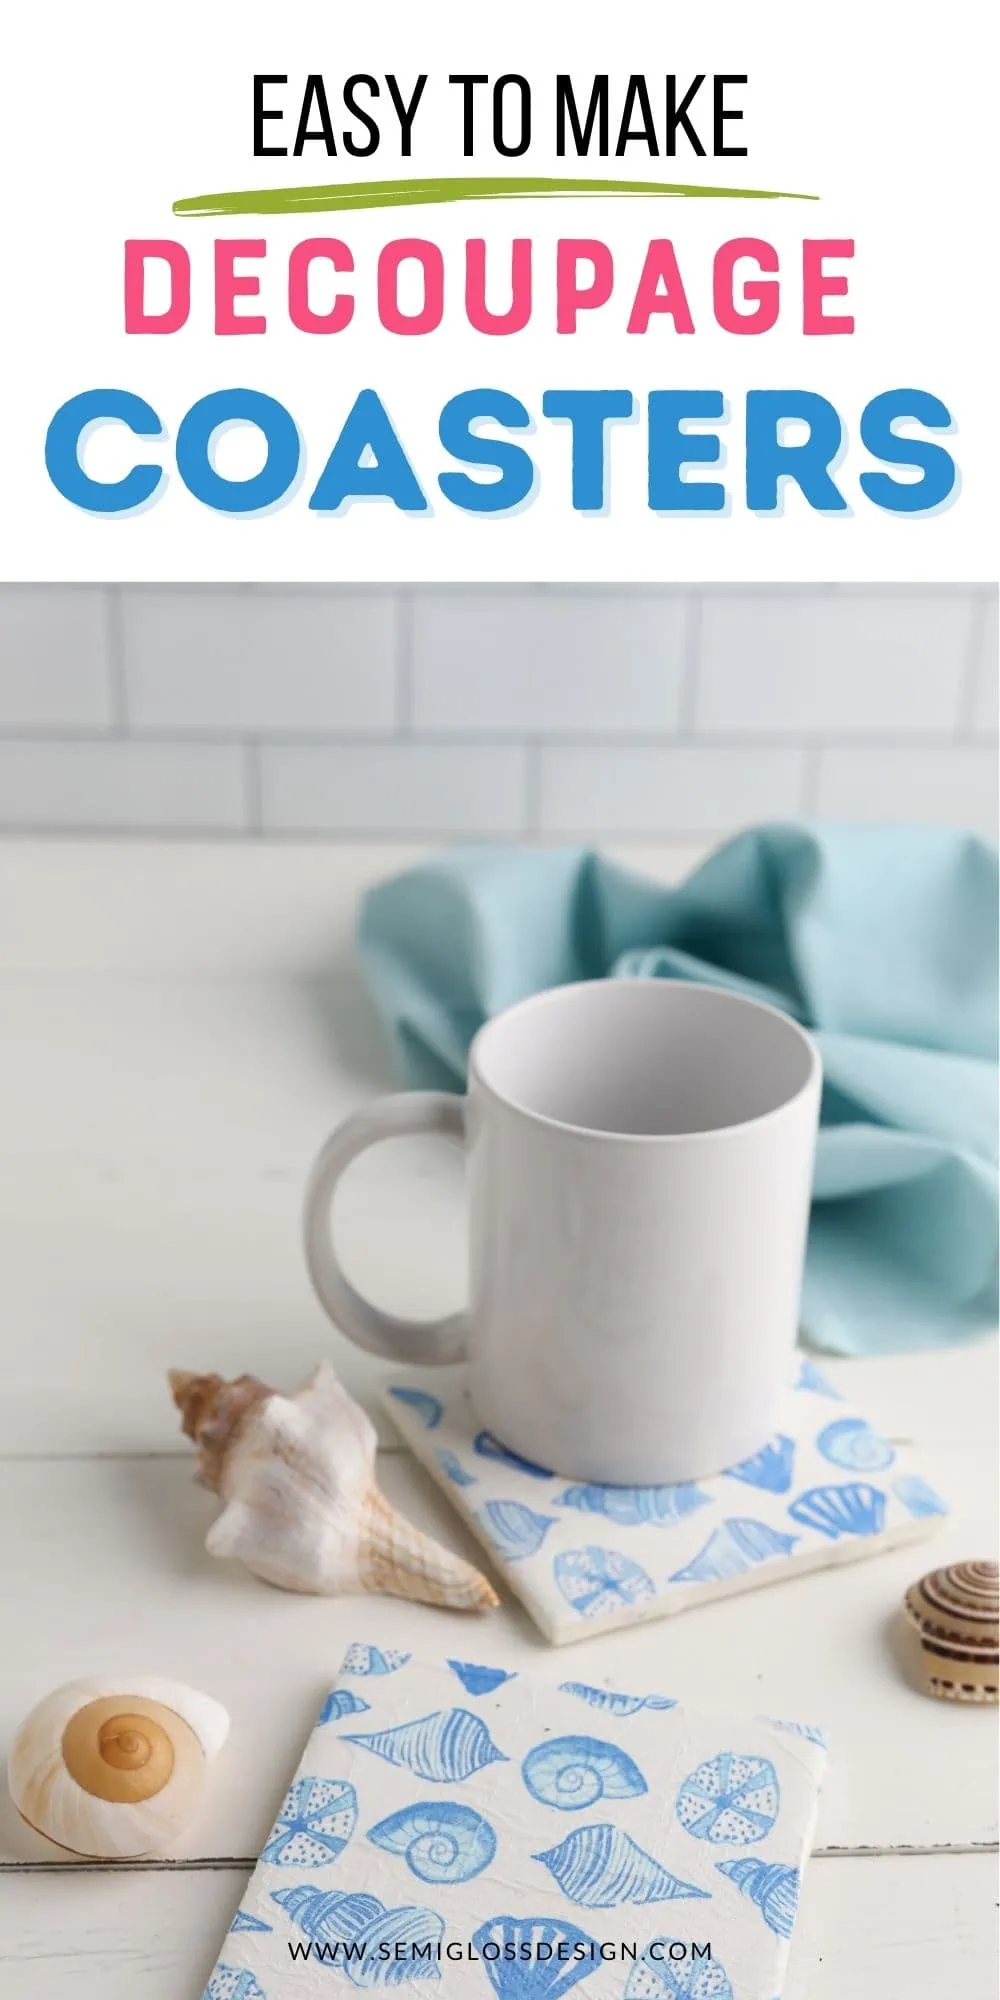
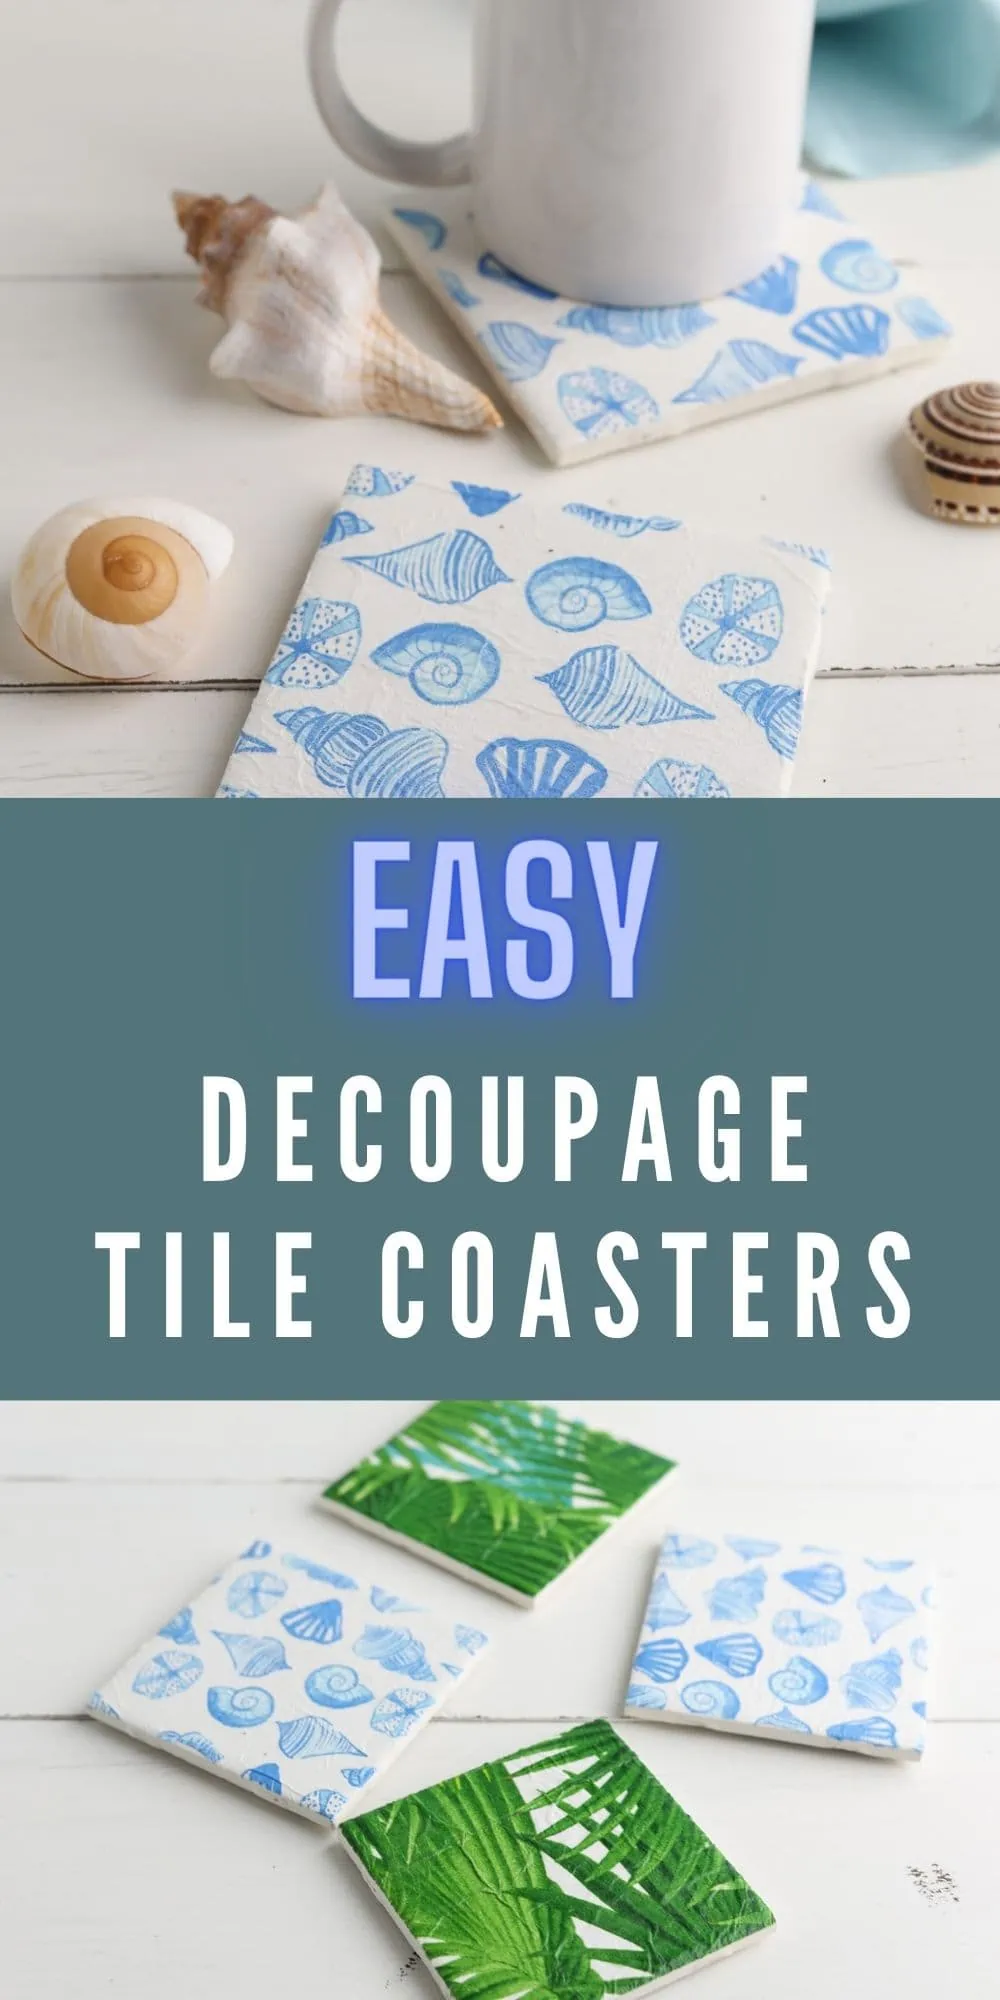
How to Decoupage Coasters with Napkins
Did you know that you can decoupage coasters with napkins to create your own custom coasters? Paper napkins come in a variety of patterns and colors, allowing you to customize your coasters to your decor style.
If you’re new to decoupage, be sure to check out this post on decoupage mistakes.
This post contains affiliate links. By purchasing an item through an affiliate link, I earn a small commission at no extra cost to you. As an Amazon Associate I earn from qualifying purchases.
Do you ever see cute napkins and wish you had something fun to do with them? I love patterned napkins, but I hate using them as napkins. They don’t work very well.
However, they’re perfect for decoupaging stuff! I’ve even used paper napkins to make a floral dresser.
I like to pick up cute paper napkins when I see them. My favorite place to find them is Home Goods, but grocery stores and craft stores often have cute napkins as well.
If for whatever reason you can’t find them where you live, Amazon also carries a lot of fun patterns.
Here’s some more cute paper napkin patterns.
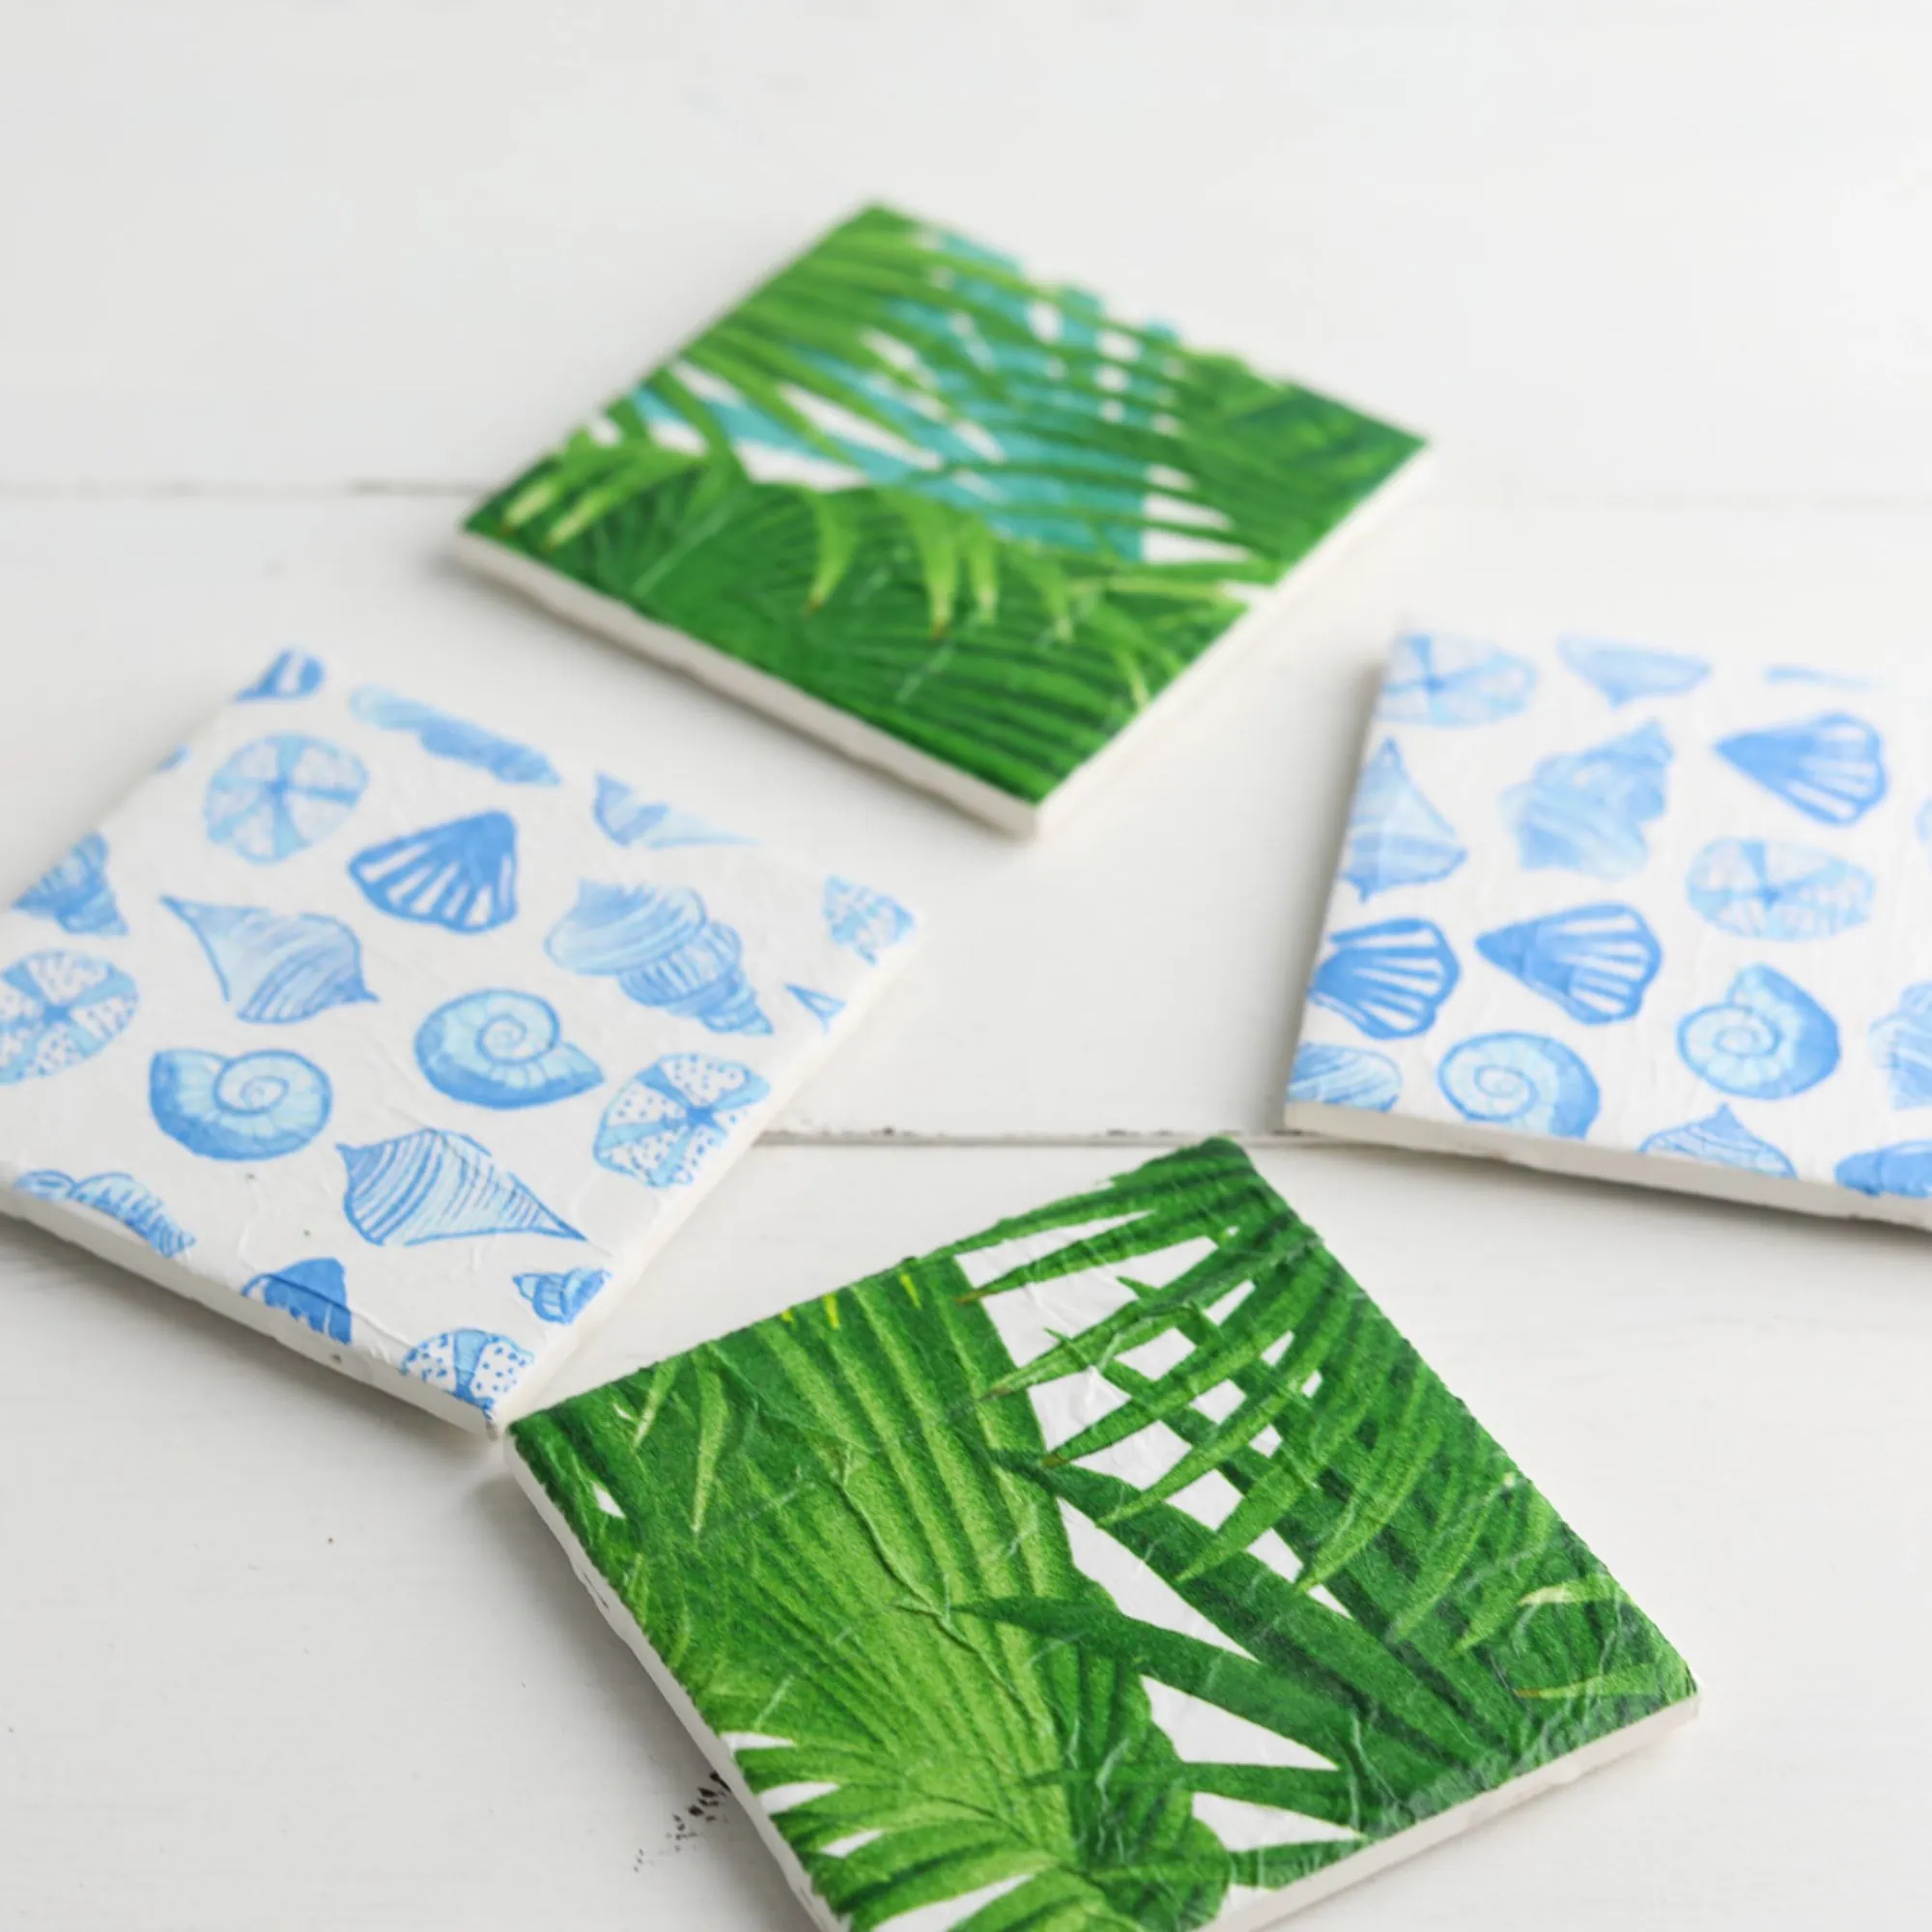
A note about patterns: These coasters end up a bit wrinkly, which I love, but may not work with all patterns. Wrinkly stripes may not look the best. This technique looks really cute with a more organic pattern.
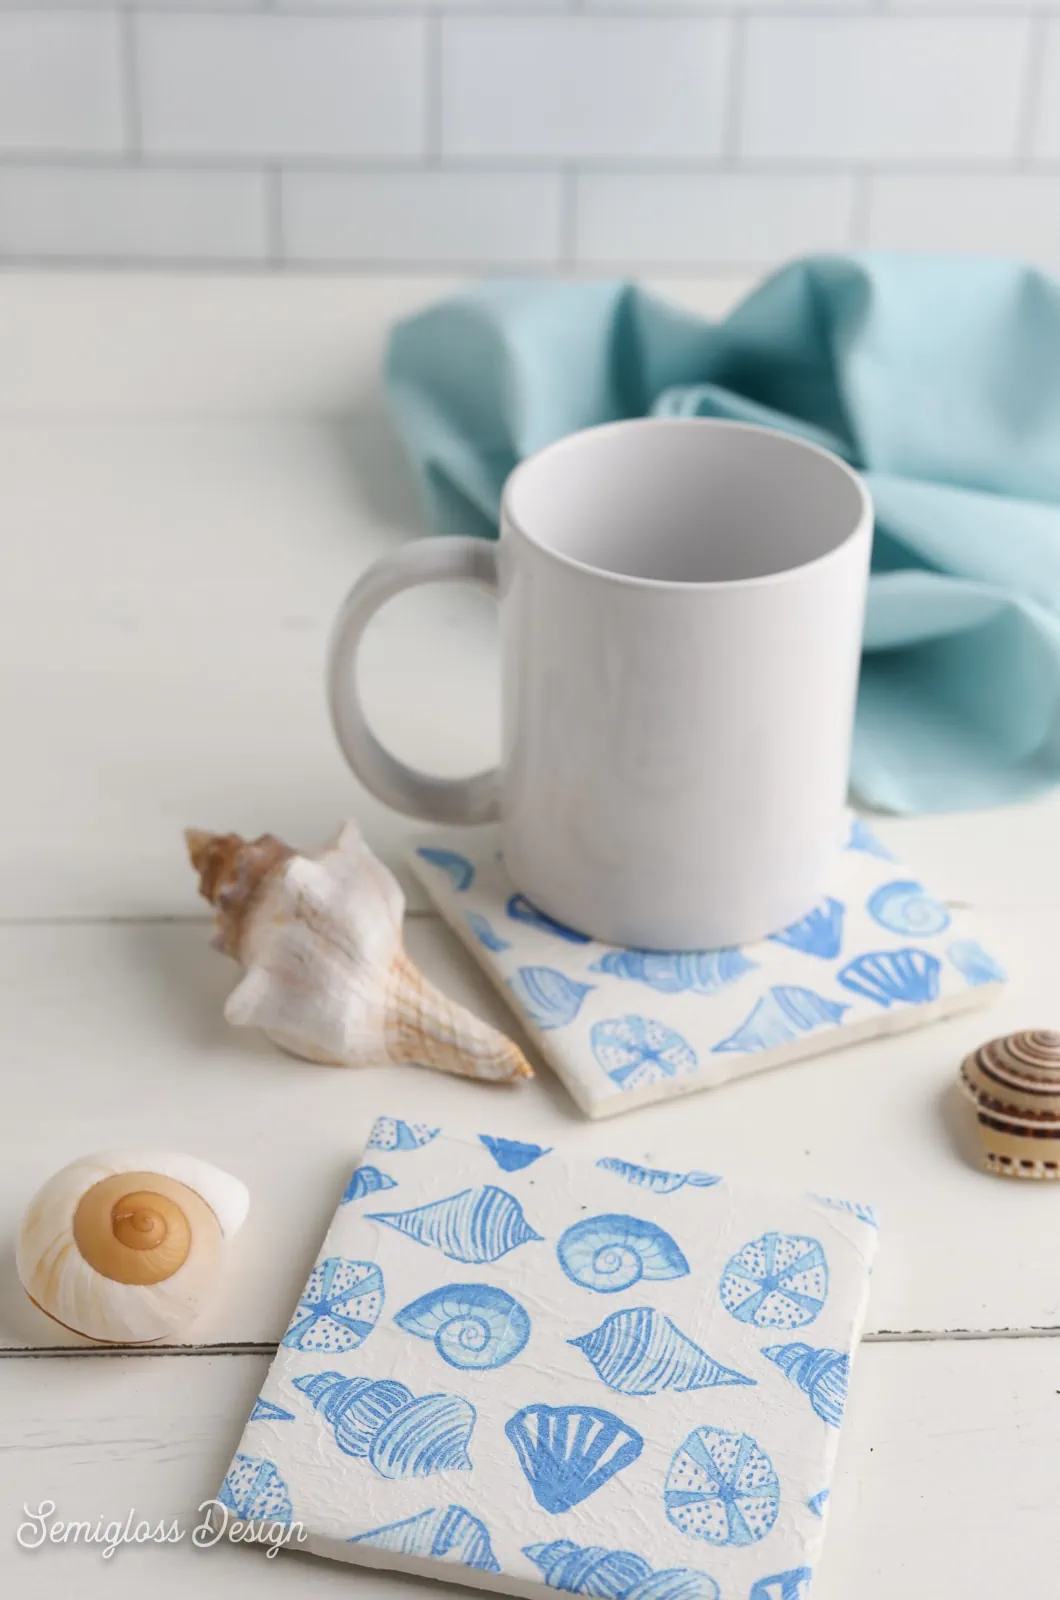
Keep these decoupaged coasters for yourself or make them to give as gifts.
Seashell Pattern (similar) | Tropical Leaves (similar)
How to Decoupage Coasters with Napkins
Supplies Needed:
- Paper napkins
- Decoupage glue
- Ceramic tiles or coaster blanks
- Foam brush
- Scissors
- Polycrylic (spray works too)
- Felt
- Hot glue gun
- Clean your tiles if necessary. Ceramic tiles are often dusty. I like to use rubbing alcohol because it dries quickly.
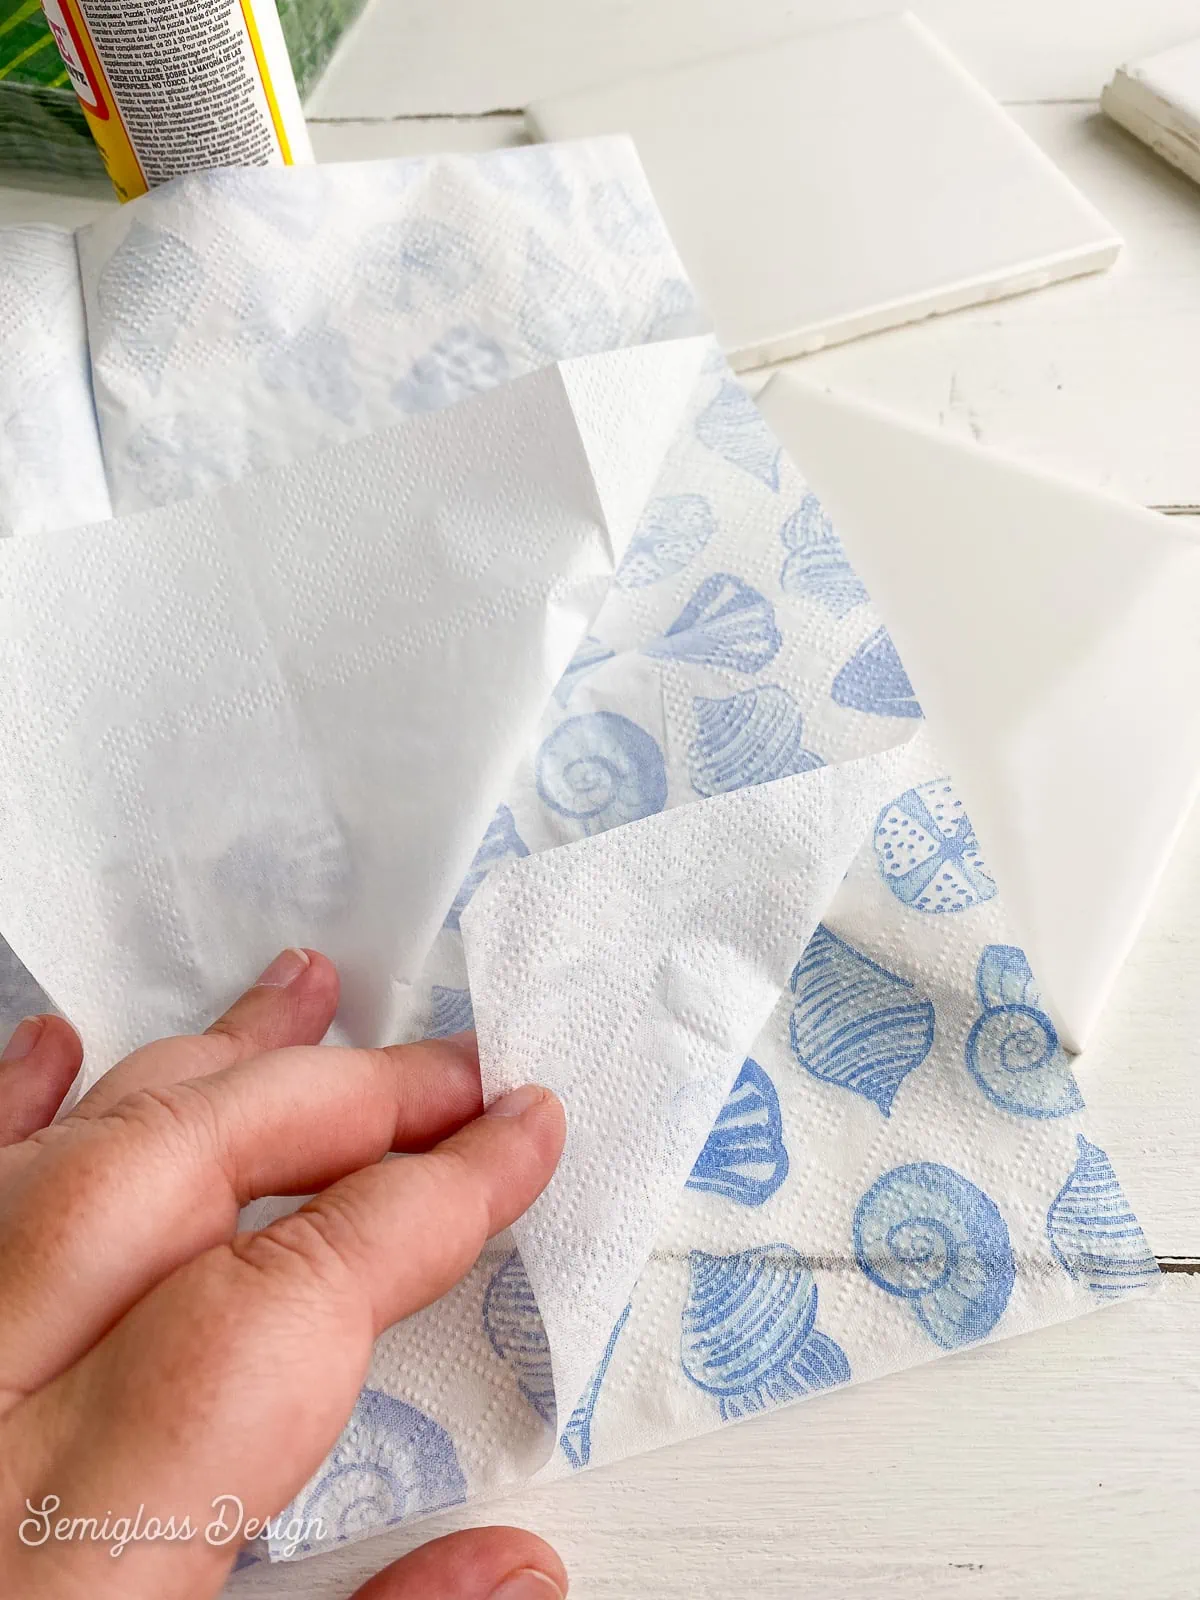
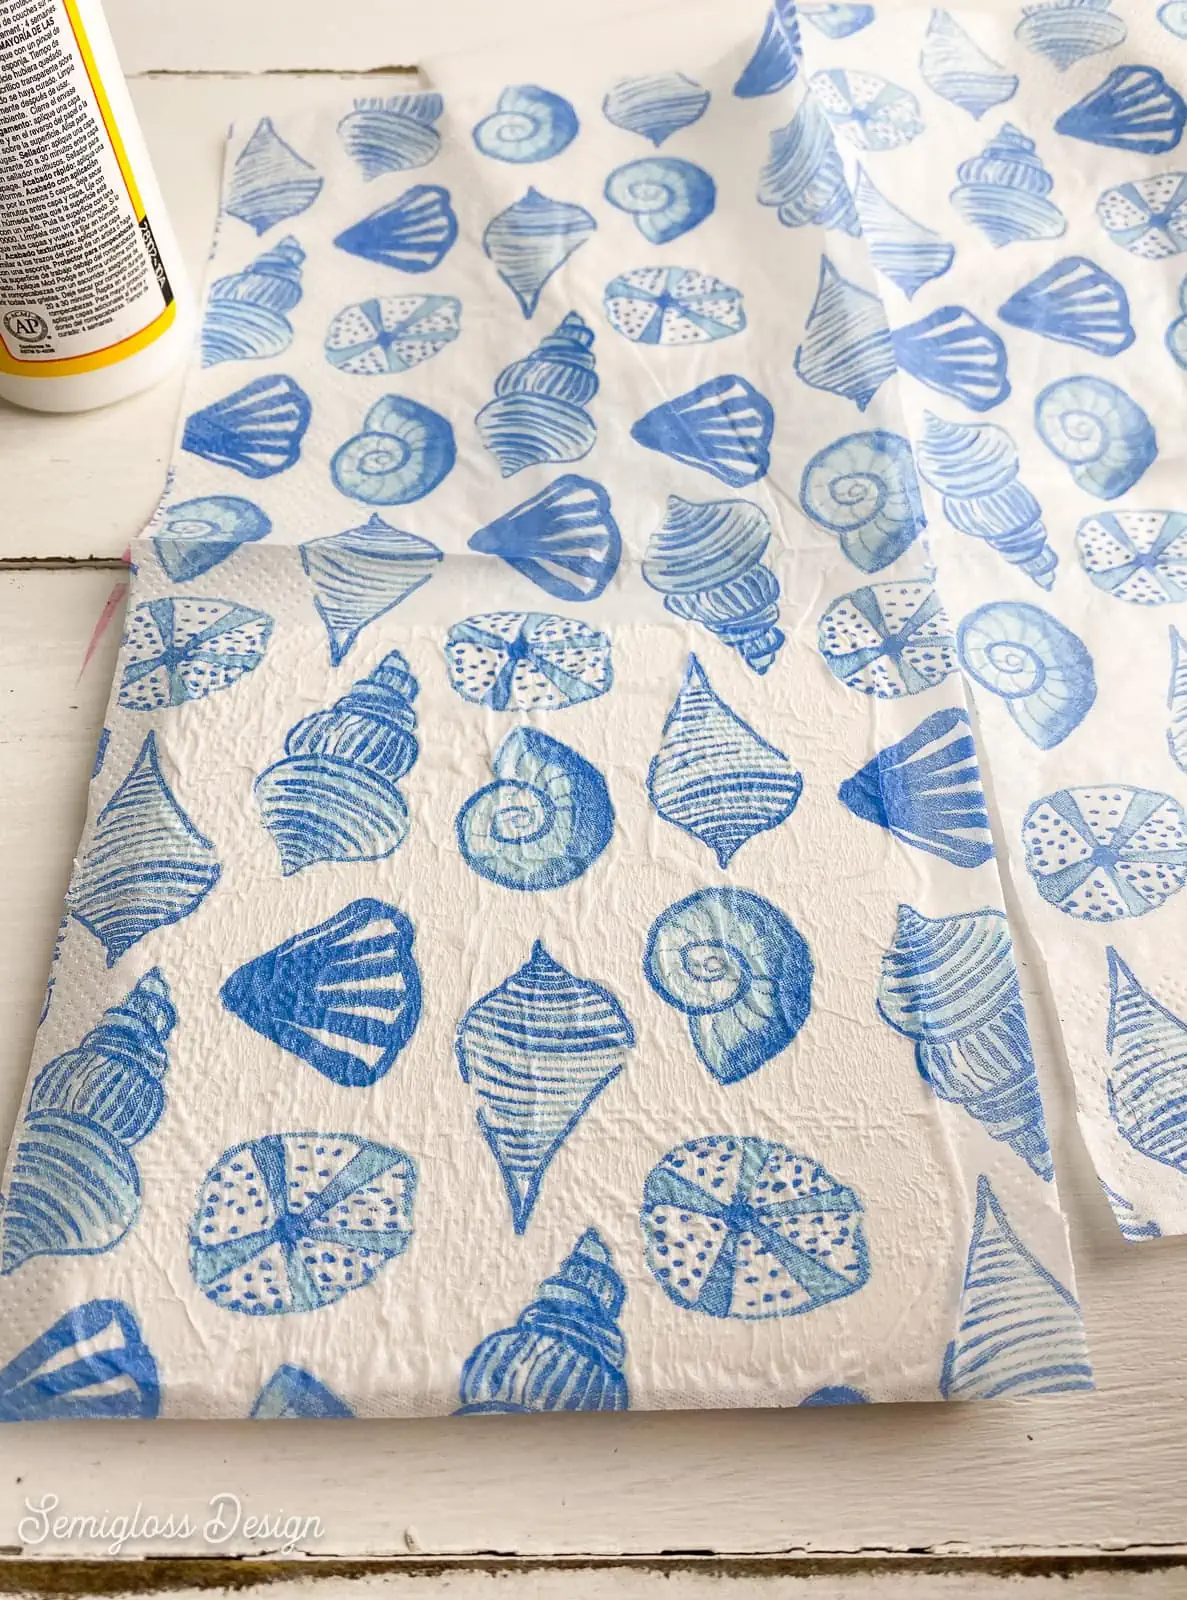
- Most paper napkins have several layers and will need to be separated. Find a corner and rub it lightly to separate the layers. If the napkin has 2 layers, use the printed layer. The seashell napkins had 3 layers and reducing it to one layer made it a little too thin and easy to rip. If it feels too thin, try removing one layer instead.

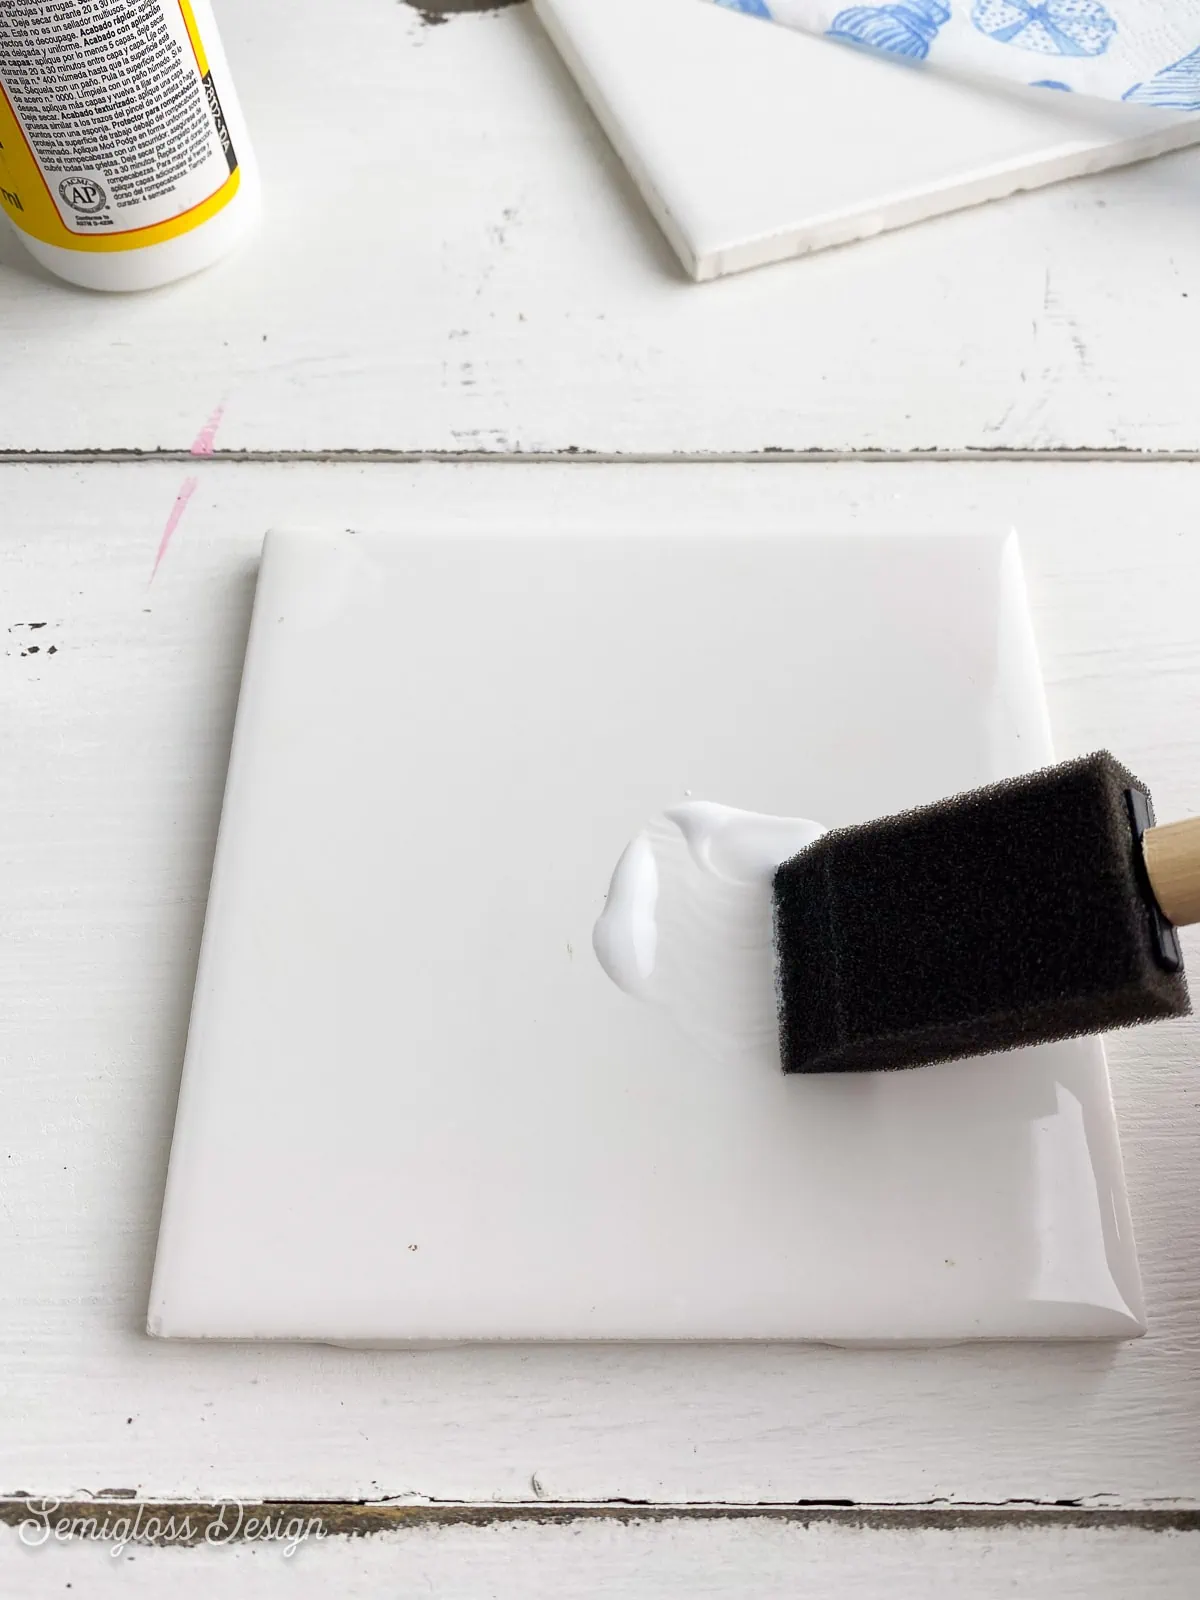
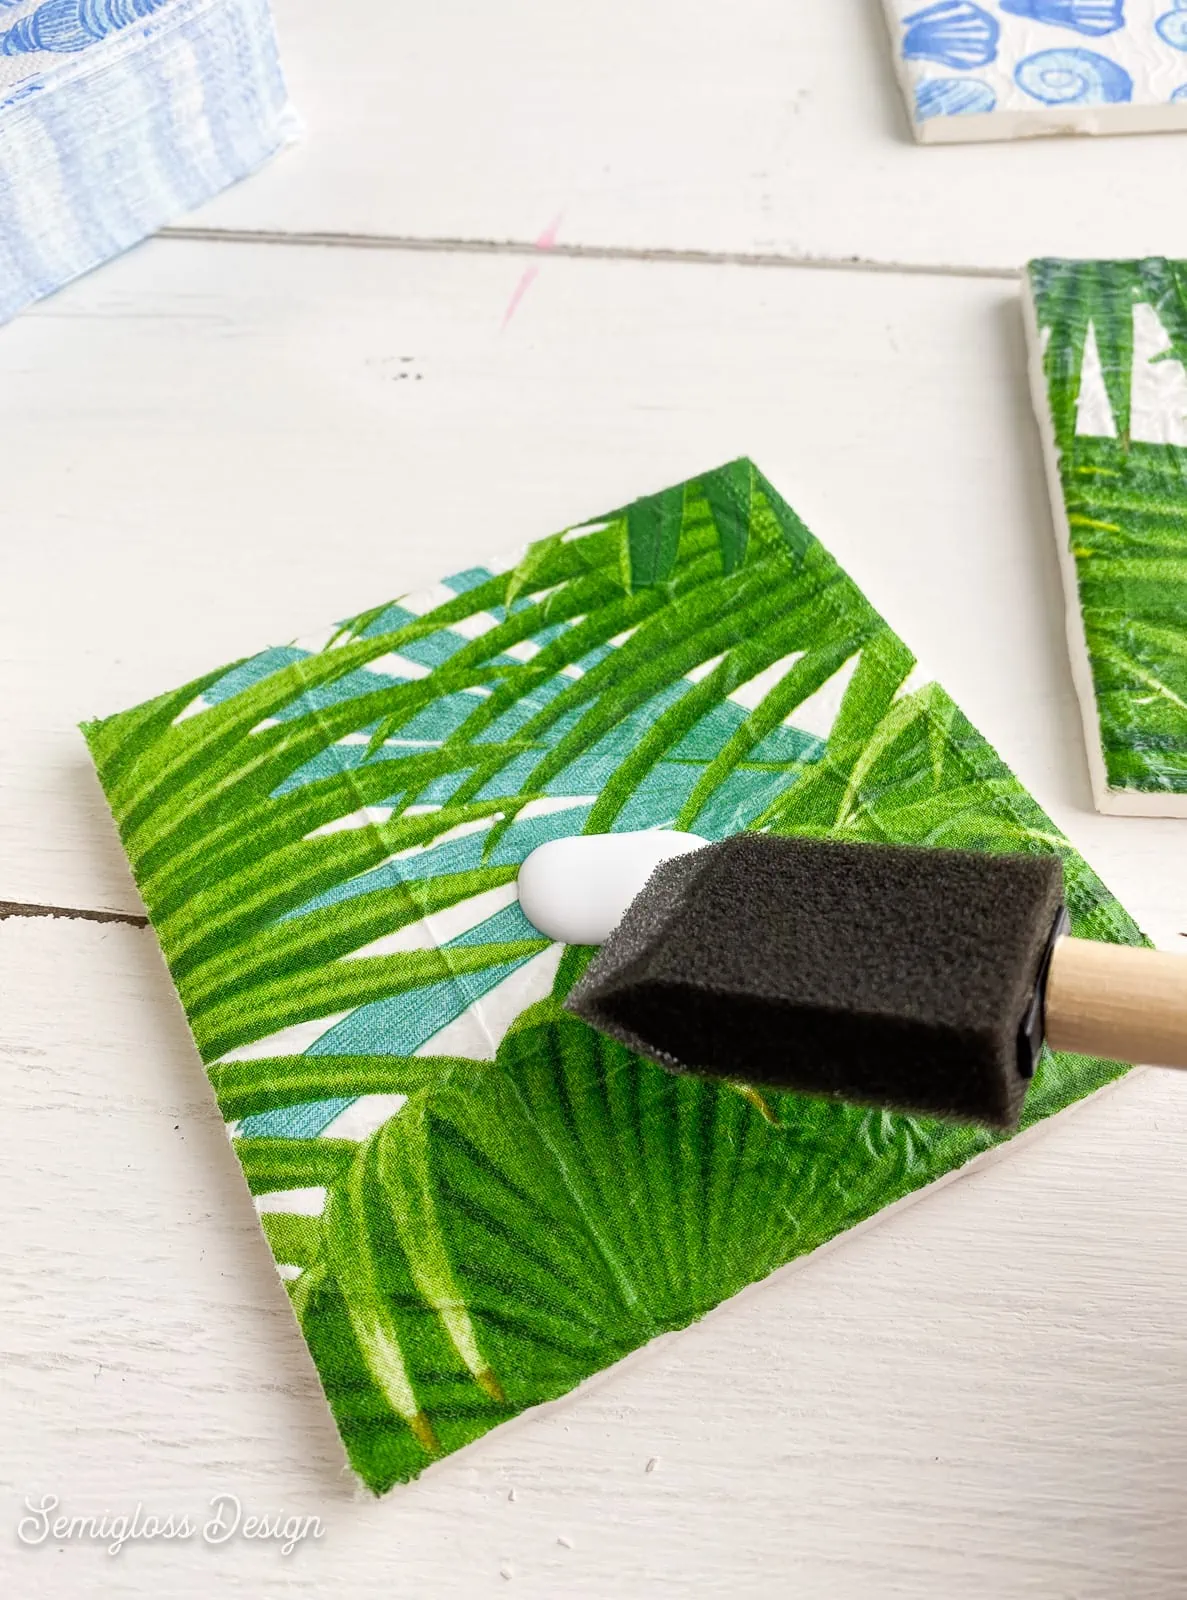
- Use the foam brush to apply a thin layer of decoupage glue to the tile.
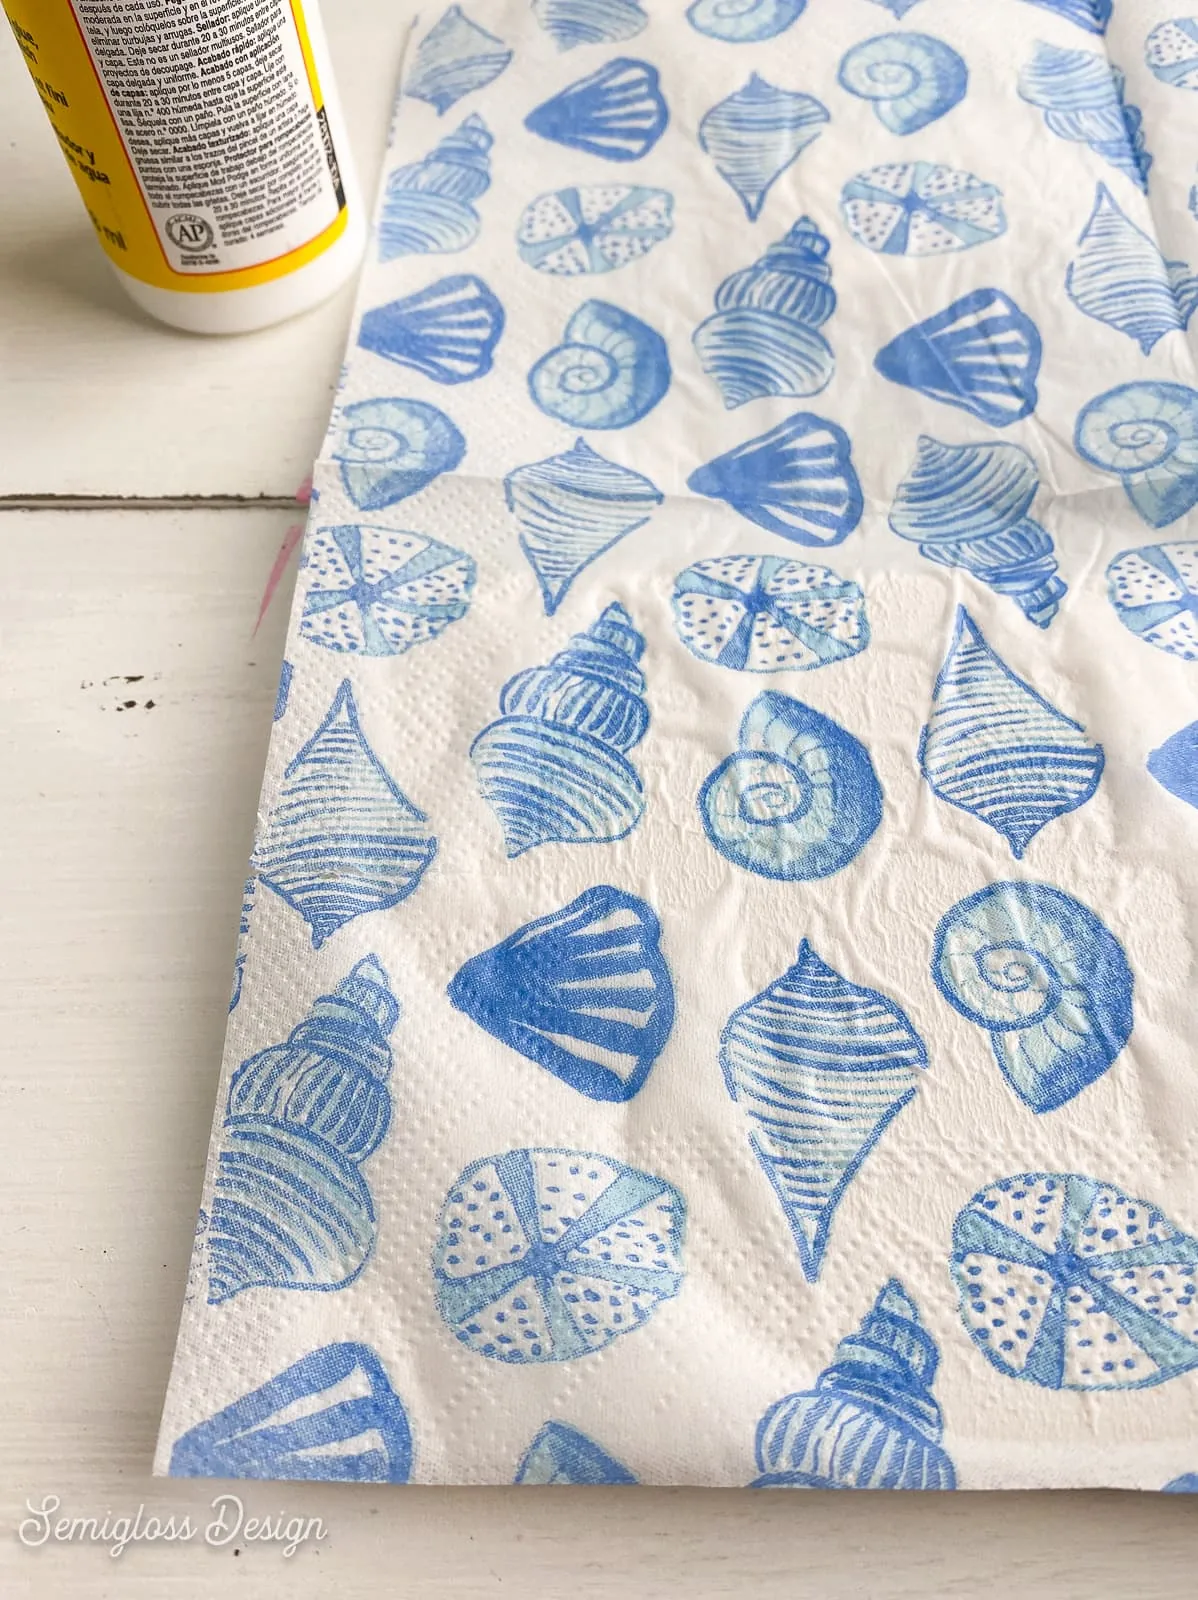
- Find your favorite area of the napkin and place the napkin on top of the tile.
 If the napkin contains a logo, avoid that area.
 - Use your fingers to lightly smooth the napkin over the tile surface.

- Let the entire thing dry.
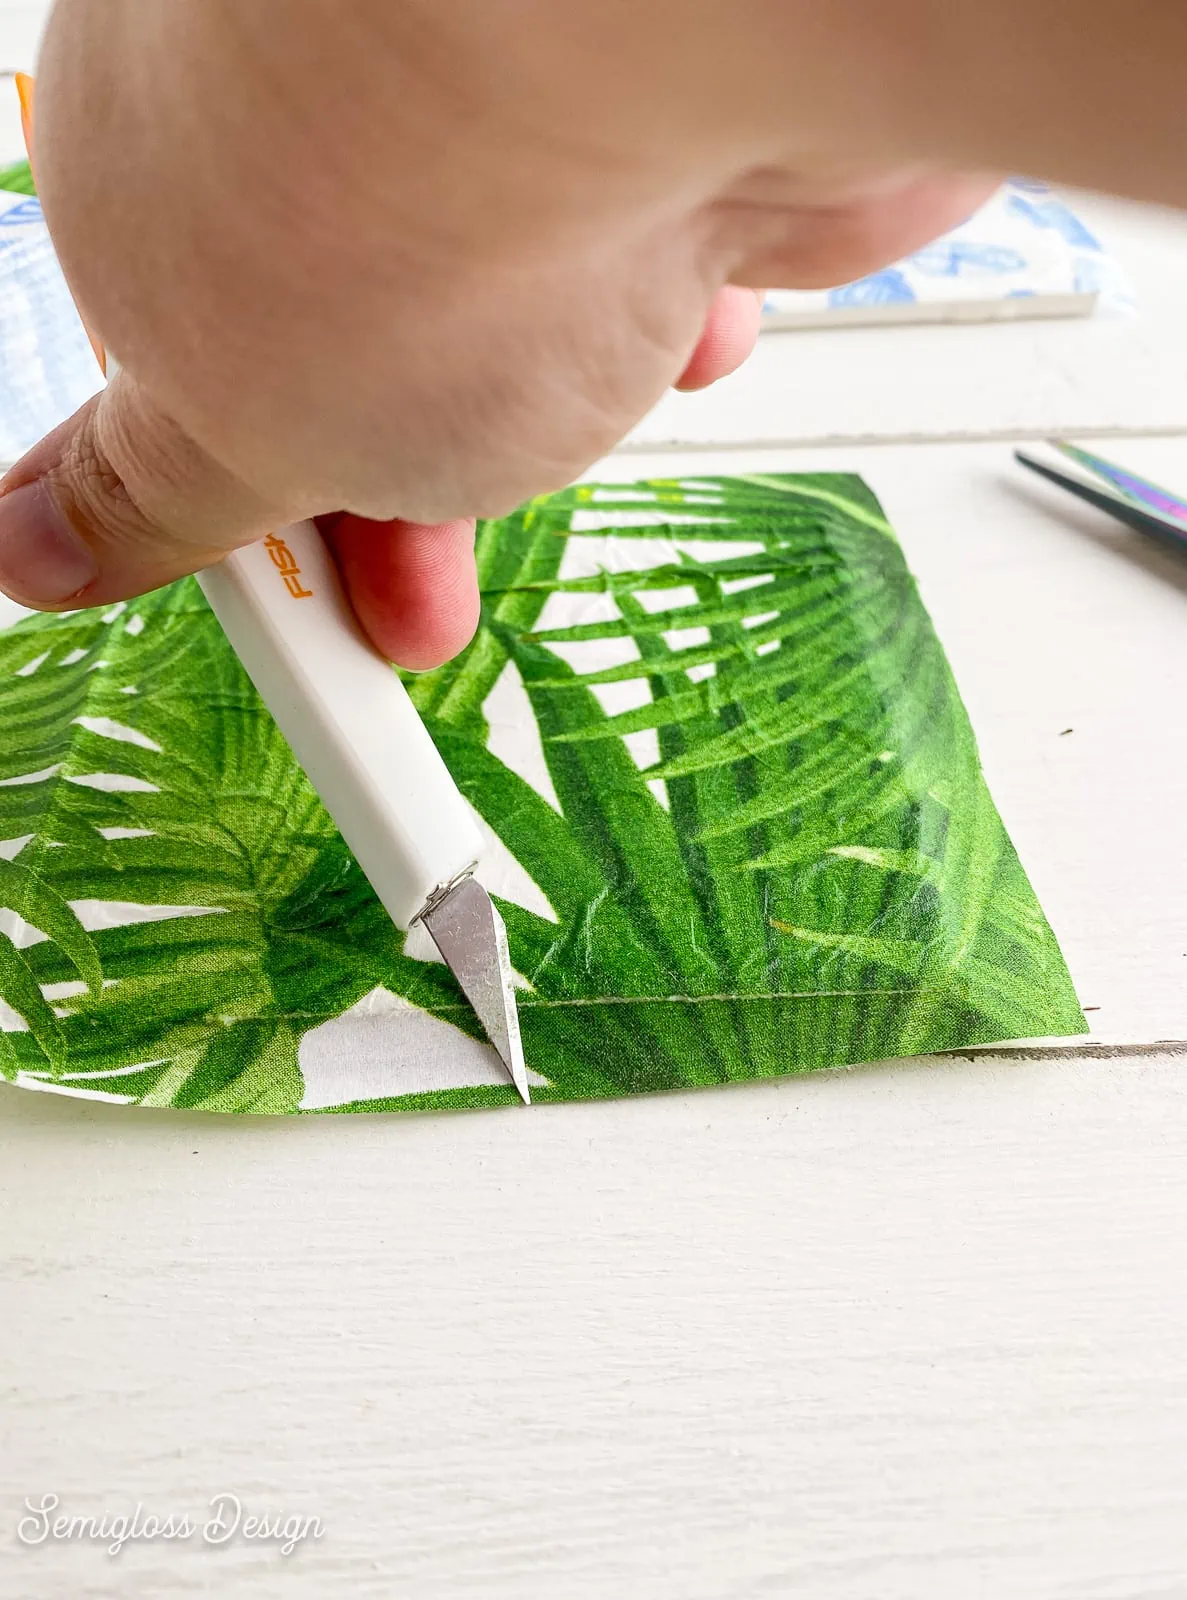
- Remove the remainder of the napkin. Cut away excess napkin paper, leaving about 1/2″ on each side of the tile. Then use something sharp to rub the edges until they come away from the edge. (You can also use sandpaper, but I didn’t have any in my office.) I used a utility knife, but I rubbed the surface rather than cut it to avoid uneven edges.
- Apply a thin layer of decoupage glue to the surface, smoothing the edges as you go.
- Let the coasters dry completely.
- Apply a coat of polycrylic to the coasters to seal the surface and let dry.
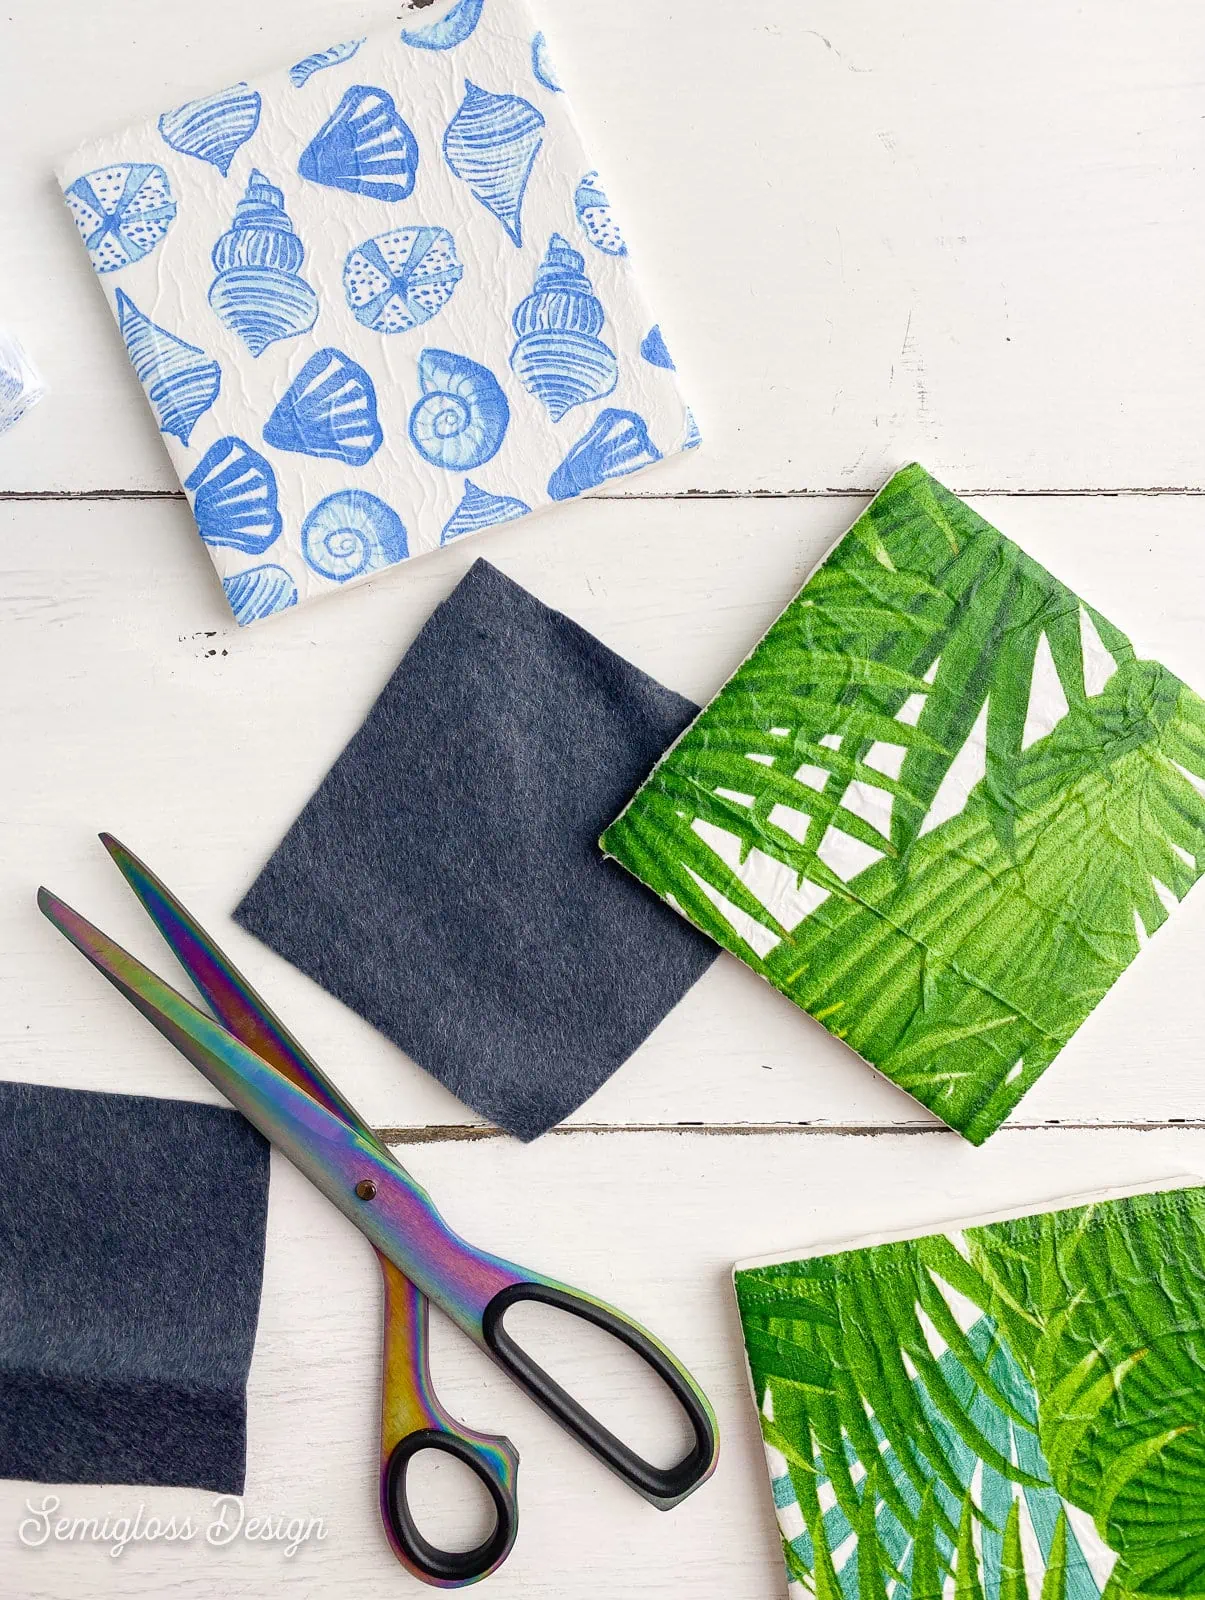
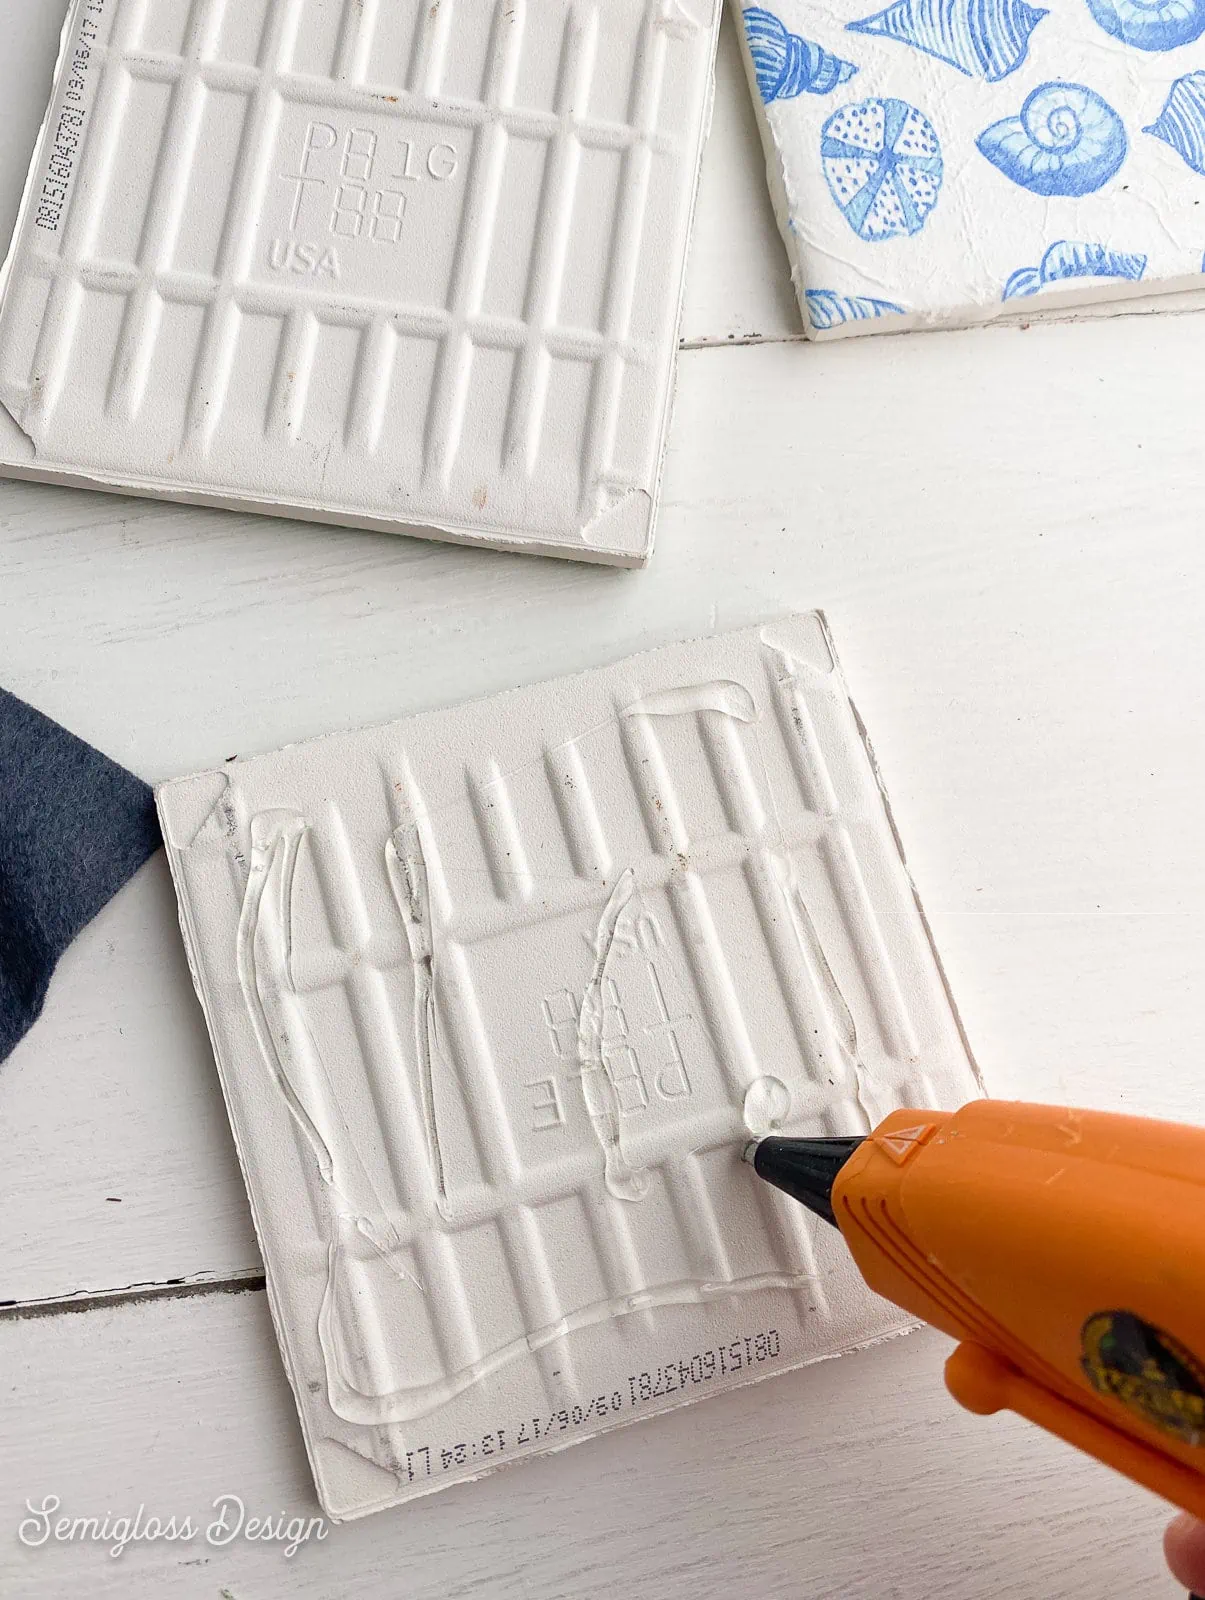
- Add felt to the bottom of your coasters. Cut squares of felt slightly smaller than the coasters.

- Glue them to the bottom of the coaster with a hot glue gun.
- Enjoy your coasters!
 If the napkin contains a logo, avoid that area.
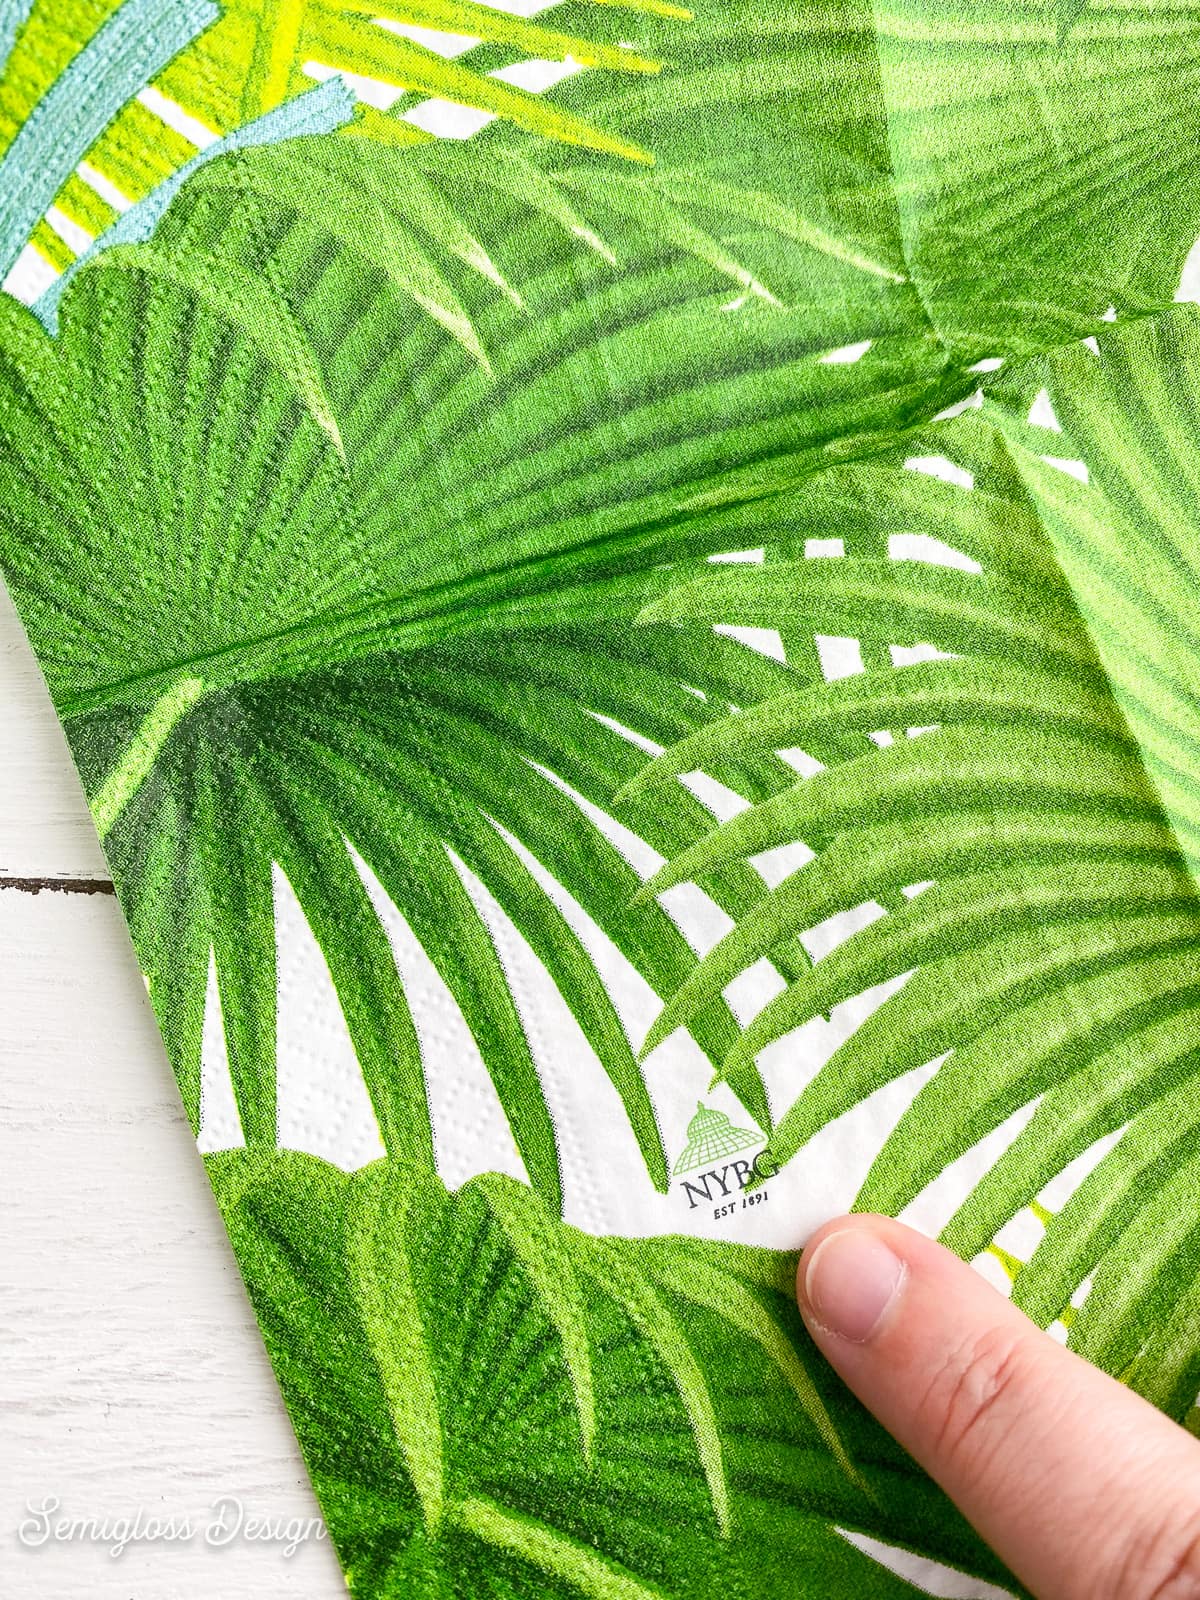
You might also like:

Pin for Later!

Emy is a vintage obsessed mama of 2 DIYer who loves sharing affordable solutions for common home problems. You don’t need a giant budget to create a lovely home. Read more…