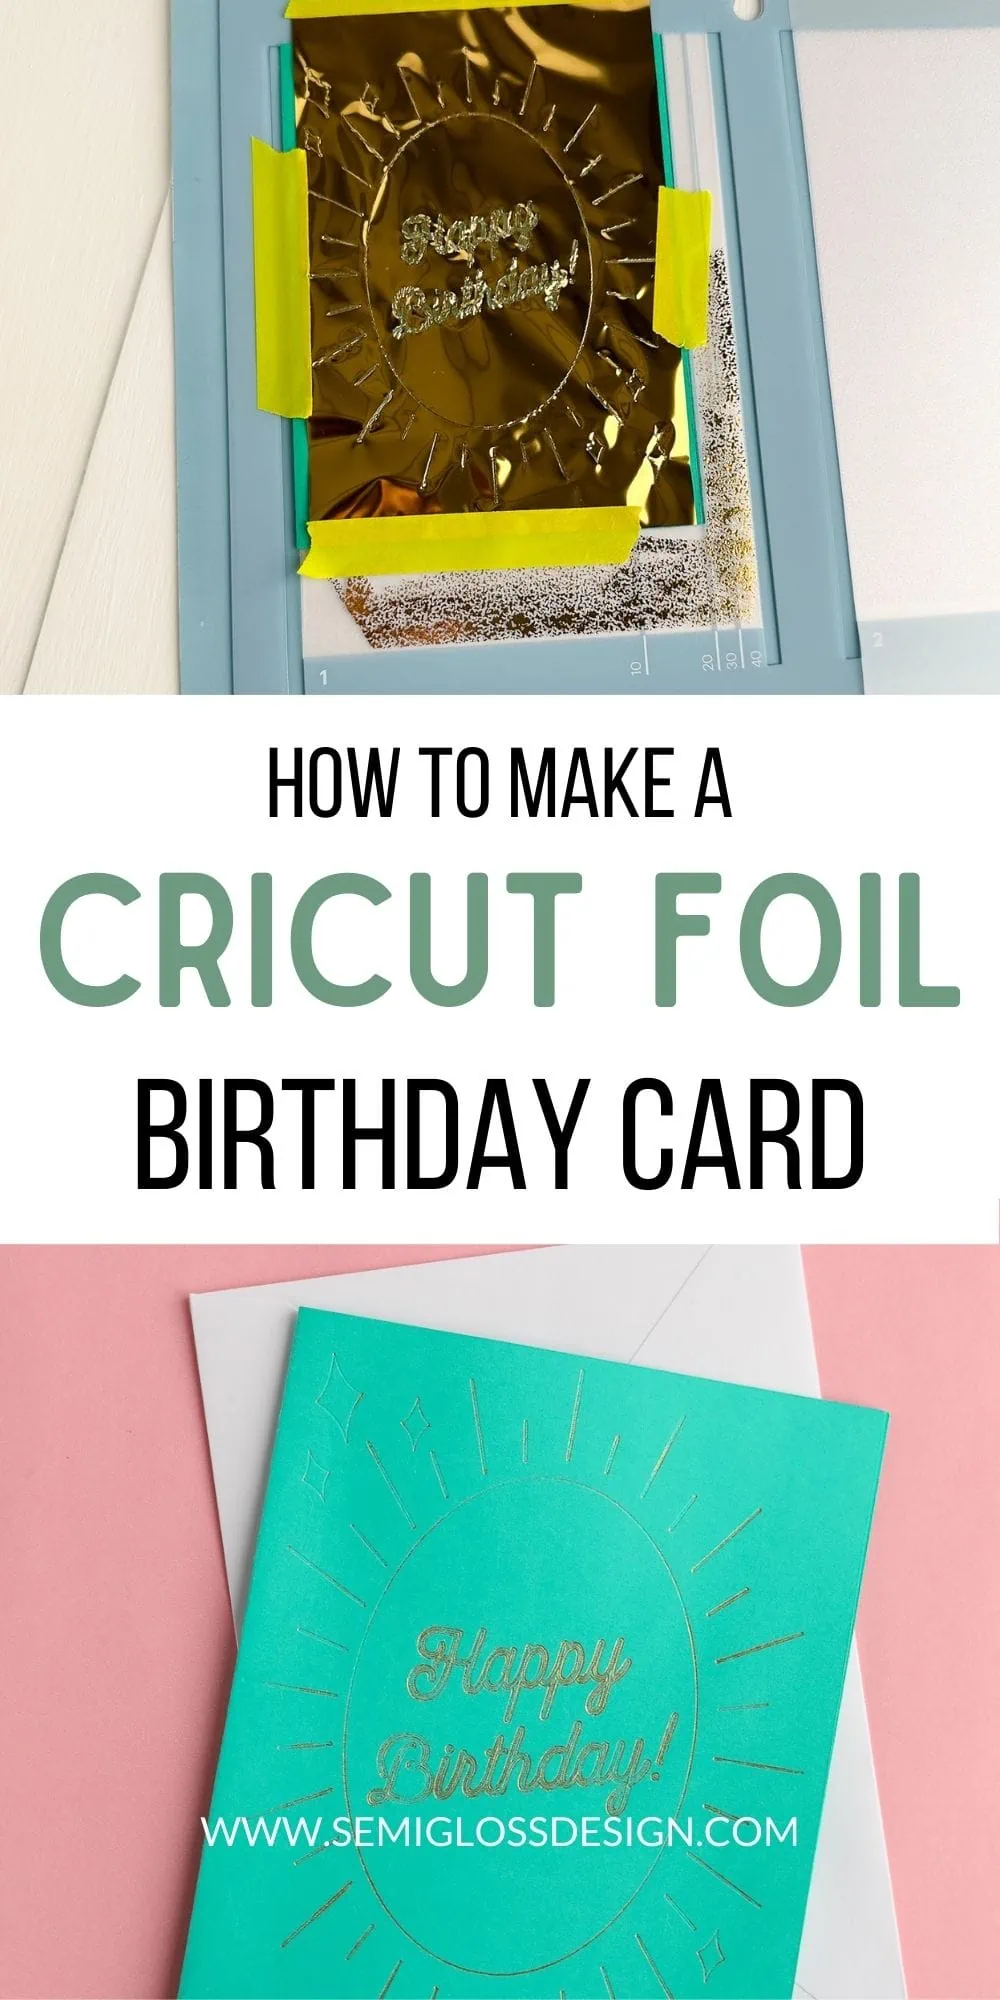
How to Make a Cricut Foil Transfer Card
Learn how to make a Cricut foil transfer card.
Be sure to check out these other Cricut tutorials.
This post contains affiliate links. By purchasing an item through an affiliate link, I earn a small commission at no extra cost to you. As an Amazon Associate I earn from qualifying purchases.
Is there anything that isn’t better without gold foil? I love it on everything, so I made a cute birthday card with the foil transfer kit.
The foil transfer kit is pretty easy to use.
I’ve used the foil transfer kit to make bookmarks and loved how they turned out. That’s a more in-depth tutorial on using the foil transfer kit, so check that out if you’ve never used it.
This tutorial is more card-specific because there’s a tip I learned that is very important.
The foil on my card ended up a little patchy, but I like how it turned out. It has an aged patina look. I have tips on how to avoid this, though.
DIY Cricut Foil Transfer Card Tutorial
Supplies Needed:
- Cricut (I used my Cricut Maker 3)
- Card*
- Cricut Foil Transfer Kit
- Cricut Card Mat
*You can either make your own cards or you can use the premade cards from Cricut. I have a post about making cards here.
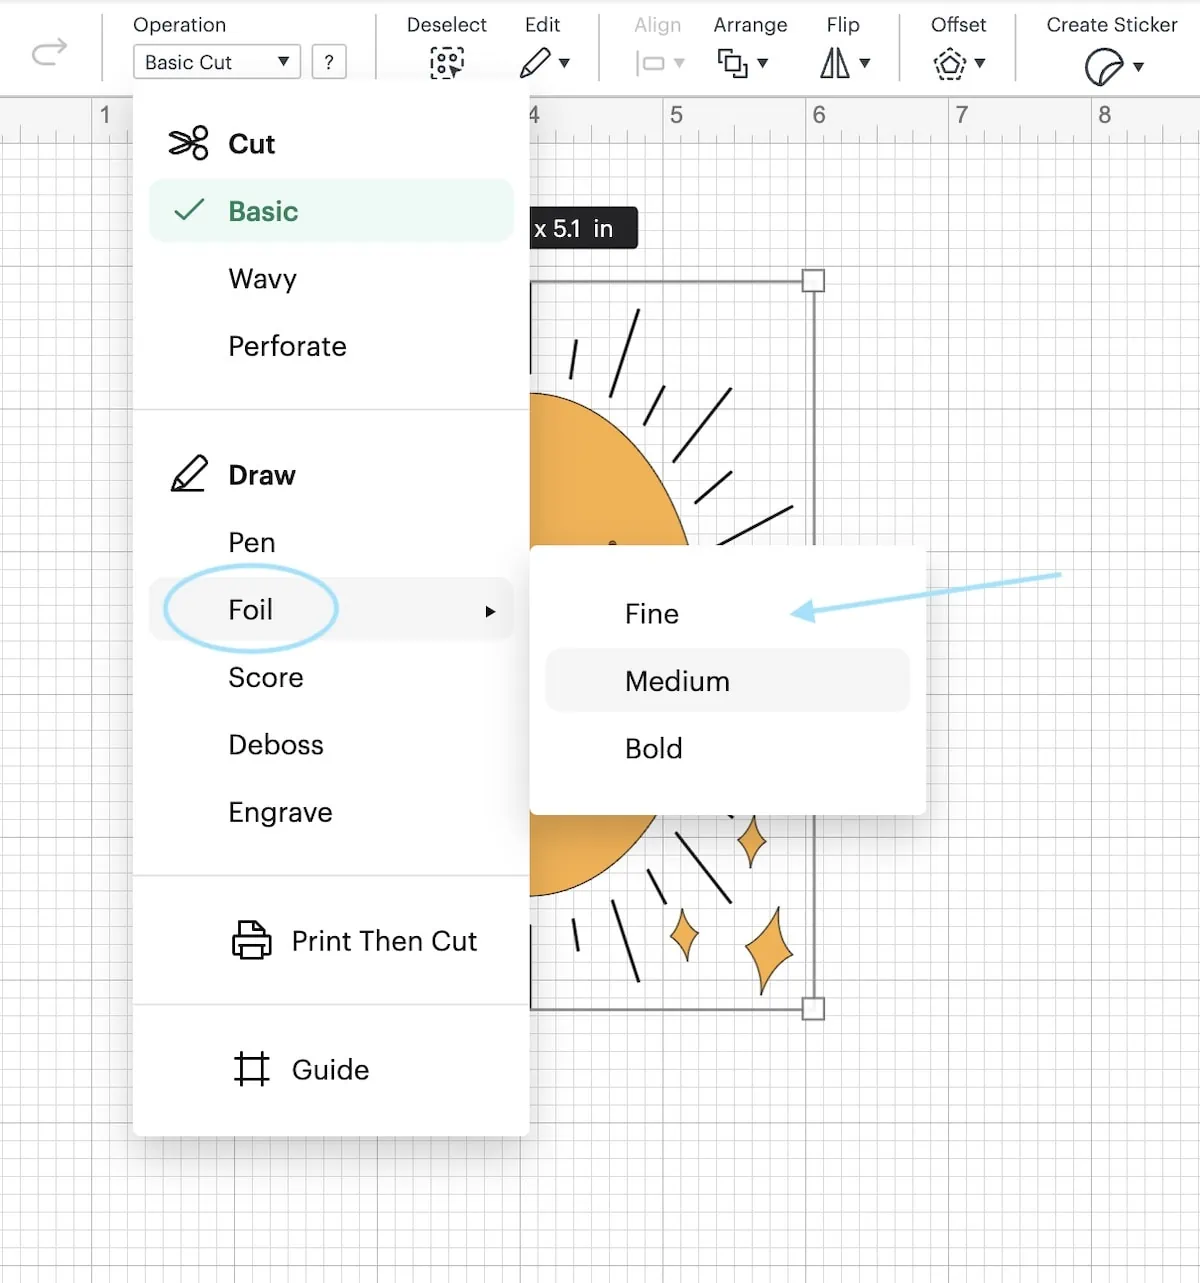
- Upload your design as usual.
- Change the lines from cut to Draw > Foil, and select the weight of the line. This design can handle all three thicknesses. Different elements can be different weights if you want.

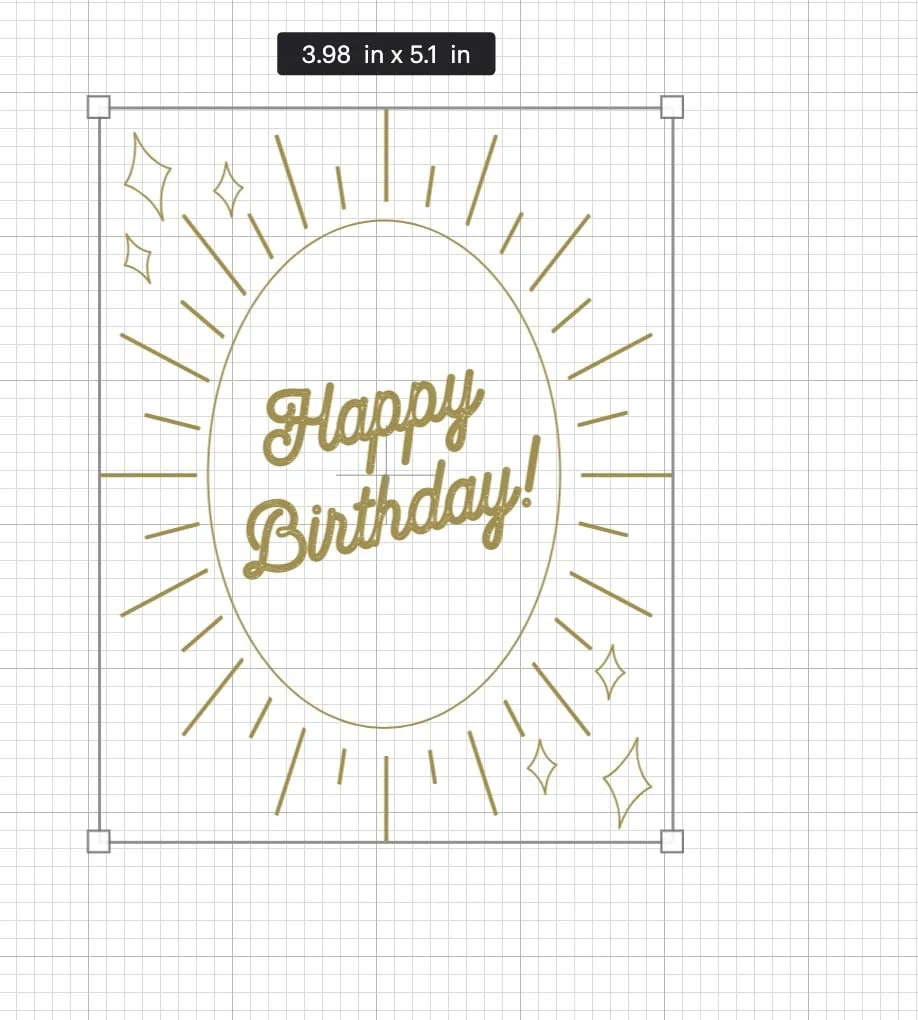
- Resize if needed.
- Once you’re happy with the design, attach everything and click Make it.

- Select the card mat from the dialog box. If you’ve never used it, here’s an in-depth tutorial on using the card mat.
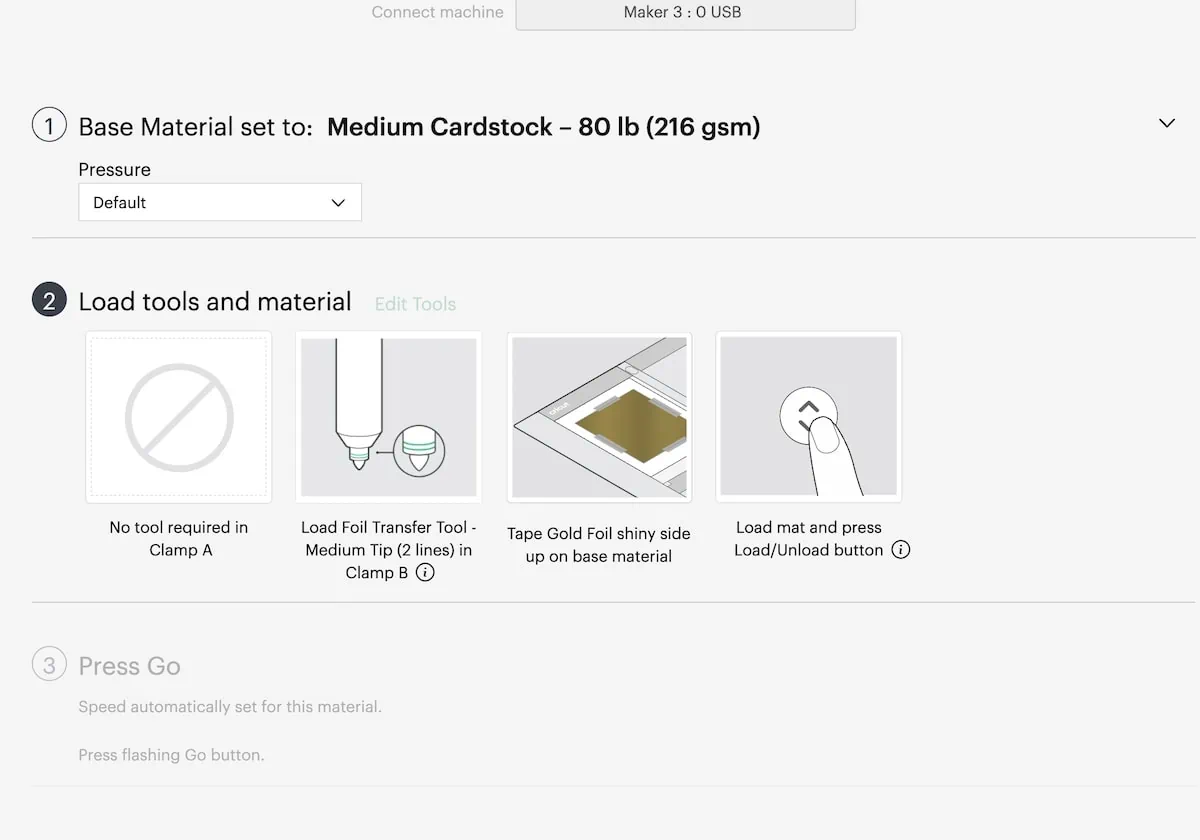
- Select the material type, either cardstock or the type of premade card that you’re using.
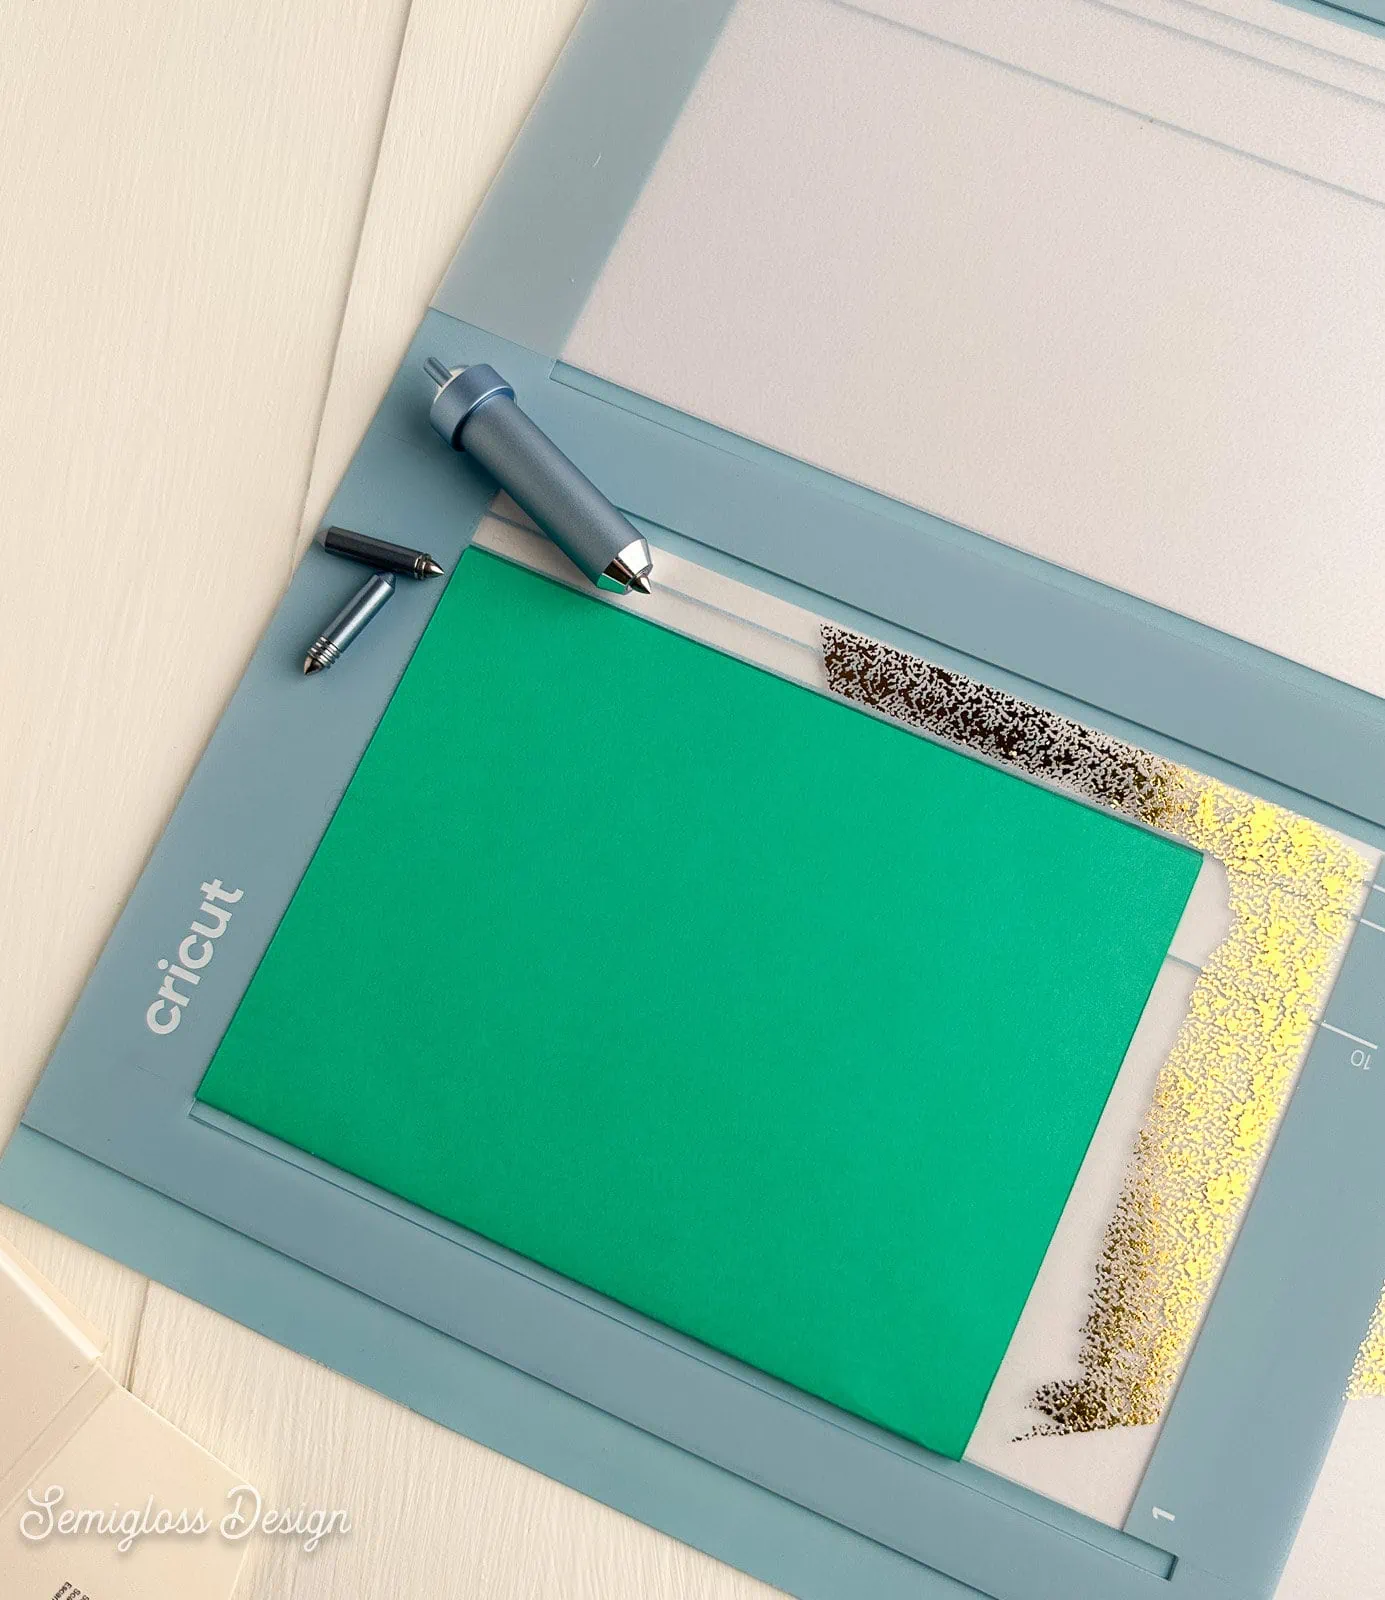
- Insert the card into the mat.

- Cut the foil to the size of your card. THIS IS IMPORTANT. Not cutting it to size will adhere the foil to the mat. Ask me how I know this…
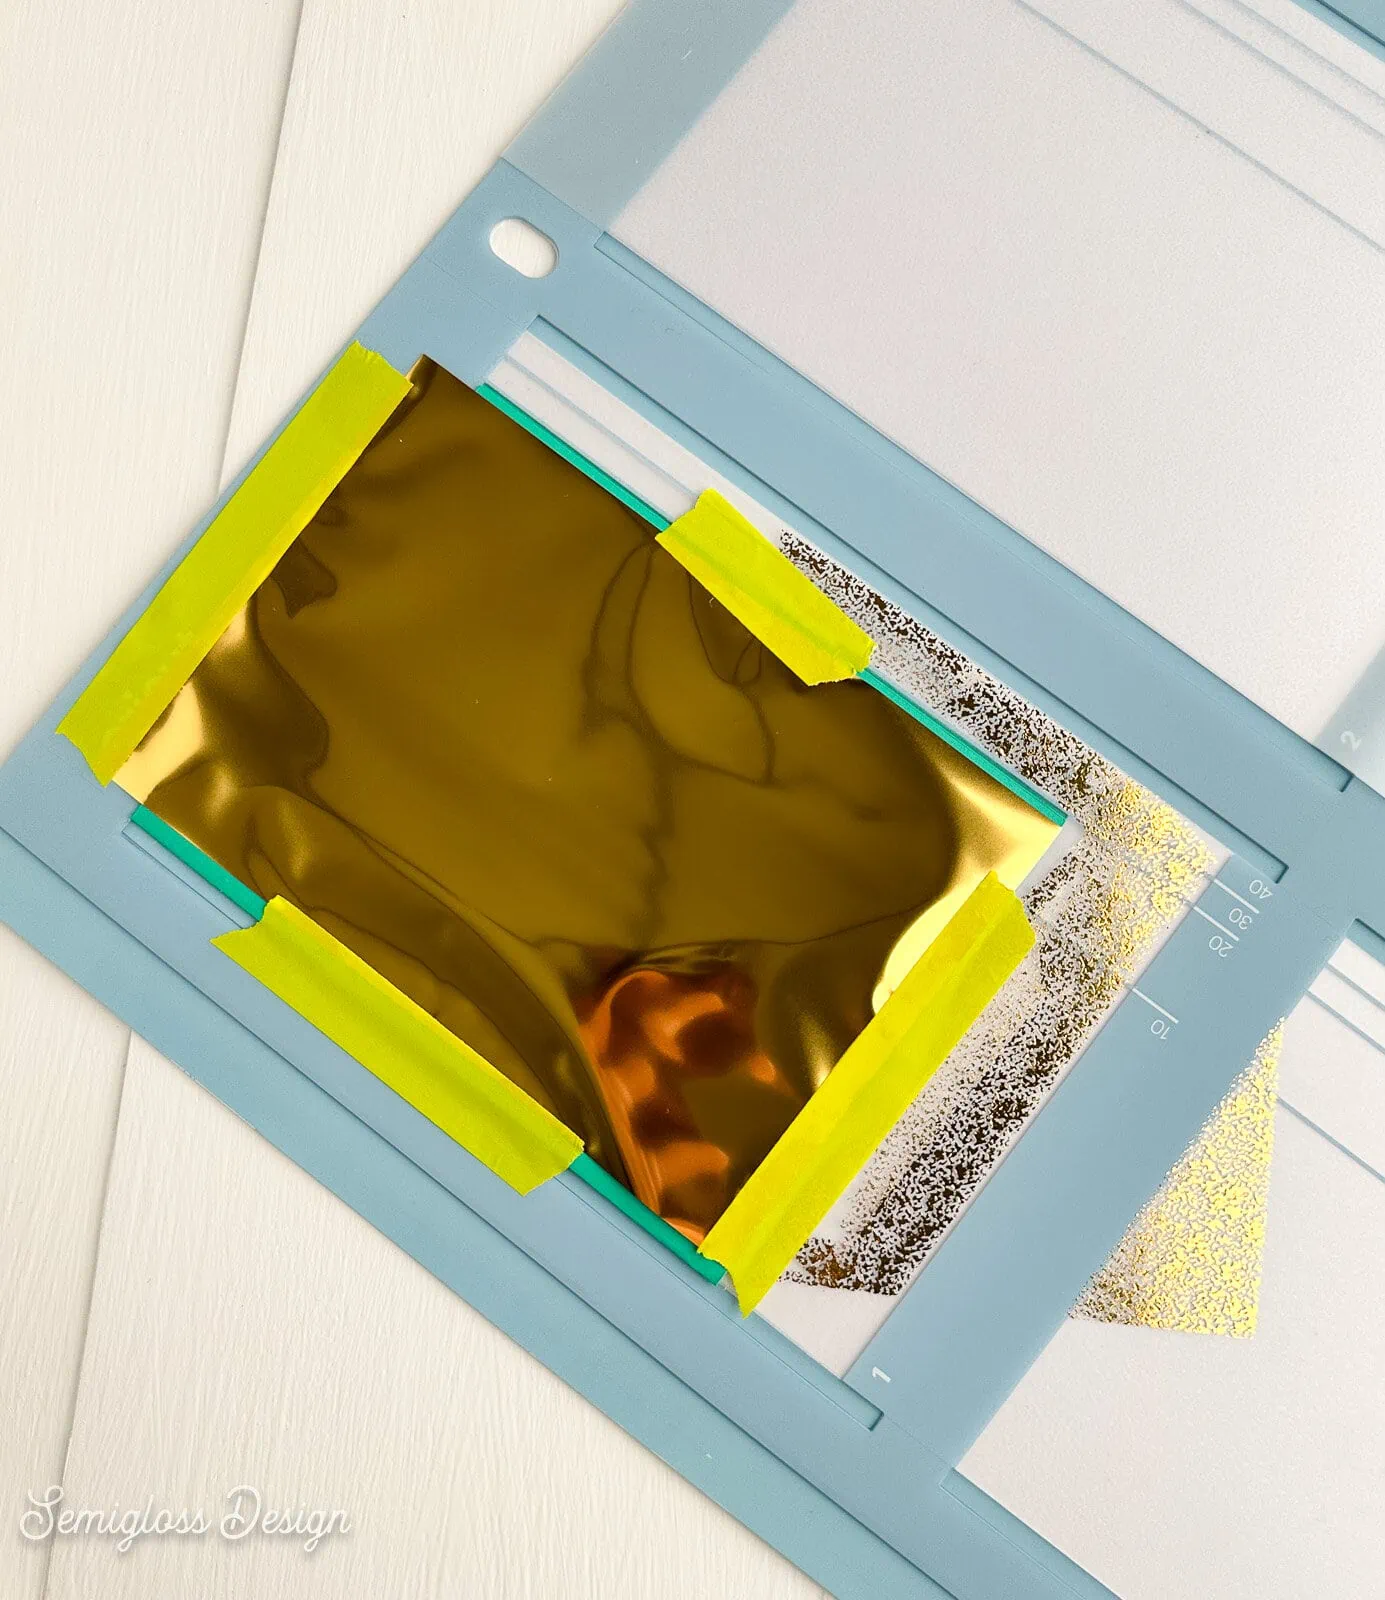
- Tape the foil shiny side up over the card.
- Load the mat.
- Move the white star wheels over. This prevents making unwanted marks.
- Insert the transfer tool with the correct tip. Cricut will prompt you to do this.

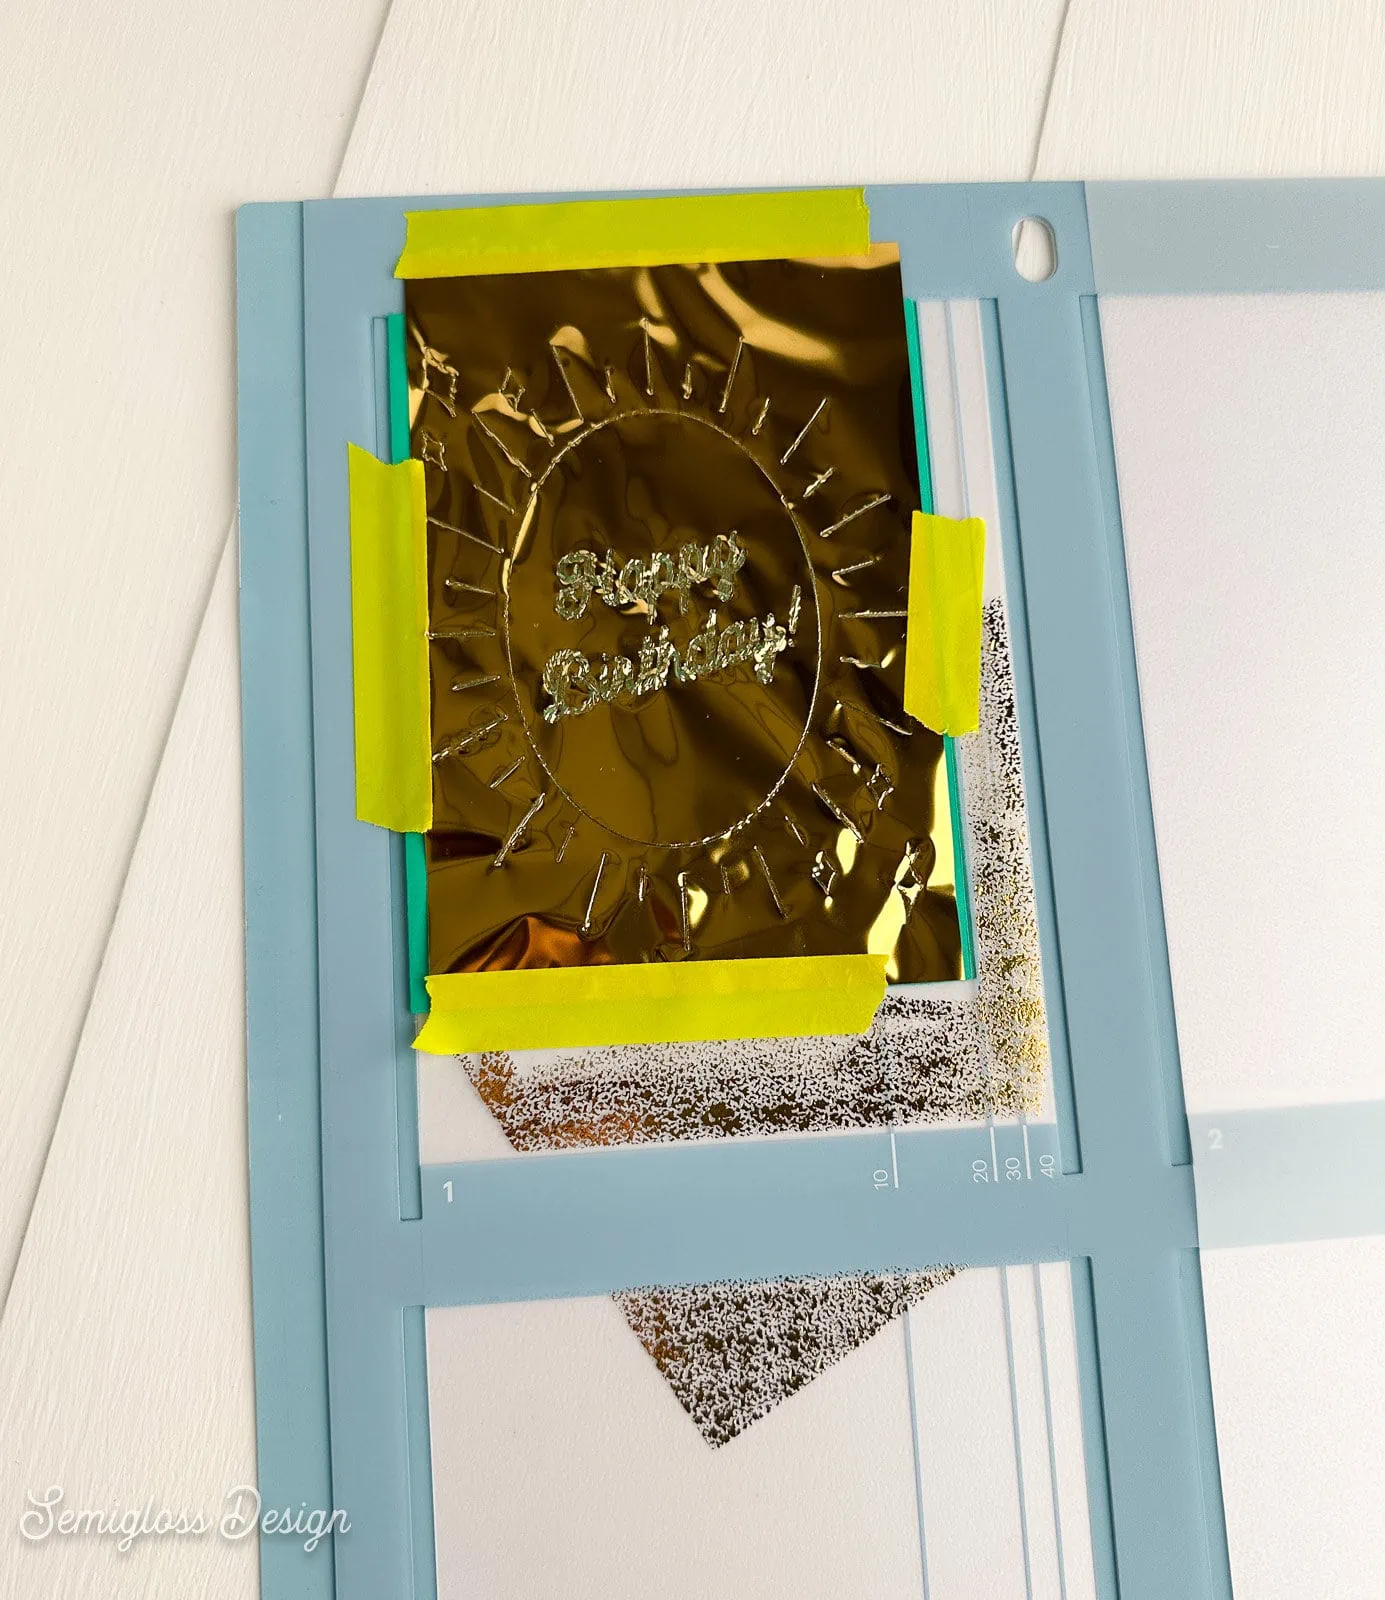
- Click the start button, and the machine will add the design. It will prompt you to change the tips if needed.
- When the process is finished, don’t unload the mat yet. Instead, gently peel back the foil to make sure that the marks are thick enough. If not, let it go through one more pass.
- Gently unload the card from the mat.
- Enjoy your card.


Get access to my SVG Library.
Get access to over 50 SVG sets and Cricut cheat sheets. Join my SVG library.
Download this Card SVG
This design fits 4.25″ x 5.5″ cards. Resize for other cards.
All downloads are for personal use only. Please do not redistribute or sell files.

Other Cricut Card Posts
Pin for Later!

Emy is a vintage obsessed mama of 2 DIYer who loves sharing affordable solutions for common home problems. You don’t need a giant budget to create a lovely home. Read more…