How to Make a Cricut Card for Beginners
Learn everything you need to know about how to make a Cricut card. These easy tips explain Cricut card sizes, how to make cards with cardstock, and easy ideas for making greeting cards.
Be sure to check out all of my other Cricut posts here.
This post contains affiliate links. By purchasing an item through an affiliate link, I earn a small commission at no extra cost to you. As an Amazon Associate I earn from qualifying purchases.
All About Cricut Cards
Cards are one of my favorite things to make with my Cricut. They’re really easy to make, and there are a ton of options for customizing cards.
You have the option to make your own cards, or you can use Cricut pre-made cards.

Get my free SVG files
Get Crafting Today
Get access to my SVG library with over 50 cut files and cheat sheets.
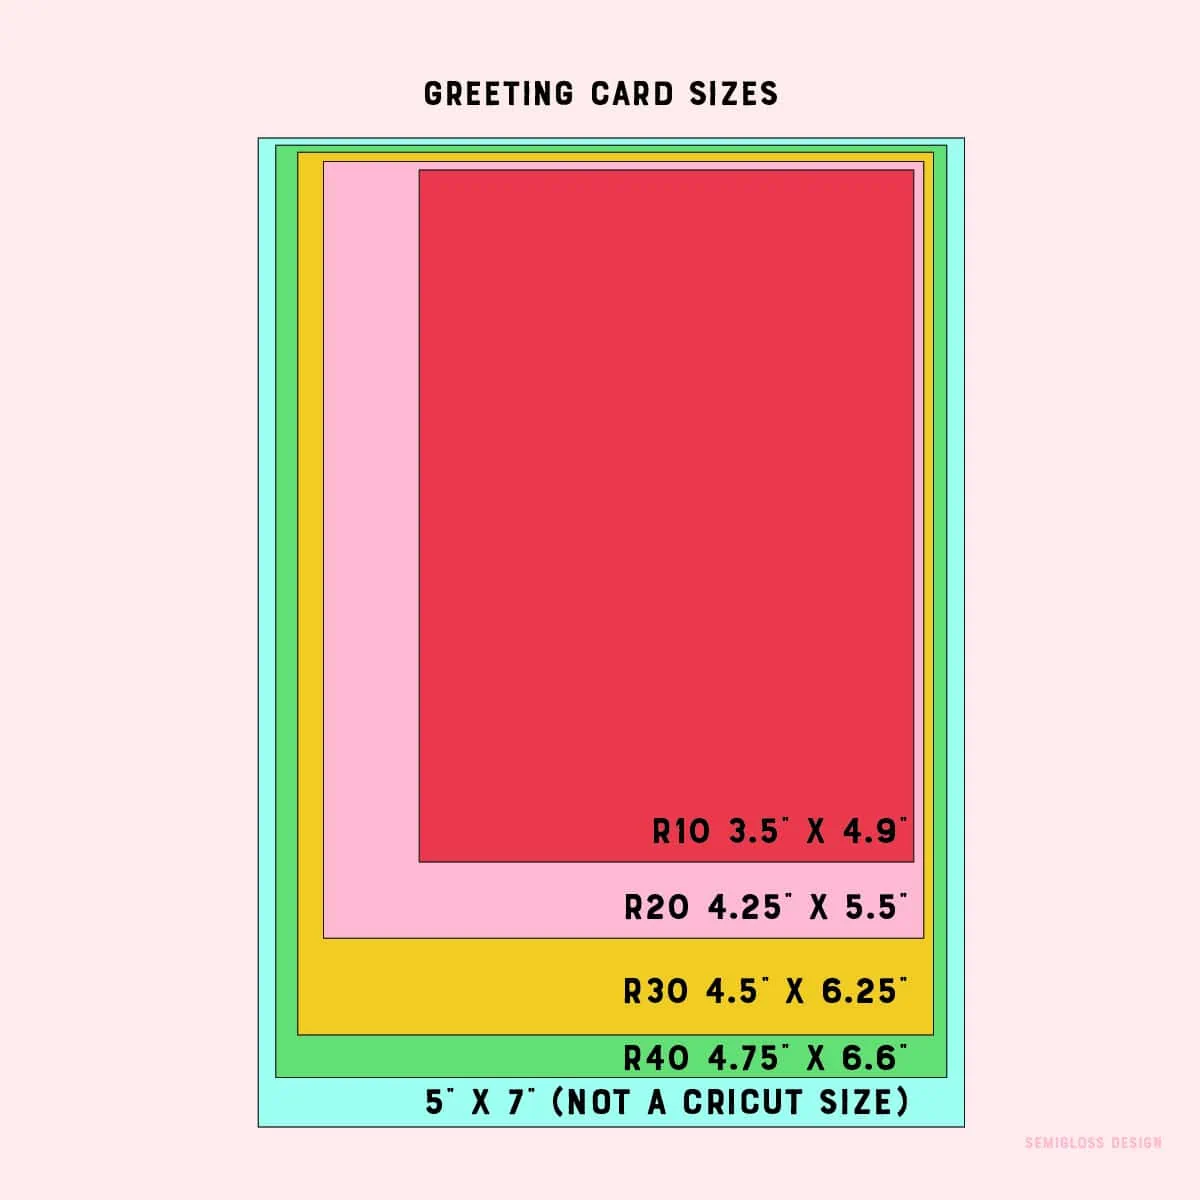
Cricut Card Sizes
These are the current Cricut card sizes that are available.
- R10 – 3.5″ x 4.9″
- R20 – 4.25″ x 5.5″ (A2)
- R30 – 4.5″ x 6.25″ (A6)
- R40 – 4.75″ x 6.6″
- S40 – 4.75″ x 4.75″
Not all packages are labeled with the code at the beginning. It corresponds to the card mat placement and the size in Cricut Design Space. The measurement will also work if the code isn’t on your package.
Popular Greeting Card Sizes
These are the most popular greeting card sizes.
- R20 – 4.25″ x 5.5″ (A2)
- R30 – 4.5″ x 6.25″ (A6)
- 5″ x 7″ (not an option for Cricut)
I included the last size because it’s the size of standard greeting cards that you buy at the store. It’s a nice size to use for making your own cards.
Shop My SVG Designs
Pre-Made Cricut Cards
Cricut offers a few types of pre-made cards. They are available in several colorways and sizes.
Cutaway Cards
Cutaway cards are cards with a design cut away to reveal a piece of paper (usually metallic) that sticks to the back of the card. It’s all cut at once and doesn’t need to be assembled.
There are 4 sizes available:
- R10 – 3.5″ x 4.9″ (18 count)
- R20 – 4.25″ x 5.5″ (8 count)
- R40 – 4.75″ x 6.6″ (12 count)
- S40 – 4.75″ x 4.75″ (14 count)
Each set contains cards, inserts, and envelopes.
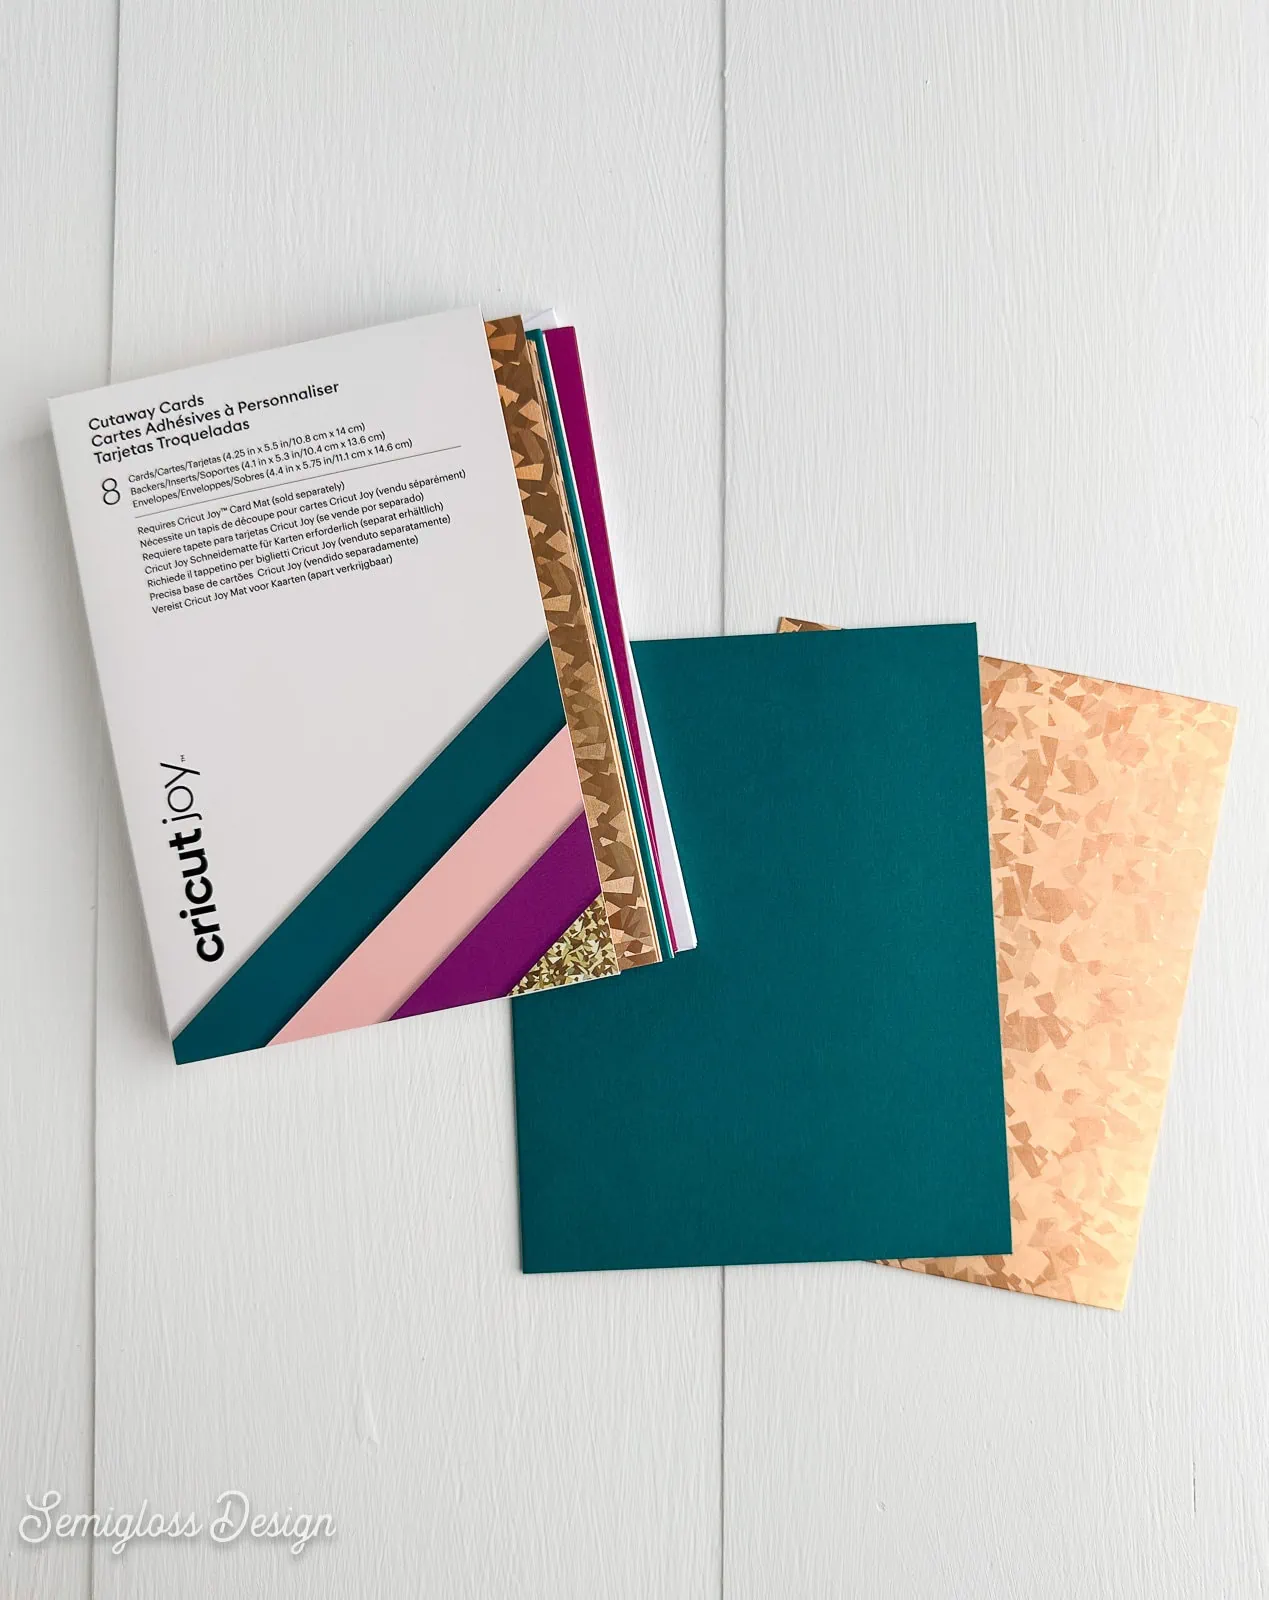
The inserts in cutaway cards are typically one color/pattern.
Insert Cards
Insert cards are cards with a design that is cut out to reveal a piece of paper that sits in the slots that are cut. These cards need to be assembled.
At the time of writing, there are a lot of colors, sizes, and quantities available compared to the cutaway cards.
The insert cards contain multiple colors of inserts and cards.
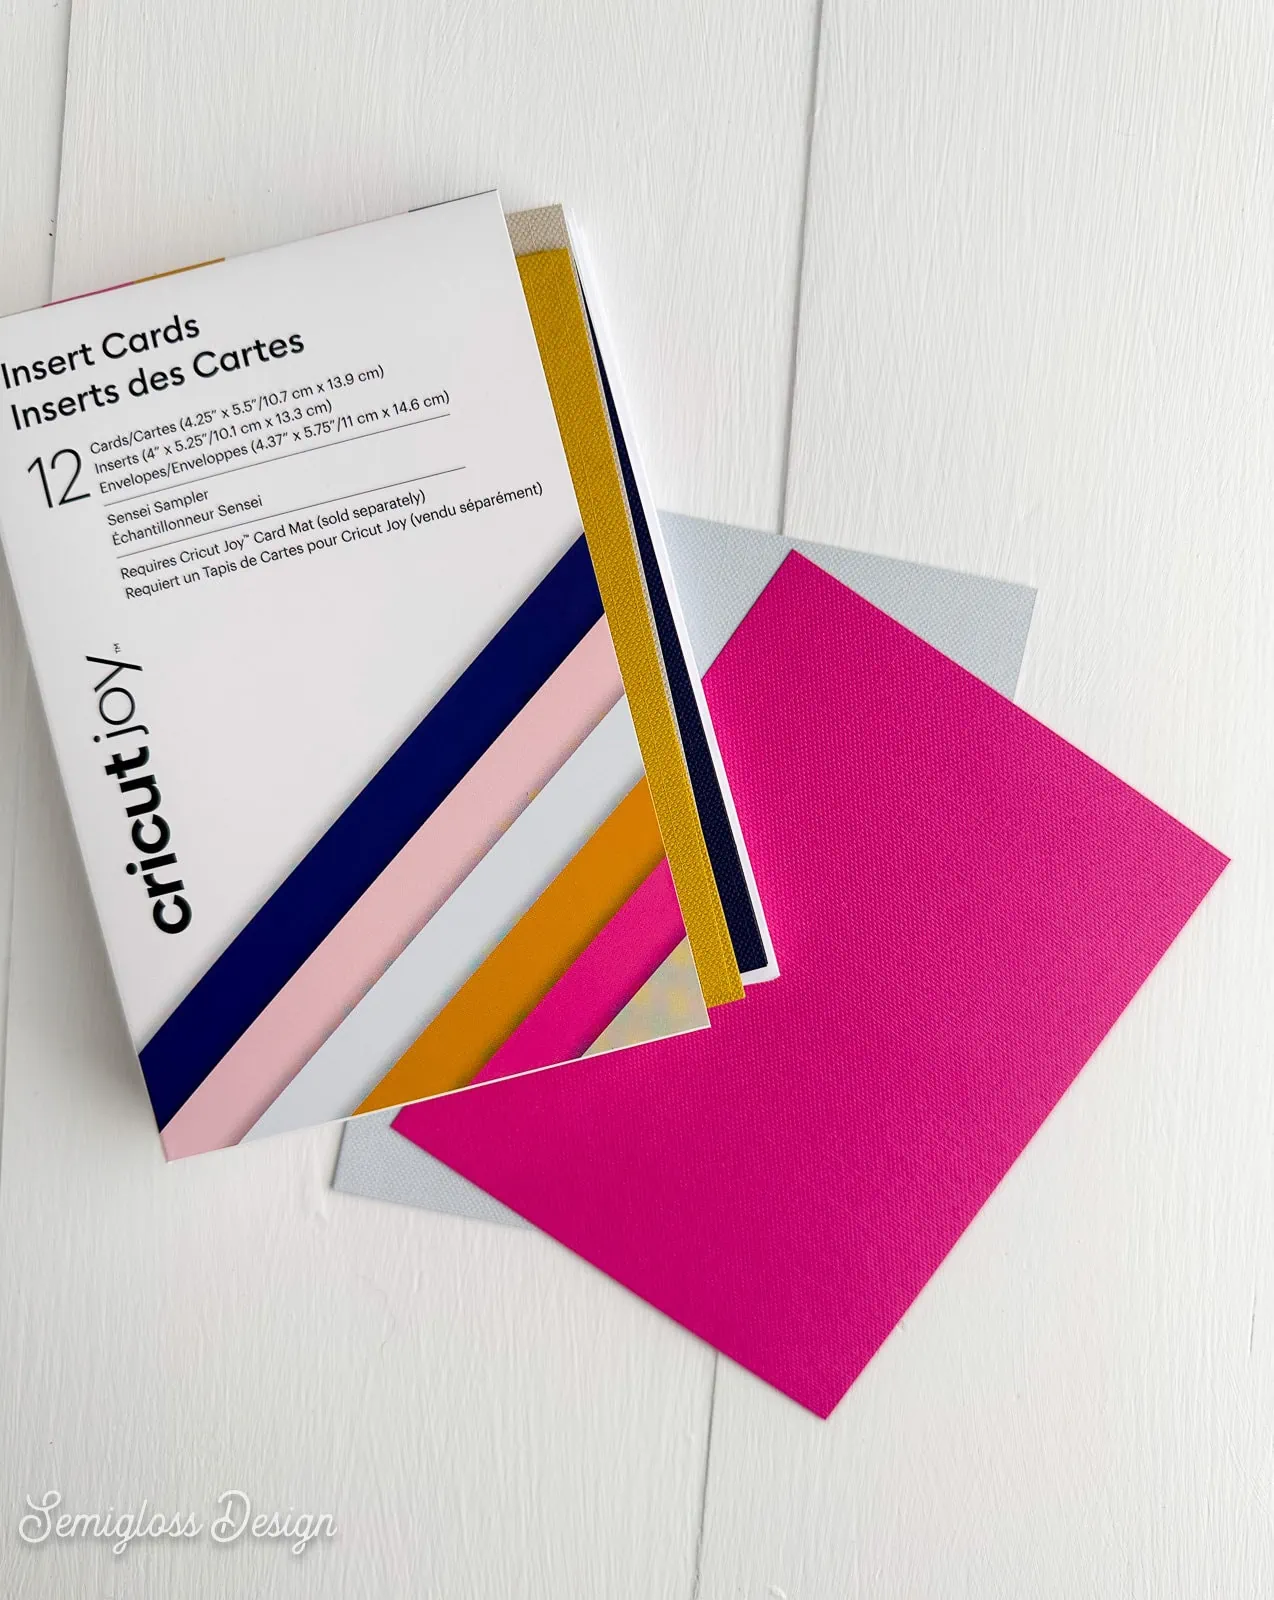
There are 4 sizes available:
- R10 – 3.5″ x 4.9″
- R20 – 4.25″ x 5.5″
- R40 – 4.75″ x 6.6″
- S40 – 4.75″ x 4.75″
Each set contains cards, inserts, and envelopes. It’s also possible to buy the card sets in larger quantities.
Insert Card Vs. Cutaway Cards
Even after explaining them, they still sound very similar. The difference is that the main card piece in the cutaway cards has an adhesive backing, which sticks to the inserted paper piece.
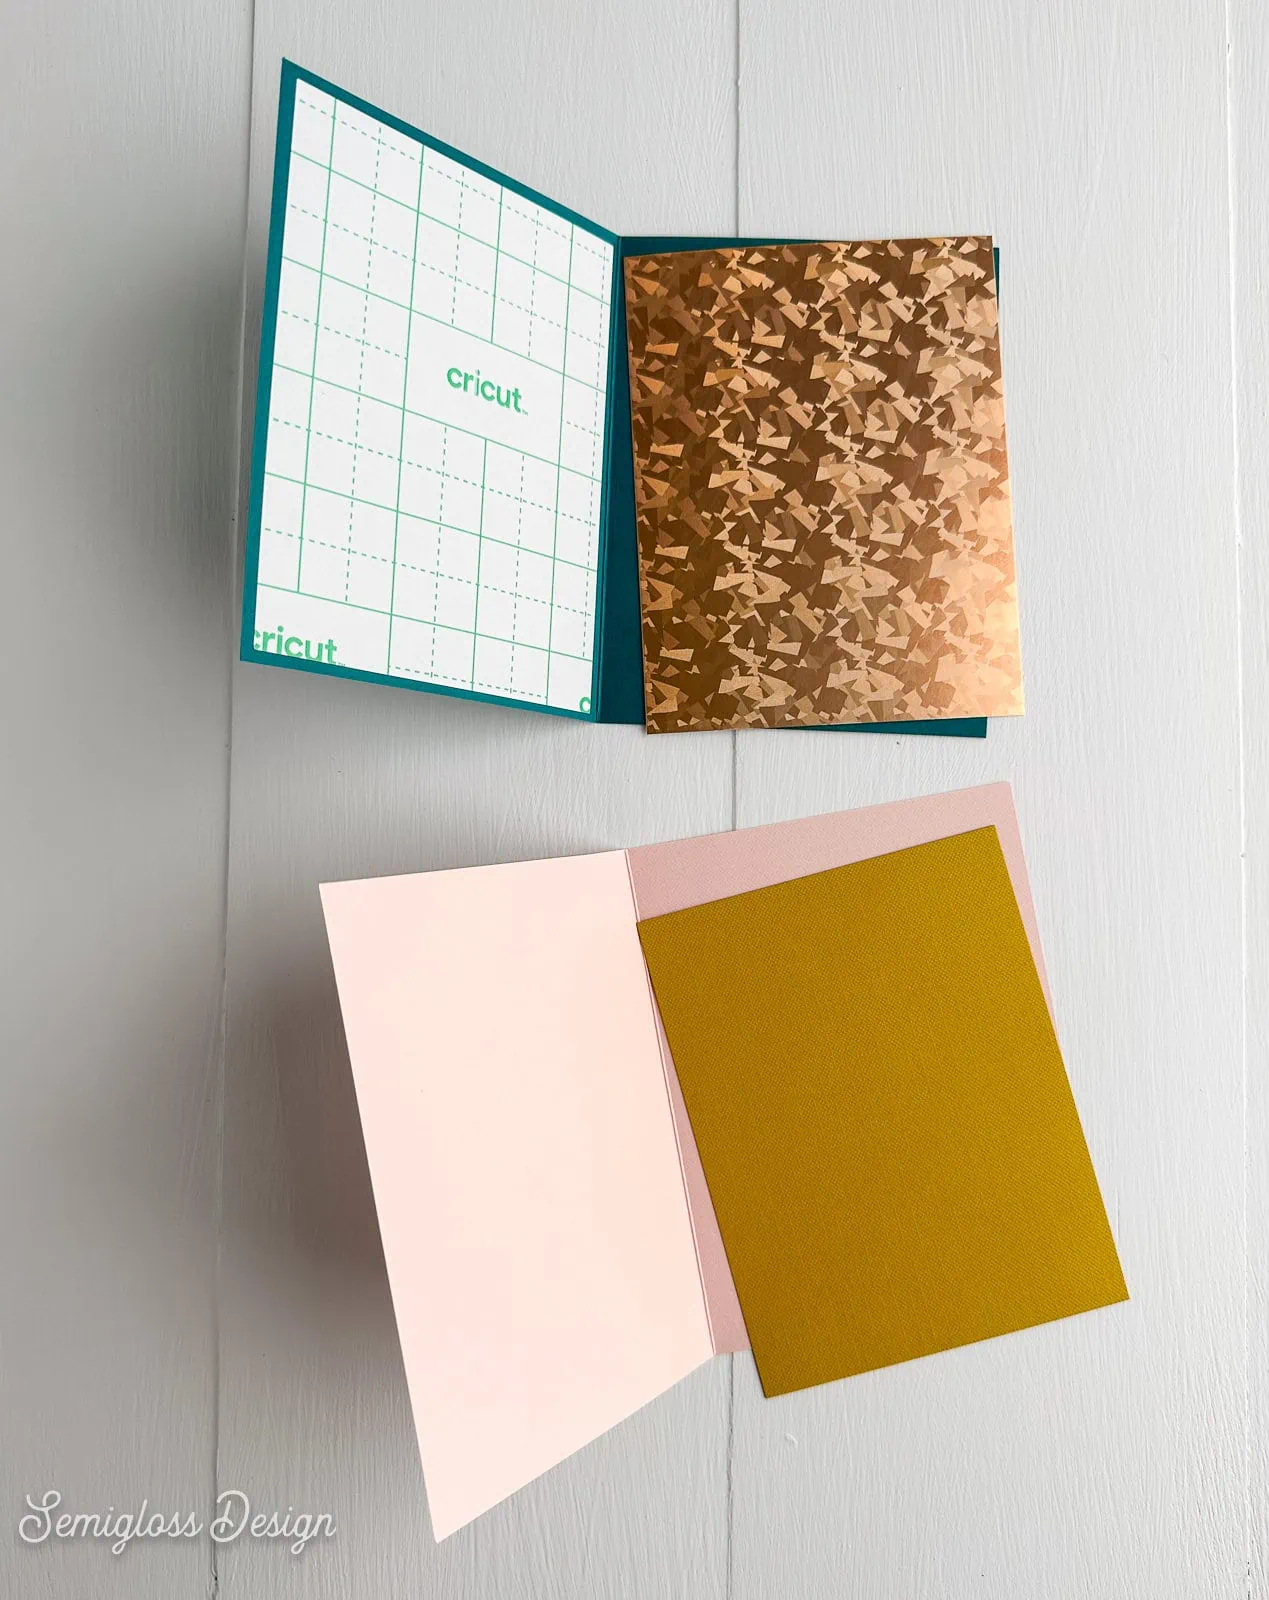
The insert cards have no adhesive and use cut slots at each corner to hold the inserted paper in place. (You can add your own glue if you want.)
Both card types have their pros and cons. Insert cards can be difficult to line up properly. Cutaway cards are harder to weed.
The colors provided by the sets also limit you. There are a lot of cute sets, but if you have a particular color in mind, you may need to settle.
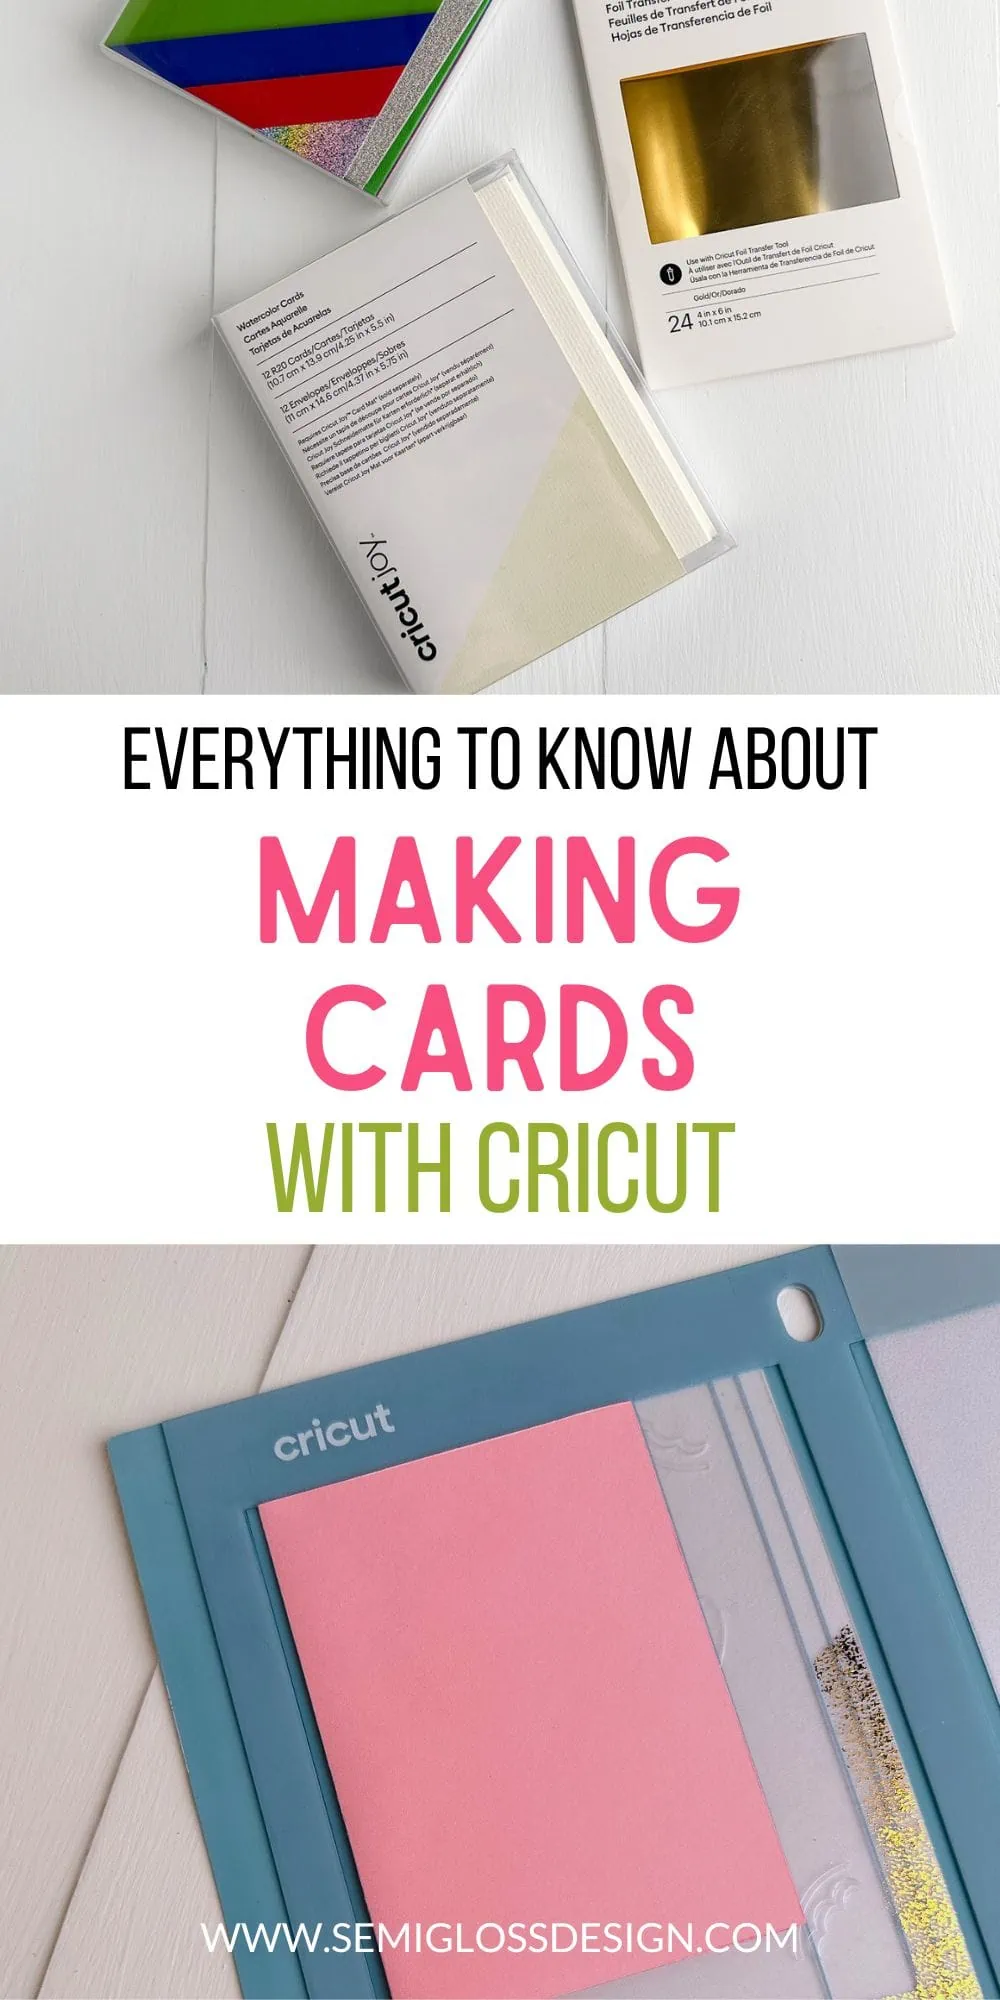
Watercolor Cards
Watercolor cards are made with watercolor paper, which handles water and paint without warping. They are designed to be used with the Cricut Watercolor Markers, but you can also use them with watercolor paint.
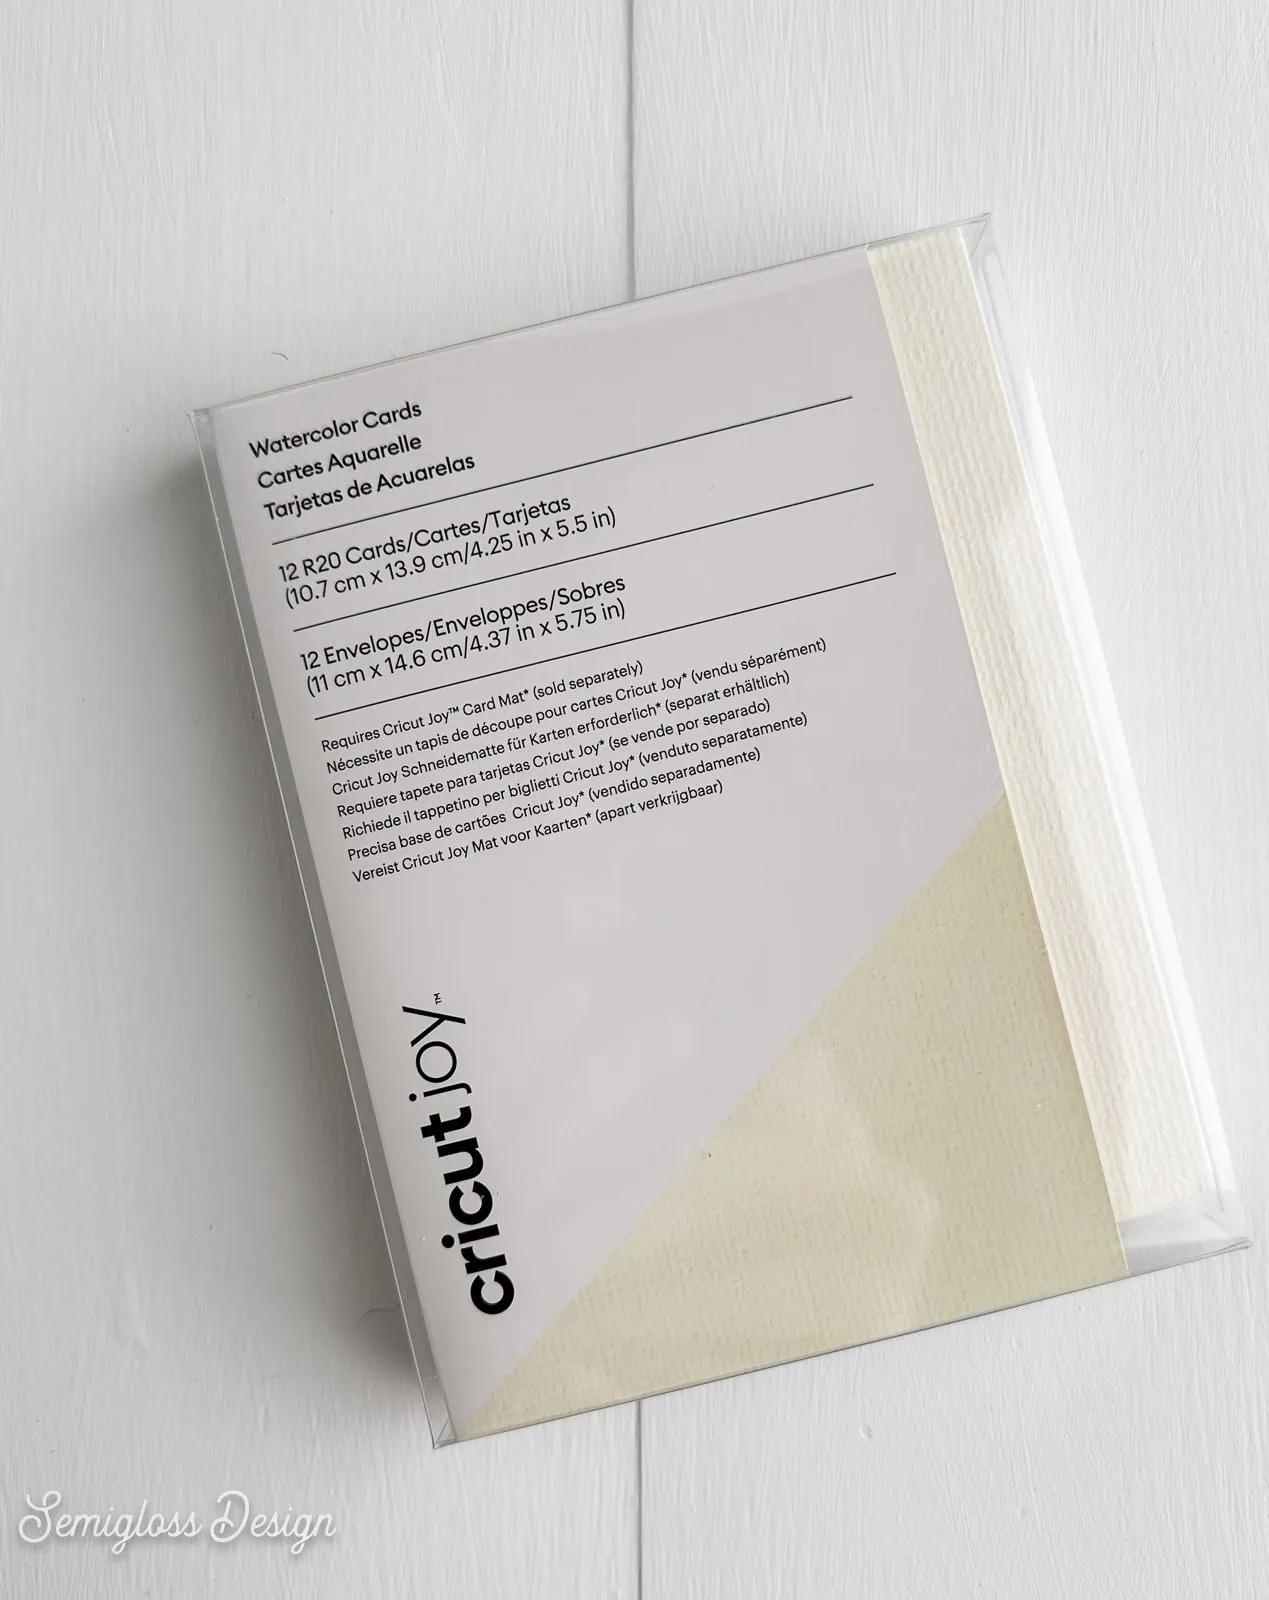
There are 3 sizes available.
- R20 – 4.25″ x 5.5″ (10 count)
- R40 – 4.75″ x 6.6″ (12 count)
- S40 – 4.75″ x 4.75″ (12 count)
Each set contains cards and envelopes.
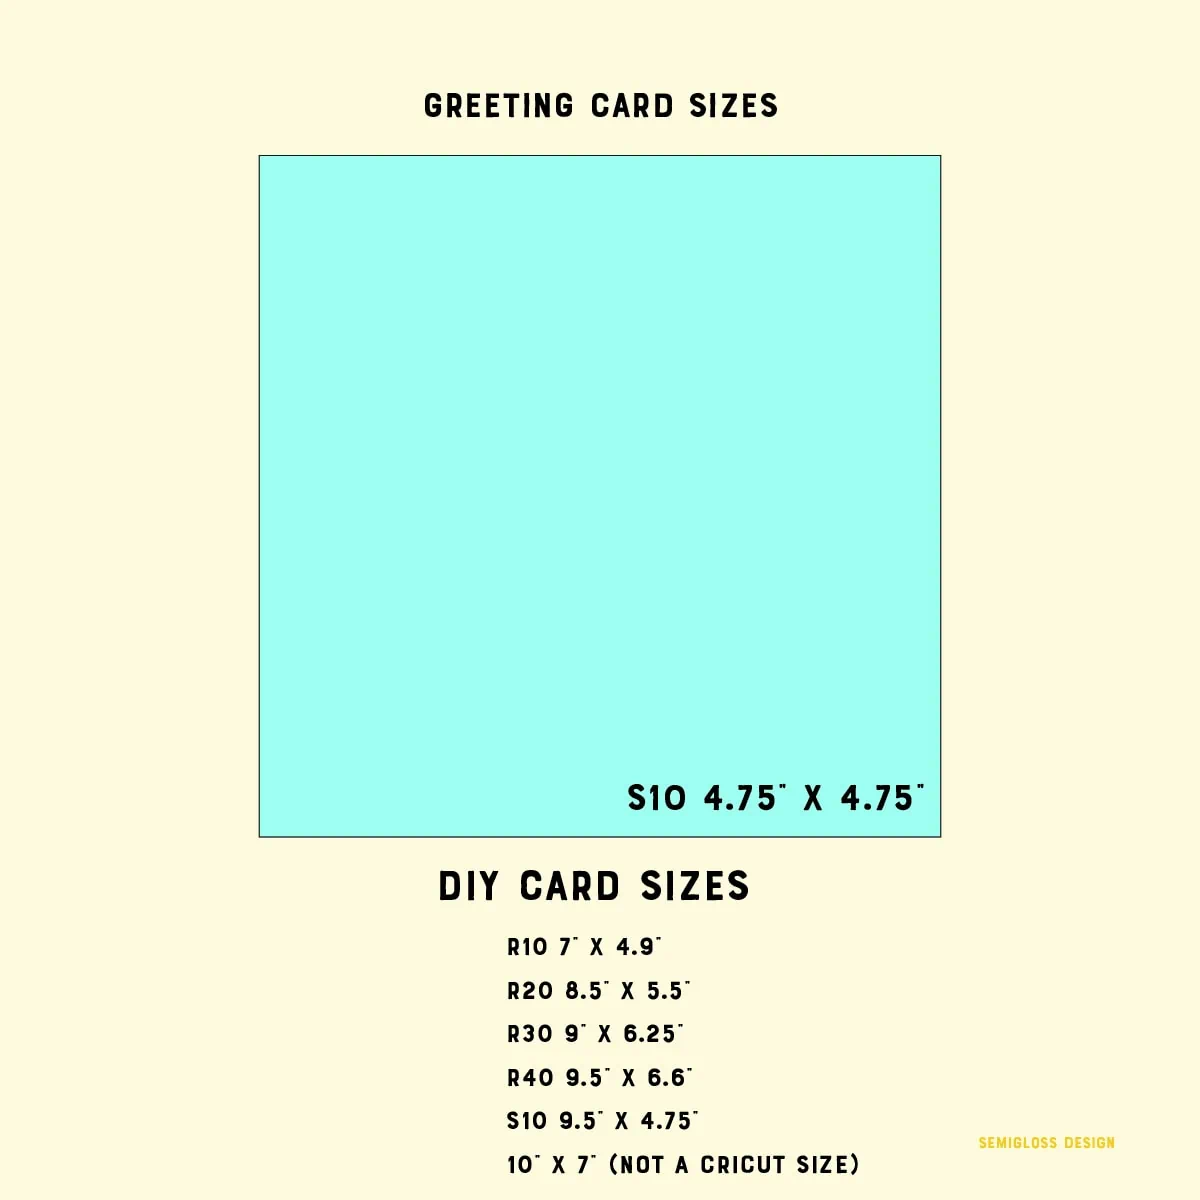
Making Cards with Cardstock
It’s also possible to make your own cards with cardstock. I’ve included an SVG set at the end of this post.
The benefit of making your own cards with cardstock is that your color choices are not as limited. It’s also much cheaper to use cardstock. (Keep in mind that you will need to either make your own envelopes or buy some.)
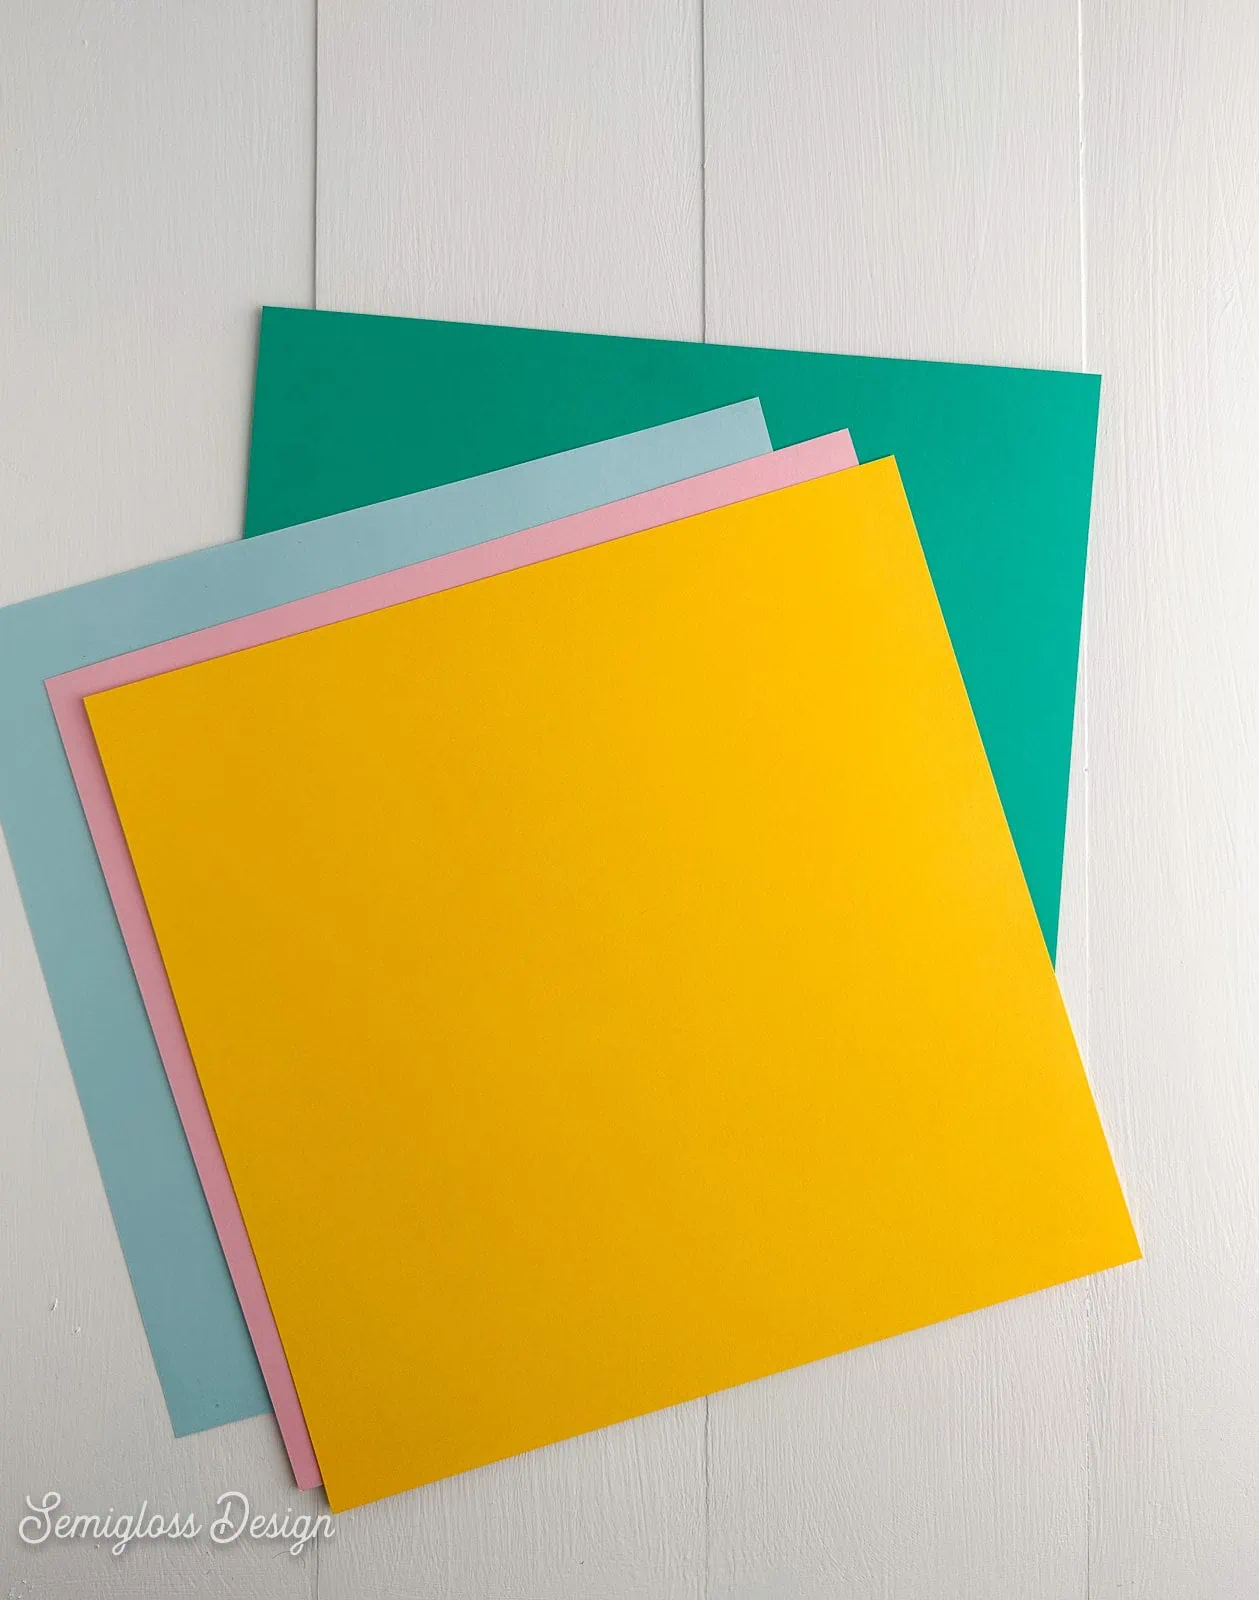
I love this brand of cardstock and use it all the time.
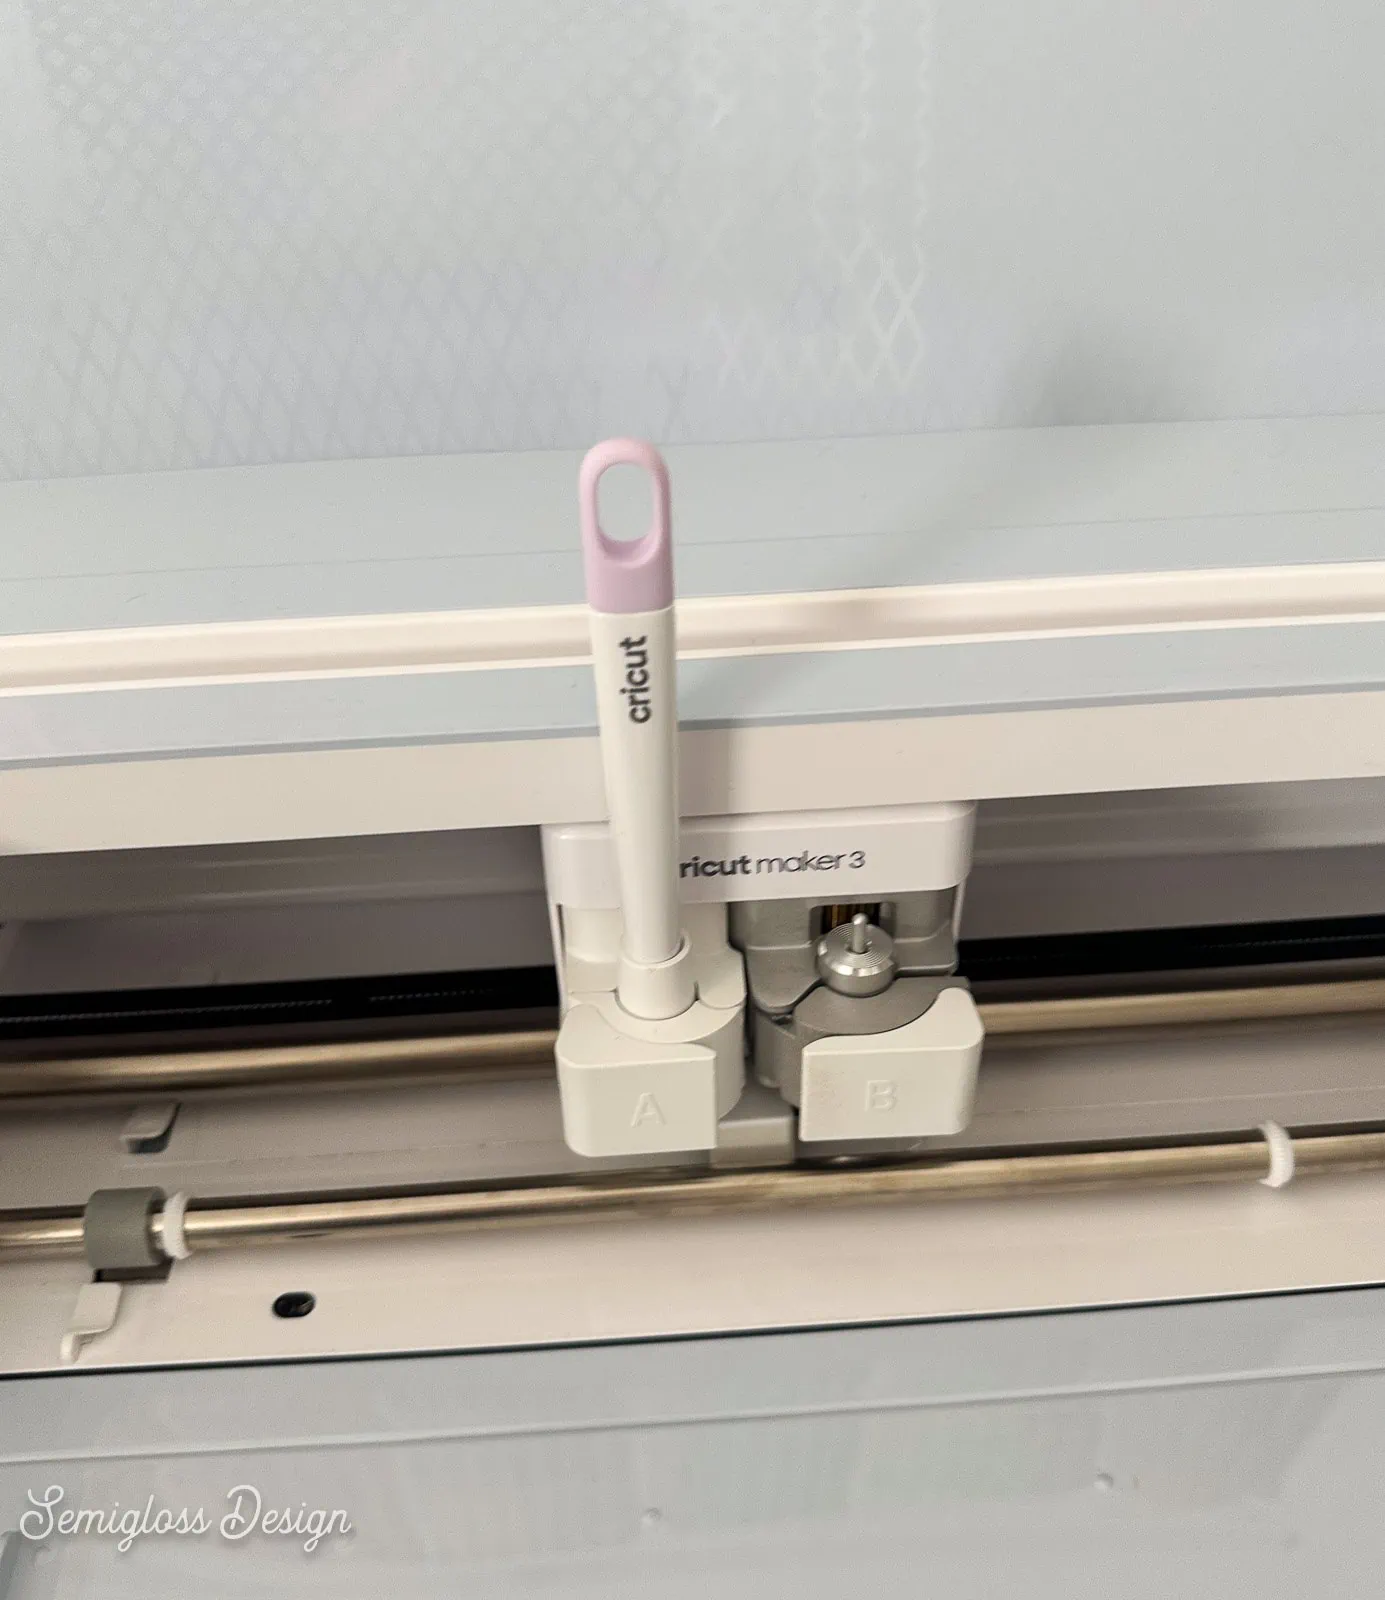
By the way, the scoring stylus can be used instead of the scoring blade. That blade is so expensive, so using the scoring stylus saves you a lot of money. (It also only works with the Cricut Maker.)
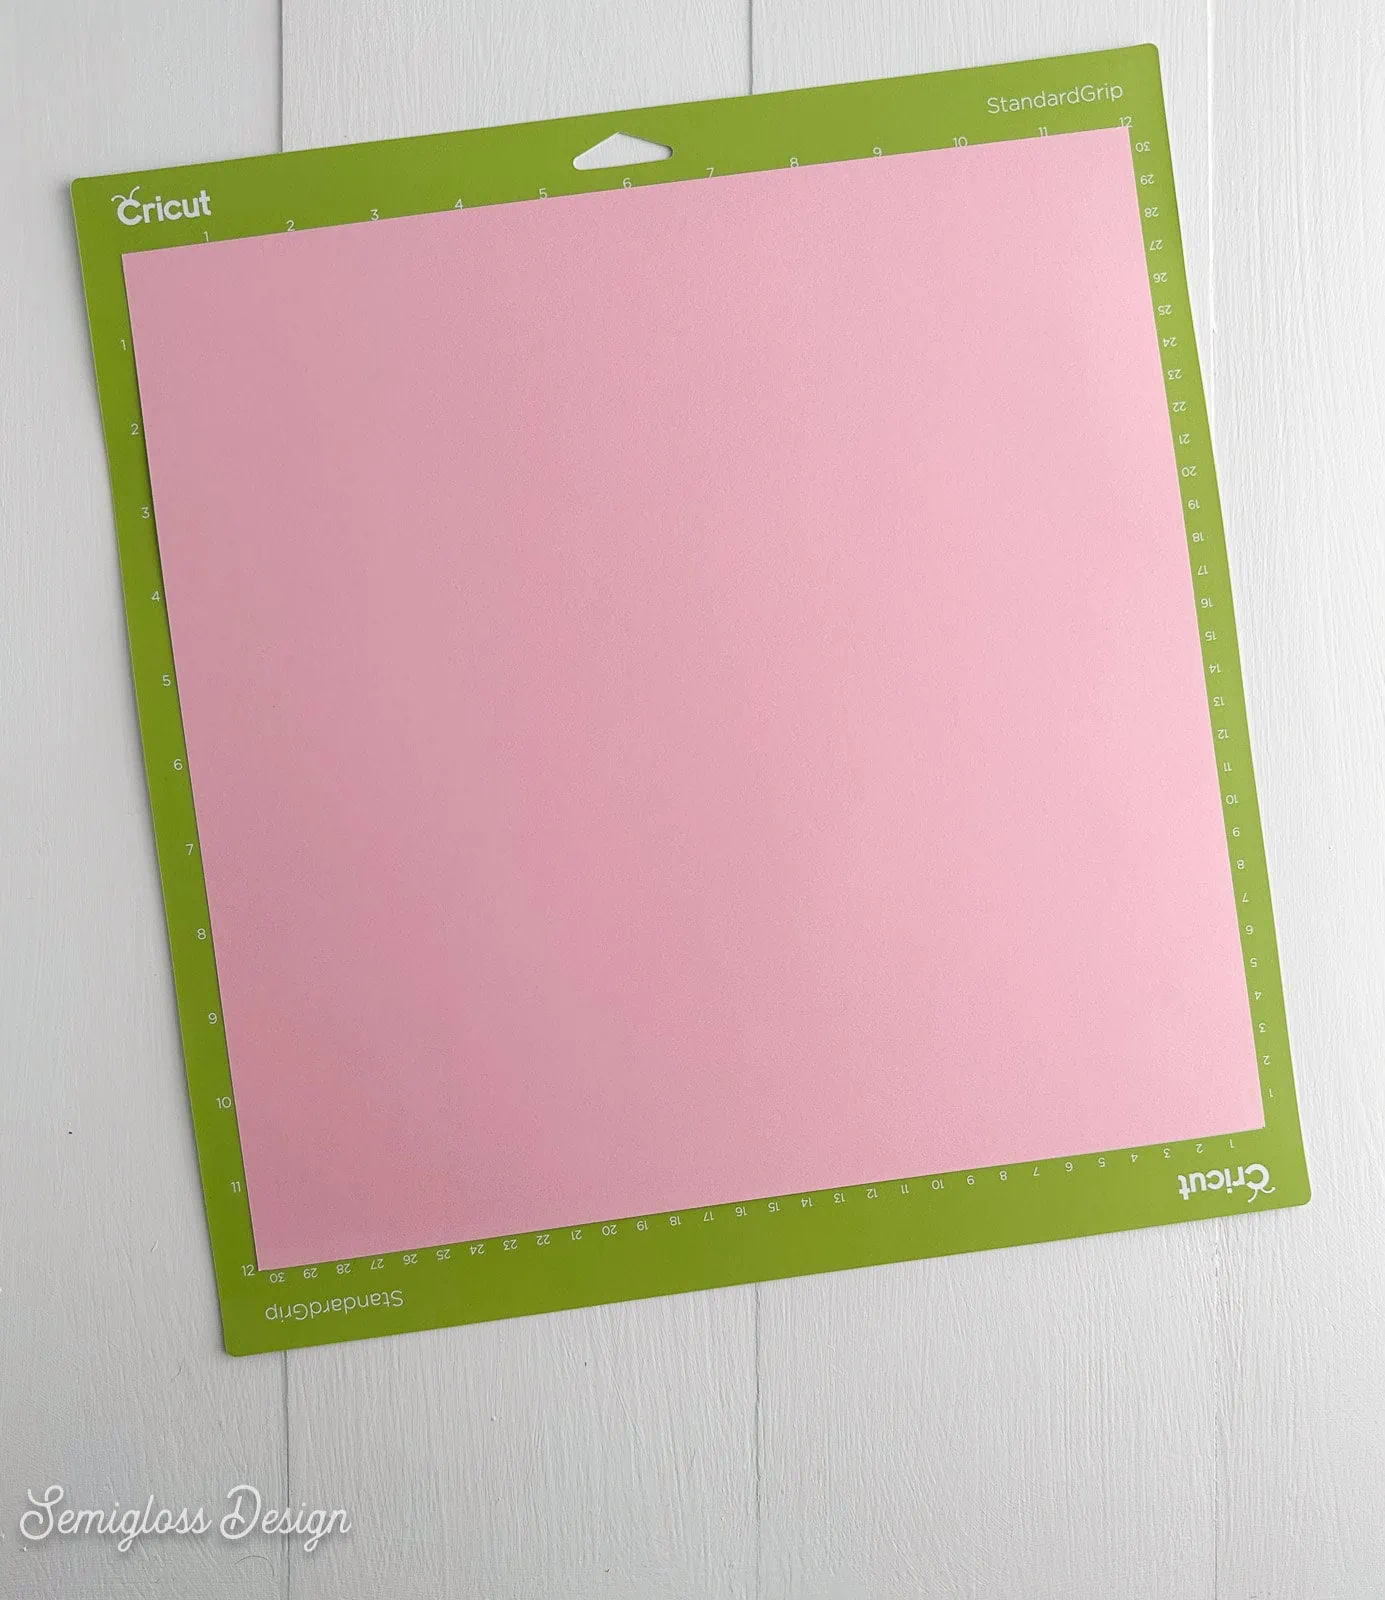
- Cardstock is cut on a standard grip mat.

- When using the SVG files, set the center line to score.
- Be sure to attach the center line with the card.
- Change the scoring tool by clicking edit. Choose the scoring stylus.
- Place the scoring stylus in Clamp A. It should click but don’t shove it in too much. The stylus can go in farther than it should.
- Load the mat and cut as usual.
- 7″ x 4.9″
- 8.5″ x 5.5″
- 9″ x 6.25″
- 9.5″ x 6.6″
- 9.5″ x 4.75″
- 10″ x 7″ (Doesn’t fit Cricut Card Mat)
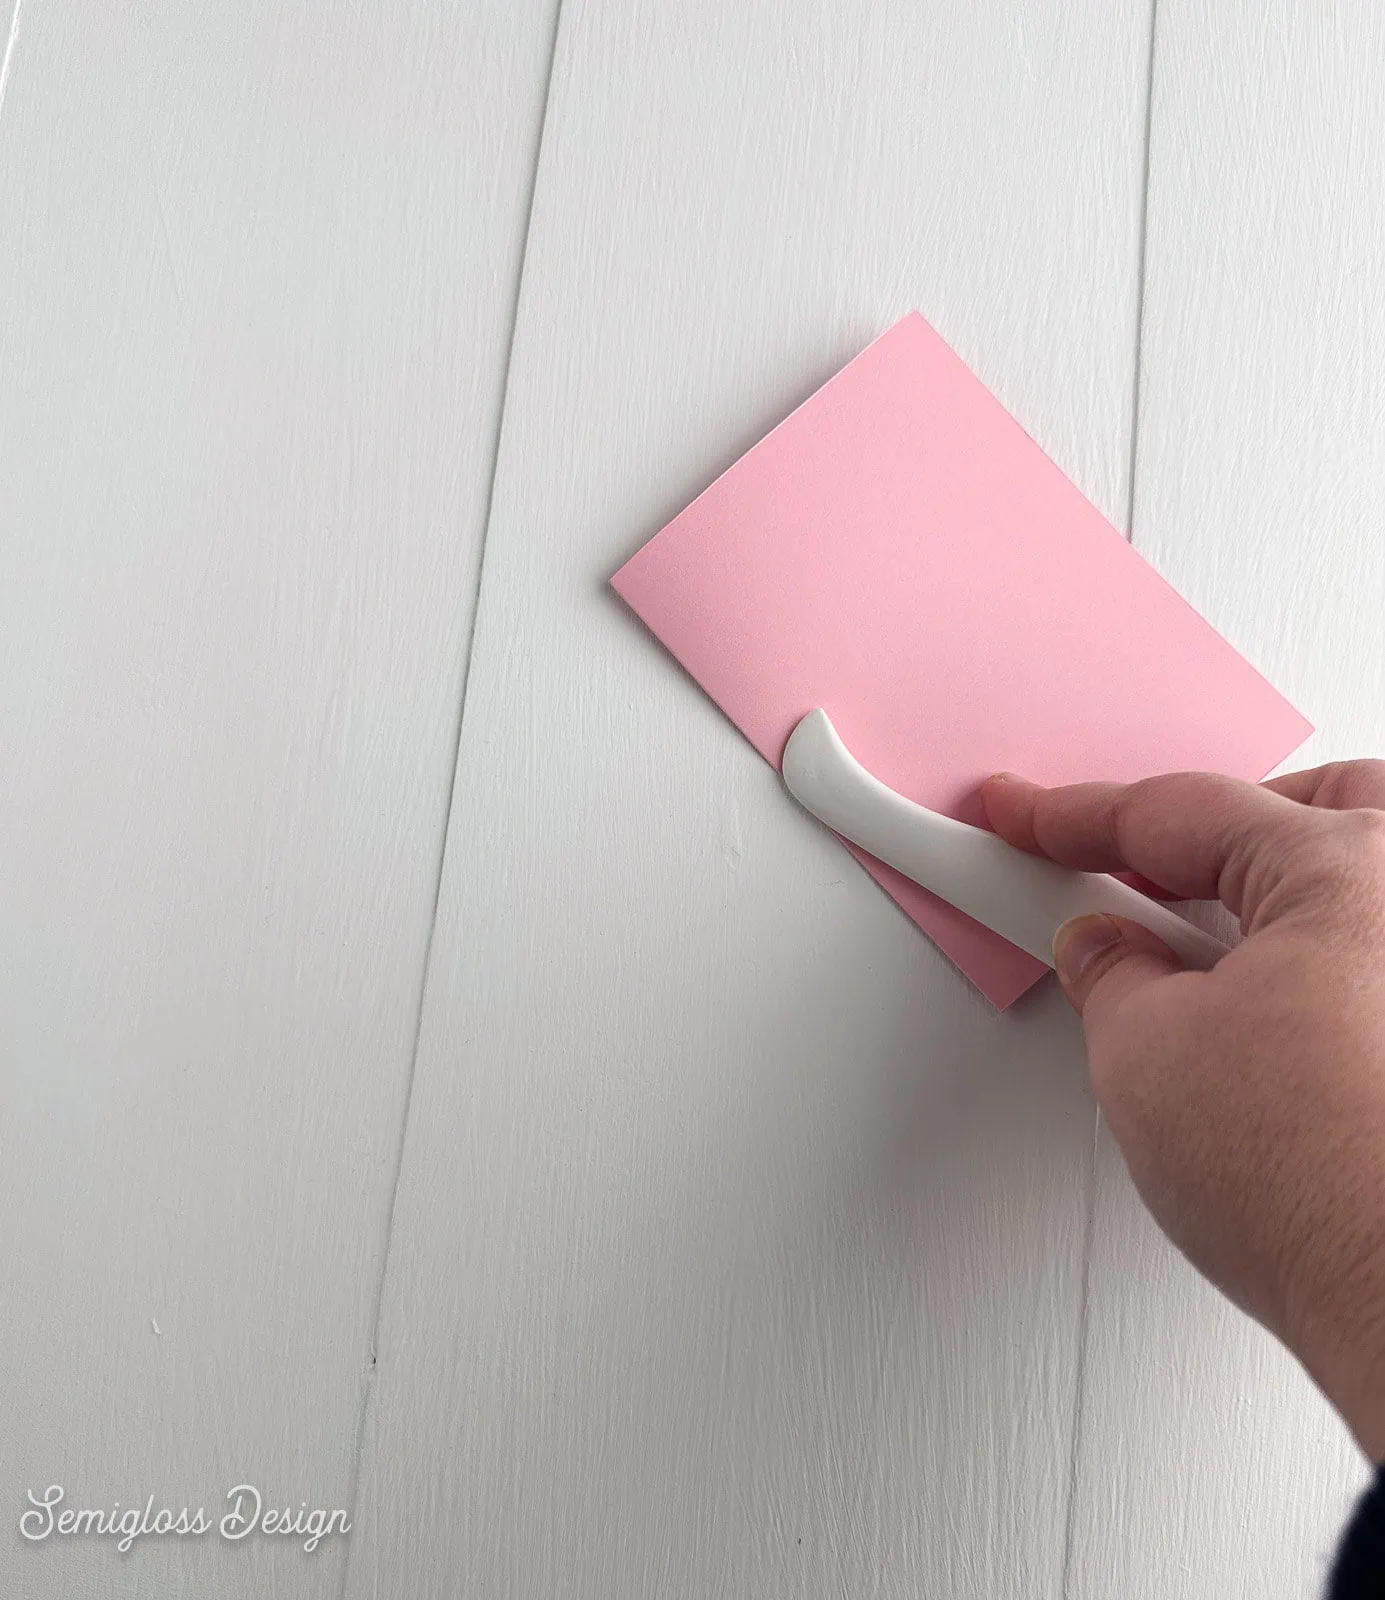
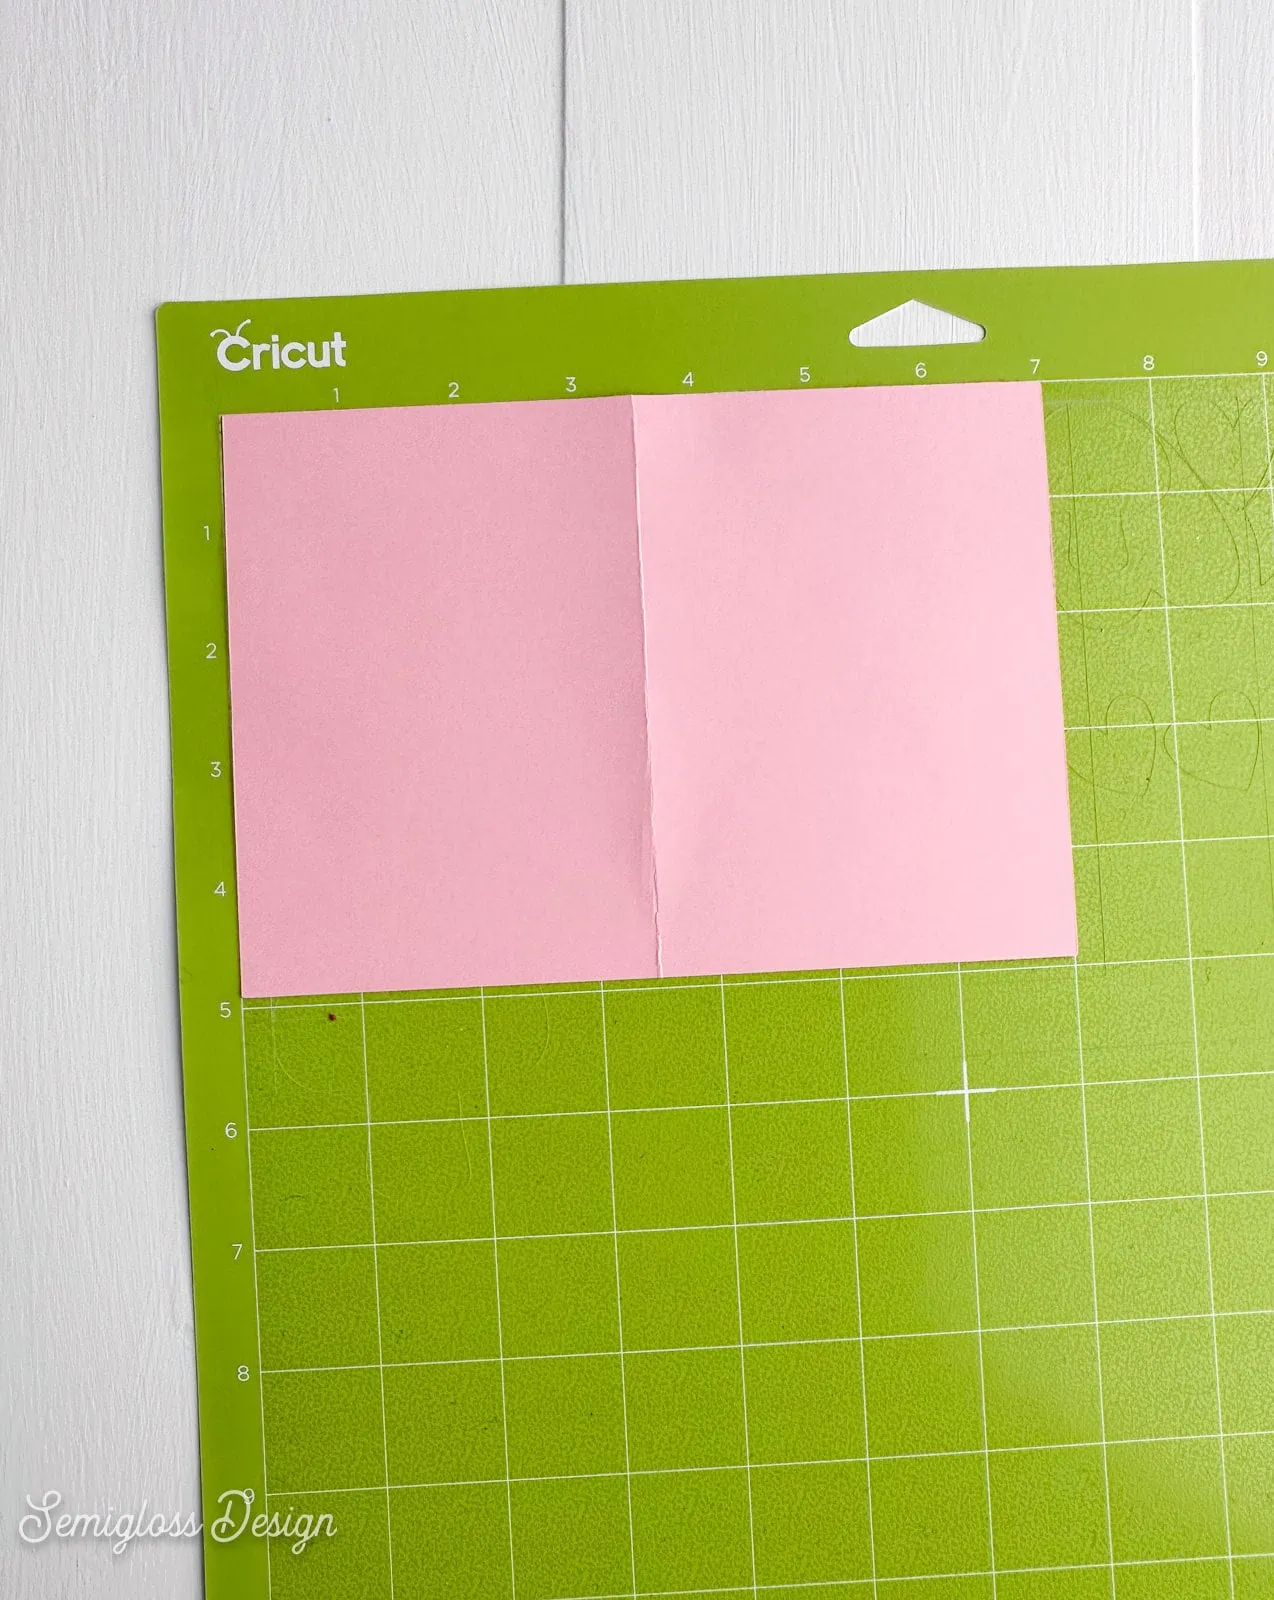
You can also create cards without a Cricut. Just cut the paper to size using a paper cutter. Fold the center using a bone folder. This creates a sharp crease.
How to Make Cards with a Card Mat
The Cricut card mat is pretty easy to use. It’s also pretty inexpensive.
There’s a card mat that fits the Cricut Joy, but for the sake of brevity, I’m just going to talk about the 2×2 Cricut mat that works with the Cricut Explore and Cricut Maker machines.
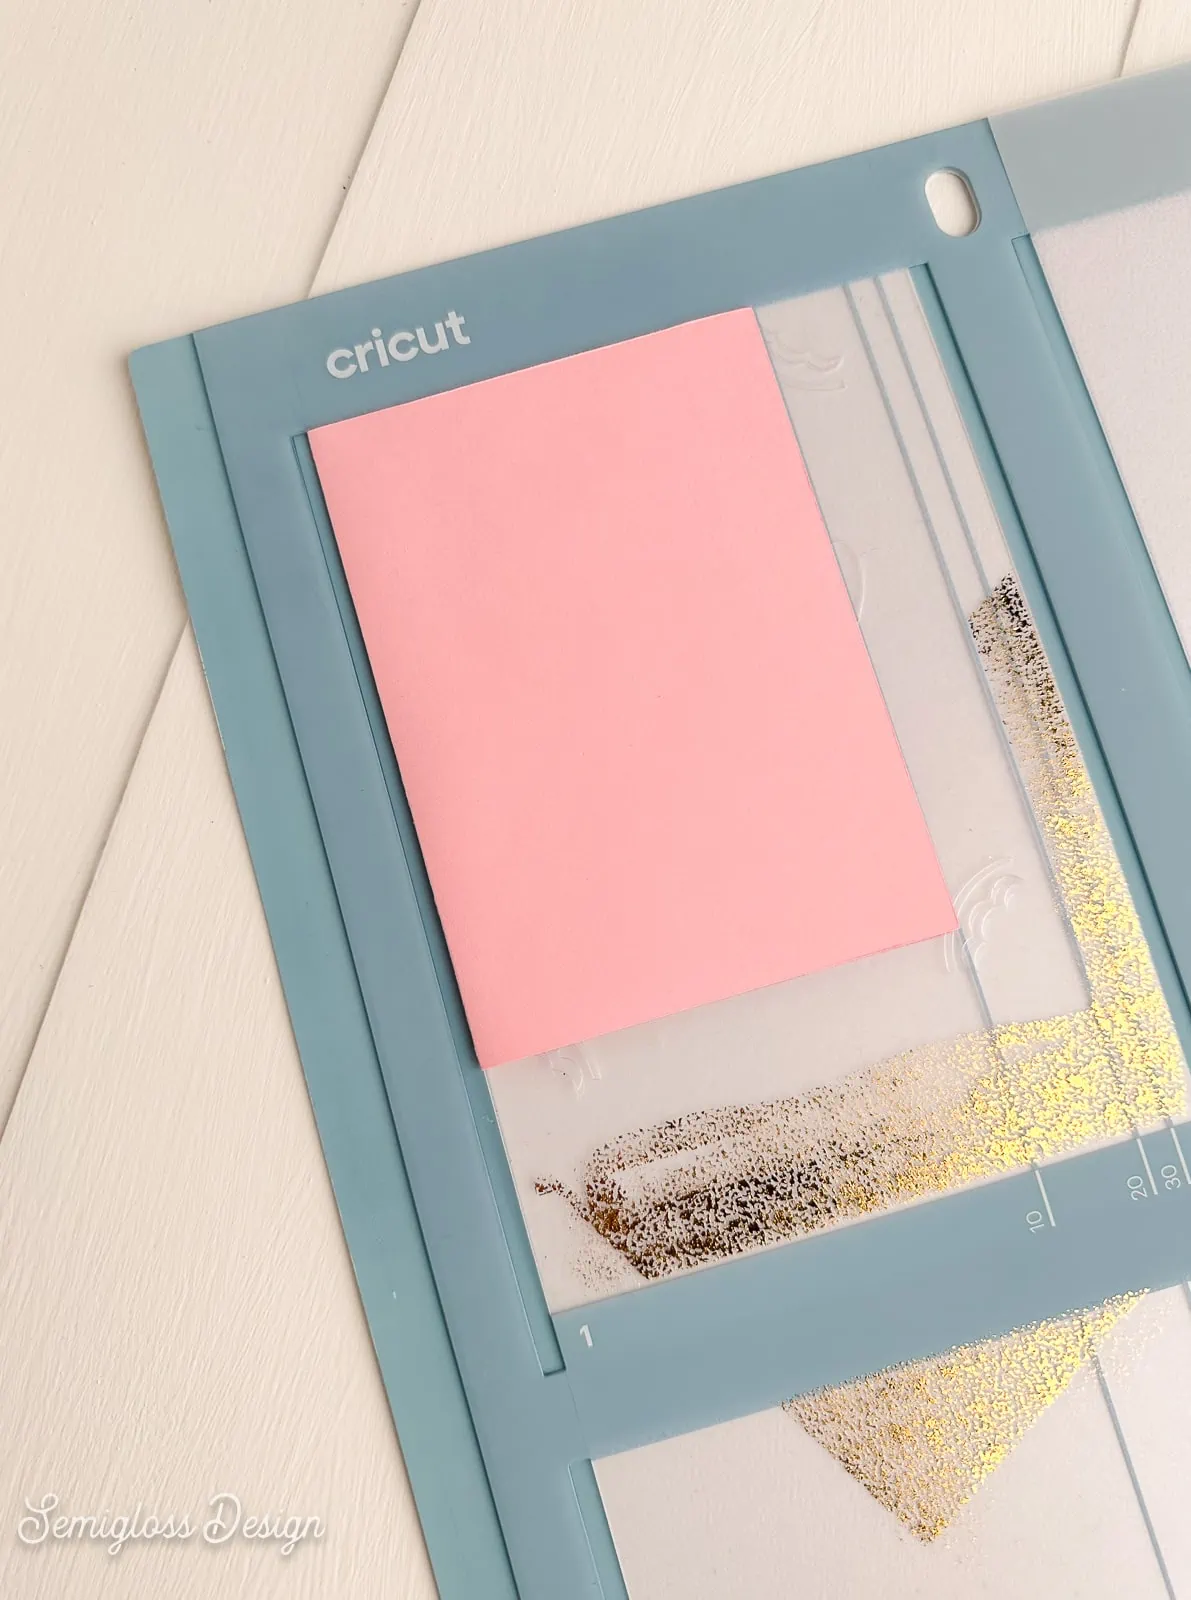
The card mat can make up to 4 cards at once, which is great if you need to make more than one card.
The top left card is the 1st card slot. They are all labeled in the corner.
Be sure to check out this more in-depth post on the Cricut card mat. I’ve included ways to make the card mat last longer.
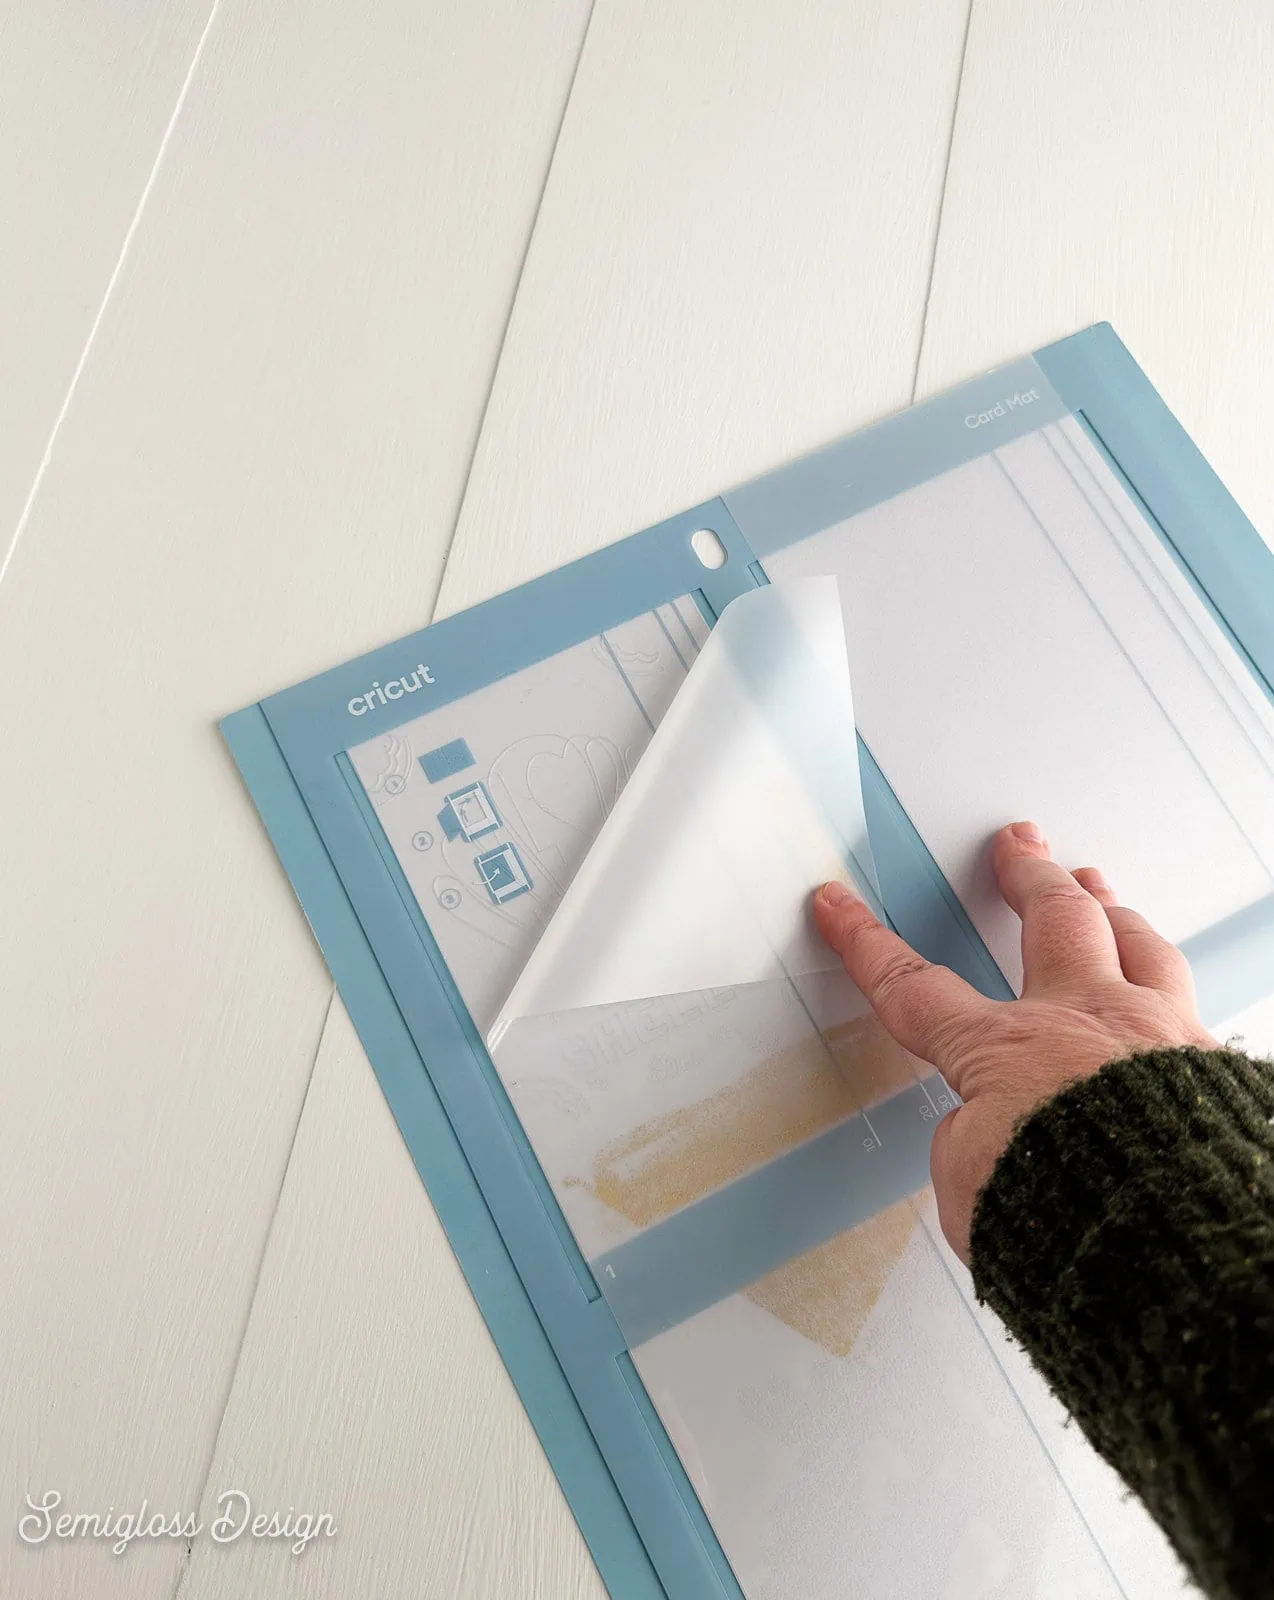
- Remove the plastic protector sheet.

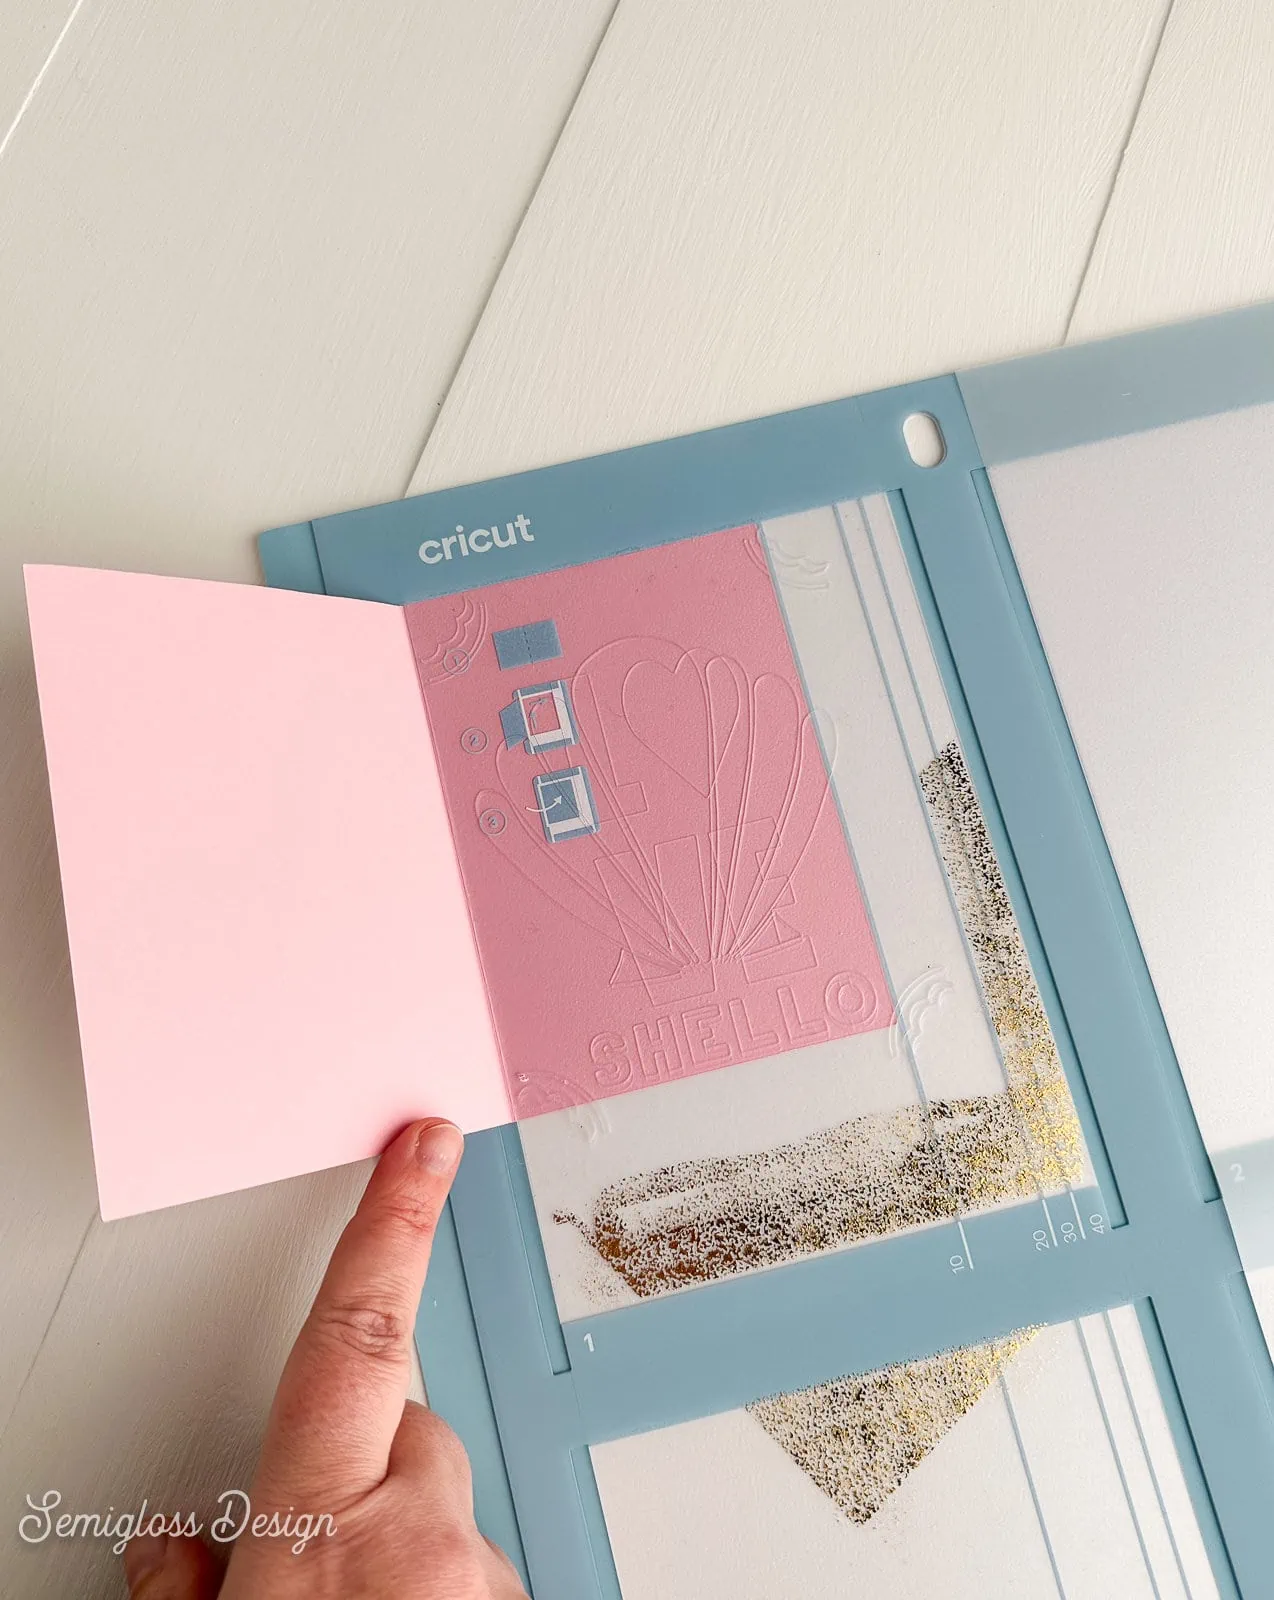
- Slide the card into the slot.
- Align it to the top and push it all the way in. It should align with the card size/code, as noted before.
- Close the card and smooth it to make sure it sticks. If your mat is losing the stickiness, tape it with a bit of washi tape.

- Be sure to select Card Mat in the dialog box that pops up.
- Make sure that the correct size is showing up on the mat setting page. If not, you may need to cancel the cut and slightly resize the design.
- Load the mat and cut as usual.
- When you remove the card from the mat, be gentle to avoid curling the card.
- If it does curl, you can gently curl it the other way. You can also sit it under something heavy so that it flattens out.
How to Make Cards without a Card Mat
You can still make cards if you don’t have a card mat. However, the card mat makes it much easier to get everything aligned correctly.
- Place your card on the standard grip mat in an open position.
- After designing your card, attach everything and click make it.
- On the mat settings page, move the design to the correct position depending on your card size.

- Cut as usual.
- Remove the card gently from the mat to avoid curling the paper.
How to Make the Inside of the Card
There are a few choices for making the inside of the card.
Leave It Blank
The easiest solution is to leave it blank and handwrite a message. Or even keep it simple and sign your name.
Personally, I find that I never read the pre-printed poem and instead read the message from the person who gave me the card. It’s more personal.
Print on the Inside
This is probably the hardest solution because you need to know how to use your printer, and let’s face it, most of us don’t.
Send a test sheet through the printer first. Mark one side to determine which side needs to face up to get printed on the correct side.
Test your printer to make sure that it can handle cardstock. Most printers can, but they may struggle with thick cardstock.
Be sure to print your message before you add elements to the card.
Print on a Piece of Paper
This option is much easier. Print your message on a nice piece of paper or cardstock, then cut it to size and glue it in place.
Use Cricut Pens
Using Cricut pens is also an option. As with printing, you should create this part of the card before adding elements.
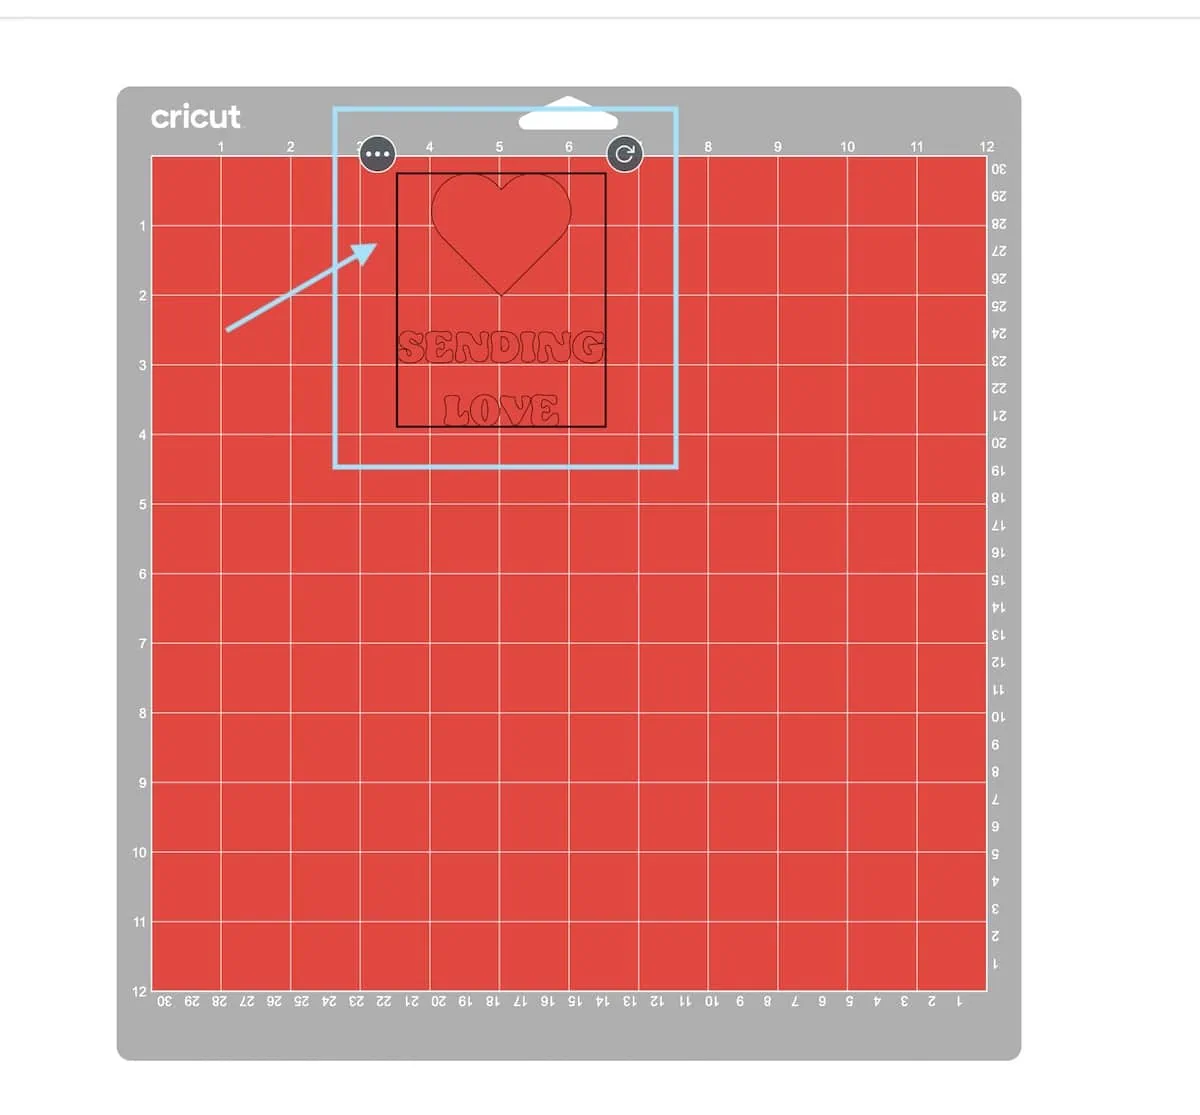
Be sure to attach your words and set them to draw. In the mat menu, move the words to the correct place. Use your mat as a guide to know the correct placement.
Cricut Card Types
These are some of the options for making Cricut cards.
- Watercolor Cards
- Insert Cards
- Cutaway Cards
- Foil Transfer Cards
- 3D Cards
- Pop Up Cards
- Cards with Embellishments
- Cards with Drawing
- Print then Cut Cards
- Cards with Smart Paper
Other Details to Add
You can also have fun by embellishing your card with other details.
- Glitter Paper
- Scrapbook Paper
- Glitter
- Stamps
- Washi Tape
- Art Elements (like painting or drawing)
- 3D Embellishments
- Stickers
- Photos
- Writing
If you’re anything like me, you still have a drawer full of paper crafting supplies from your scrapbooking days. These items work great on cards!
Envelopes
You can either buy envelopes or make them yourself. Lucky for you, I have a whole post on making envelopes with a Cricut.
Greeting Card Occasions
Now that you know everything about creating Cricut cards, you’re probably dying to get started making cards. So, here are some occasions to make cards for.
You can make cards for as many or as few occasions as you wish. Add in more occasions if you want. Who doesn’t want to celebrate National Donut Day?
- Birthdays
- Congratulations
- Anniversary
- Thank You
- Friendship
- Wedding
- Thinking of You
- New Baby
- Housewarming
- Condolence
- Graduation
- Valentine’s Day
- Easter
- Mother’s Day
- Father’s Day
- Grandparent’s Day
- Thanksgiving
- Christmas
- Hannukah
- Winter Holiday
- Just Because
I tried to include as many occasions as I could think of, so if I excluded an occasion that you celebrate, I’m sorry. Let me know, and I’ll be happy to add it to the list.
Get access to my SVG Library.
Get access to over 50 SVG sets and Cricut cheat sheets. Join my SVG library.
Download a Card Template SVG Set
All downloads are for personal use only. Please do not redistribute or sell files.
Pin for Later!

Emy is a vintage obsessed mama of 2 DIYer who loves sharing affordable solutions for common home problems. You don’t need a giant budget to create a lovely home. Read more…