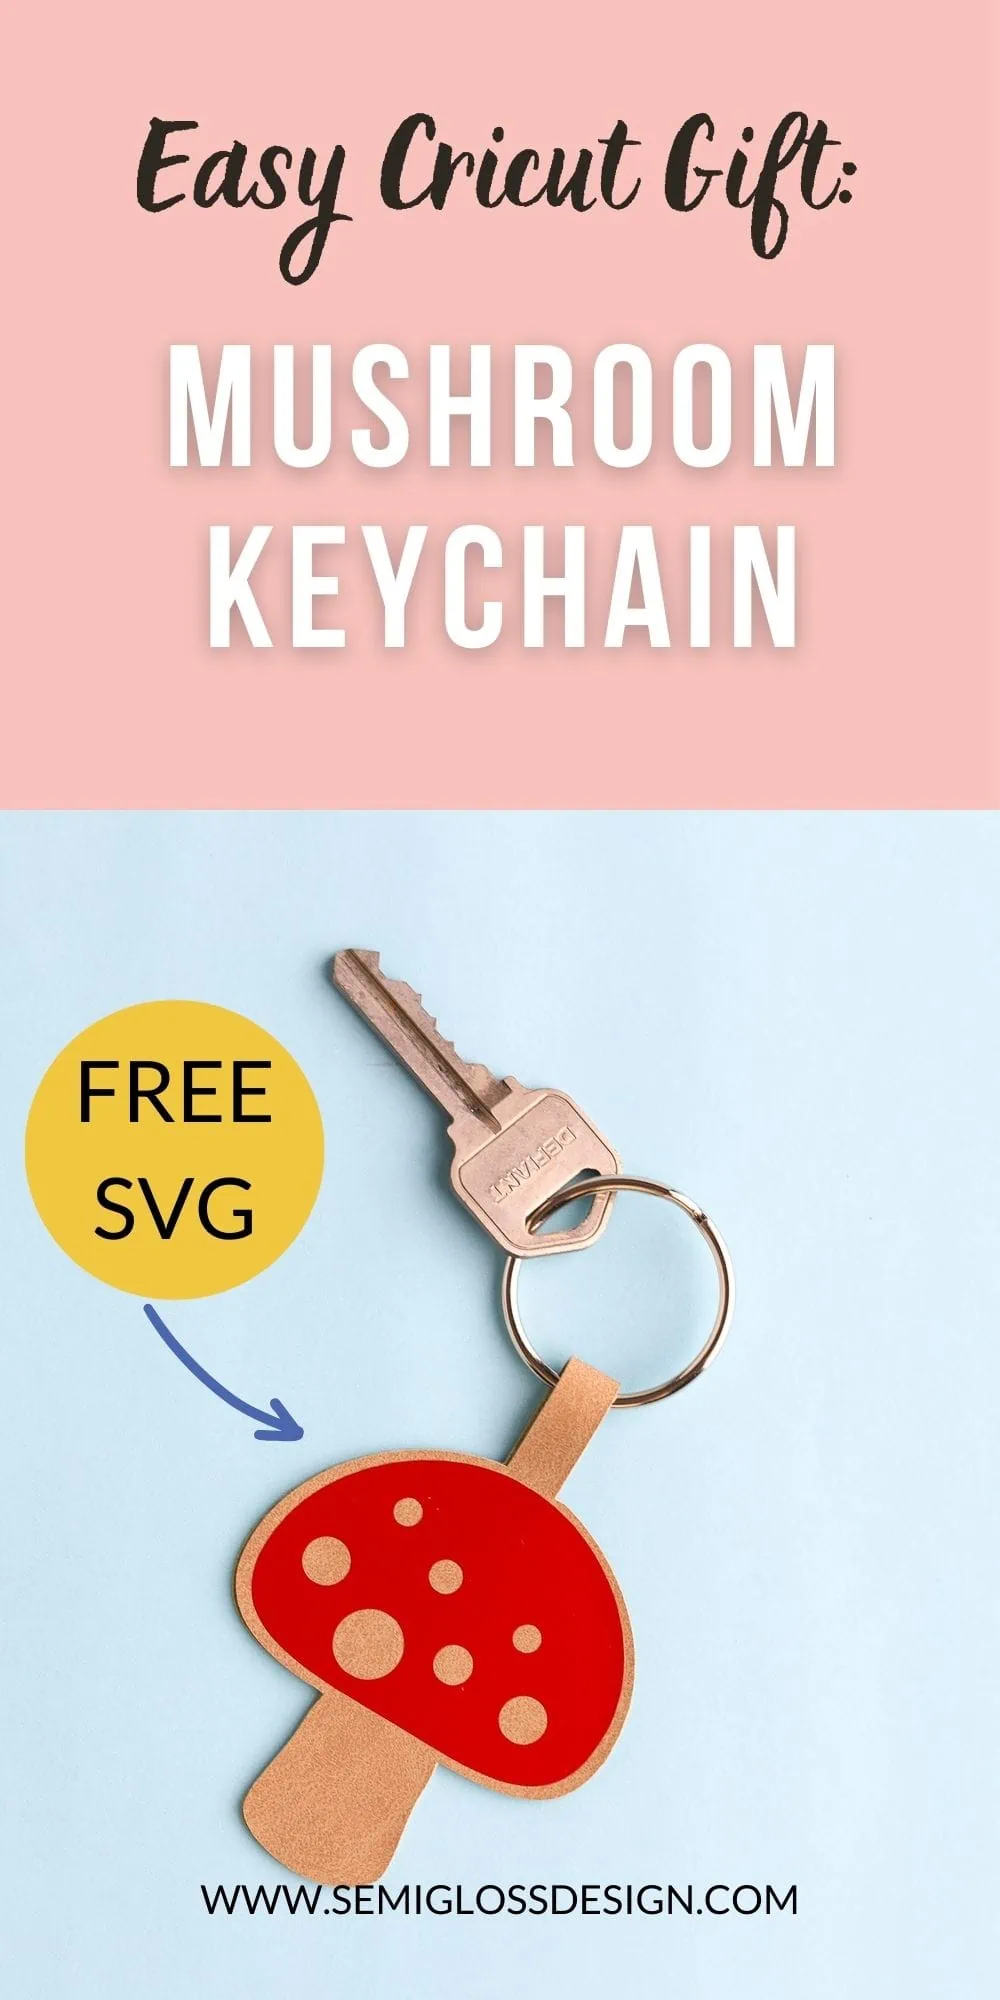
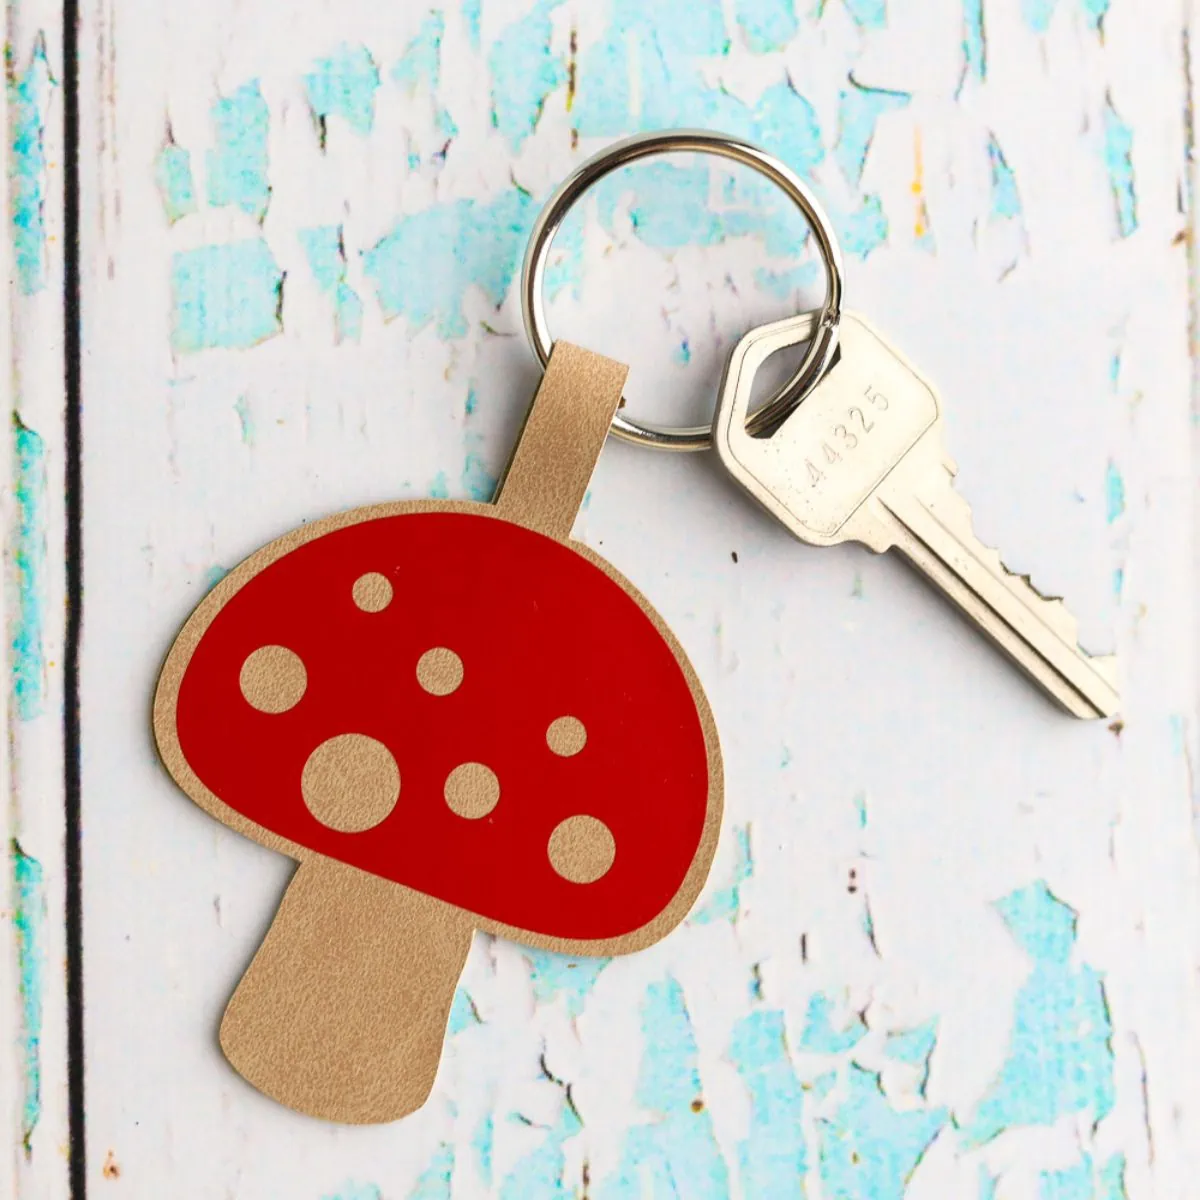
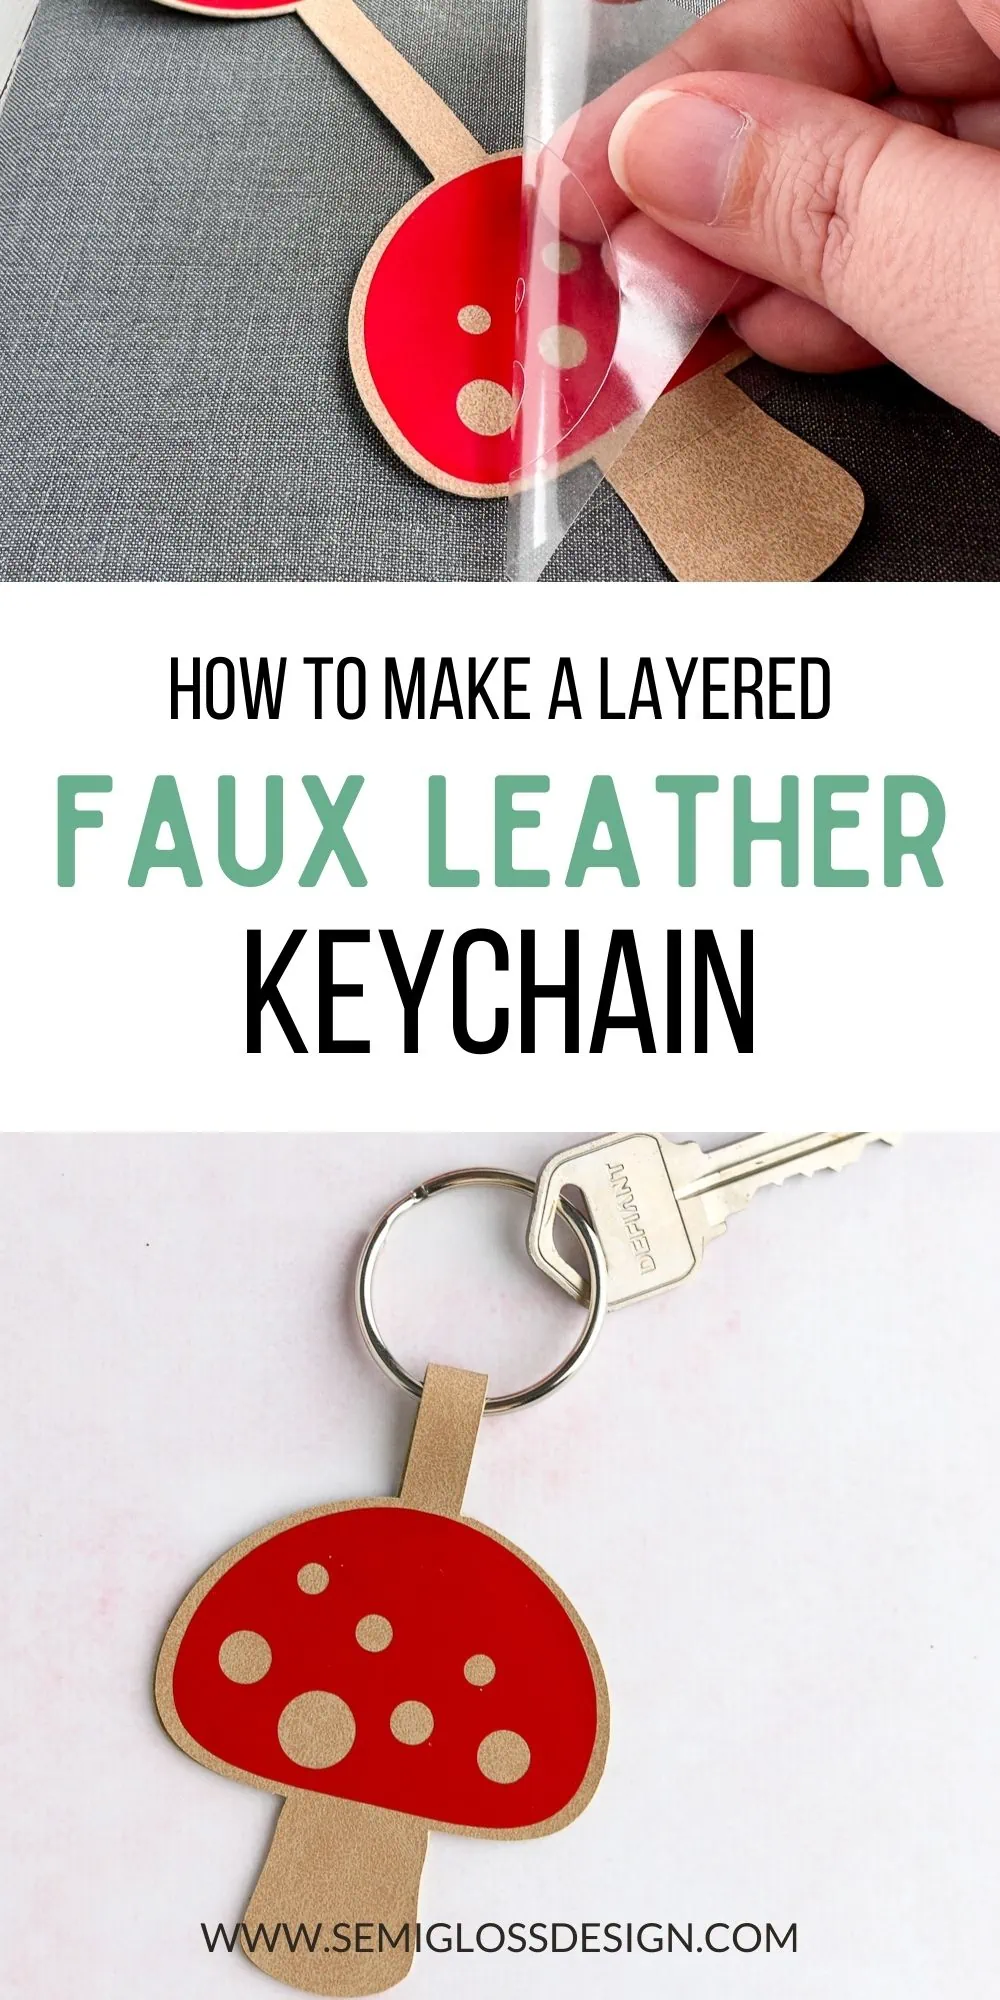
How to Make a DIY Faux Leather Keychain
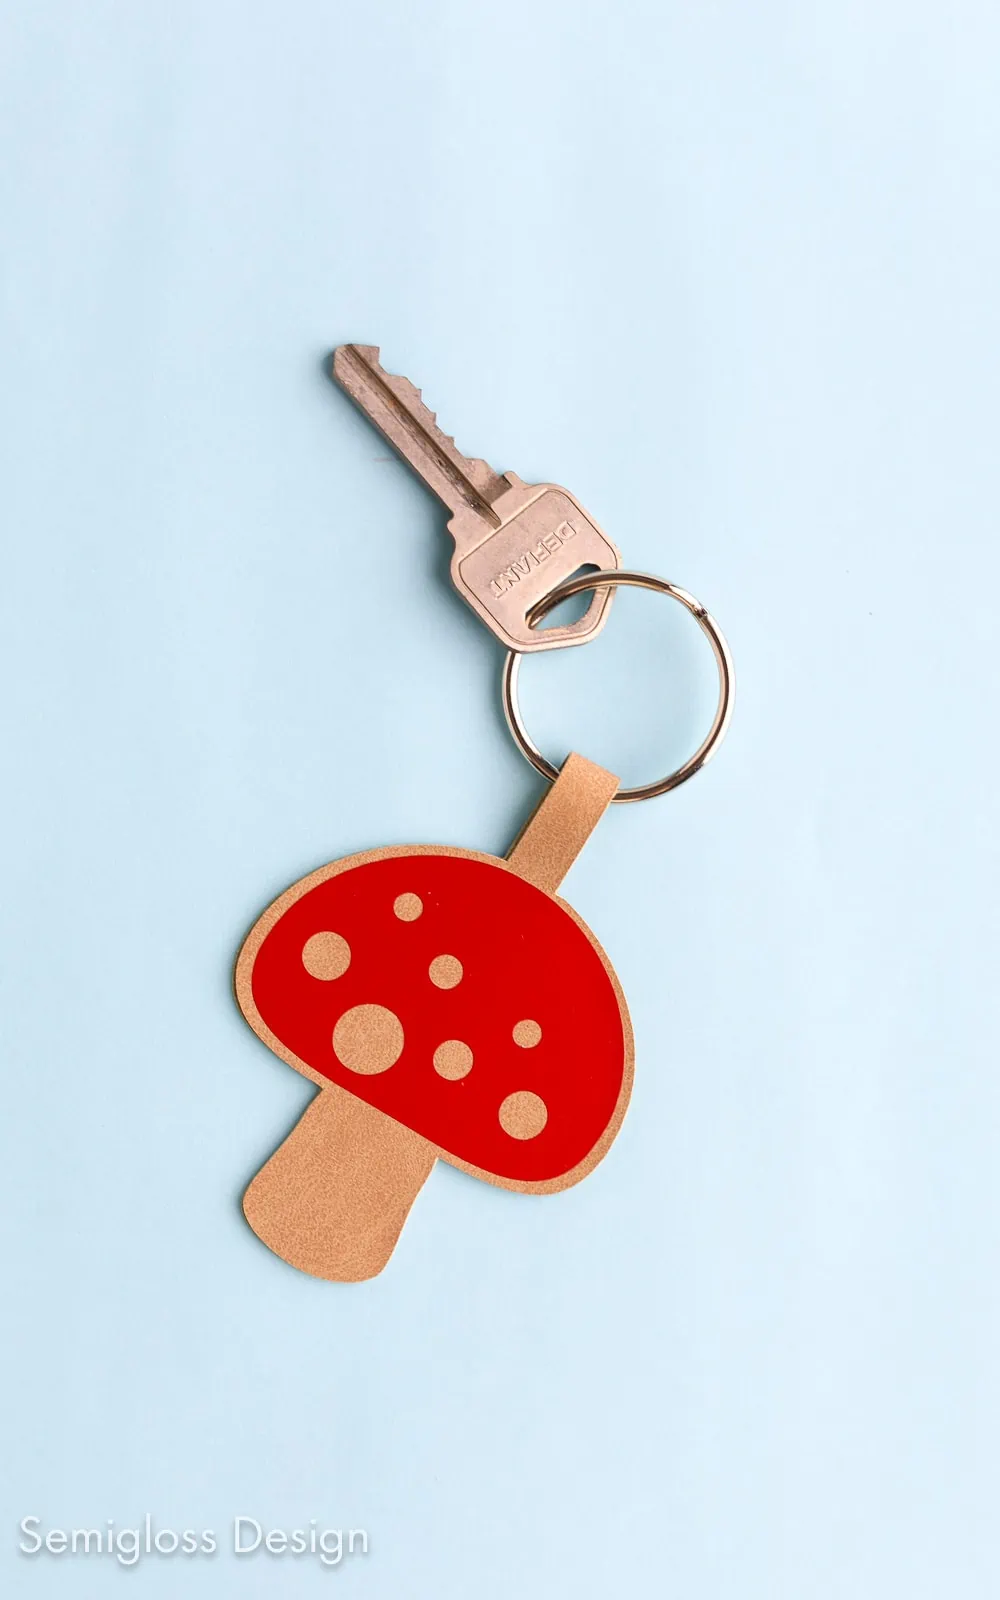
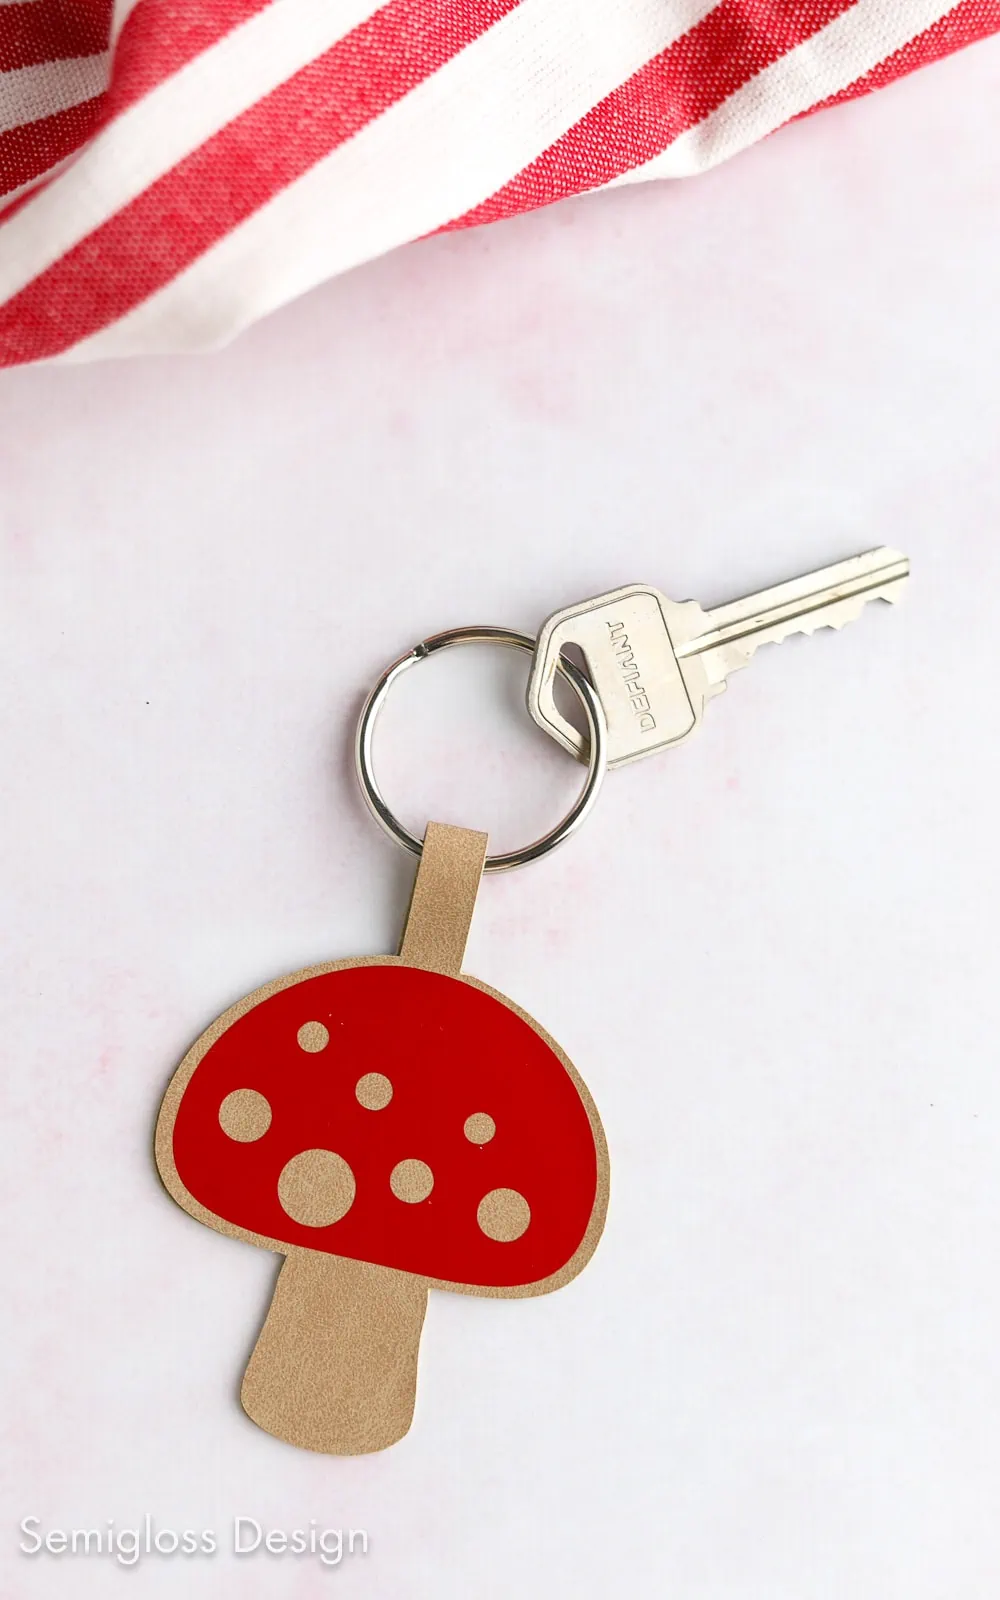
Make your own DIY faux leather keychain with this easy tutorial. This cute key chain features a mushroom design. I’m kind of obsessed with mushrooms right now, so it was a natural choice for me.
I’ve also made a leather keychain before. That post has some really good tips for cutting genuine leather with a Cricut Maker.
This post contains affiliate links. By purchasing an item through an affiliate link, I earn a small commission at no extra cost to you. As an Amazon Associate I earn from qualifying purchases.
Is anyone else’s kids obsessed with keychains? You can hear my kid coming from a mile away with all of those keychains.
So, I was somewhat inspired by their love for keychains when I made this cute mushroom keychain. Best of all, it doesn’t make any noise at all!
DIY Faux Leather Keychain
Supplies Needed:
- Cricut (I use a Cricut Maker 3)
- Faux Leather*
- Cricut Standard Mat
- Weeding Tools
- Iron-on Vinyl (I used Red)
- Cricut Easy Press Mini**
- Easy Press Mat
- Heat resistant tape
- Parchment Paper
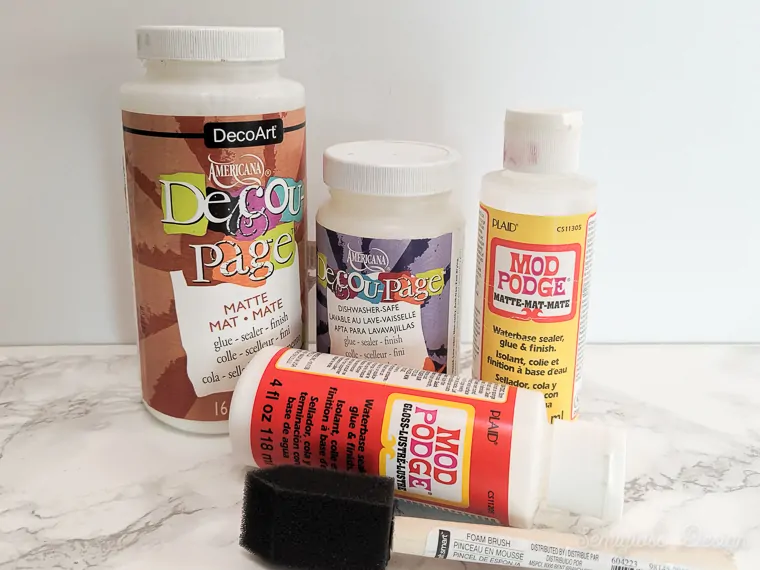
- Glue***
- Key Ring
Supply Notes:
*Faux Leather
I used faux leather for this keychain because it’s straightforward to cut and comes in fun colors. Faux leather is thinner than genuine leather, allowing you to use your standard fine-point blade with whatever Cricut you own.
I used the light tan color for the body of the mushroom keychain and red iron-on vinyl.
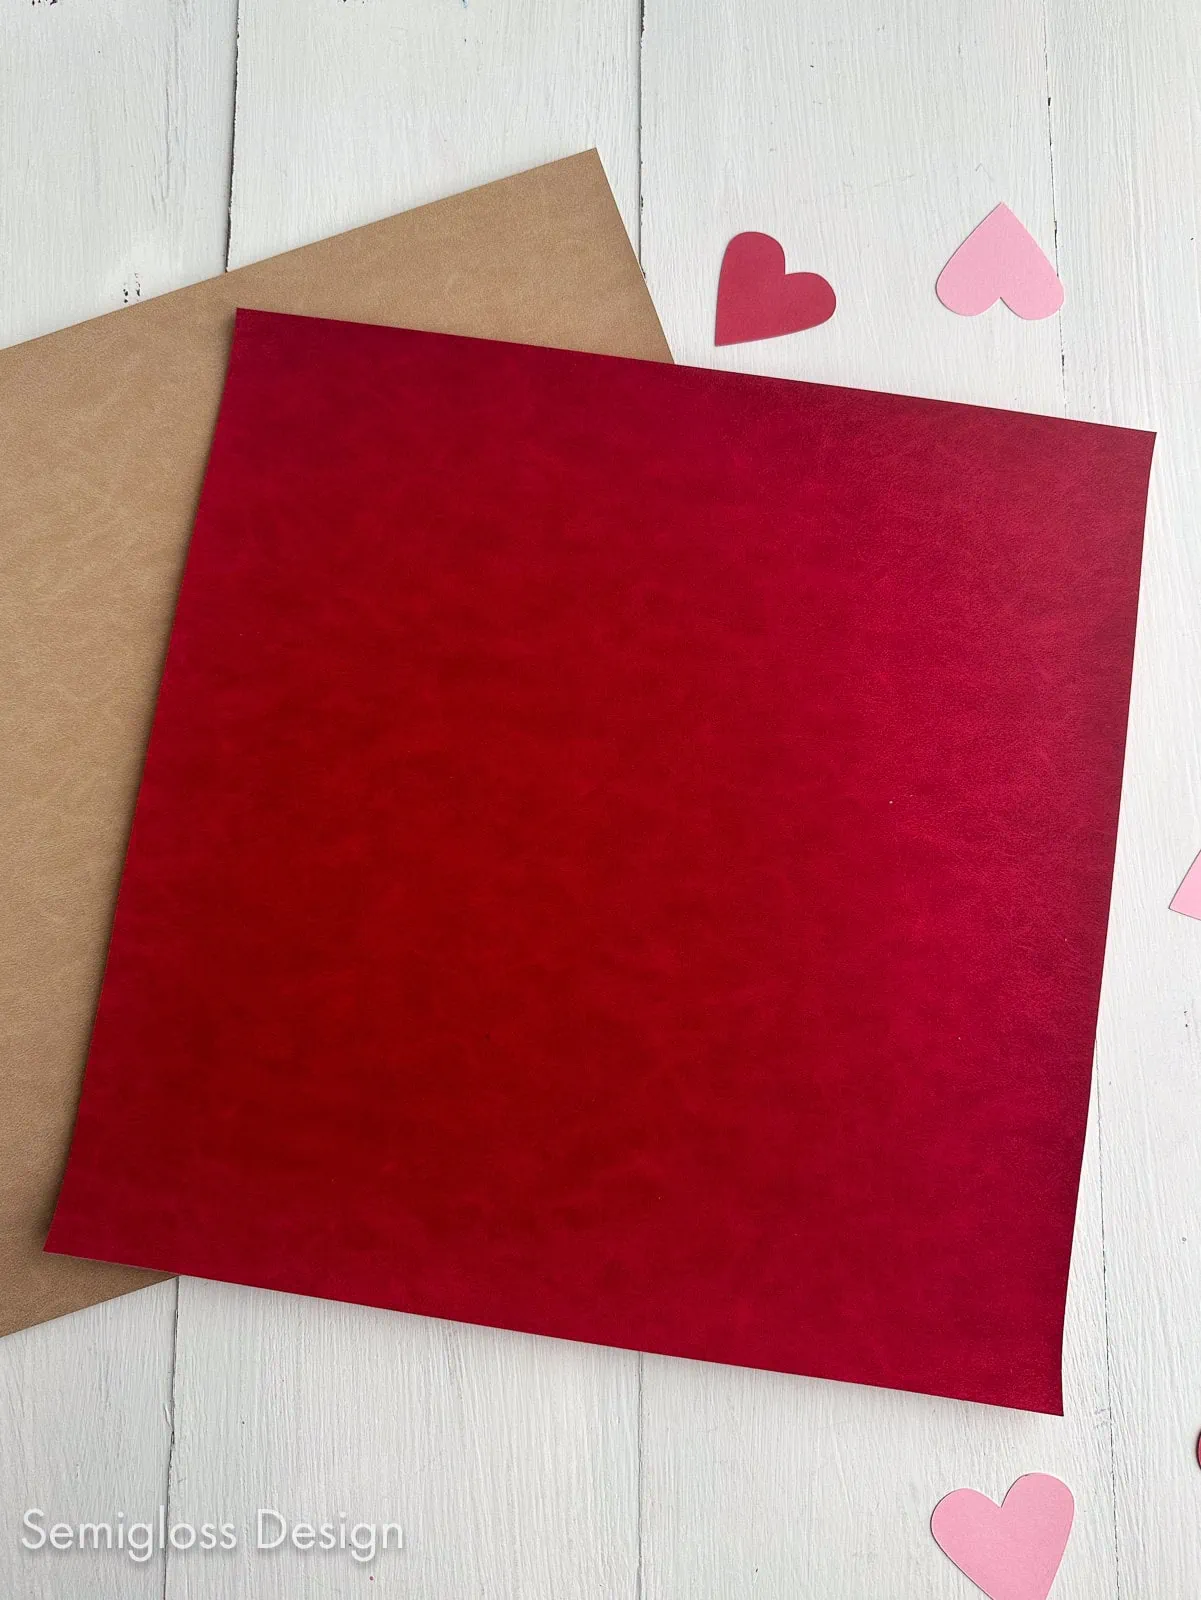
I linked the exact faux leather I used, but here’s a link to a set of fun colors, patterns, and textures. If you buy non-Cricut branded faux leather, make sure that you check the cut before unloading the mat.
**Easy Press Mini
I used the EasyPress mini because I already own it and wanted to try it out. It’s the perfect size for small projects like keychains and earrings. However, you can use a normal-size EasyPress or heat press if you want.
You can even use an iron. I personally don’t love an iron for iron-on because I struggle with the timing. But an iron will work just fine.
***Glue
I used Alene’s tacky glue, but I think E-6000 glue would have been better. I don’t recommend hot glue because faux leather is sensitive to heat, and I am worried about melting it.
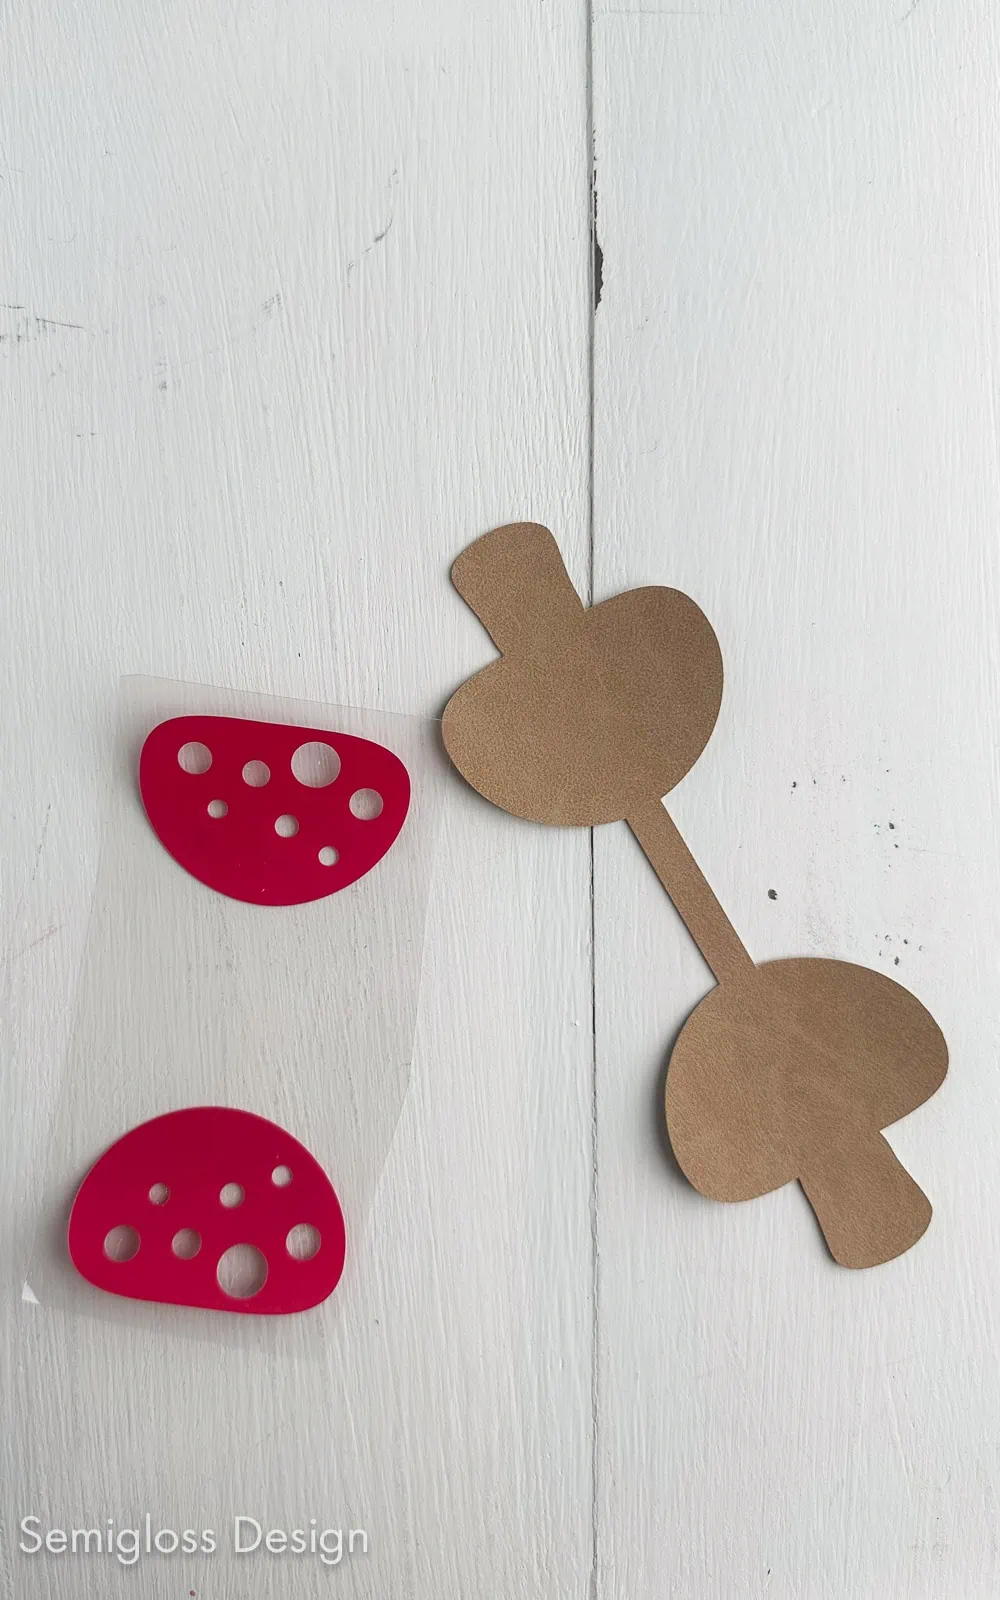
Cutting the Faux Leather and Iron-on Vinyl
This design doesn’t need to be mirrored to look correct, but if you make a design with lettering or an asymmetrical design, be sure to mirror BOTH the faux leather and the iron-on vinyl.
- Upload the design as usual.
- Place the faux leather on the standard mat, smooth side down. This helps the faux leather stick to the mat and protects the mat from getting fuzzy. Smooth the faux leather onto the mat. (If your mat is older, you may need to secure it with painter’s tape or washi tape.)
- Choose “faux Leather (paper thin)” in the fabric section.
- Load and cut the design as usual. (The design gets cut twice with this setting.)
- Before unloading the mat, check the cut to ensure it went through completely.
- Unload the mat and place a cut piece of red iron-on shiny side down to the mat.
- Select “Everyday Iron-on” for the red part.
- Cut as usual.
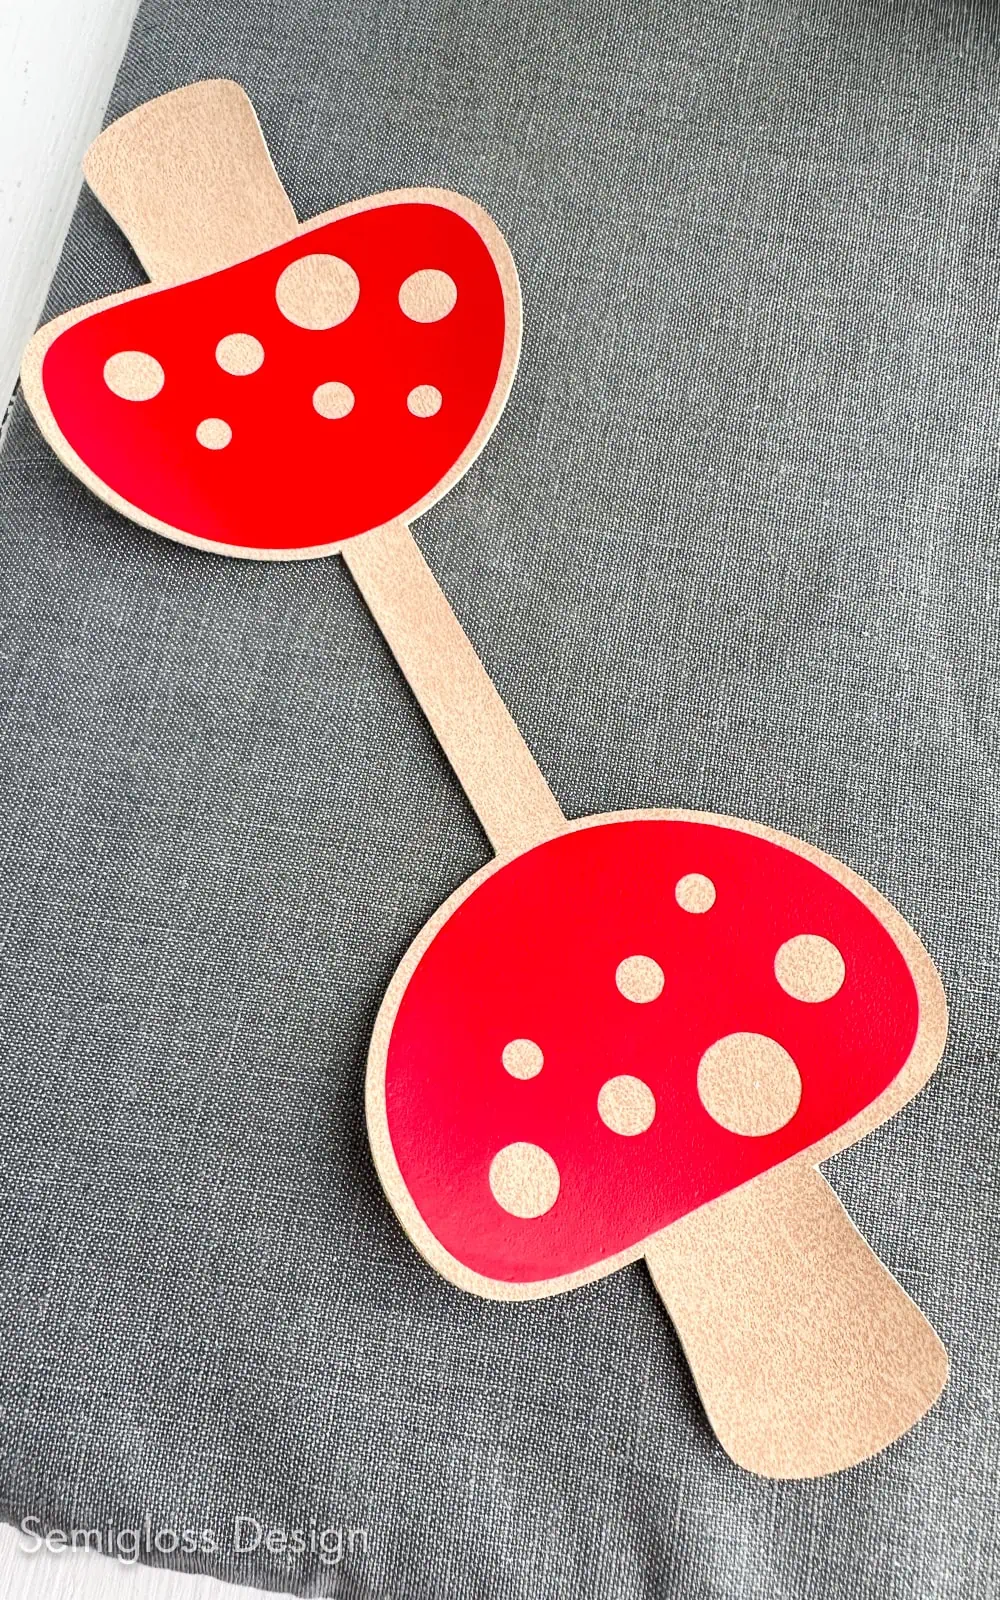
- Unload the mat and weed the design.

Using the EasyPress Mini on Faux Leather
- Place the weeded design onto the mushroom shape. You can cut them apart to make pressing easier if you want.
- Place the whole thing on the EasyPress mat.
- You can use heat-resistant tape to keep it in place if needed.
- Press the temperature button to turn on the EasyPress mini. Clicking it once sets it to low, which is the perfect temperature for faux leather.
- The button turns green when it’s ready.
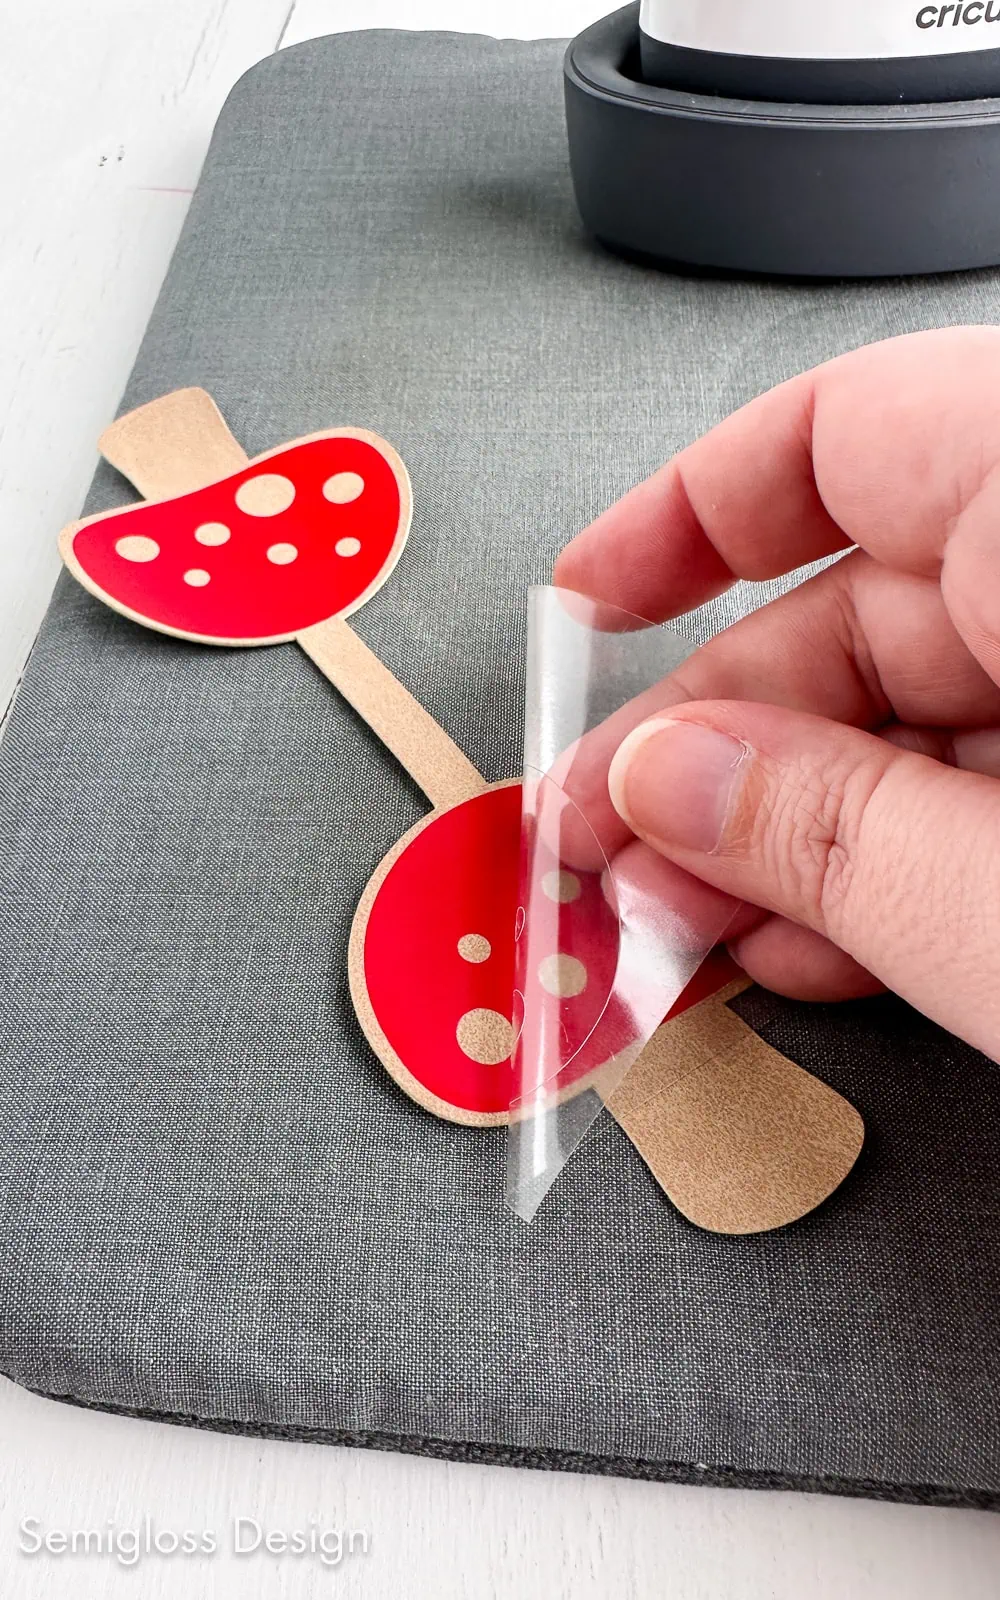
- Place parchment paper over the design to protect the EasyPress plate.
- Set the EasyPress mini on top of the parchment paper (over the design) and press for 10 seconds.
- Repeat this process for the other side if you cut the design apart.
- Remove the plastic backing and admire your design.
- Replace the EasyPress mini in the cradle. If you’re done crafting, be sure to turn the EasyPress off.
Assembling the Mushroom Keychain
- Pinch the mushroom cap and slide the keyring into the middle part.
- Apply glue to one side of the back of the mushroom.
- Use a brush to spread it if needed.
- Fold the mushroom over, smoothing the design. Clean up any glue that spilled out.
- Set the keychain under something heavy while it dries. (I ended up using a heavy book.)
Get access to my SVG Library.
Get access to over 50 SVG sets and Cricut cheat sheets. Join my SVG library.
Download a Free Keychain SVG
All downloads are for personal use only. Please do not redistribute or sell files.
You Might Also Like:
Pin for Later!

Emy is a vintage obsessed mama of 2 DIYer who loves sharing affordable solutions for common home problems. You don’t need a giant budget to create a lovely home. Read more…