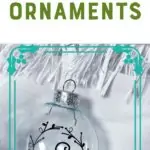
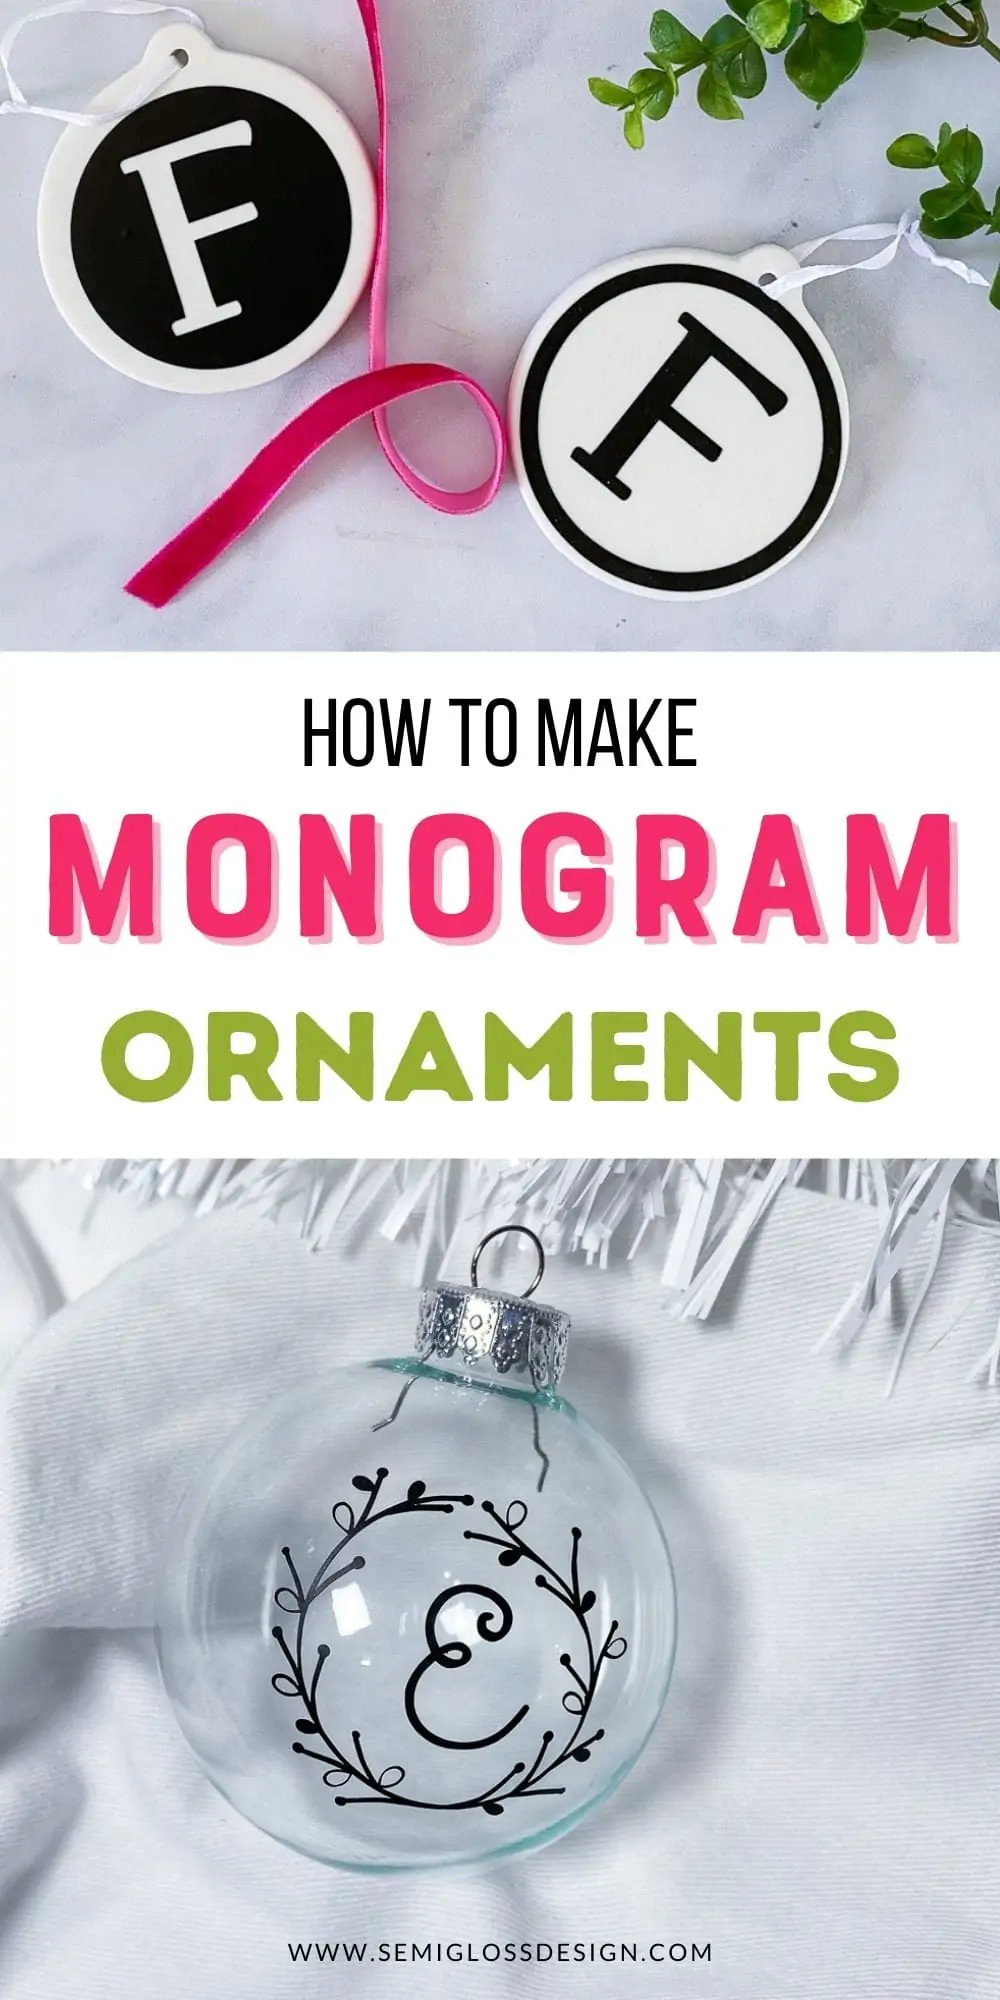
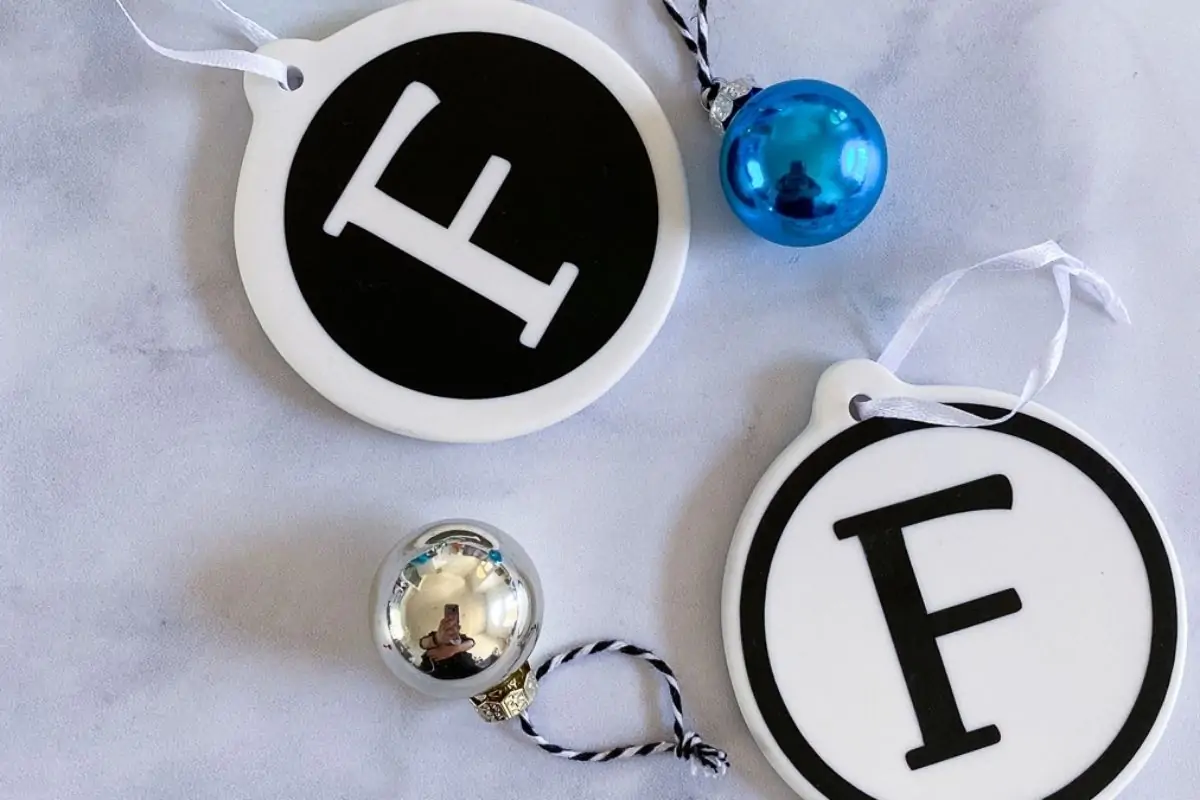
DIY Monogram Ornament for Christmas
Learn how to make a DIY monogram ornament. These Christmas ornaments are easy to make. They make great gifts for friends and families!
Be sure to check out all of my other easy DIY ornament ideas.
This post contains affiliate links. By purchasing an item through an affiliate link, I earn a small commission at no extra cost to you. As an Amazon Associate I earn from qualifying purchases.
Christmas crafting is one of my favorite things to do! Making ornaments is so fun and easy.
DIY Monogram Ornaments
Supplies Needed:
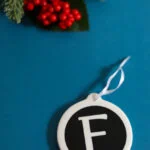
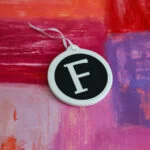
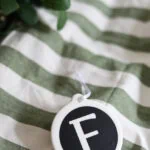
- Ornament Blanks
- Vinyl
- Transfer Tape
- Cricut Maker
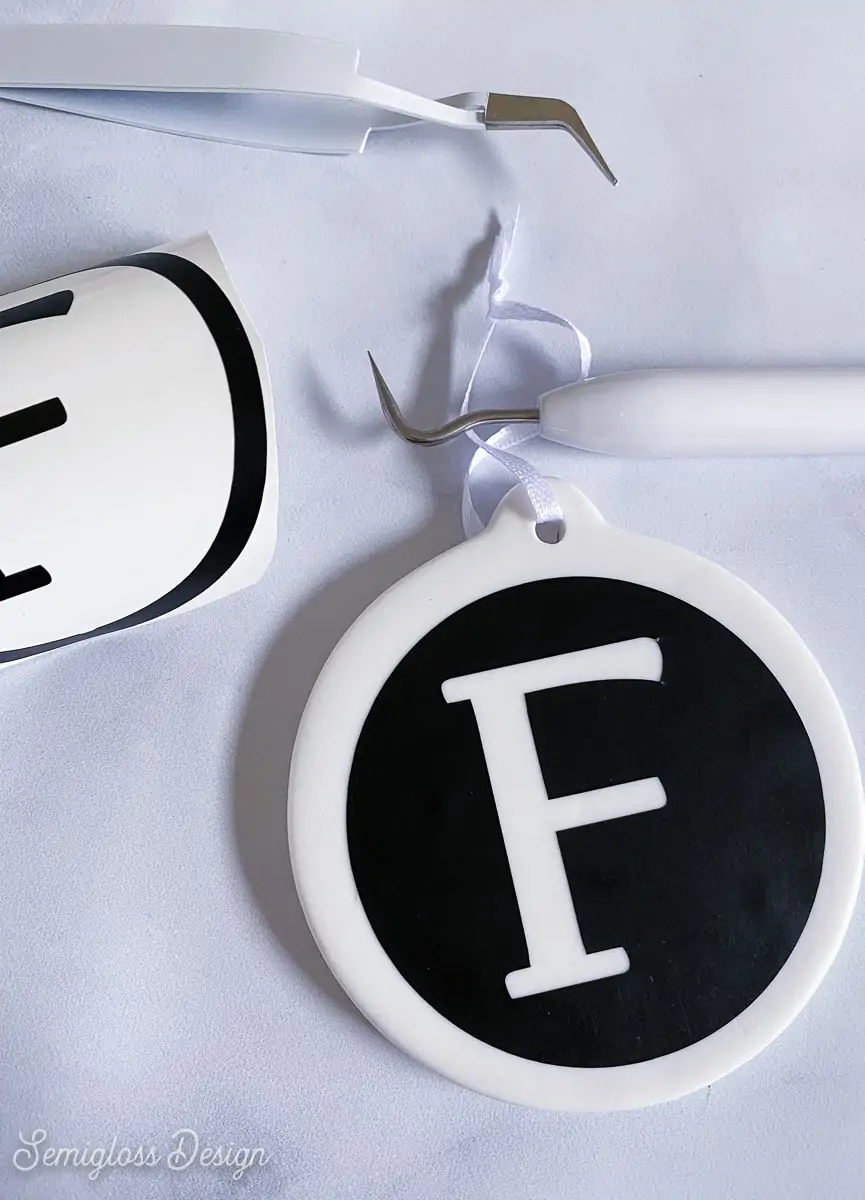
- Weeding Tools
- Monogram Font*
*Cricut Access added a fun new option to create monograms. If you’re looking for more monogram options, there are a ton of cute options!
Notes About Supplies
Ornament Blanks
(I have an entire post on clear ornament blanks so check that out.)
I used two different types of ornament blanks for my DIY monogram ornaments.
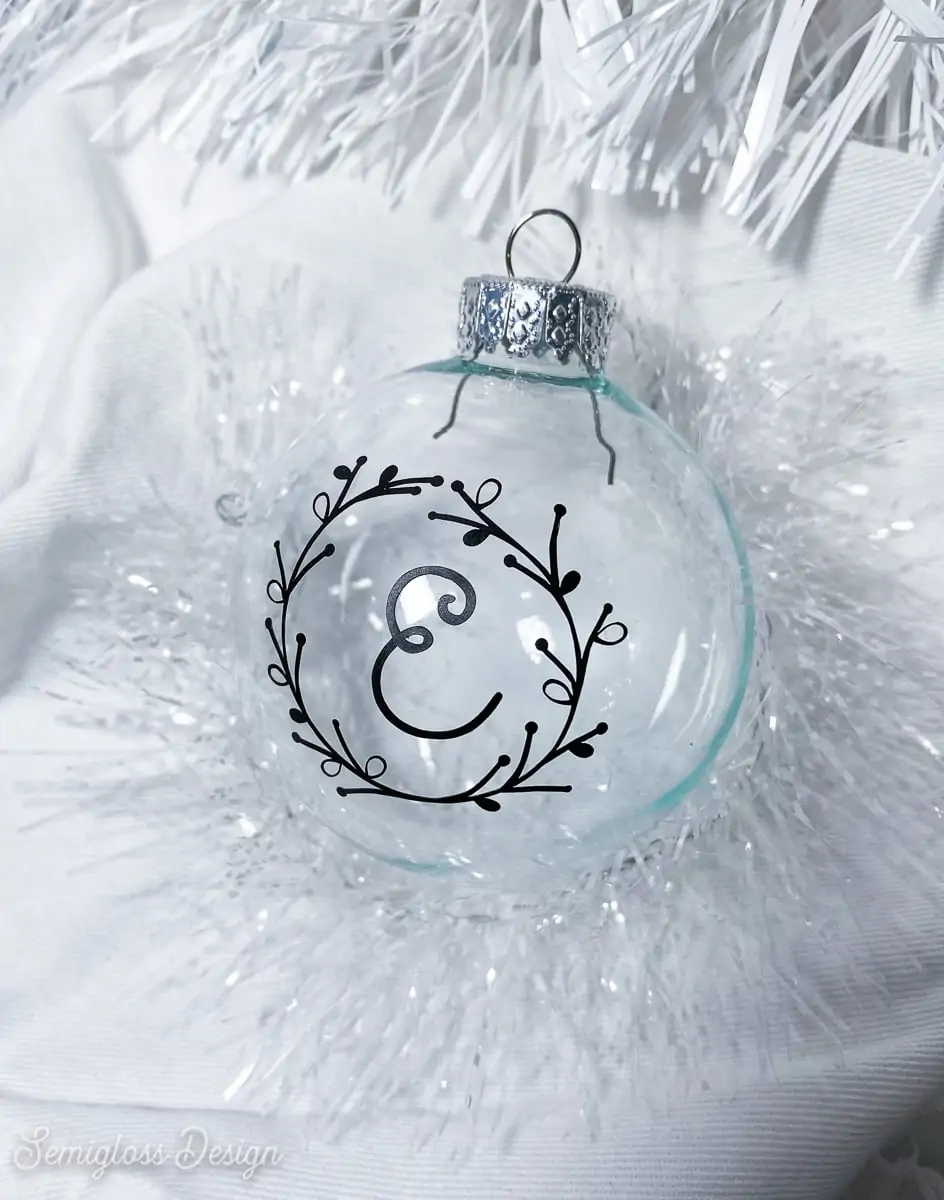
Clear glass balls are really easy to find but a bit harder to work with. Their sizing can be weird, so if you buy them online, buy the 100mm size.
Feel free to use plastic ornaments if you want. Plastic can be easier to work with and doesn’t break as easily.
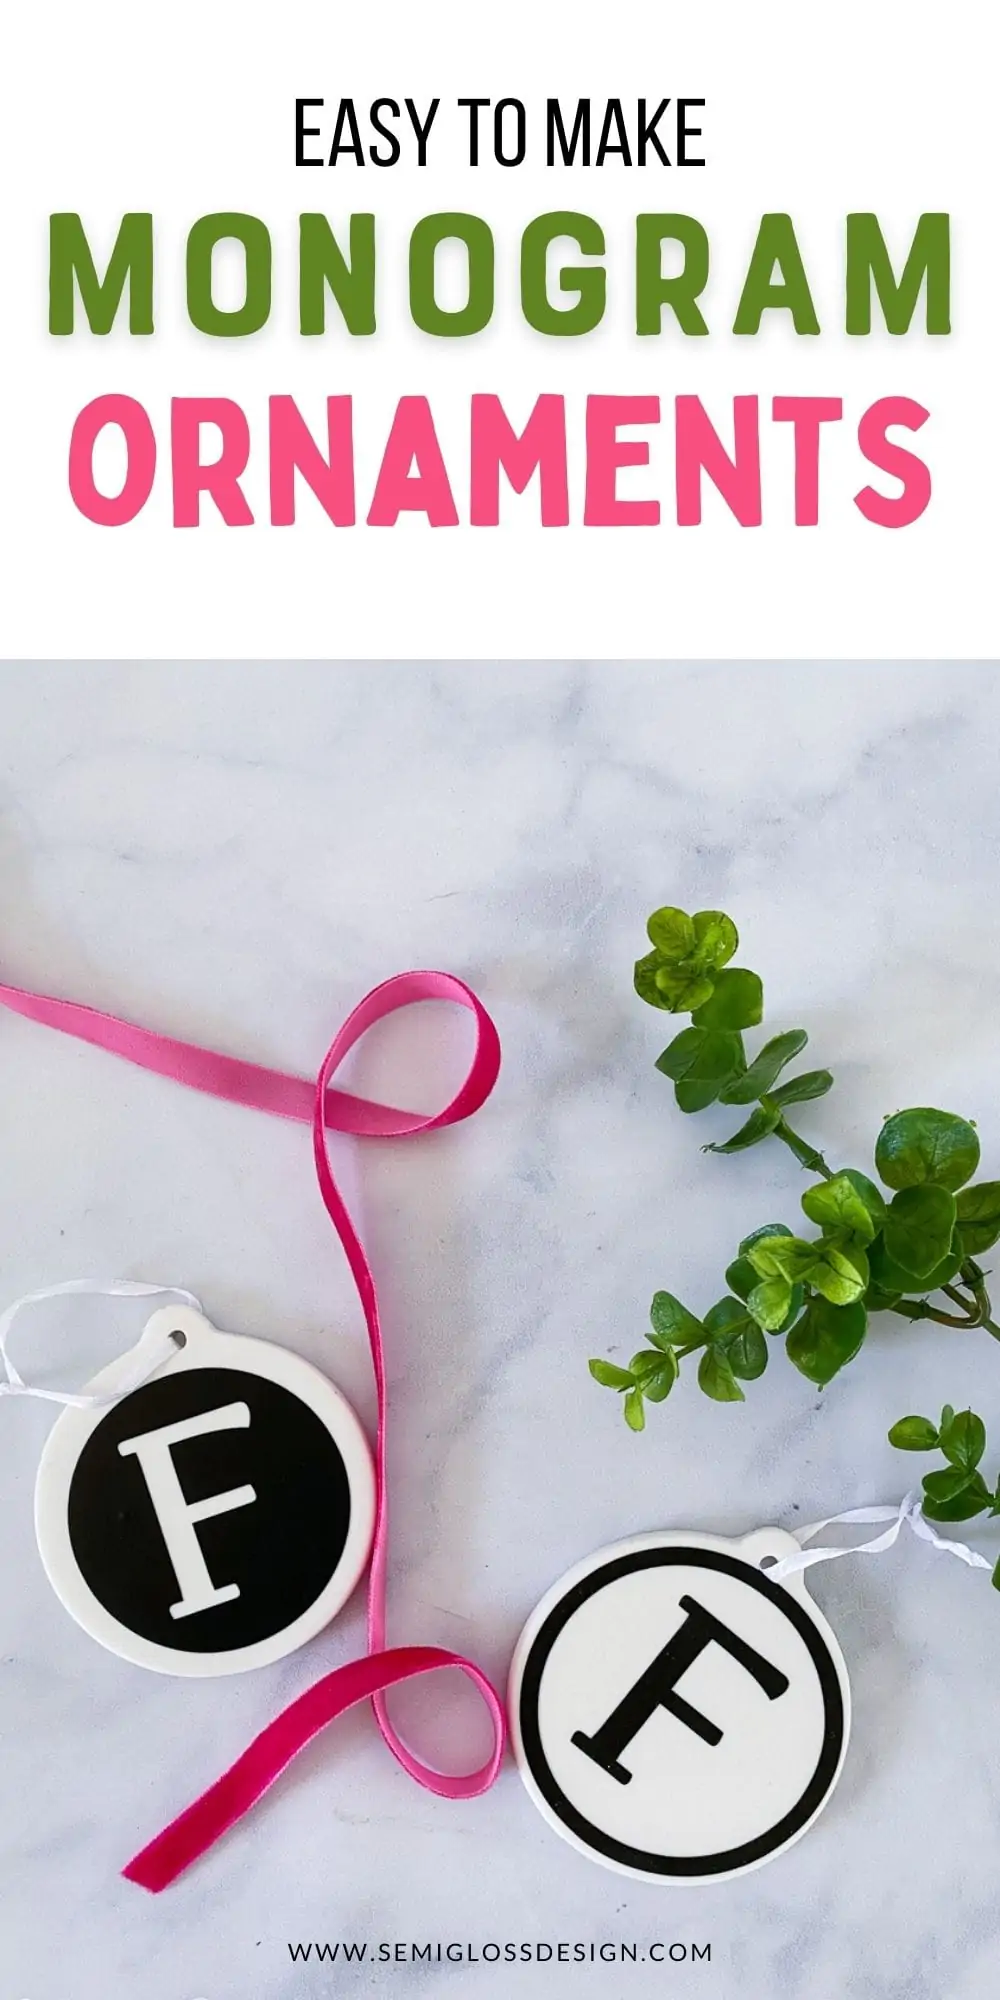
The flat ceramic ornament shapes were much easier to work with, and I think they even turned out a bit cuter!
I also just bought these flat glass ornament shapes to try out and these acrylic ones.
Vinyl
I used permanent vinyl for these ornaments, but removable would work fine if that’s all you have. (I will use permanent vinyl if it’s a gift, though.)
I did not use iron-on vinyl for this project, but it would probably work great on the flat ceramic ornaments. (I’ll be testing it out soon, though.)
Vinyl comes in a variety of colors and textures, so get creative.
Cricut Maker
I used my Cricut Maker to cut my vinyl, but you can use whatever cutting machine you want. Since it’s just regular vinyl, you don’t need anything fancy.
If you don’t have a cutting machine, stickers would also work.
Monogram Fonts
I used fonts that I already own for these monogram ornaments, but you can also use classic ones.
I used:
- LillyLou
- Kefa (Comes with Adobe) Look for a Serif font if you don’t have Adobe.
Other Monogram Fonts that I Like
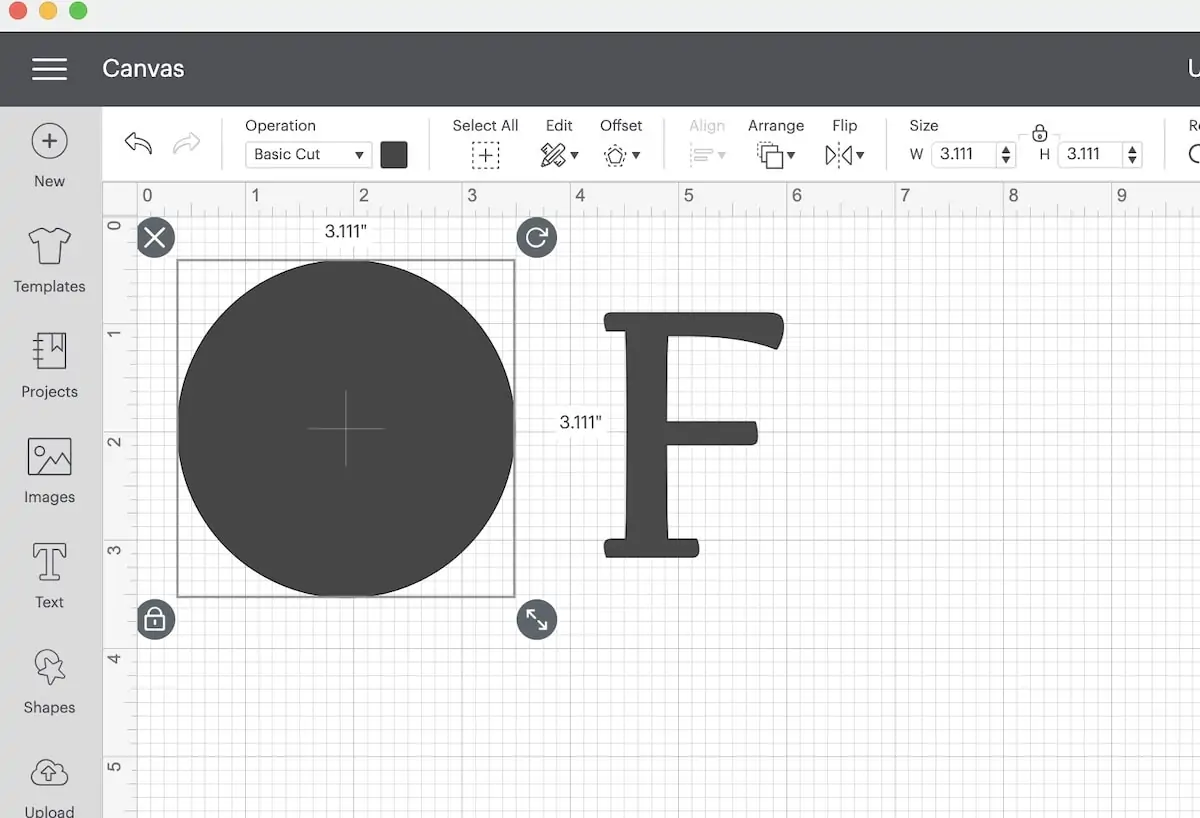
Making the Monogram Design
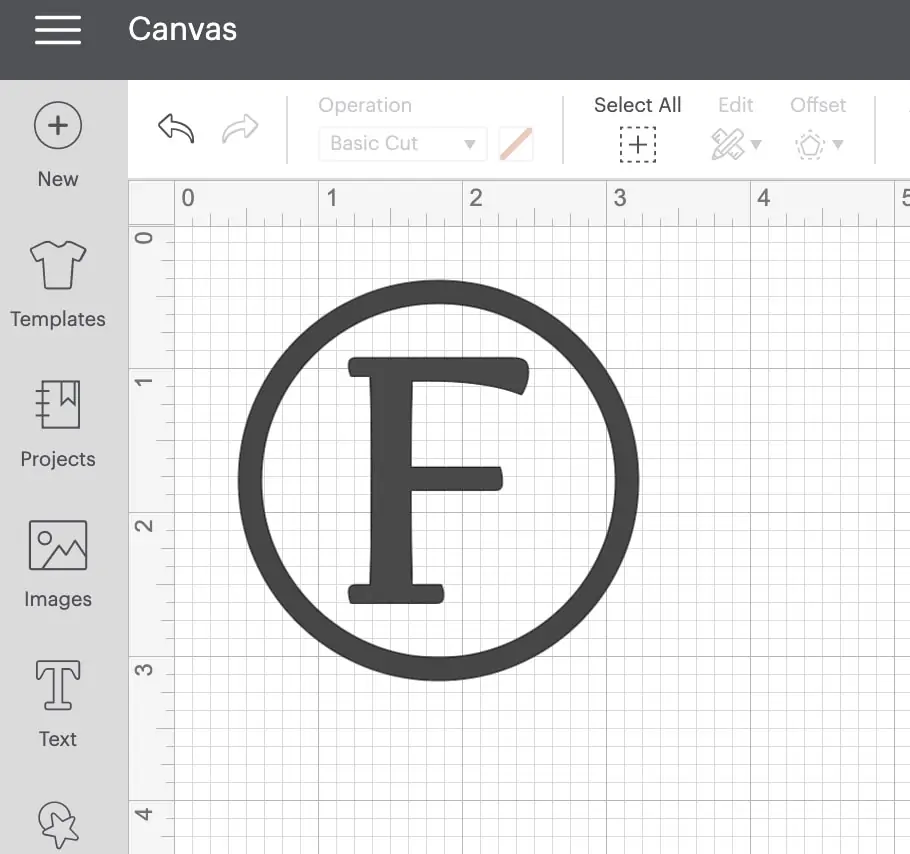
- Measure your ornament. If you’re using ornament balls, I recommend making your design no larger than 2″ x 2″. Smaller is probably better.
- You can create a circle of that size or use the rulers as a guide when creating your design.

- These ornaments used a circle as part of the design, so I created a circle. It’s about 3″ x 3″ to fit the blanks I used.)
- Duplicate the circle and slightly resize it to make it smaller.
- Align both circles to be centered.

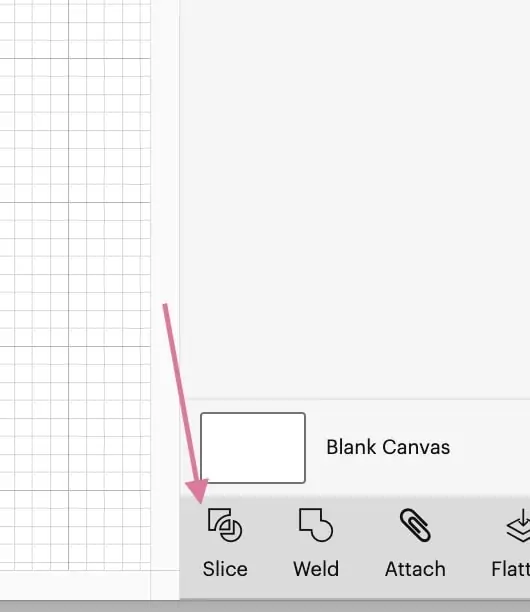
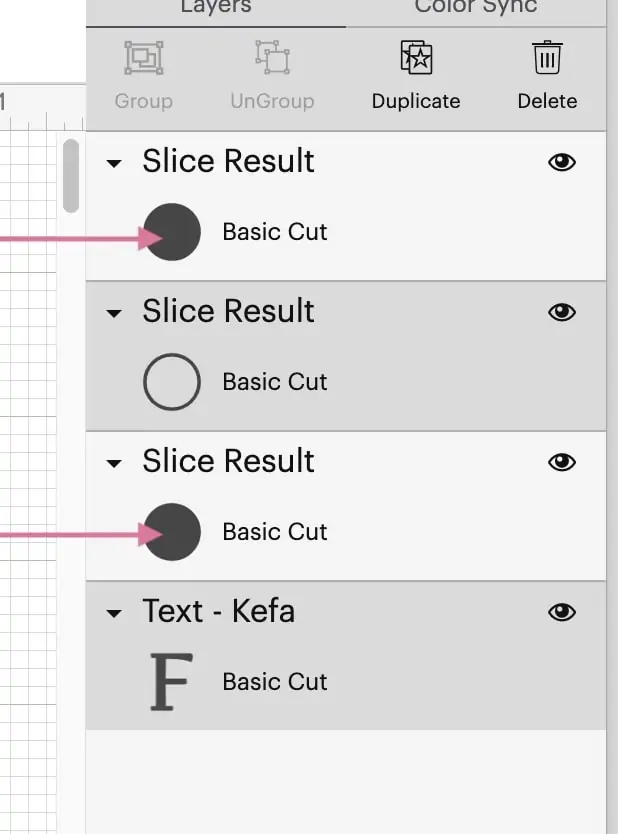
- Select both circles and use the slice tool.

- Delete the black circles and keep the circle outline.

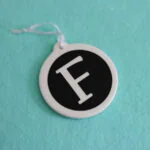
- Then, add the initial.
- Center the letter and the circle.

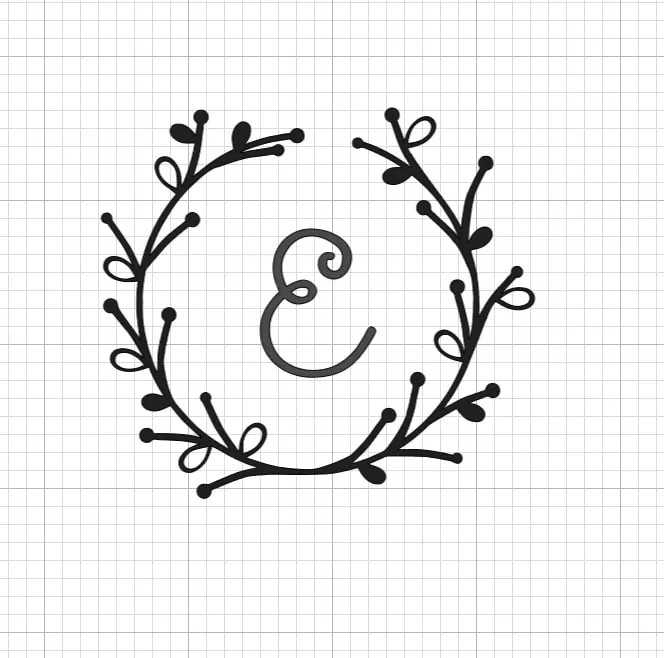
- The wreath design was created by uploading the design and resizing it.

- Then, I added an initial to the center.
- Use the alignment button to center the two elements.
- Cut the vinyl as usual. (There is no need to mirror since it’s regular vinyl and not iron-on.)
- Weed the excess vinyl from the design. (I use some excess vinyl for another ornament to keep that in mind.)


Quick Cricut Tip:
Sometimes, when you upload a design, Cricut thinks it should be another color. Even if they both look black, one might be slightly different.
If you’re having trouble getting your design on one mat, change the colors of the elements to be the same color.
You might be interested in learning the basics of using a Cricut Maker.
Get access to my SVG Library.
Get access to over 50 SVG sets and Cricut cheat sheets. Join my SVG library.
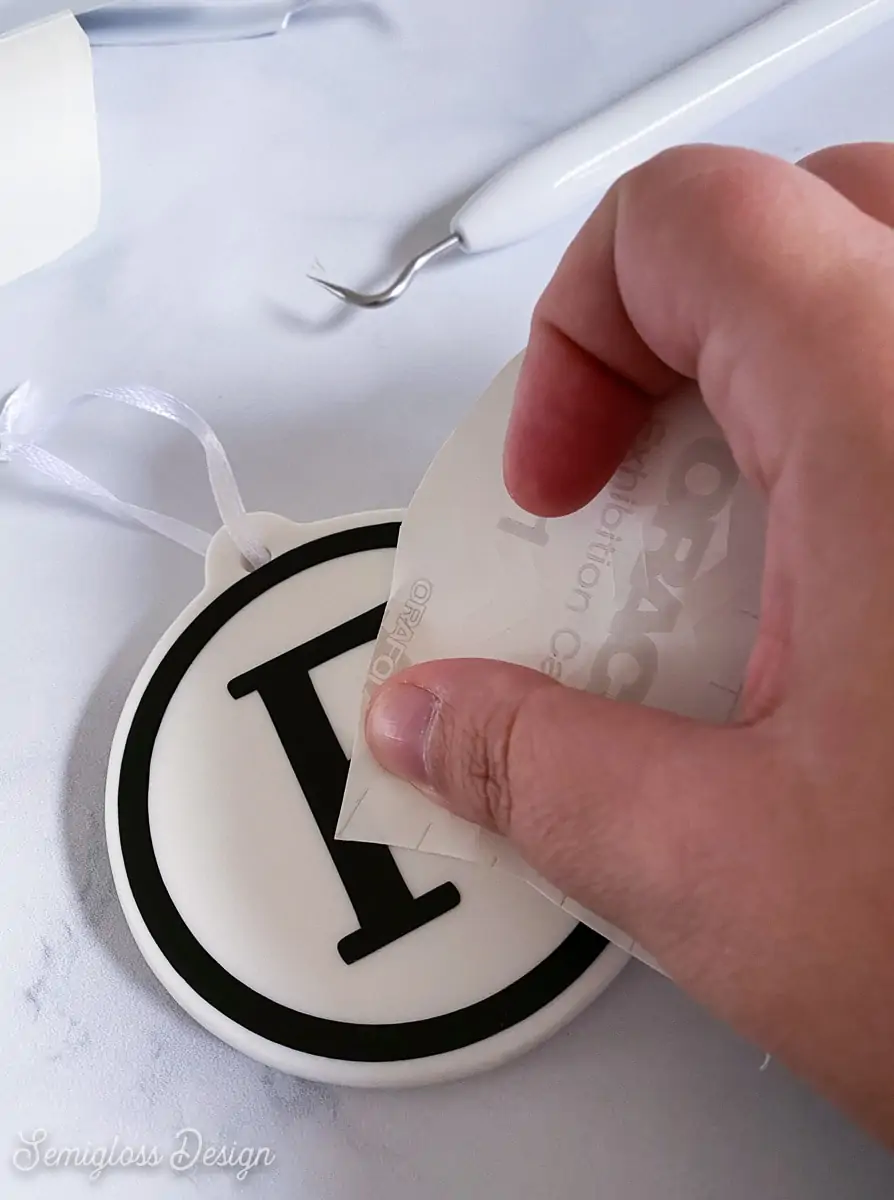
Applying Vinyl to the Ornament
- Clean the ornament with rubbing alcohol to remove any oils from your fingers.
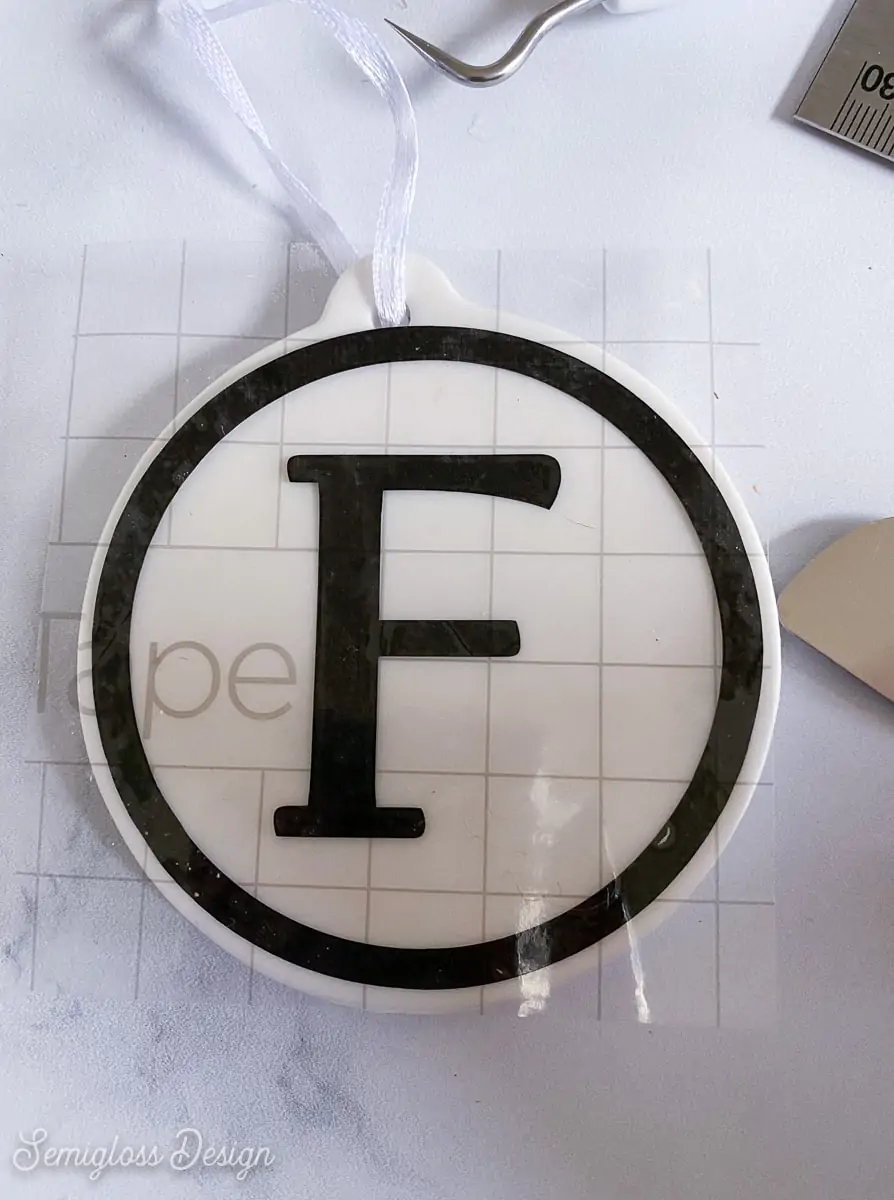
- Transfer tape transfers the design from the paper backing onto the ornament.

- Line it up and center the design before applying it to the ornament.
- Press firmly to make the vinyl stick to the ornament. (If you’re using glass bulbs, be very gentle.)
- Remove the transfer tape.
- Use the paper backing to rub the design onto the ornament lightly.

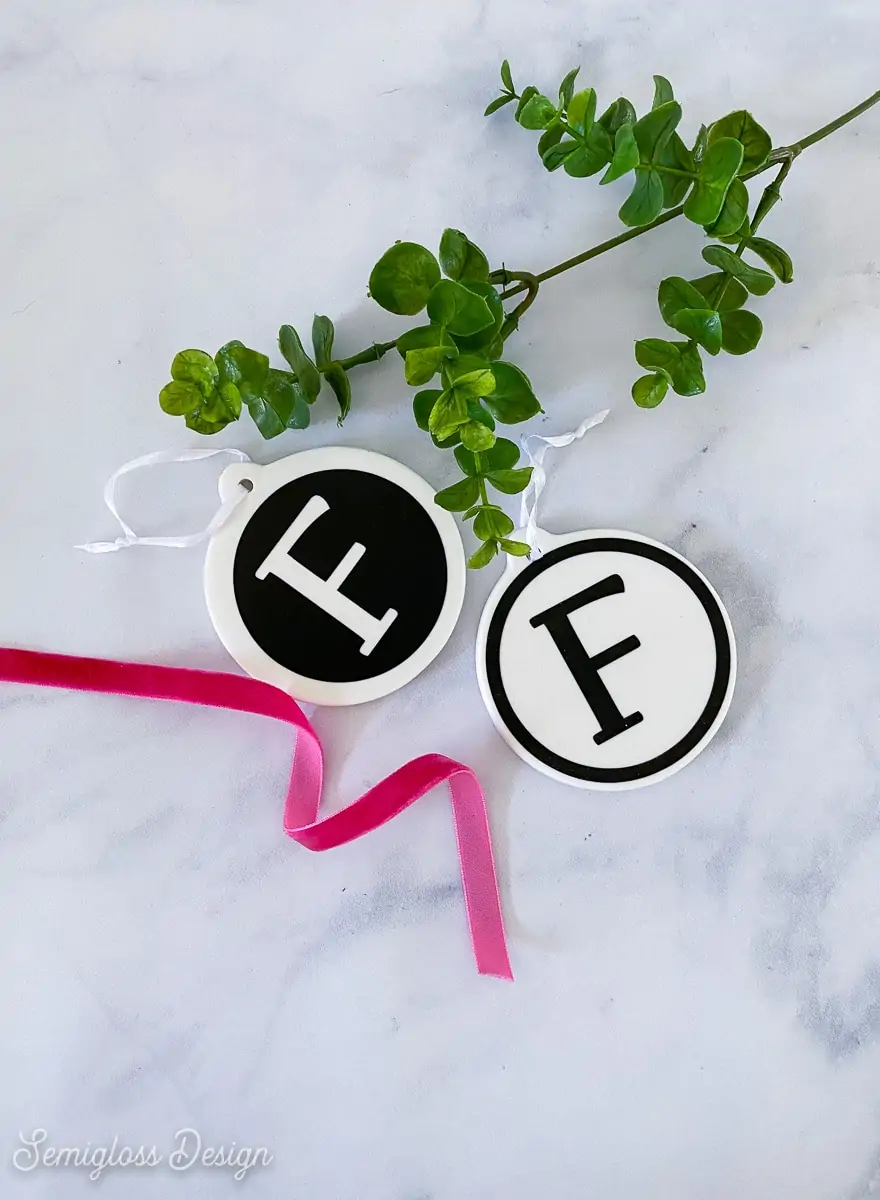
If desired, you can swap out the ribbon with something prettier.
Tips for Using Vinyl on Glass
- If you use round ornament bulbs, stick with a simple design.
- Err on the side of being too small. This ensures the decal sticks to the bulb’s “flatter” area.
- Make tiny cuts if needed to get the vinyl to stick better.
- If the design is too large, it might have minor creases.
- When choosing your vinyl color, keep contrast in mind. Dark colors appear better on light surfaces (like white and clear ornaments.)

Monogram Tips
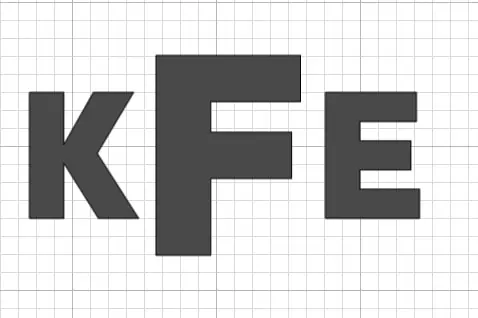
- Classic monograms use this format: first name, last name, and middle initial. So, the monogram for my name, Emy Lou Flint, would be EFL.

- For married couples, it typically goes first name of spouse 1, last name, first name of spouse 2. So, for my husband Kevin and me, it would be KFE.

- A three-letter monogram might not be the best idea if it spells something accidentally. Maybe stick to a one or 2-letter monogram initial instead. (My initials are ELF, so I get it.)

You might also like:
Pin for Later!

Emy is a vintage obsessed mama of 2 DIYer who loves sharing affordable solutions for common home problems. You don’t need a giant budget to create a lovely home. Read more…