How to Make Peekaboo Leather Earrings with Cricut
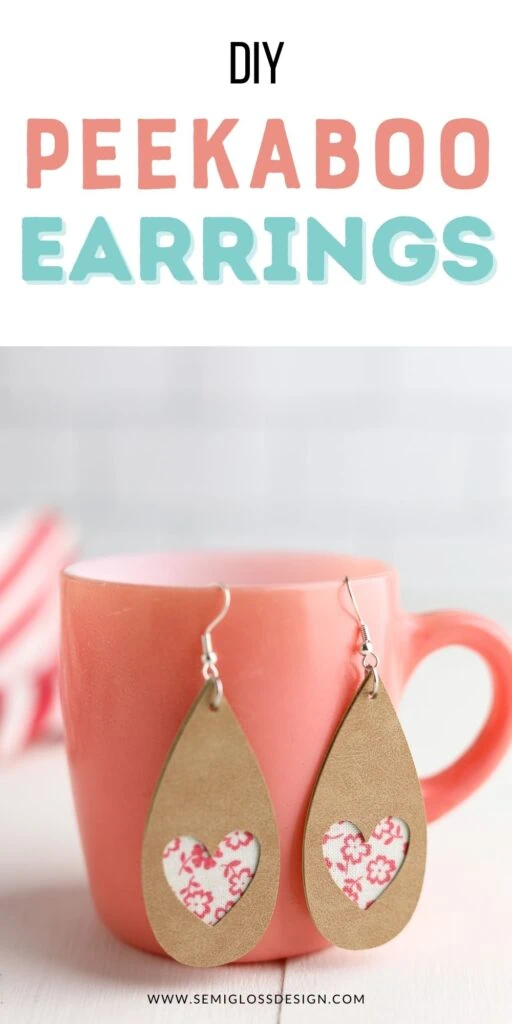
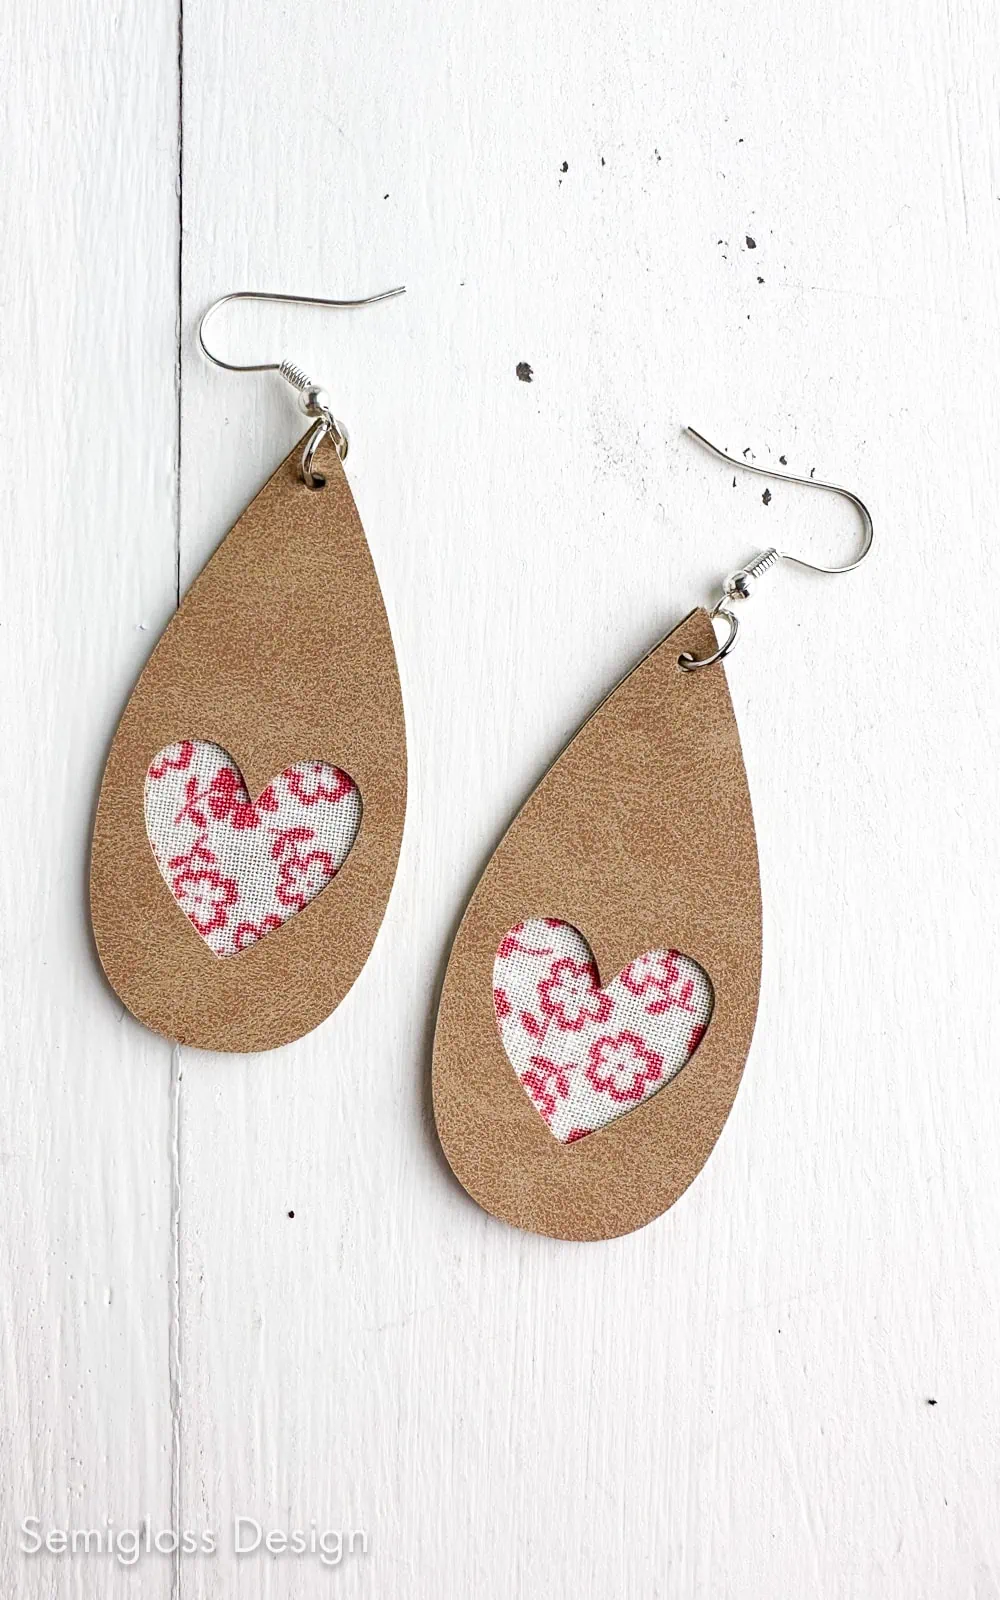
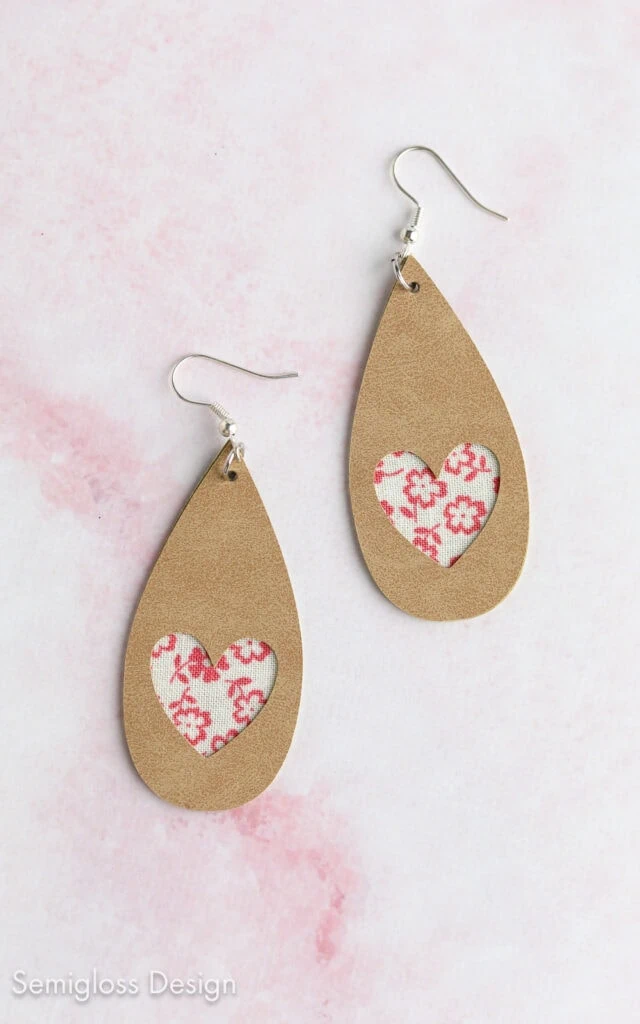
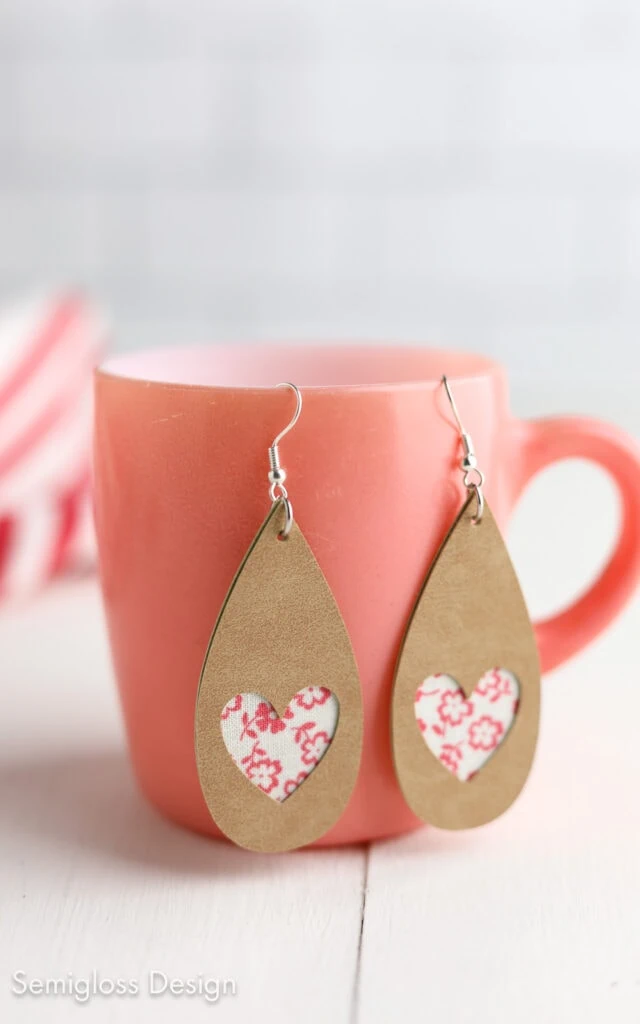
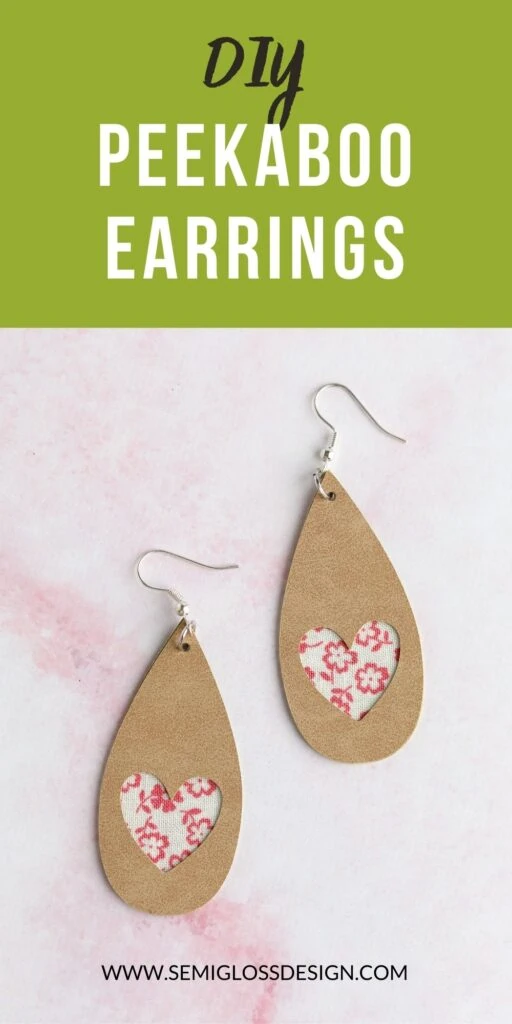
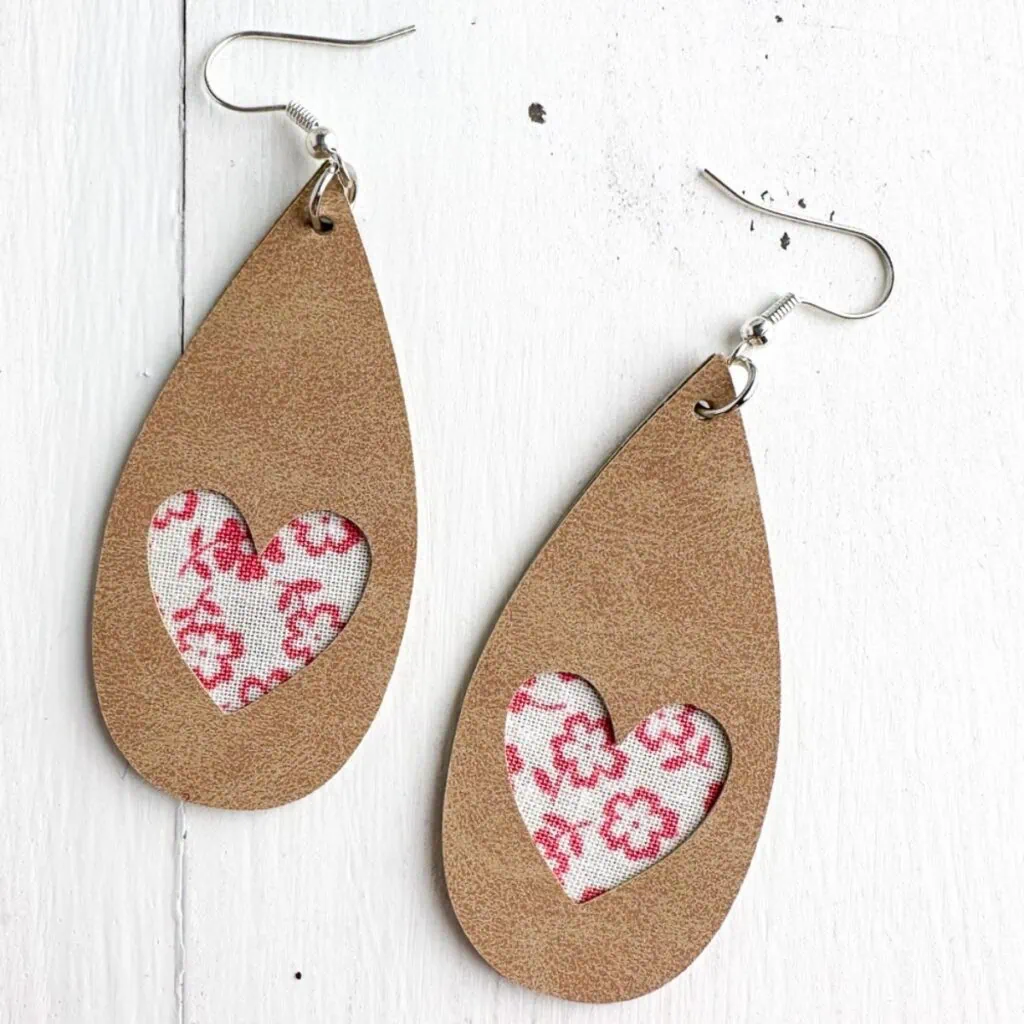
Learn how to make peekaboo leather earrings with Cricut. These cute earrings feature a heart cut-out that showcases a pretty fabric design.
If you’re new to making Cricut earrings, be sure to check out this post on faux leather earrings.
This post contains affiliate links. By purchasing an item through an affiliate link, I earn a small commission at no extra cost to you. As an Amazon Associate I earn from qualifying purchases.
I had a lot of fun making these earrings because I love cute fabrics. This is a great way to use fabrics with small prints. It’s also a great use for scraps!
DIY Peekaboo Leather Earrings
Supplies Needed:
- Cricut (I use my Cricut Maker 3)
- Faux Leather
- Fabric
- Cricut Standard Mat
- Cricut Fabric Mat
- Rotary Blade (if you have the Cricut Maker)
- Fabric Stabilizer (if you don’t have the Cricut Maker)
- Glue
- Leather Punch
- Earring Hooks and Jump Rings
- Jewelry Pliers
Notes About Supplies
Faux Leather
I used this pack of faux leather, and it worked great. It’s very thin and is really easy to cut with the fine-point blade. This pack has five colors: red, tan, black, and two shades of brown. I used the tan sheet for this project.
If you’re looking for other colors, there are many fun packs with various colors, patterns, and textures.
Fabric
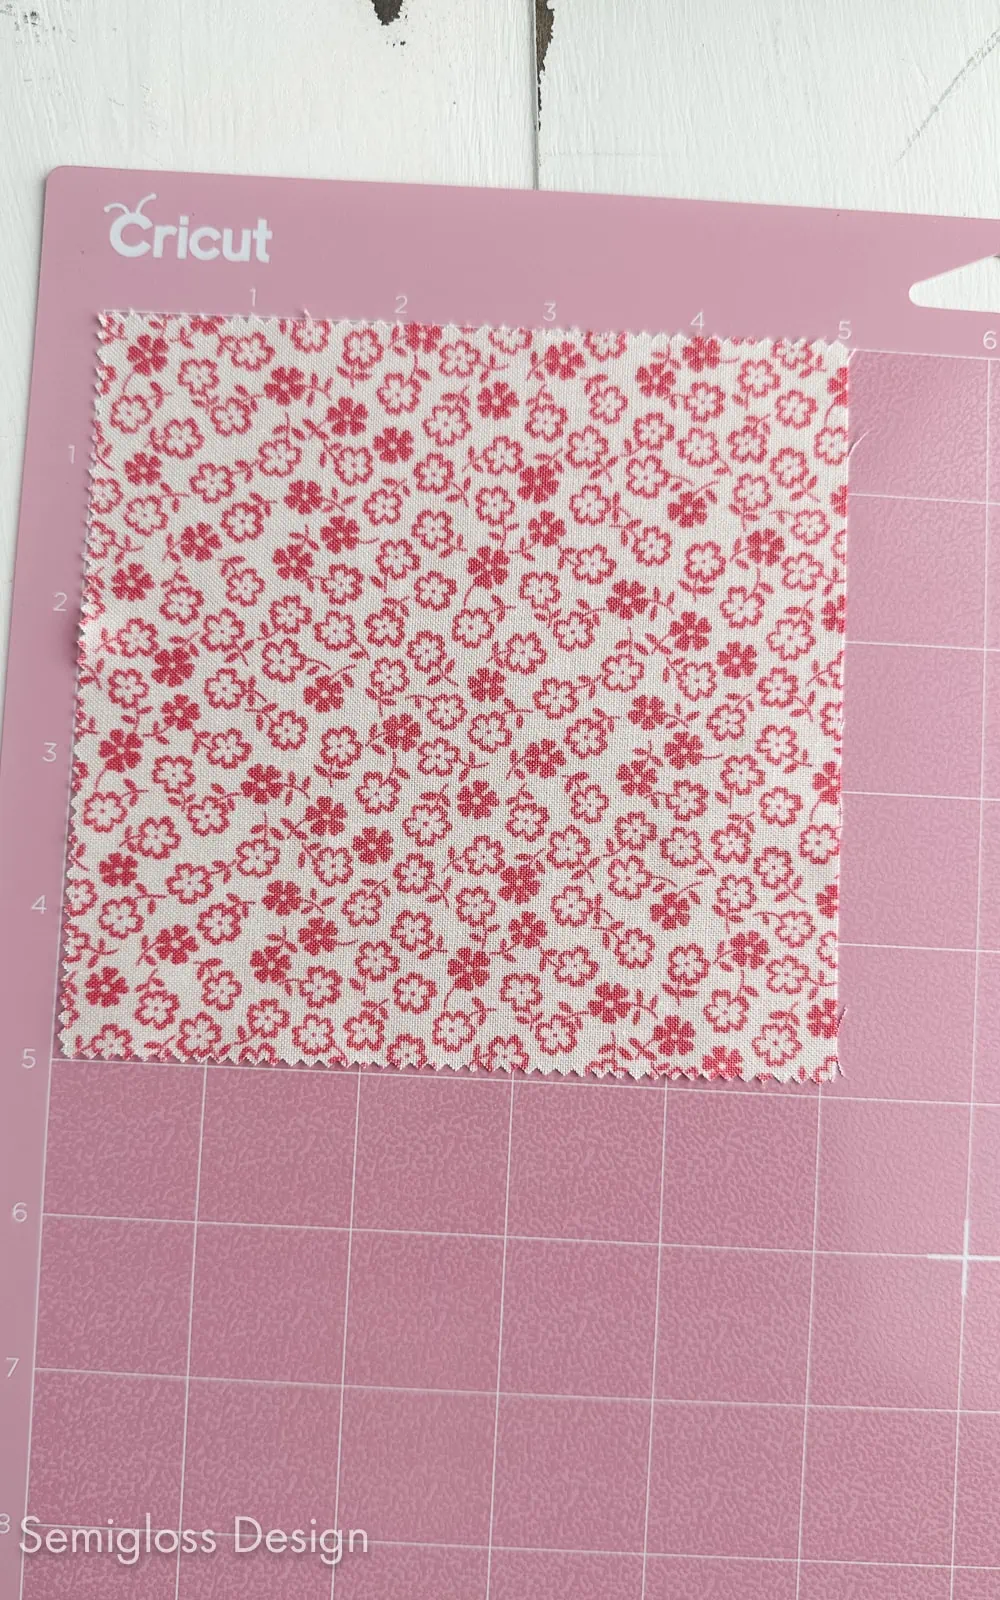
I used a scrap piece of quilting fabric that was leftover from my quilt project.
Use fabric with a small pattern for the best results. A large pattern won’t show up in this project.
If you don’t use quilting fabric, look for a thin fabric that doesn’t fray easily.
Leather Punch
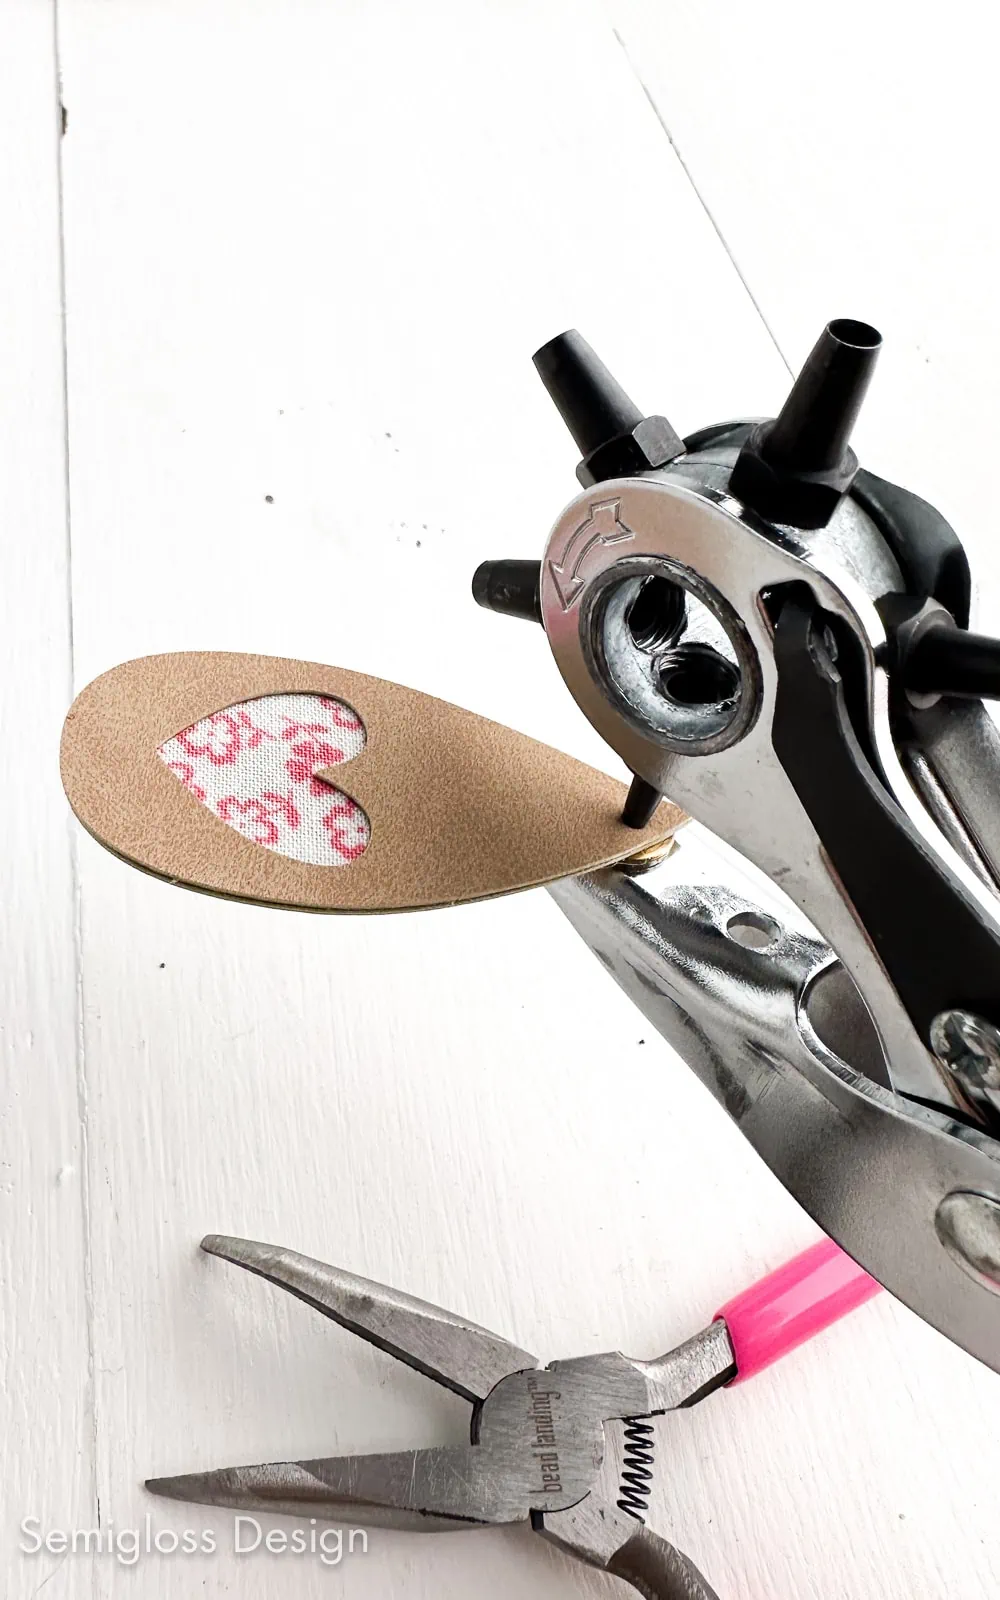
I used a leather punch instead of cutting the earring holes with the Cricut. In the past, I haven’t had great luck cutting tiny holes with the Cricut.
How to Design Peekaboo Earrings
Here are some things to remember if you design your own peekaboo earrings.
- The fabric piece needs to be slightly smaller than the leather part of the earrings.
- Choose a simple shape if this is your first time making earrings with your Cricut.
- There are a lot of cute earrings available if you have Cricut Access.
Important: When cutting the fabric and the faux leather, it must be mirrored if you create a design that contains letters or an asymmetrical design.
How to Cut Fabric with a Cricut
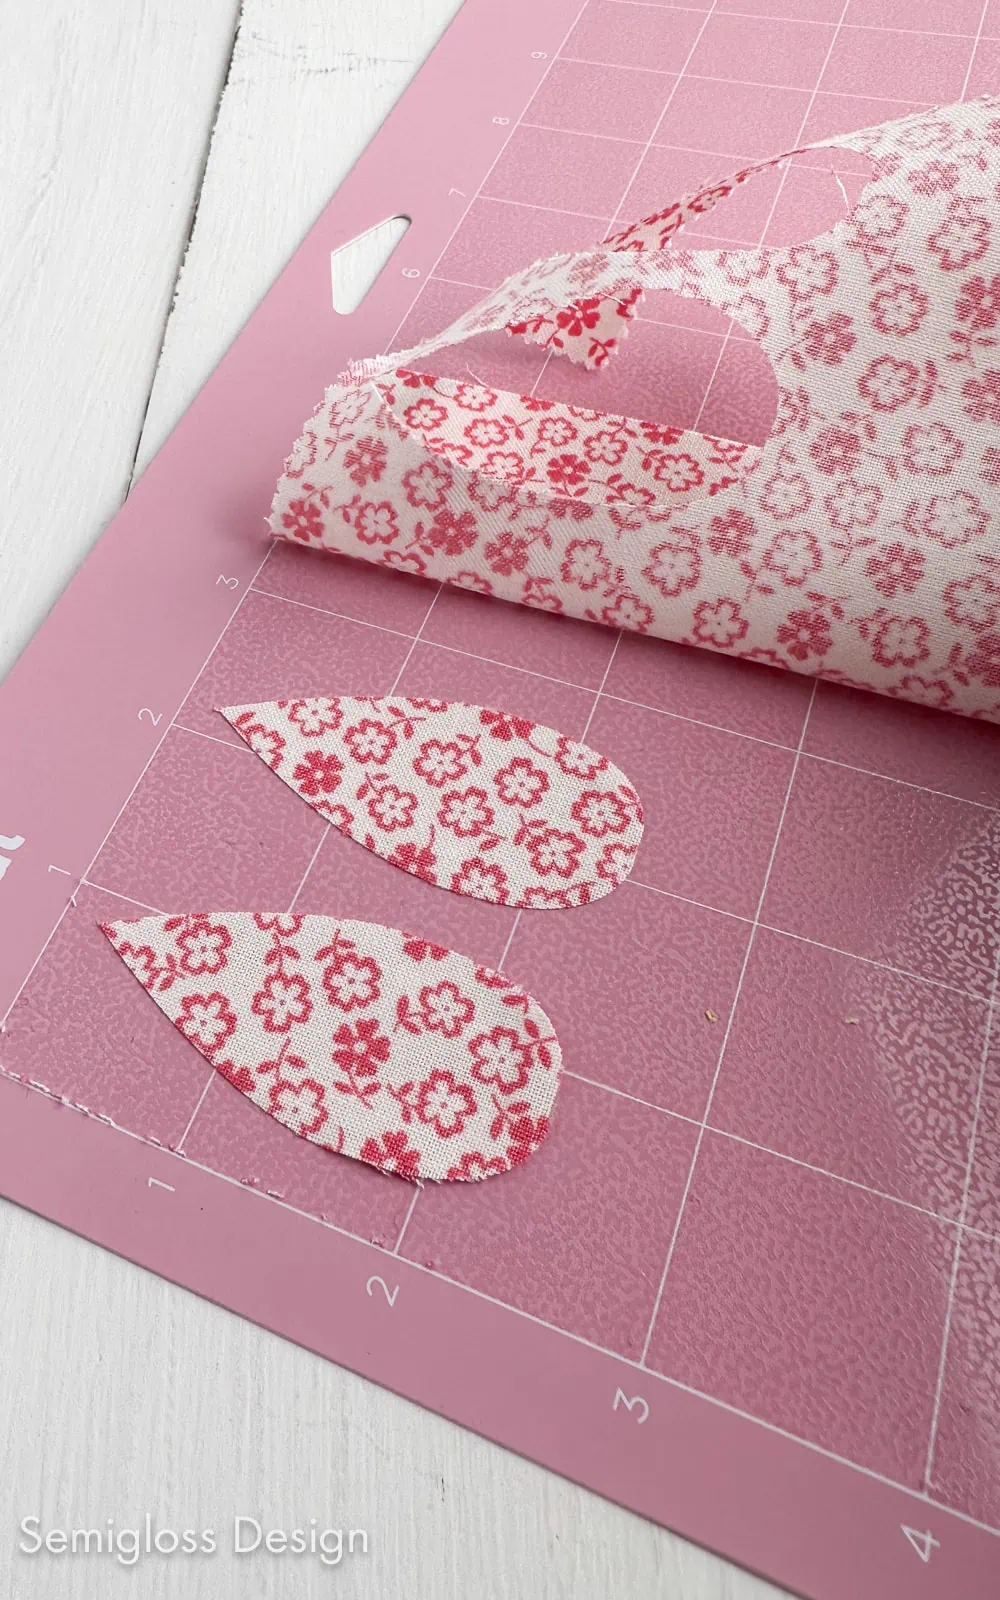
You can cut fabric with a rotary blade if you have a Cricut Maker. Place the fabric on the fabric mat, install the rotary blade, and cut as usual.
- Upload the design.
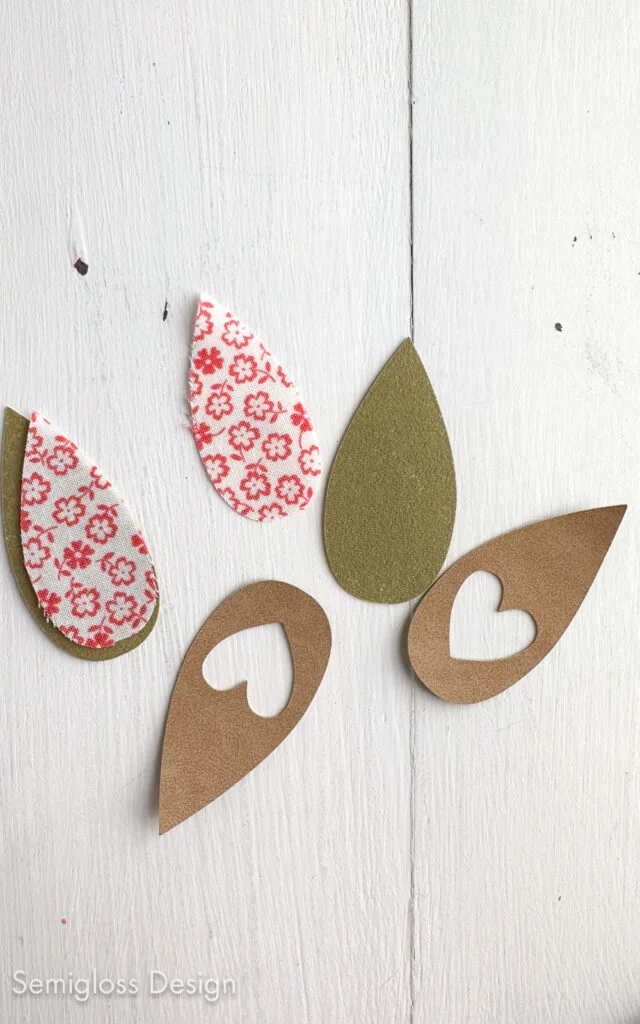
- The cutout heart design and the larger teardrop shape are for leather.
- The smaller teardrop shape is for fabric.
- Load the fabric mat with the fabric.
- Select the fabric type. I chose “Cotton” for the quilting fabric.
- Make sure that it was cut all the way before unloading the mat.
If you have Cricut Explore, you must stabilize the fabric first. I have more information on this process in this tutorial for applique (skip the sewing portion.)
It can be placed on the standard mat and cut with a fine-point blade. Select “Medium Fabrics (Like Cotton), Bonded” or the appropriate fabric choice. Cut as usual.
Cutting the Faux Leather
- Place the faux leather on a standard mat, leather side down.
- Select “faux leather (paper thin)” for the cut.
- Load the mat and cut.
- Before unloading the mat, check and make sure that the faux leather is cut all the way through.
- Unload the mat.
Assembling the Peekaboo Earrings
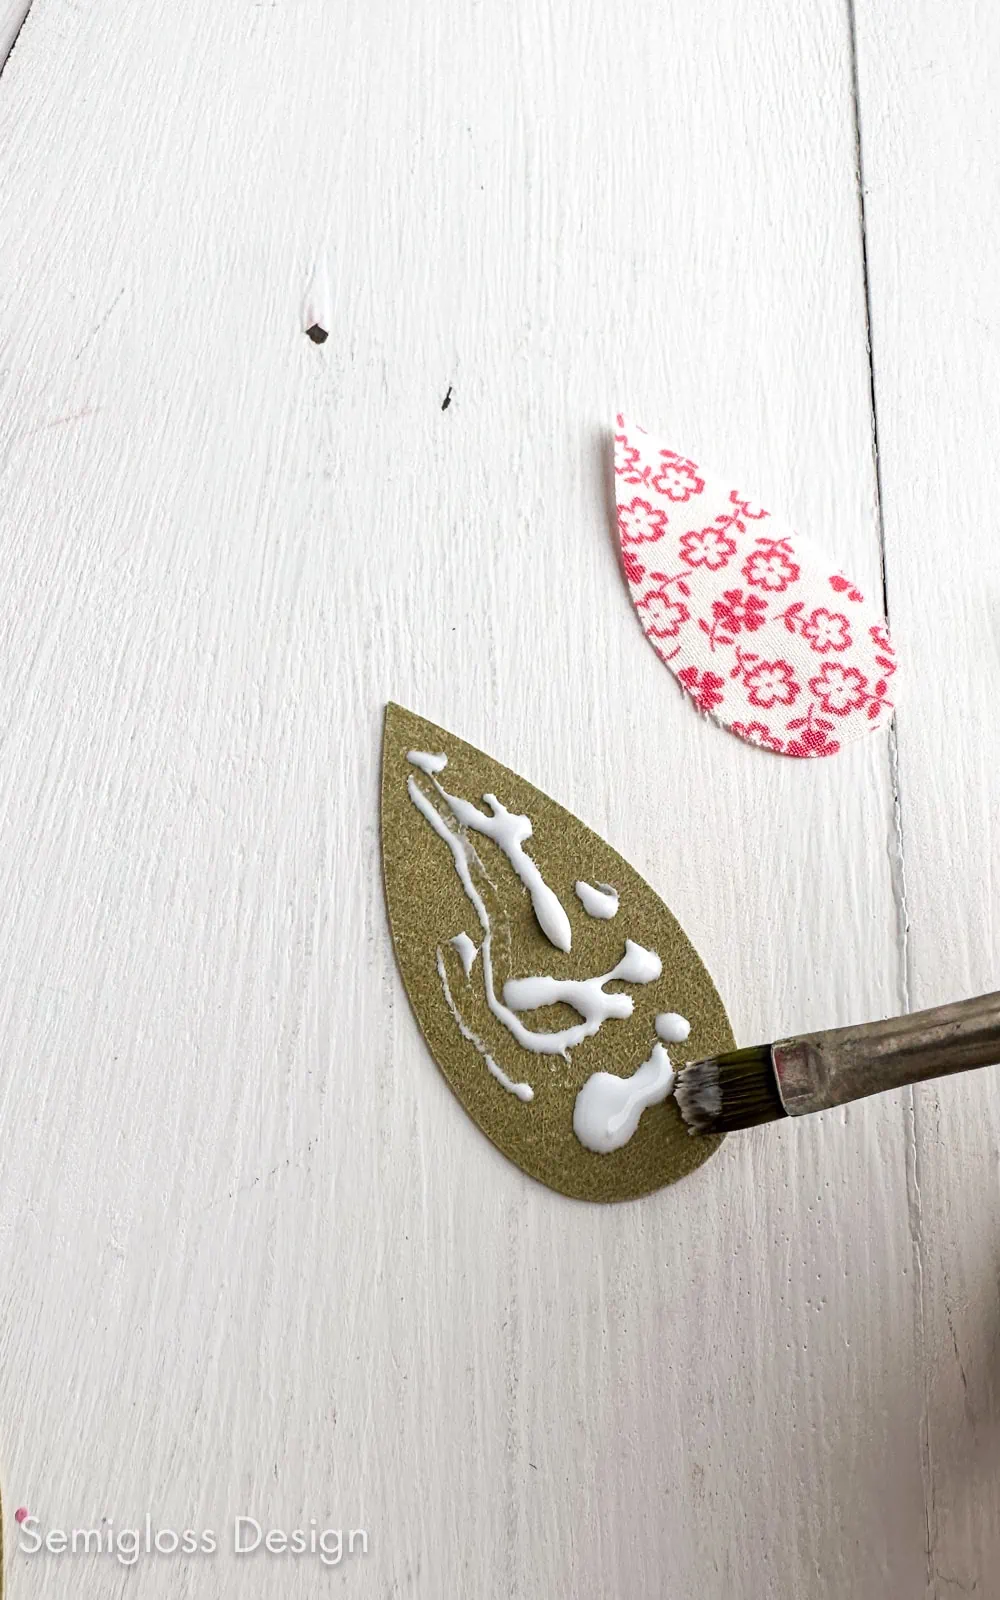
- Apply a thin layer of glue to the fuzzy side of the teardrop shape.
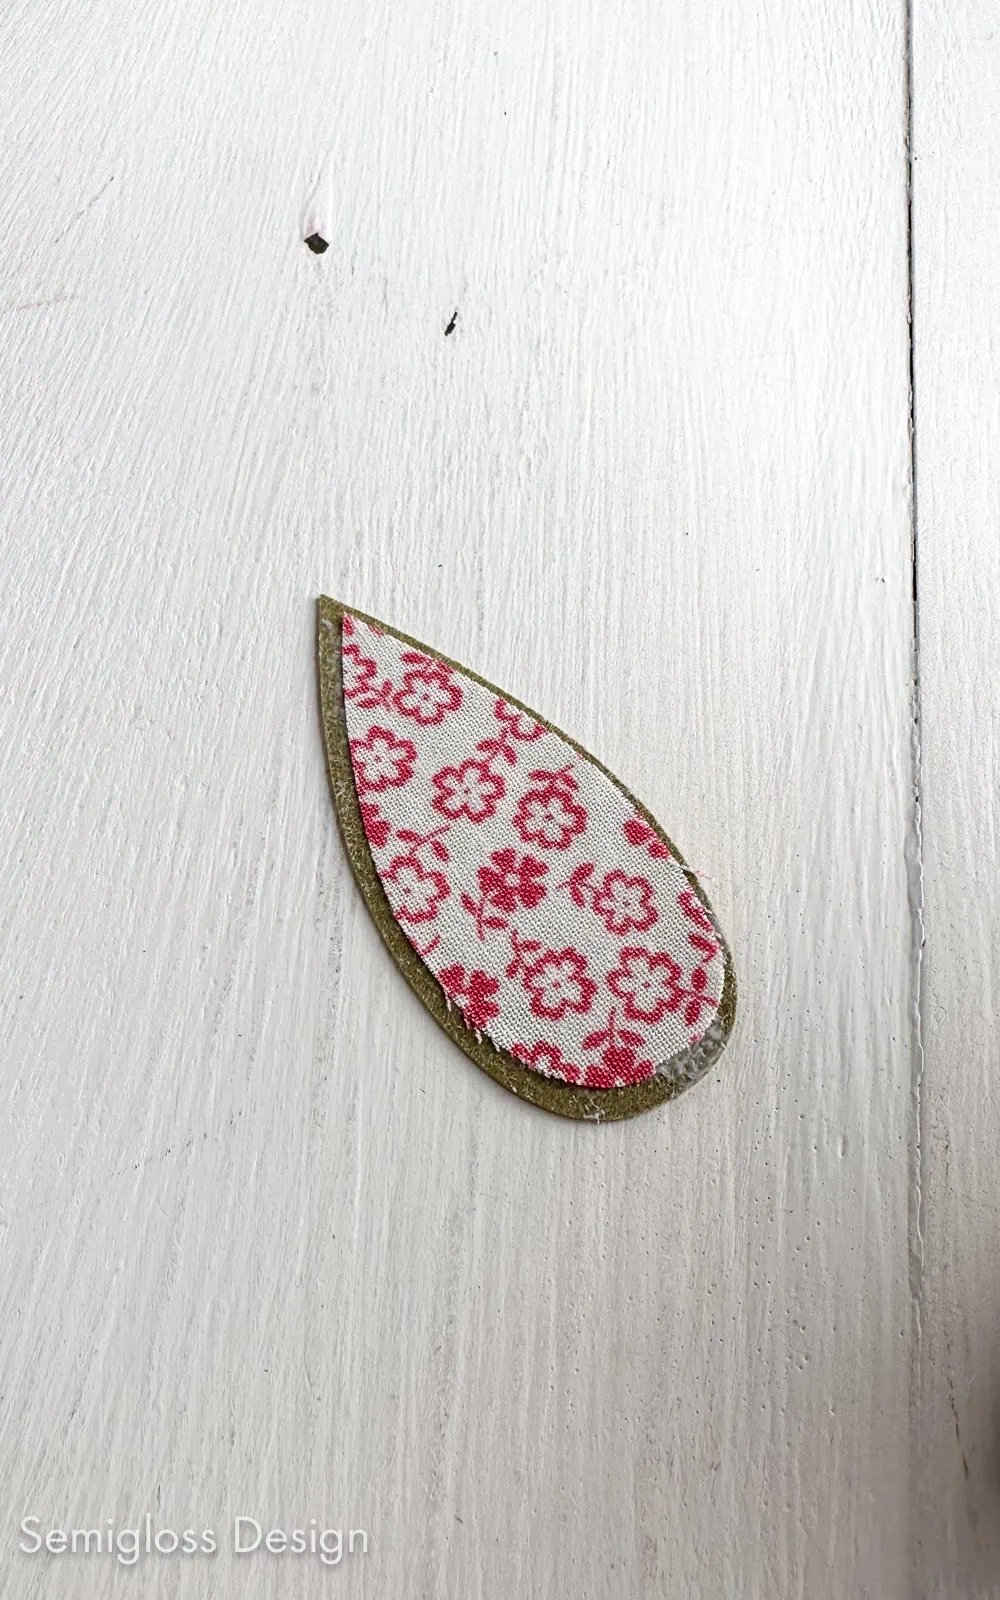
- Place the fabric on top and smooth it out. Make sure any stray threads are tucked inside the earring.
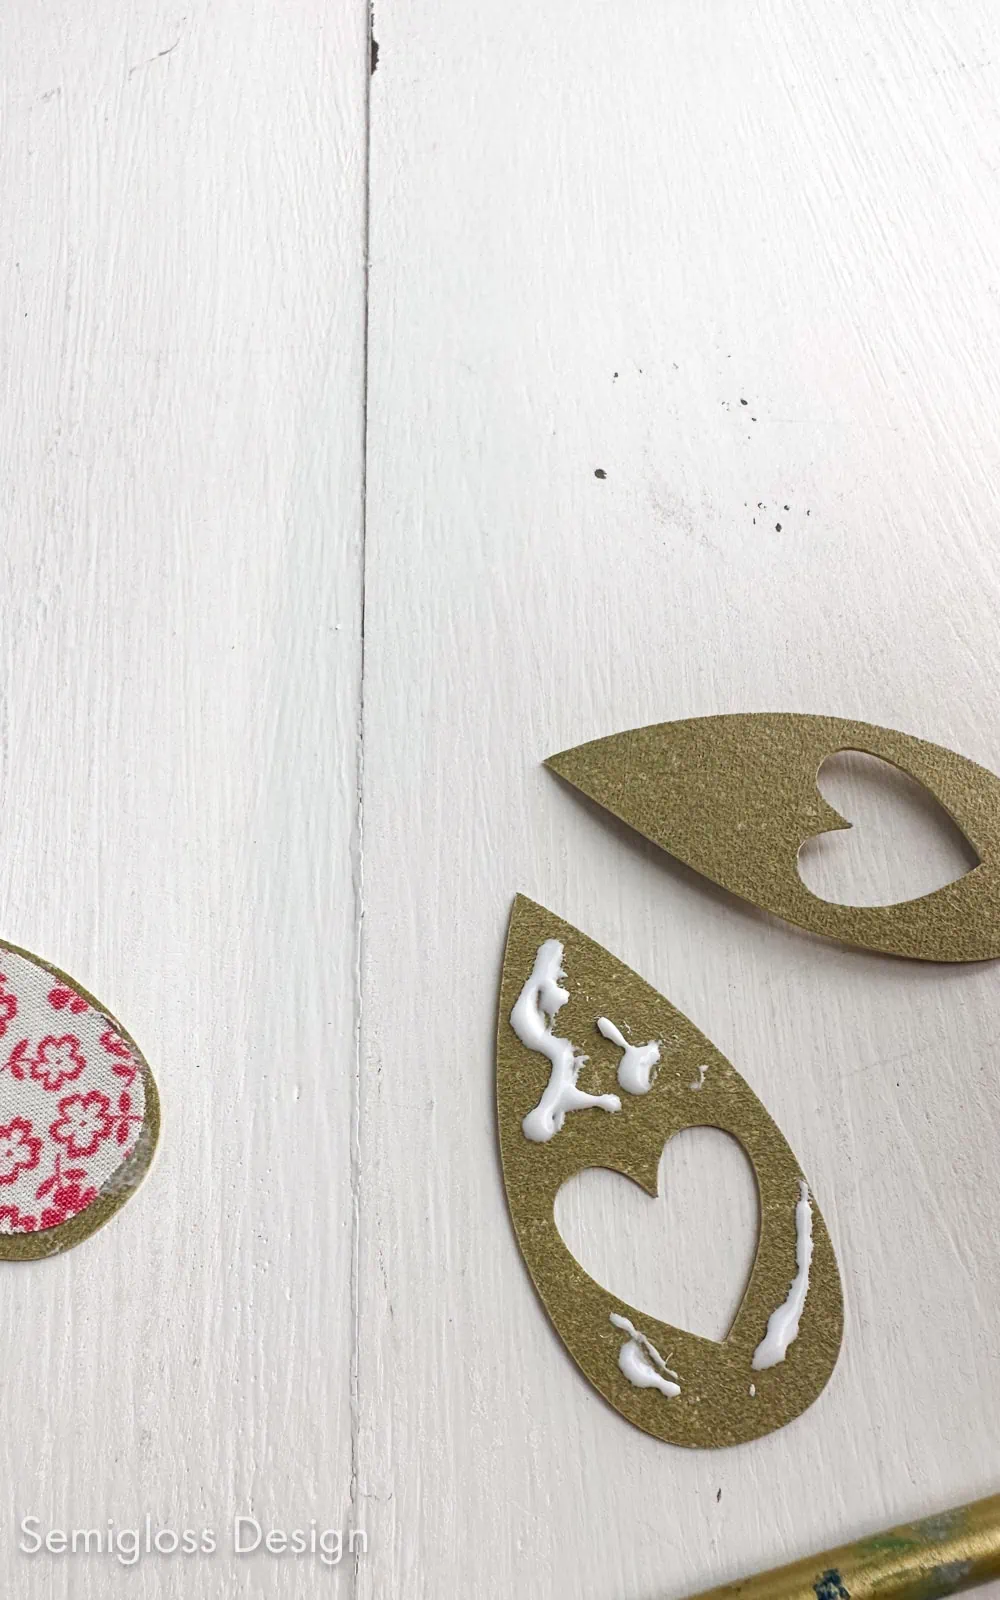
- Apply a thin layer of glue to the fuzzy side of the cut-out piece.
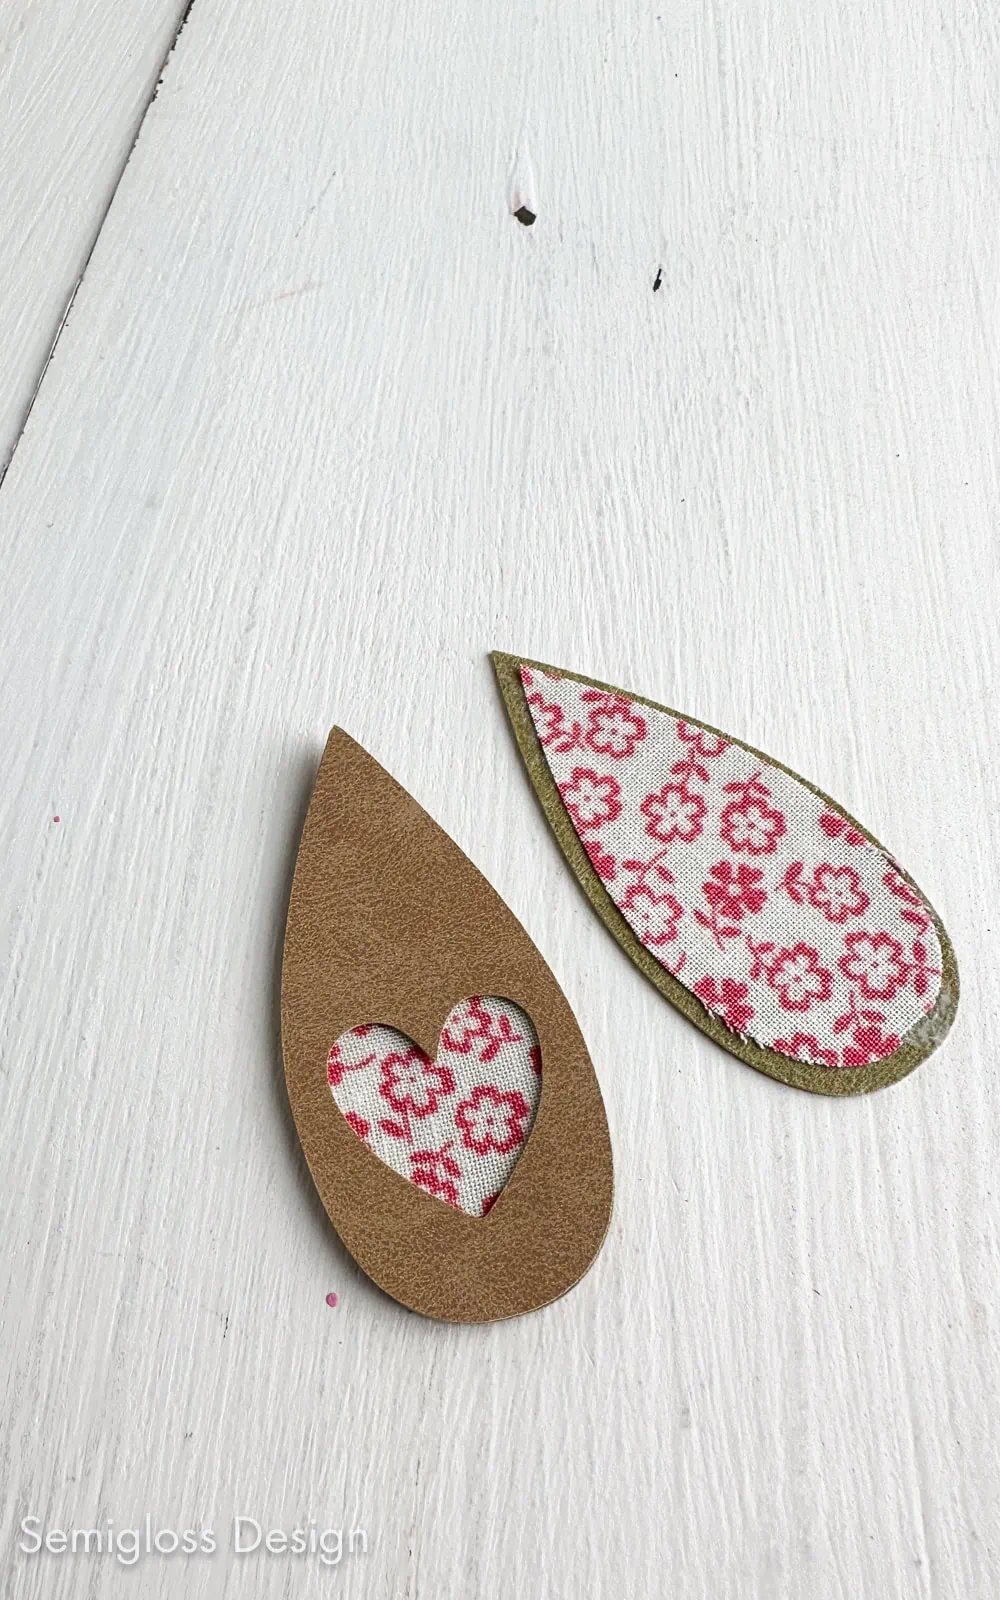
- Place it on top of the fabric.
- Clean up any glue that spills out.
- Place the earring under something heavy while the glue dries.
Making the Earring
- Use the leather punch to make the holes at the top of the earring.
- Attach the earring hook to the teardrop shape with a jump ring.
- Enjoy your earrings.
You Might Also Like:
Download a Peekaboo Earring SVG
All downloads are for personal use only. Please do not redistribute or sell files.
Pin for Later!

Emy is a vintage obsessed mama of 2 DIYer who loves sharing affordable solutions for common home problems. You don’t need a giant budget to create a lovely home. Read more…


