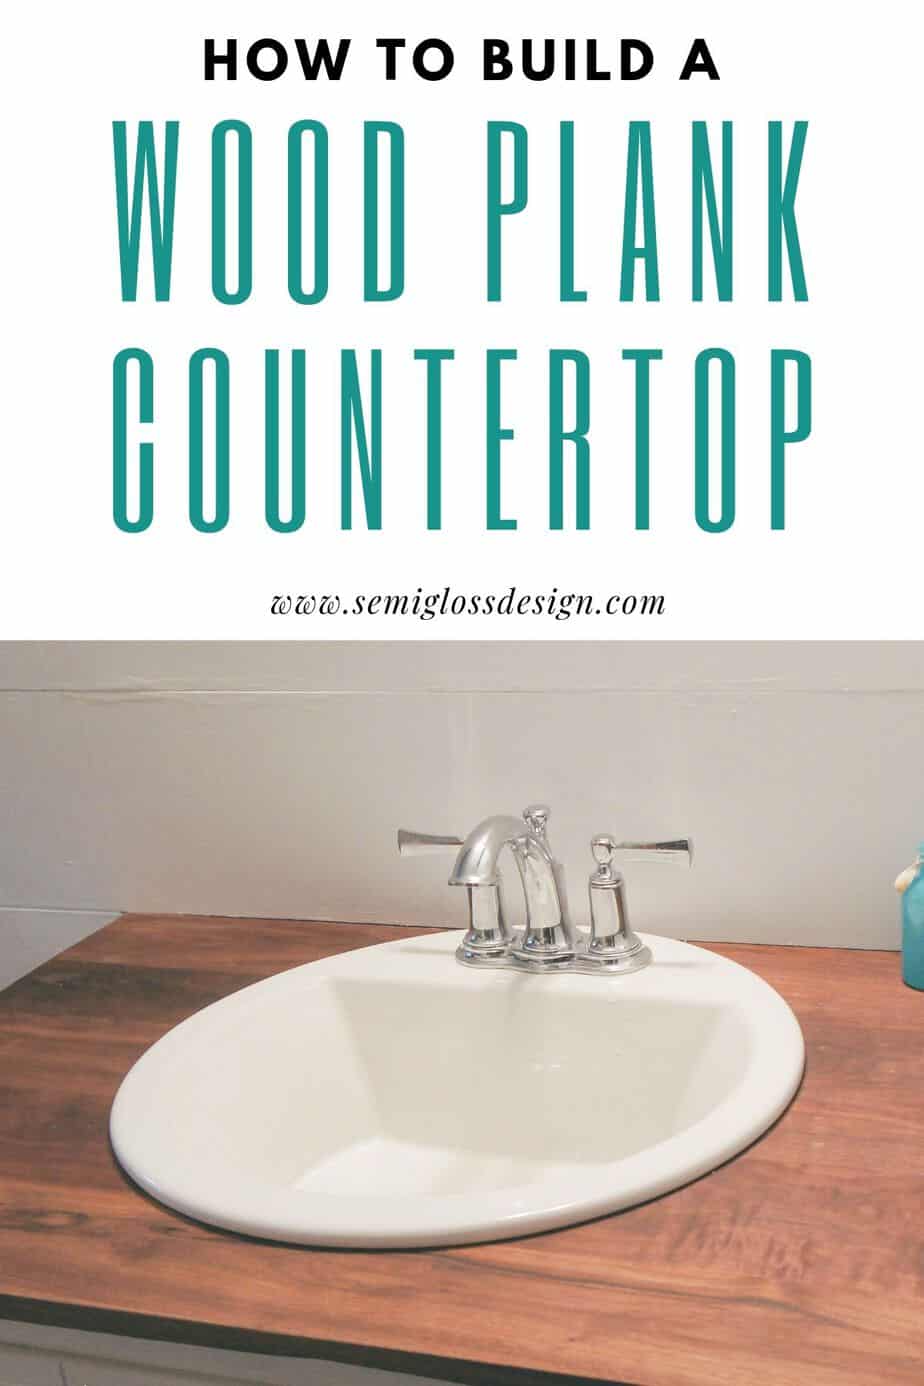
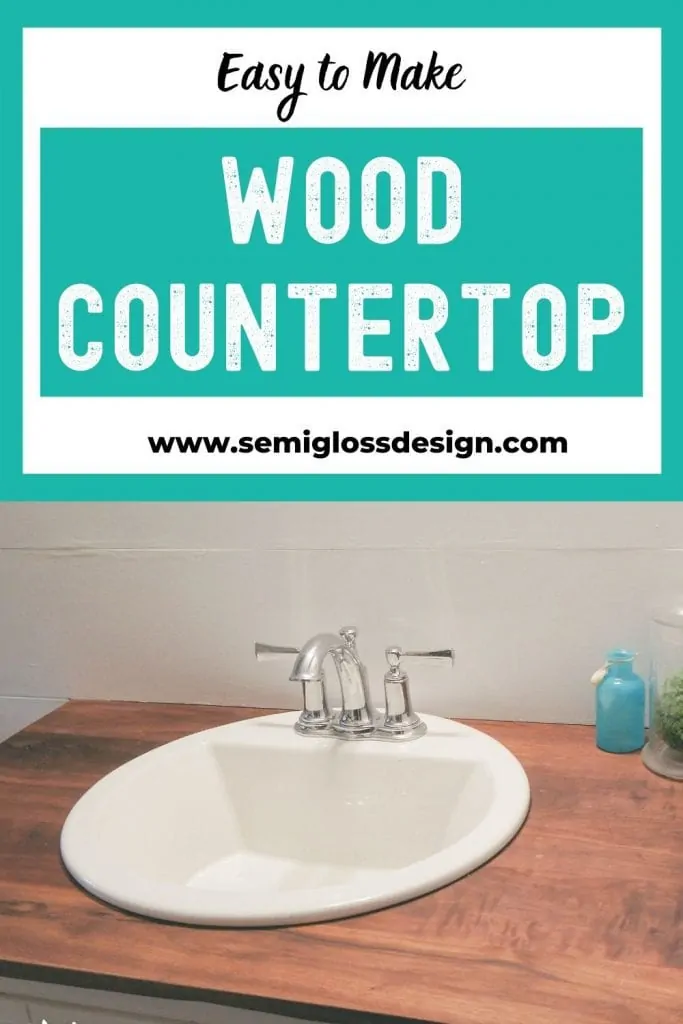
The Foolproof Guide to DIY Wood Countertops for a Bathroom
Learn how to make DIY wood countertops for your kitchen or bathroom!
I reached my wit’s end last weekend. Our well pump was on the fritz, every DIY project that I had attempted all week was a failure and it was hot outside. The well being out was the worst. No well means no water.
There’s just something about no water that makes your house feel broken. And really dirty.
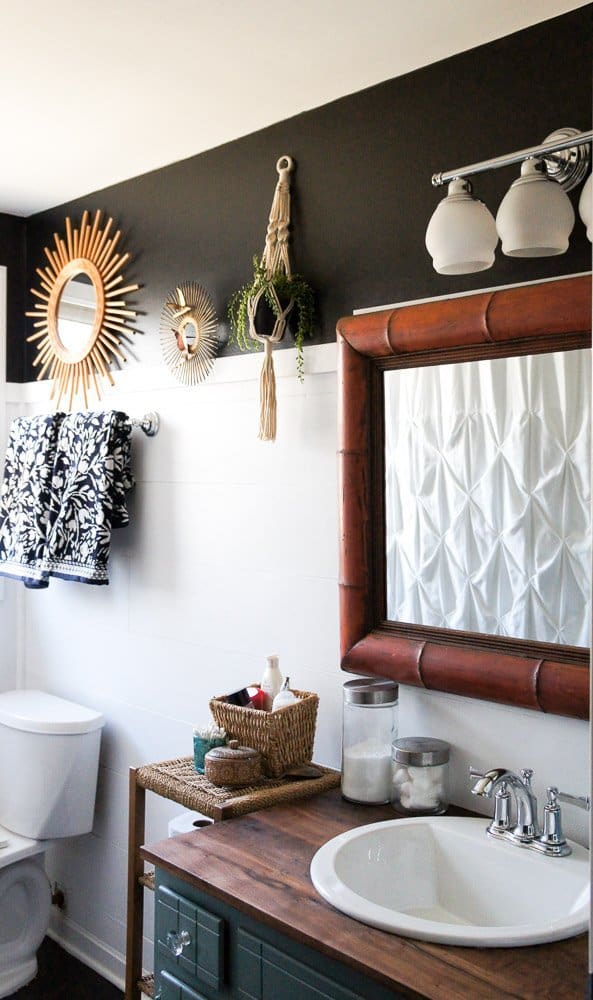
So I did what any sane person would do and started a new DIY project! I couldn’t stand looking at our bathroom sink one more day, so we started working on DIY wood countertops for a mini bathroom makeover.
You might also like this post on DIY painted marble countertops.
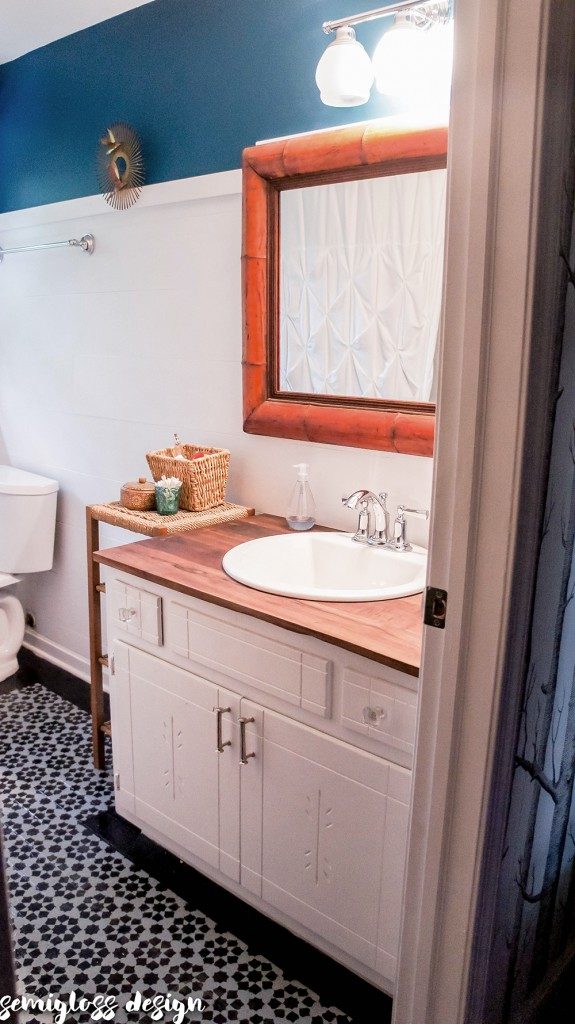
Psst! I recently updated this bathroom with only paint and accessories. Check it out!
We had bought the supplies over a year ago, but we never got around to starting the project. There’s always something else that needs to be done more or sounds like more fun.
When we bought the house, I gave each room a quick paint job after removing all of the wallpaper.
In this bathroom, I painted the dark wood vanity white and then the countertop stood out as being too yellow. So I primed it and painted it white. It has held up pretty nicely, but it wasn’t the problem.
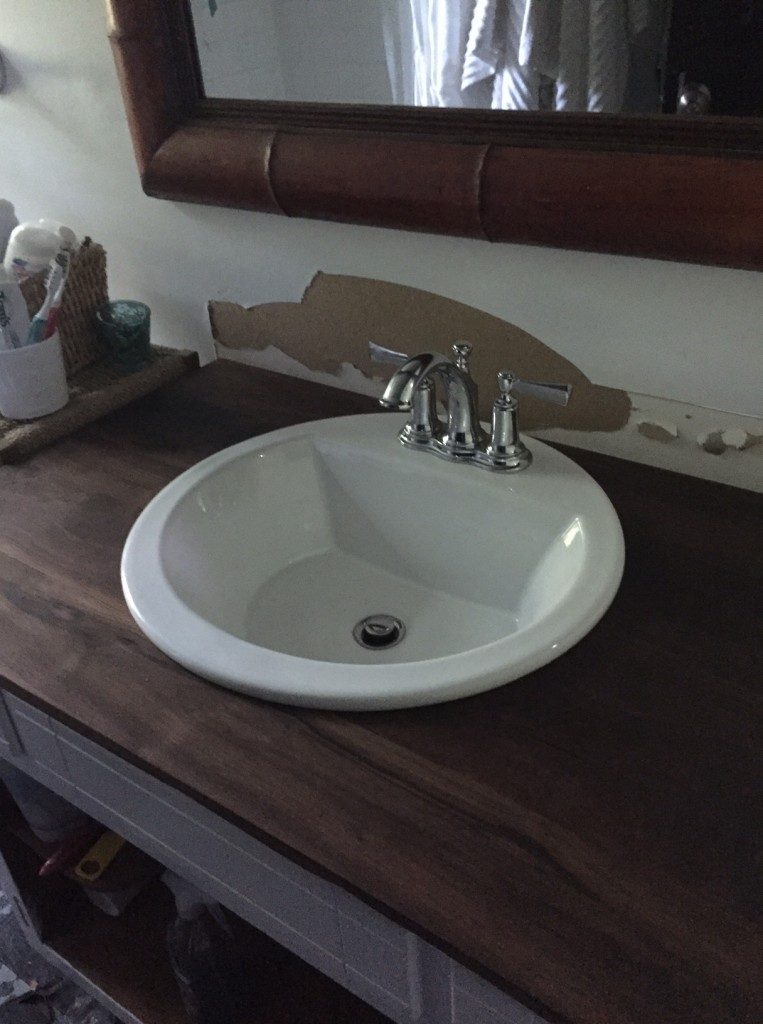
The sink was the problem. It’s one of those fiberglass sinks and time has not been kind to it.
We have really hard water that has slowly eroded the finish on it, so there are nooks and crannies where mold starts growing and cannot be cleaned. It was too gross to take a picture of. You’re welcome.
Related post: Painted Vinyl Floor
The sink had to go. We had originally meant to just replace the sink, but I accidentally bought the wrong size.
Instead of taking it back for the correct size (so heavy), we decided to make wood countertops to accommodate the larger sink.
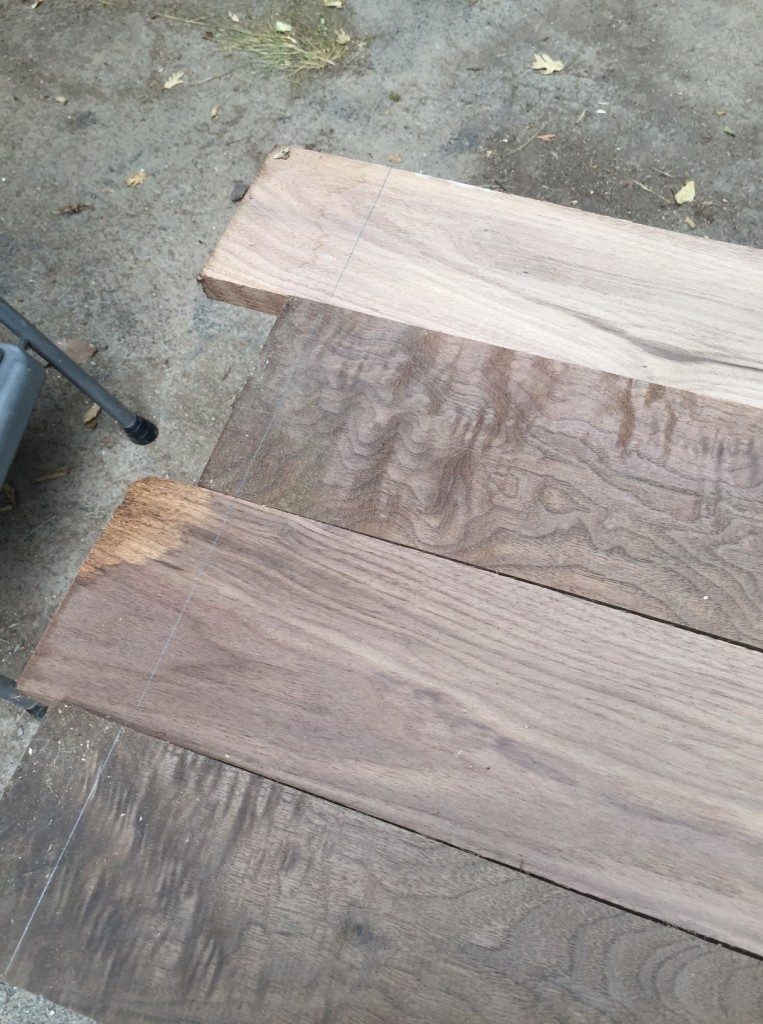
I had just planned on making them from 1×6 wood and staining them, but we had a ton of walnut planks left over from our farmhouse table. We used them instead.

How to Build DIY Wood Countertops for a Bathroom
Supplies Needed
This post contains affiliate links. By purchasing an item through an affiliate link, I earn a small commission at no extra cost to you.
- Wood (I used 4 walnut planks for a 22×36″ countertop)
- Kreg jig
- Kreg jig screws
- Drill
- Belt sander
- Palm sander
- Sand paper ranging from 80-220 for both sanders
- Jig saw
- Danish teak oil
- Howard’s Feed and Wax
- Old rags
We used 2 different types of sanders to get the smoothest finish possible. It’s not necessary to have a belt sander, but your work will go much faster, even with changing the sandpaper 4 times. It’s worth it to make your wood as smooth as silk.
Wood Countertop FAQ
What is the best wood for countertops?
Hardwoods hold up to daily wear much better than a soft wood like pine. We used walnut for our countertop and we love how they hold up.
We bought our walnut from a local wood shop, Exotic Lumber, but some hardware stores sell wood other than the standard pine. Look in the larger stores.
Walnut is so pretty and has such gorgeous graining. It is super easy to finish and take care of. About every 6 months, we wax it. This takes about 15 minutes and makes the countertop look brand new.
Use standard pine if you’re okay with dings in the soft wood. Be sure to seal it well. If you stain the pine, make sure to use a wood conditioner to ensure that the stain goes on evenly.
How do you seal a wood countertop?
Since this is in a bathroom that is mainly used by adults, we left the wood raw and wax it occasionally.
You can also seal it with something tough like waterlox.
How to Build Wood Countertops
- Lay your boards out and figure out your placement. Some of the boards had funky ends, so we moved the boards around until we found the prettiest parts. You also want to figure out which side is the pretty side.

- Flip the boards face down. We measured out a rough 36″ know which area we were working with.
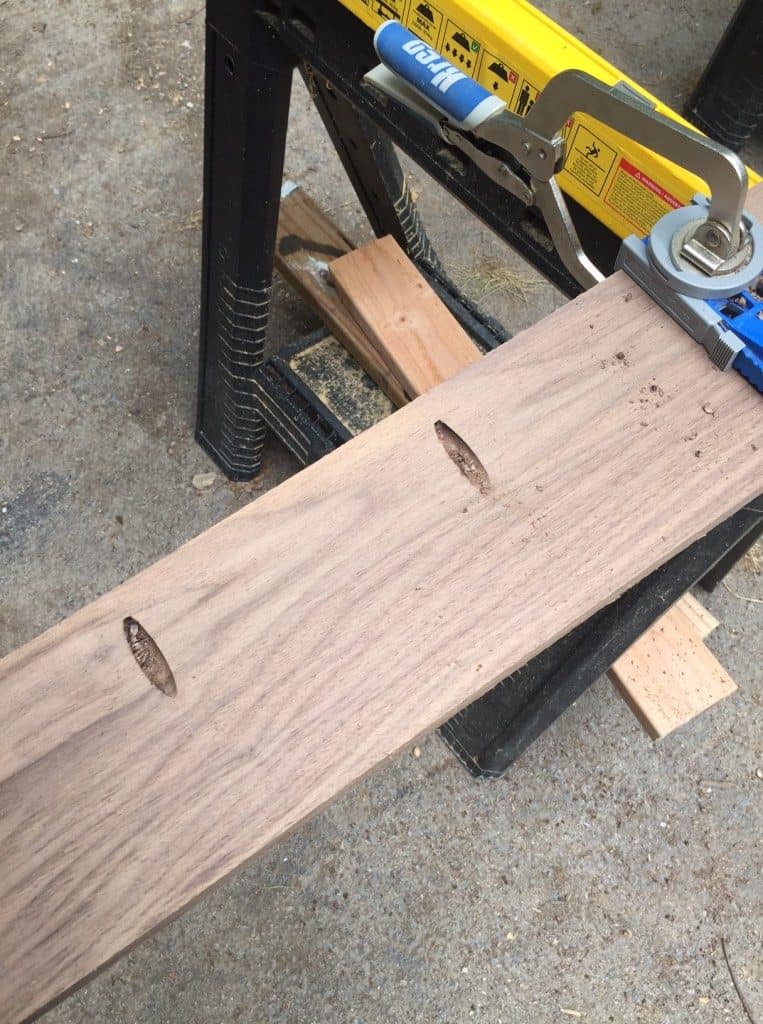
- Mark out your kreg jig marks. We measured about 3″ from the end and then every 6″ after that. These will be our pocket hole locations. The last board needs no holes.
- Attach the kreg jig and drill your pilot holes at the pre-determined locations. (If you’ve never used a kreg jig before, please check out my kreg jig tutorial here!)
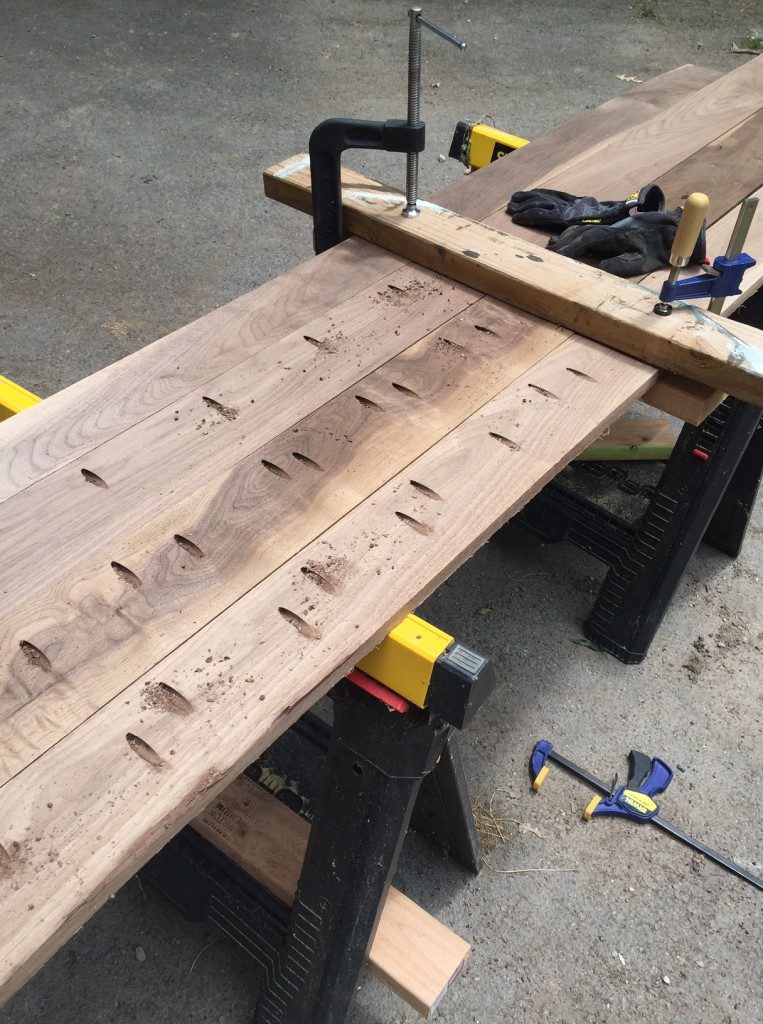
- When all of the holes are drilled, reposition the boards to attach them together with the correct length of screws. We used scrap wood and clamps to hold the wood in place.
- Now the wood is one large slab. Measure out the length that you need and use a circular saw to cut the wood now. We like to wait to cut the wood until it’s one piece because it results in a much straighter cut.
Cutting the Hole for the Sink
- Measure from the wall to the pipe for the sink to figure out where the sink should be.
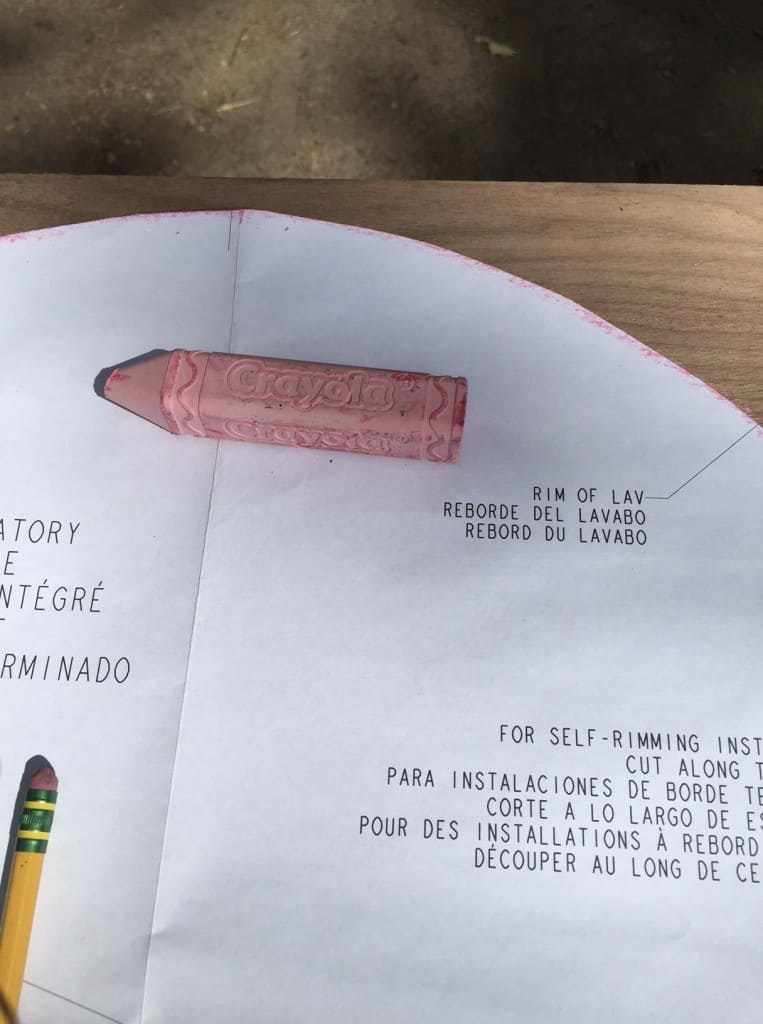
- Our sink came with a paper template, so we cut it out and used chalk to mark where to cut. If you don’t have a template, trace the sink outline and cut on the inside of this line.

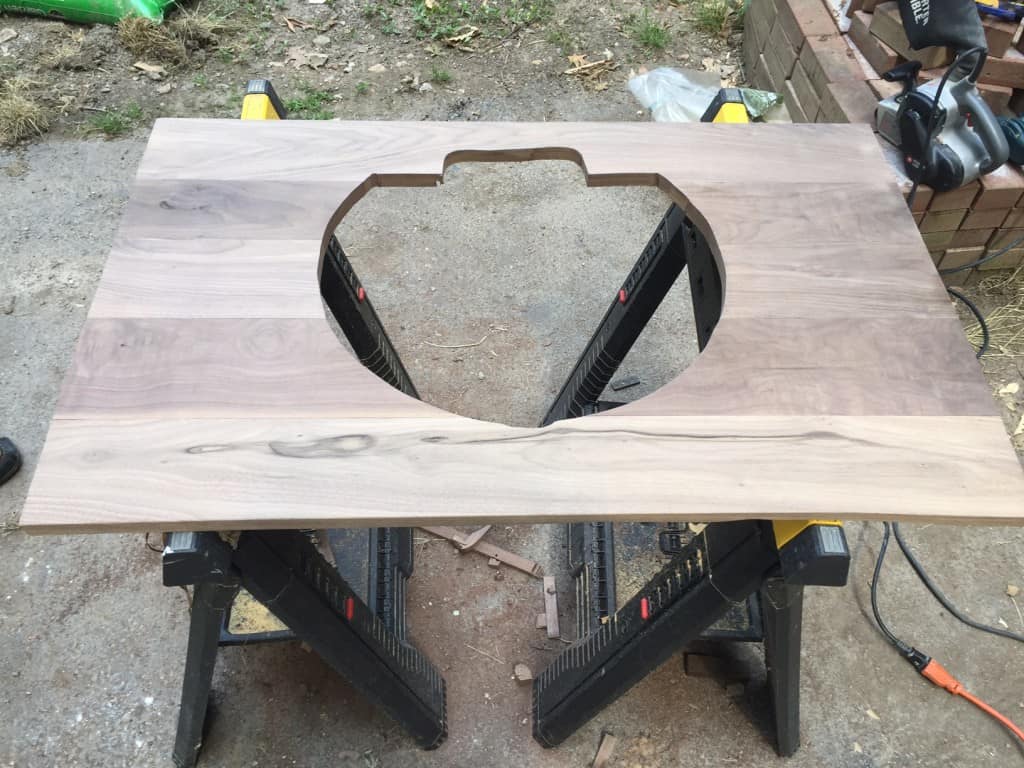
- Cut the wood with a jigsaw.
- We had to leave extra wood towards the back of the sink to keep it sturdy. Make sure that your sink will still fit if you need to do this. (Otherwise, it might need wood to brace it from beneath the countertop.)

- Dry fit the sink and make sure it fits.
Finishing the Wood Countertop
- Flip the wood over and begin the sanding process. It’s long but it’s worth it. We started out with 80 grit sand paper on a belt sander. This smooths out any ridges between connecting boards. Then we moved to 120 grit on the belt sander. I then moved to my palm sander and used 120 grit, which is a lot more gentle than the belt sander despite the same sandpaper grit. Finally, I moved to 220 grit on the palm sander. These steps may seem tedious, but in the end, your wood feels like silk.
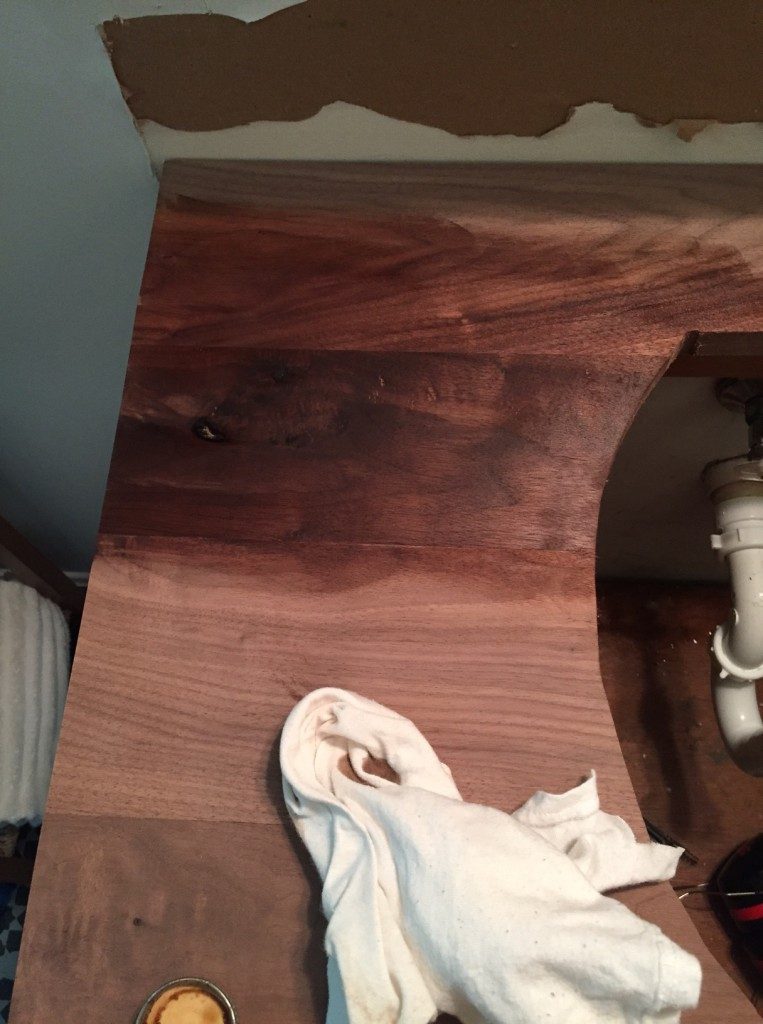
- Now it’s time to make your wood beautiful. If you used walnut, like we did, it’s really easy to make it beautiful! (If you used pine, now is the time to stain it.) Rub a thin layer of teak oil into the wood with a cotton rag. I let it sit for about 15 minutes before rubbing it again to take off the excess oil. You can do this step twice if your wood is really dry. The color of the walnut is already pretty!
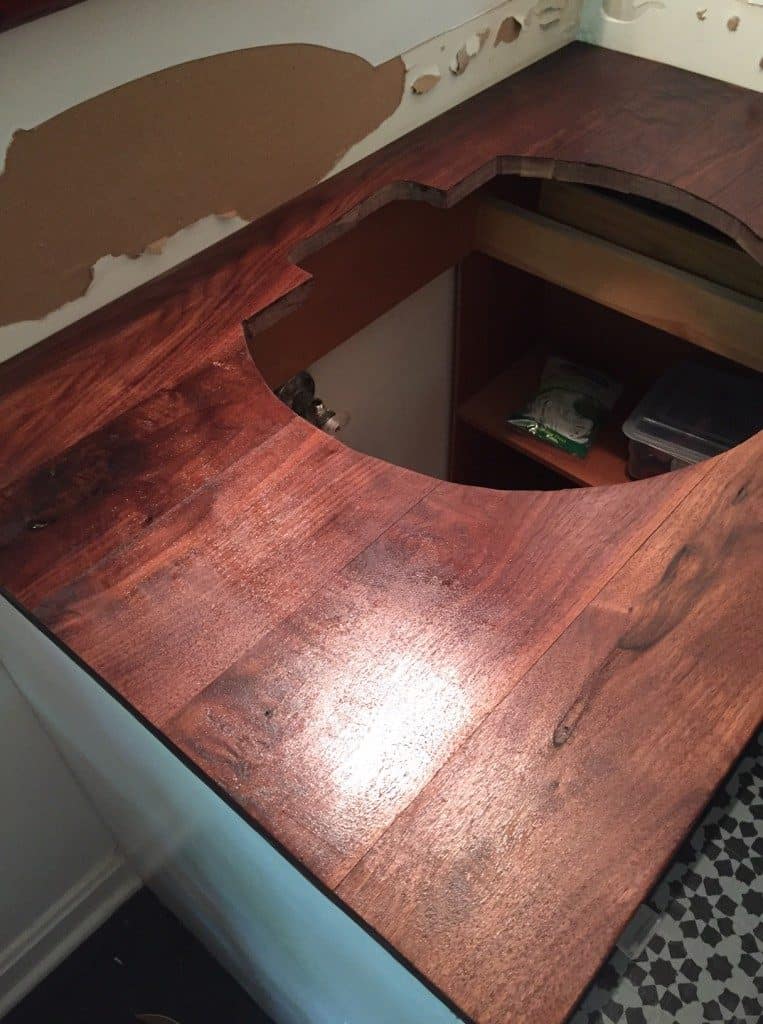
- Now is the time to add the Howard Feed and Wax. Rub a generous coat onto the wood. Let it sit for about 15 minutes before buffing away the excess.
- Attach the wood countertop to the cabinet with silicone and install your sink and faucet.
- Complete all of the other work that this small upgrade required and you have a beautiful new DIY wood countertop!

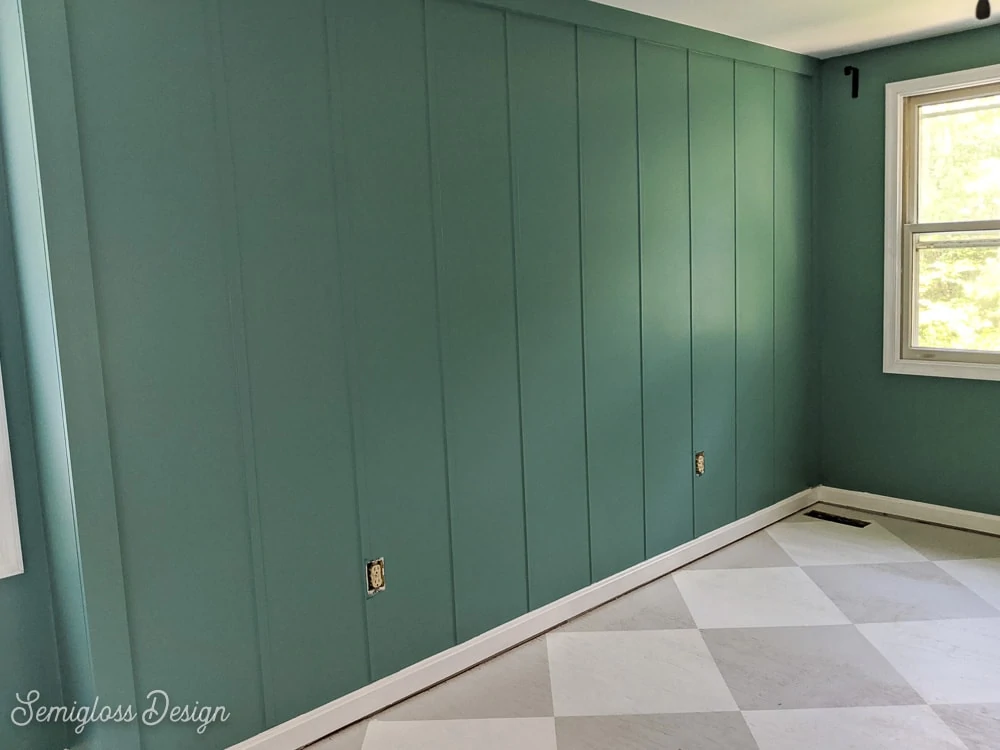
I’m finishing up the shiplap on the walls, but this bathroom already looks a million times better!
This same technique can be used for building a new top for a dresser or even a table!
You might also like:
Pin this for later!

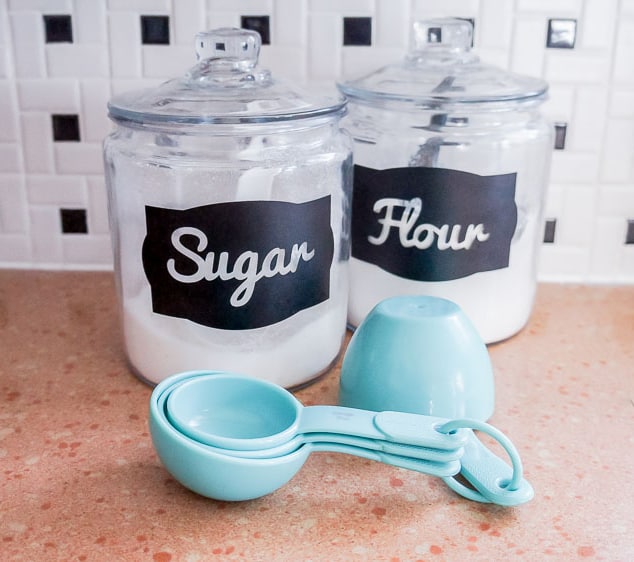
If you like this post, you might also like these cut files for canister labels. These make the perfect addition to your farmhouse style kitchen!

Emy is a vintage obsessed mama of 2 DIYer who loves sharing affordable solutions for common home problems. You don’t need a giant budget to create a lovely home. Read more…

Walnut is so beautiful! Looks so wonderful and I bet it will hold up for a very long time!
Do you have the step for measuring and using the jigsaw to cut out the hole for the sink? Did you use a jigsaw for the straight cut as well? Thanks!
Thanks for pointing this out. It looks like an entire section of this post got deleted somehow. The sink came with a template, which we used. We cut it out and traced it using chalk, then cut it out with a jigsaw. We measured from the side wall to the pipe for the sink to line it up properly. For the straight cut, we used a circular saw, but you can use a jigsaw if you can keep it straight.
that turned out so beautifully!
Walnut is my favorite! Looks amazing, and what a great way to use up some leftover lumber.
Emy this is GORGEOUS!!! Such a great idea and so lovely! (I’m a big walnut fan and I was going to see about getting a pre-fab one for our laundry area but I think I’ll bookmark this instead!)
Thanks Lidia! I love working with walnut. It’s so easy to make beautiful.
This is beautiful and we are also considering this treatment for our bathroom. I like the look of having the wood directly against the wall with no backsplash but I am concerned with a watertight seal against the wall. How did you seal the join between wall and countertop?
Hi Charlotte,
We sealed it with clear silicone caulk.
Thanks!