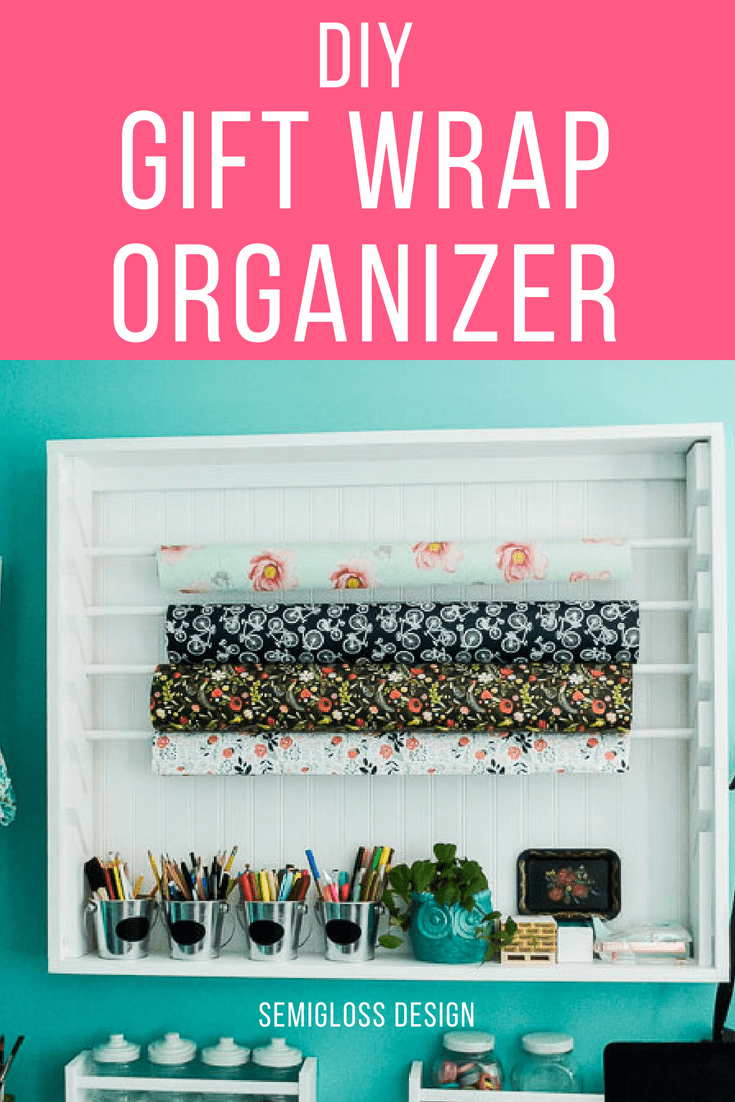
How to Build a Gift Wrap Organizer
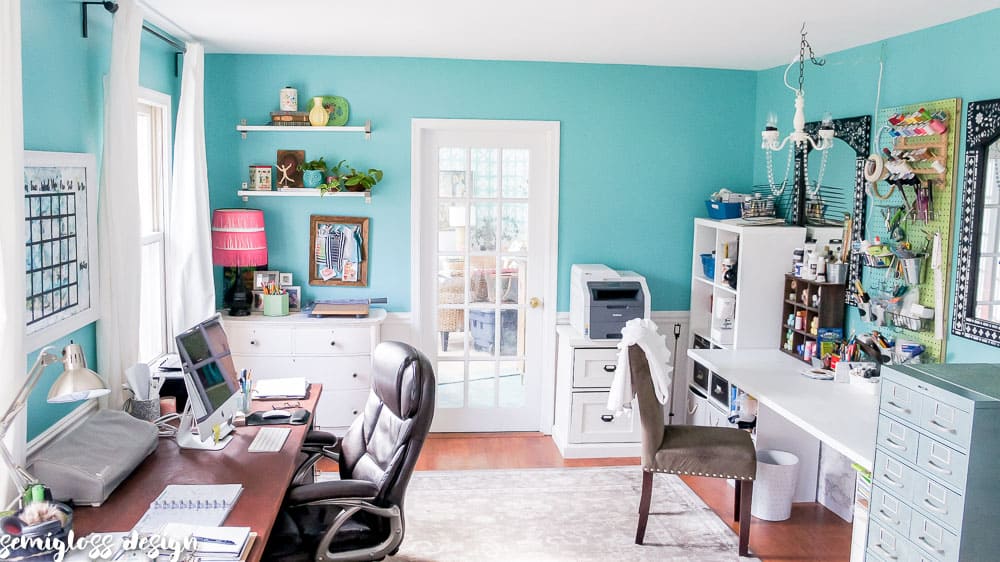
Learn how to make your own gift wrap organizer. This gift wrap organizer was a very important part of my home office makeover. Beside’s it’s obvious storage function, it’s also pretty to look at.
Pretty wrapping paper is my weakness. I love buying pretty paper to use in projects like lining drawers. Pretty paper also makes lovely backgrounds for photos. But how do you store them?
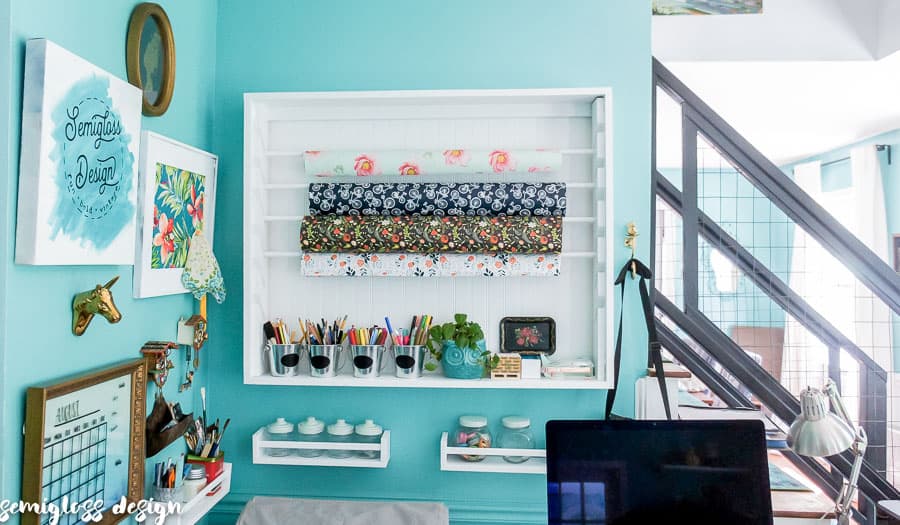
This hanging gift wrap organizer is perfect to use for photo backdrops as well as store the paper when not in use.
When I ran across Martha Stewart’s craft storage collection, I was immediately drawn to the wrapping paper storage hutch. The price is not horrible, but I knew that I could make one for much less money, plus I could customize it to my own needs.
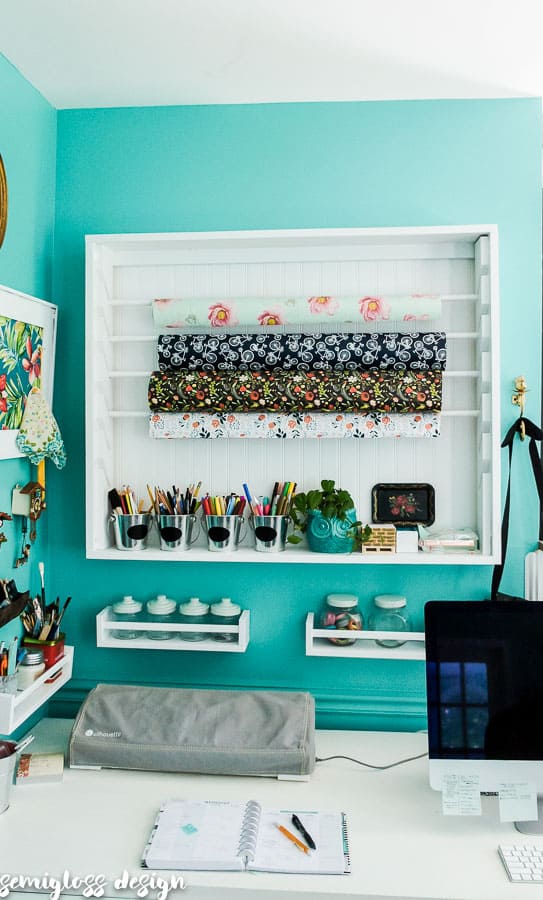
The small cubbies are neat, but pretty useless for me, so I decided to skip them. I also skipped the ribbon holder, but if you love ribbon, use a skinnier dowel and voila, you have a ribbon holder.
I find that the bottom shelf works great for anything that I would want to use the shelf part for.
Mine currently houses art supplies, a plant, extra business cards, my tape and stapler.
The finished gift wrap organizer measures 42″L x 32″W and fit 30″ rolls of wrapping paper. If you buy longer rolls and have room, make it bigger.
How to Make a Hanging Gift Wrap Organizer
Supplies Needed
This post contains affiliate links. By purchasing an item through an affiliate link, I earn a small commission at no extra cost to you.
- (2) 1 x 6 pine boards
- (1) 1 x 4 pine board
- (1) 1 x 2 pine board
- Bead board panel for backing (48″ x 32″)
- Dowels 3/4″ (6)
- Kreg jig
- Corner clamps
- Drill and driver
- Paddle bit 3/4″
- Nailgun
- Jig Saw
- Dremel
- Sanding Drum (60 grit) bit for Dremel
- Paint
- Primer
- D-rings for hanging
Scroll to the bottom for the printable cut list.
Build the Frame of the Gift Wrap Organizer
- Cut your boards to the right size. See the cut list for details.

- Make pocket holes with the kreg jig on the ends of the short 1 x 6’s. The 1 x 2 needs pocket holes at both ends too. Kreg jig tutorial here.
- Attach the boards together to make a frame. I like to use corner clamps to help square everything up. (The short boards go between the longer boards.)


Build the Wrapping Paper Support
- Draw out the location for your support slots. Each hole is 3″ apart.

- Use a paddle bit to drill holes for them.
- Use a jig saw to cut the slots, connecting the holes. The cut will continue through to the top hole. Your cuts will be rough looking.
- Use a dremel with a sanding drum bit to sand the slots. You could also use sandpaper, but the dremel makes it quick and easy to get into a tight space. (I’m obsessed with this tool.)
- Attach the support boards to the short sides of the frame with a nailgun. (I used a clamp to hold the board in place.) Make sure that the slot openings face up and match up on both sides.


Attach the Back of the Organizer
- Attach the 1×2 with pocket holes to the top of the frame. This adds extra support and gives you extra space to add your D-rings for hanging.

- Use a nail gun to attach the beadboard to the back of the frame.
- Use screws to attach a D-ring on both ends of the 1×2. I love D-rings because they’re strong and very easy to install.


Finish the Gift Wrap Organizer
- Fill or caulk any cracks or pocket holes.
- Prime everything.

- Paint the gift wrap organizer and dowels. I ended up using 3 coats.

- Hang and use. The dowels slide in and out of the slots to access the wrapping paper easily.


Printable Cut List for Hanging Wrapping Paper Organizer
You might also like:
Pin for Later!

Emy is a vintage obsessed mama of 2 DIYer who loves sharing affordable solutions for common home problems. You don’t need a giant budget to create a lovely home. Read more…