How to Sew a Zipper in a Pillow: You Can Do It!
If you mention zippers to anyone who sews, you will witness fear creep into their eyes. For some reason, zippers have a nasty reputation.
It happens to me too, despite knowing better. They just seem like they should be hard. But they’re not.
I had to make pillows for my basement makeover, so I’m sharing that process of how to sew a zipper in a pillow. It’s much easier than you think!
You might also like this snowflake pillow tutorial.
Reasons for Sewing a Zipper in a Pillow
- Removable pillowcases are nice for washing or changing as your taste in decor changes.
- Zippers look better than envelope pillowcases.
- Maybe this is a problem in my house only, but feather pillows seem to shift out of the envelope style pillowcases, especially if you have rambunctious children.
- Making your own pillow covers is more affordable than buying new ones, even if you use fancy fabric.
- Changing out pillow covers is one of the easiest ways of customizing your home decor.
How to Sew a Zipper in a Pillow
Note: This is probably not how other people sew a zipper in pillows, but it’s the easiest way for me. I like getting the hard part out of the way first!
Supplies
This post contains affiliate links. By purchasing an item through an affiliate link, I earn a small commission at no extra cost to you.
- Fabric (for 2 18″ pillows, I used 1 yard of 54″ wide decorator fabric)
- Pillow Inserts
- Zipper (size of pillow or larger)
- Pinking shears (optional)
- Thread
- Pins
- Sewing Machine with a zipper foot (similar)
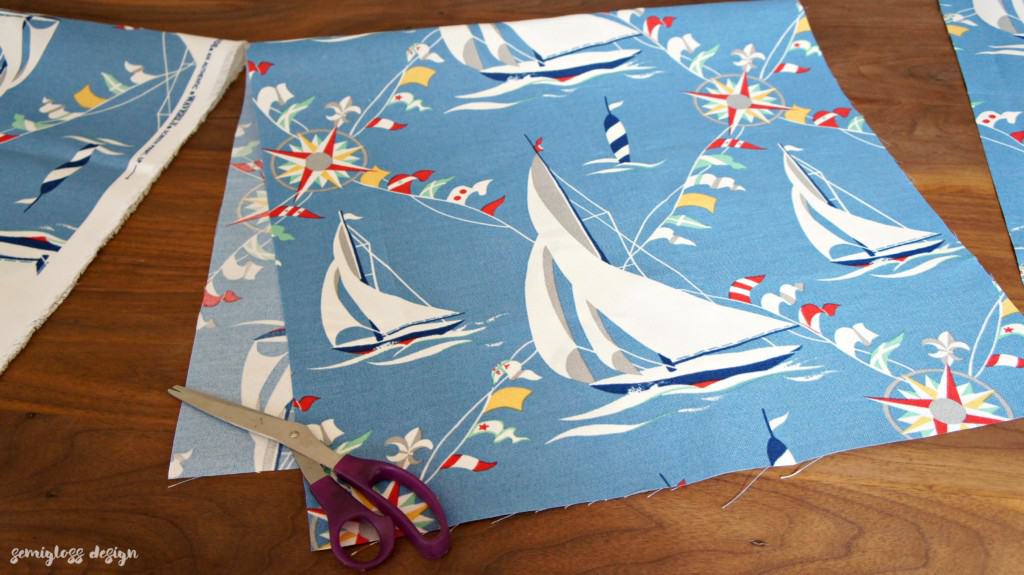
- Decide on the size of your pillow. I used 18″ feather pillow inserts, so I knew that I needed my cases to be about 18″. Pillows look better when they are slightly bigger than the case, so plan accordingly. Once you account for seam allowance, this makes a slightly smaller pillowcase than the pillow. No floppy pillows allowed! I cut the fabric to 18″ x 36″.
- Instead of cutting 2 squares for each pillow, I cut one large rectangle. Don’t do unnecessary work! The exceptions for this are when I’m using a super special fabric and need to use a cheaper fabric for the back.

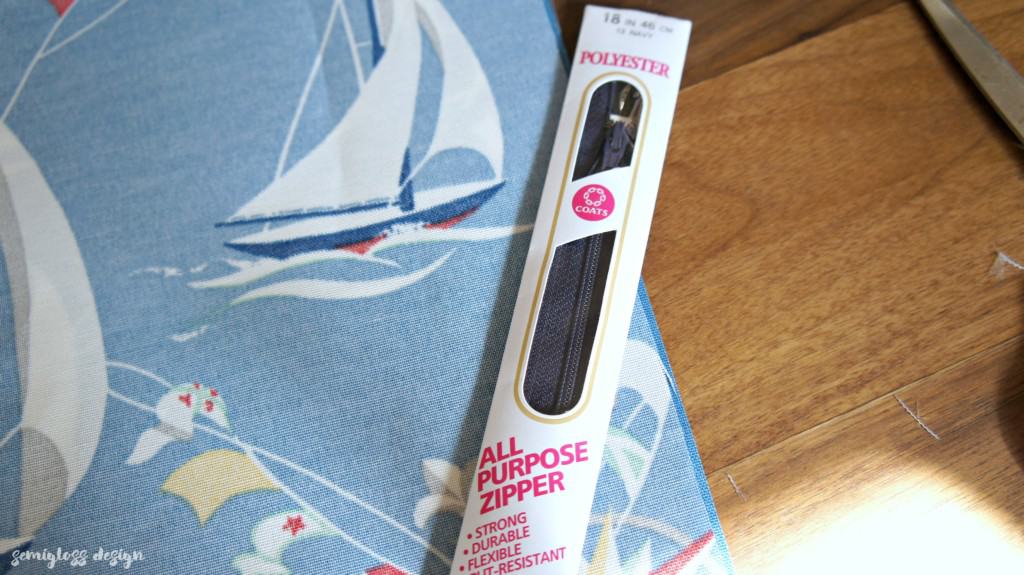
- Choose a zipper the same size as your pillow. I used an 18″ zipper for 18″ fabric. Too big is better than too small. Zippers can always be cut. I used what I had on hand, but you can choose a zipper color that matches or contrasts. Using contrasting zippers can add a fun detail.
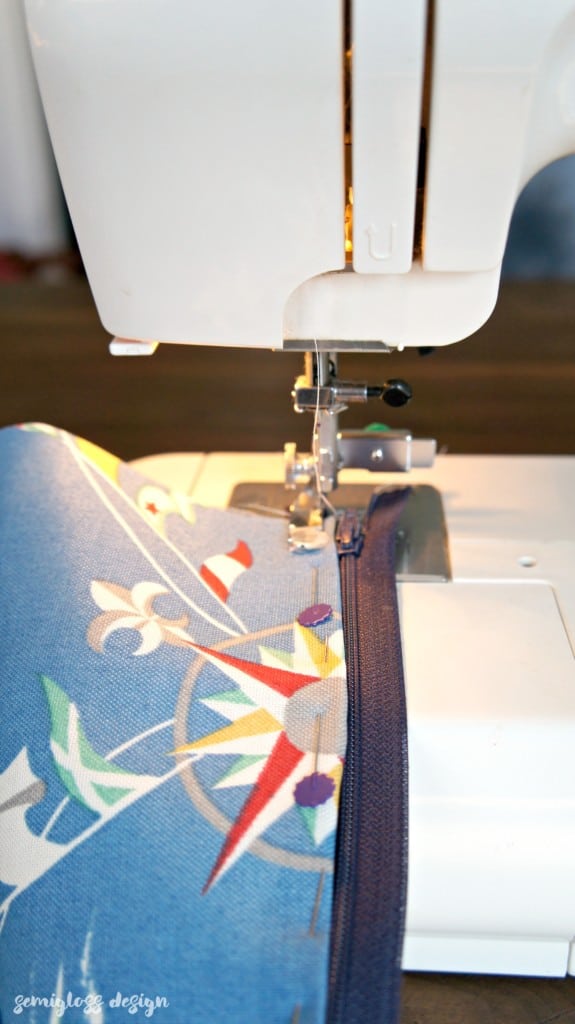
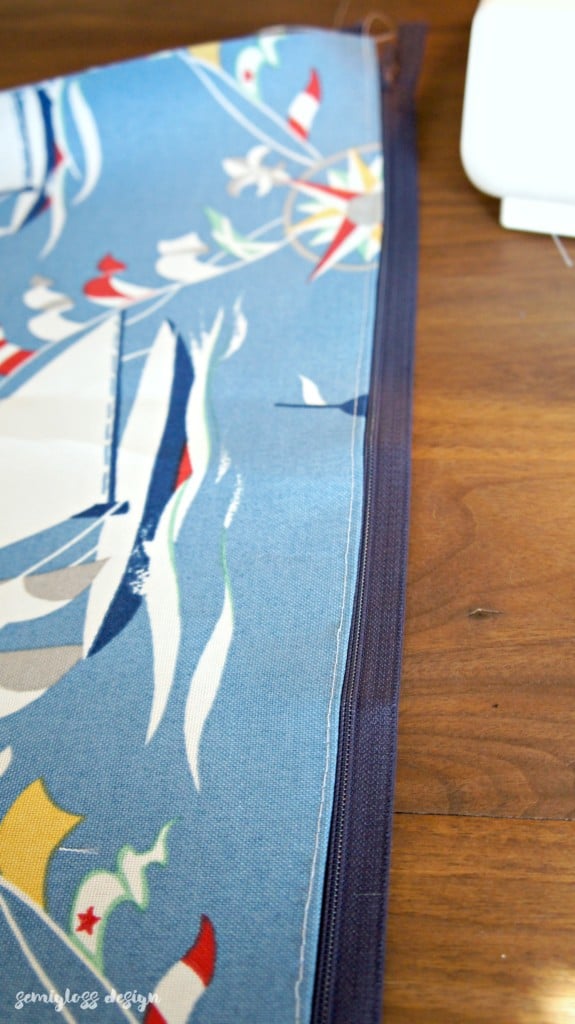
- Fold an edge on the short side of the fabric over and pin it to the zipper as shown. If you use thin fabric, ironing the fabric can make this part easier.
- Use a zipper foot to stitch the fabric as close to the edge of the zipper as possible. If it’s too close, the zipper won’t work, so I typically aim for about 1/8″. Your zipper foot probably looks different than mine. If you’re confused about which foot is the zipper foot, look at your manual.

- Sewing too close to the zipper will make it not work right. I sewed it about 1/8″ away from the zipper.
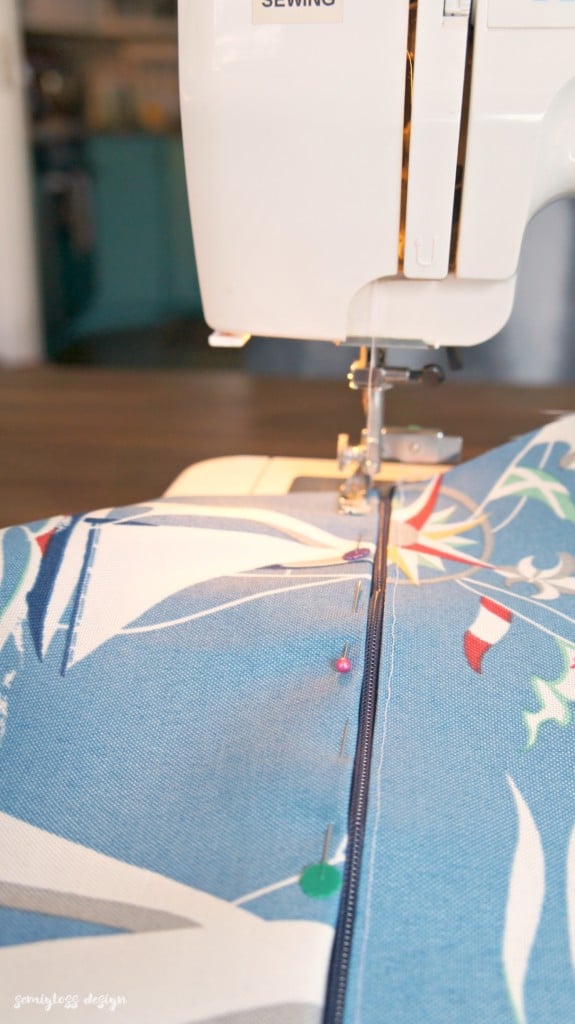
- With the zipper closed, wrap the fabric around a repeat step 5. The fabric will form a loop. Be careful to shove the excess fabric out of the way so that you don’t accidentally sew in the wrong place.
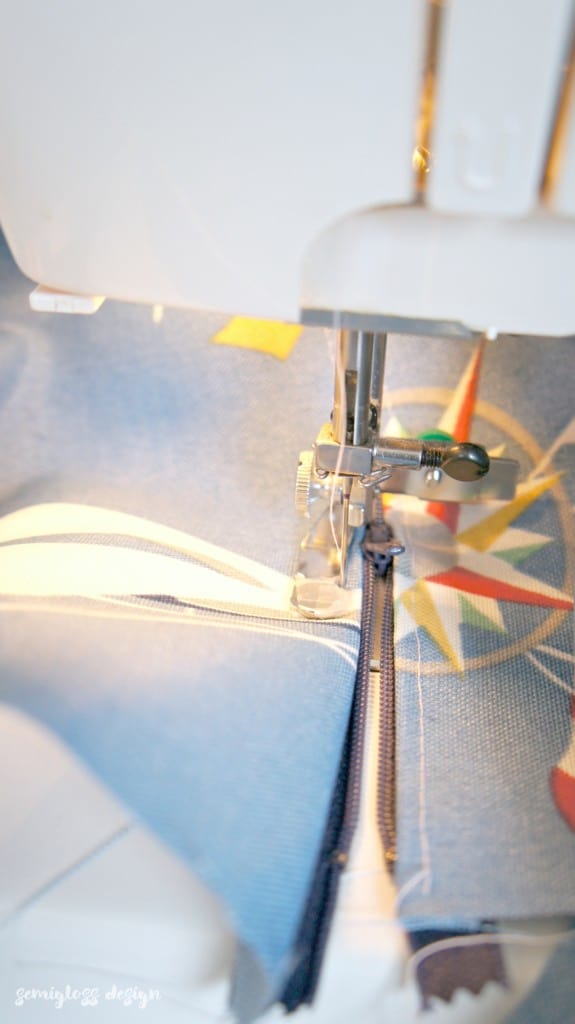
- When you’re a few inched away from the zipper pull, stop the machine with the needle halfway in the fabric. Lift the foot and unzip the zipper past where you’ve already sewn. This will allow you to sew the rest of the pillow without the zipper pull is in your way.
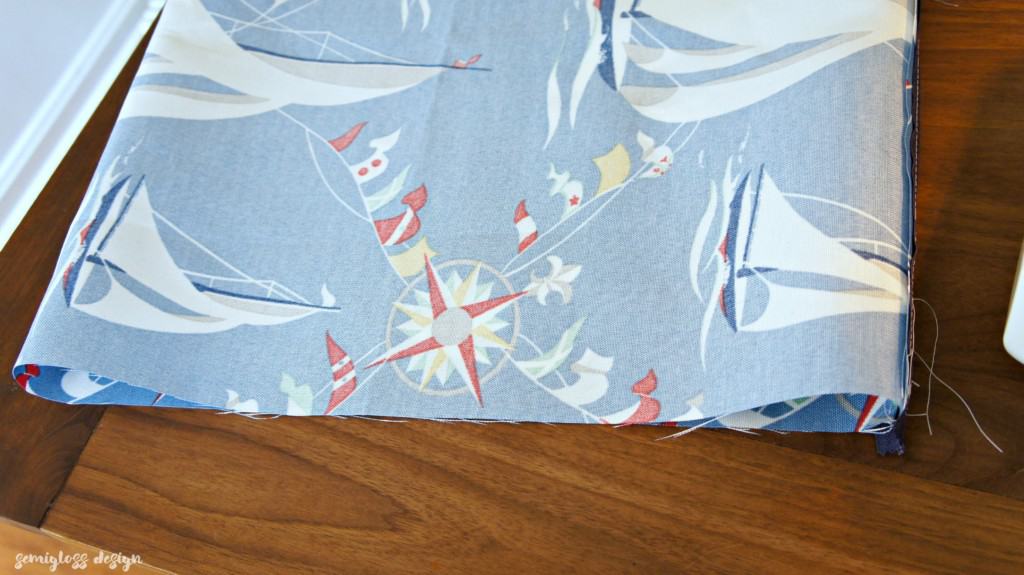
- Now your zipper is inserted. Whew! Hard part out of the way. You did it! You’re almost there. At this point, your pillow should look like this:
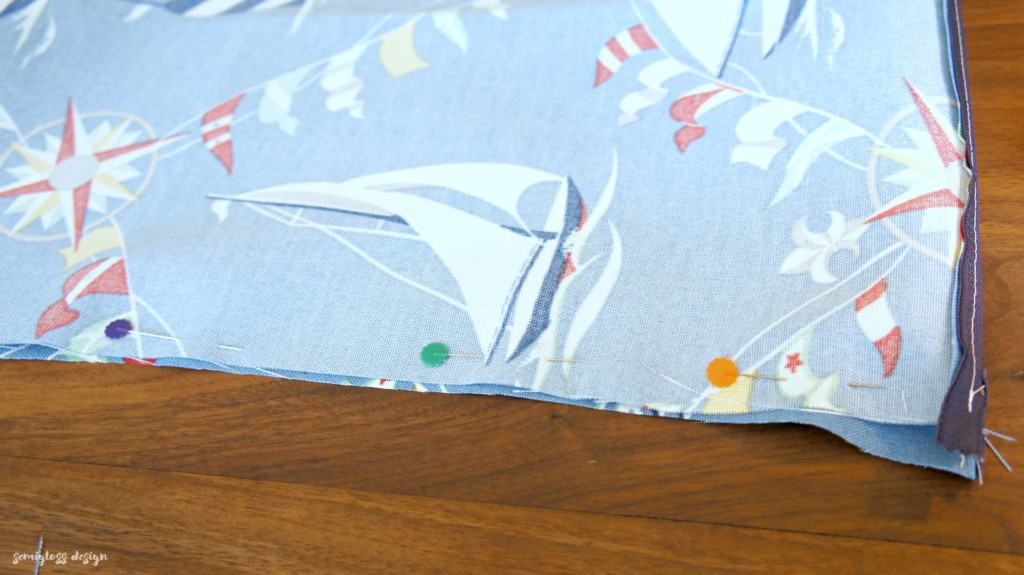
- Trim the thread and find the side with the closed zipper pull. You’ll want to sew this side first. Start pinning the right sides together as shown.
- Sew along the edge, leaving about 1/2″ seam allowance. Make sure you sew through the zipper ends as well.
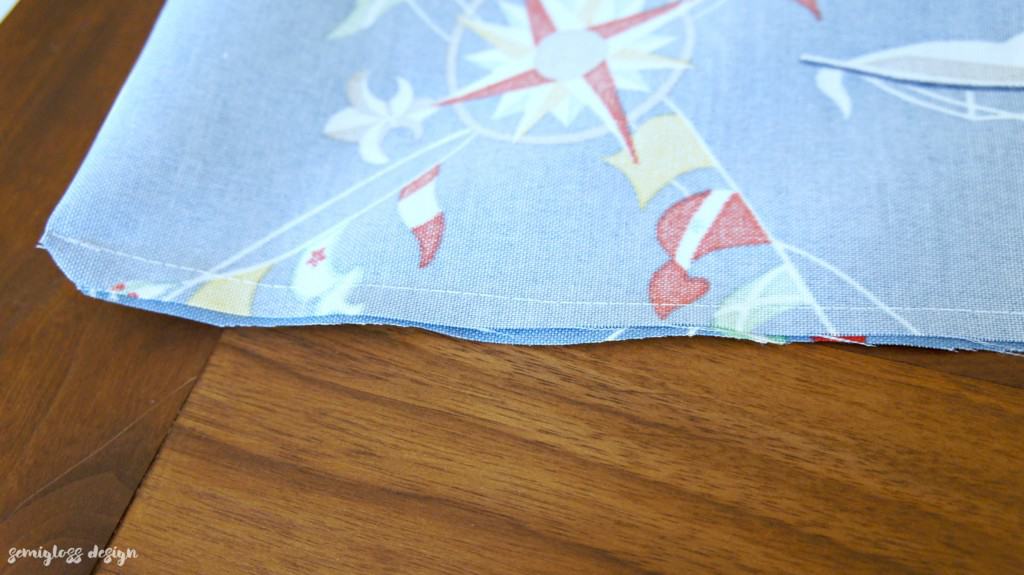
- When it’s sewn, trim your thread and clip the corners so you can get a nice corner when it’s right side out.
- Open the zipper a bit and sew the other side. Clip the corners on this side as well.
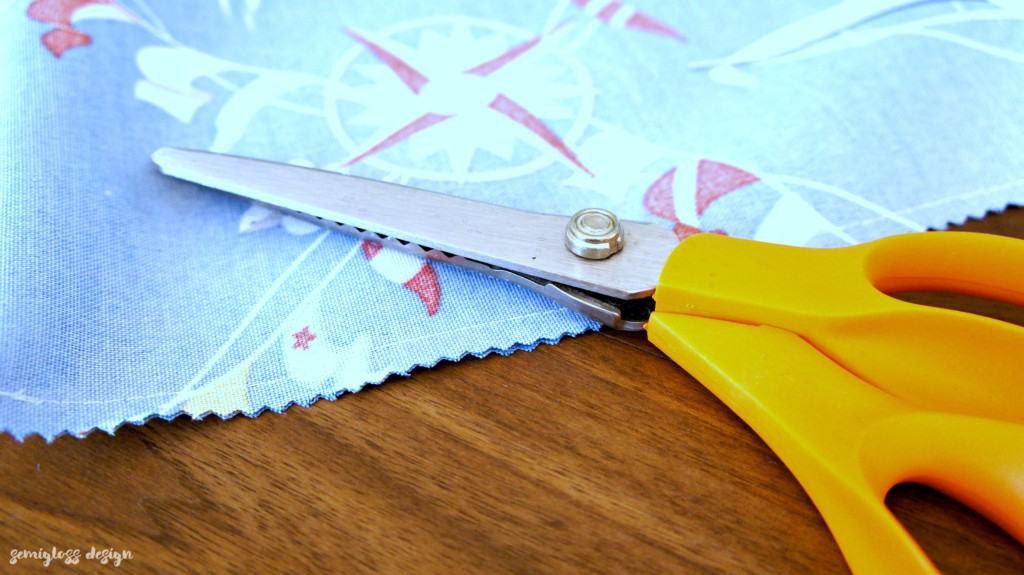
- If your fabric seems like it’s going to fray too much, use pinking shears along the edges. Pinking shears leave a zigzag edge that discourages fraying.
- Pour yourself a glass of wine, girlfriend! You’ve just successfully sewn a zipper in a pillow!!


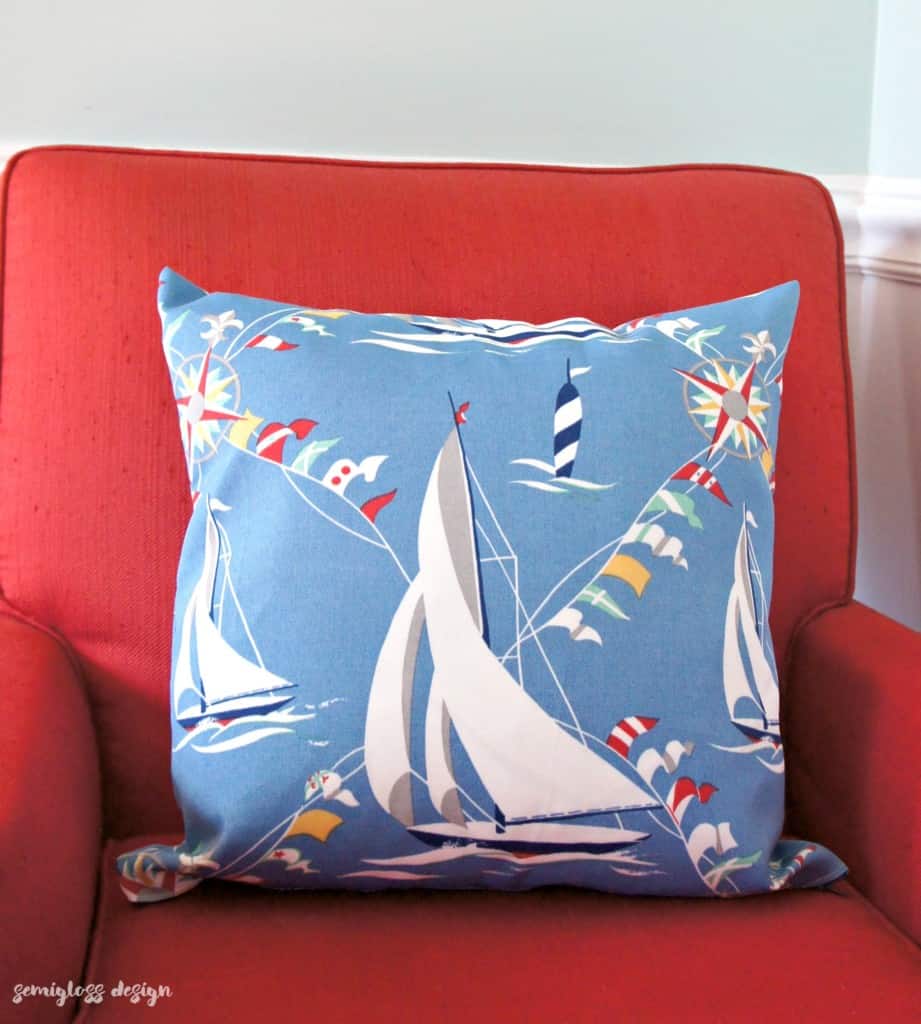
Sewing zippers is much easier than it seems and is so worth it for pillow covers that can easily be taken off!
You might also like:
Be sure to pin this tutorial for later!

Emy is a vintage obsessed mama of 2 DIYer who loves sharing affordable solutions for common home problems. You don’t need a giant budget to create a lovely home. Read more…
i always do the envelope back because i fear the zipper. that should be a shirt… “fear the zipper”. but maybe you have me thinking i can do it… 😉
You can do it! It’s really much easier than it seems. The shirt should say (Don’t) Fear the Zipper. 😉
Thank you for the encouragement. You are as delightful as you as knowledgeable.
Thanks! Your comment made my day. 🙂