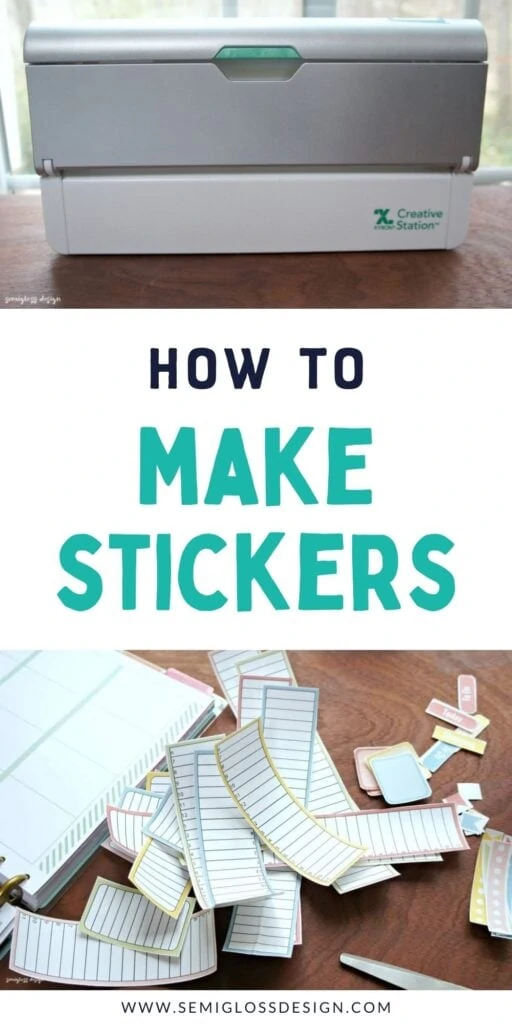
How to Use a Sticker Maker
Learn how to use a sticker maker. Making your own stickers is so easy with a sticker maker. It turns printer paper into sticker paper in minutes.
You might also be interested in this free printable washi tape.
This post contains affiliate links. By purchasing an item through an affiliate link, I earn a small commission at no extra cost to you. As an Amazon Associate I earn from qualifying purchases.
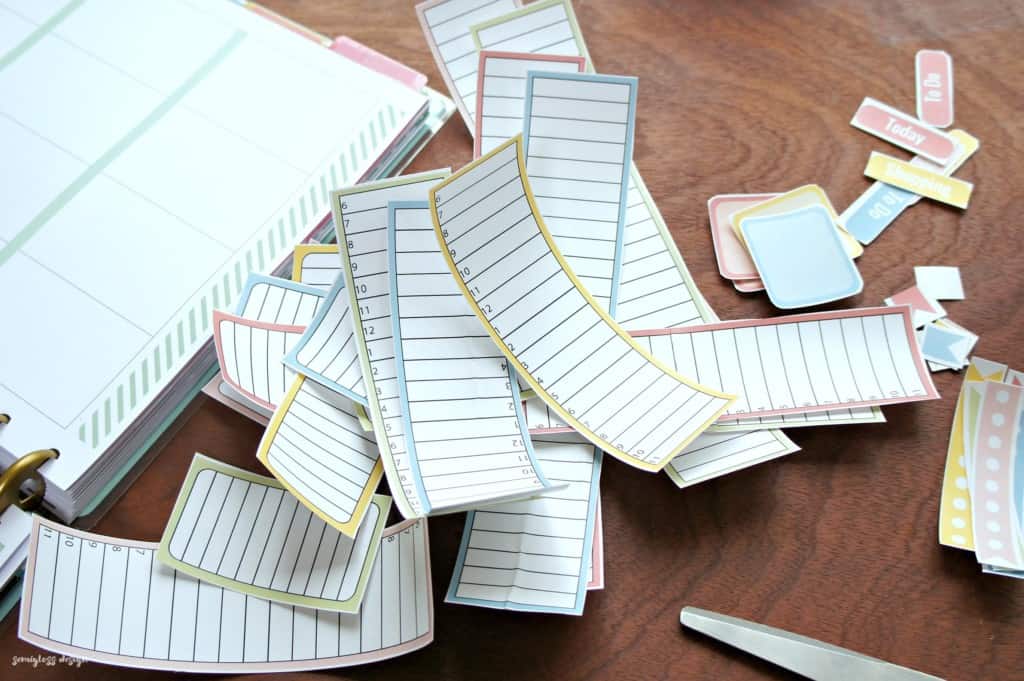
In this tutorial, I’m showing how I made planner stickers, but you can make any kind of sticker with this technique.
Other ideas for use are: stickers from artwork, kids art, photos, labels, and gift tags!
How to Use a Sticker Maker
Supplies Needed:
- Sticker maker
- Printed Stickers
- Scissors
- Paper cutter (optional)
I use the Xyron Creative Station, which I really like. Xyron also makes smaller machines that are disposable, but can only handle paper up to 5″ or 7″. I wanted a machine that was able to use whole sheets of paper.
I love that you can change out the sticker cartridge to laminate stuff without electricity. I volunteer at my daughter’s school and the lamination process is serious stuff. So, I appreciate how simple this machine is.
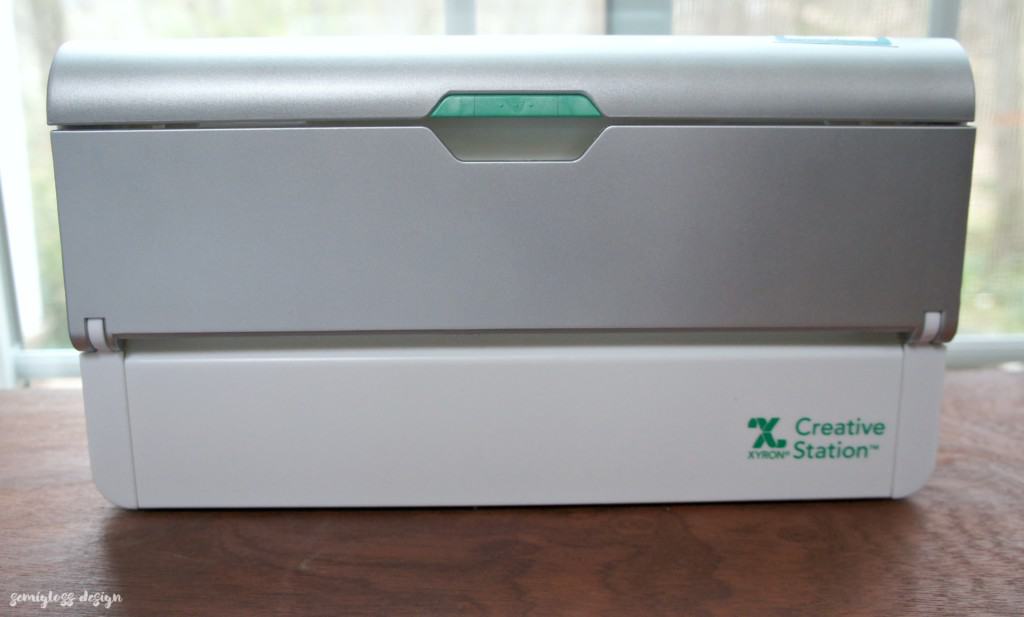
“Machine” isn’t quite the right word because these xyron machines aren’t electrical. There’s a crank that you use to move the paper through the machine.
Instructions
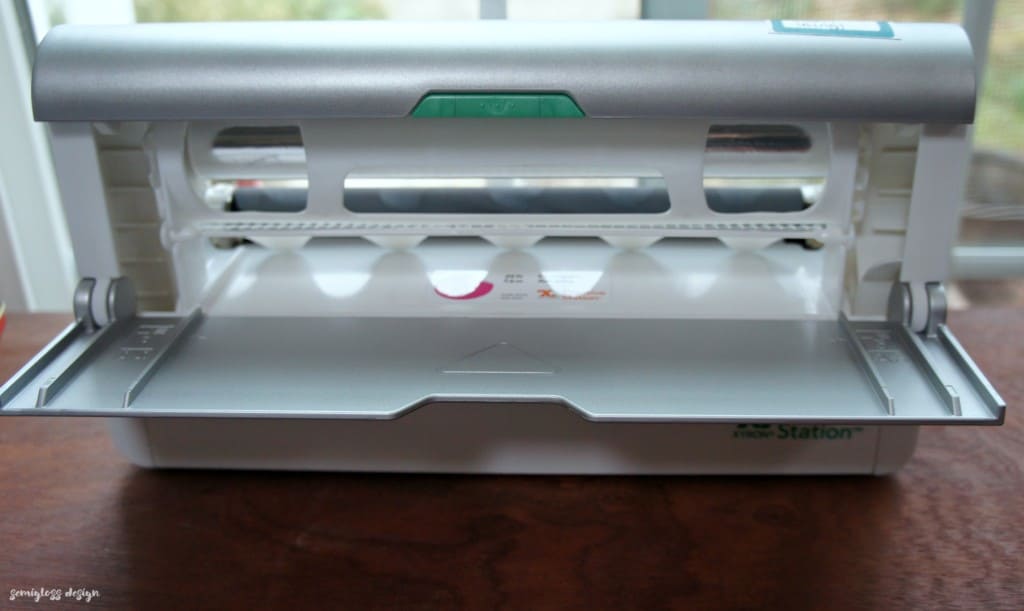
- Open the front of the machine.

- Slide the paper in. Move it to the left side.

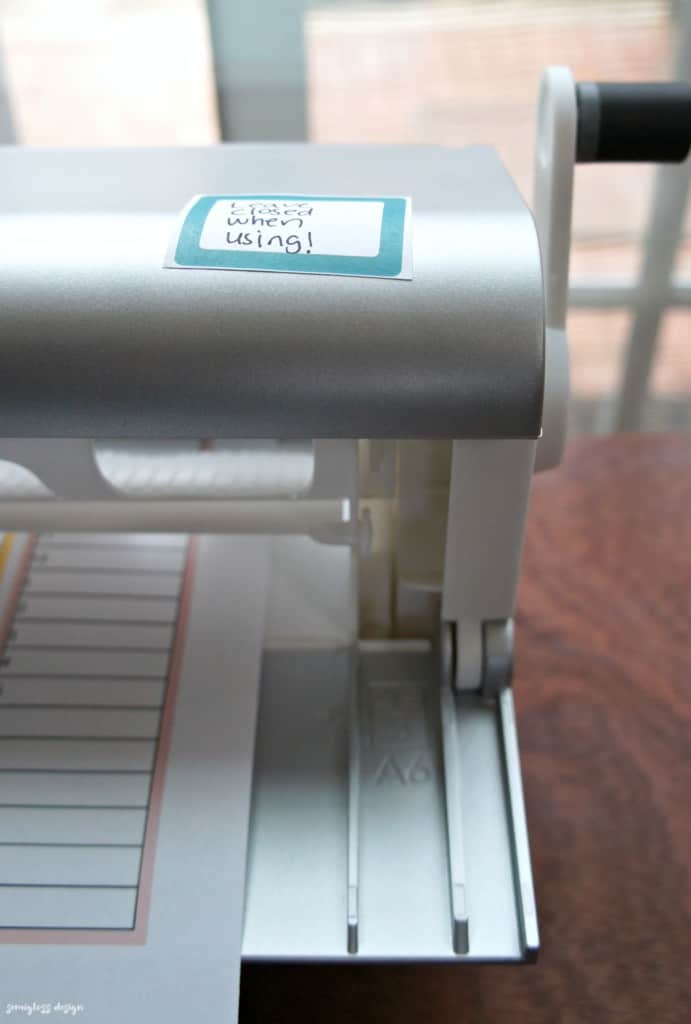
- Use the crank to roll the paper through.

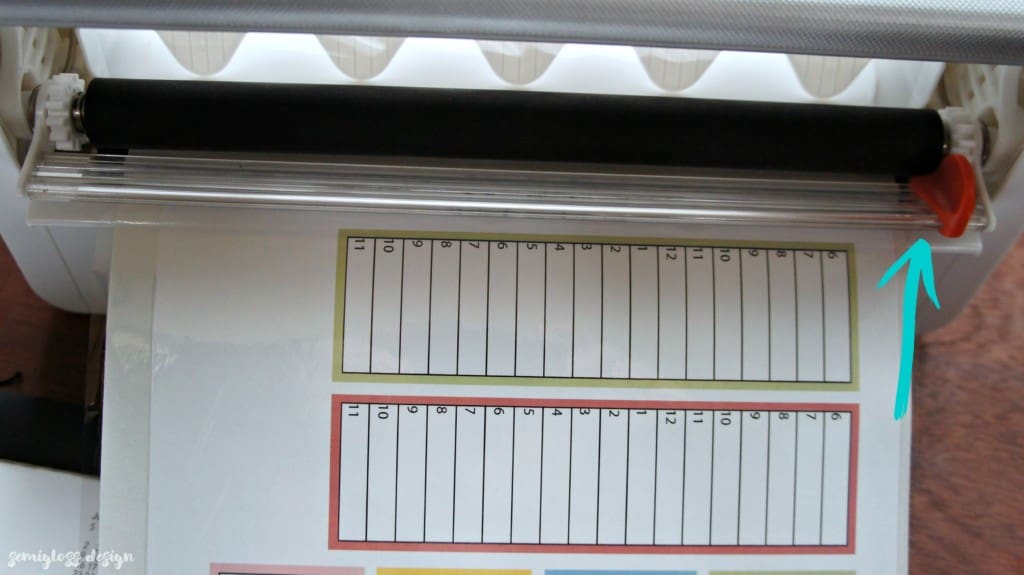
- If I’m making more than 1 sheet of stickers, I leave a small gap in between the papers.
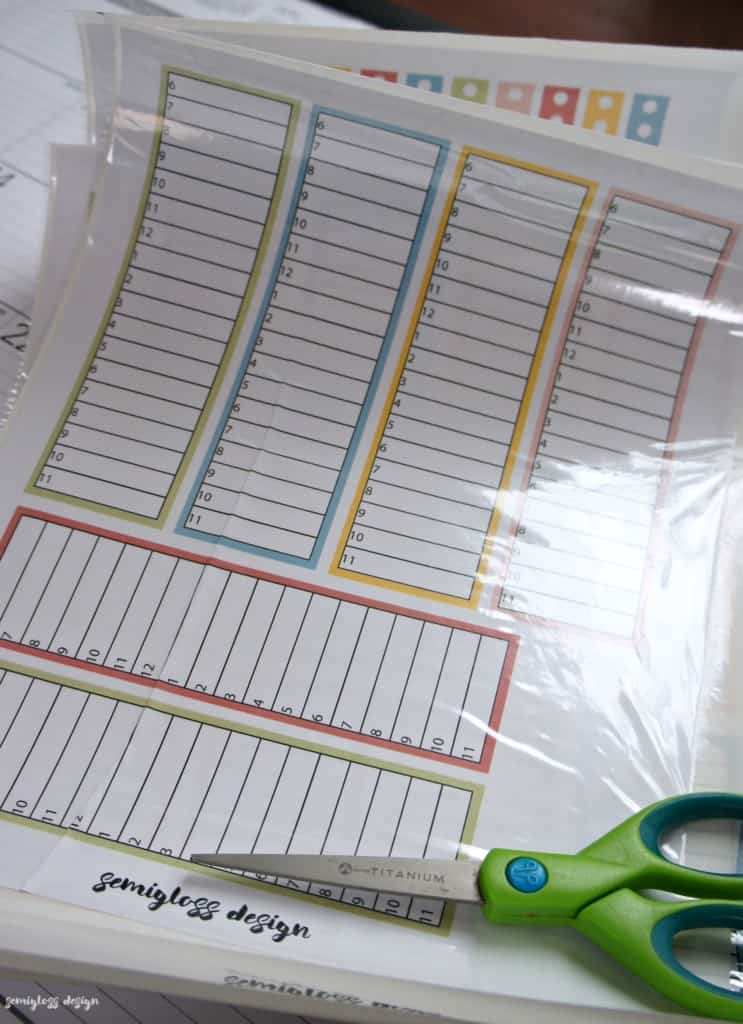
- When the paper is all the way through, use the paper cutter to cut the sticker paper layer.

- Take the paper out and smooth it to make sure the paper is secured to the sticker paper.

- Remove the clear plastic layer and use scissors to cut the stickers apart. You can also use a paper cutter where possible.


You might also like:
Pin for Later!

Emy is a vintage obsessed mama of 2 DIYer who loves sharing affordable solutions for common home problems. You don’t need a giant budget to create a lovely home. Read more…