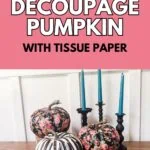
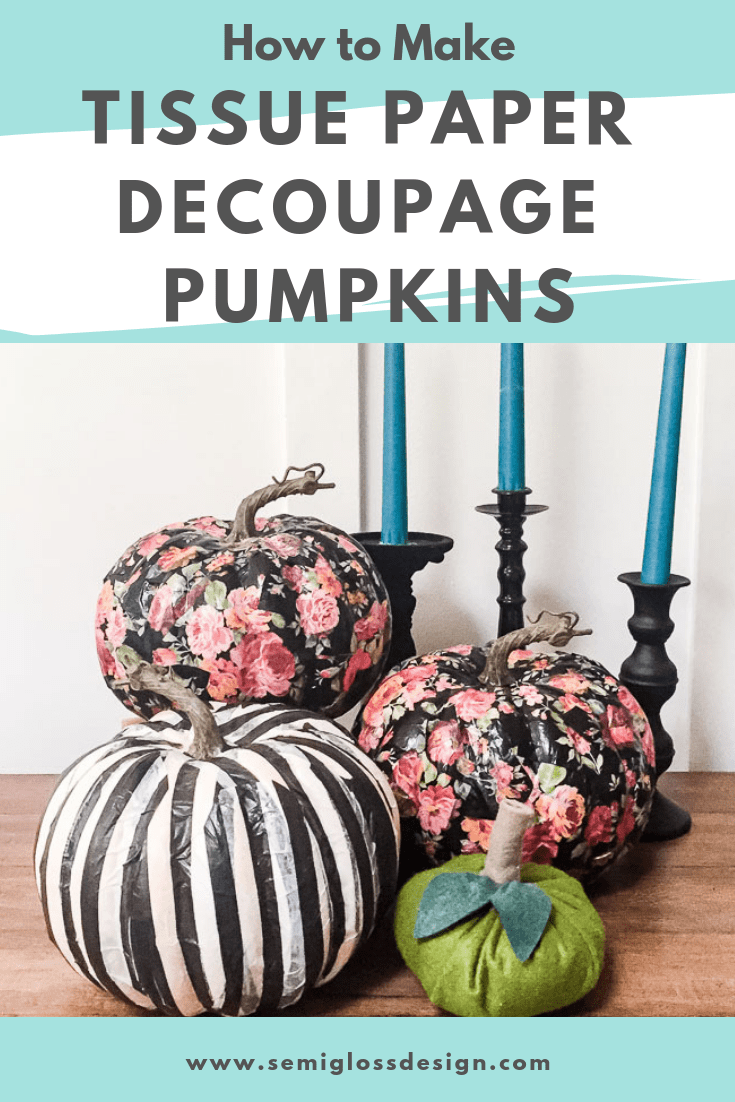
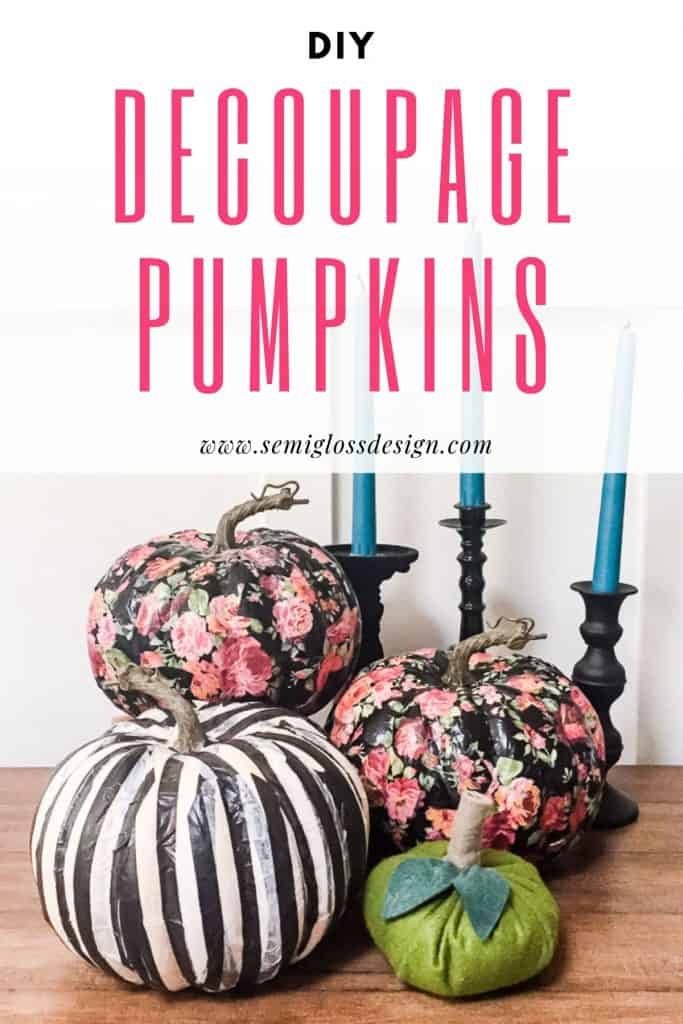
Tissue Paper Decoupage Pumpkins: Easy No Carve Pumpkin Decorating
Make this fun, no-carve pumpkin decorating idea by creating tissue paper decoupage pumpkins. This fun craft features patterned tissue paper, allowing you to add patterns to a pumpkin.
Decoupage is one of my favorite techniques, whether it’s used for furniture or patchwork pumpkins. This easy, no-carve pumpkin idea utilizes tissue paper, which is thin enough to be used on the curves of a pumpkin.
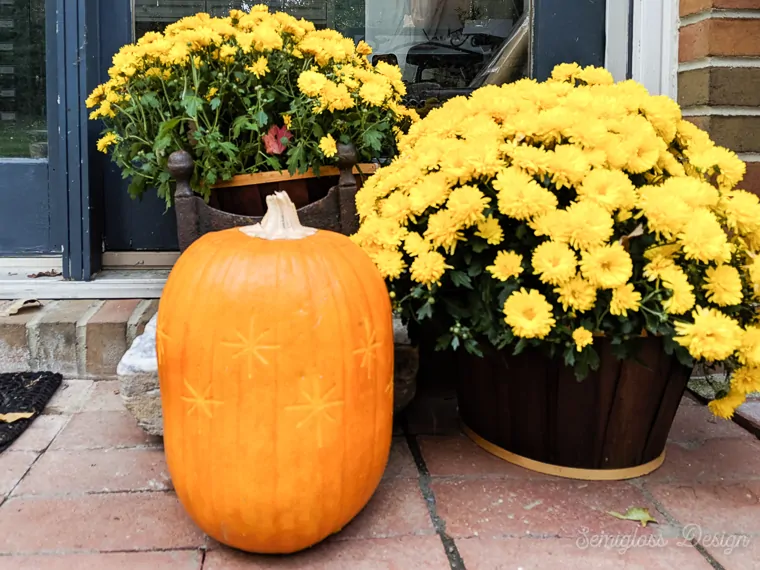
I love carving pumpkins with the family, but real pumpkins never fail to turn into a disgusting mess. We painstakingly decorate our pumpkins and then after a few days, the pumpkins are gross.
Needless to say, no-carve pumpkins are my favorite way to decorate for the fall. They last forever and can be stored for the following year.
Tissue Paper Decoupage Pumpkins
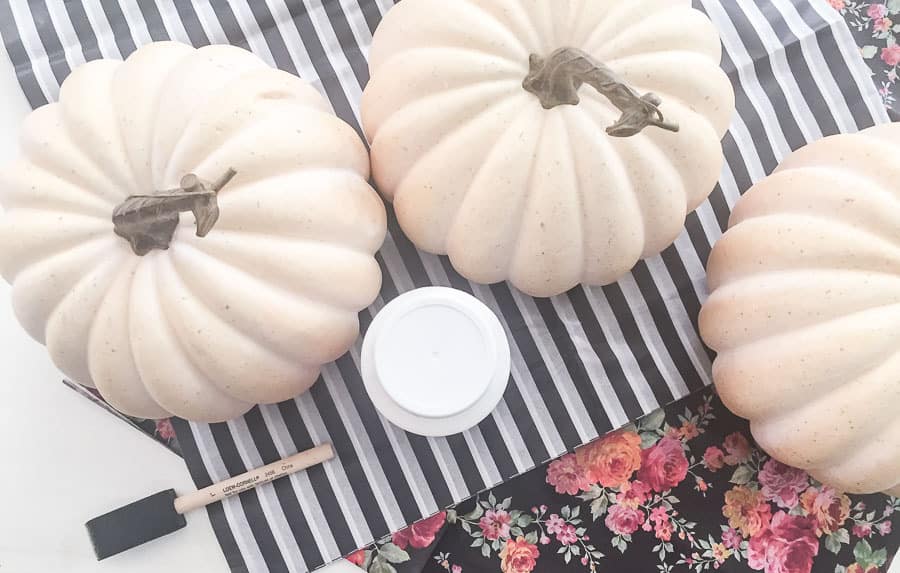
Supplies Needed
This post contains affiliate links. By purchasing an item through an affiliate link, I earn a small commission at no extra cost to you.
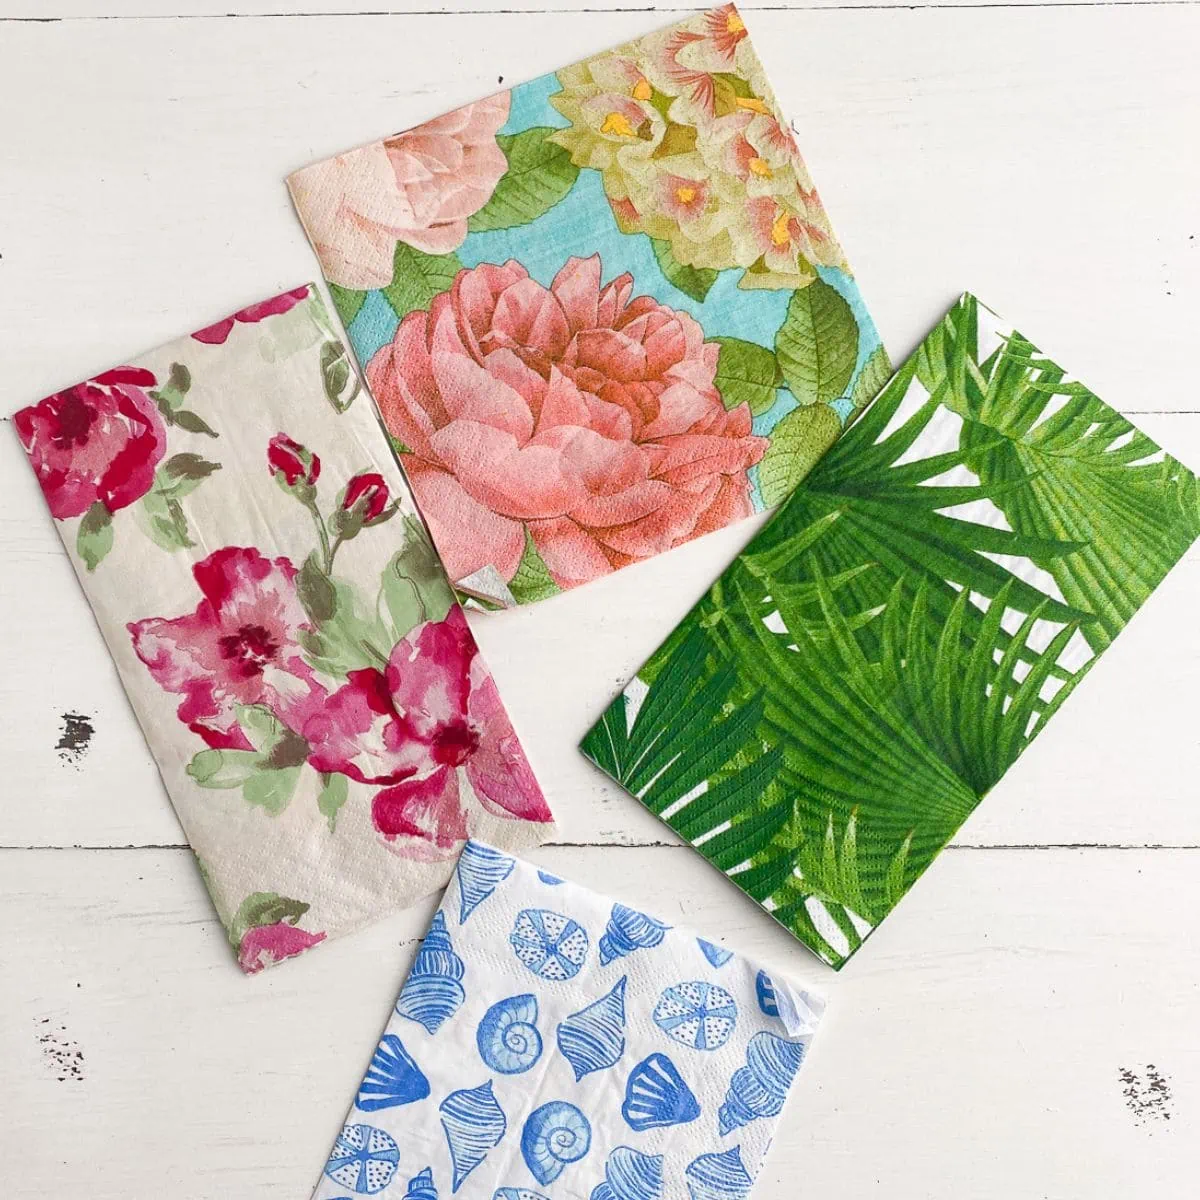
- Patterned Tissue Papers* (stripes) and (florals)
- Scissors
- Decoupage Glue
- Foam brush
- Fake pumpkins***
(I bought these patterned tissue papers at Michaels, but I’ve linked to similar sets)
I buy my fake pumpkins at Walmart or Lowe’s, because fake pumpkins should not cost a million dollars. Try to get white pumpkins, so that you don’t have to paint them first.
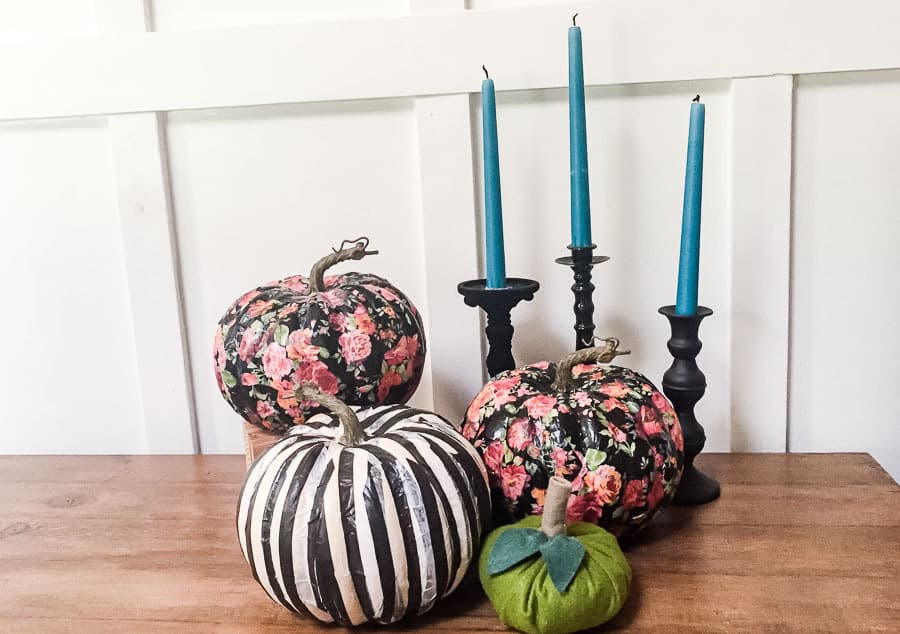
Striped Pumpkins
The striped pumpkins were fun to do, but didn’t turn out as well as I hoped. Working with a linear pattern on a curved surface is challenging. Try to line up a black line on the center of each bump. Then add small strips of black paper where they meet.
- Cut your paper into strips.

- Apply decoupage glue to the pumpkin.
- Apply the tissue paper to the glue, using the foam brush to smooth out the paper.
- Add more glue as needed. Apply glue to the top of the paper to help it stick and provide a top coat.
- I applied strips in 4 places surrounding the pumpkin, then let it dry.

- Then I went back and filled it in with more strips. For smaller areas, I tapered the strips at the end to avoid too much overlapping.

- Any places that still needed paper were filled in with matching stripes.
- Let the pumpkin dry. I used a galvanized bucket to keep my pumpkin from sticking to my table.


Floral Pumpkins
- Cut the floral patterns apart. It’s not necessary to be accurate or perfect. A lot of the floral patterns connected, so I cut them apart into usable portions.

- Apply glue to the pumpkin and start placing the largest floral patterns on the pumpkin first.

- Continue placing the largest patterns around the pumpkin.

- Fill the space with the medium-sized floral bouquets until only tiny parts are left.

- Fill the remaining spots with small florals or black pieces of paper.

- Let dry.


If you want your decoupage pumpkins to withstand the outdoors, they need to be sprayed with a few coats of clear spray paint. Even then, I wouldn’t let them remain outside in torrential downpours.

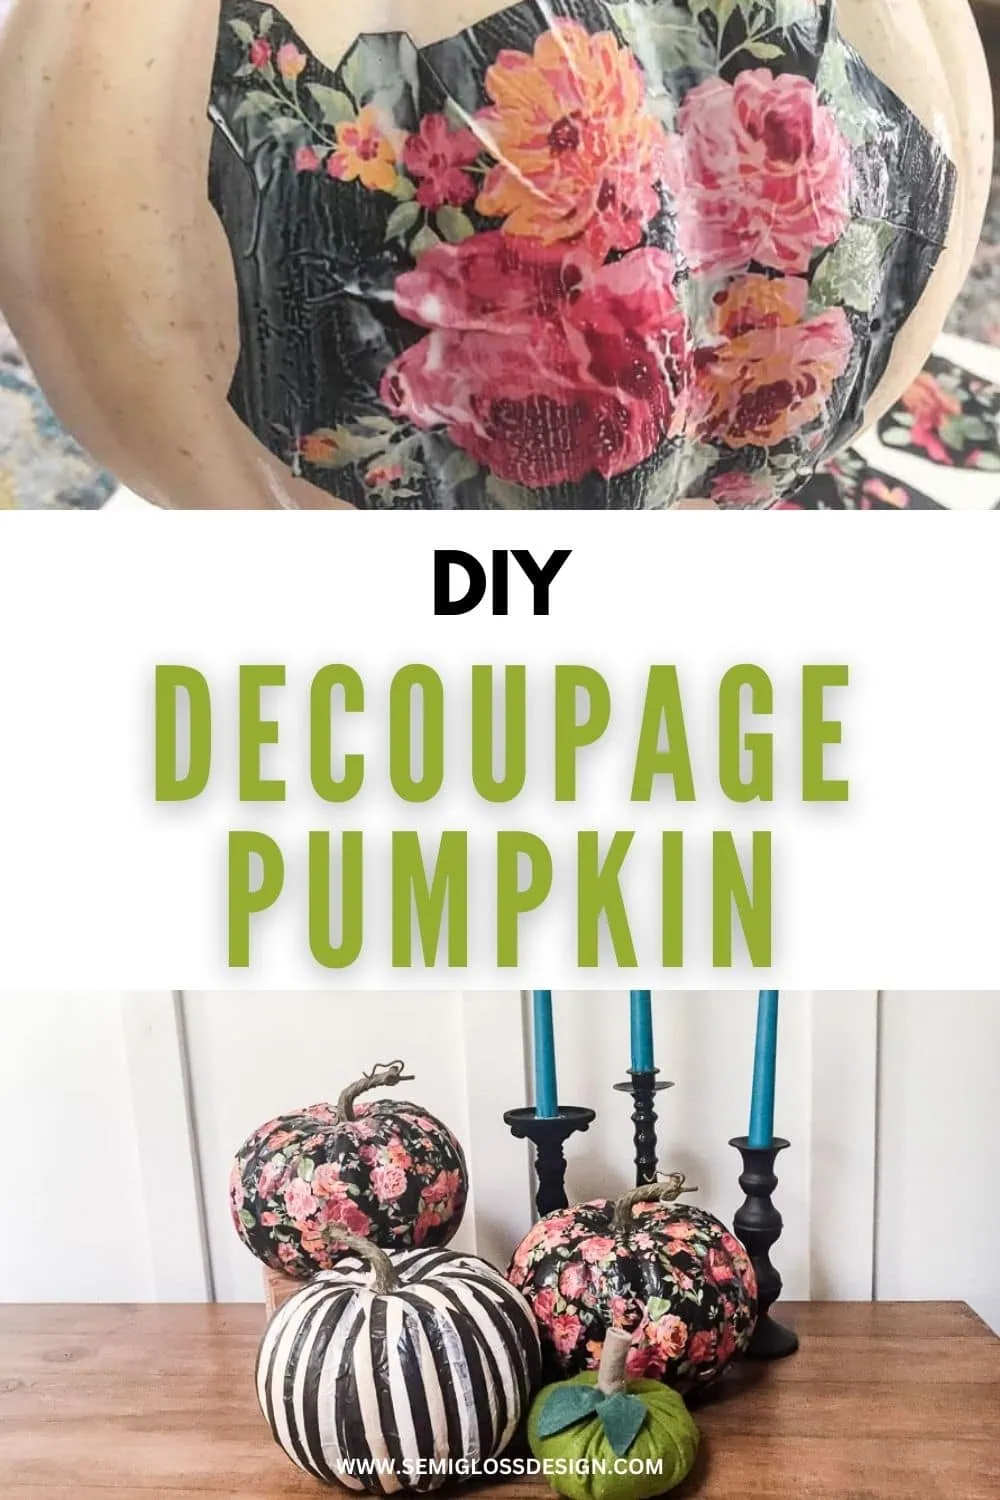
I love how my tissue paper decoupage pumpkins turned out, but the floral pumpkins are my favorite!
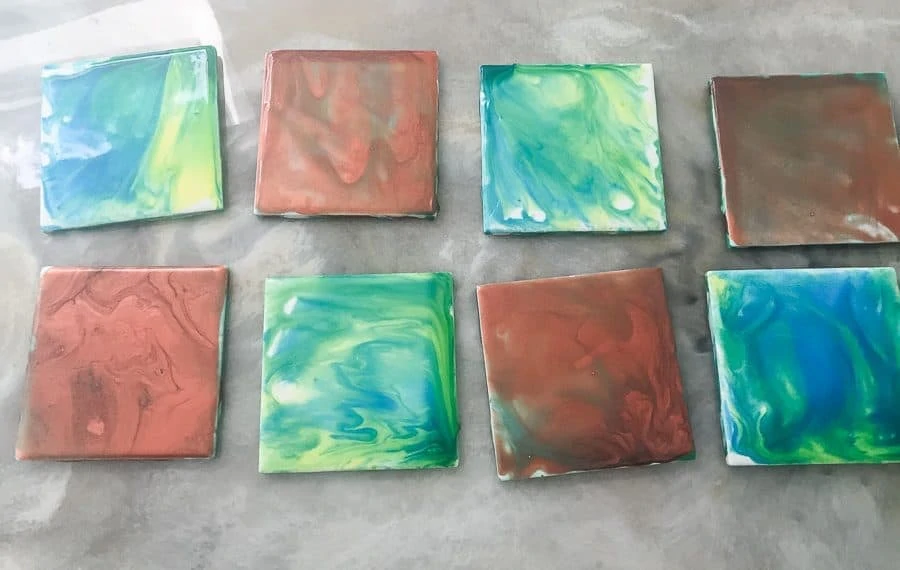
Learn how to correct decoupage mistakes like wrinkles, bubbles and brush strokes.
You might also like:
Pin for Later!

Emy is a vintage obsessed mama of 2 DIYer who loves sharing affordable solutions for common home problems. You don’t need a giant budget to create a lovely home. Read more…