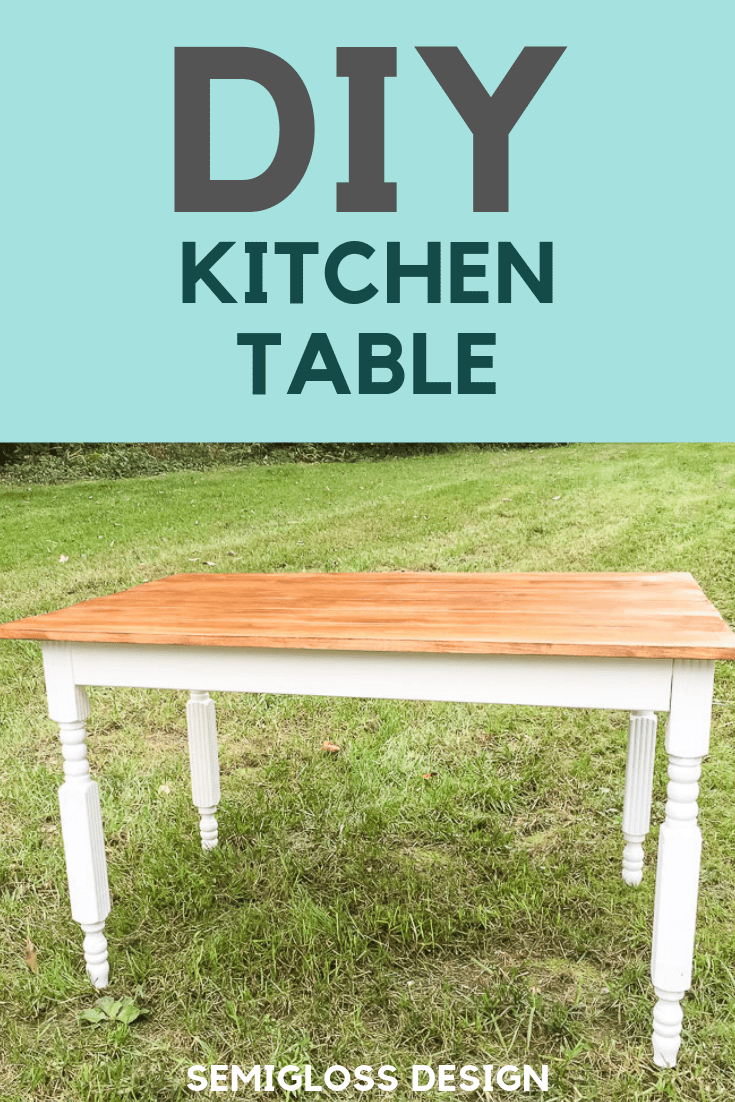
Easy to Build DIY Kitchen Table
Learn how to make a DIY kitchen table. This farmhouse table utilizes the same techniques that I used to build wood countertops and a new top for a dresser. I’ve also written about how to build simple tables.
Sometimes a girl just wants to build something. That was the case with this table. I needed a piece for my booth at Sweet Clover, so I decided to make a table. Tables are nice for vintage booths because it’s a big flat surface to put stuff on, it has plenty of space under it and they typically sell well.
This table is small in scale, but you can make your DIY kitchen table any size you want. That’s the beauty of making stuff!
DIY Kitchen Table
Supplies Needed
This post contains affiliate links. By purchasing an item through an affiliate link, I earn a small commission at no extra cost to you.
- 1×6’s for the top (I used 3 8′ boards for a 48 x 33 table)
- Table Legs*
- 2×4’s for the apron
- Kreg jig
- Kreg jig screws (1 1/2″, 2 1/2″)
- Miter saw
- Stain
- Paint
- Primer
- Sander
- Polycrylic
- Sandpaper
*I used salvaged legs from a table that I had, but new table legs are easy to find in your local hardware store.

Building the DIY Kitchen Table Top
- Cut your lumber to size. For my size, I cut each board to 48″. Don’t assume that an 8′ board will equal 2 perfect lengths of 48″. I had to cut another inch off.

- Sand the edges to remove the splinters.
- Lay your boards out and pick the pretty sides to be the tops. Then flip them over.
- Figure out the spacing for your pocket holes. Start about 3″ from the end and then place the pocket holes about every 6-8″ of one side of 5 of the boards. (The last board is drilled into so it doesn’t need pocket holes.)
- Use the kreg jig to make pocket holes. (Make sure the drill bit is set to the correct length.

- Attach the table top planks together using the kreg jig bit. Make sure you don’t drive the screws too deep or too tight. It can crack the wood.


Finishing the Table Top
- With the table top put together, flip it back over and sand it. Any uneven places can be sanded. If you have a belt sander, it will go even faster, but be sure to clamp the table top down and use eye protection. Sand the edges as well, to remove sharp corners.
- Raise your sandpaper grit until the table feels like silk. I like to work from 80 to 120 to 220.
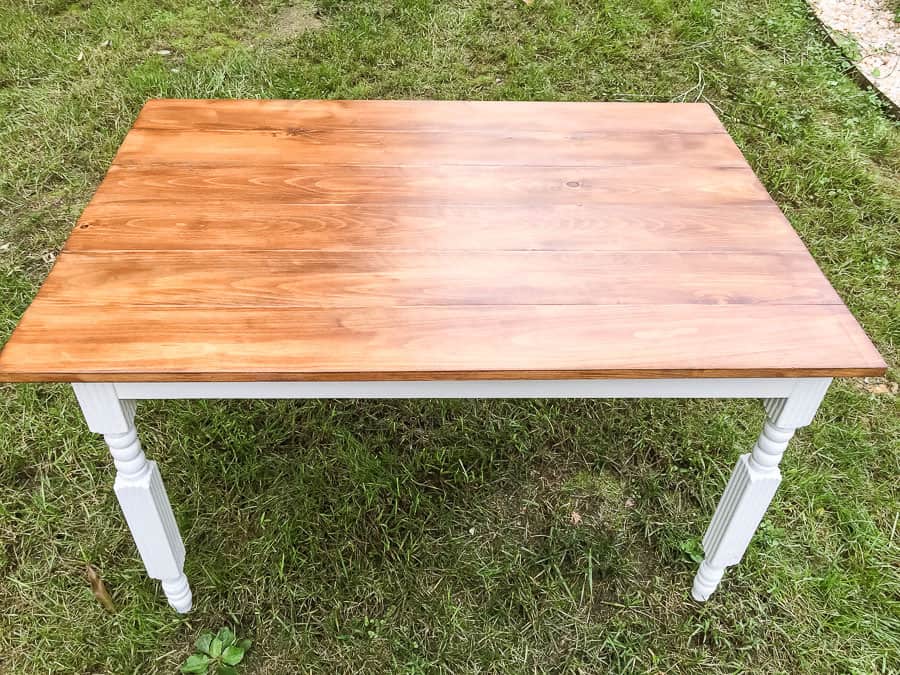
- Clean the table top off and stain it. If you’re using oil based stain, use a stain conditioner first. Brush it on and use a clean brush to remove the excess.
- Stain a few inches around the underneath of the table top as well.
- Let the stain dry overnight (or longer in high humidity) and apply a 2nd coat.

- One that coat has had a few days to dry, apply a few thin coats of polycrylic, letting each coat dry between.
- It’s normal for the grain to raise while staining, so if that happens, sand lightly with 400 grit sand paper after the first coat of polycrylic. Wipe clean and apply another coat. It should feel nice and silky smooth again.

Prepping the Kitchen Table Base
- Cut your apron pieces to size. I wanted my finished apron to be 2″ smaller than the table top, so I subtracted that and the table leg width for my length and width.

- Sand the wood. Since we’re using 2×4’s, you want to remove as many blemishes as you can. I also removed any ink stamps from the wood.
- Prime the wood and legs. Pine is notorious for bleeding tannins through, so they need to be sealed.

- Once the primer is dry, paint the wood and legs white. It will take a few coats.
- Distress if desired.
- Apply a top coat if you need to.


Building the Kitchen Table Base
- Select the appropriate width on the kreg jig and drill pocket holes into the ends of each apron board.
- The tops also need holes to attach the top to the base. Be sure to switch the width on your kreg jig to accommodate the thinner wood top.
- Attach an end apron piece to the legs with the pocket holes. Be sure that the pocket holes for top are facing up. (It helps to lay the base on it’s side.)
- Attach the end apron piece to another leg.

- Attach the side apron pieces in the same manner until the whole base is built. Flip the table base on it’s end or sides to easily attach the legs.
- If you table is larger than this, you might want to consider adding extra 2×4 braces in the middle. This table is small, but incredibly sturdy, so I skipped it.


Attaching the Table Top to the Table Base
- Flip the table right side up.

- Place the table top on top of the base.
- Measure around the edges to center the table top.
- Climb under the table and attach the table to the base using the pocket holes we drilled when making the table base.


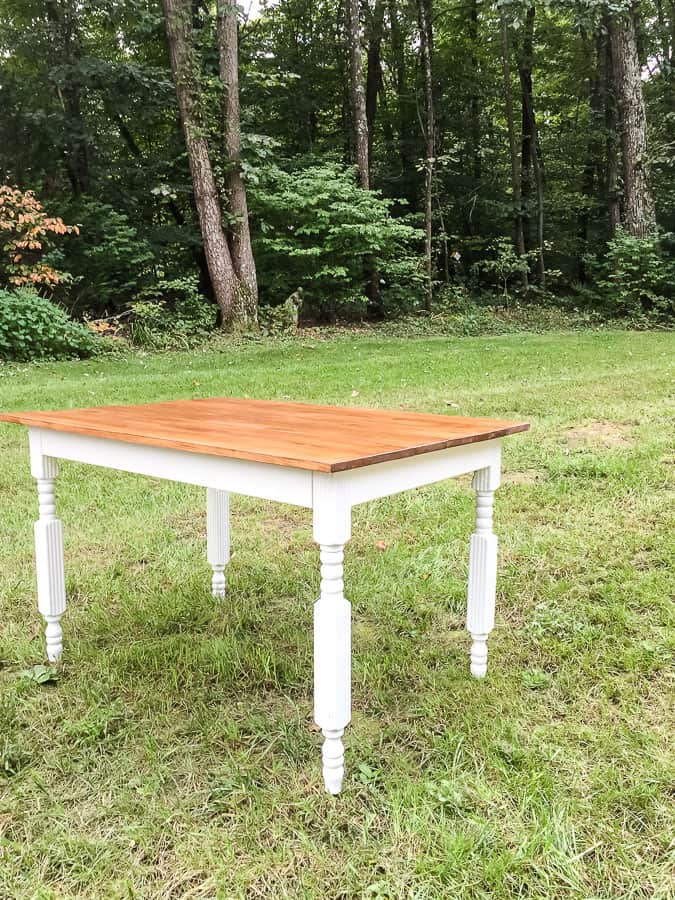
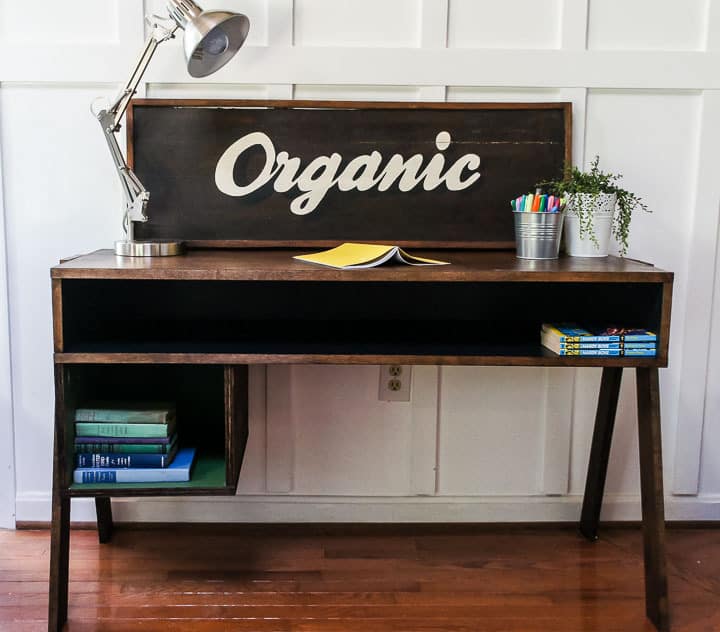
Sometimes I even amaze myself. I love how this DIY kitchen table turned out.
It’s perfect for a small kitchen or dining room or even as a craft table!
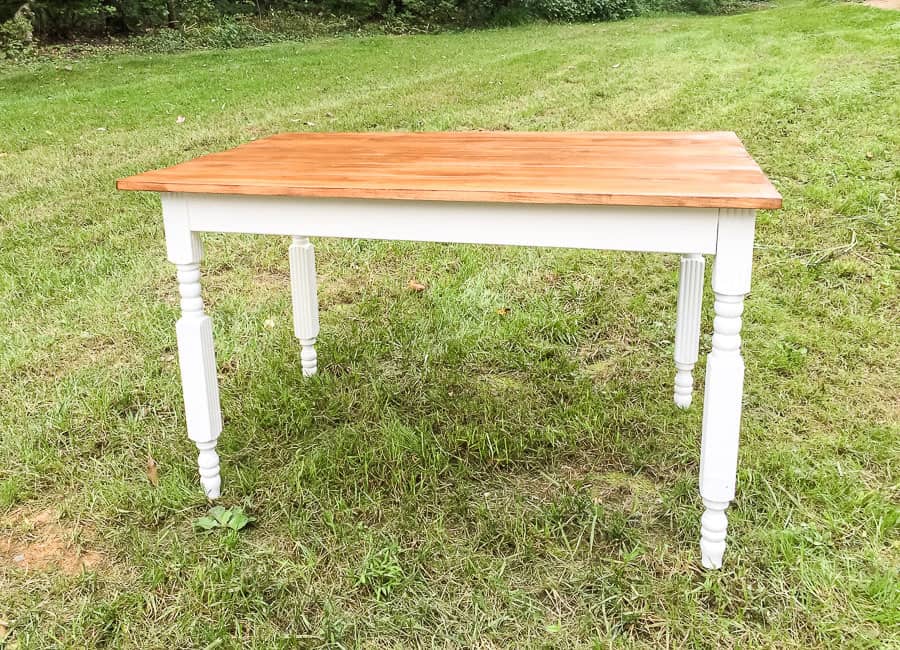
Isn’t the stain color pretty with the white base?
Printable Cut List for Table
Don’t want to make your own table?
Check out these affordable farmhouse table options!
You might also like:
Pin for Later!

Emy is a vintage obsessed mama of 2 DIYer who loves sharing affordable solutions for common home problems. You don’t need a giant budget to create a lovely home. Read more…


i am so impressed!!! it turned out so well , emy!
Thanks Cassie!