• Skip to primary navigation
  • Skip to main content
  • Skip to primary sidebar
  • Skip to footer
  • Blog
  • Cricut
  • DIY
    • Basement
    • Building
    • Countertops
    • Floors
    • Organizing
    • Furniture
      • IKEA Hacks
    • Outdoor
    • Paint
    • Stairs
    • Other Home Improvement
  • Home Decor
    • Decorating Ideas
    • My Home
      • House tour
      • Room Reveals
  • Crafts
    • Accessories
    • Fabric and Sewing DIY
    • Holidays
      • Spring and Summer
      • Fall
      • Christmas
      • Winter
    • Silhouette and Cricut Crafts
    • Wall Art
  • Shop

Semigloss Design logo

menu icon
go to homepage
search icon
Homepage link
  • Blog
  • Cricut
  • DIY
  • Crafts
  • Furniture
  • Shop
×
Home » Building » Make an Easy DIY Bench to Add Extra Seating

June 28, 2018

Make an Easy DIY Bench to Add Extra Seating

Sharing is caring!

  • Share
  • Tweet

Make designing your dream room a breeze with my Printable Room Planner.

My kids are at the age where they invite friends over all the time and now that it’s summer, our house is feeling a little tight.

It felt like a good time to add a bit of extra seating for when our house for 4 needs to accommodate 3-4 extra people. A simple bench seemed like the perfect solution to add more seating. Learn how to make your own DIY bench.

Learn how to make an easy DIY bench. Ever wish you had extra seating? This versatile DIY bench is the perfect solution for adding extra seating for guests!

Easy DIY Bench

Learn how to make an easy DIY bench. Ever wish you had extra seating? This versatile DIY bench is the perfect solution for adding extra seating for guests!

Supplies

  • 1 Purebond Plywood Panel 2×4 (3/4″ thick in birch)
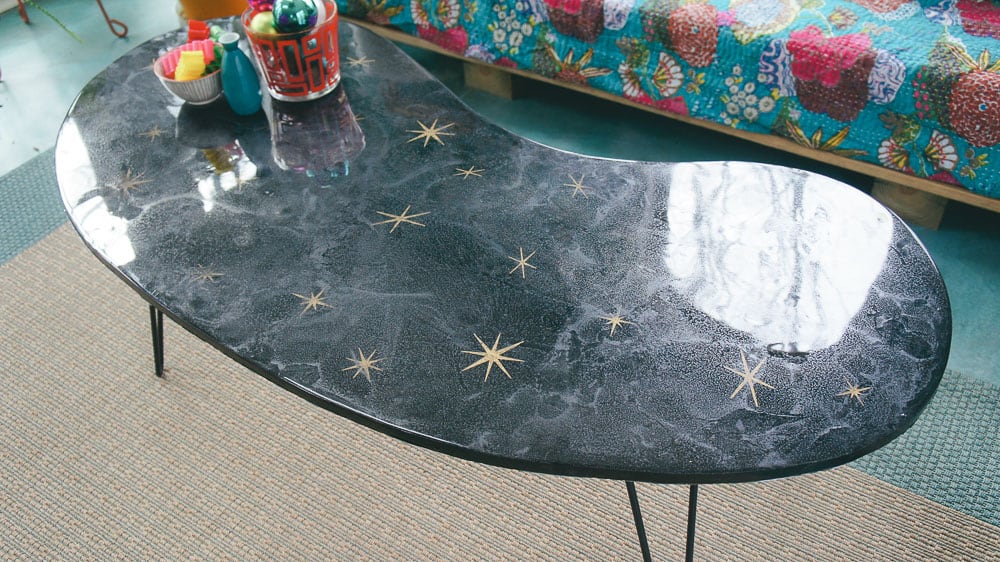
  • Hairpin legs (16″)
  • 2″ Foam
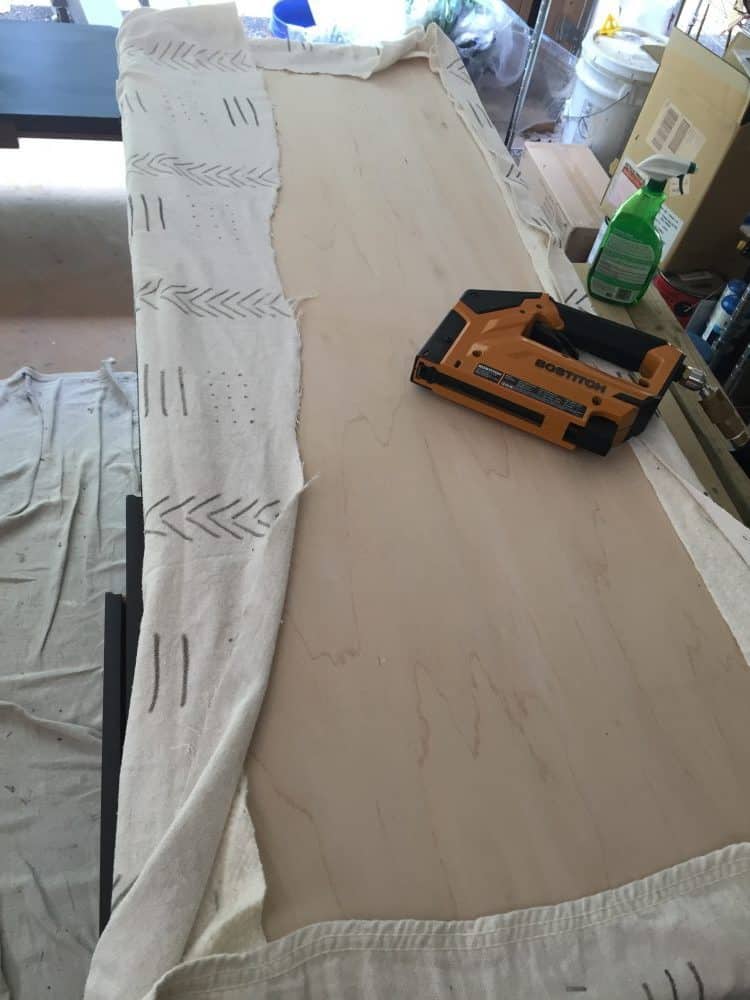
  • Fabric (I used bleached drop cloth with a DIY mud cloth technique – tutorial)
  • Batting
  • Staple gun
  • Drill
  • Screws
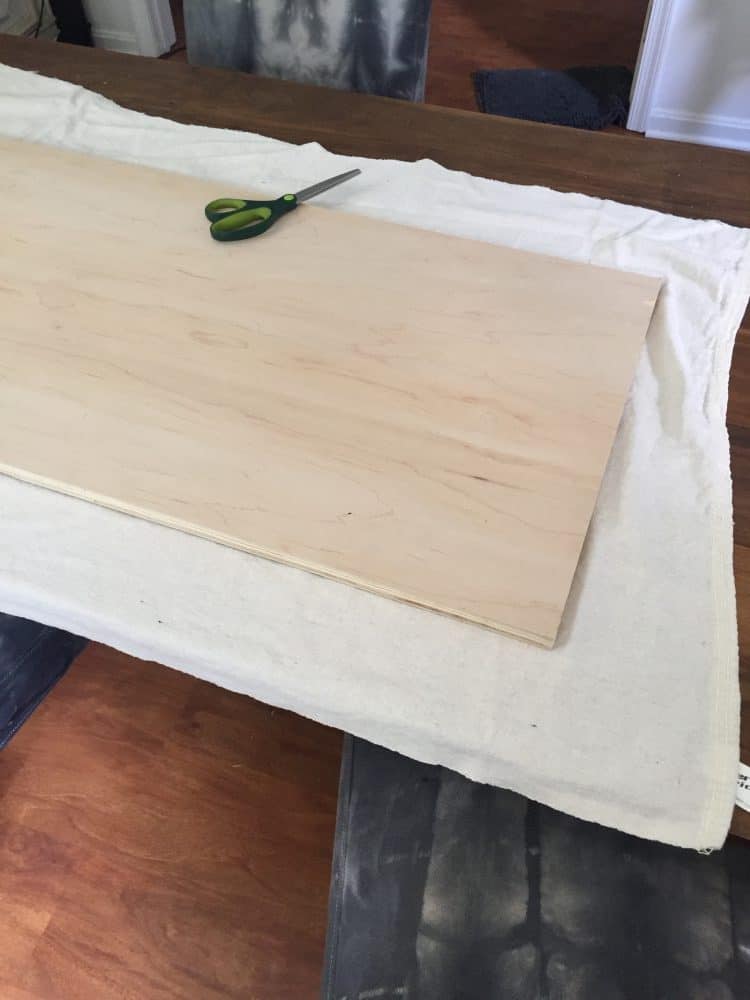
  1. Cut your plywood panel to the desired width and length. I cut mine to 18″, so that my finished DIY bench would measure 18″ x 48″, which is a great size for a bench. Go ahead and cut the fabric to size too. I left about 6″ extra around the wood so that it can wrap around everything. Learn how to make an easy DIY bench. Ever wish you had extra seating? This versatile DIY bench is the perfect solution for adding extra seating for guests!
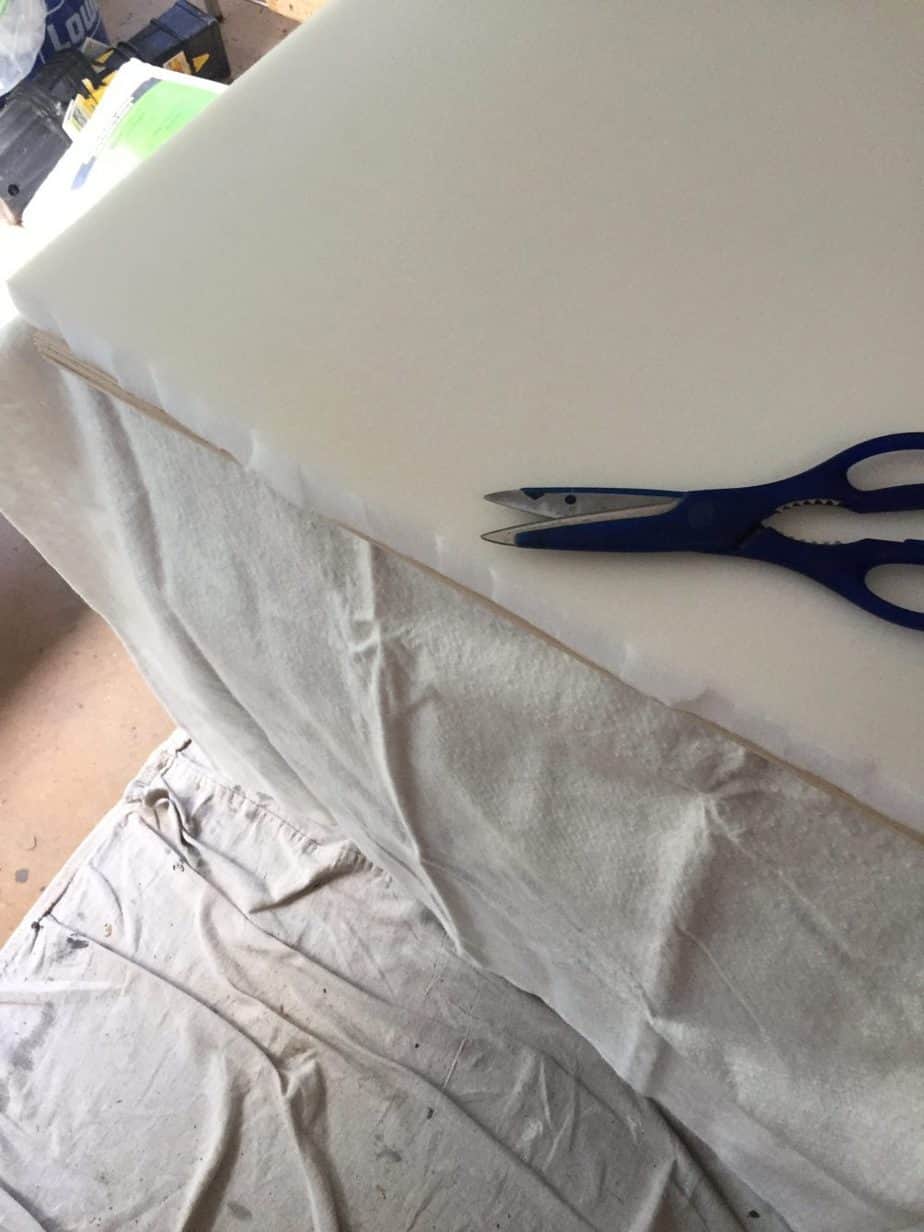
  2. Cut the foam to size. Since it’s only 2″ thick, it can be cut with scissors. Learn how to make an easy DIY bench. Ever wish you had extra seating? This versatile DIY bench is the perfect solution for adding extra seating for guests!
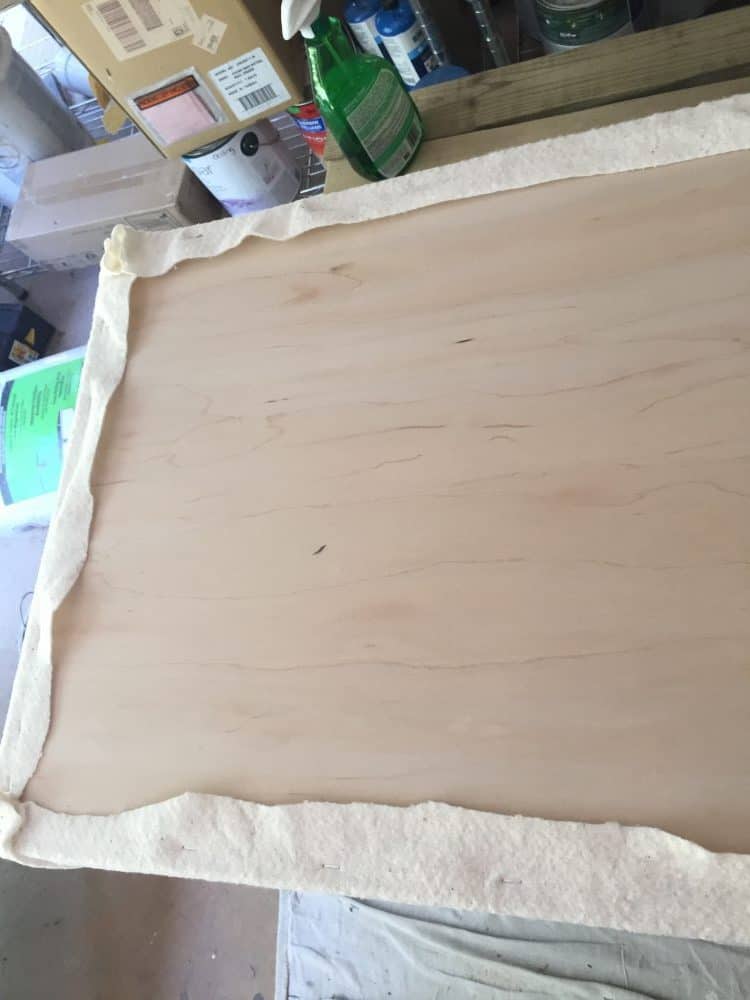
  3. Place fabric wrong side up, then the batting, then place the foam on the fabric.
  4. Place the wood on the top of this, centered in the middle.
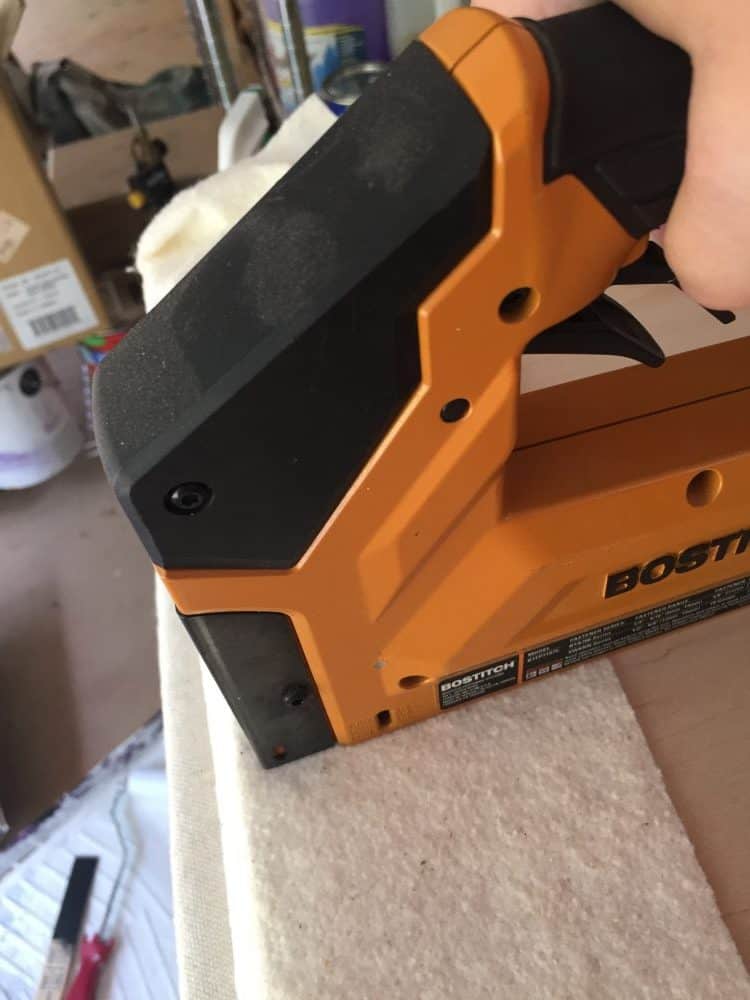
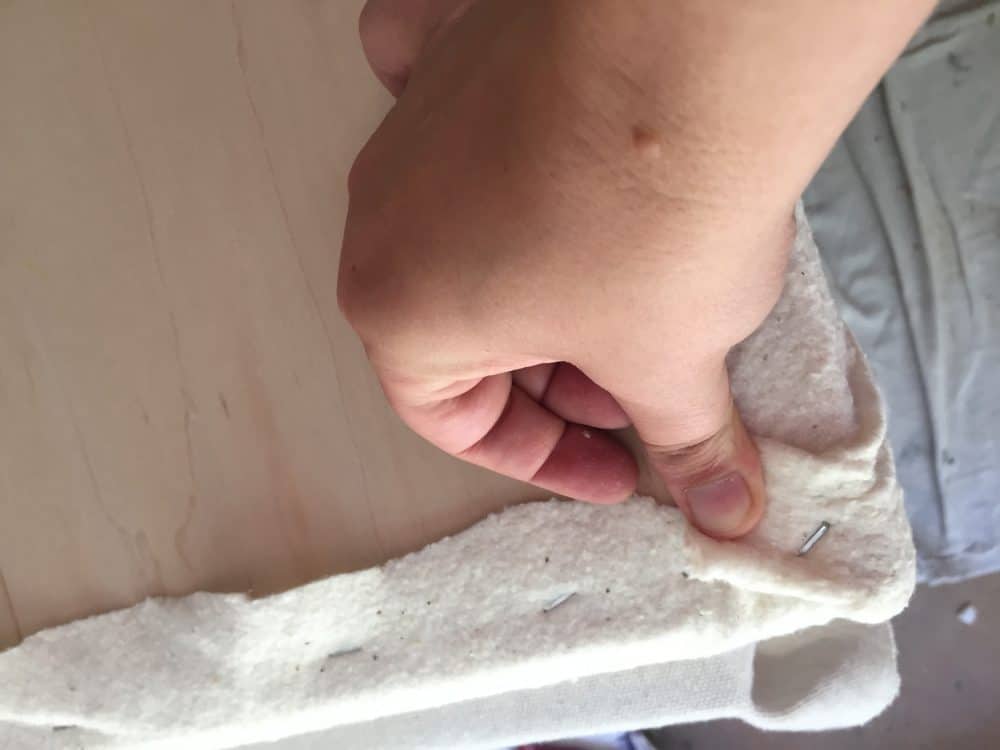
  5. Start stapling the batting around the edge. I like to place a staple on each side in the middle to be sure that my batting is nice and taut.Learn how to make an easy DIY bench. Ever wish you had extra seating? This versatile DIY bench is the perfect solution for adding extra seating for guests!
  6. Continue stapling around the edges.Learn how to make an easy DIY bench. Ever wish you had extra seating? This versatile DIY bench is the perfect solution for adding extra seating for guests!
  7. For the corners, I wrap it like a present and staple. Just try to make as little bulk as possible. Luckily batting, compresses nicely. Learn how to make an easy DIY bench. Ever wish you had extra seating? This versatile DIY bench is the perfect solution for adding extra seating for guests!
  8. Repeat these steps for the fabric.Learn how to make an easy DIY bench. Ever wish you had extra seating? This versatile DIY bench is the perfect solution for adding extra seating for guests!
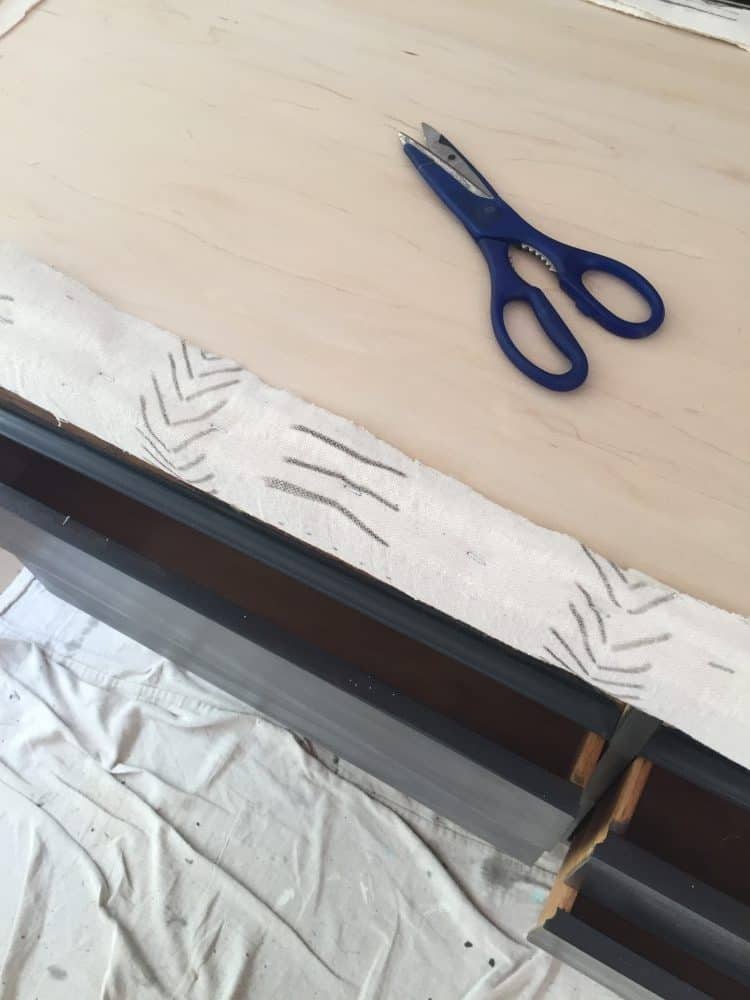
  9. Cut off all the excess fabric.Learn how to make an easy DIY bench. Ever wish you had extra seating? This versatile DIY bench is the perfect solution for adding extra seating for guests!
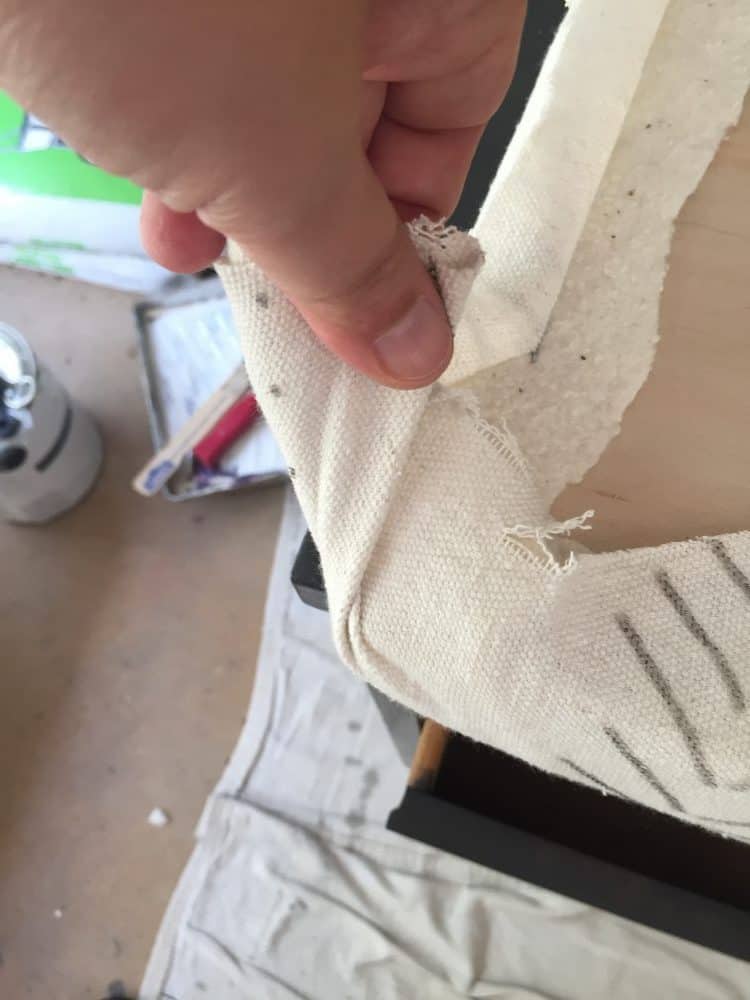
  10. For the corners, I pull it and fold it to the inside, then fold it again. Staple in place. Learn how to make an easy DIY bench. Ever wish you had extra seating? This versatile DIY bench is the perfect solution for adding extra seating for guests!
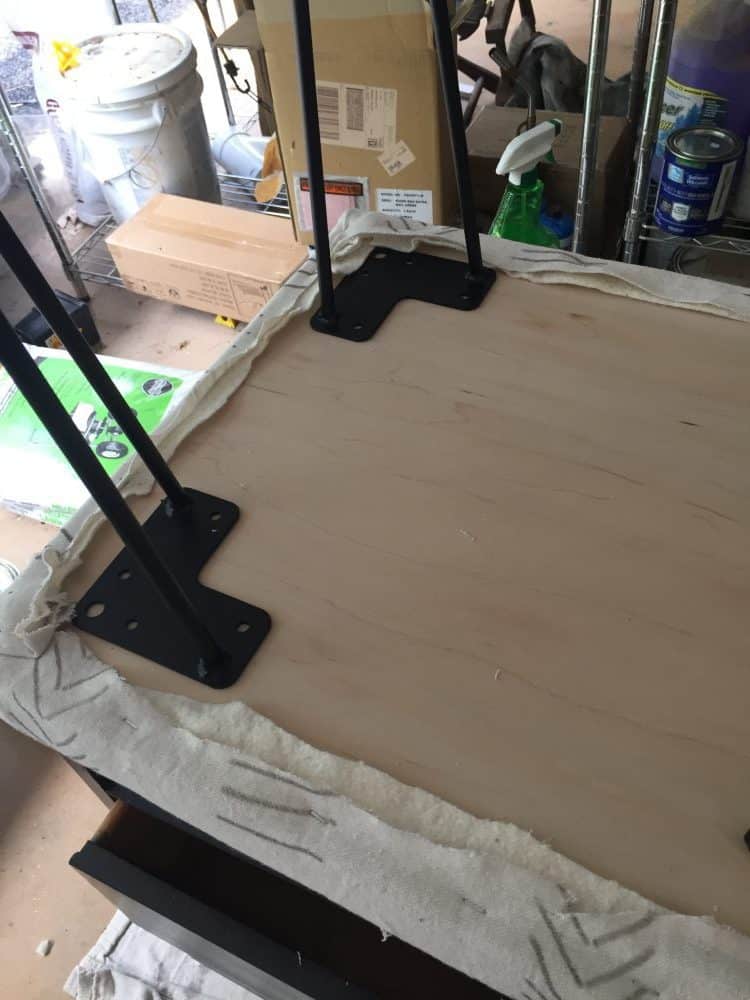
  11. Place the legs equidistance from the edges, avoiding the fabric. Learn how to make an easy DIY bench. Ever wish you had extra seating? This versatile DIY bench is the perfect solution for adding extra seating for guests!
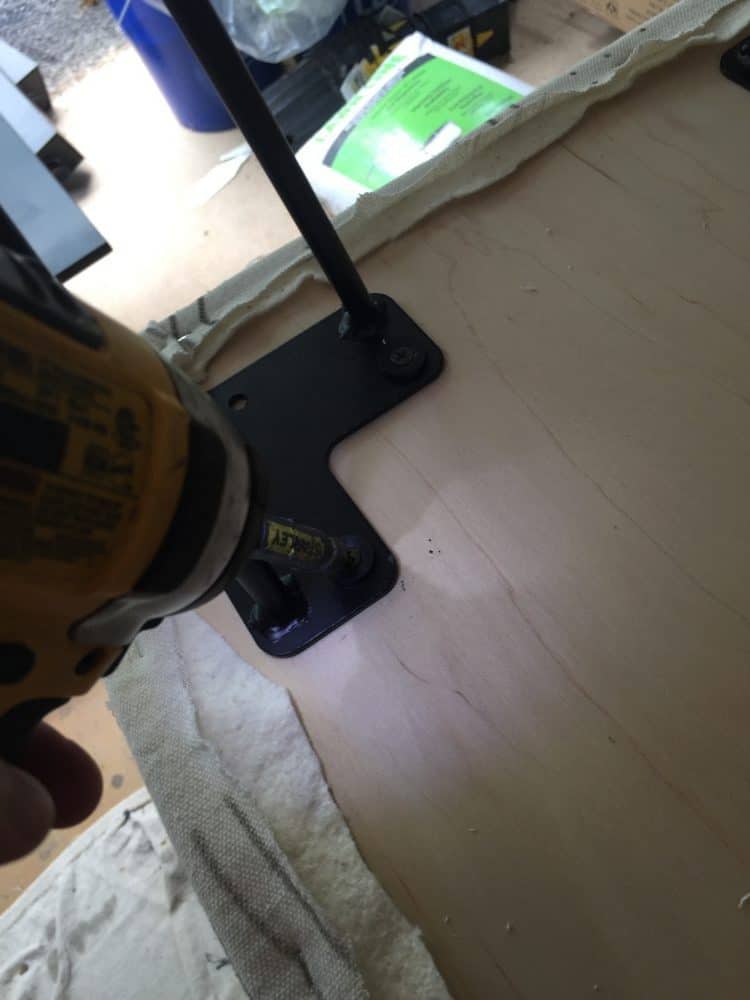
  12. Install the legs in each corner by drilling pilot holes and then using the drill to drive in each screw. I used washers as spacers because my screws weren’t quite the right size. Learn how to make an easy DIY bench. Ever wish you had extra seating? This versatile DIY bench is the perfect solution for adding extra seating for guests!
  13. If you still have unruly fabric bits, you can trim more off and add more staples to the edges.
  14. Flip your bench over and enjoy!Learn how to make an easy DIY bench. Ever wish you had extra seating? This versatile DIY bench is the perfect solution for adding extra seating for guests!

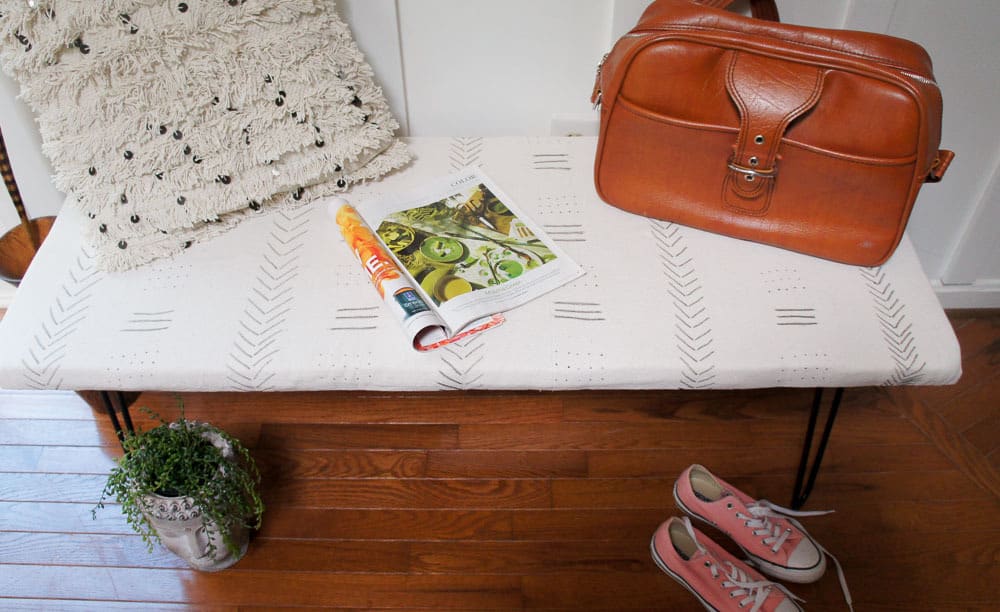
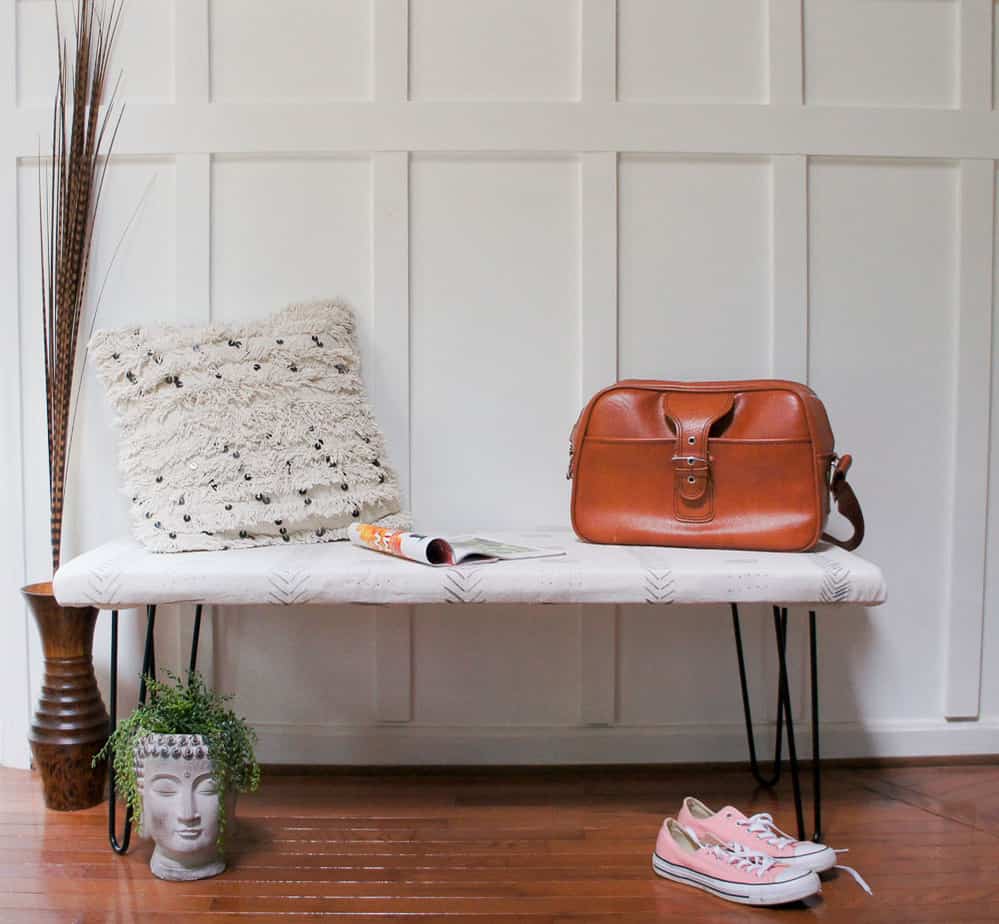
This simple DIY bench is perfect in the entry, but it’s lightweight enough to move to the dining table for extra seating.

Learn how to make an easy DIY bench. Ever wish you had extra seating? This versatile DIY bench is the perfect solution for adding extra seating for guests!

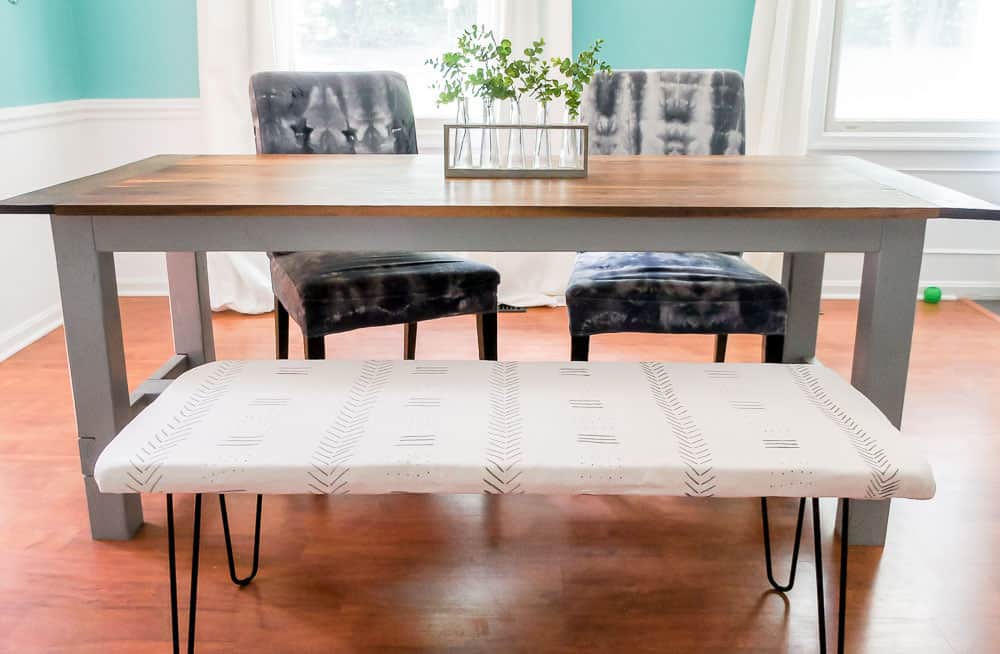
I love how it looks with my shibori chairs!

Learn how to make an easy DIY bench. Ever wish you had extra seating? This versatile DIY bench is the perfect solution for adding extra seating for guests!

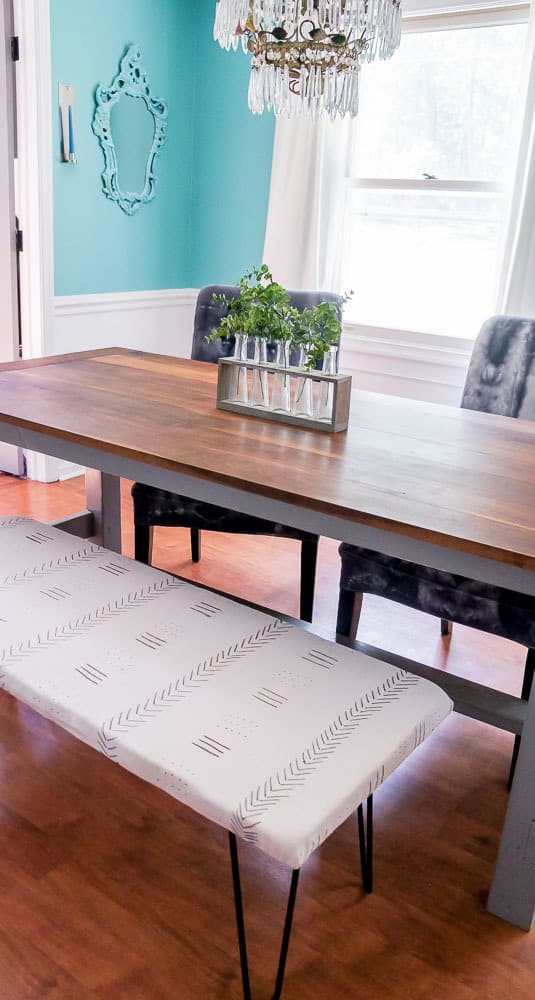
It’s kind of fun to add a bench with the chairs at the table. I might end up keeping it here long term.

Pin for Later!

Learn how to make an easy DIY bench. Ever wish you had extra seating? This versatile DIY bench is the perfect solution for adding extra seating for guests!
Emy Flint

Emy is a vintage obsessed mama of 2 DIYer who loves sharing affordable solutions for common home problems. You don’t need a giant budget to create a lovely home. Read more…

« How to Paint Wrought Iron Furniture the Easy Way!
How to Make DIY Mud Cloth Fabric from Drop Cloths »

Filed Under: Building Tagged With: budget friendly, building, DIY, furniture, tutorial

Reader Interactions

Comments

  1. cassie bustamante says

    June 29, 2018 at 9:24 am

    love the fabric you used! it looks awesome!

    Reply
    • Emy says

      July 02, 2018 at 9:59 am

      Thanks! I cheated and made my own. Now I don’t have to worry about dirty teenage boys ruining it. 😉

      Reply
  2. Jodi says

    July 10, 2018 at 2:50 pm

    Cute idea! i love hairpin legs.

    Reply
    • Emy says

      July 10, 2018 at 8:37 pm

      Thanks Jodi!

      Reply

Leave a Reply Cancel reply

Your email address will not be published. Required fields are marked *

This site uses Akismet to reduce spam. Learn how your comment data is processed.

Primary Sidebar

Let’s be friends!

  • Facebook
  • Instagram
  • Pinterest
  • Twitter
  • YouTube

Looking for Something?

Hi, I’m Emy!

Hi, I’m Emy!

I'm a color loving DIYer who believes that a beautiful home is possible, even on a budget.

Reader Favorites

unfinished basement ceiling painted sherwin williams sea salt

How to Paint an Unfinished Basement Ceiling

can of polycrylic and paint brush

How to Apply Polycrylic Without Streaks

removing chair rail with pry bar

How to Remove a Chair Rail and Repair the Walls for Paint

green shiplap walls

The Ultimate Guide to Installing Shiplap in a Bathroom

Footer

  • Facebook
  • Instagram
  • Pinterest

Contact

About Me

Disclosure and Privacy Policy

Click here for the Semigloss Design disclosures and  privacy policy.

Looking for a post?

Amazon Affiliate Disclosure

Emy Flint of Semigloss Design is a participant in the Amazon Services LLC Associates Program, an affiliate advertising program designed to provide a means for sites to earn advertising fees by advertising and linking to Amazon.com

Copyright © 2022 Semigloss Design