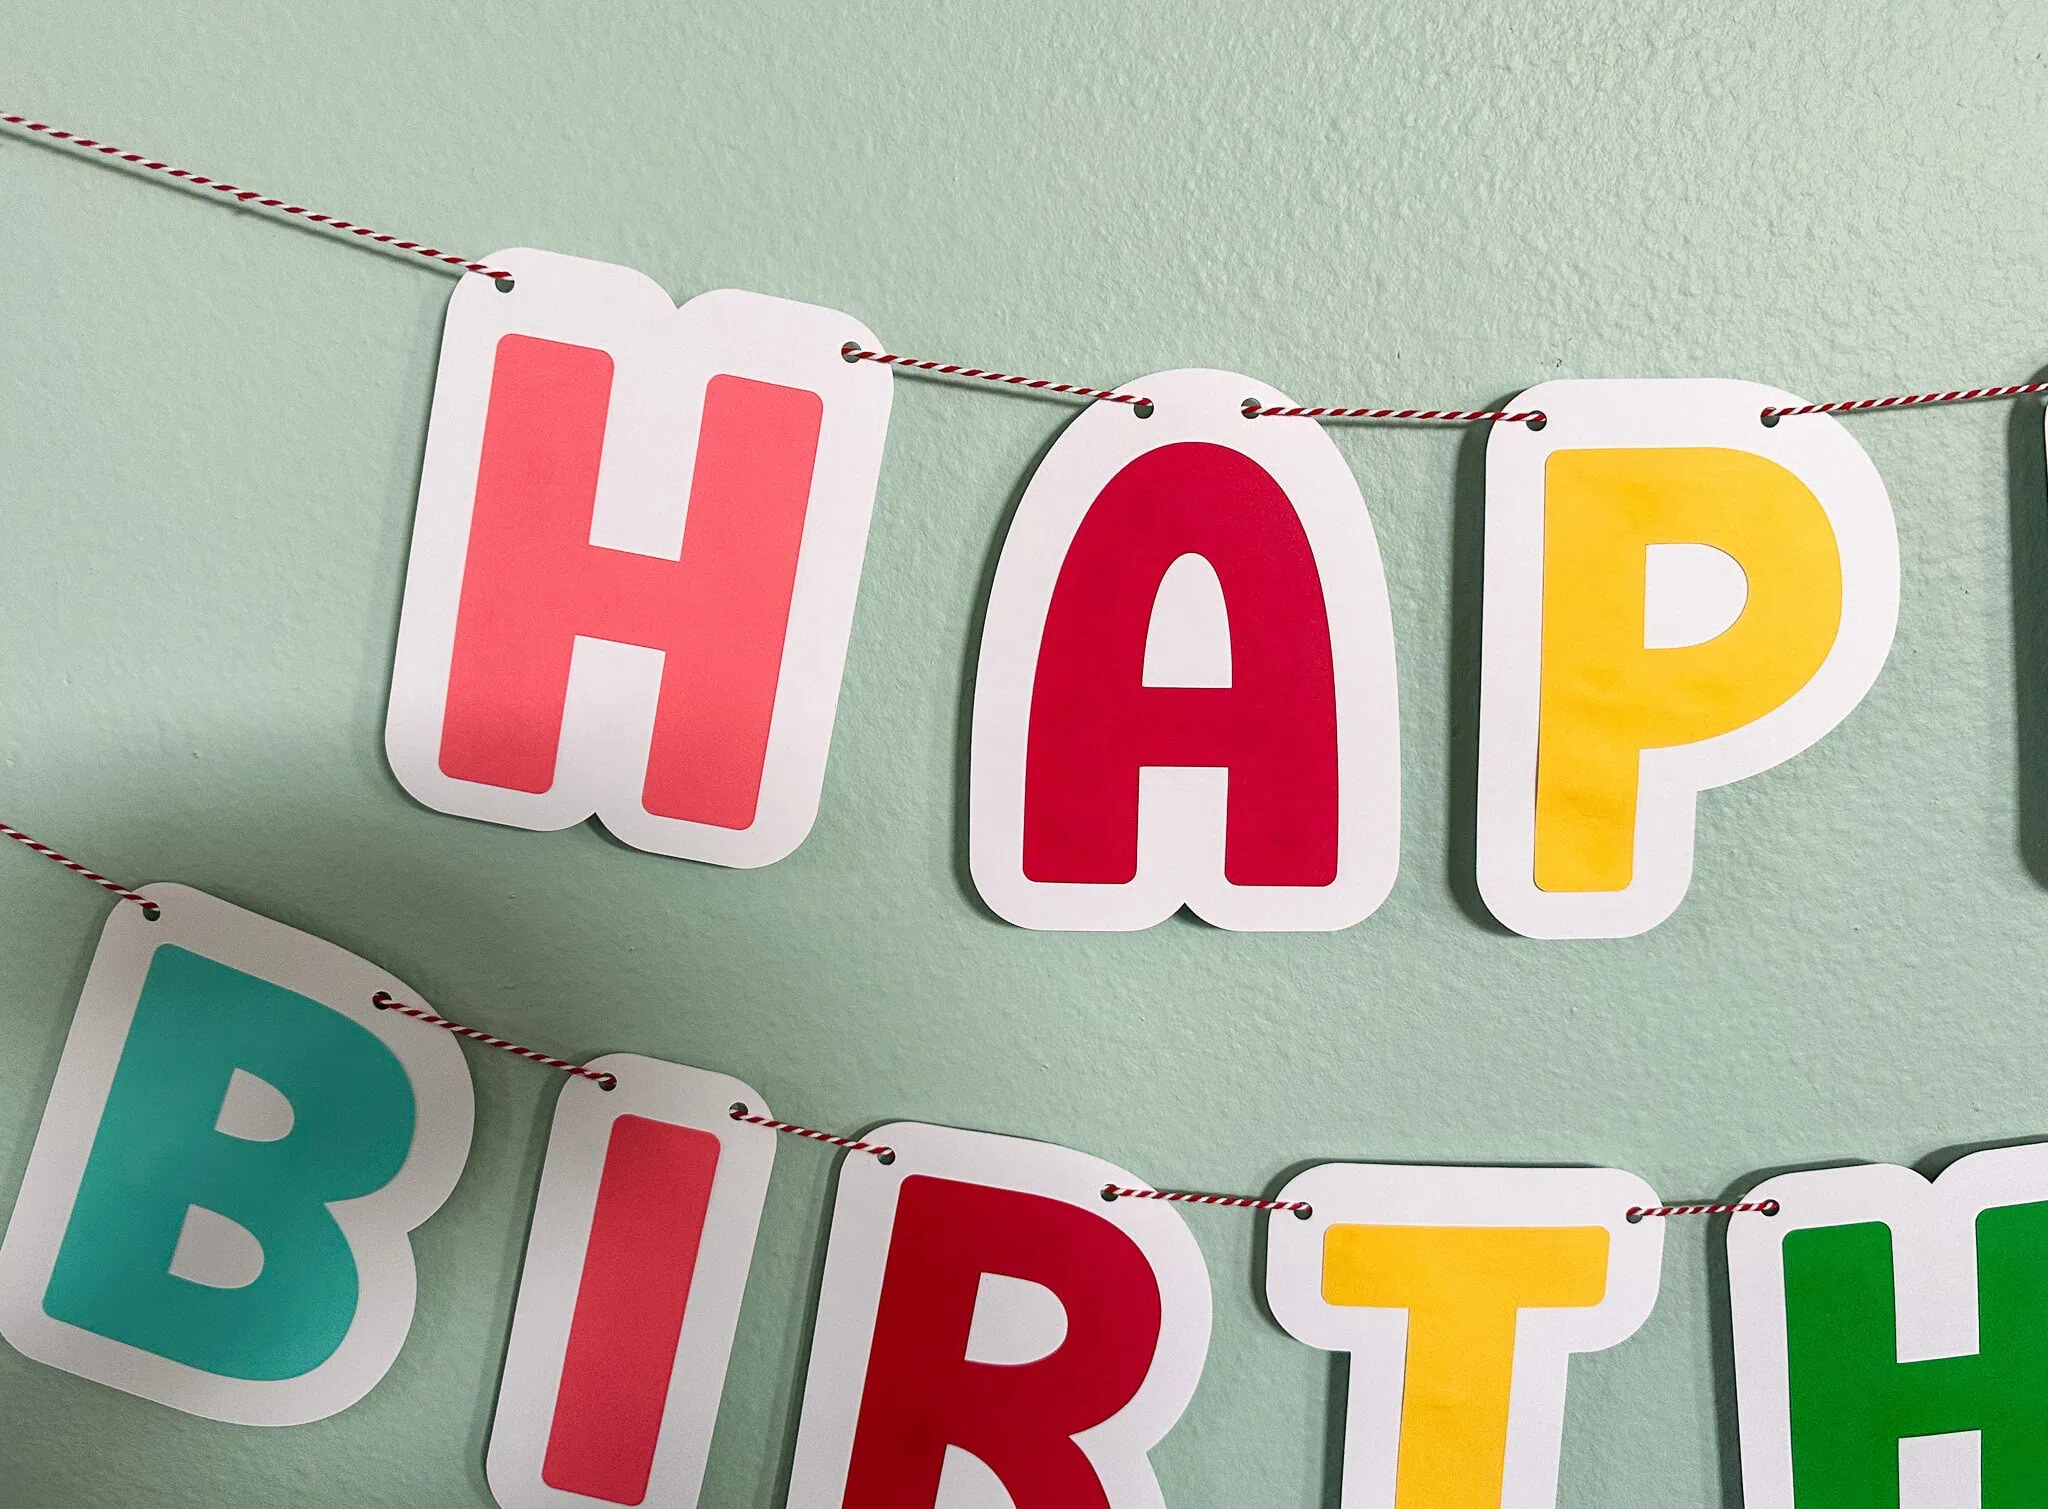
How to Make a Paper Birthday Banner with Cricut
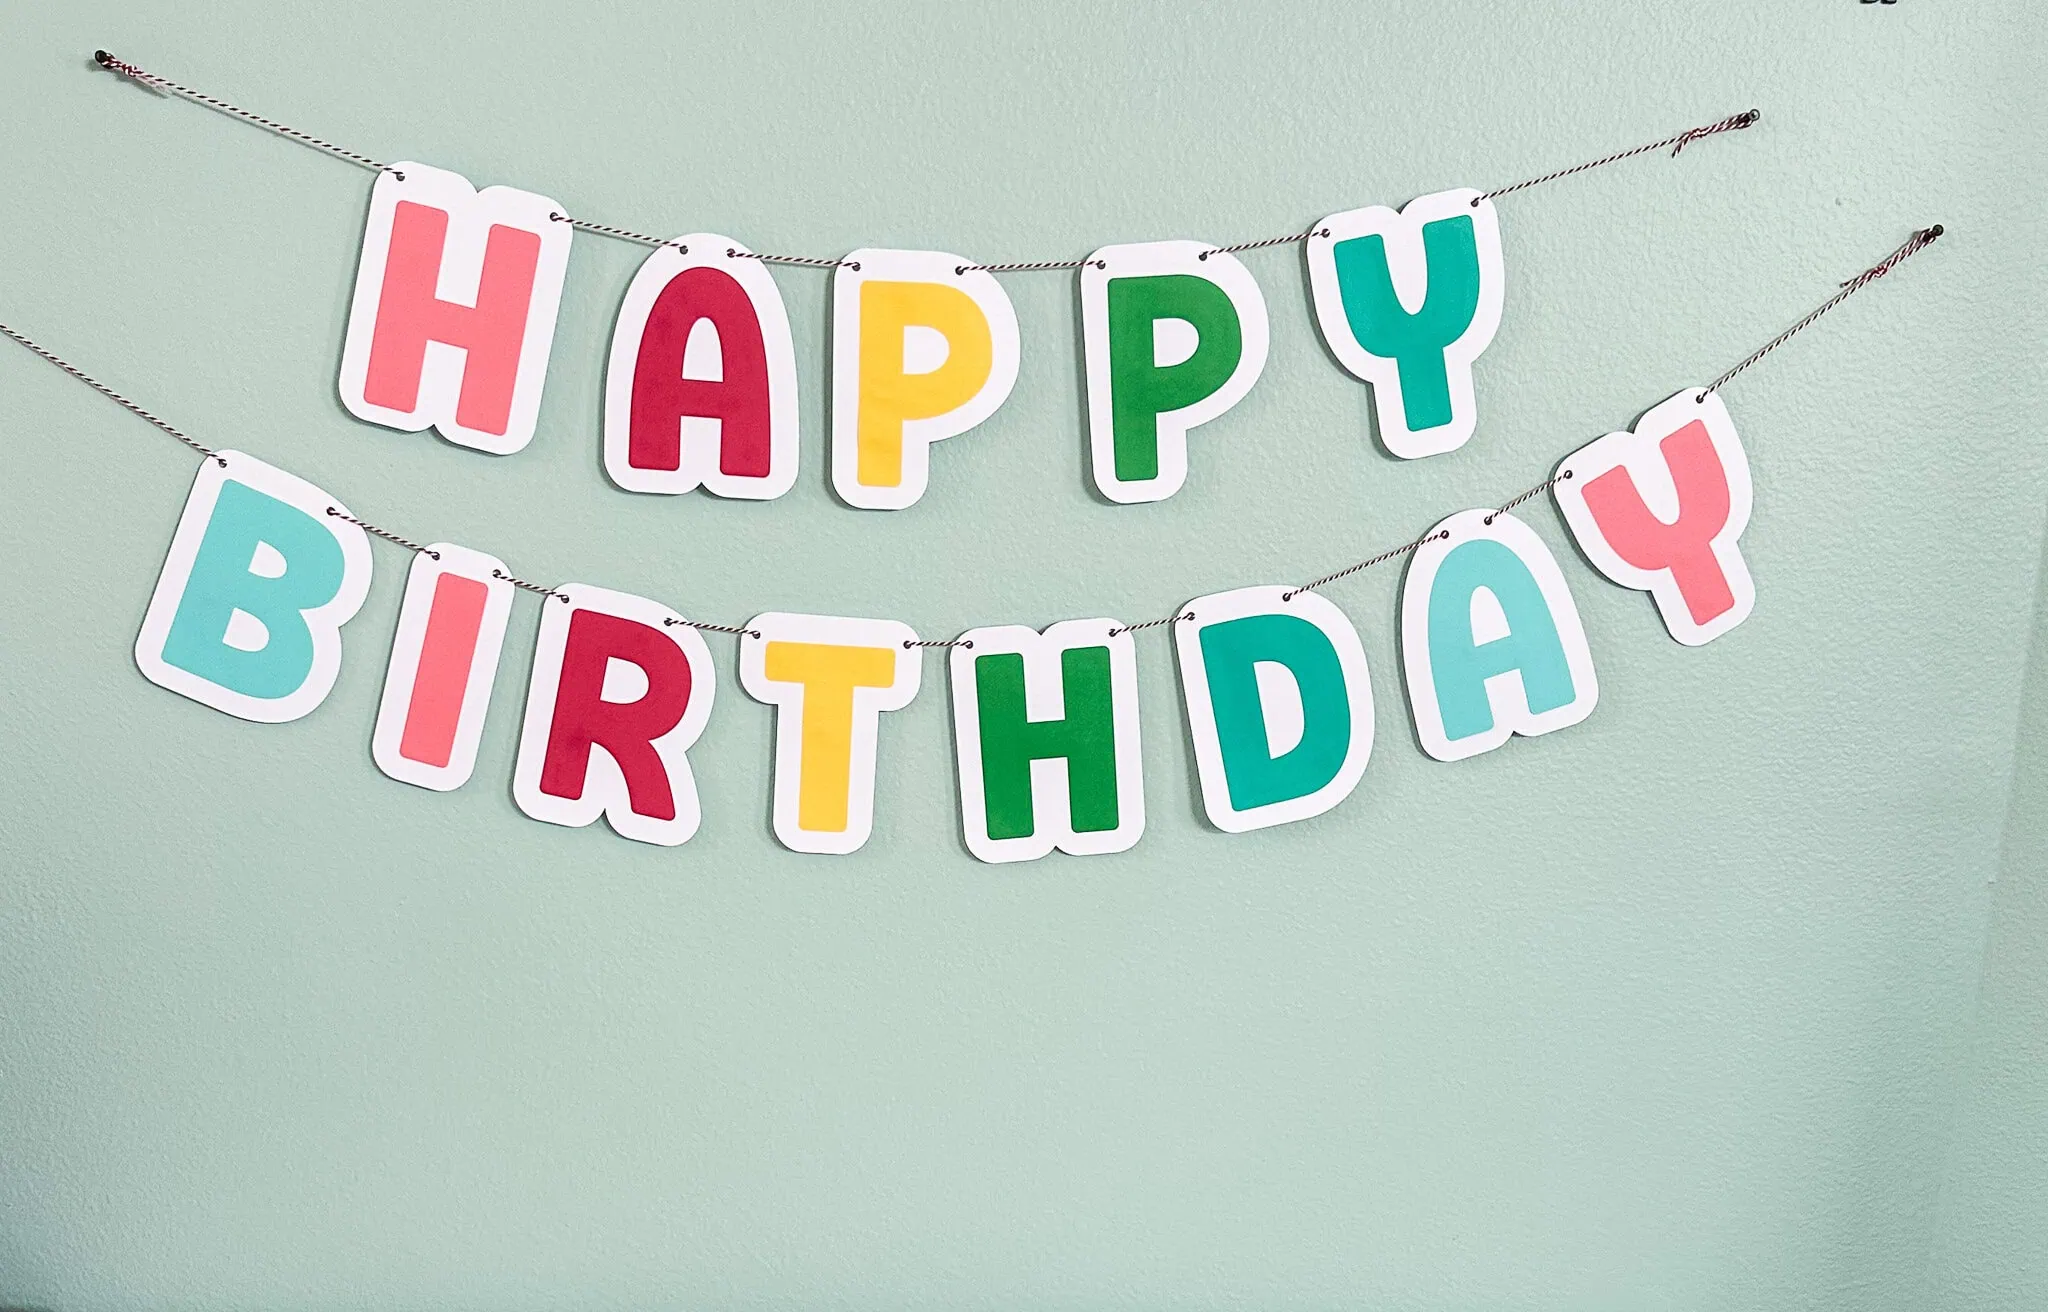
Learn how to make this easy birthday banner with your Cricut. DIY birthday banners are a fun way to decorate for a party. They’re so easy to customize to match the party theme or the birthday person’s favorite colors. And they’re so easy to make.

This post contains affiliate links. By purchasing an item through an affiliate link, I earn a small commission at no extra cost to you. As an Amazon Associate I earn from qualifying purchases.
I’m a birthday person. I just love them. So, of course, I love making birthday banners. They’re just so festive.
I hope you enjoy making your own banner!
DIY Birthday Banner
Supplies Needed:
- Cardstock
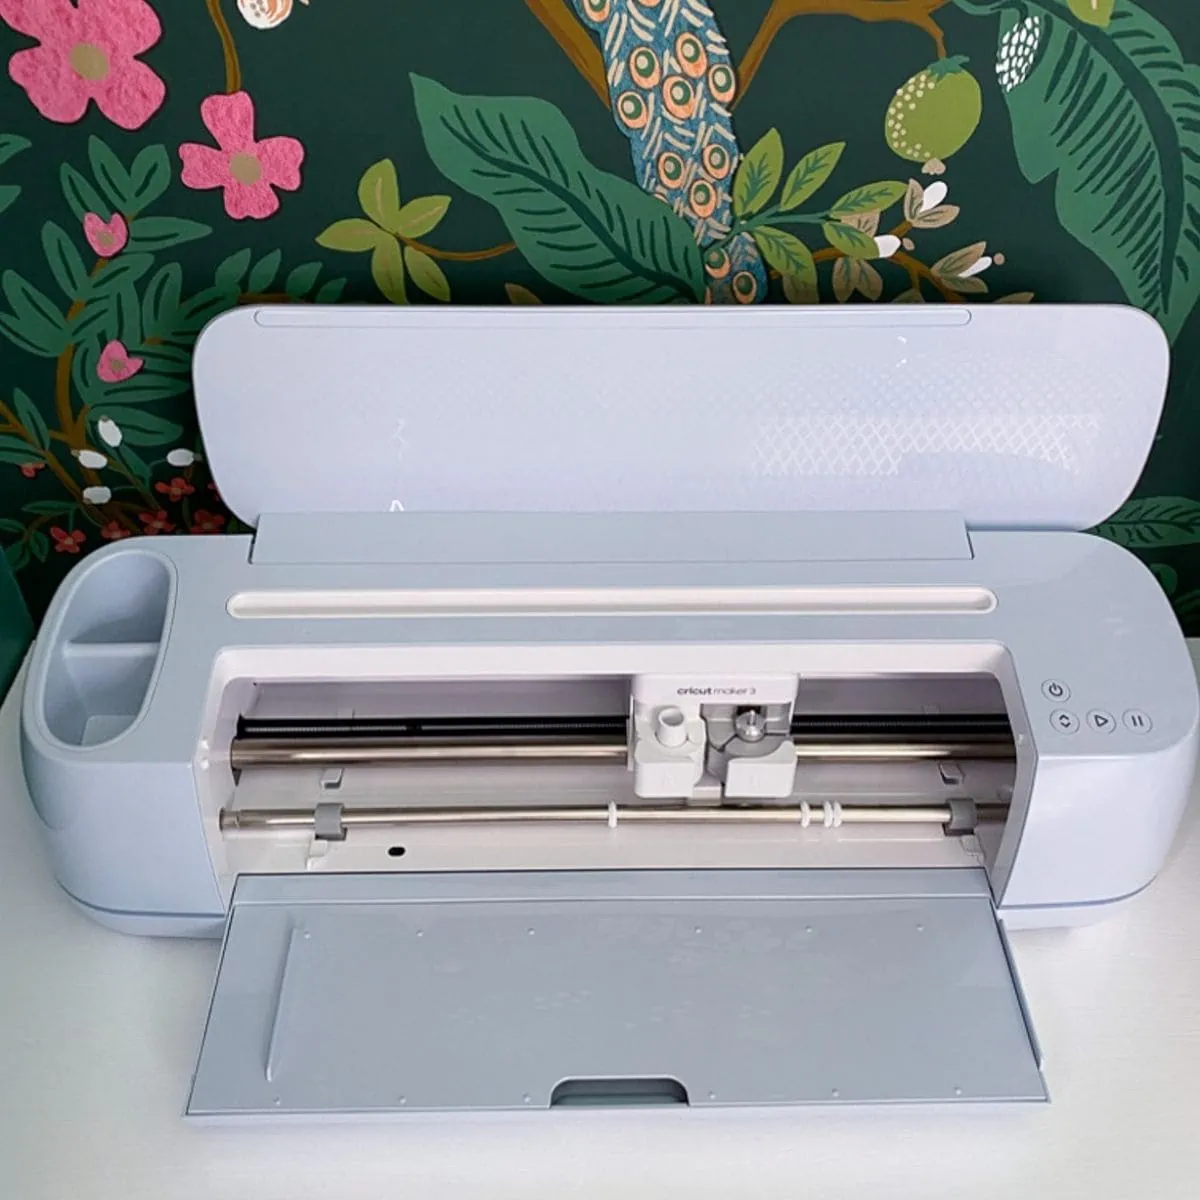
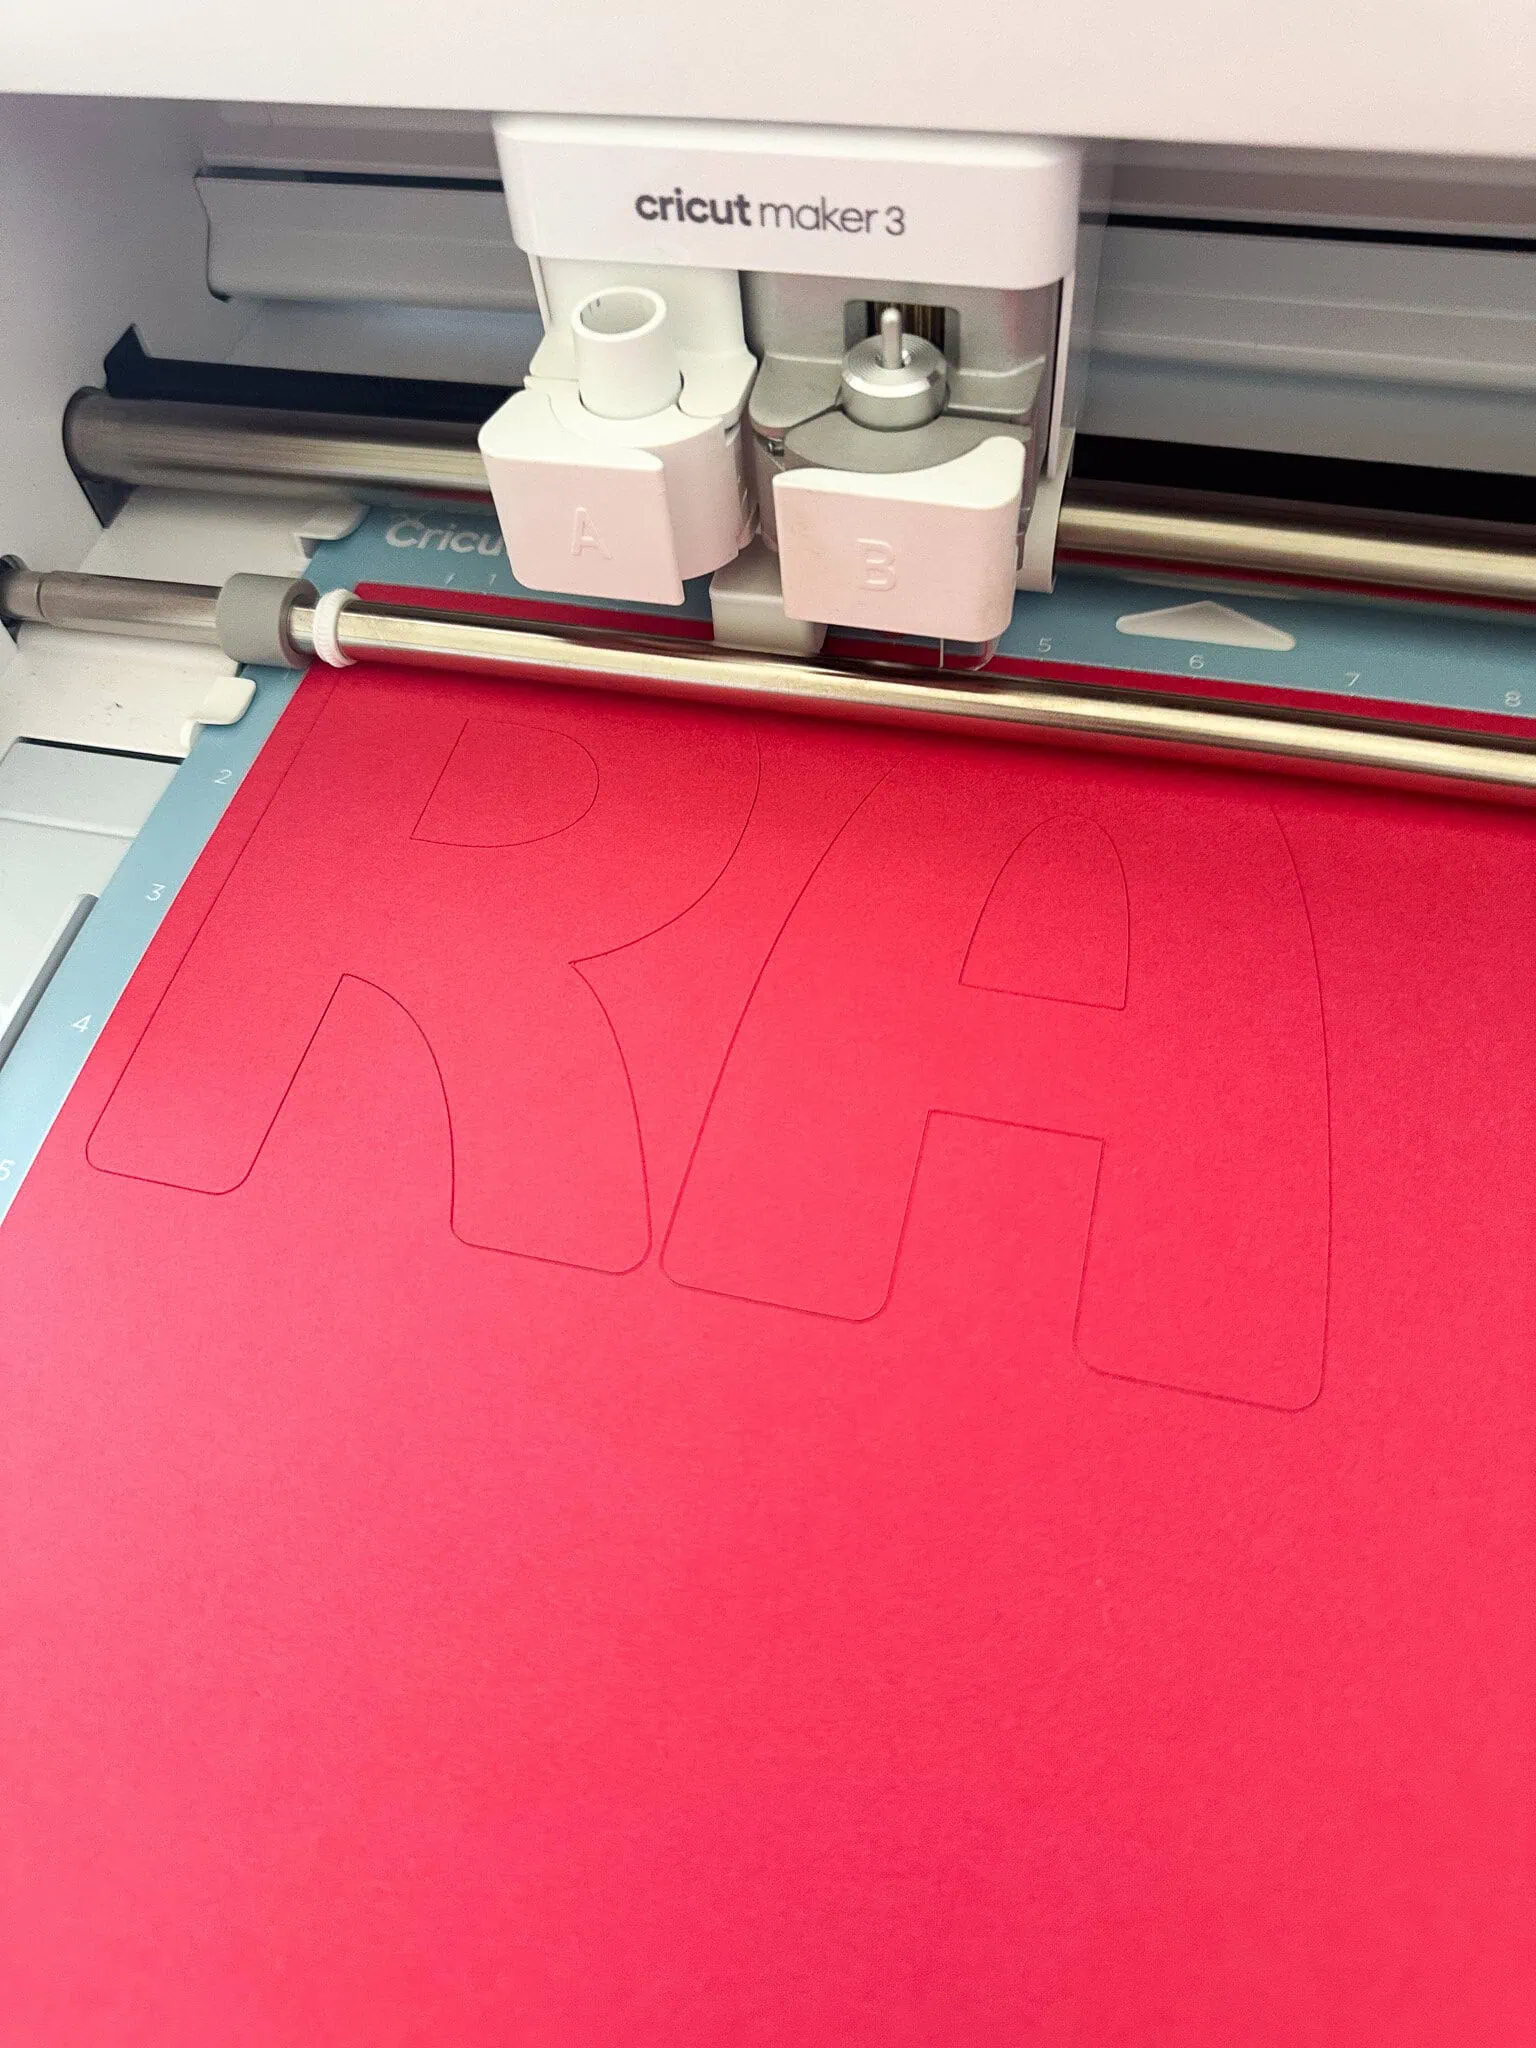
- Cutting Machine (I used my Cricut Maker 3)
- String (I love Baker’s Twine)
- Glue
- Scissors
- Banner SVG*
*I created this alphabet banner SVG set with a hand-lettered font that I designed. Each letter has a background piece that includes holes for paper crafting.
This set includes A-Z, 0-9, !? and a heart and suffixes for ordinal numbers (ex, RD to indicate 3rd).
Each letter is roughly 8″ wide, but they can be resized when cutting.
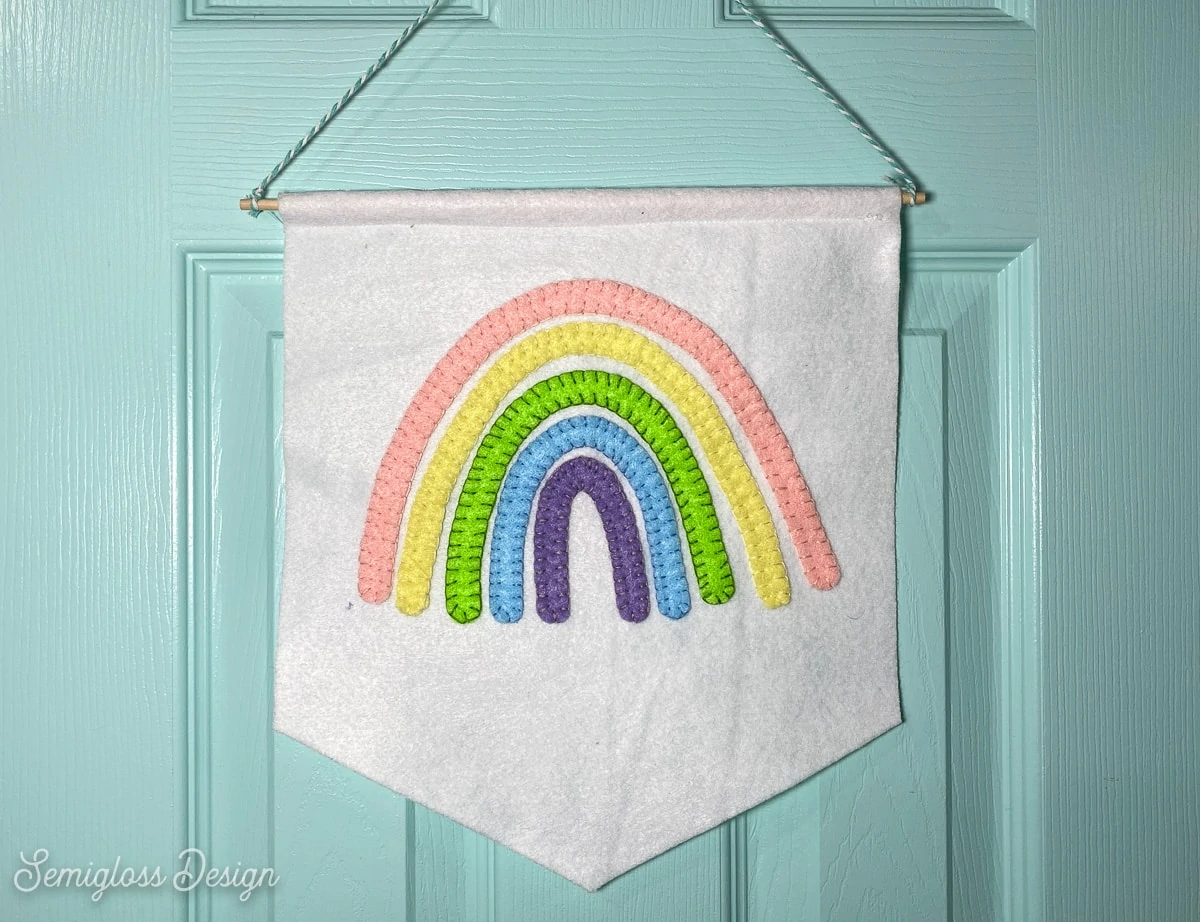
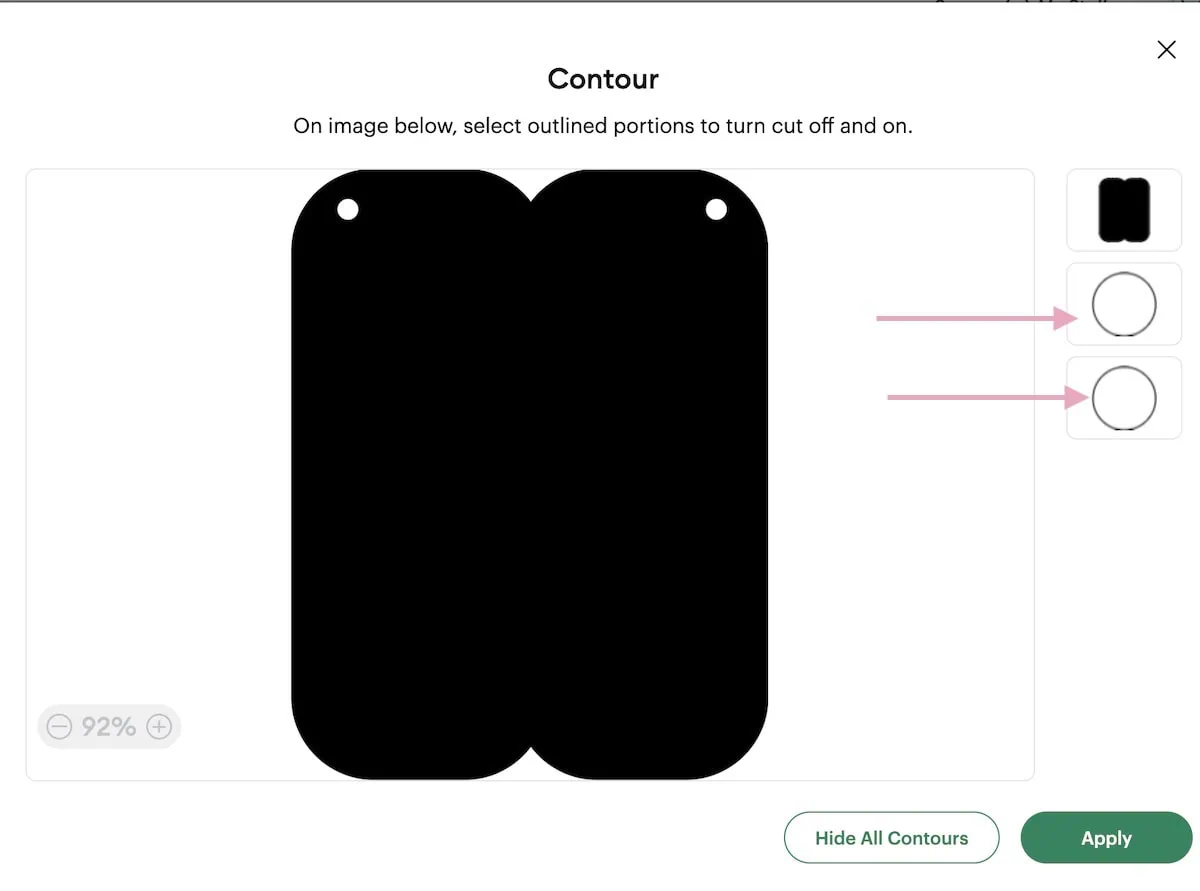
If you’re making your banner with felt, you will need to remove the holes on the background layer using the Contour option in Cricut Design Space. Select the holes and click Apply.
Glitter cardstock can be used, but it’s best to use it only for the front letters. Gluing paper to glitter cardstock is difficult.
Cutting the Birthday Banner
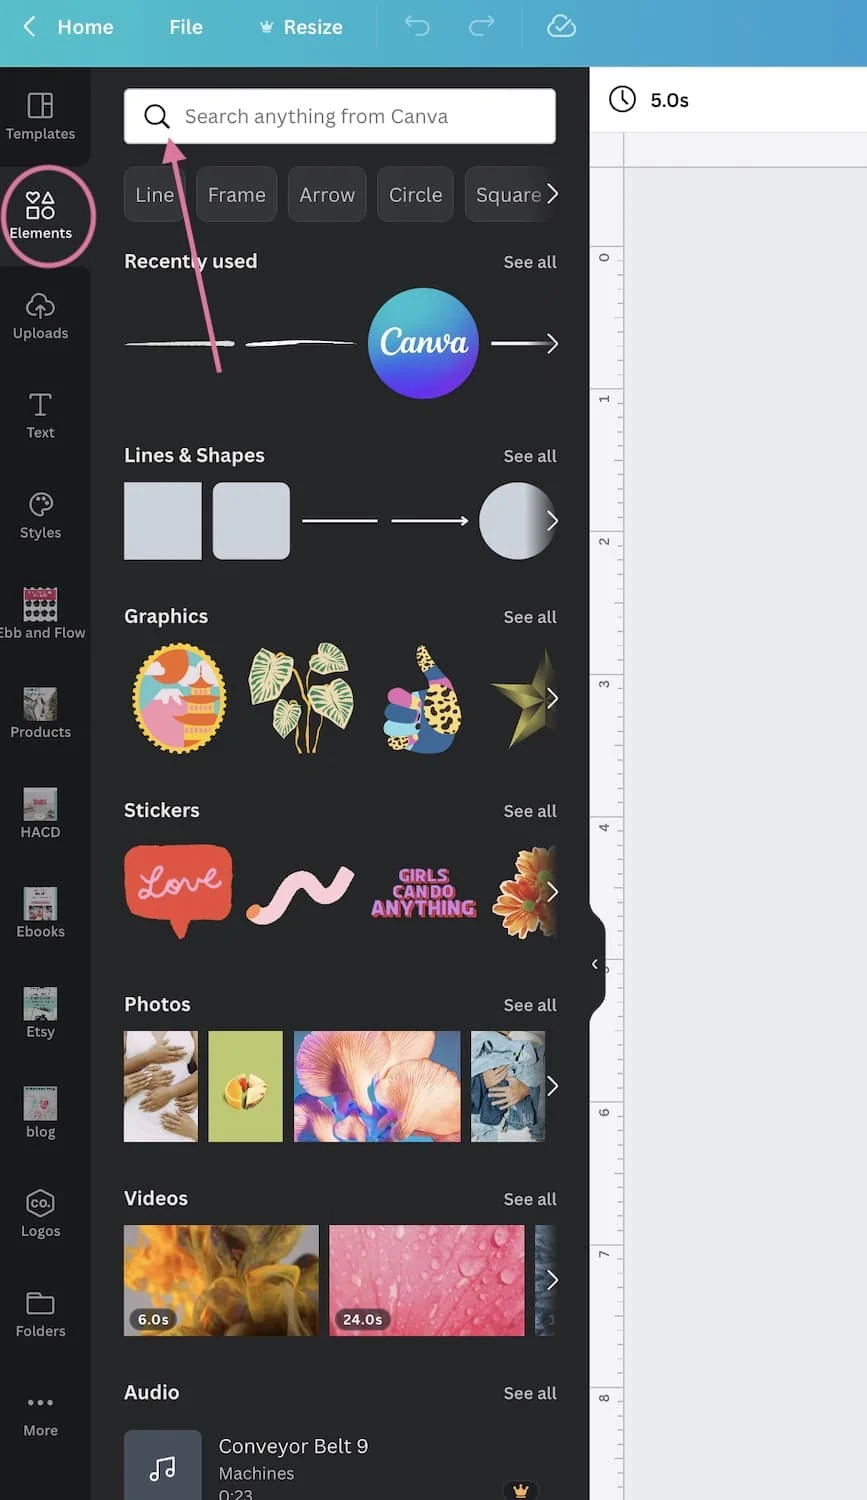
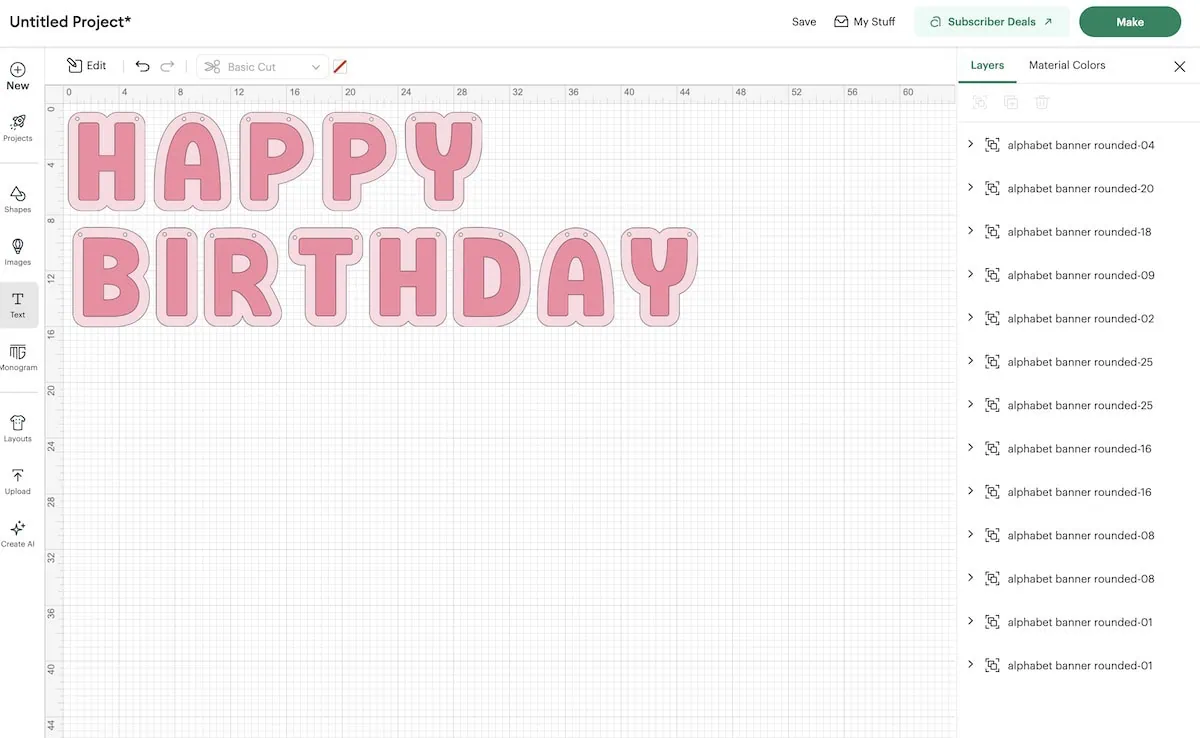
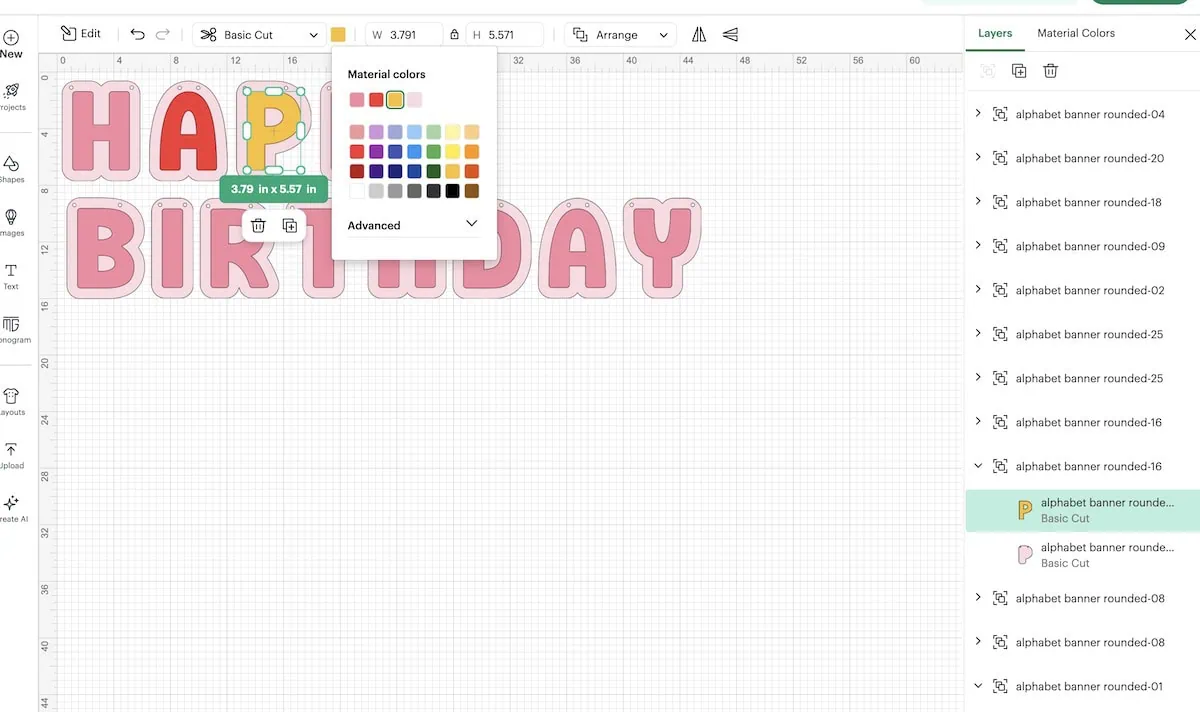
- Upload your design as usual. Each letter must be uploaded individually.
- Duplicate the letters as needed. For “Happy Birthday”, I needed to upload H, A, P, Y, B, I, R, T, and D.

- When they’re all on the canvas, change the colors if needed.

- Resize if needed.
- Cut as usual.

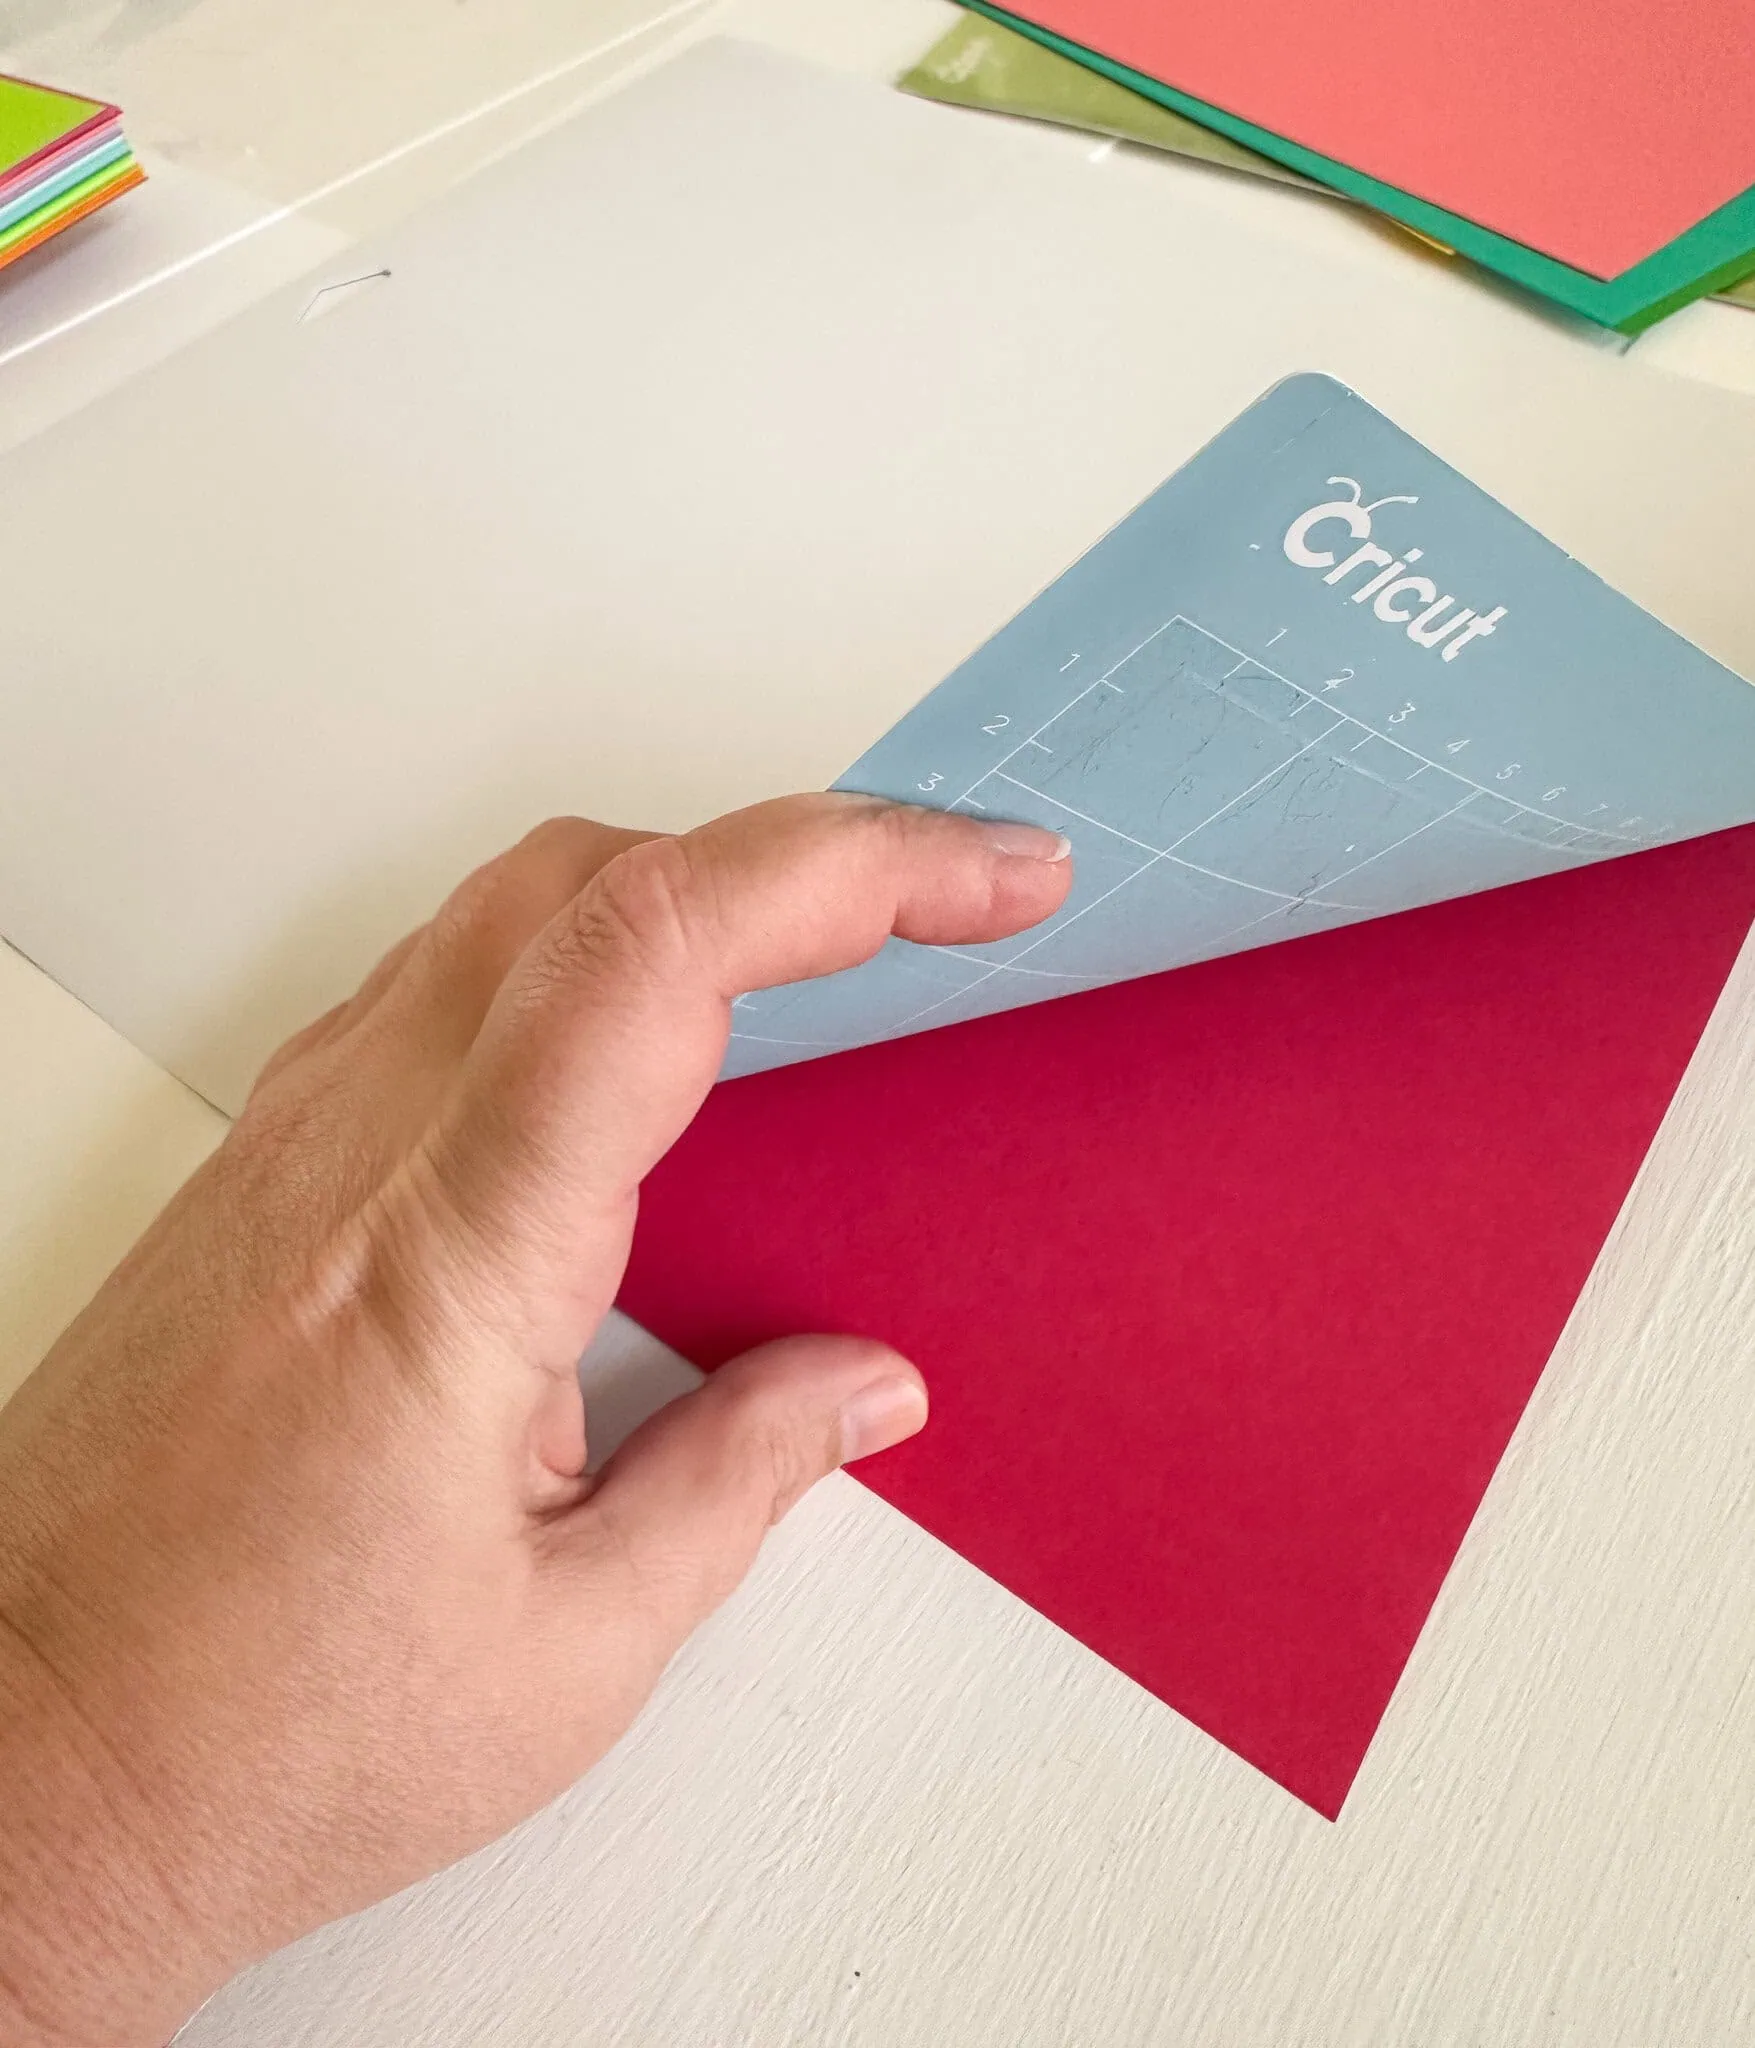
- When weeding, peel the mat away from the cardstock to prevent curling.

No Cricut? No problem! I’ve also included a printable PDF template. Just print and cut by hand. Use a hole punch for the holes.
Assembling the Banner
Please note: A longer phrase can be broken into parts or kept as one for a long banner. For this birthday banner, I’m breaking it into 2 parts. You can also add the age and name if you want. For instance, it could say “Happy Birthday” or “Happy 18th Birthday, Max!”
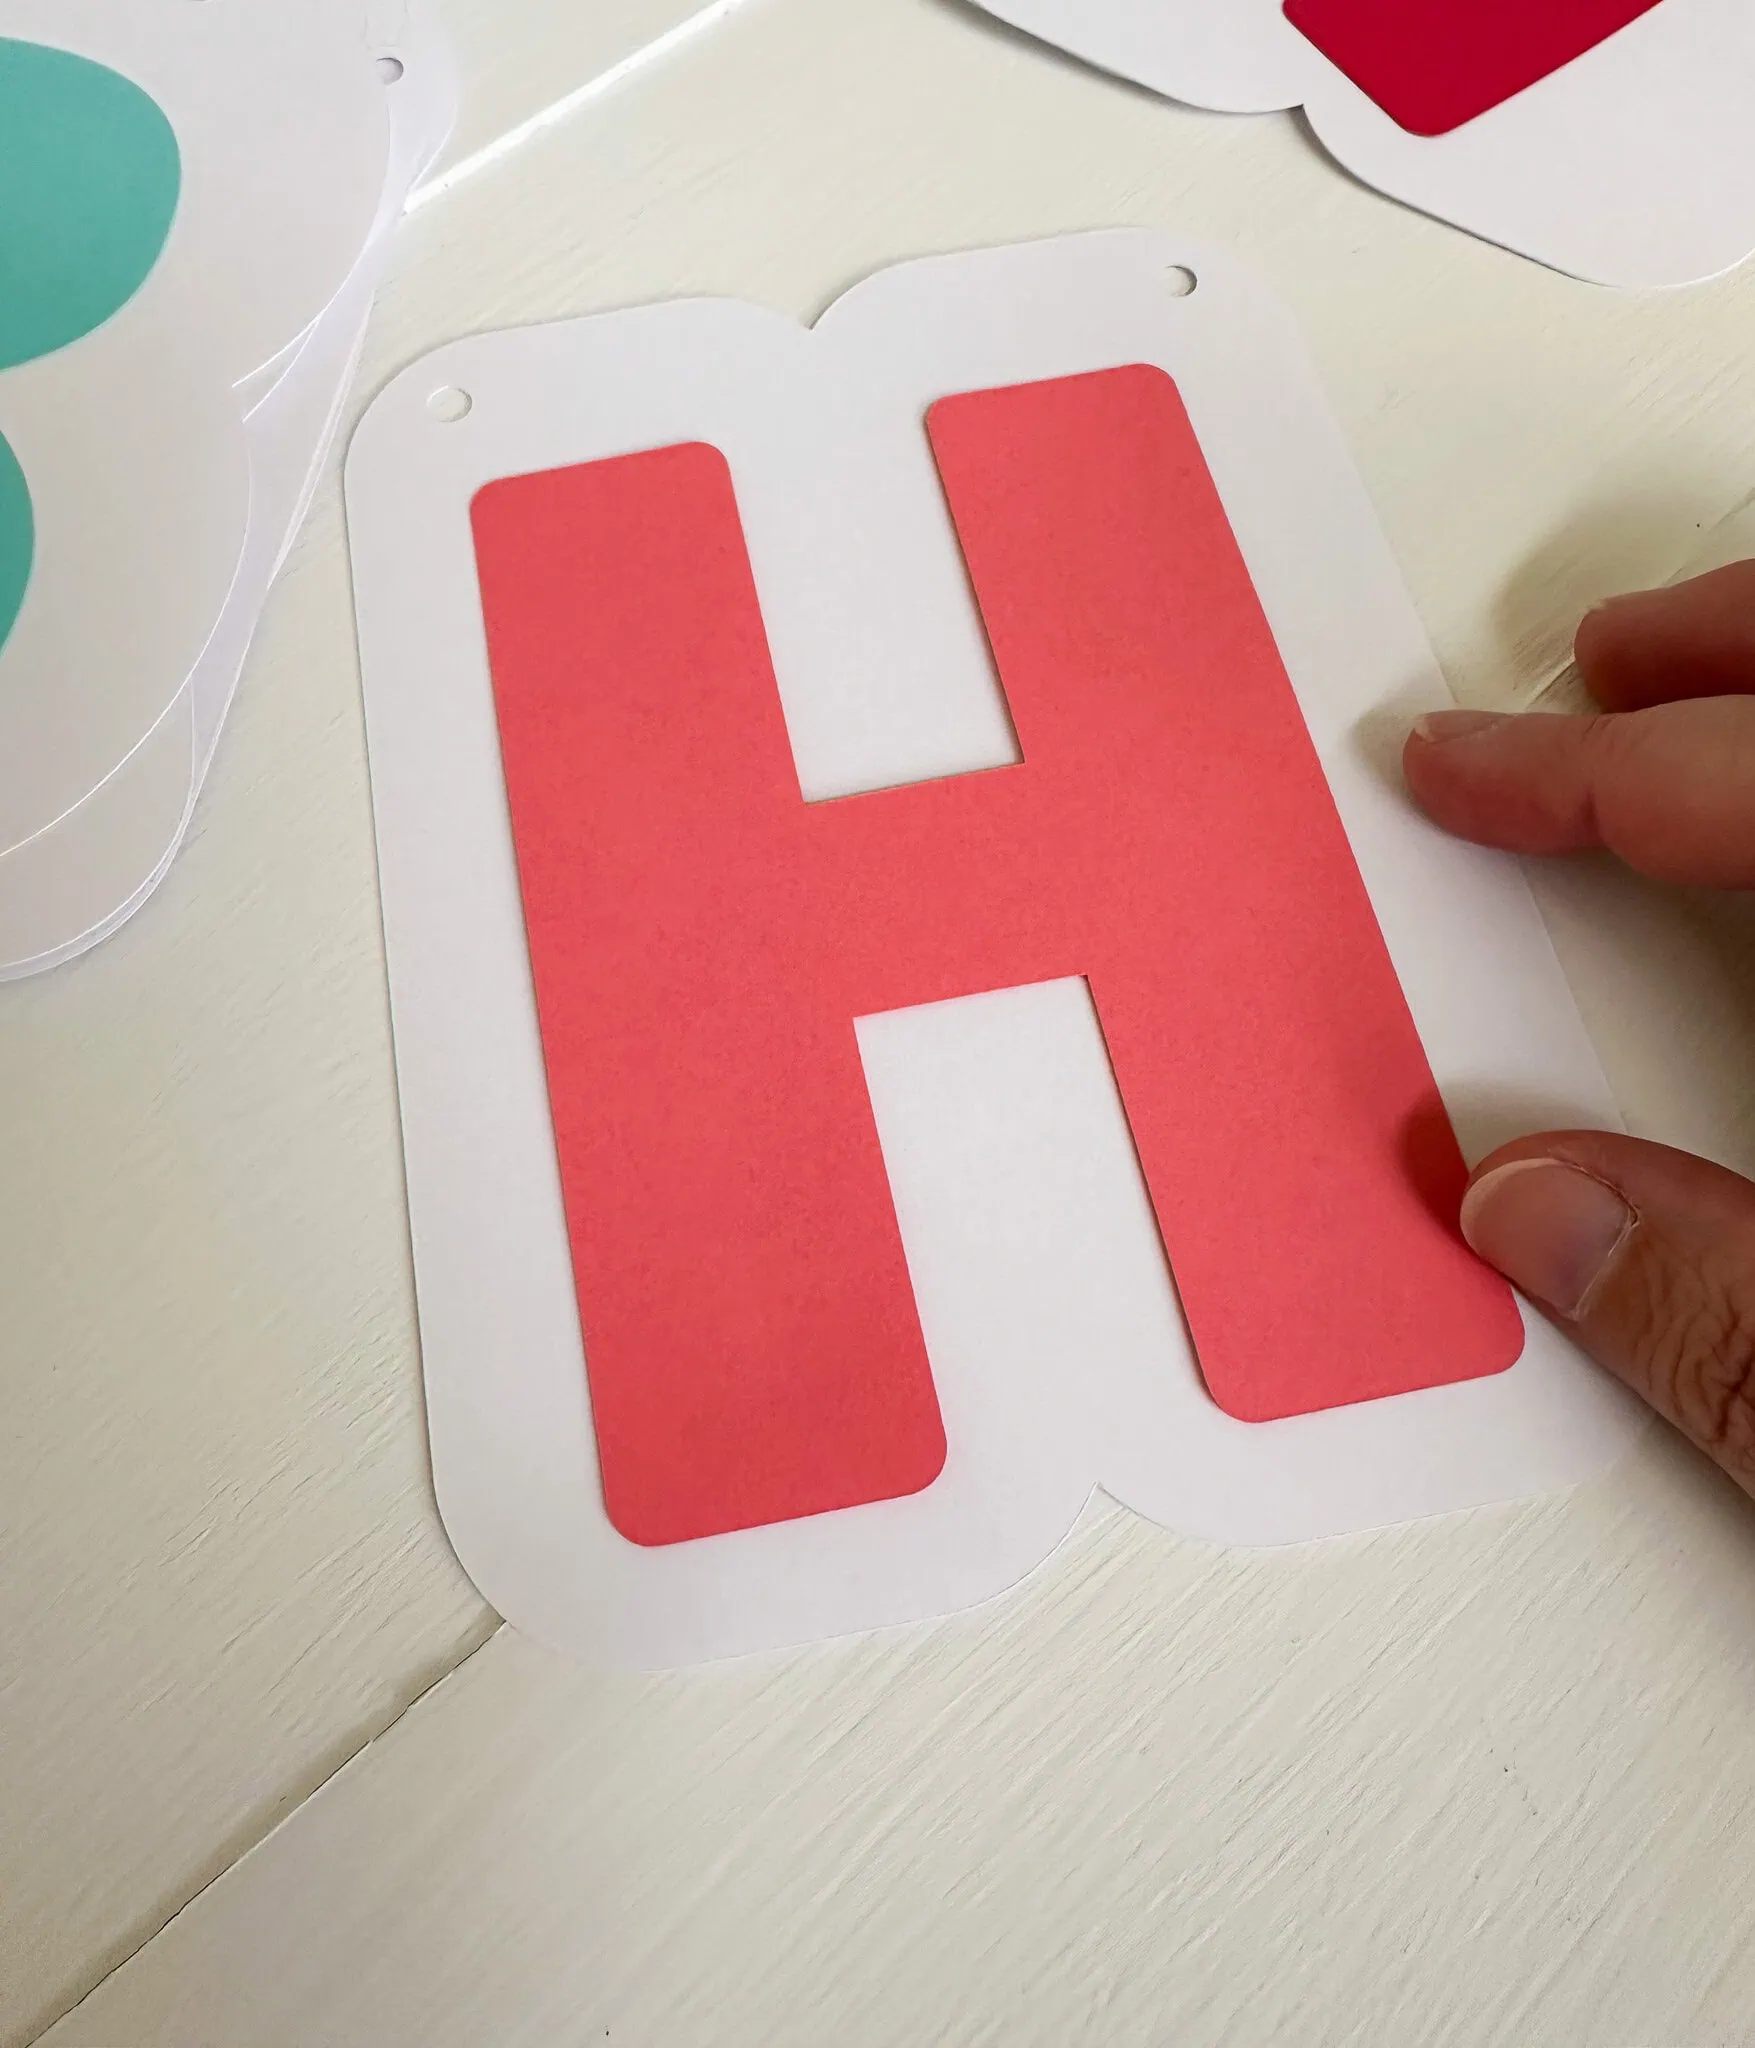
- Layout each letter on its background piece. Make sure that letters are facing the correct way and are not upside-down.
- Center each letter on the background piece.
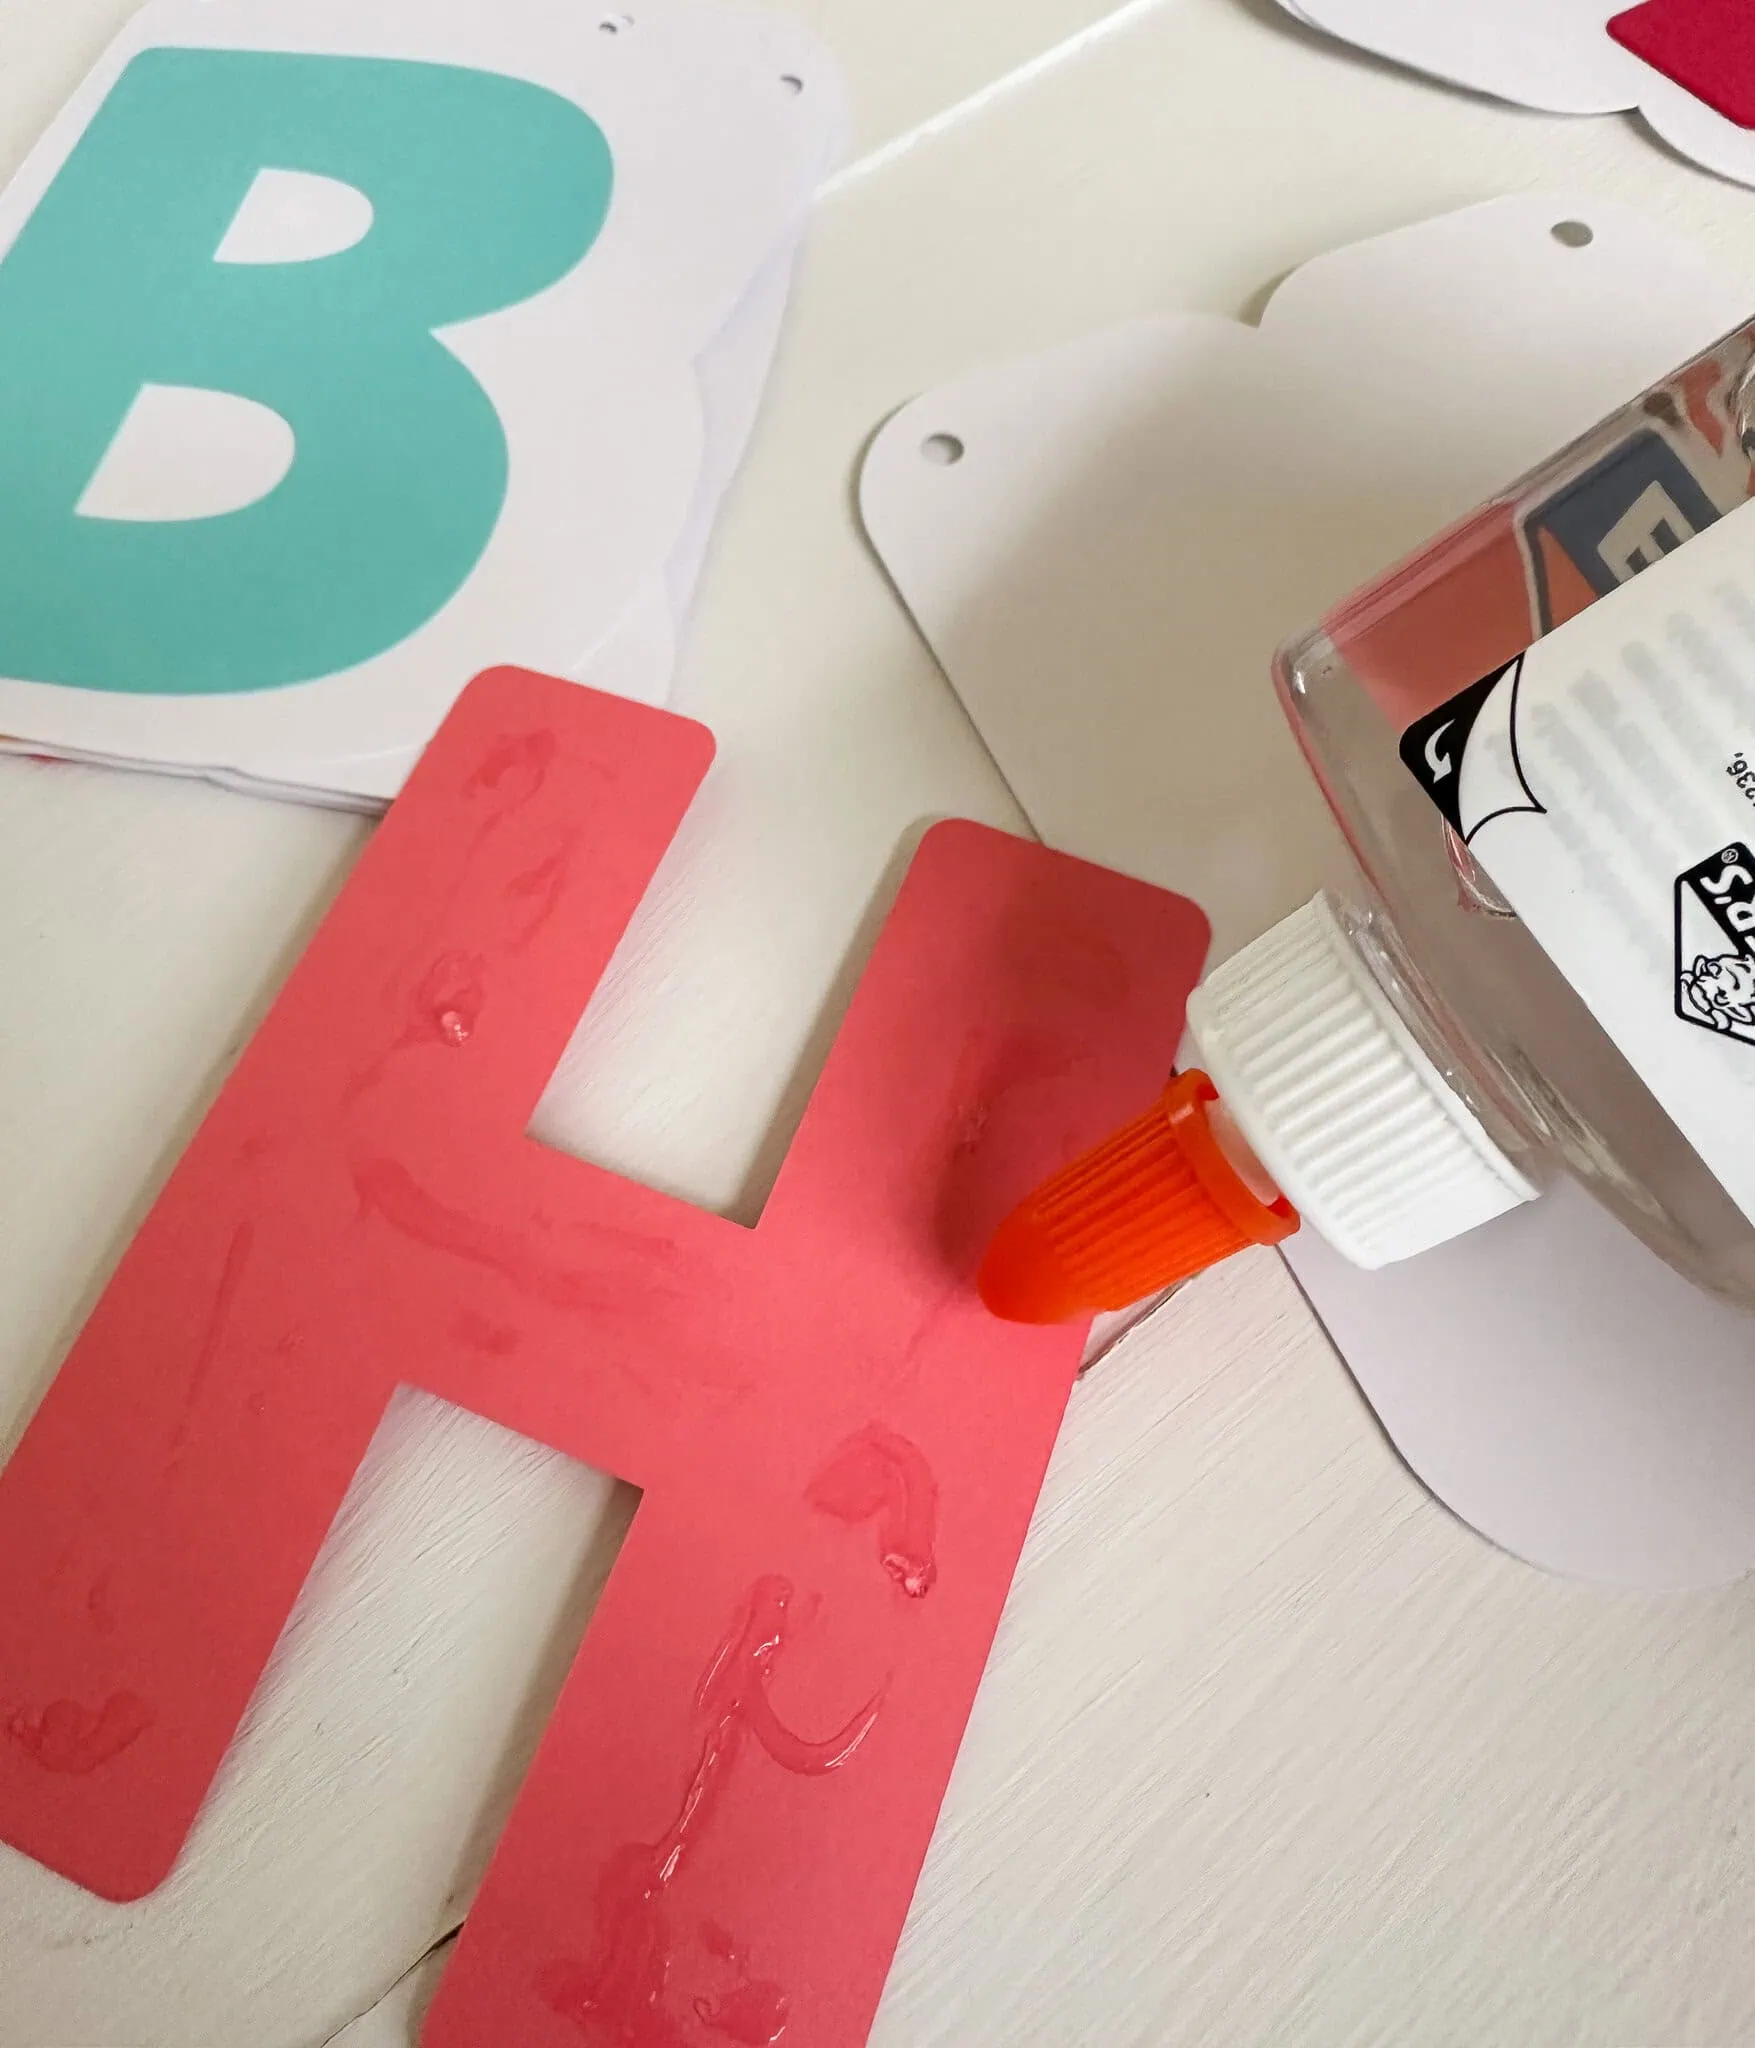
- Use glue to attach each letter to its background.
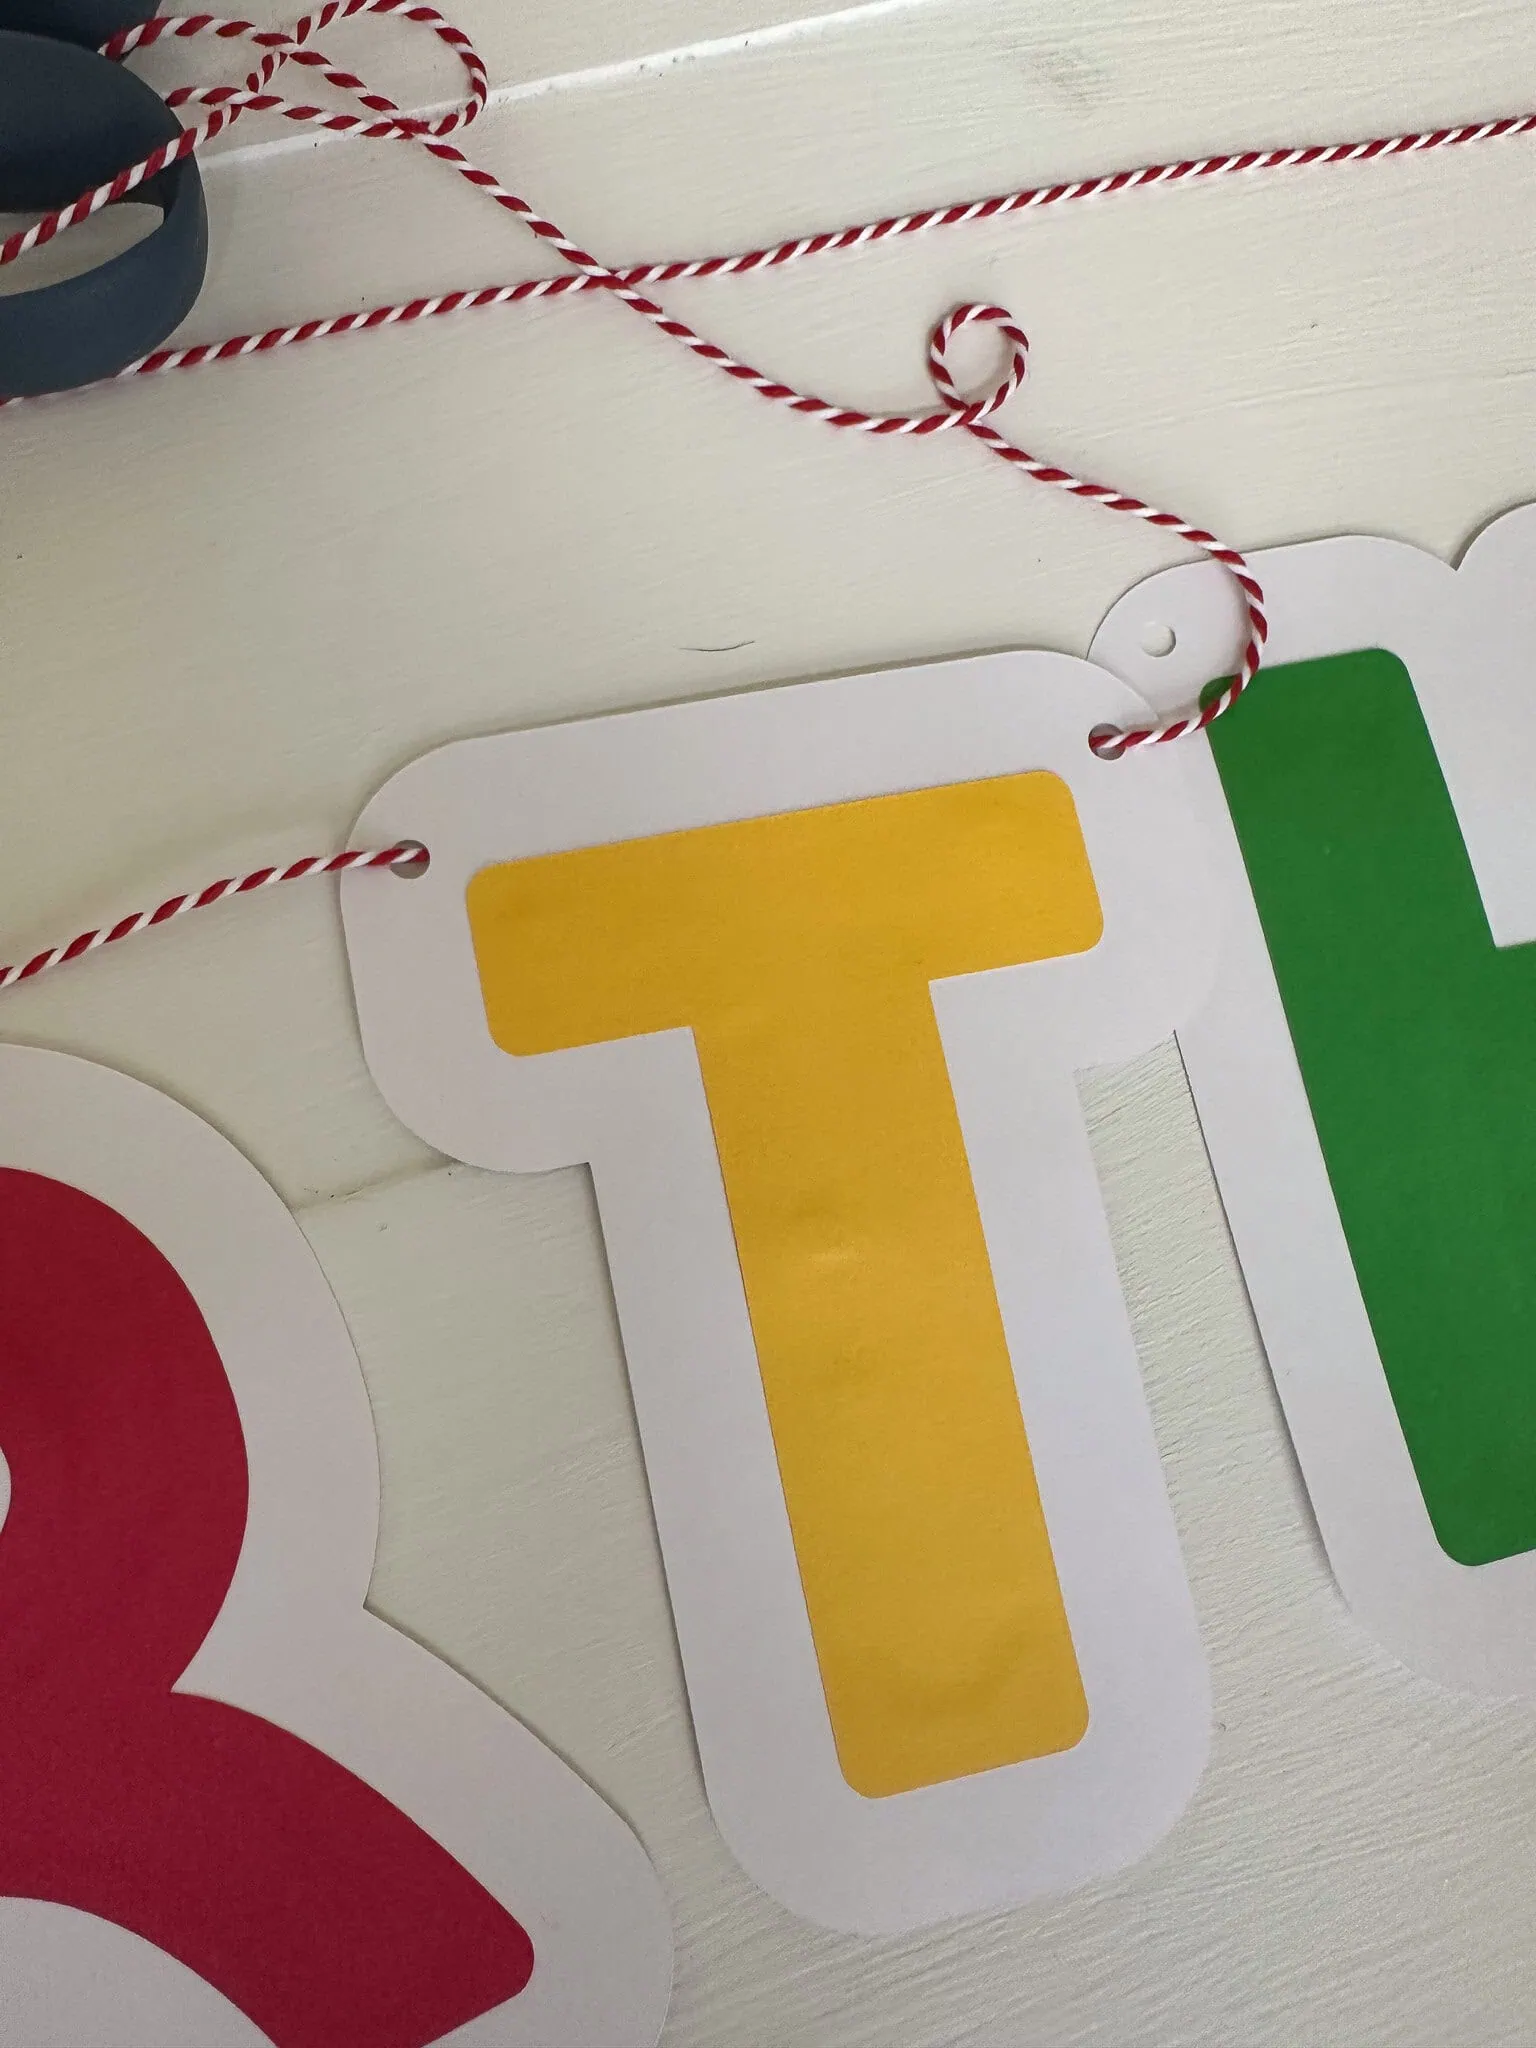
- Start from the middle of the word and thread the string through the holes in the letters. Taping the end of the thread makes this easier.
- Continue adding the letters until the word is finished.
- If needed, repeat this process for the other row(s).
- When you’re finished, tie a loop at the end of each string.
- Hang and enjoy.

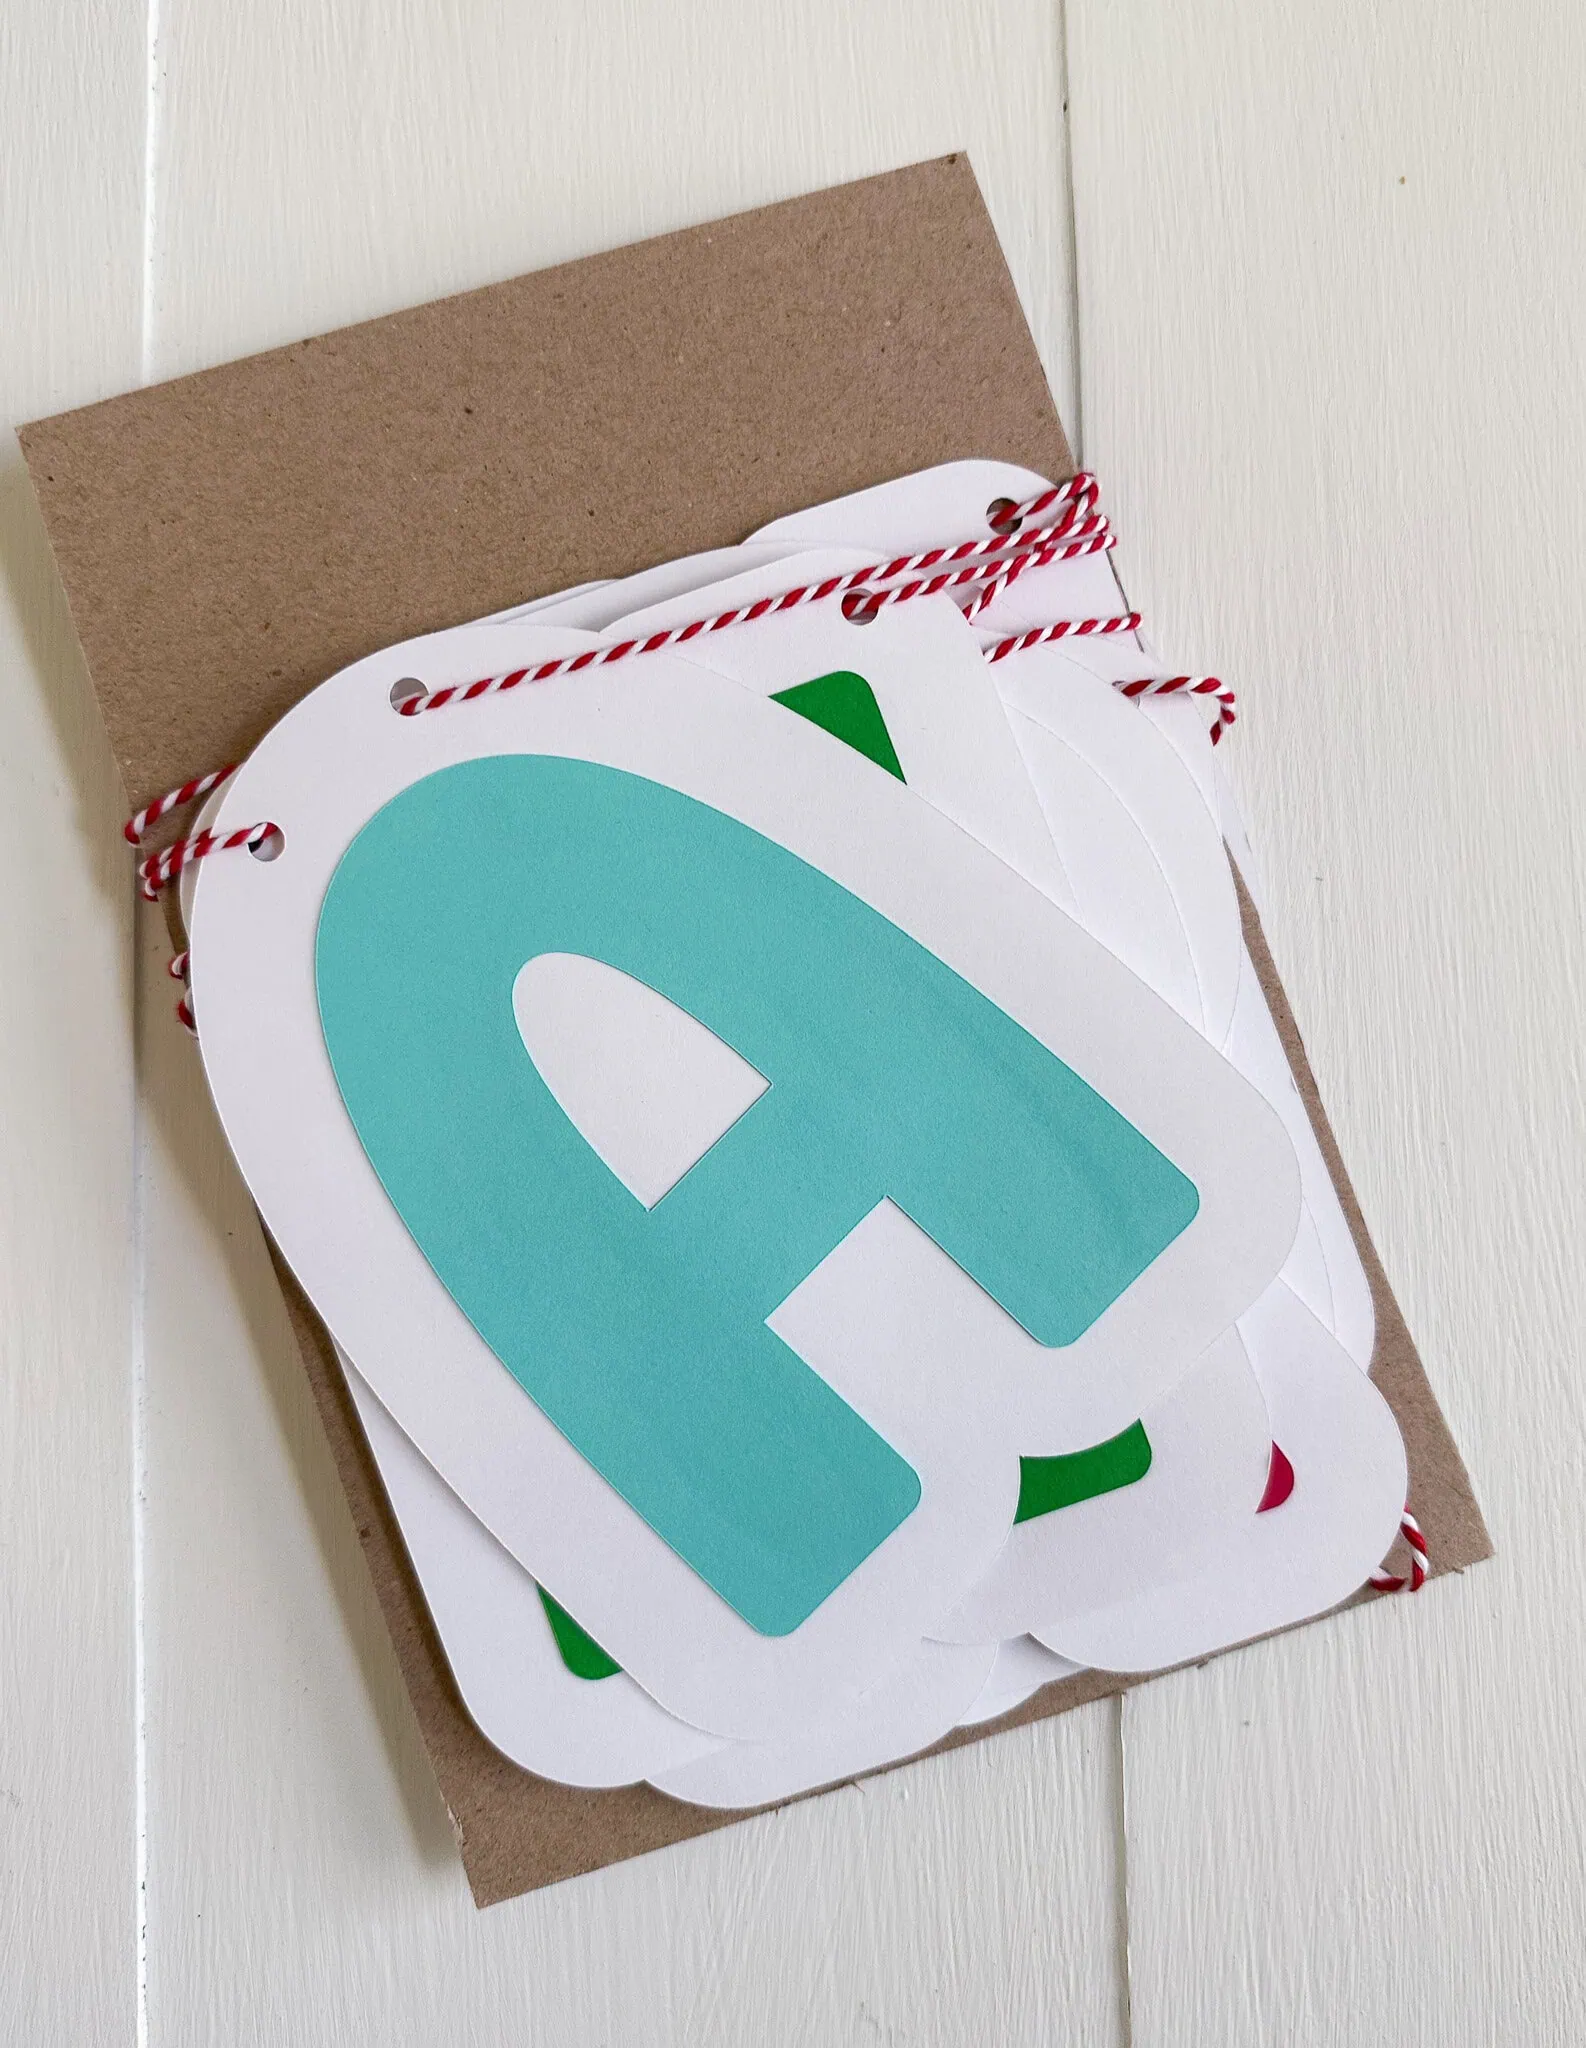
- For storage, wrap the entire thing around a sturdy piece of cardstock or cardboard.

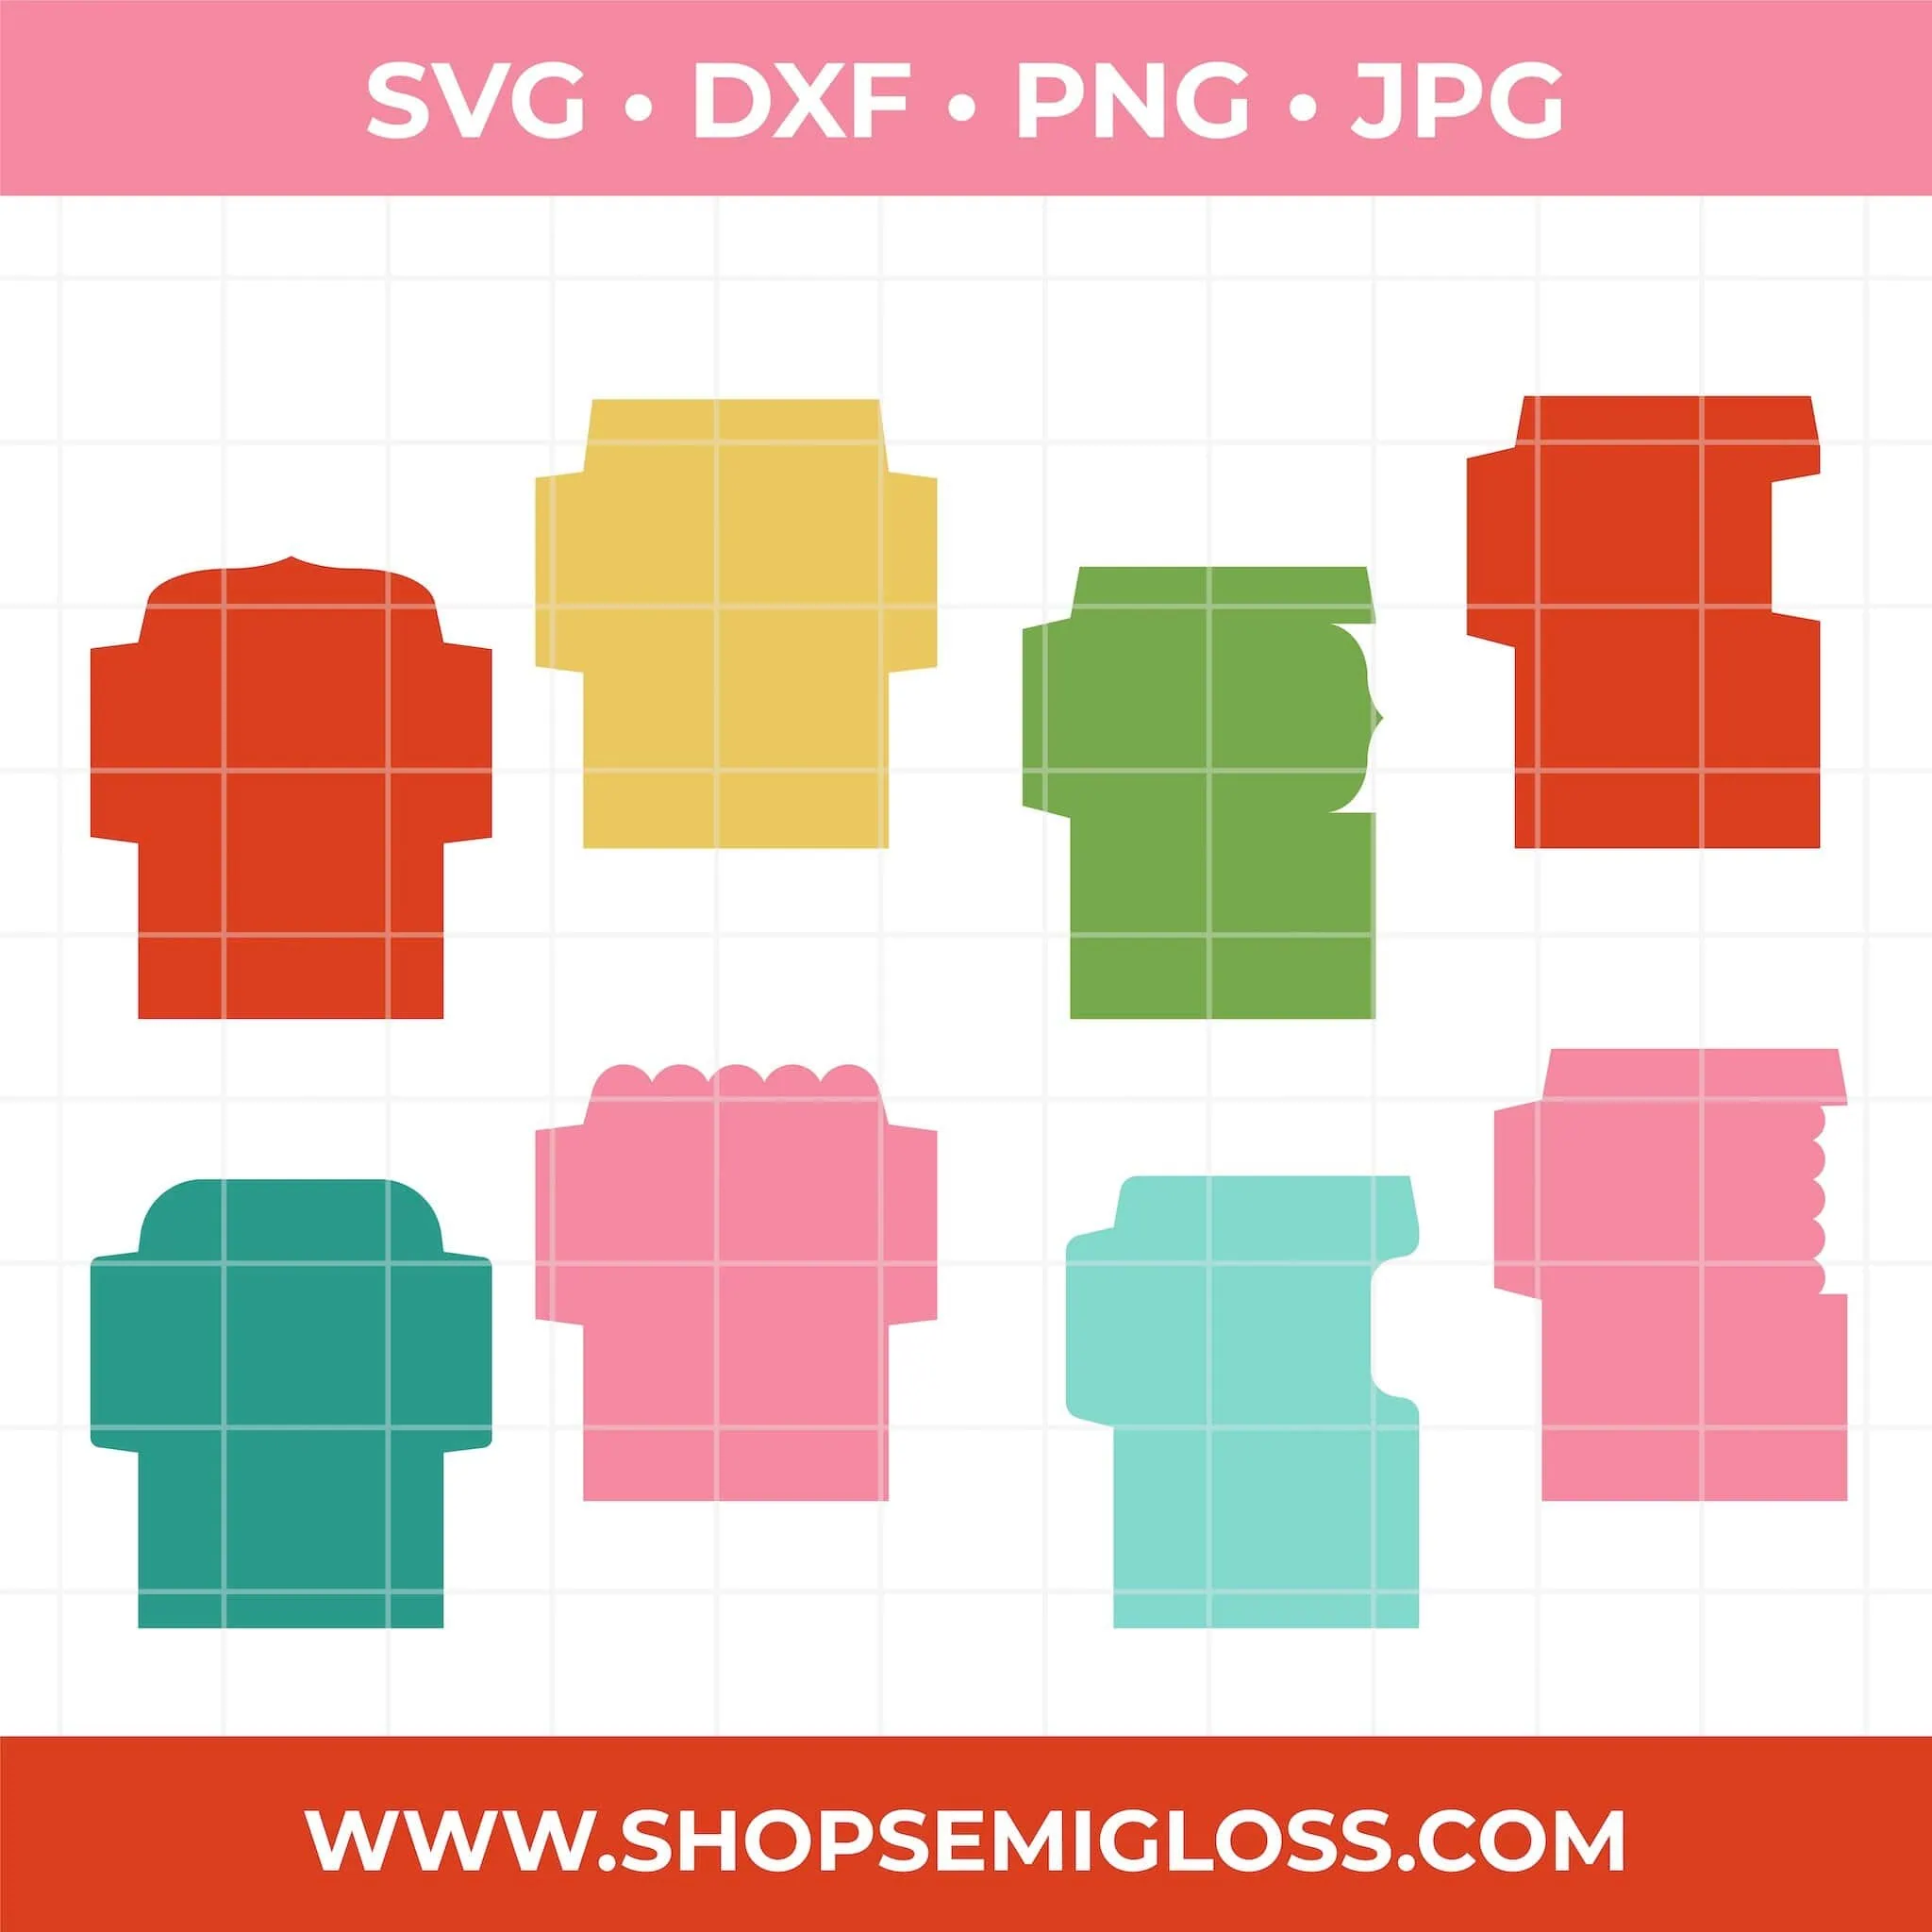
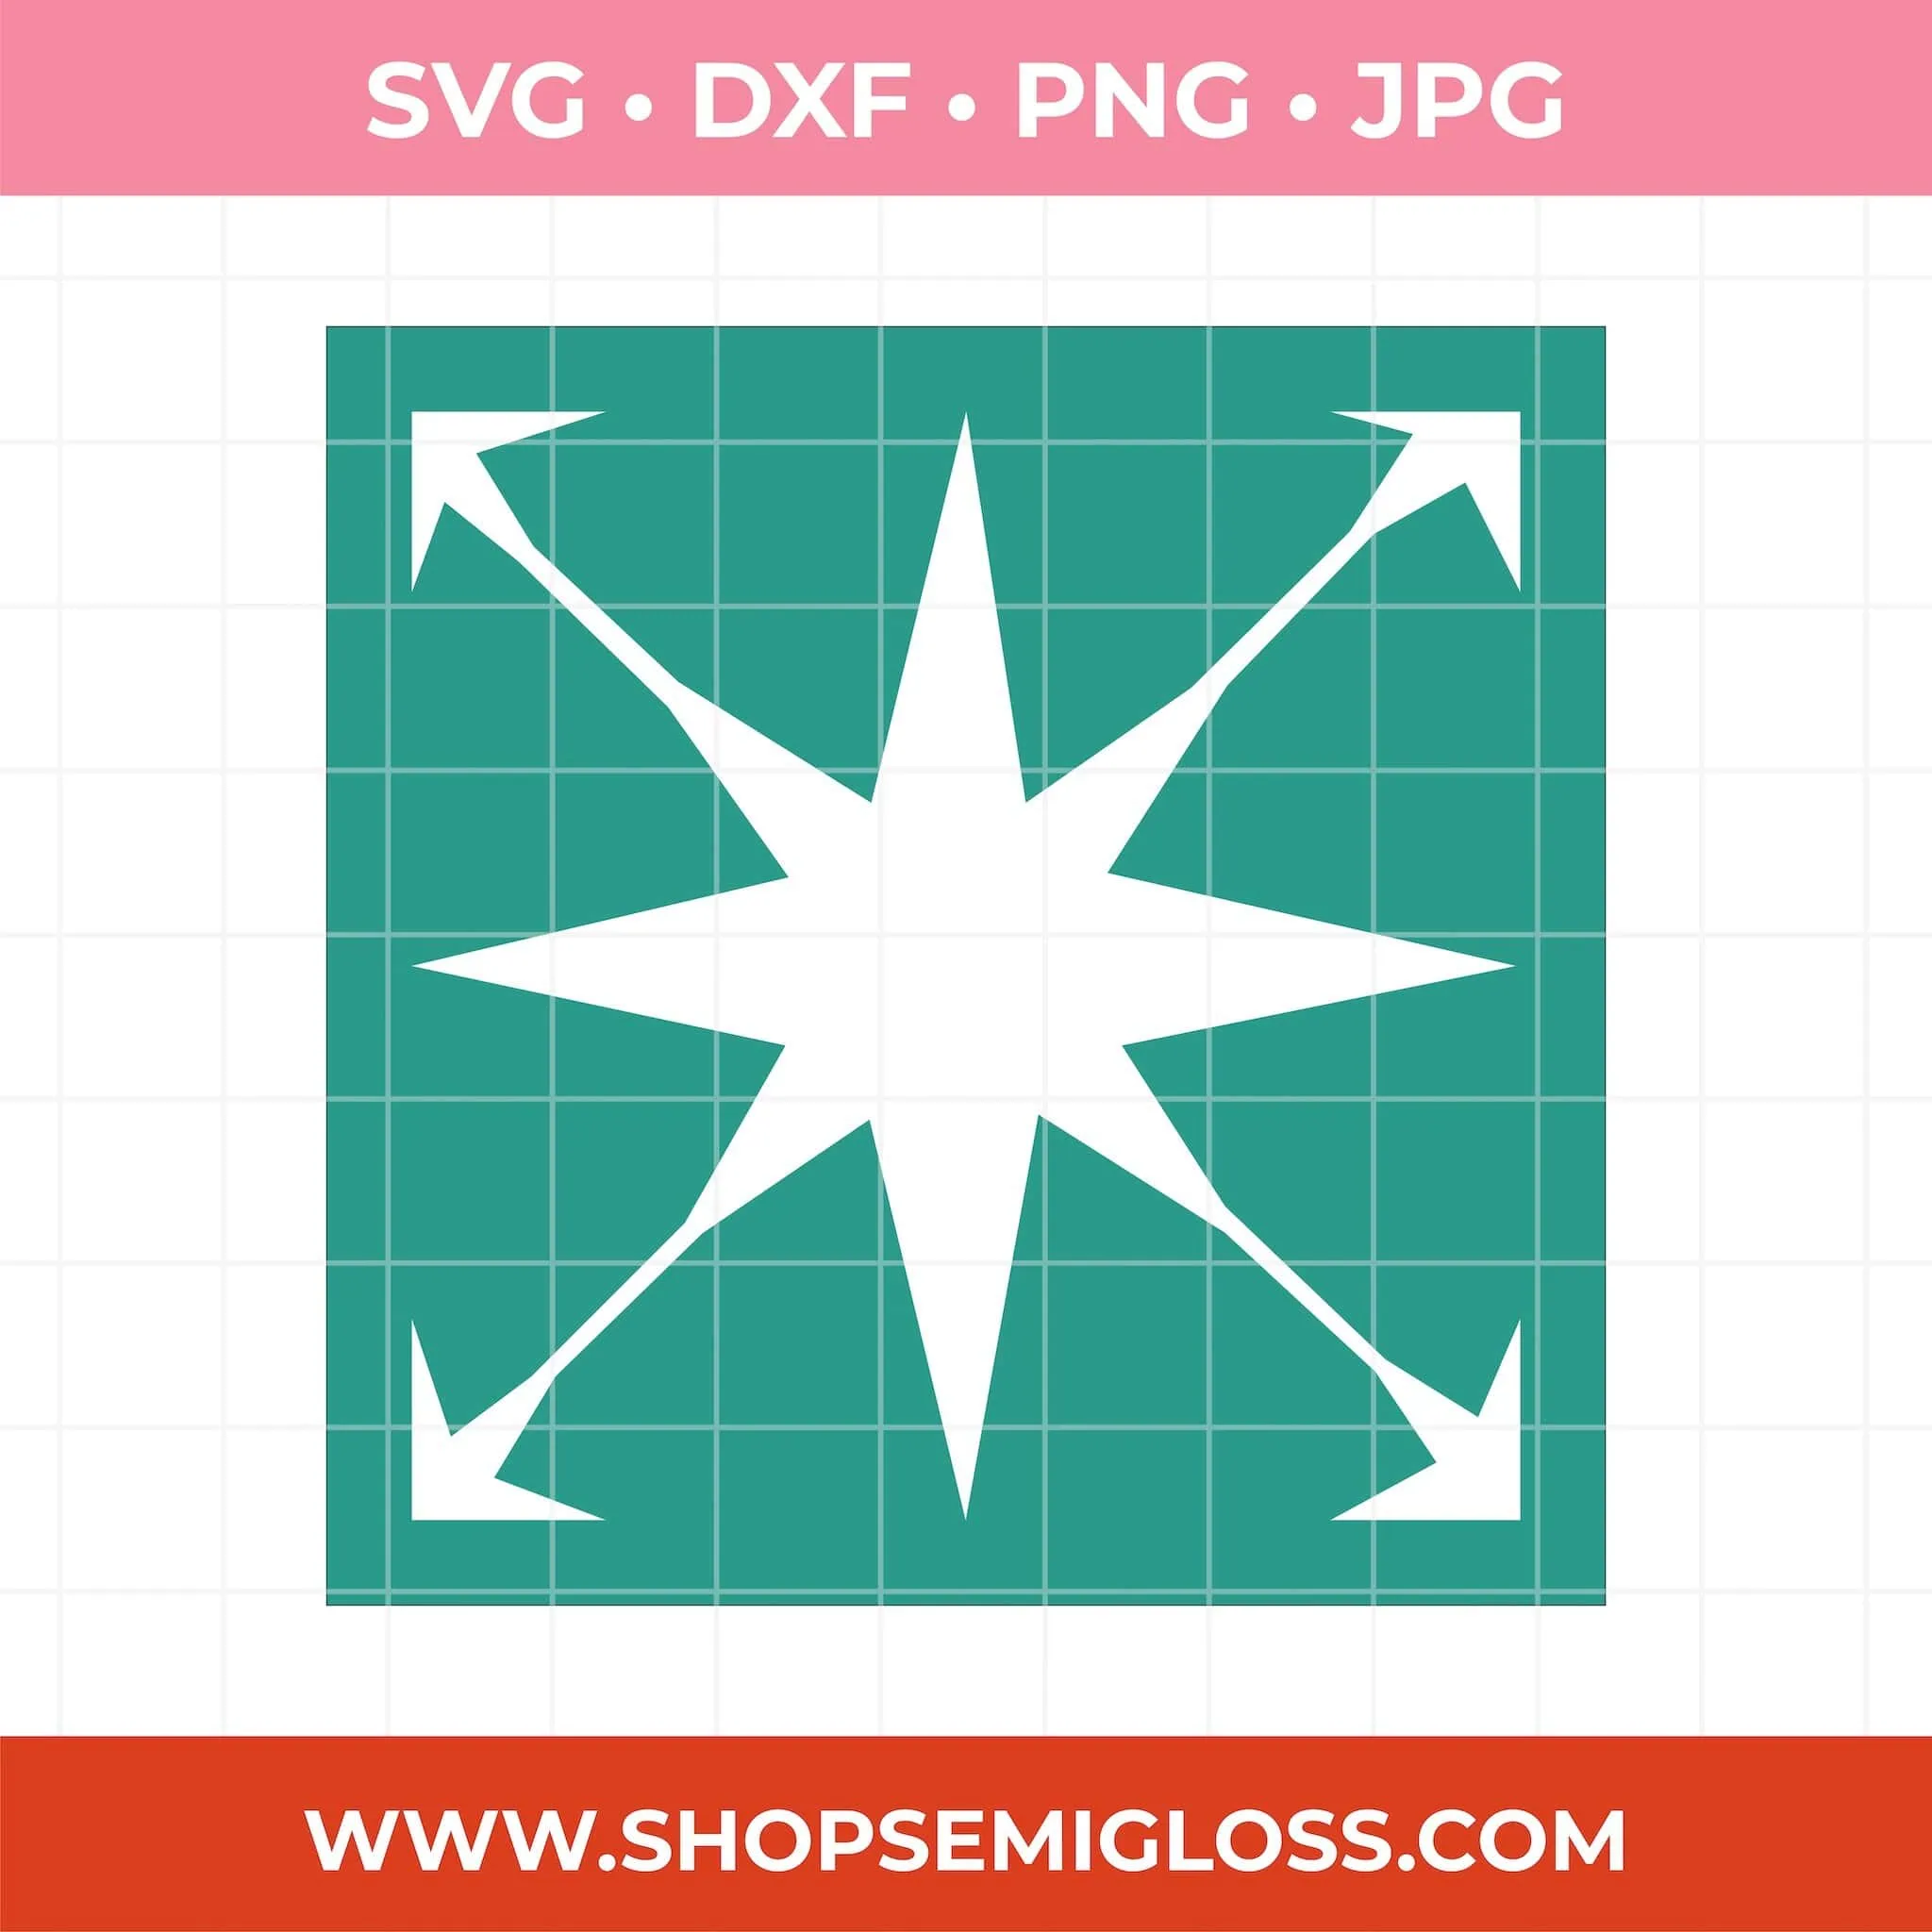
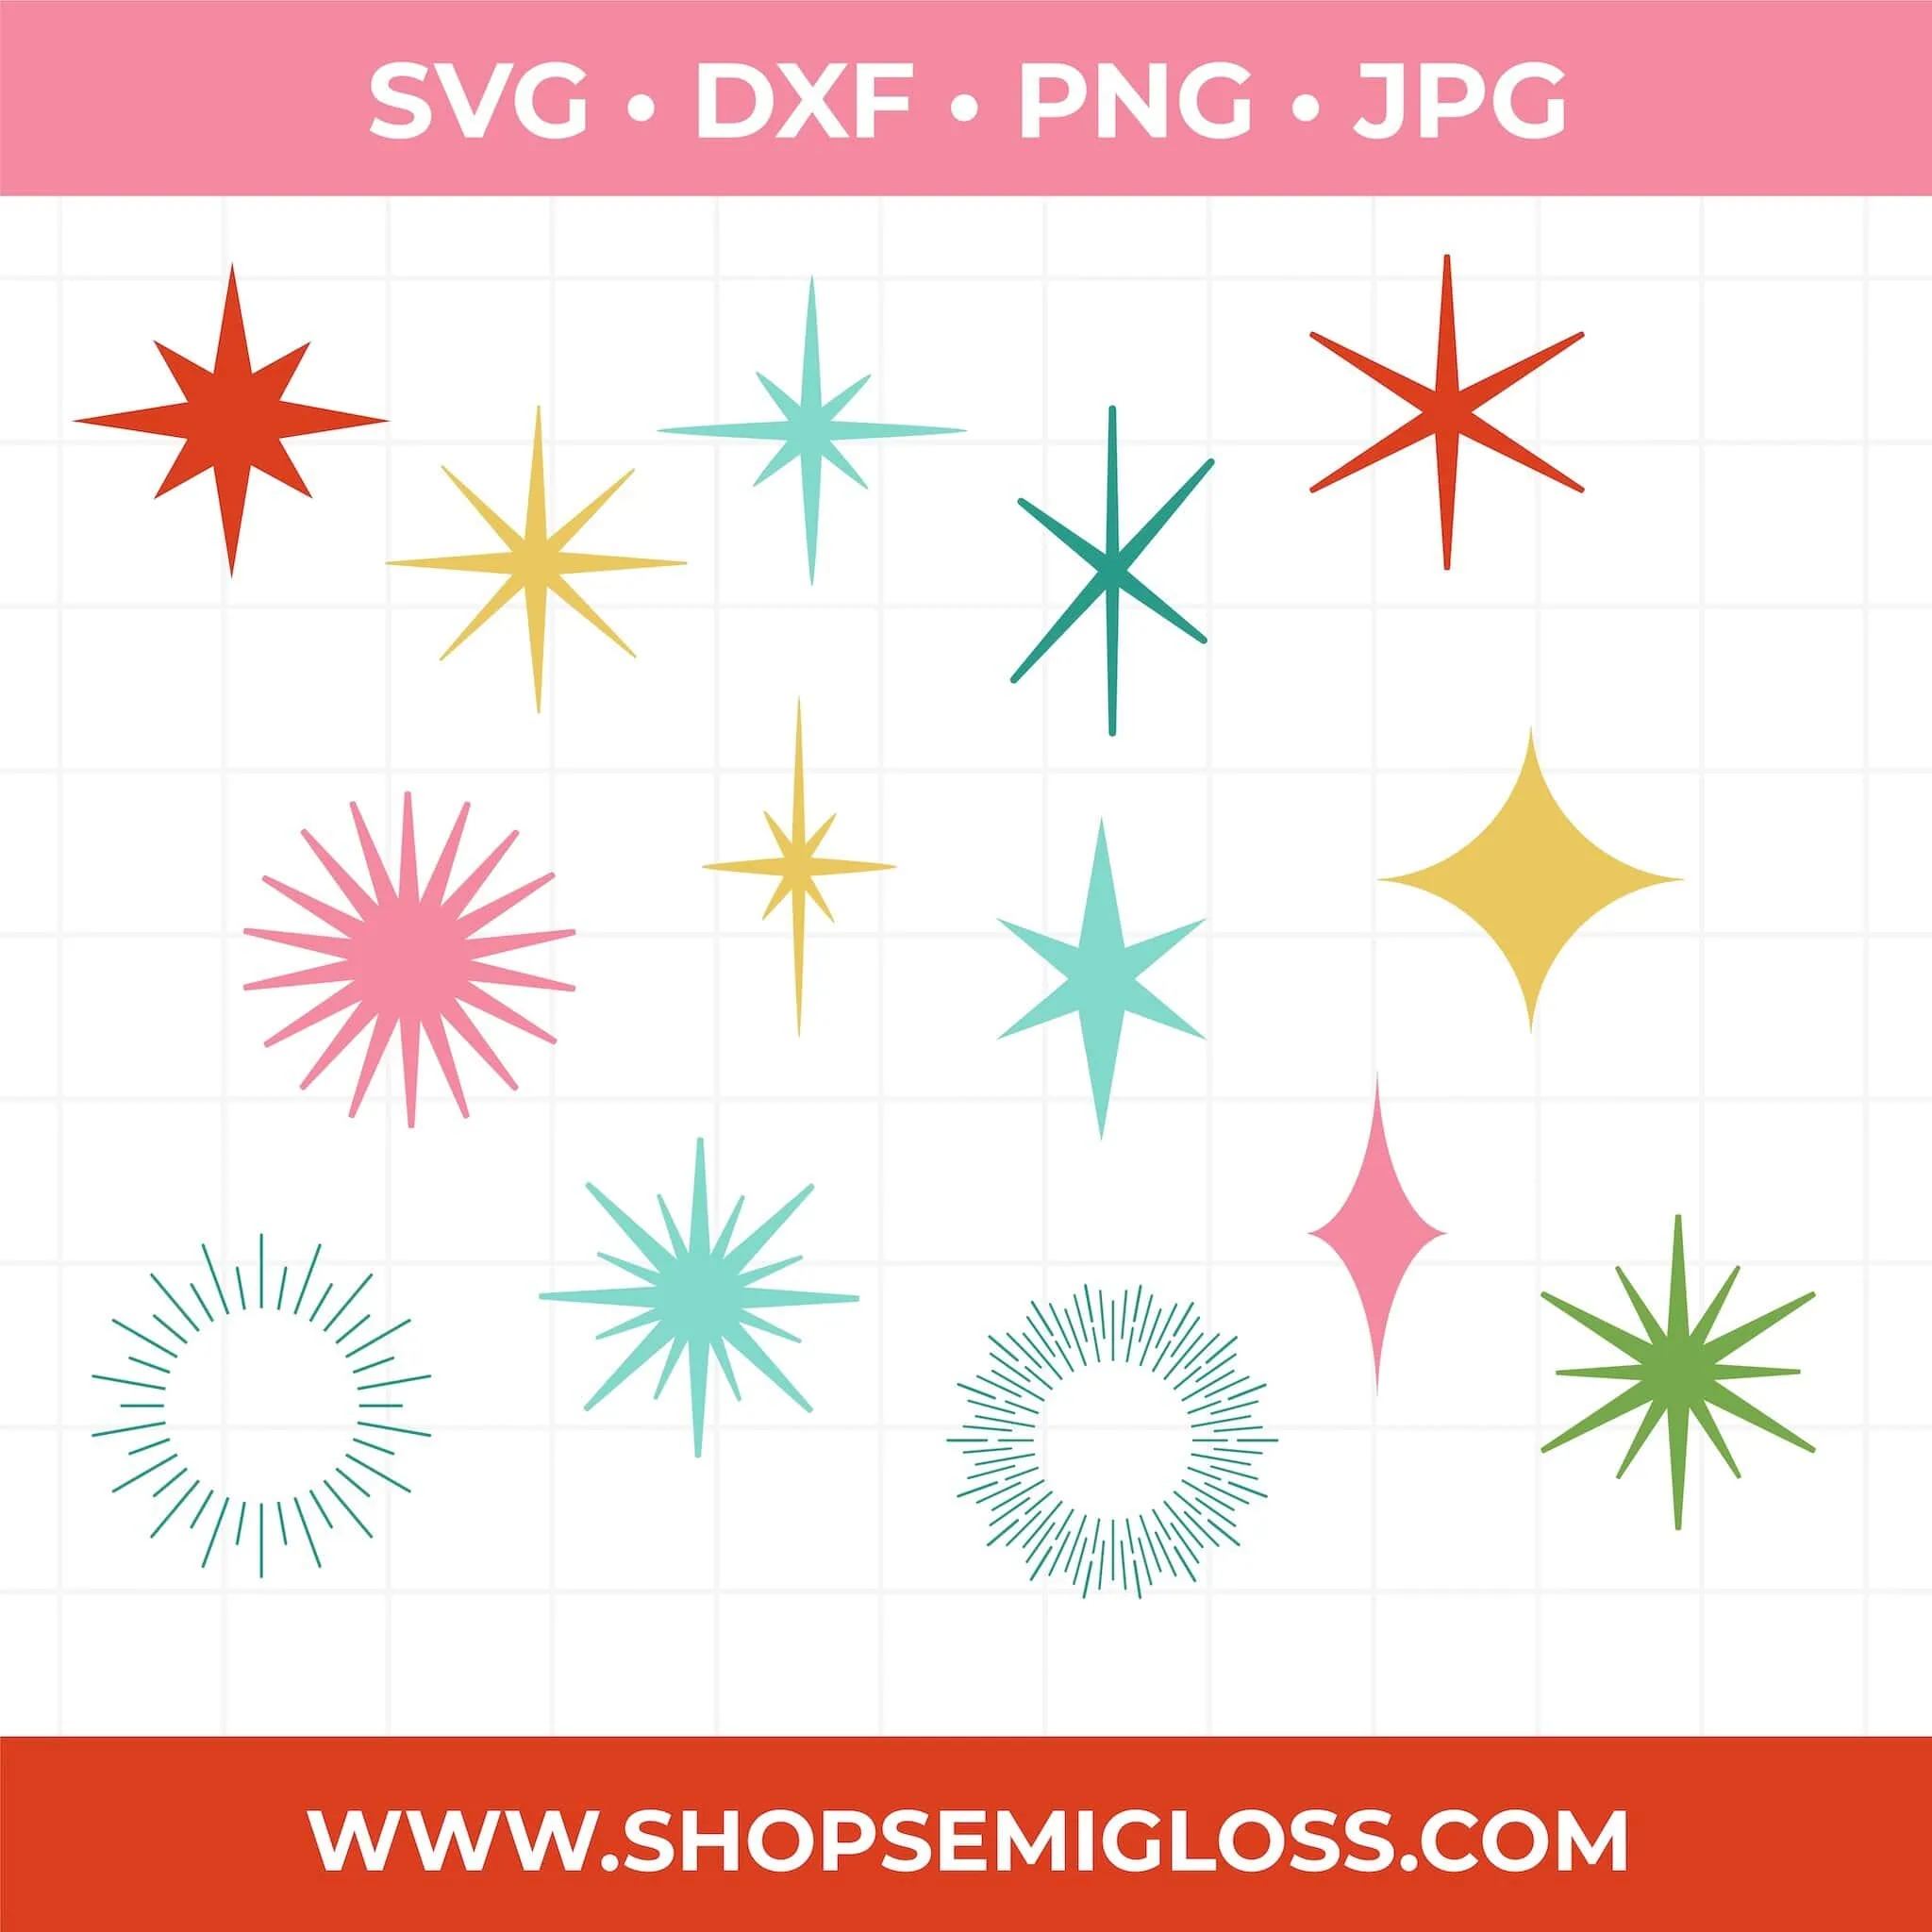
Shop My SVG Designs
Other Fun Paper Crafts to Make
Paper crafting is so much fun. Here are some other projects you can make with paper, cardstock, and a Cricut.
Giving a gift card? Make beautiful gift card holders using scrapbook paper.
I love making cards for special occasions. Learn the basics of making cards with a Cricut.
These foil bookmarks are so fun to make! Perfect for the readers in your life!
Make your own stickers with your Cricut. It’s easier than you think!
Pin for Later!


Emy is a vintage obsessed mama of 2 DIYer who loves sharing affordable solutions for common home problems. You don’t need a giant budget to create a lovely home. Read more…