How to Make Glass Etching Stencils
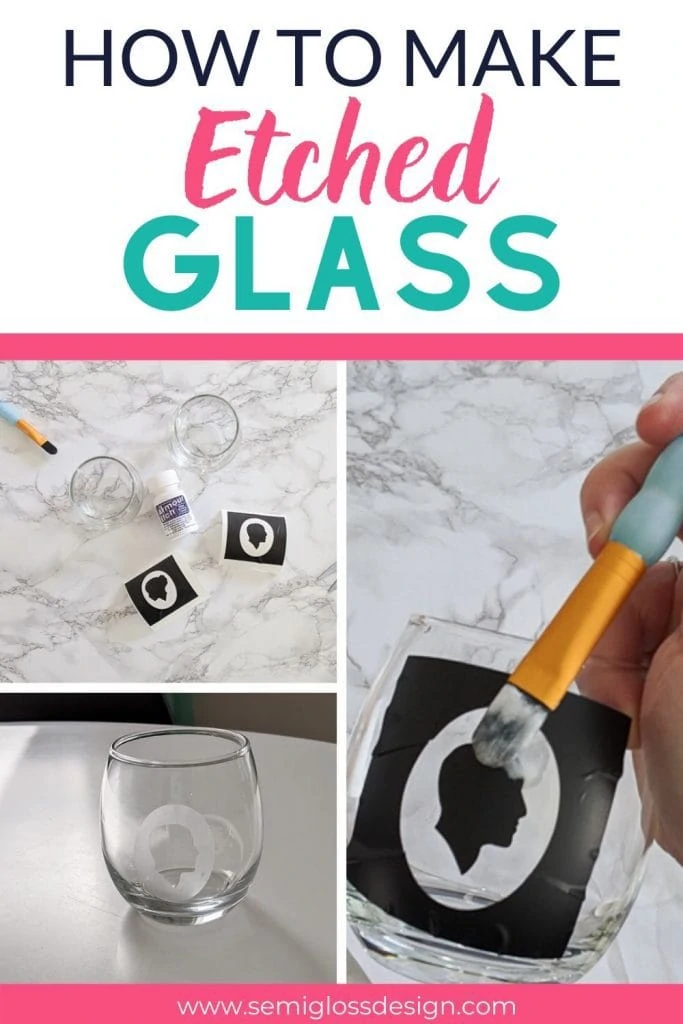
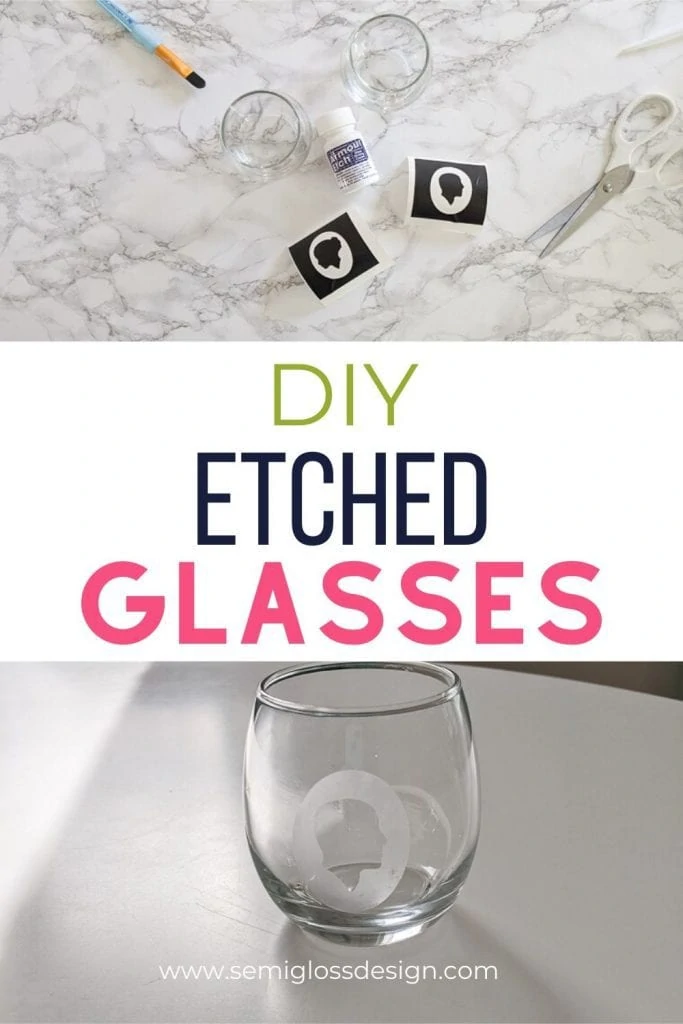
Learn how to make glass etching stencils. This easy technique allows you to make beautiful wine glasses with permanent designs etched into the glass. They make great gifts or just use them for yourself.
I love wine and I love crafting so it just makes sense to combine them and make customized wine glasses.
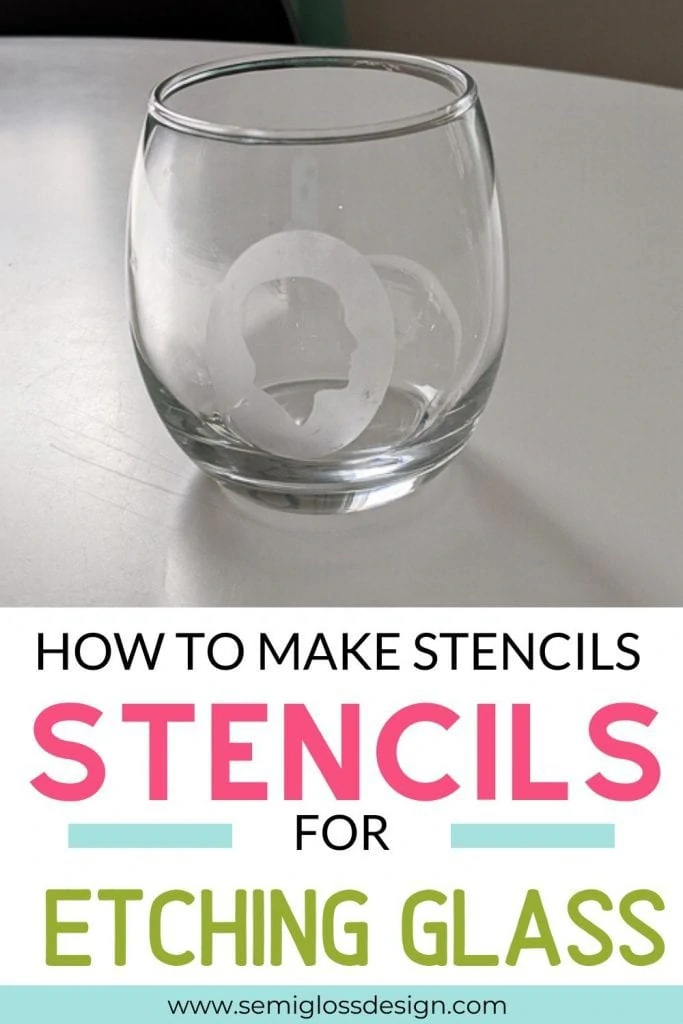
I collect vintage silhouette art and I thought it would be cool to add silhouettes to wine glasses. They have a subtle romantic nod to Valentine’s day (his and hers).
Today I’m sharing how I made vinyl stencils for glass etching and giving away free head silhouette stencils so that you can make your own etched glasses.
This post contains affiliate links. By purchasing an item through an affiliate link, I earn a small commission at no extra cost to you. As an Amazon Associate I earn from qualifying purchases.
Glass Etching FAQs
How long do you leave etching cream on glass?
3 minutes. Let your glass sit for 3 minutes, then rinse with water.
What happens if I leave the etching cream on longer?
If you leave the etching cream on longer than 3 minutes, you risk ruining your vinyl stencil or weakening the glass itself.
Is etching cream permanent?
Yes, etching cream creates a permanent design. This is both good and bad. A permanent design can be put in the dishwasher, but mistakes cannot be removed.
Can etched glass be put in the dishwasher?
Yes. Glasses created with etching cream are dishwasher safe since the design is permanent.
How do you remove Armour Etch from glass?
Armour Etch is permanent, but mistakes can be disguised with a dot of clear nail polish.
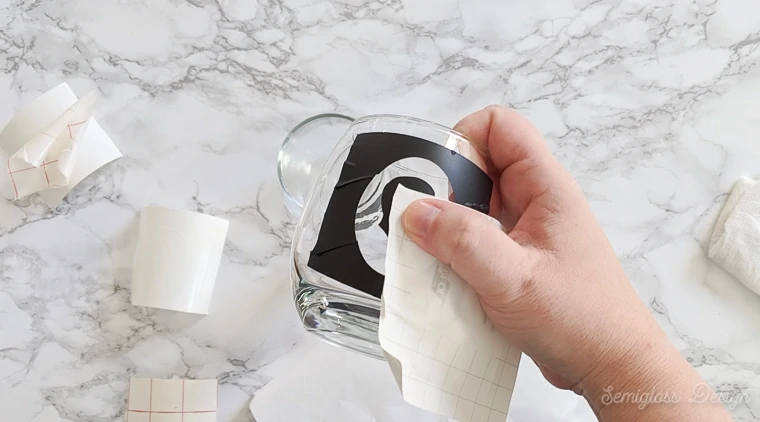
Try to avoid mistakes by ensuring that your stencil is firmly attached to the glass.
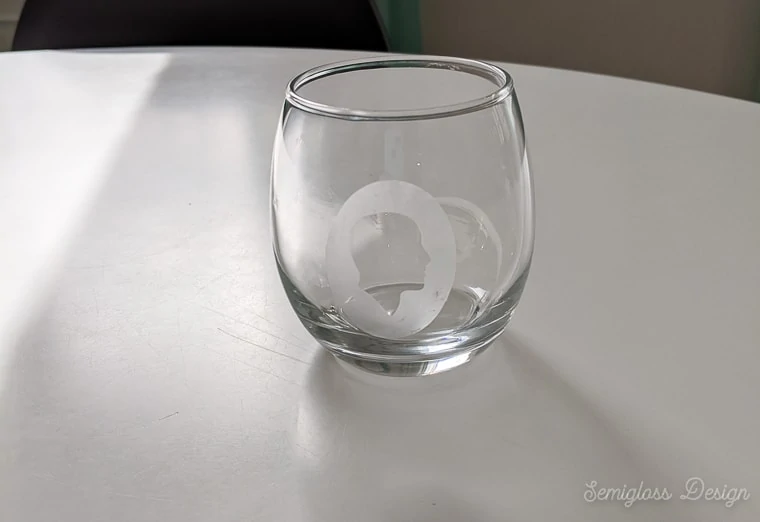
My lady silhouette has some mistakes around the edges. I think it was because I was trying to film, photograph and craft all at the same time for a process that’s pretty time sensitive.
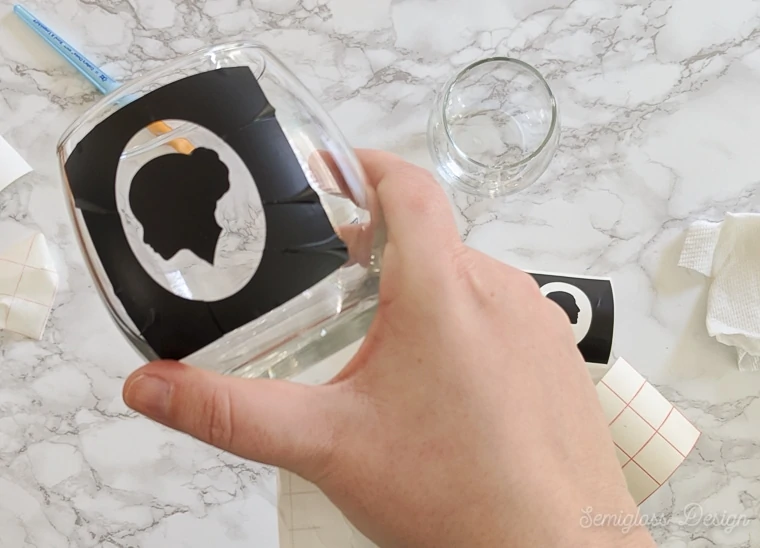
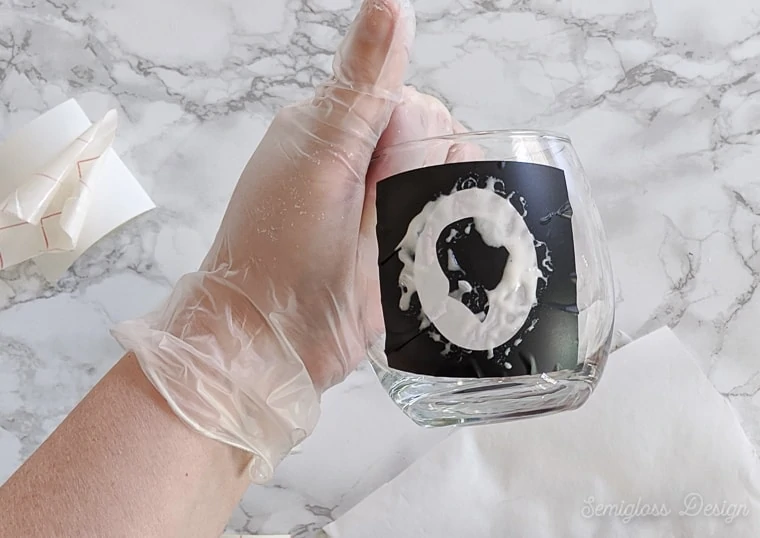
Burnish your edges really well and rinse thoroughly before removing the vinyl stencil.
How to Make Stencils for Etching Glass
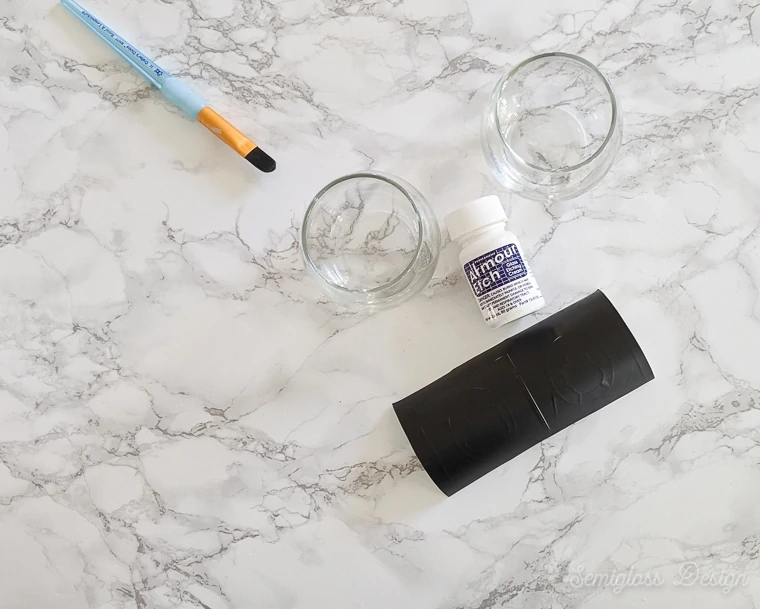
Supplies Needed for Etching Glass:
- Wine Glasses
- Etching Cream
- Paint Brush (a cheap craft one works just fine)
- SVG Designs (scroll down for downloads)
- Vinyl (Removable)
- Cricut Maker
- Transfer Tape
- Weeding Tools
- Gloves (to protect your skin)
Years ago before cutting machines were a thing, I made etched wine glasses for a friend using stickers, contact paper, and etching cream. The process is the same.
If you decide to use this method for making stencils for glass etching, be sure to cut away the parts that you want etched.
How to Make Glass Etching Stencils at Home
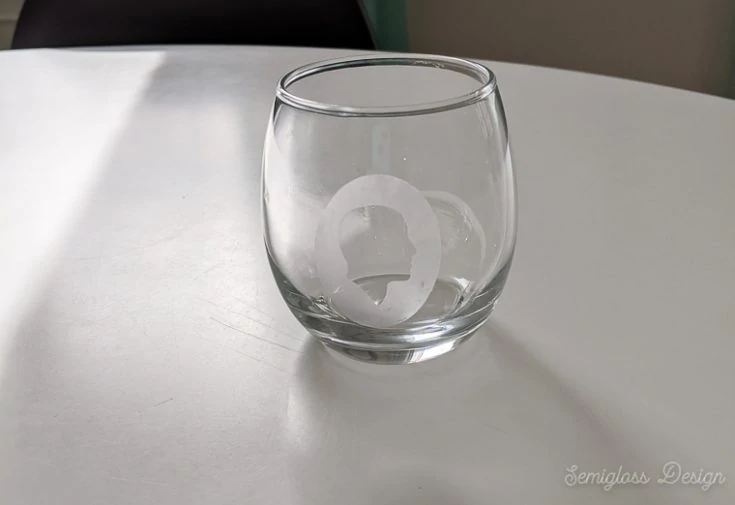
Learn how to make glass etching stencils at home. Use a silhouette or Cricut to make custom stencils to etch wine glasses.
Materials
- Etching cream
- Wine glasses
- Paint brush
- SVG design
- Vinyl
- Transfer tape
- Gloves
Tools
- Cricut Maker
- Weeding tools
Instructions
- Shake the bottle of Armour Etch well.
- Cut design with Cricut Maker.
- Weed design.
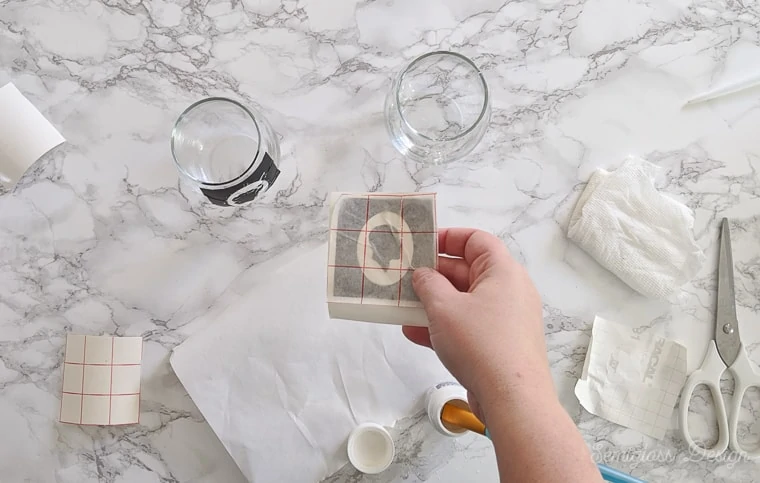
- Apply transfer tape to vinyl design.
- Remove backing from vinyl.
- Clean glass with rubbing alcohol and let dry.
- Apply vinyl to glass.
- Burnish edges to remove any wrinkles.
- Apply a thick layer of etching cream.
- Let sit for at least 3 minutes.
- Rinse under running water.
- Remove vinyl stencil.
- Admire your new glass.
Notes
Wear gloves to protect your skin. Etching cream is caustic.
Etching on flat surfaces is much easier than curved surfaces. Burnish the vinyl well to smooth wrinkles.
Recommended Products
As an Amazon Associate and member of other affiliate programs, I earn from qualifying purchases.
Download Free Head Silhouette Stencils
All downloads are for personal use only. Please do not redistribute or sell files.
You will receive a zip file containing SVG, JPG, PNG, and a DXF file (works with Silhouette.)
Click here to download these stencils for glass etching.
You might also like:
Pin for Later!

Emy is a vintage obsessed mama of 2 DIYer who loves sharing affordable solutions for common home problems. You don’t need a giant budget to create a lovely home. Read more…


