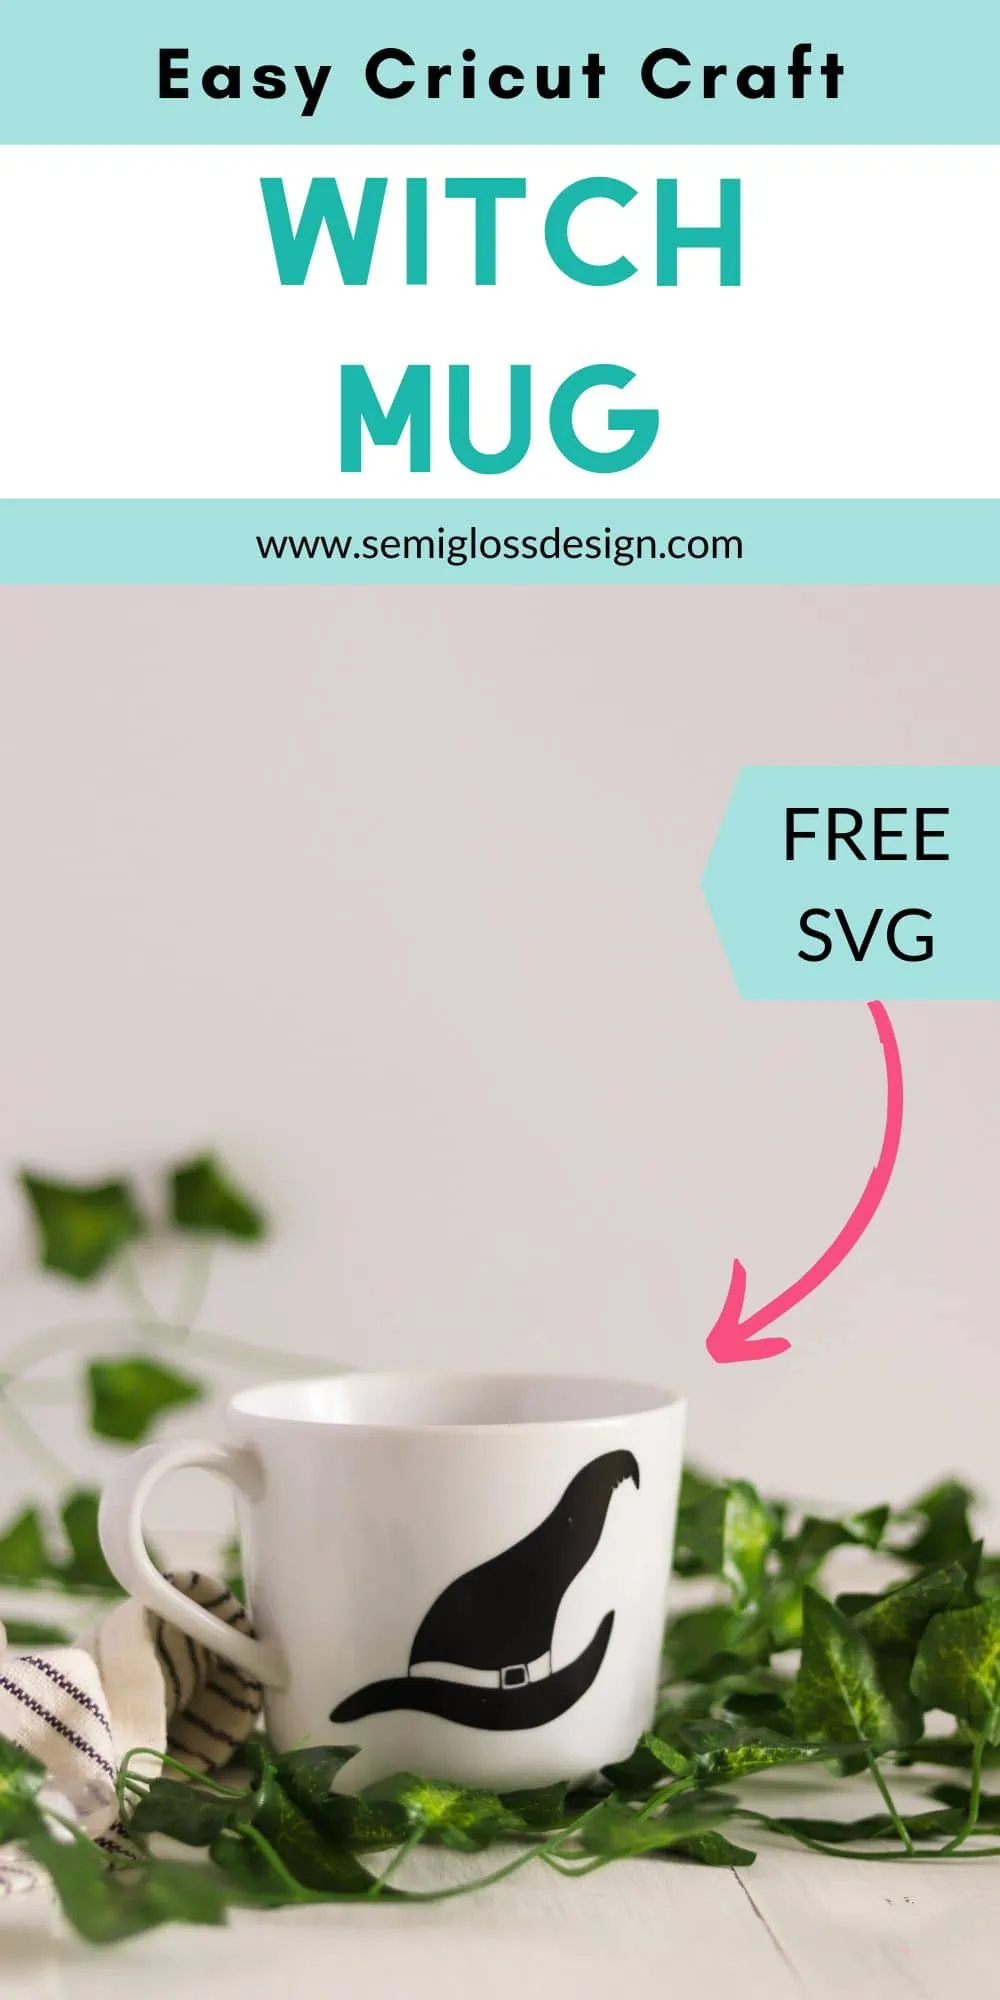
DIY Vinyl Witch Mug for Halloween
Use your Cricut to make a DIY vinyl witch mug for Halloween. Make your own mug to use during the spooky season.
You might also like this vinyl Jack o’Lantern sign.

This post contains affiliate links. By purchasing an item through an affiliate link, I earn a small commission at no extra cost to you. As an Amazon Associate I earn from qualifying purchases.
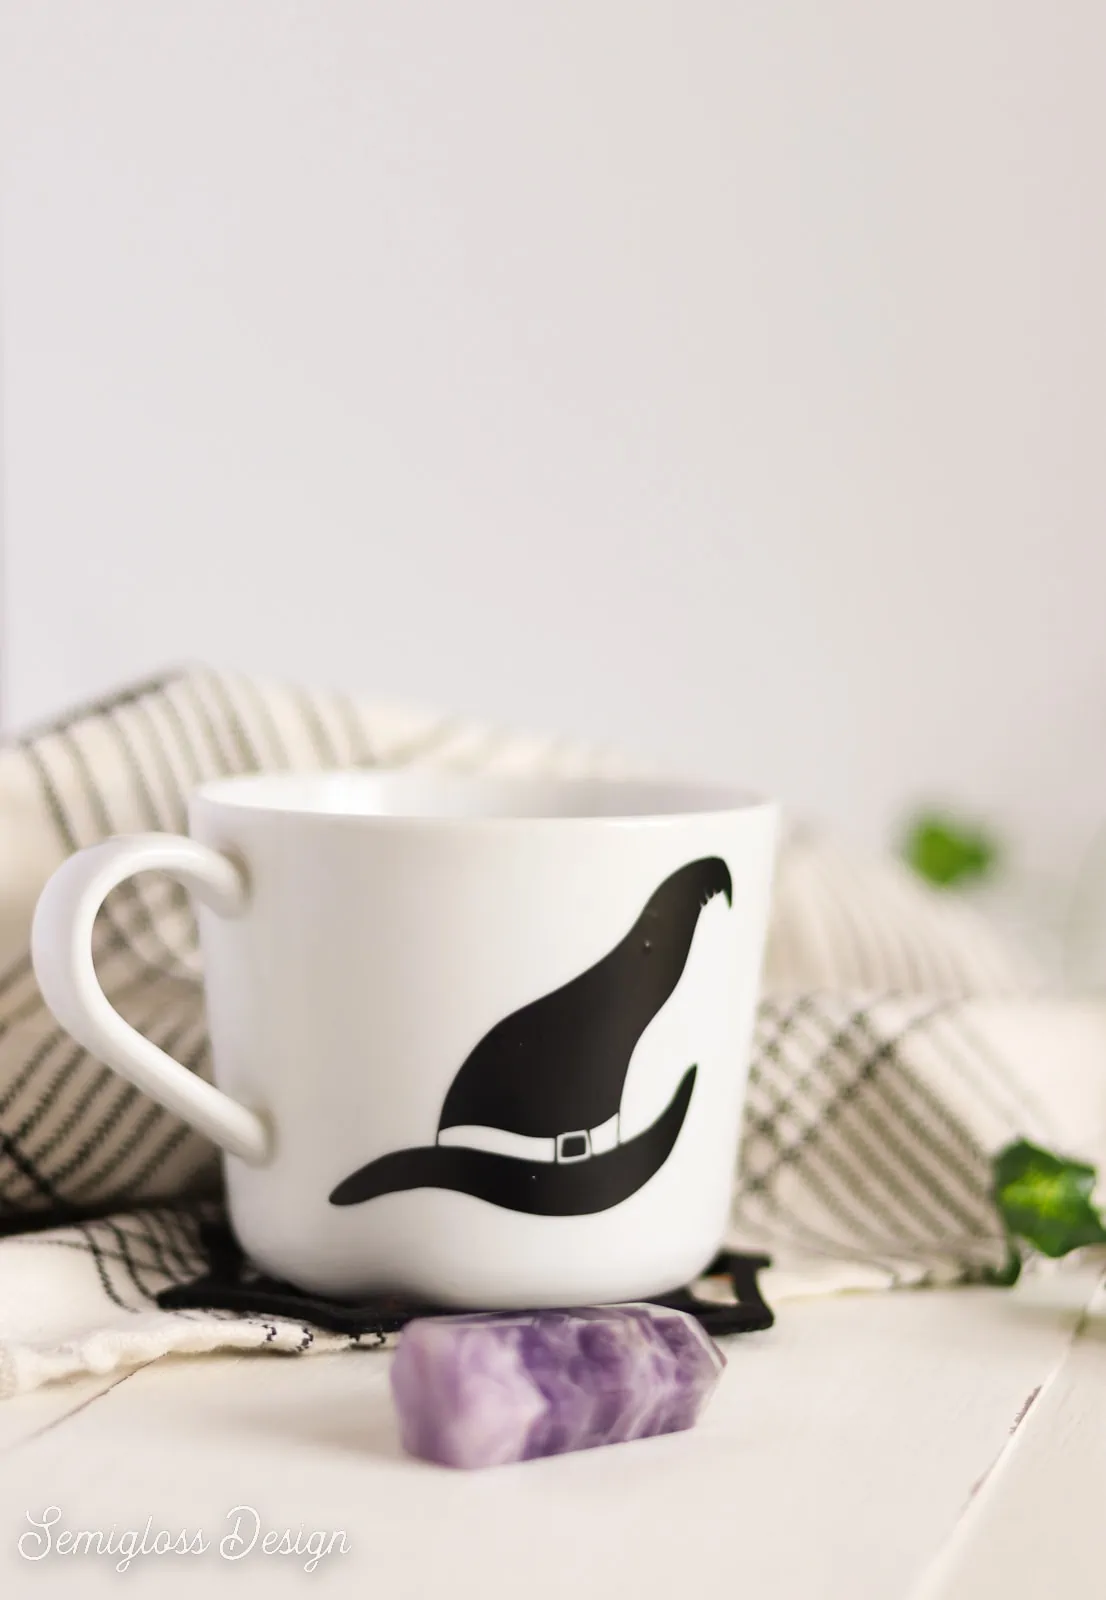
Is there anything better than crafting for a new season? I made this witch mug to sip my hot tea in style during the spooky season.
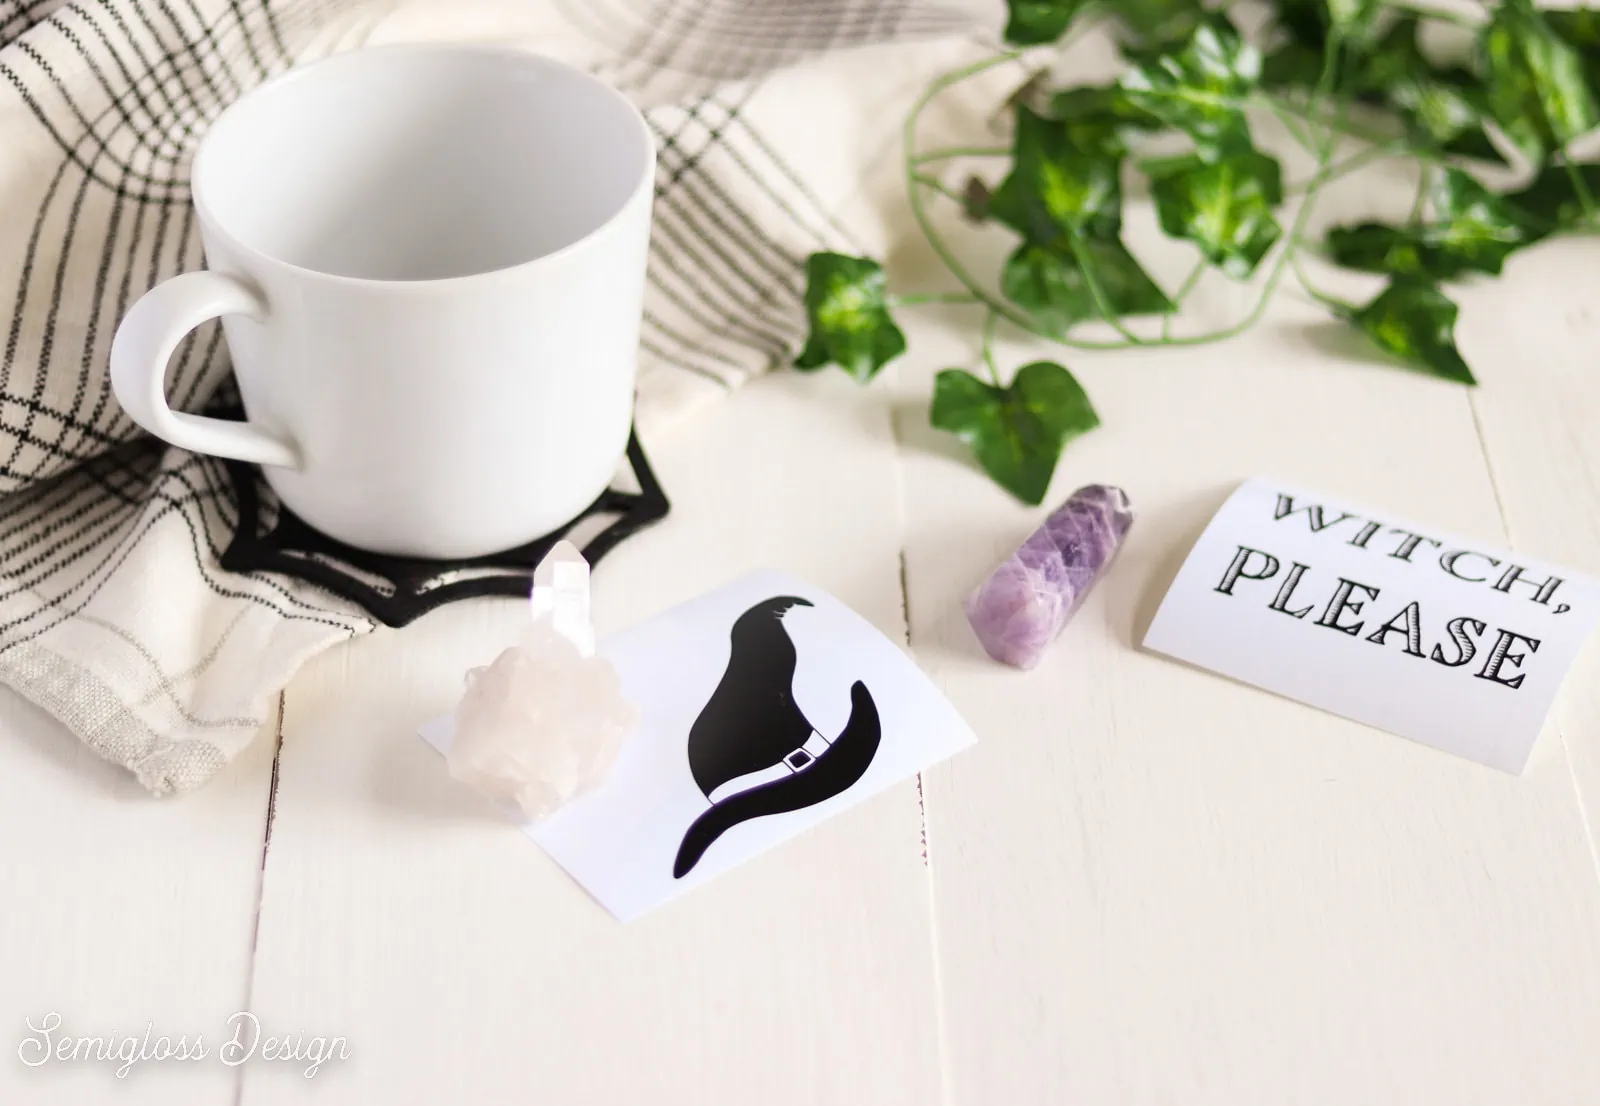
Here’s how to make your own DIY “witch, please” mug.
DIY Vinyl Witch Mug
Supplies Needed
- White ceramic mug*
- Cricut (I used my Cricut Maker 3)
- Black Permanent Vinyl (I used Smart Vinyl)
- Weeding Tools
- Transfer Tape
- Rubbing Alcohol
- SVG (download available at the bottom of post)
*It’s best to use a mug with smooth sides, rather than curved sides.
I used Smart Vinyl for the project, but if your cutting machine isn’t compatible, use premium permanent vinyl.
You can read more about the differences between Smart vinyl and regular vinyl here.
My mug has a design on each side, but you can use one side if you want.
Tips for Cutting and Weeding a Complicated Font with a Cricut
This design features a font that is pretty detailed. On a larger project, it would be easy to weed, but when it’s the size of a mug, it gets a lot more difficult.
I simplified the design in the SVG below, but here are some tips if you want to use a similar complicated font without trouble.
- If you have extra vinyl to spare, cut a test version to see which areas give you trouble.
- Remove any excess details. In this design, it was the outer shadow lines. You can cut it as is and remove them when weeding or you can delete them from the design.
- In Cricut Design Space, there is not an easy way to fill the interior details of the letters. You’re better off choosing a simpler font.
- When weeding, go very slowly and use the pick tool for best results.
- When weeding tiny details, I love using this scrap collector to hold the tiny bits of vinyl. It even makes it easy to remove them from the pick tool.
- If your font is too thin, you can use the offset tool to make it thicker. Just make sure that it’s still legible.
Directions
- Cut your design as usual. Be sure to group and attach the letters so that it cuts in the right order.

- Carefully weed the design using the tips above.
- Clean the mug with rubbing alcohol to remove any oils from your skin. This helps the vinyl stick to the surface better.
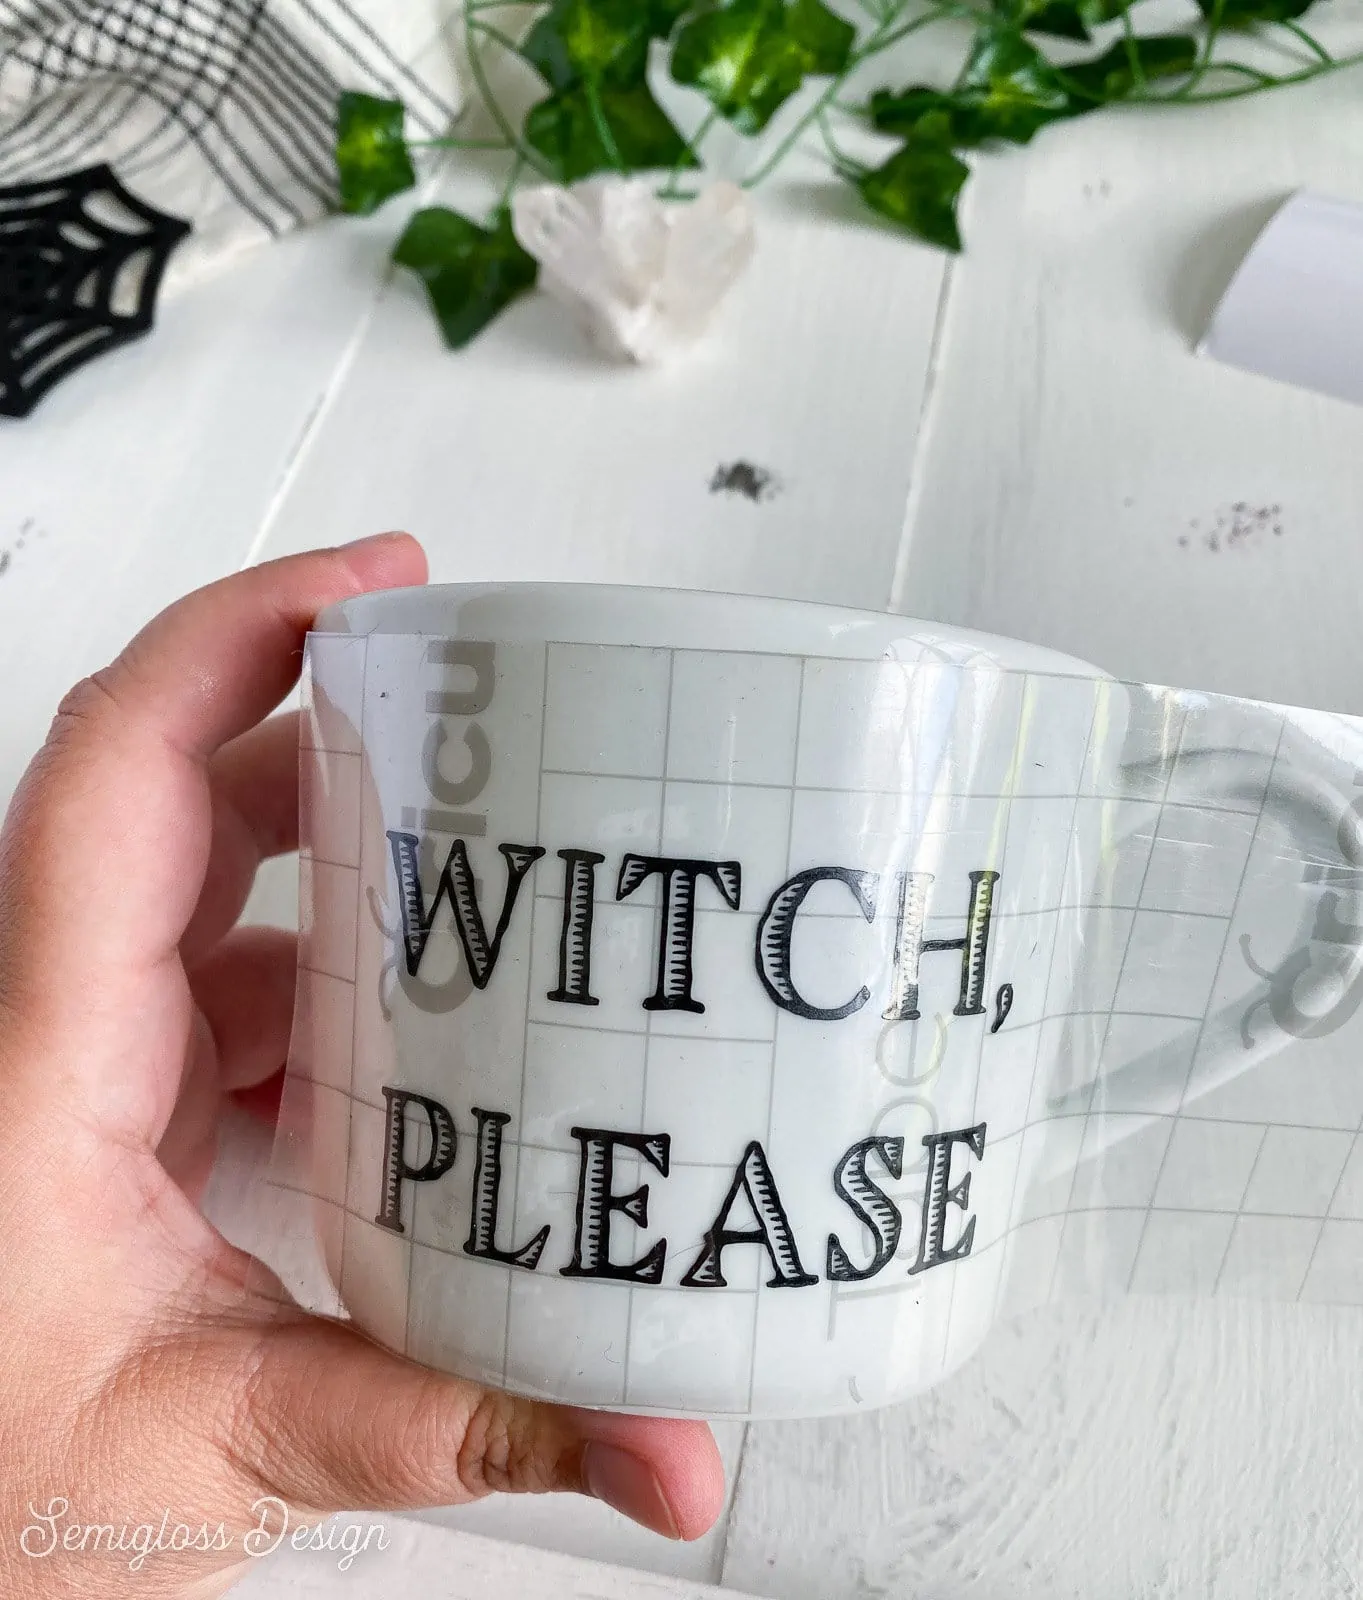
- Apply a piece of transfer tape to the weeded design. Rub it to make sure that it sticks.
- Remove the vinyl from the backing, making sure that it’s attached to the transfer tape.
- Line the design up on the mug and apply it from the center out, rubbing as you go.

- Remove the transfer tape.

- Repeat the steps for the other side of the mug if desired.


Care for Vinyl on Mugs
Vinyl mugs can last a long time with special care. I’ve had a design on a tumbler for over a year now.
- Wait at least 24 hours before use.
- Hand-wash vinyl mugs. Don’t let it soak in water. Don’t place it in the dishwasher.
- Do not put it in the microwave.
You might also like:
Get access to my SVG Library.
Get access to over 50 SVG sets and Cricut cheat sheets. Join my SVG library.
Get a Free Witch SVG to Download
This download includes the witch hat and the “witch, please” phrase.
All downloads are for personal use only. Please do not redistribute or sell files.
Pin for Later!

Emy is a vintage obsessed mama of 2 DIYer who loves sharing affordable solutions for common home problems. You don’t need a giant budget to create a lovely home. Read more…