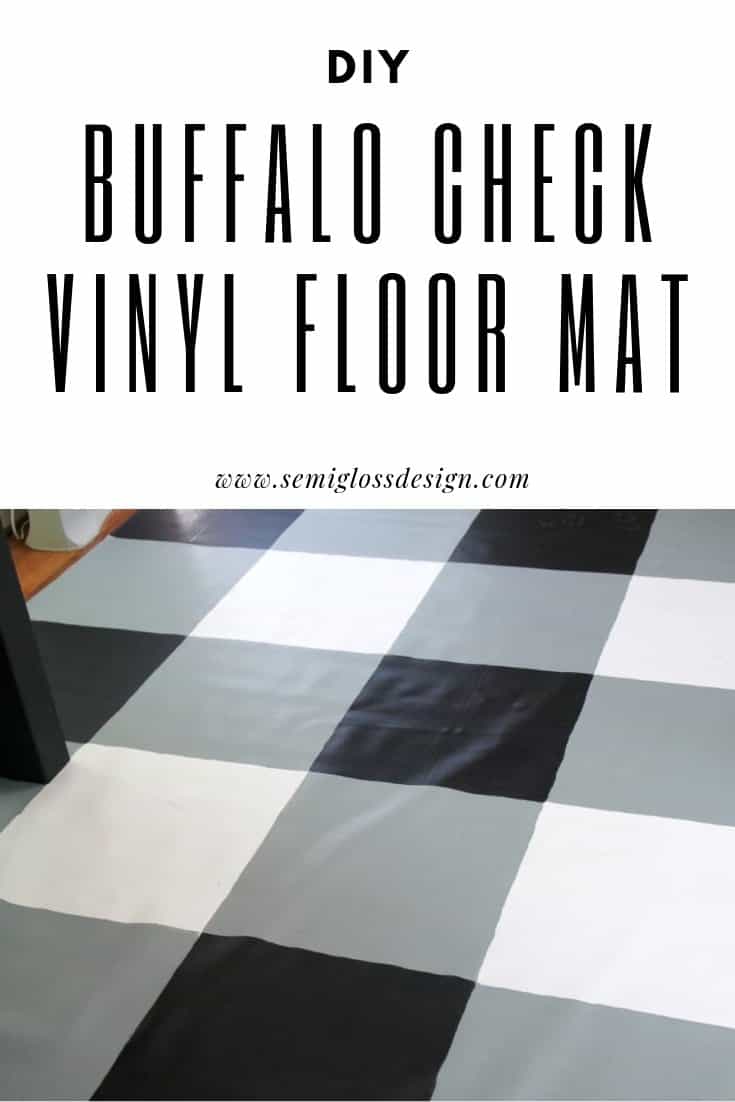
DIY Buffalo Check Painted Vinyl Floor Cloth
Learn how to make a DIY vinyl floorcloth.
I enjoyed painting my bathroom floor so much that I knew I wanted to do it again. The only problem is that my other bathroom is missing a big patch of vinyl from removing the vanity.
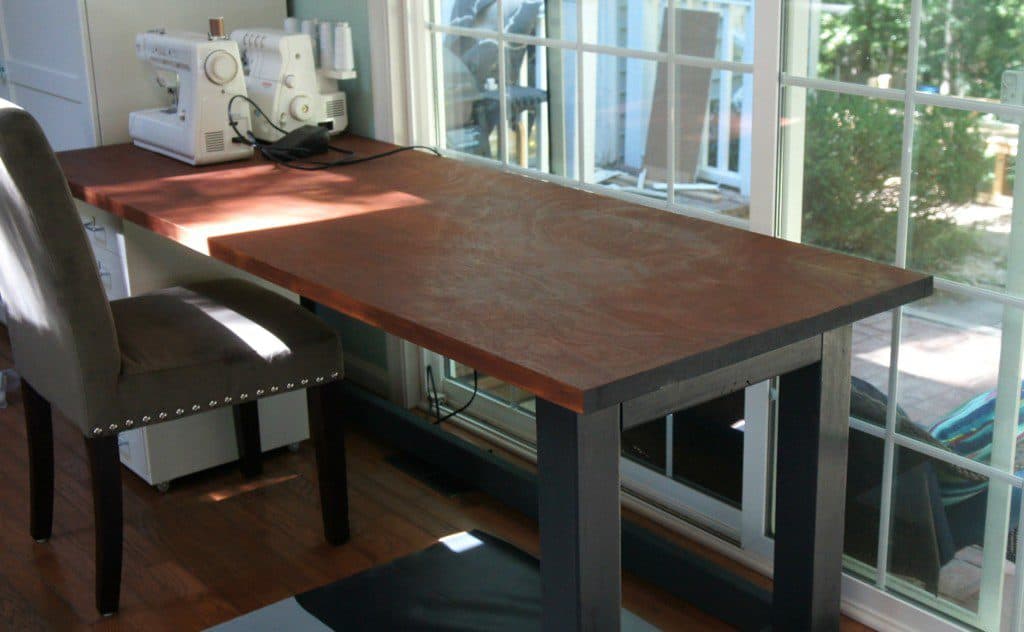
Plus it’s next on the re-do list. So I planned on making a vinyl floor cloth for the basement, but then plans changed to use our family room as my creative space. You probably saw a glimpse of the floor cloth when I posted about the work tables that we built.
This post contains affiliate links. By purchasing an item through an affiliate link, I earn a small commission at no extra cost to you.
Making a vinyl floorcloth was really easy. It was very similar to painting my floor, but with a few extra steps. I bought an inexpensive sheet roll of vinyl flooring to use as a vinyl floorcloth in my room. I won’t feel bad getting paint drips and splatters on this like I would the wood flooring in this room.
How to Make a Vinyl Floor Cloth
Supplies Needed
- Roll of vinyl flooring
- Deglosser
- Primer
- Foam paint roller
- Delicate painter’s tape (optional)
- Floor paint in white, gray, and black
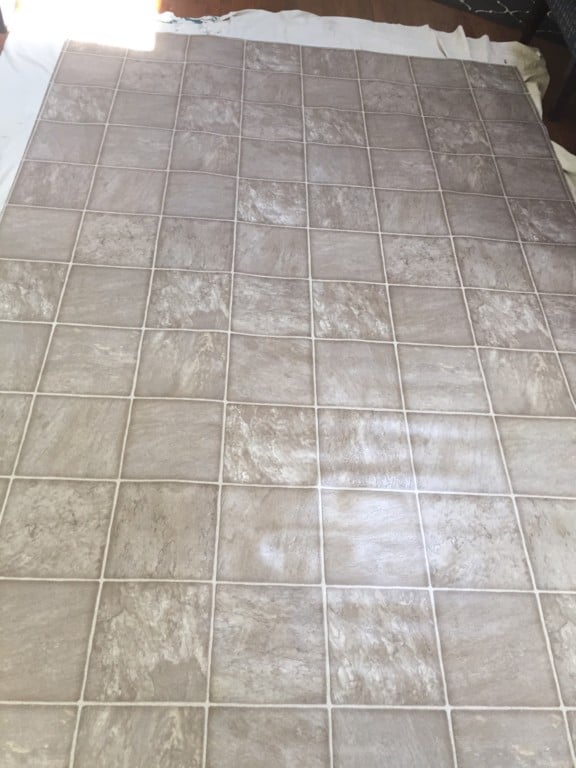
If you do this project, I would highly recommend cleaning the vinyl really well. I used vinegar to get a bit of the wax finish off. (My bathroom floor didn’t have this anymore because it was so old.) You can see how shiny it looked in the picture below. Then, I used a deglosser and I primed the vinyl when it was dry.
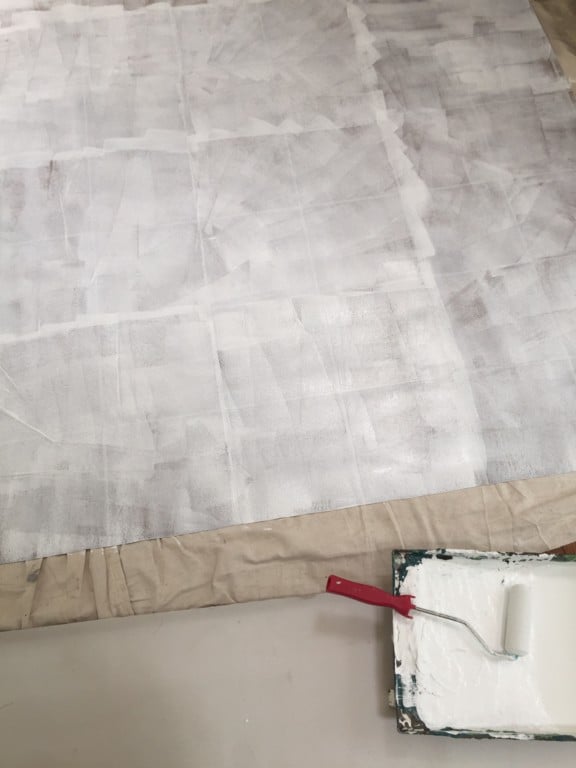
Unlike my bathroom, I’m not too worried about wear and tear, so I used a less intense primer. It’s still a fantastic primer, but it isn’t as smelly.
The vinyl I chose had a grid pattern already on it, so I was able to use it to my advantage. I freehanded it because I wasn’t too worried about perfection. If slightly off lines bother you, use delicate tape.

When the gray was dry, I went back and painted some of the squares black to make a buffalo check pattern. It took a bit of thinking to figure out where the black squares were supposed to go (in between the gray ones).

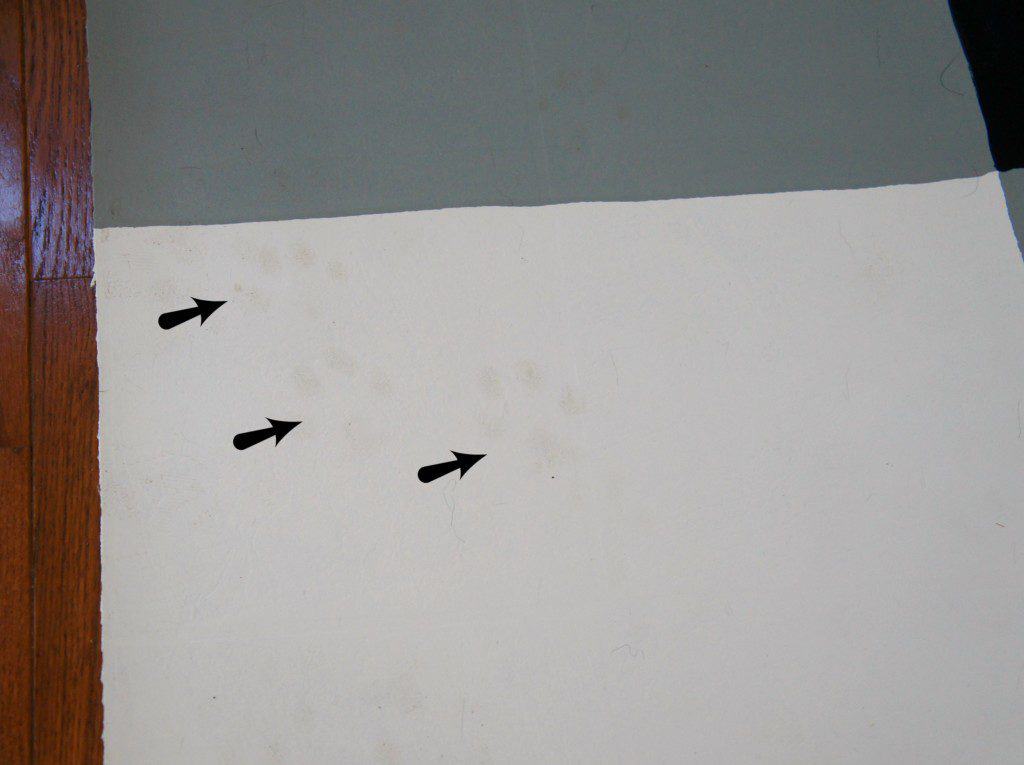
I will admit that if I had to do it again, there would be no white in my design. As you can see, lots of puppy paw prints now grace my mat. It kind of drives me crazy.
This room sits between the dining room and the garage, so it gets a lot more traffic than I realized.
Despite hating the white parts, I still think that a vinyl floor mat would be the perfect place to add a pattern in a dining room.
I love the look of rugs in a dining room, but my kids are still too messy for it to be worth the heartache and inevitable mess. I also love the idea of one in front of the washer and dryer.
Our basement is unfinished and it would help that area feel a bit cleaner.

You might also like:
Pin for Later!

Emy is a vintage obsessed mama of 2 DIYer who loves sharing affordable solutions for common home problems. You don’t need a giant budget to create a lovely home. Read more…

it looks SOOOOO good!!! love it!
Thanks!