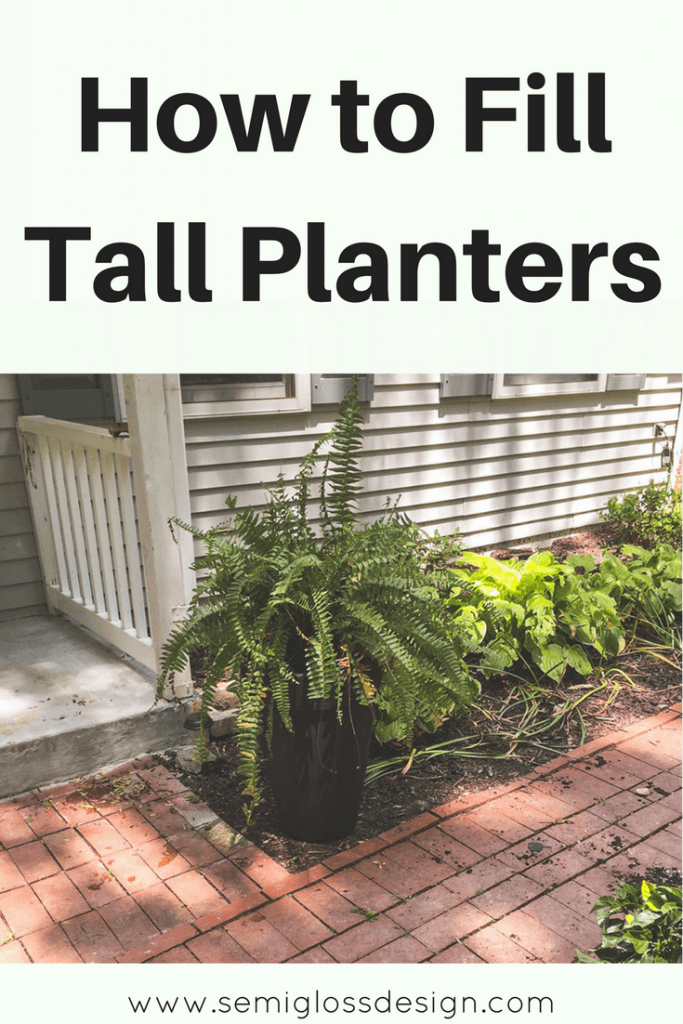
How to Fill Tall Planters (and Swap Plants Easily!)
Learn how to fill tall planters without spending a ton of cash on dirt or making them too heavy.
If you’re looking for another way to easily spruce up your curb appeal, learn how to paint your shutters!
Warm weather makes me want to work outside, so we’re spending the next few weekends working in the yard.
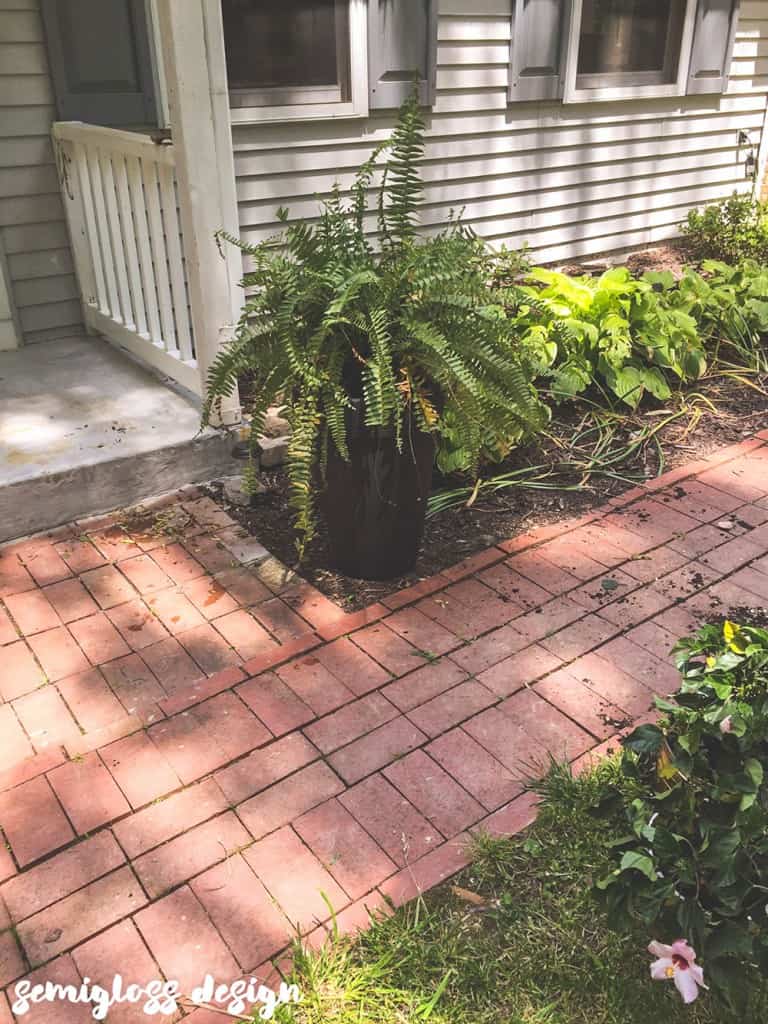
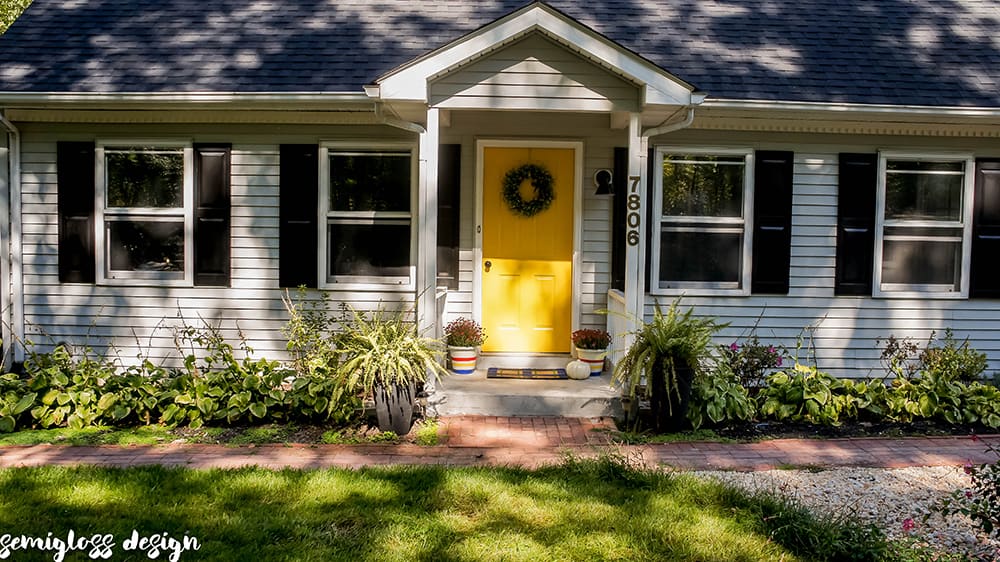
Over the weekend, I did the most simple project ever. I love the look of tall planters flanking the entry to the doorway, so I bought some.
But once I got them home, I realized that I had no clue how to fill them. I could use a million bags of dirt, but they would be so heavy!
I’ve seen where people fill them with packing peanuts, and that’s great if you have them around, but we don’t.
What we do have is tons of scrap wood though! So an idea was born.
You will love this idea if you are wondering how to fill tall planters. Plus, if you have a bit of a black thumb, like I do, you can easily switch out plants when they die!
Reasons to Fill Large Planters with Things Other than Dirt
- Weight. A tall planter full of dirt is going to be so heavy. If you want to move your planter for any reason, it’s going to be hard to do so!
- Cost. Potting soil costs money, but most of my suggestions are things that you have laying around the house, so they’re free.
- Drainage. Filling the bottom of the container with items other than dirt helps with drainage so that your plant is not sitting in a mud pit during the rainy season.
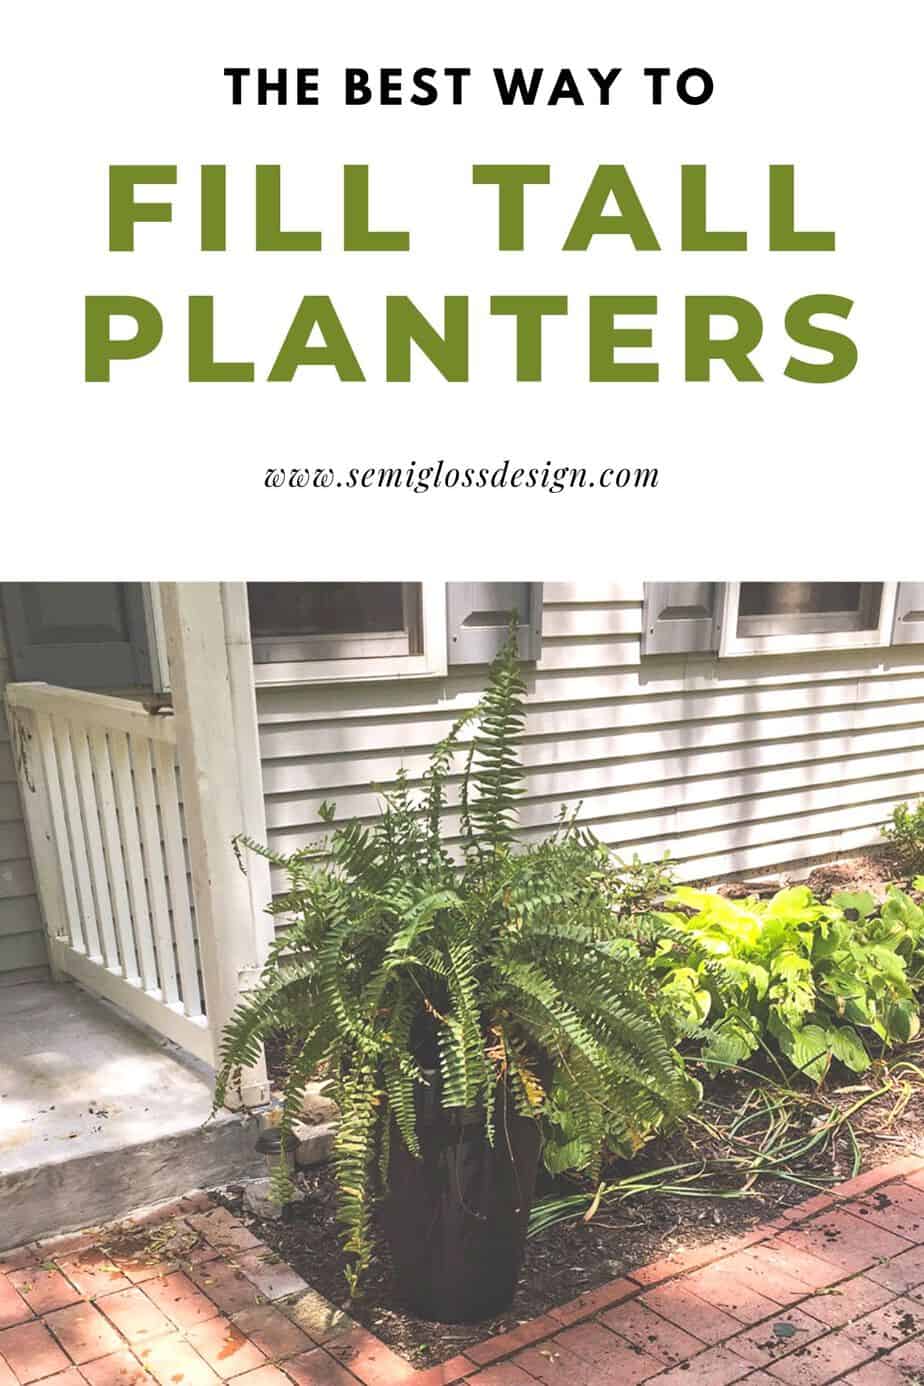
How to Fill Tall Planters
This post contains affiliate links. By purchasing an item through an affiliate link, I earn a small commission at no extra cost to you.
Supplies Needed
- Figure out your measurements. Measure your tall planter and your plant pot. Subtract the plant pot amount from the tall planter. Our planter was 21″ tall and our plant pot measured 7″ so we needed to fill 14″ of space.

- Cut your scrap wood to that length. We used scrap 6×6 pieces and it filled the pot nicely while also giving weight to the base. If you’re using smaller pieces, screw them together. Make sure they fit in your pot!

- Drill drainage holes in your pot if you don’t have them already. We have a mosquito problem in the summer, so we try to cut down on any areas where water can stand.

- Place the wood in the pot.
- Add gravel to the bottom to weigh down the planter. We’ve found that these planters are top-heavy and will fall over, so adding the gravel to the bottom helps.
- Place plant on top. So easy! Now if it dies, you can just replace it with another cheap plant!


I love how the ferns look in the simple black pots! And best of all, they are so easy to move around!
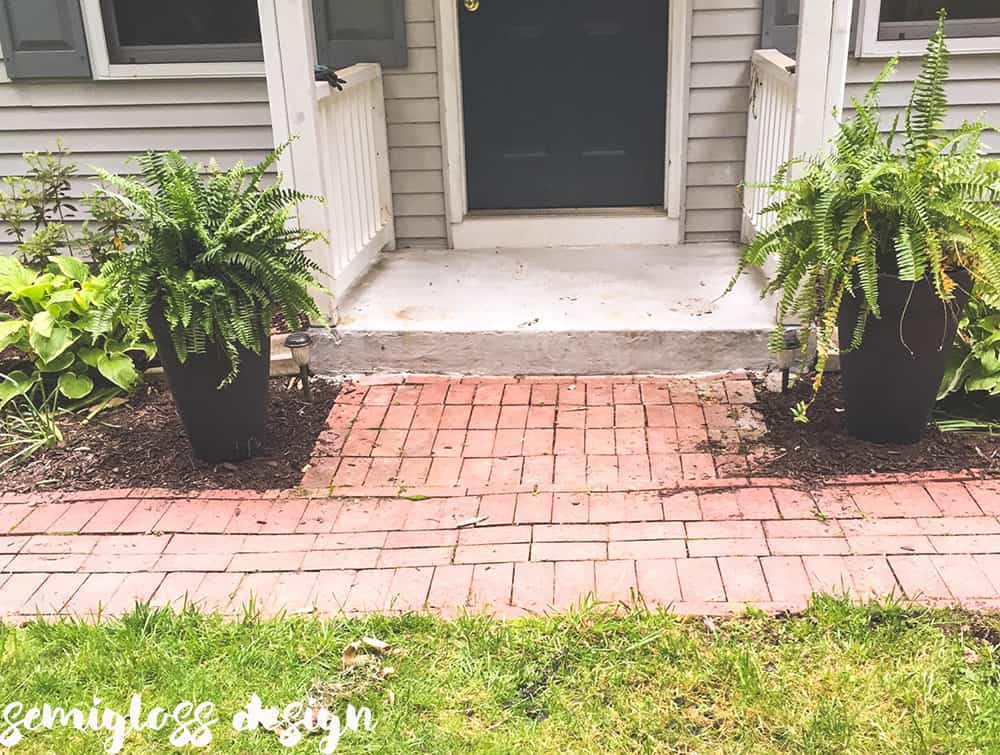
We still have a long way to go for a beautiful yard, but this was a very fast project to get the ball rolling!
Other options for Filling Tall Planters
Remember to add something heavy to the bottom (like gravel) to help stabilize the planter. All of these items can work as planter drainage material.
- Packing peanuts
- Plastic bottles
- Other recycling
- Rocks
- Empty planter pots from the nursery
- Pinecones
- More scrap wood
Looking for more curb appeal posts?
- How to paint shutters
- How to paint a front door
- Easy painted doormat
- How to change out a doorbell
- Easy Wall Herb Garden
Pin for later!

Emy is a vintage obsessed mama of 2 DIYer who loves sharing affordable solutions for common home problems. You don’t need a giant budget to create a lovely home. Read more…

so smart! i have used other planters upside down inside, but wood is probably much sturdier!
I didn’t have any planters that were tall enough or I would done that. After I bought these, I found (super expensive) ones that have removable pots in the top for planting in. My way is almost as good. 😉
I love those planters too! I couldn’t tell they were plastic until you turned them over. Beautiful and simple!