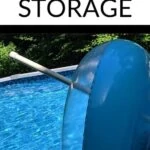
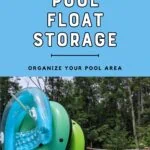
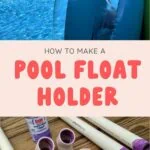
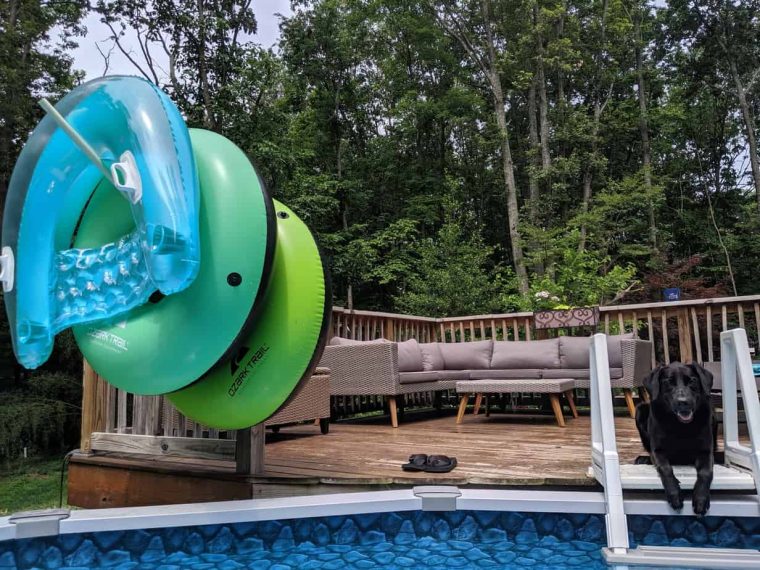
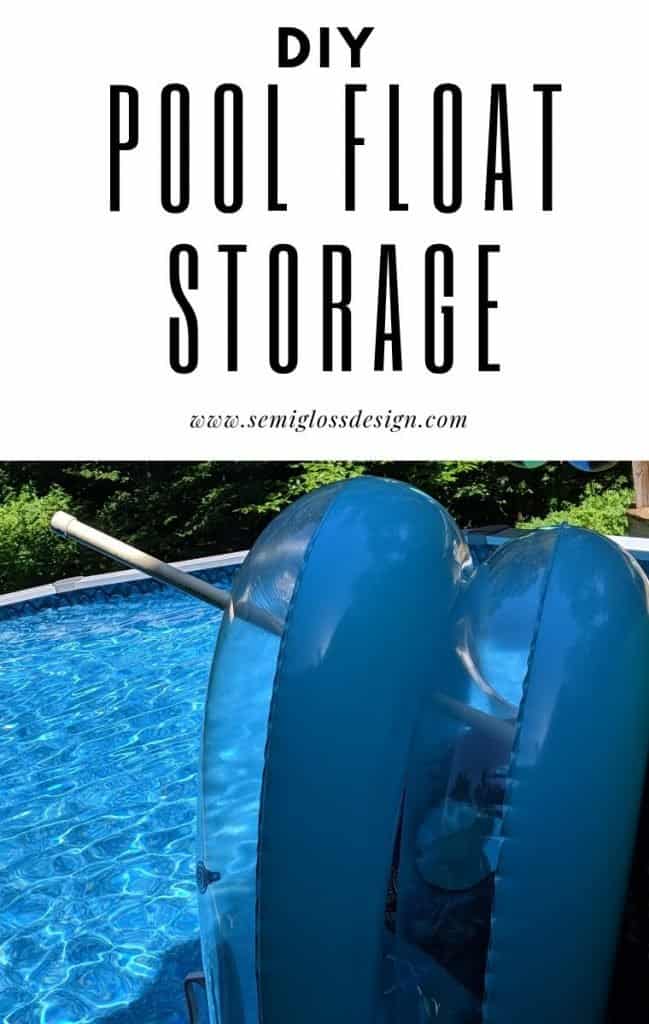
DIY Pool Float Storage
This DIY pool float storage is perfect for organizing your pool floats. It’s easy to make and get floaties out of the way.
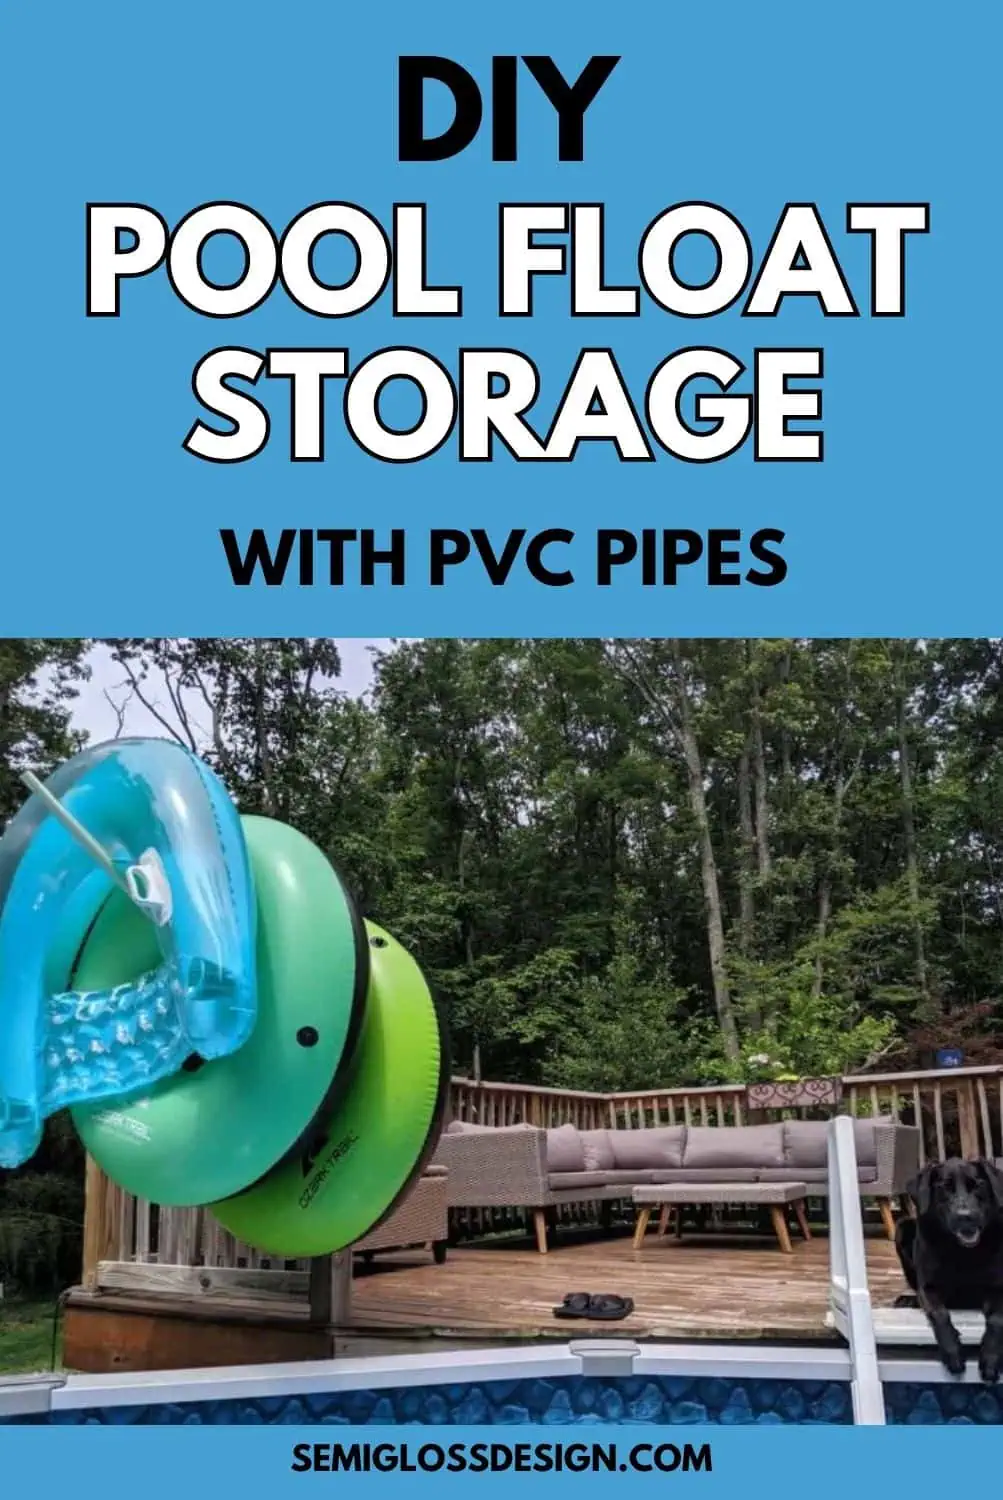
All summer long, our deck is covered in pool floats, so we needed a storage solution.
We bought one of those mesh nets, but it wouldn’t stay hanging on our deck railing. Somehow, floats full of air were too heavy and caused it to fall.
So we did what any good DIYer does and made our own!
DIY Pool Float Storage with PVC Pipes
This post contains affiliate links. By purchasing an item through an affiliate link, I earn a small commission at no extra cost to you. As an Amazon Associate I earn from qualifying purchases.
This solution is perfect for floats with holes in the middle. And let’s be honest, they’re the best kind of float anyway.
Sure, the animal ones are cute to take photos of, but try sitting on one for longer than 5 minutes.
I’ve included our favorite pool floats at the end of this post.
The PVC is nice because it doesn’t get too hot to touch in the summer.
You might be interested in this post on painting a deck.
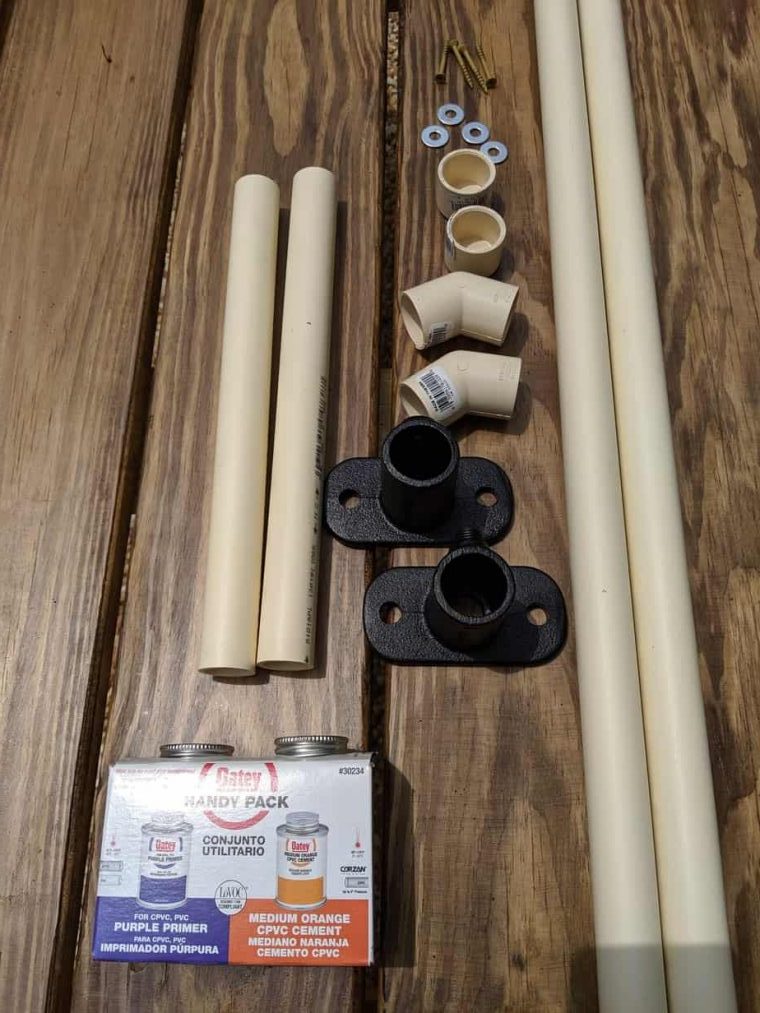
Supplies Needed
- 1″ PVC pipes
- 1″ 45 degree elbow
- 1″ PVC cap
- 3/4″ rail flange
- Drill and Driver
- Metal washers (to accommodate giant holes in flanges.)
- Miter saw or hacksaw
- PVC primer and cement
- Allen wrench
Work in a ventilated area. PVC primer and cement are stinky!
Pool Float Storage Prep Work
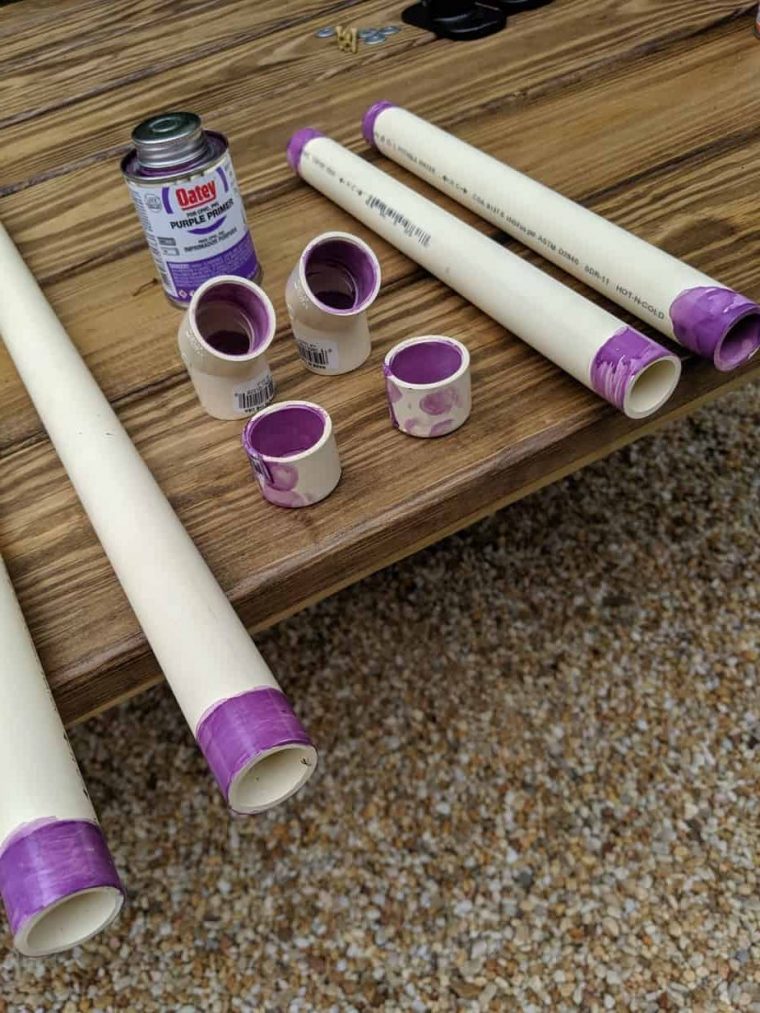
- Cut your pipes to length. We used a miter saw, but be warned that it creates a huge mess and has a strong odor. A hack saw is probably the better choice.
- Each pool float holder requires one long piece and one short piece of PVC pipe. The short pipe is 12″ long and the long pieces range between 2-3′. Be careful of making them too long or you won’t be able to get floats on and off of the pipes easily.

- Use PVC primer to prime the ends of the pipes, caps, and elbows. This softens the PVC, allowing the cement to bond the plastic together more effectively.
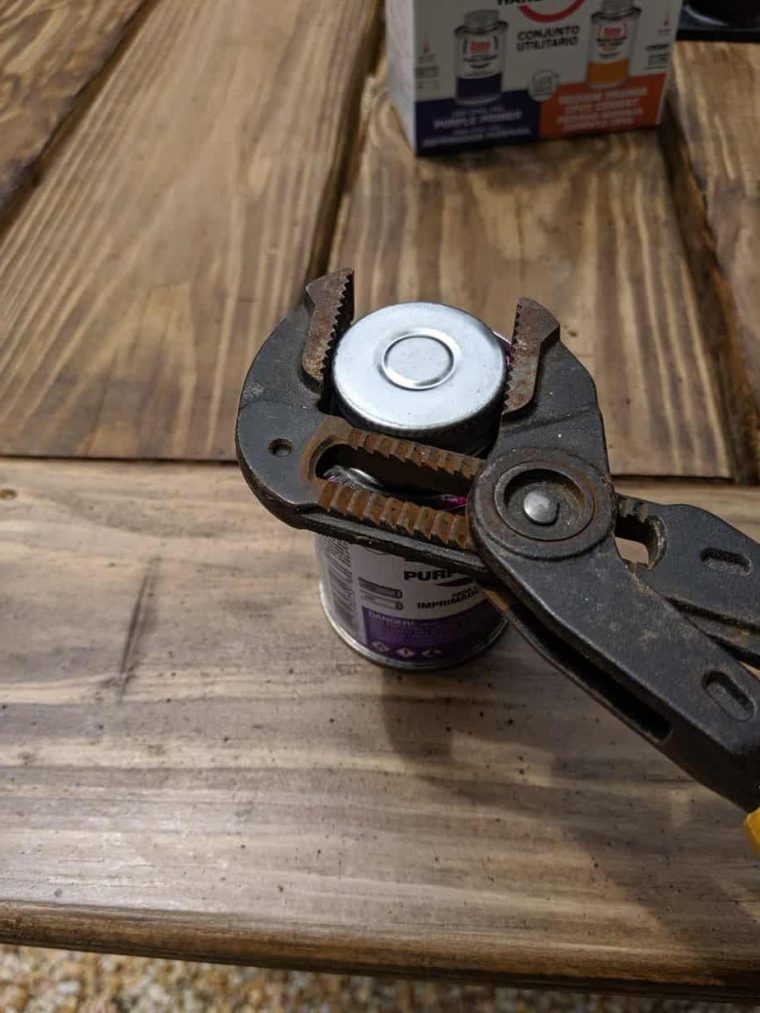
- To open the caps on these jars, use a wrench if necessary.
- Apply PVC cement to each piece and join them together as you work.
- Each piece forms a wonky 7 shape consisting of a short piece of pipe, an elbow, a long piece of pipe, and a cap.

Installing the Pool Float Storage on a Deck Post
- In the meantime, you can install the flange to a deck post. Be sure to measure and make sure your floats will fit.
- Each flange was attached with screws and metal washers. They’re designed to be used with bolts, but that’s overkill for pool floats.
- After the cement has dried for at least 30 minutes, attach the pipes to the flanges. Each flange has a piece that tightens using an Allen wrench.
- Loosen it to make the pipe fit and then tighten it when the pipe is in place.
- In the winter, the pipes can be removed easily for storage.

The Best Pool Floats
Some pool floats are great for taking photos of. These are the best for actually using.
Floats rarely last from year to year, so I don't like spending a lot of money on them. They either get gross or my kids break them.
These are our current faves.
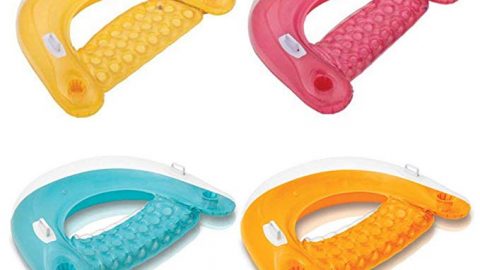
Intex Sit 'N Float Inflatable Colorful Floating Loungers, 4 Pack (Colors Vary)
These floats are inexpensive, but perfect for when you want to sit back with a drink. You sit fairly low in these floats, so they're perfect for the hotter days where you want to be submerged in water.
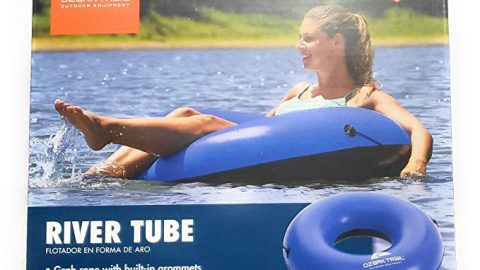
Ozark Trail 45 Easy-Board River Tube
These floats are surprisingly sturdy. They're perfect for those days when the water is a bit chilly and it takes you longer to warm up.
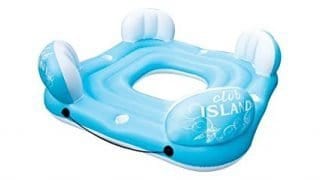
Poolmaster Club Island
This is the most expensive float we have ever bought, but it's perfect for making our pool season a bit longer. It's possible to sit on it and not get wet at all, which we love in early May or September.
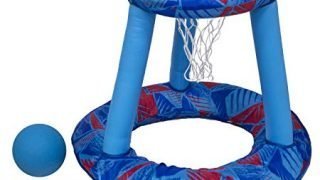
COOP Hydro Spring Hoops
We aren't athletic at all, but the kids love playing basketball in the pool.
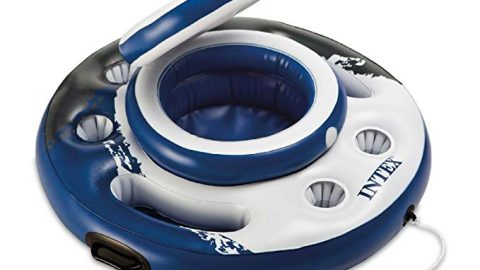
Intex Mega Chill, Inflatable Floating Cooler
This floating cooler allows you to stay in the pool longer without having to go inside to refresh your drink.
You might also like:
- How to Open a Pool for the Summer
- Winterizing an Above Ground Pool
- Simplified Above Ground Pool Maintenance
- Pipe Shelves
- Copper Pipe Handrail
- DIY Koozies for Summer
Pin for Later!

Emy is a vintage obsessed mama of 2 DIYer who loves sharing affordable solutions for common home problems. You don’t need a giant budget to create a lovely home. Read more…