The Ultimate Guide to Installing Shiplap in a Bathroom
Learn how to install shiplap in a bathroom to protect it from moisture and mold issues.
Shiplap is a great way to add texture to a boring room. The wood planks are perfect for a variety of styles from modern to farmhouse!
You might also be interested in learning how to finish shiplap edges.
This post contains affiliate links. By purchasing an item through an affiliate link, I earn a small commission at no extra cost to you.
I love adding trim to my house and shiplap appeals to me because of its graphic, yet subtle nature.
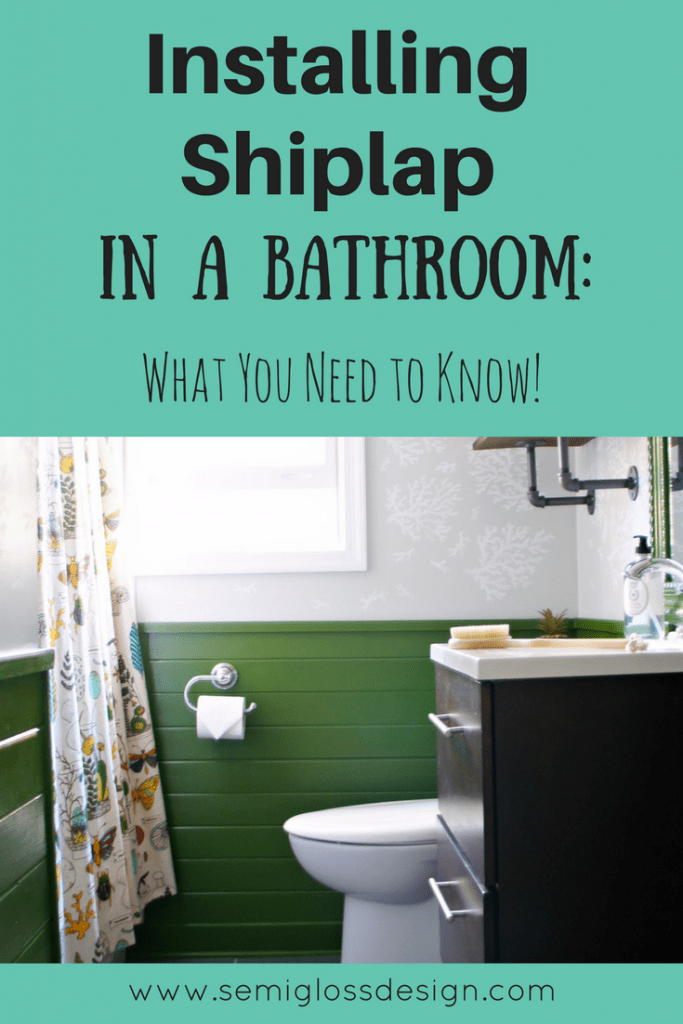
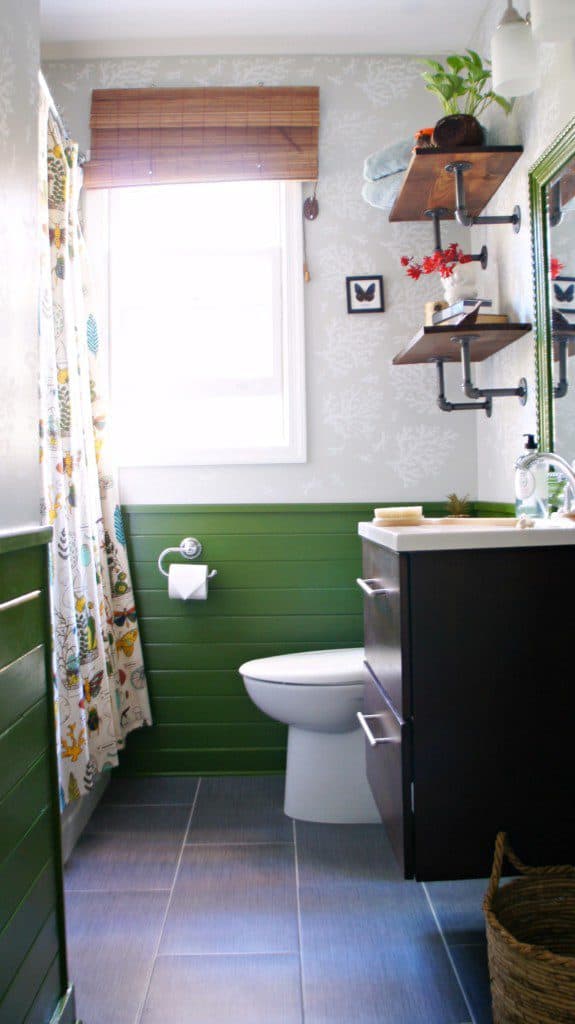
I’ve always known that I wanted to add a wainscot to my main floor bathroom that I’m renovating for the One Room Challenge.
Wainscot makes the room feel taller, but it also protects the lower parts of the walls that get rubbed by a certain dirty doggy and children.
Shiplap gives me the perfect casual look that I’m going for in this bathroom.
However, bathrooms need a little extra care during shiplap installation to protect them from the wet environment.
Installing shiplap is pretty straightforward.
You can use the inexpensive method of using underlayment cut to thin strips to make shiplap boards or you can buy V-groove boards. I’ve used both methods and I like both of them.
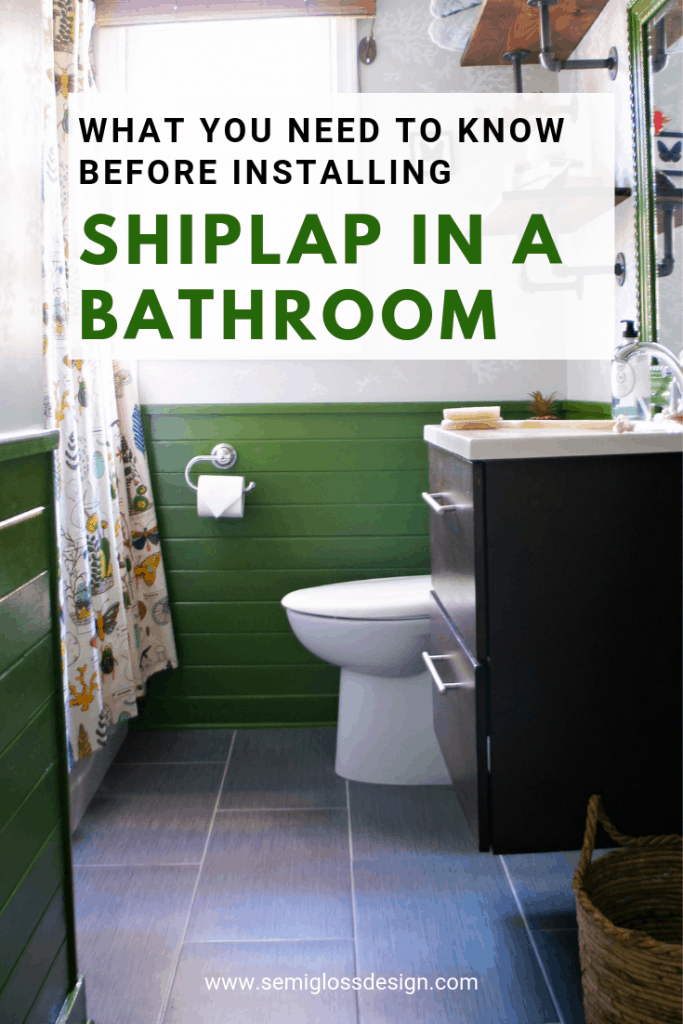
My recently updated craft room has the underlayment type over the fireplace, but I used a v-groove in the bathroom to avoid having the gaps that might allow moisture to sit against the wall.
For a more in-depth post on how to install faux shiplap, click here.
Shiplap FAQ
Is shiplap waterproof?
In a short answer, no.
Wood is susceptible to rot, so precautions need to be taken in a moist environment like a bathroom.
Paint or a top coat will help seal the wood to make it more waterproof.
Wood products like MDF are definitely not waterproof. They will swell and develop a grainy texture, even if they’re painted. My husband used MDF in our garage for his workbenches and they don’t look great.
I still would never use wood shiplap in a shower. There is no way to waterproof it enough for a shower.
Instead, find wood-like tiles in long strips and use a thin grout line in a dark color to mimic the gaps of shiplap.
How do you cap off shiplap?
There are pieces of trim to cap the top off. I waited to install mine until I’m finished painting the area above the shiplap.
You can also use regular lumber, such as a 1×4 for a more modern look.
Click to read a more detailed look at ways to cap off and finish shiplap with trim.
How much does shiplap cost?
At the time of installation, each pack of tongue and groove boards costs about $16 each. We needed 4 packs for an average bathroom size.
Lumber costs vary due to location and supply.
Where do you buy shiplap for walls?
I used tongue and groove panels for this bathroom. I bought them at a big box hardware store. The selection has grown since I finished this bathroom.
Now, you can get shiplap in all kinds of widths and finishes.
What is the best wood for shiplap in a bathroom?
I used tongue and groove wood because it’s pretty easy to work with and I knew that I could seal it well.
In my bathroom that is only used by adults, I used the faux shiplap method using thin plywood.
The one wood I would not suggest for shiplap is MDF because it has a tendency to swell when it gets wet and it looks horrible. Plus it’s heavy and awful to cut.
What is the best paint for shiplap in a bathroom?
I prefer semi-gloss paint in a bathroom and for trim because it’s easier to clean.
How to Protect Shiplap in a Bathroom
Supplies for Installing Shiplap
Preparation for Installing Shiplap
- Prime the wood. This will seal any knots in the wood.
This is really important if you plan to paint it white. The knots will bleed and yellow without a really good primer.
I recommend Zinnser BIN if you’re painting your shiplap white but I used Zinnser Bullseye 2 Primer and Sealer since we painted our shiplap green. - Paint the wood before installation with at least 2 coats. It doesn’t need to be perfect, but you want to cover most of the boards.
I used semi-gloss paint to make the walls more wipeable. Shiny wood is much easier to clean than porous wood. If anything gross gets on the wood, it will be easier to clean now. - Remove the toilet if possible. It is much easier to install shiplap behind a toilet if you remove it, especially when having to touch up paint and caulk everything.
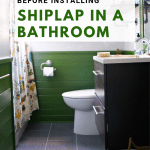
If you can’t remove the toilet, slide the wood behind it and use a nail gun to secure it to the wall on each side of the toilet. Try to hit studs where possible. This is where painting before installation comes in handy. It’s pretty difficult to paint behind a toilet. - For a bathroom, consider a different color than white. I love white wainscot, but this bathroom gets heavy use, so white is not ideal (AKA: My kids are gross.) I wanted a dark color, so I considered black and navy before settling on Ralph Lauren Felt Green.
Installing Shiplap
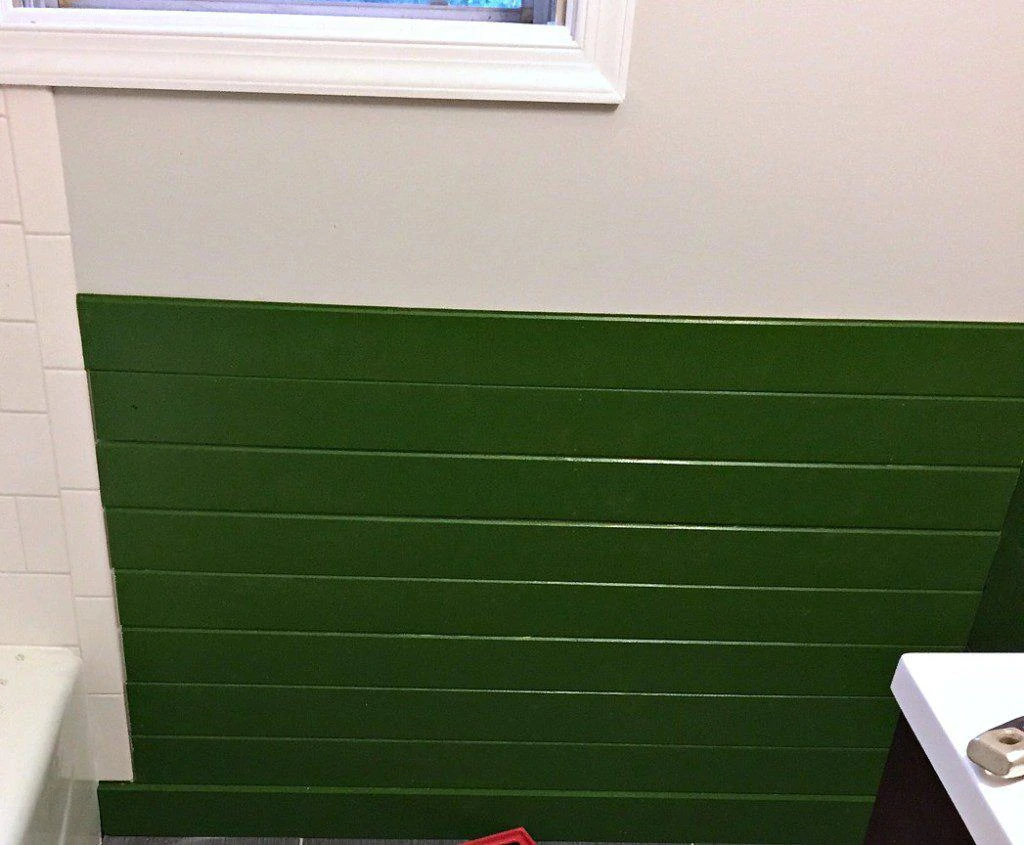
- Install the baseboard first. Shiplap is pretty thin, so you can use regular baseboards, but I chose to use 1×4’s instead because I wanted a modern look.
- As long as the 1st board is level, the rest should stay decently so. I worried more about matching up the lines in the corners.
- I used my nail gun to attach the boards at the ends and at the wall studs using 1″ nails. Use a stud finder if necessary to find the studs.
Do not glue the boards to the wall. Please have some respect for whoever will eventually remove these. We love shiplap now, but in 2030, homeowners will be cursing us. - Give some thought to how high you want your trim. A good rule of thumb is to divide the wall into thirds. So 1/3 or 2/3 of the wall will look better than half of a wall. It won’t be exact, but try to get close.
I wanted mine to go a bit higher, but then it would have impeded with the electrical outlet, towel racks, and light switch. - The wood slides into the v-grooves, except for when they don’t. Some are a bit wonky or broken and that’s fine.
Nail them in and be sure to caulk the seam to prevent water from getting behind the wood. This is especially important beside the shower and toilet area. You don’t want any place where mold can grow. - If you need to cut around obstacles, use a jig saw.
- Stagger the lengths of the wood as you go if you can’t use whole lengths of wood for the wall.
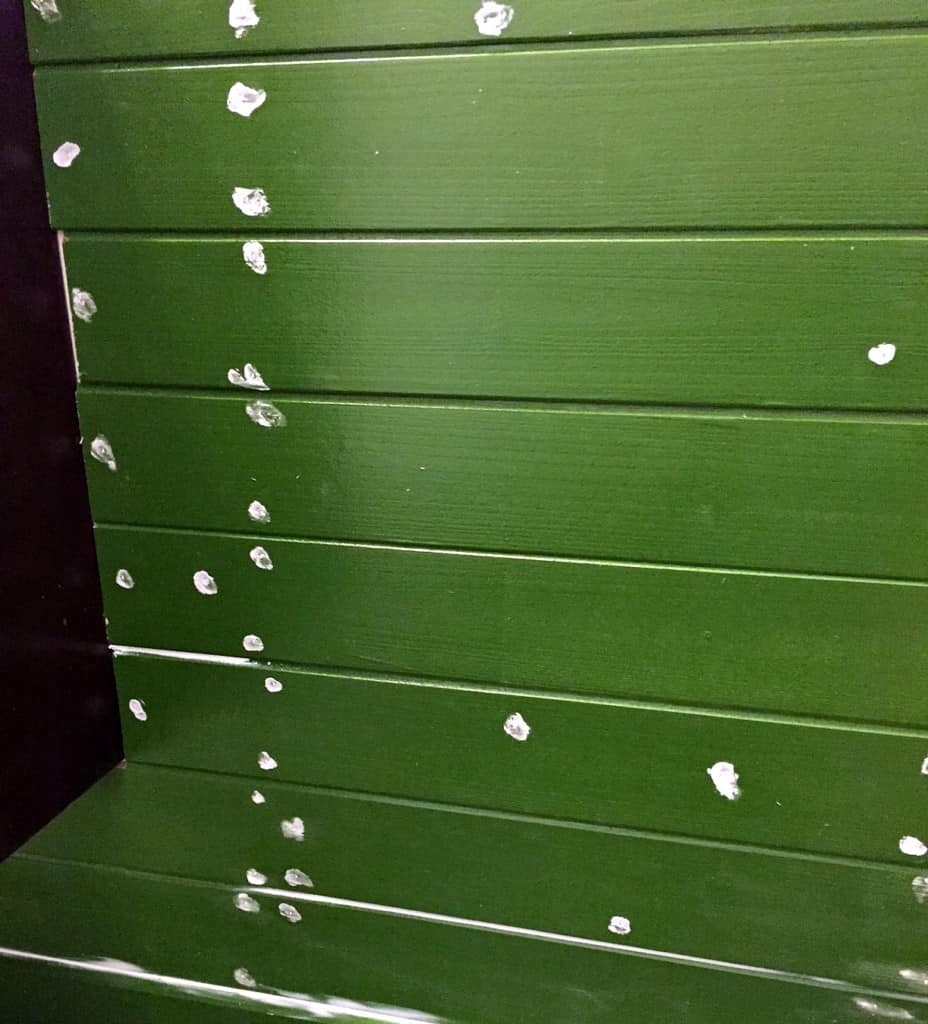
Staggered cuts look interesting, but I still filled the seams when I filled the nail holes. I use Dry Dex Spackle to fill holes. It goes on pink and dries white. I love this stuff because it hides the holes really well. - Caulk hides a ton of imperfections. Be sure to use paintable caulk! But if necessary, add corner trim as well.
I have an outside corner that will need a corner piece. I could have mitered the ends, but that seems crazy to me. And potentially sharp. Be kind to the people who will be naked in your bathroom.
Finishing the Shiplap
Paint one last coat of paint over the shiplap. Personally, I like using a paintbrush with the final coat of semigloss paint.
Yes, it’s tedious, but I listen to some podcasts and I find that I enjoy tedious jobs better. I even look forward to them!
How to Install Shiplap in a Bathroom
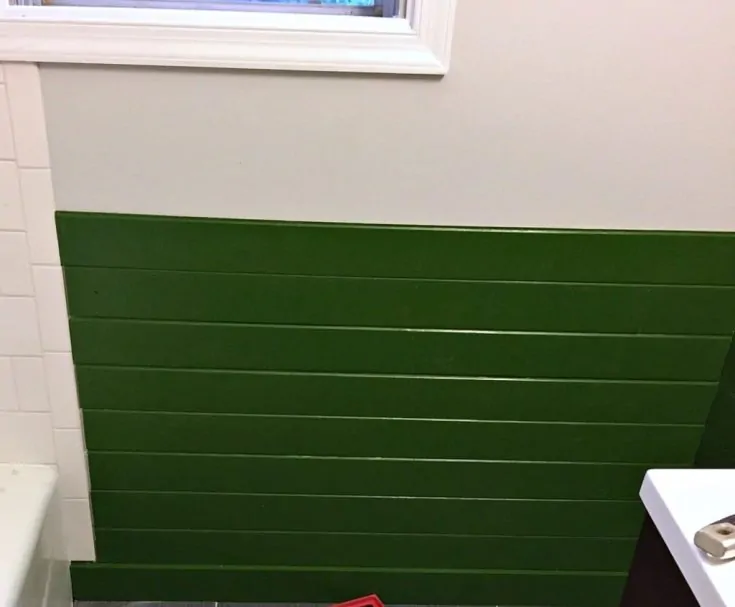
Learn how to install shiplap in a bathroom without worrying about mold and mildew issues.
Materials
- Tongue and groove wood
- Primer
- Paint
- Paintable Caulk
- Spackle
Tools
- Nail gun
- Air compressor
- Sandpaper
- Paint brush
- Level
- Miter saw
Instructions
- Prime the wood planks and let dry.
- Paint the wood.
- Give the wood a 2nd and 3rd coat of paint as needed.
- Install the baseboard using a level to make sure it's straight. Use a nail gun and attach the wood to the studs.
- Install the first board above the baseboard, making sure to nail into studs.
- Continue installing the wood planks, varying the lengths as you go. Each piece slides into the previous piece and locks in place.
- For wainscot, consider going about 1/3 of the way up the wall for the best results.
- When the wood is installed, fill all nail holes with spackle. Let dry and sand smooth.
- Caulk every seam using paintable caulk. Let dry completely.
- Touch up paint as needed.
Recommended Products
As an Amazon Associate and member of other affiliate programs, I earn from qualifying purchases.
Looking for more shiplap inspiration?
Check out this post on budget-friendly shiplap in my other bathroom!
You might also like:
- Budget Bathroom Makeover
- One Room Challenge Sunroom
- How to Build a Wood Countertop
- How to Install Budget Friendly Shiplap
Pin for Later!

Emy is a vintage obsessed mama of 2 DIYer who loves sharing affordable solutions for common home problems. You don’t need a giant budget to create a lovely home. Read more…





oh i love the green shiplap! FUN!
Thanks Cassie! I’m loving the green so much.
Love it. Questions, I’m putting right on the studs in the bathroom should I seal the back? And thoughts about installing above a shower stall on the ceiling or above the wall unit?
Thank you!
Deb
Hi Deb! I would at least paint the back of the wood since it’s going against studs.
As far as the ceiling and above your shower, that depends on your bathroom. Do you have a bathroom fan? I ask because we don’t and after my kids use the shower, the walls drip with condensation. I would be concerned about the moisture because of them. I love how it looks on the ceiling in bathrooms though! Are you painting it? If it’s painted and sealed well, it should be fine. Unless you have kids like mine. 😉
I am doing a woos slat ceiling in bathroom. Using pine wood wood planed down to 1/4 inch. We will be going over original shiplap for the 1930s. I have stained wood with a brown, then a grey stain followed by wiping down with a white deck stain. What should I seal them with???? And should I seal all sides to seal out moisture. Someone mentioned tar paper between it and original ceiling for moisture barrier. Any suggestions
What’s the moisture like in your bathroom? I would be hesitant to use tar paper. I’ve never worked with it, but it sounds like it has the potential to be messy and be awful for the next person who owns your home. If there’s already wood there, I wouldn’t worry about it. A waterbased poly should be enough to seal it. If you prefer a low sheen, I’ve heard that General Finishes makes an amazing one. I’ve never used it, but I’ve used their milk paint and I’m very impressed.
Caulk the edges where the trim meets and it should be fine. In our bathroom, the paint alone does a really good job of protecting the wood. And our dog shakes everywhere during baths. I hope that I’ve helped. 🙂
Hi, I love the Shiplap you’ve done in the bathroom. I was wondering about how well it holds up with moisture, as my son’s bathroom is an interior room? Could you recommend which type to use, ie: headboard style, the semigloss one you chose, etc? Thank you.
Hi Jennifer. The shiplap is holding up well. I made sure to caulk well between each gap of the V-groove boards, corners and where it met the baseboard. Basically anywhere that water could get, I prevented it with caulk (paintable.) Then painting everything with a hard semigloss paint further protects it. Different types give different feels. Beadboard is a bit more cottage, shiplap can be a bit more modern. No matter what you choose, just be sure to caulk all the gaps. 🙂
We have hired a contractor to re-do out bathroom and I want him to do a shiplap wall treatment. He has never done it before. When I look for shiplap, carsiding and other tongue and groove paneling, it’s all almost 1 inch think, which would be thicker than our trim. Yours looks thinner. What can I get that won’t be 1 in thick, but still look high quality. We are spending a lot of money on this bath and I want it to look high end. What exactly did you buy and where did you get it?
Hi Terra. We used this tongue and groove. https://www.lowes.com/pd/7-25-in-x-12-ft-Pine-Wood-Tongue-and-Groove-Wall-Plank/999911107
Sometimes our Lowes carries it and sometimes they don’t. It comes in packs of about 6 or 8 pieces. Be picky when you’re shopping. Some packs are completely destroyed and cracked. It’s maybe 1/2″ thick. It is pine, which needs to be sealed if you’re painting it a light color. Pine bleeds, especially the knots. So make sure he uses a shellac or oil based primer to seal the pine or it will be yellow and knotty looking.
Good luck with your bathroom renovation! I’m sure it will be beautiful. 🙂
Have you ever put tongue and groove on the ceiling in a bathroom? If so how did you prep it?
TJ
I have never put tongue and groove on a ceiling. If I did, I would make sure that my bathroom vent was a good one and maybe even use a moisture barrier against the drywall. Then caulk everything well and paint it.