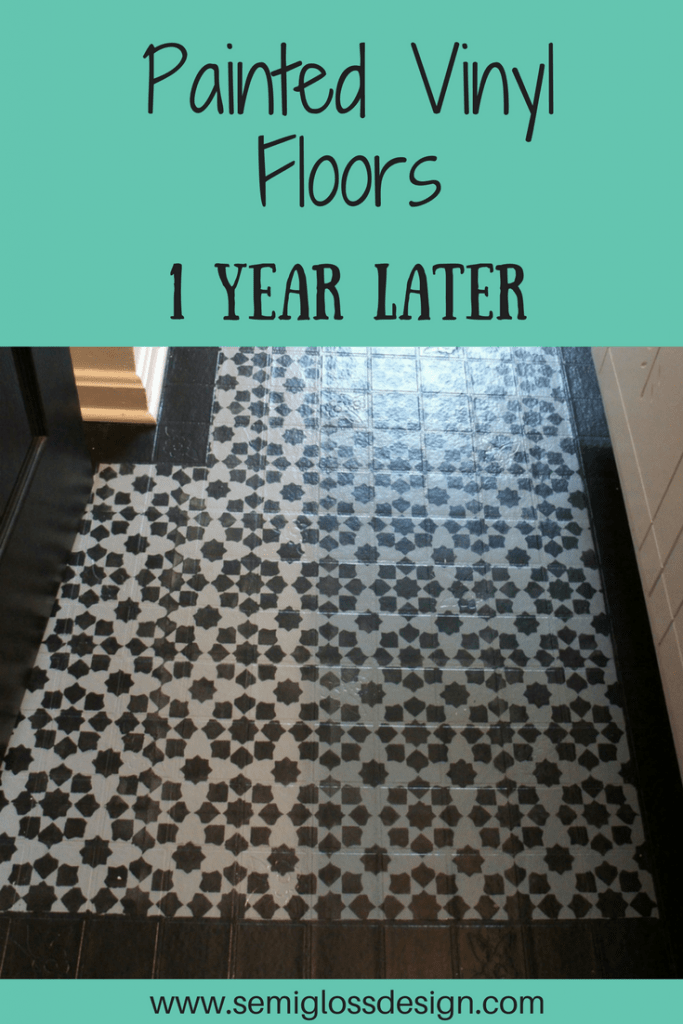
Painted Vinyl Floor – 1 Year Later!
Read more about my painted vinyl floor update.
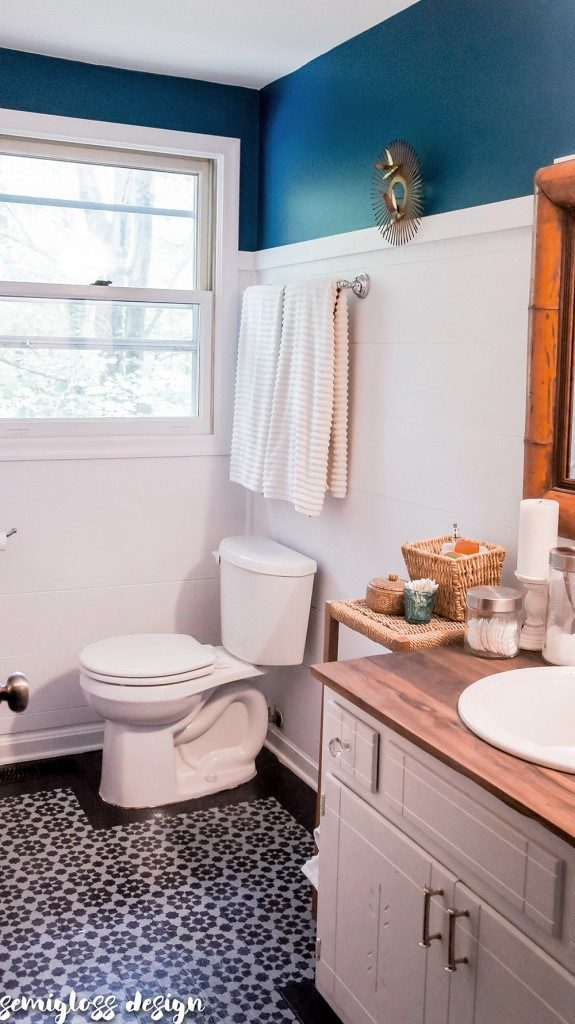
Last summer, I painted my bathroom floors. They were a horrid shade of beige and were such a bummer to look at.
This post contains affiliate links. By purchasing an item through an affiliate link, I earn a small commission at no extra cost to you.
I could have waited until we had the time and money to do it right, but sometimes you just want the ugly gone NOW. This was one of those times.
So while my husband was away on a business trip, I painted and stenciled the floor. I was so sure he would hate it, but to my surprise, he loved it.
It has been a year now, so it’s time for an update on my painted vinyl floor.
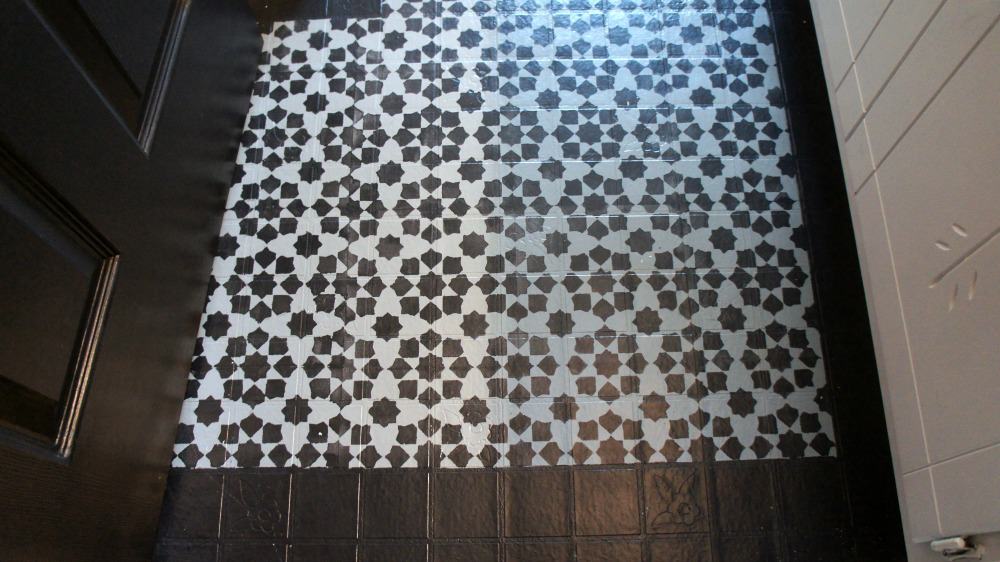
How are the floors holding up after a year?
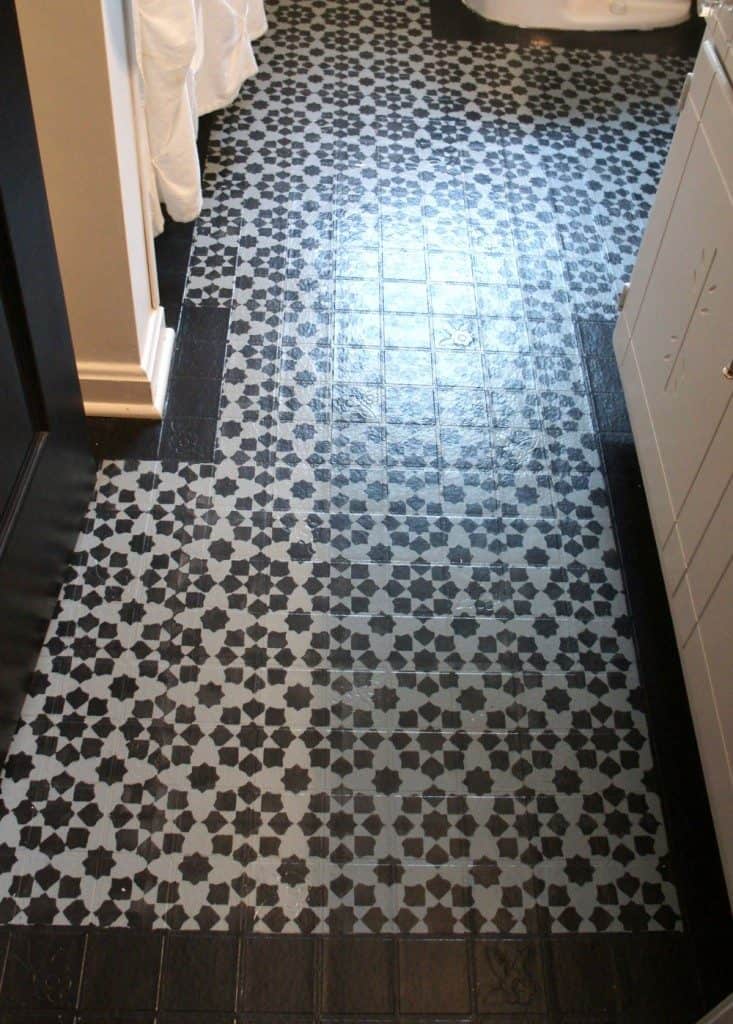
After a year, I still love it.
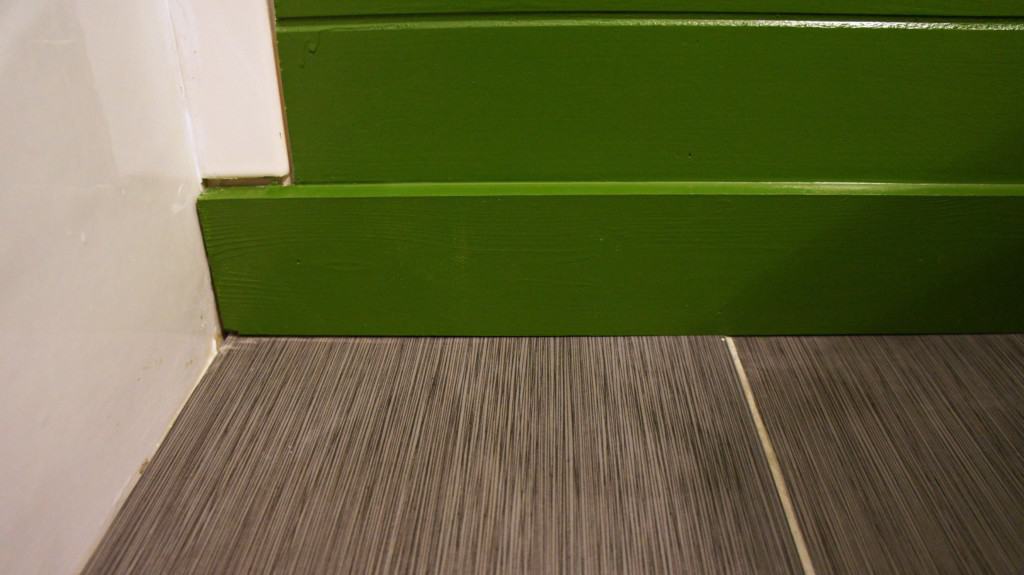
It’s a million times better than the ugly glittery beige that was there. My painted vinyl floor is easy to clean and is still looking great.
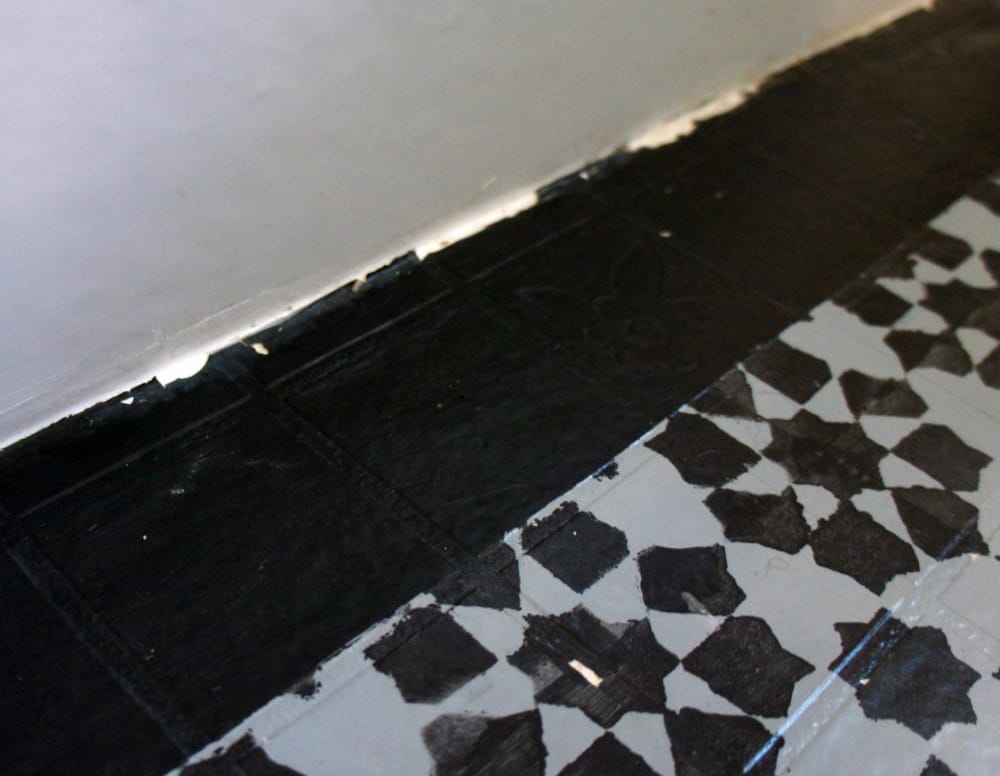
I have a few flakes coming off, but it’s the floor chipping, not the paint. The flakes are under the bath mat, but I should probably touch them up soon.
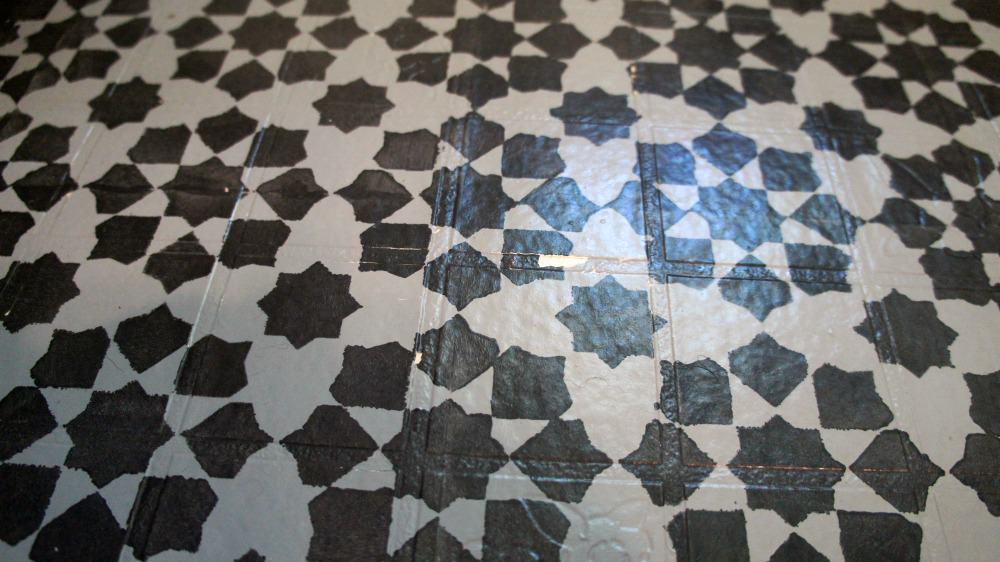
There are a few spots on the edge of the bathtub that are flaking.
I would guess those spots are coming up because they get splashed more with water.
These are extreme close-up photos of the spots. In real life, you would really have to look for flaws. Despite these spots, I think it still looks great!
Why do I think my painted vinyl floor has held up so well?
- Intense prep work. I deglossed the floors before priming them with my favorite primer. This stuff is amazing. If it’s difficult to remove from skin, it will stick to a floor!
- Old floors. These floors were old enough that the original gloss finish had mostly worn away.
- Low use. This is not a heavy use bathroom at all. If it was, I would still try painting the vinyl, but I would use enamel or oil paint instead.
- Not a kid bathroom. My daughter occasionally uses it, but not for showers. My kids aren’t great at using the shower curtain correctly, so I’m not sure it would hold up well in their bathroom.
Do I expect them to hold up this well forever?
No. This was a temporary fix to get rid of the ugly.
Estimated cost of project
These are the costs at the time of the process.
$12 Primer (already owned
$12 each color Paint
$17 Stencil
$18 Sealer (already owned)
$2 Foam roller (already owned)
So I spent about $40 to paint an ugly floor. Even if it only lasted a few months, I would say that was money well spent.
Would I do it again?
Absolutely! The problem areas will be touched up and the whole room could use another coat of poly.
There are heavy-duty clear coats, like the one that I used on my concrete that I can use.
The cost for paint and a stencil was much less expensive than even the cheapest tile.
It was worth it to spend a bit of time making an ugly room pretty, even if it’s just temporary.
In fact, I recently gave them a new look. After another year, they still looked fine, but I was ready for a new look. Check out my updated bathroom!
Overall Conclusion on Painted Vinyl Floors
At the moment, we have no plans on changing the floors. They make me smile every day and I have no regrets about painting them.
You might be interested in reading more about how to paint a checkerboard pattern on a floor!
You might also like:
Pin for Later!

Emy is a vintage obsessed mama of 2 DIYer who loves sharing affordable solutions for common home problems. You don’t need a giant budget to create a lovely home. Read more…

I am seriously considering painting my Master bathroom floor, and this post has given me the impetus to move forward. Thanks for sharing Emy. Your floor looks awesome!
You remarked that you sealed your floor with a product that you already owned….what sealed was it or what would you recommend? They look great!
I used polycrylic in matte finish. It’s my favorite sealer because it’s water based so it’s easy to clean up. But more importantly, it won’t yellow over time.
Curious I also paint furniture and am on the search for a non yellowing top coat as opposed to wax have you tried it?
Polycrylic is my favorite for furniture as well. It works even when it’s humid in the summer (I live near DC and the humidity is awful.) If I still want the texture of wax, I add it after polycrylic.