How to Repair Walls Before Painting
Learn how to repair walls before painting. Get your walls ready for a fresh coat of paint with these simple tips.
If you’re new to DIY, you might enjoy this beginner’s guide to painting walls.
This post contains affiliate links. By purchasing an item through an affiliate link, I earn a small commission at no extra cost to you. As an Amazon Associate I earn from qualifying purchases.
Like all things, the prep work for painting is really important. You can’t get a flawless paint job unless you fill all the holes and patch all of the blemishes.
It sounds easy but even after years of painting, I continue to learn new tricks. Here are some of my favorite tips.
How to Repair Walls Before Painting
Tools Needed:
- Spackle (Small Repairs)
- Joint Compound (Larger Repairs)
- Drywall Mesh Tape
- Putty Knife
- Sandpaper or sanding block
- Adjustable pliers
- Utility Knife
A note about plaster walls
These instructions are for repairing drywall but work on plaster walls as well. Spray the plaster walls with water before applying the joint compound. This helps it stick to the wall better
I’m adding this disclaimer because some would argue that it’s not the authentic way to fix plaster walls. Done is better than perfect is my motto.
Removing Nails, Screws, and Wall Anchors
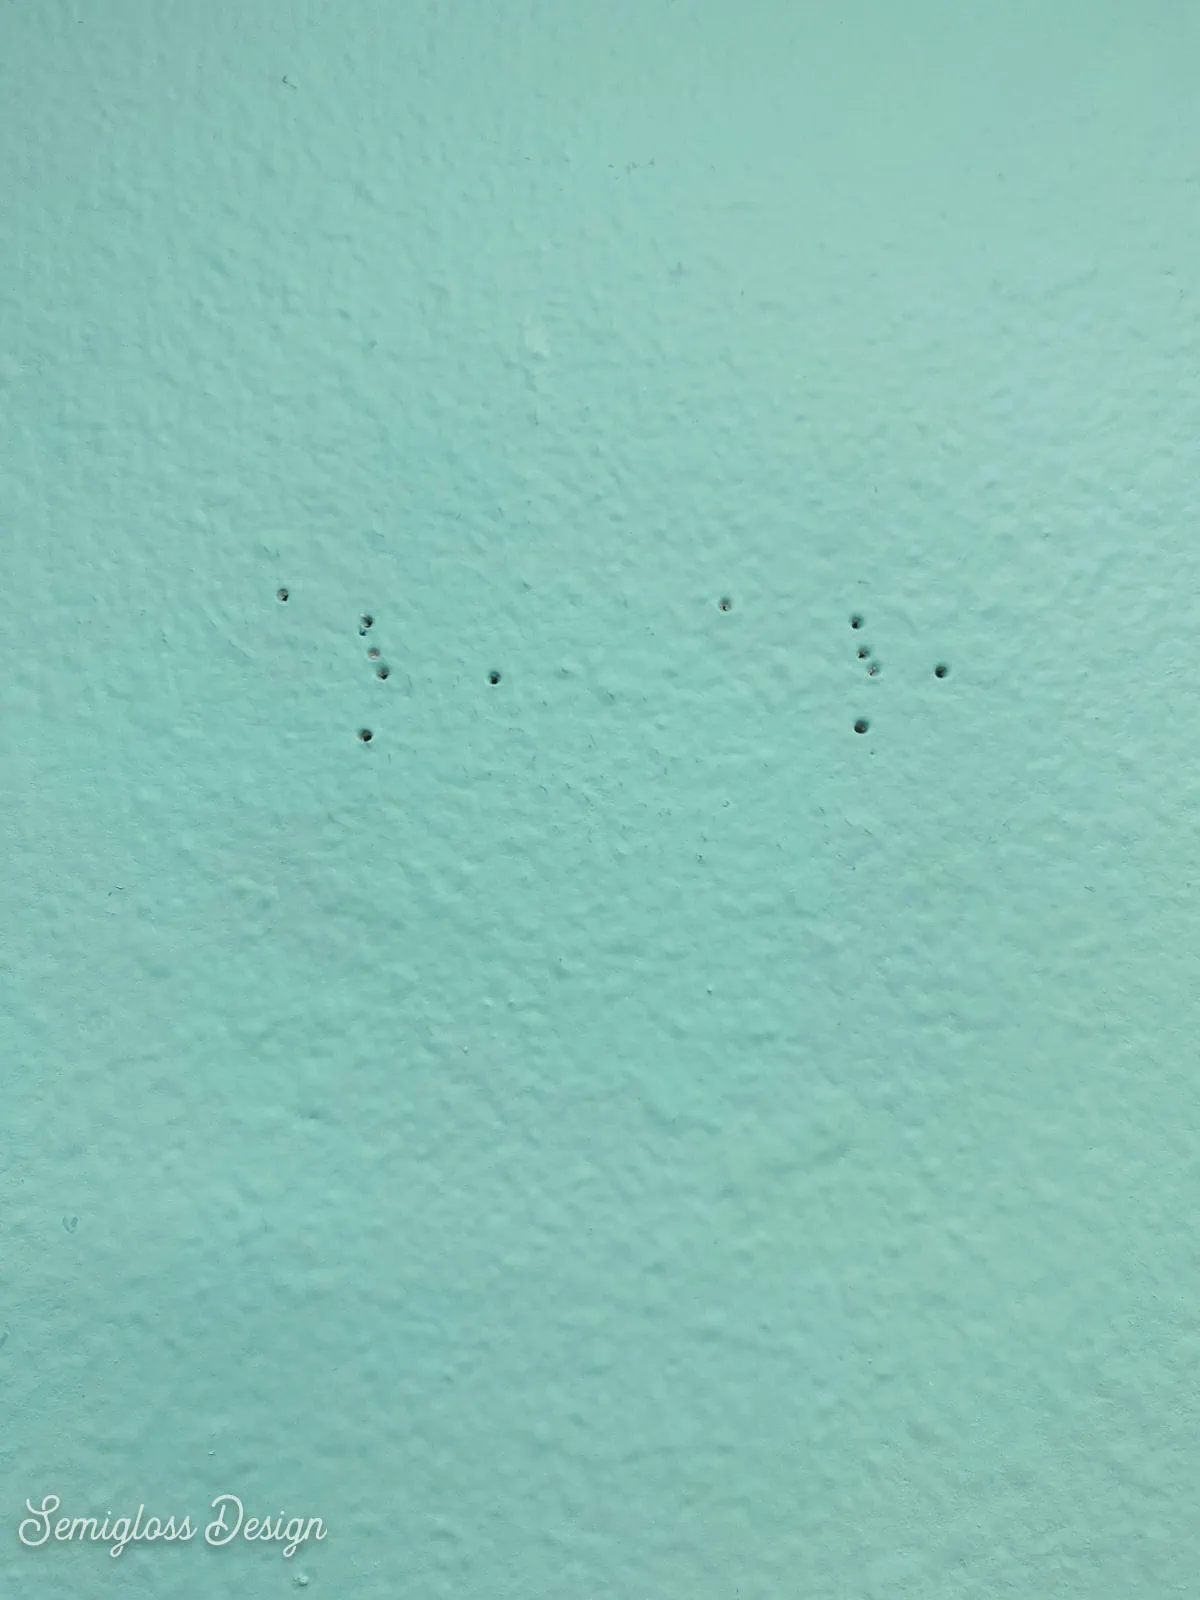
The first step is to remove all of the nails, screws, and wall anchors.
If you’re going to put art back in the same place, you can skip this step. I always like to start with fresh clean walls though in case I change my mind about where art goes.
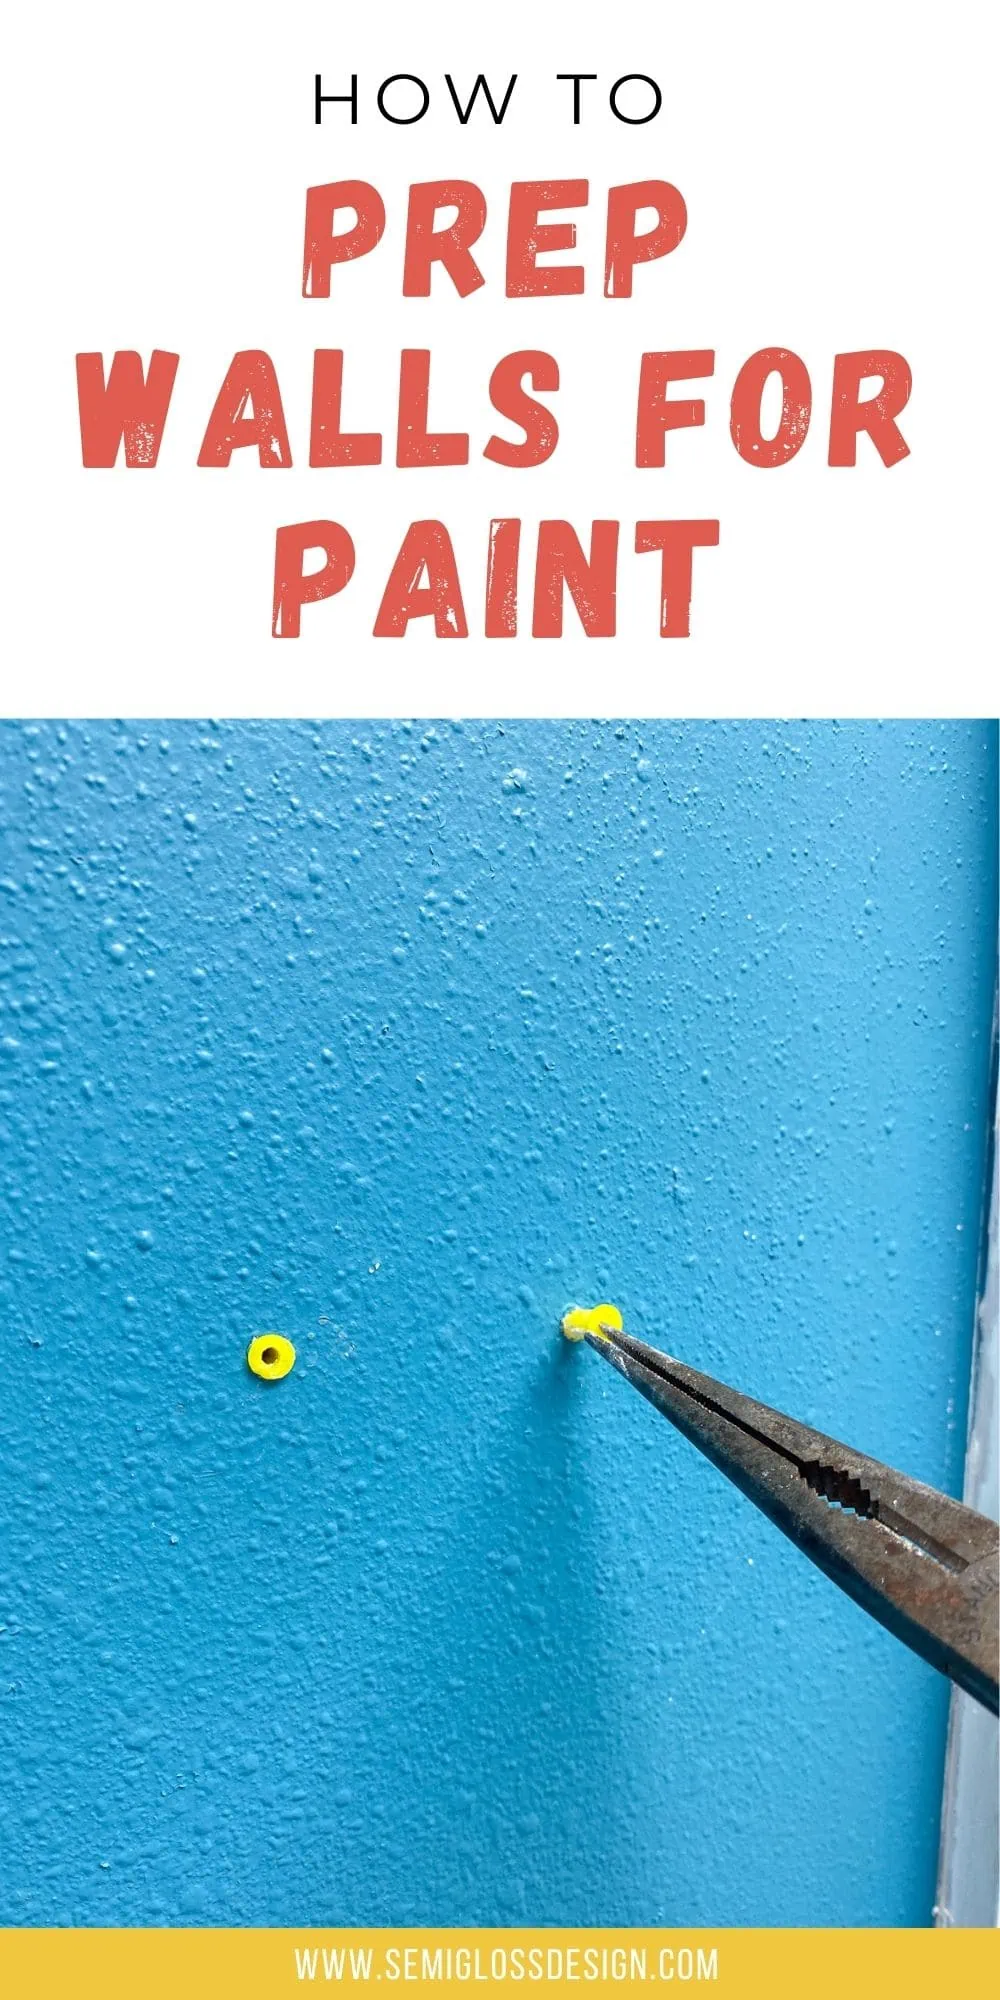
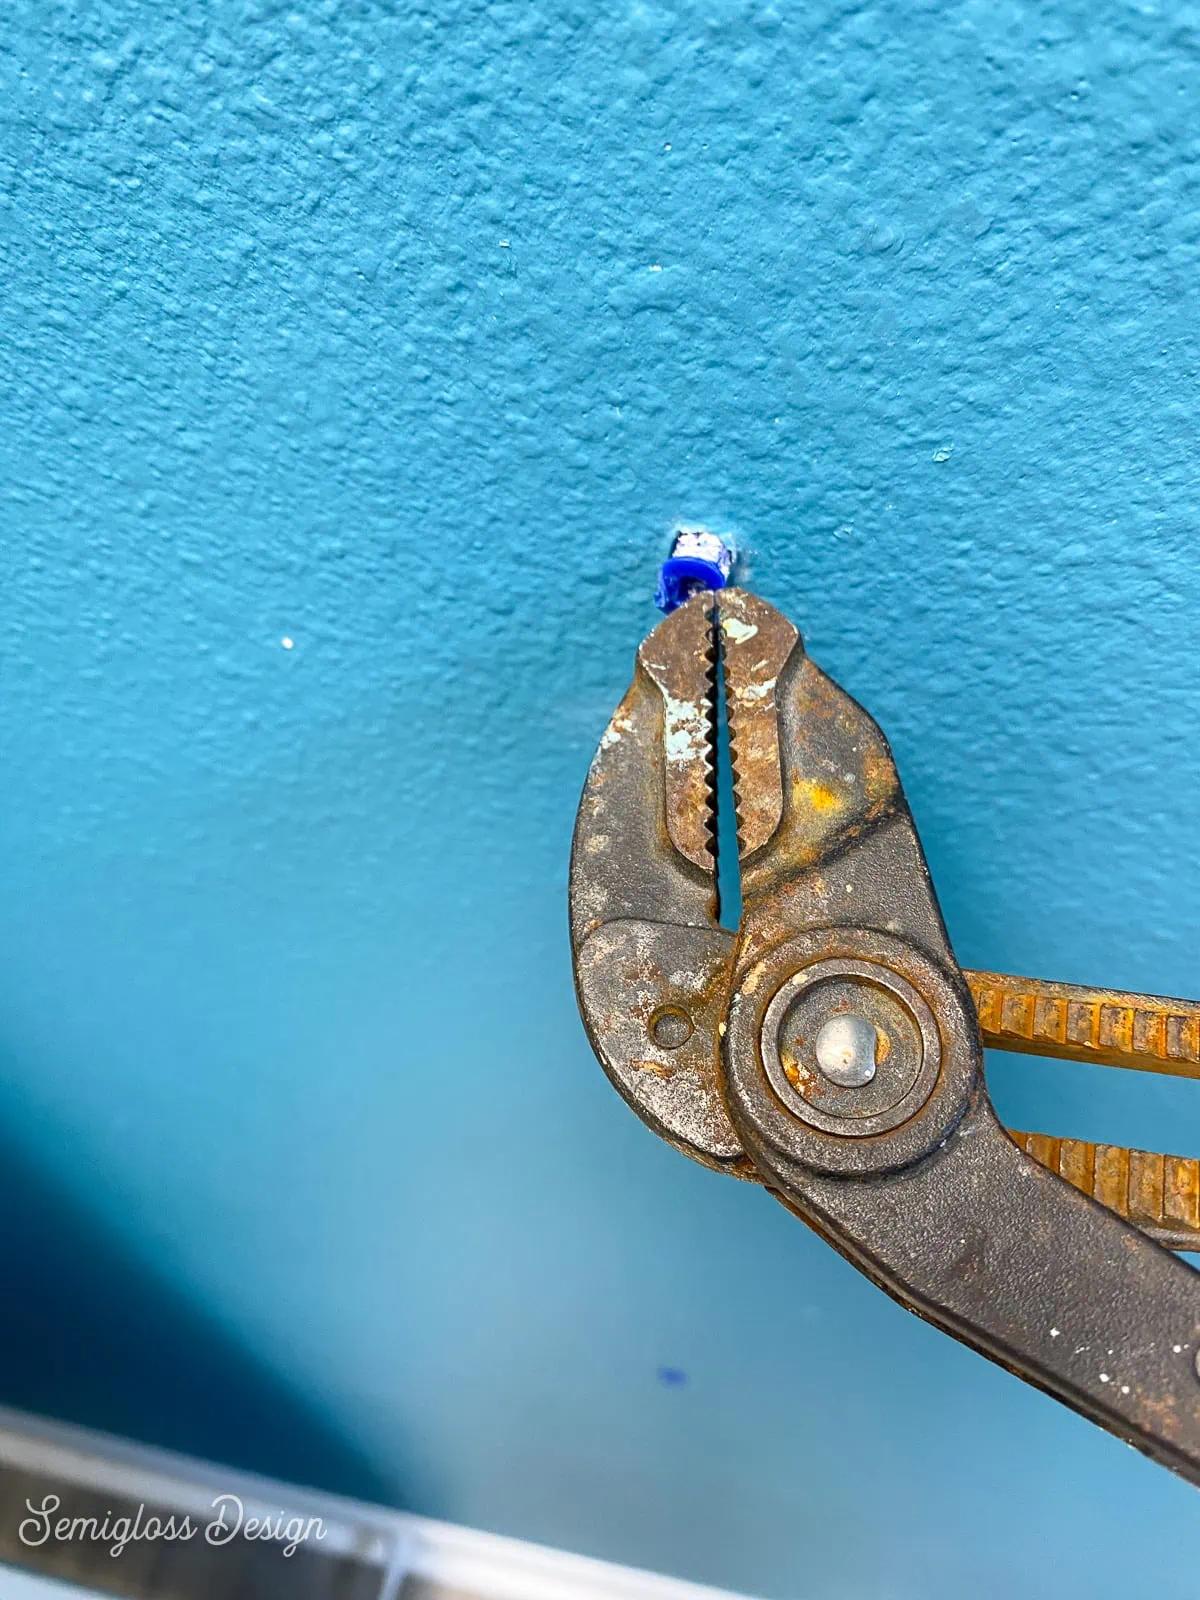
- Remove all nails and screws from the walls. Pliers remove nails without damaging the walls.

- Wall anchors can be removed with adjustable pliers. Just grab the anchor with the pliers and pull it out.
- If the wall anchor is brittle and breaks, you can cut the protruding part off with a utility knife. Then use the pliers to shove it into the wall. It doesn’t need to disappear into the wall, but you shouldn’t feel the plastic when you run your finger across it.
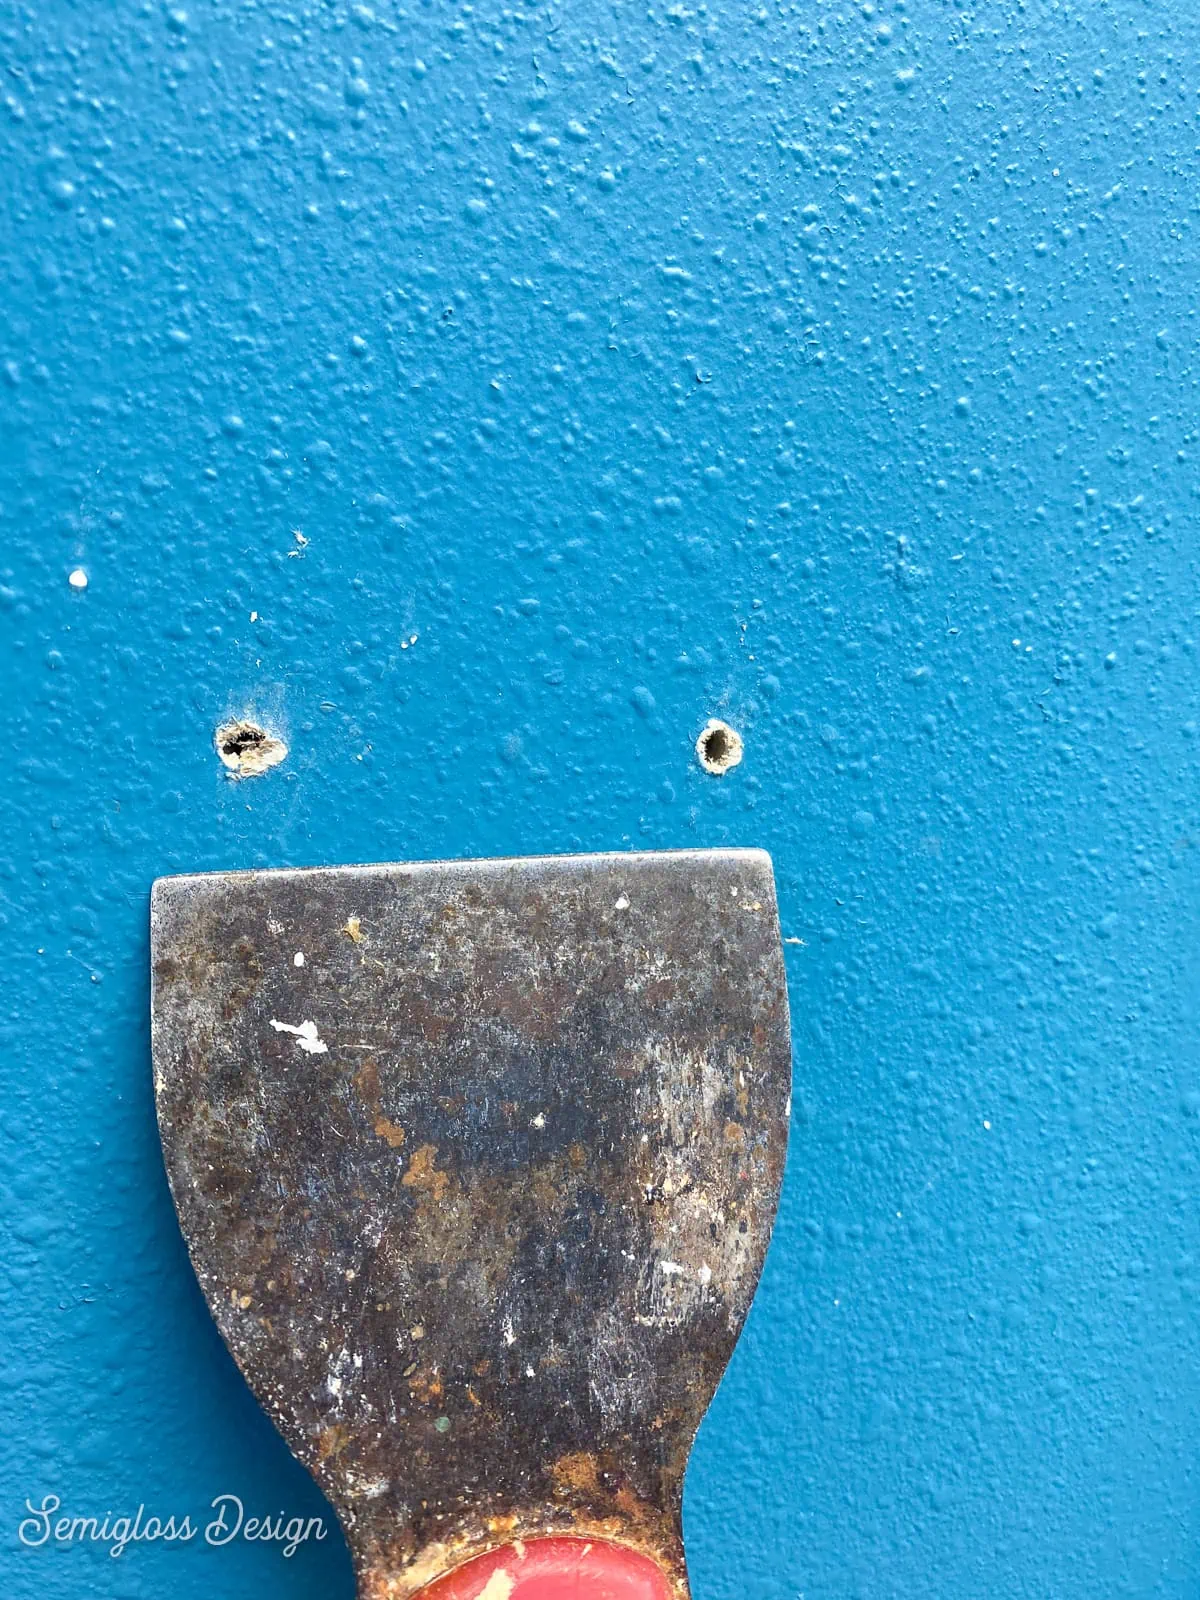
- Nail and screw holes can be made smooth in a couple of ways. Use a putty knife to scrape against the hole. This removes any loose debris and makes the edges smoother.
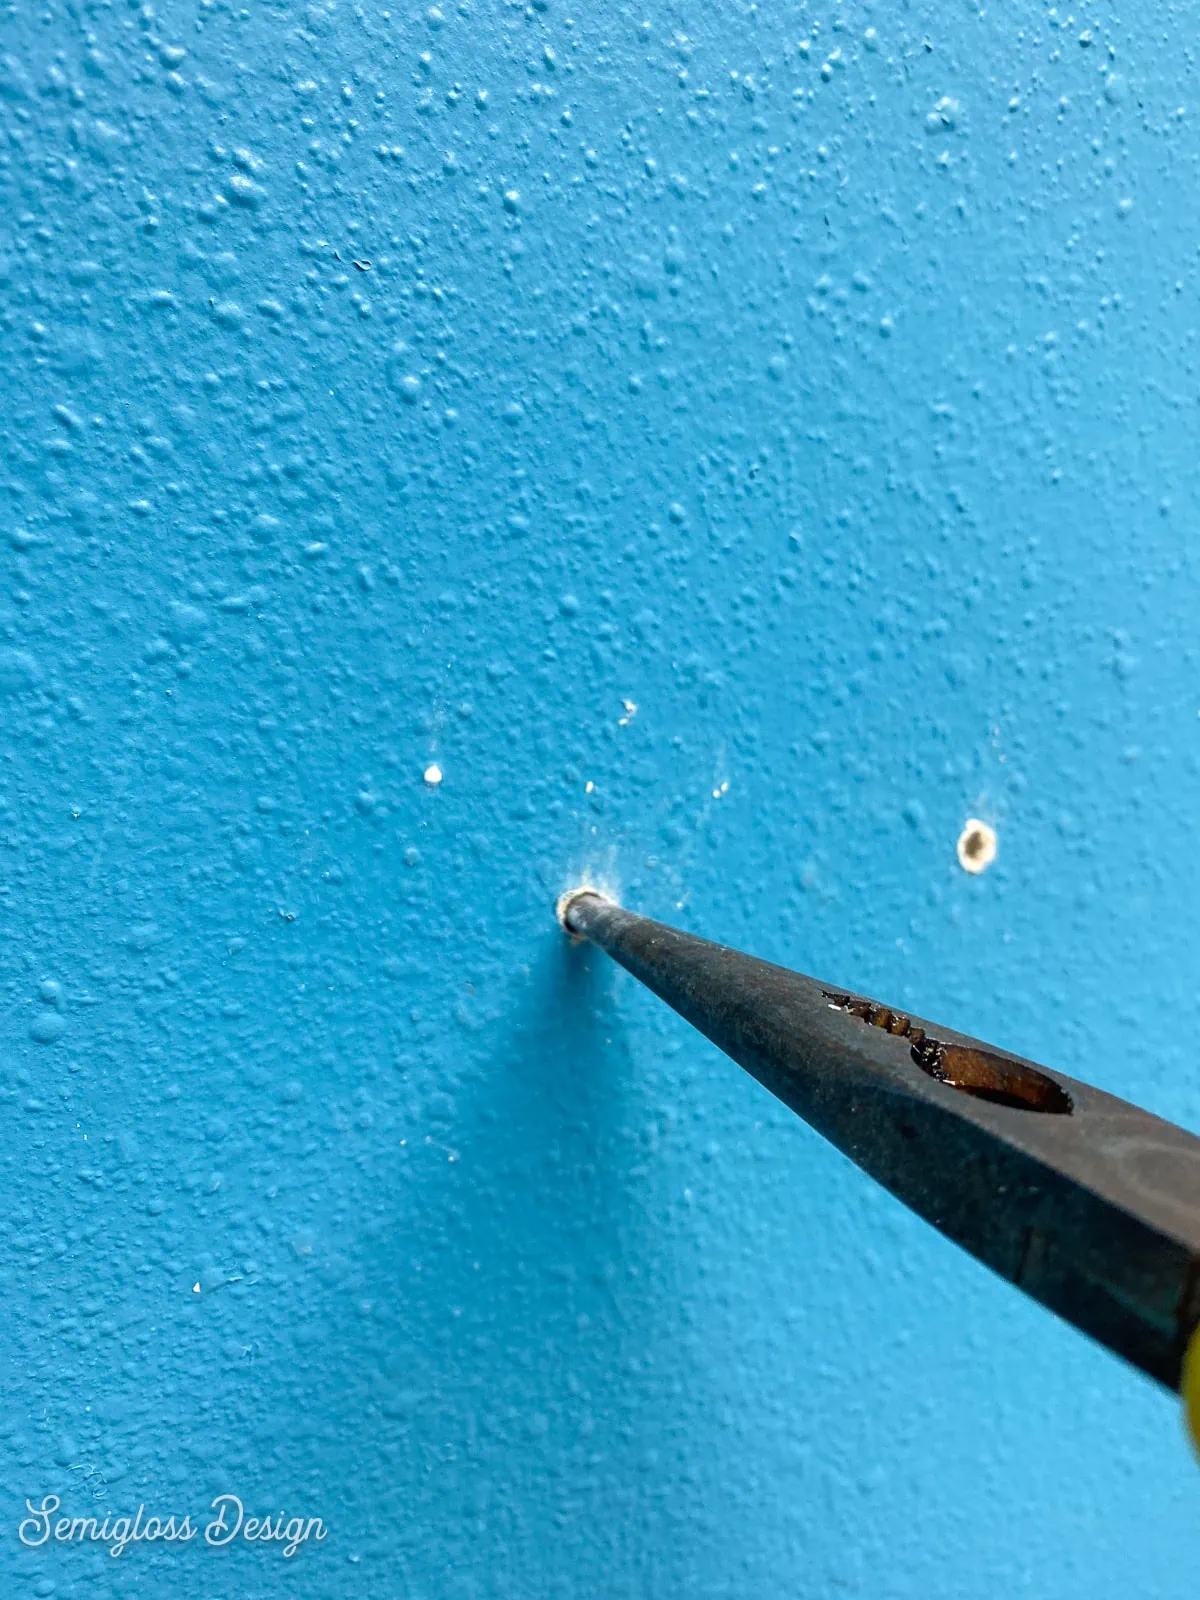
- The 2nd way is by poking something inside the hole. You can use a screwdriver tip, but I like to use the tip of the pliers. Make sure the excess drywall paper pokes into the hole.
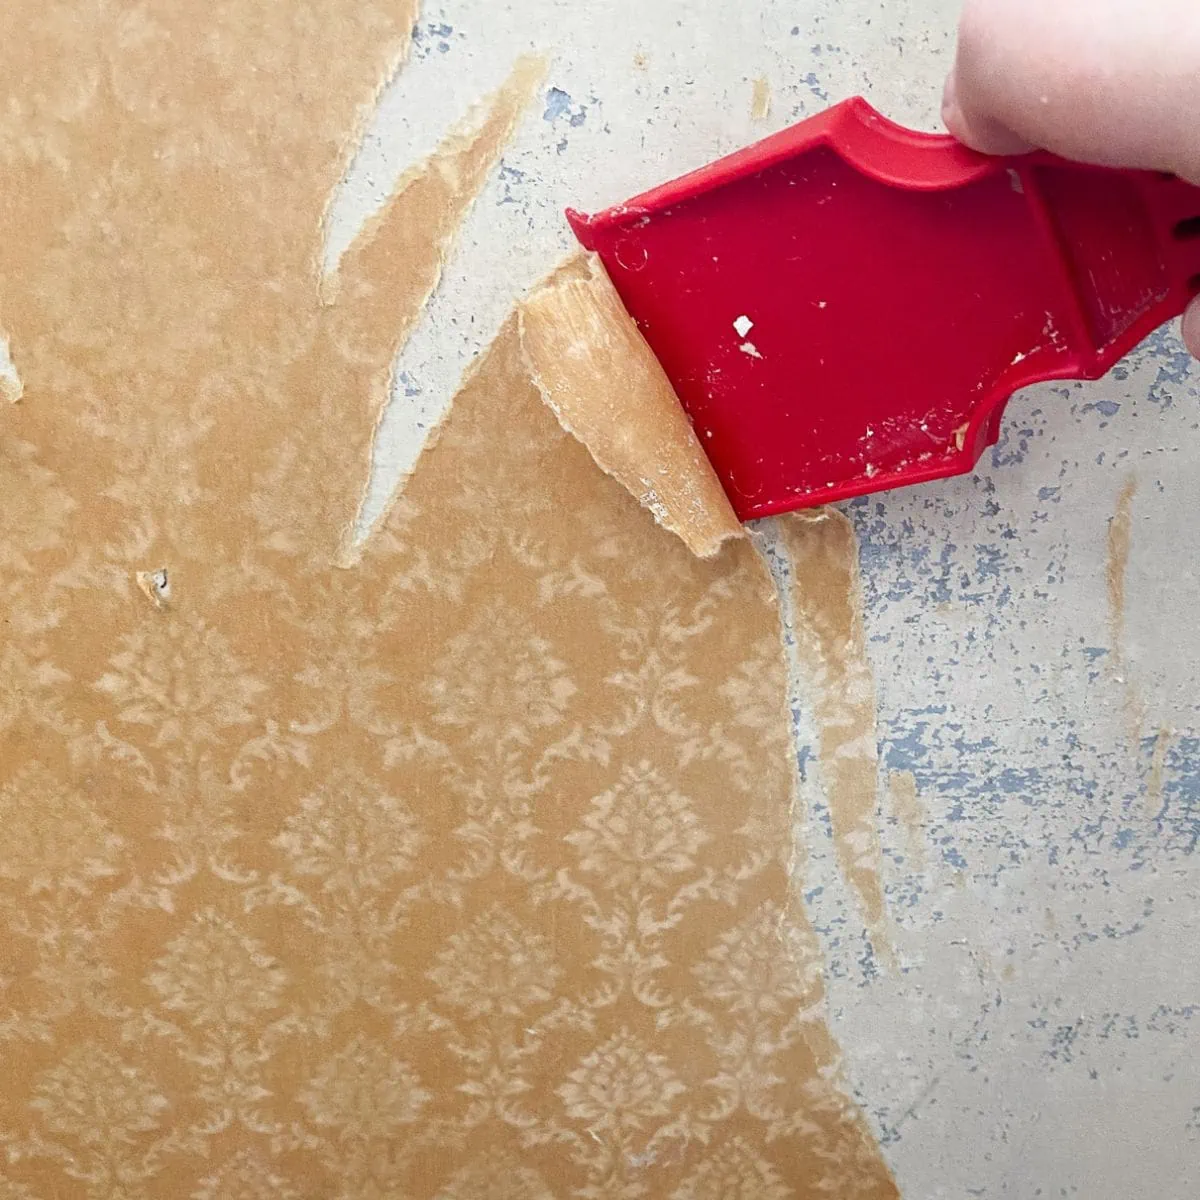
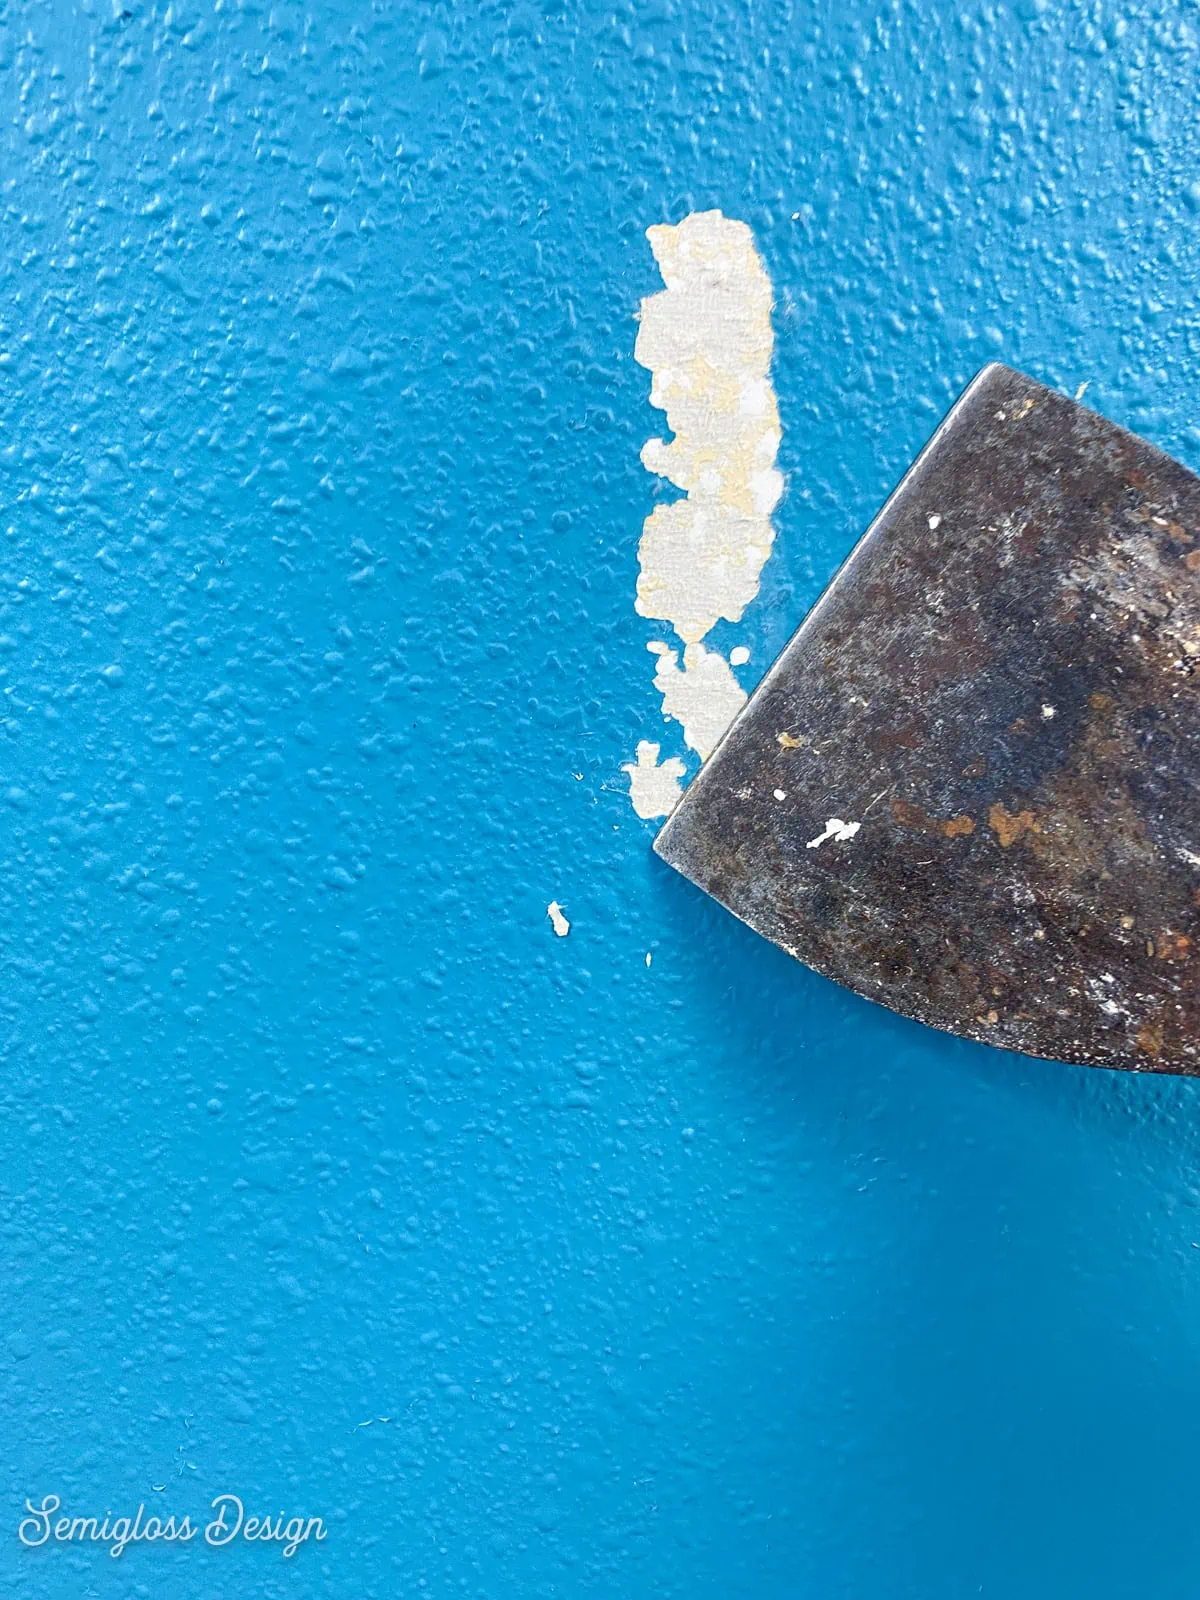
- Peeling paint is pretty easy to fix. Remove as much of the peeling paint as possible. I typically use a putty knife to scrape it away. Then patch it with joint compound as explained below.

How to Fill Holes in Walls
Once everything is removed from the walls, it’s time to fill the holes.
This stage is messy so remove anything from the room that is sensitive to dust. You might want to cover the floors as well. It’s actually a good idea to cover the furniture as well. It’s a pretty dusty step.
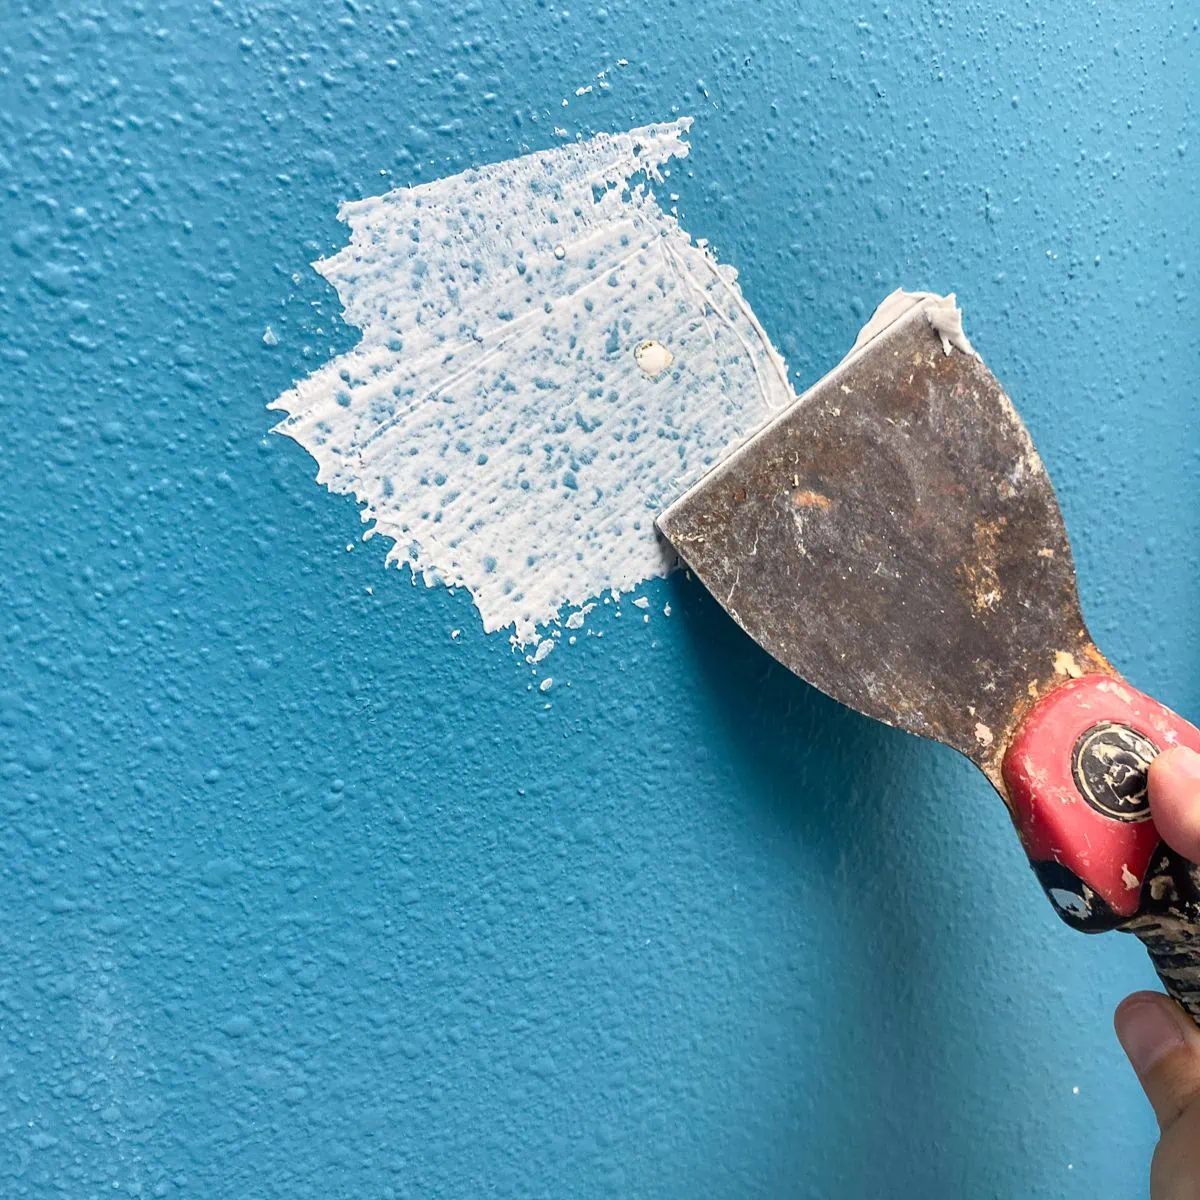
Spackle VS Joint Compound
When repairing walls, you can fill holes with spackle or joint compound. But which should you choose?
Spackle is great for small repairs, like holes from nails and tacks. I like the kind that goes on pink (or purple) and dries white. Spackle dries really quickly and it’s available in tiny containers.
Just spread it on the hole. You can even use a finger to get it smooth. No tools are required! It needs to be sanded before painting.
However, spackle is not great for larger holes because it shrinks a bit when it dries. You will never notice a tiny hole, but larger holes will need more than one application.
I typically fill nail, tack, and screw holes with spackle. If there’s an anchor or anything larger, I use drywall compound. It’s also great for repairing cracks.
I also use it if I have a lot of repairs. Really large repairs will need more than one application.
Joint compound comes pre-mixed or in a bag that you mix yourself. For convenience’s sake, I use the pre-mixed kind. Since I have a ton of repairs to do in my home, I buy a larger container but it’s available in s 3 lb size.
Joint compound takes a longer time to dry than spackle. Large repairs may need to dry overnight or longer.
Apply it with a putty knife. The knife should be wider than the entire repair spot if possible. This makes it easy to feather it out with the wall.
Using Drywall Mesh Tape
Large repairs may need drywall tape. Really big repairs will need to be patched with pieces of drywall, which is a whole other tutorial.
I wouldn’t use tape for anything larger than about 3″ in diameter.
Drywall mesh tape will stick to the wall. Cut a piece that’s larger than the hole and apply it to the wall. If you need more than one piece, cut more.
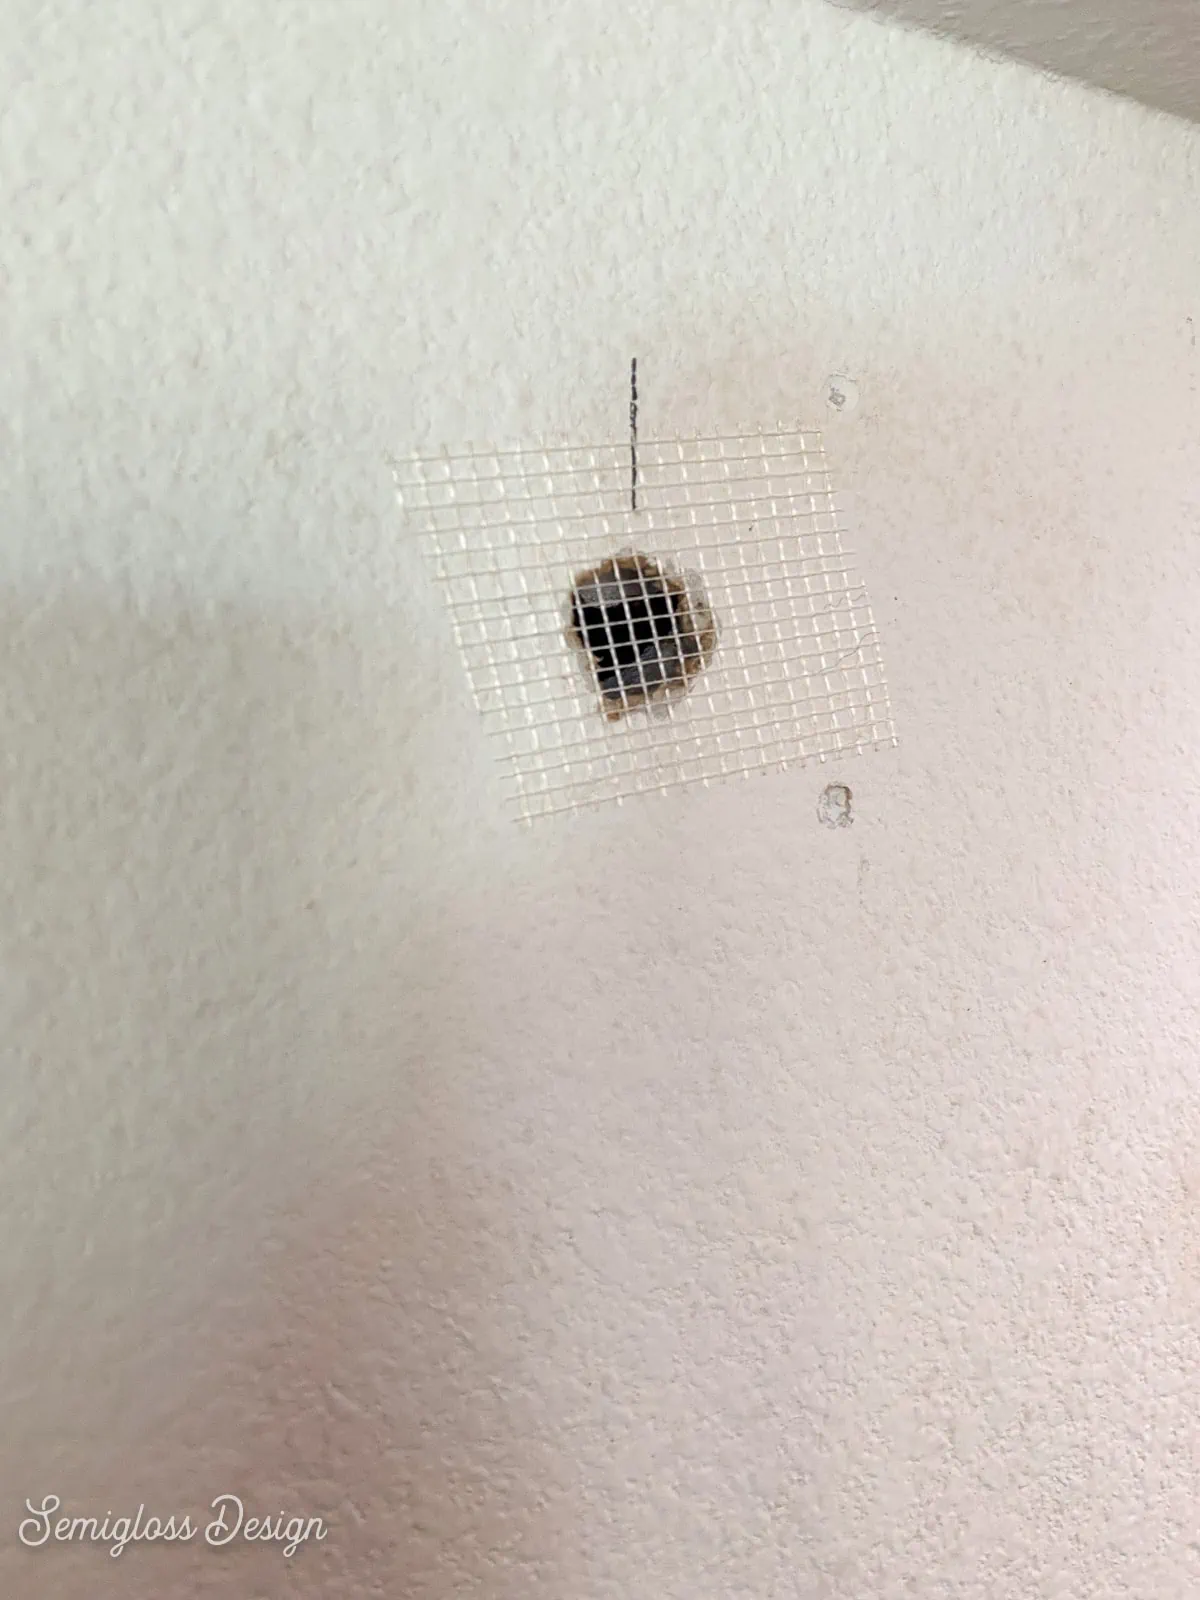
Then cover the hole with joint compound. It will need 2-3 coats of joint compound to cover the mesh texture.
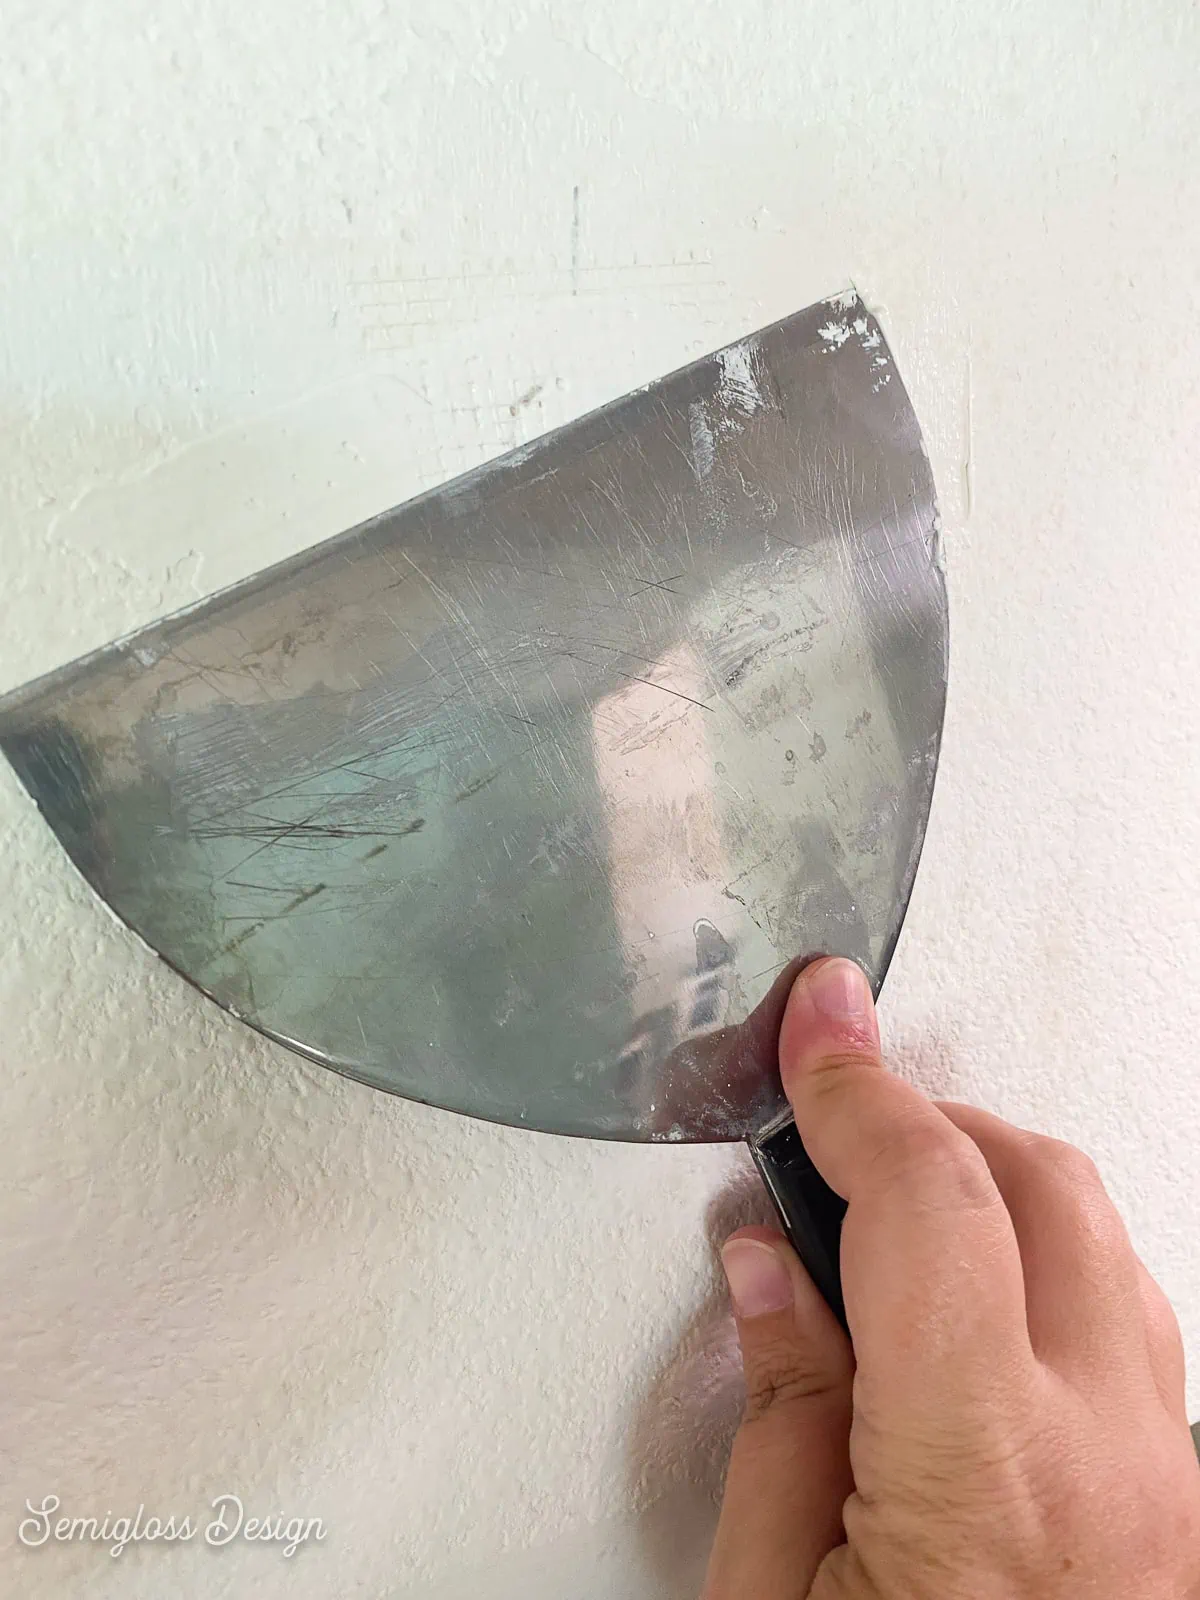
When the spackle or joint compound is dry, sand the spot smooth. I like using sanding blocks for this. Use your hands and feel for ridges. Your repairs should be smooth.
The joint compound is still wet if there is a dark spot.
Finishing the Repairs
Now it’s time to finish the repairs so that you can get painting.
Clean the Drywall Dust
After sanding, the walls need to be cleaned. Depending on the level of dirt, you may need to wash your walls. Small repairs can be wiped clean with a microfiber or damp cloth.
Drywall dust on the floor can be swept and mopped away.
Textured Walls
If you have textured walls, the repairs might look a bit flat now. Small repairs aren’t very noticeable, but large ones are.
Texture spray can be used to disguise those spots. There are many texture types to choose from. You can also choose to add more or less texture by twisting the dial on the spray can.
When you spray it on, it looks bad. It will evaporate a bit and look more subtle as it dries. And it looks gross when it starts to dry (like someone sneezed on the wall). But when it’s painted, it looks a lot better than a flat patch.
Priming the Spots
Always prime the repaired spots before painting. This seals the very porous surface.

If you skip priming, the paint will absorb differently in those spots and your paint job will look patchy. It’s really noticeable with darker colors, so don’t skip this step.
Now it’s time to get painting!
You might also like:
Pin for Later!

Emy is a vintage obsessed mama of 2 DIYer who loves sharing affordable solutions for common home problems. You don’t need a giant budget to create a lovely home. Read more…