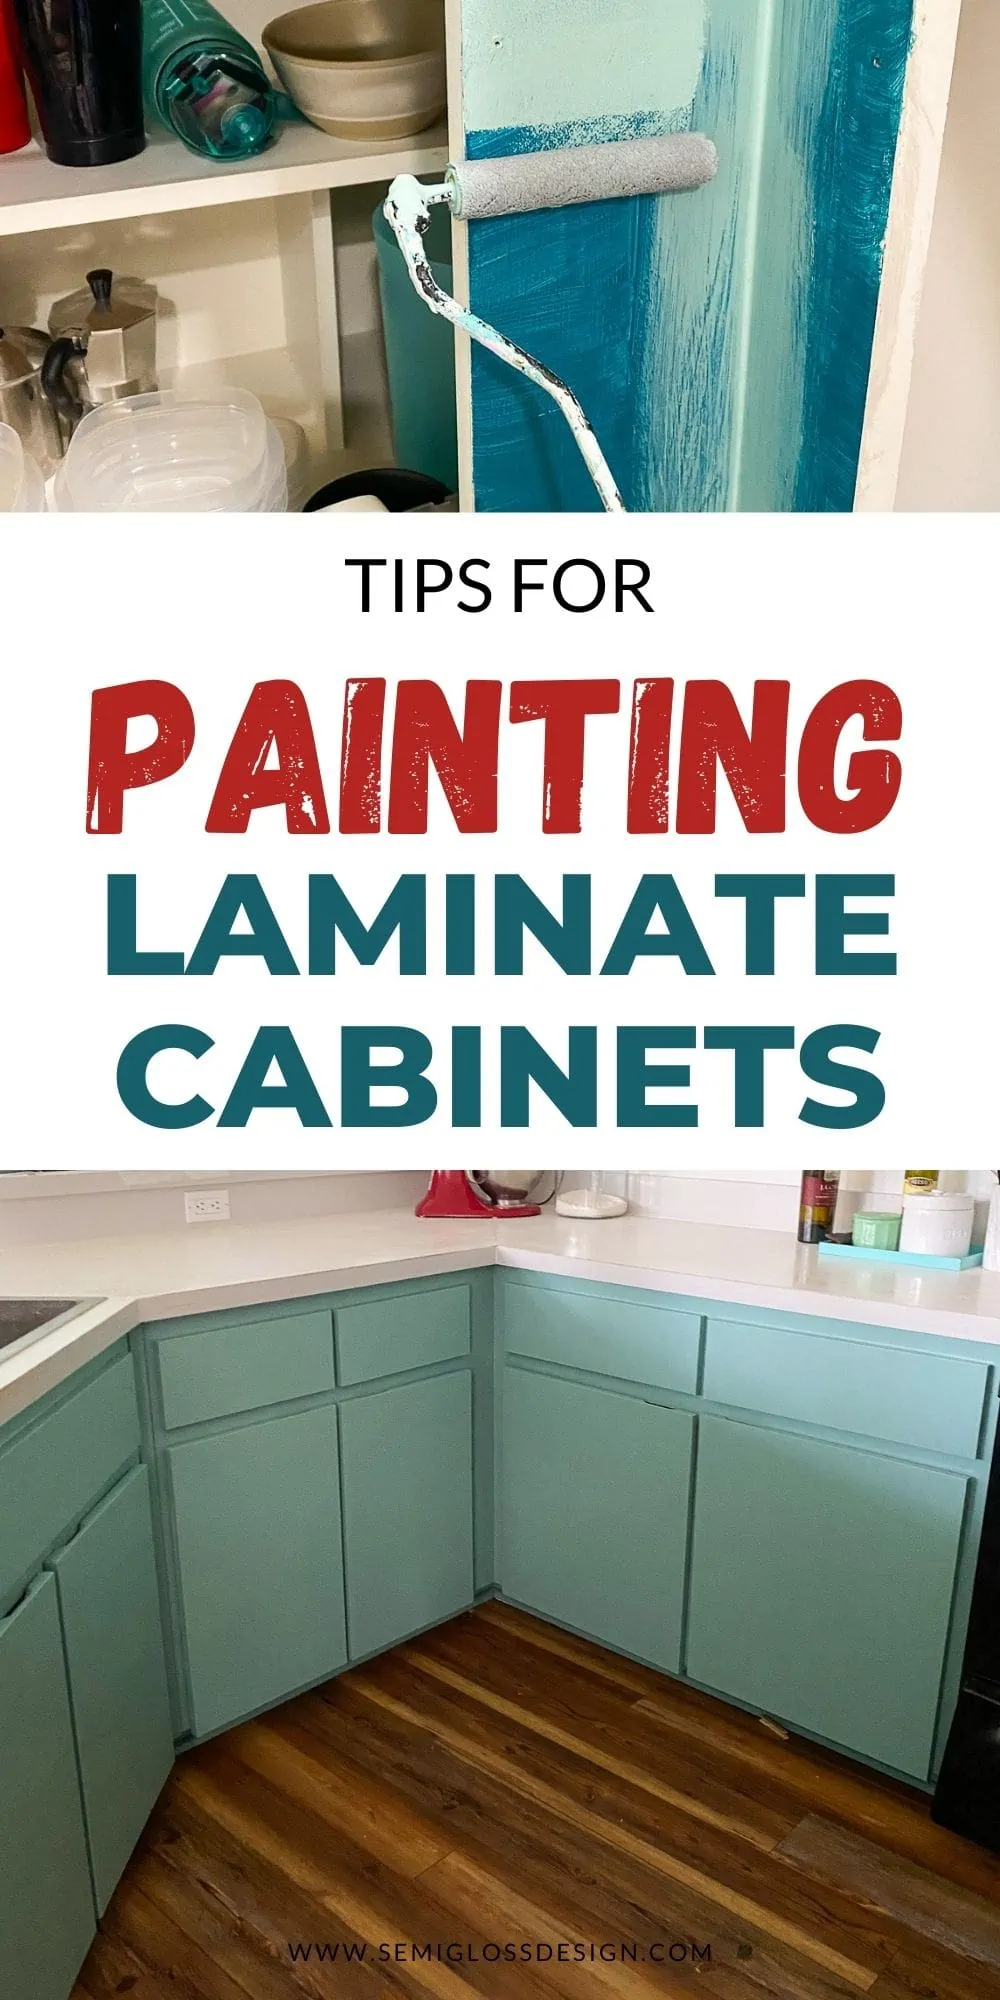
How to Paint Laminate Cabinets
Learn how to paint laminate cabinets. Painting your cabinets is the most affordable way to update your kitchen. It’s a big job, but it has a huge impact without spending a ton of money.
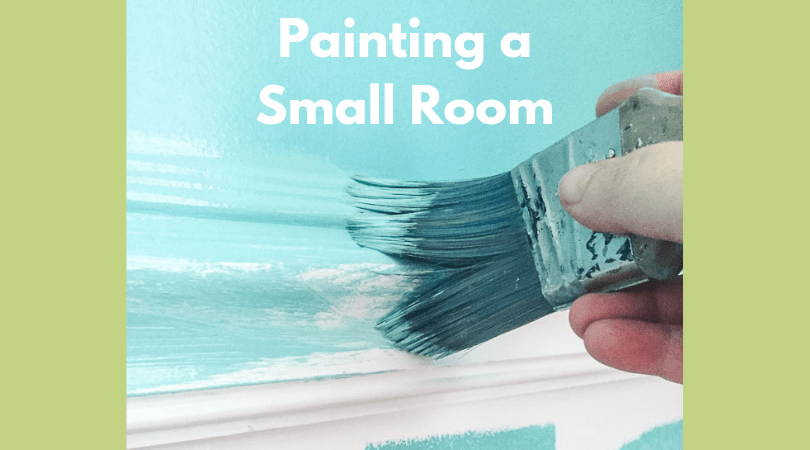
You might also like this post on easy tips for painting a room for beginners.
This post contains affiliate links. By purchasing an item through an affiliate link, I earn a small commission at no extra cost to you. As an Amazon Associate I earn from qualifying purchases.
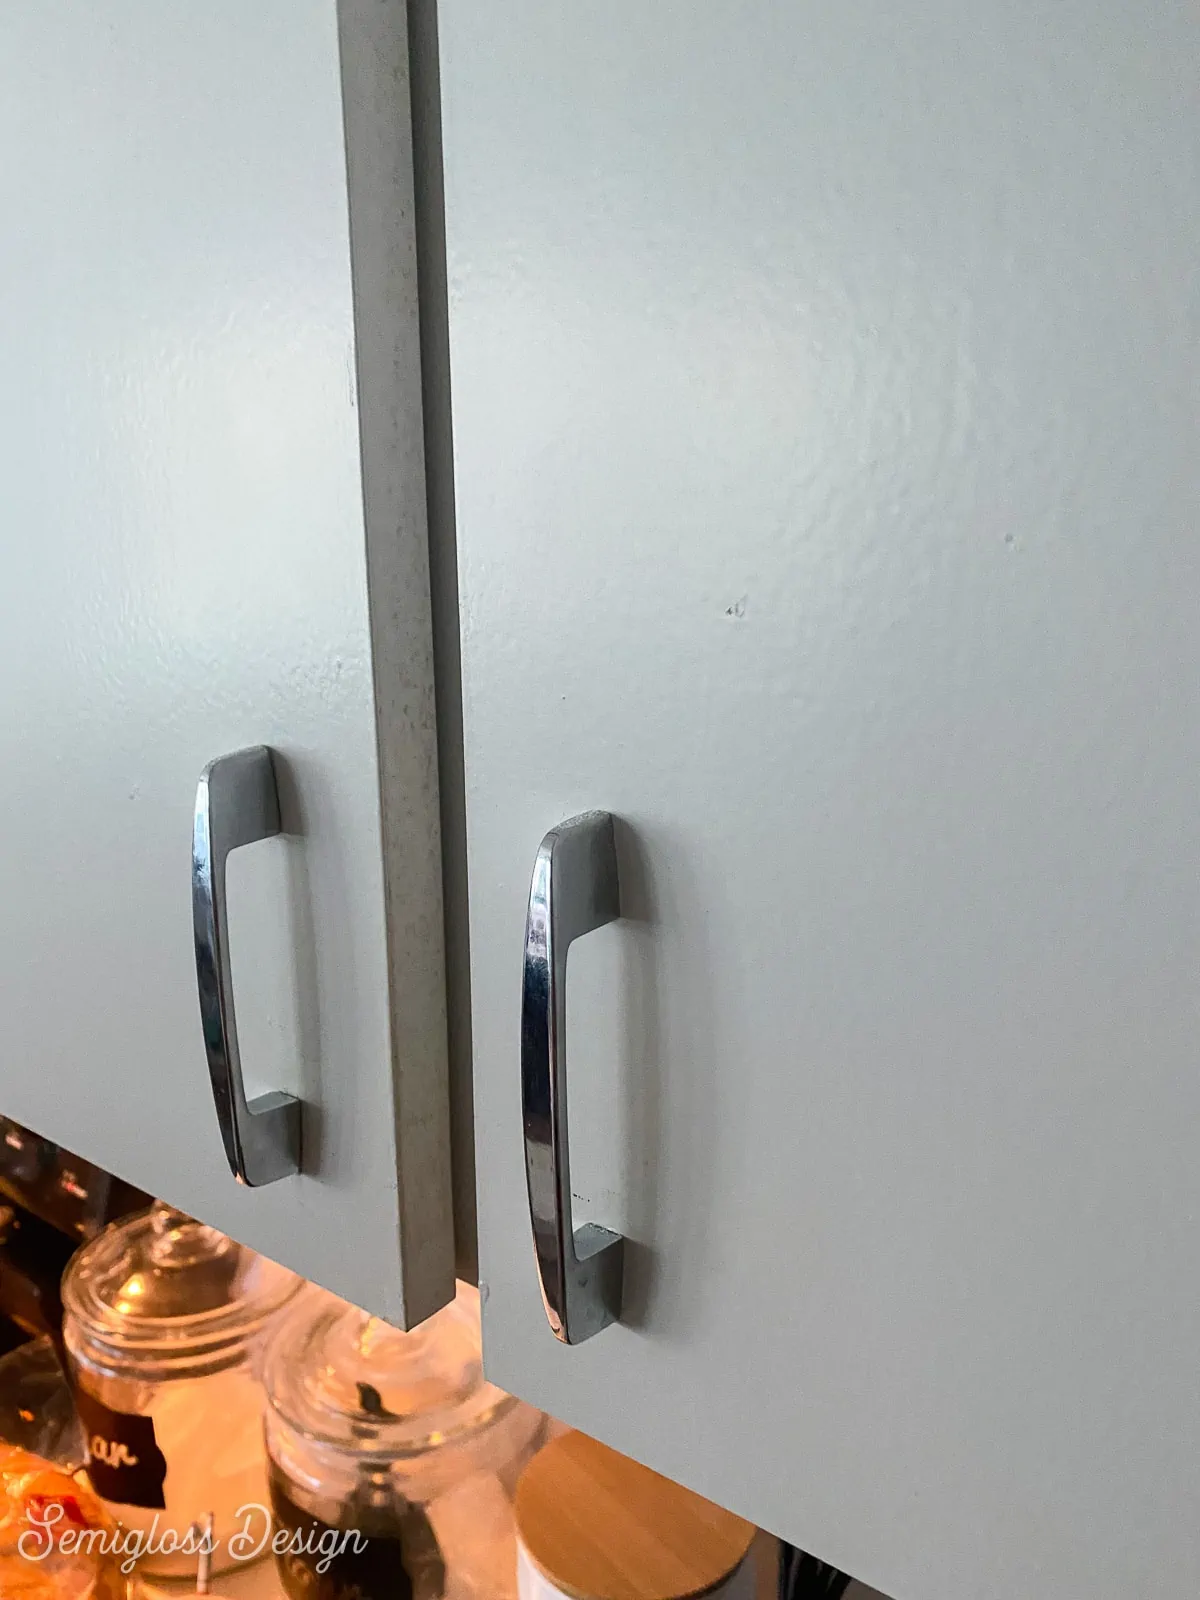
Painting my laminate cabinets has been on my to-do list since we bought this house. They currently have a bad paint job in a pale gray color that I hate.
I also hate the hardware, so it’s a good time to change it out to something more modern.
You can check out the kitchen plans here (I ended up changing the cabinet color from the plans.)
What Are Laminate Cabinets?
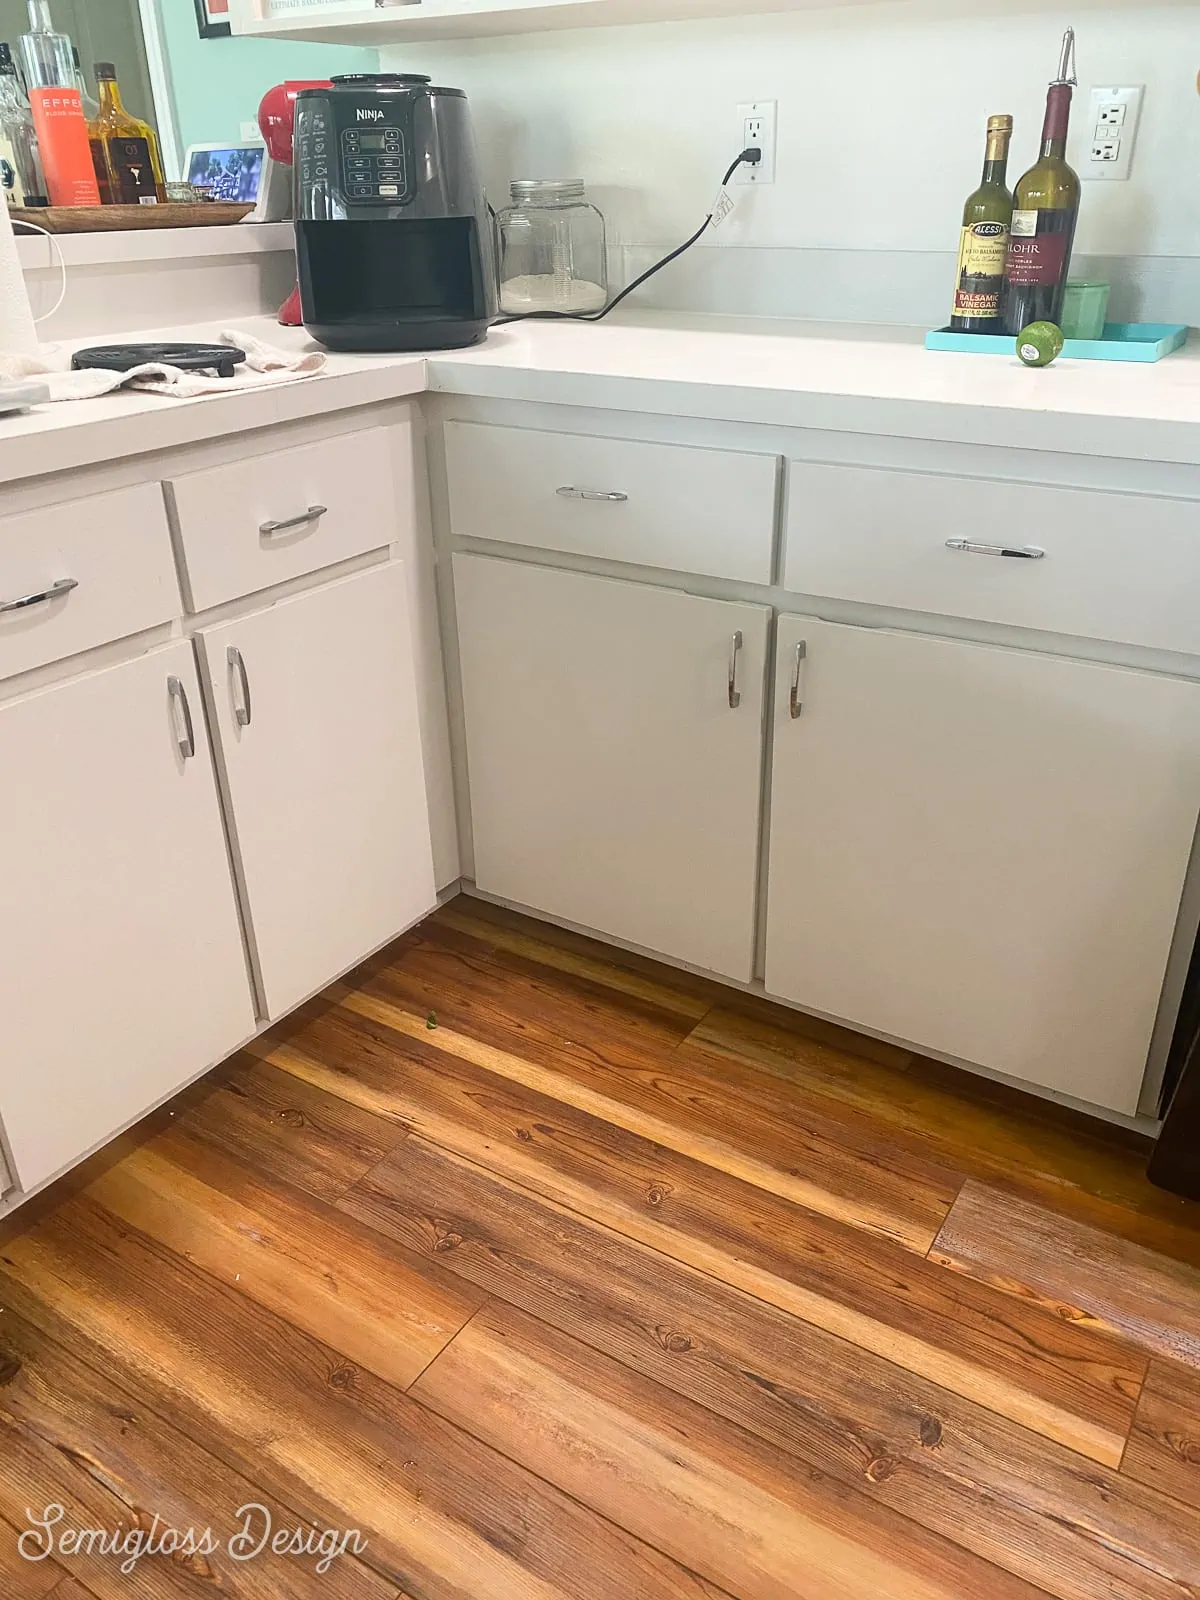
Laminate cabinets are sometimes called melamine. My laminate cabinets look like someone glued a sheet of laminate countertop to the surface.
Newer laminate cabinets can have more detail though. For instance, IKEA cabinets are laminate too.
What kind of paint should I use to paint laminate cabinets?
My favorite cabinet paint is water-based enamel cabinet paint. It’s a very durable paint and it holds up well to abuse.
I like the Valspar brand, but many other paint companies make a version too. When you buy the paint, you can get it mixed in any color that you like.
It comes in both quart size and a gallon, but unless your kitchen is enormous, the quart size is plenty.
No matter what paint you choose, the most important part of painting laminate cabinets is the prep work!
It can be tempting to skip it, but it will really make a difference in how your paint job holds up over time.
How to Paint Laminate Cabinets
Supplies Needed:
- Water-based enamel cabinet paint
- Paintbrush
- Small roller with velour cover
- Handy Pro Pail
- Drop cloths
- Screwdriver or drill to remove hardware and hinges.
- Electric sander and sandpaper
- Primer
- Bondo or wood filler if you’re changing out the hardware
- Good degreaser for cleaning the cabinets
You might also need hardware and new hinges. When we removed the cabinet doors, many of the hinges broke. So if your cabinets are 20 years old (or older), you might want to consider changing the hinges as well.
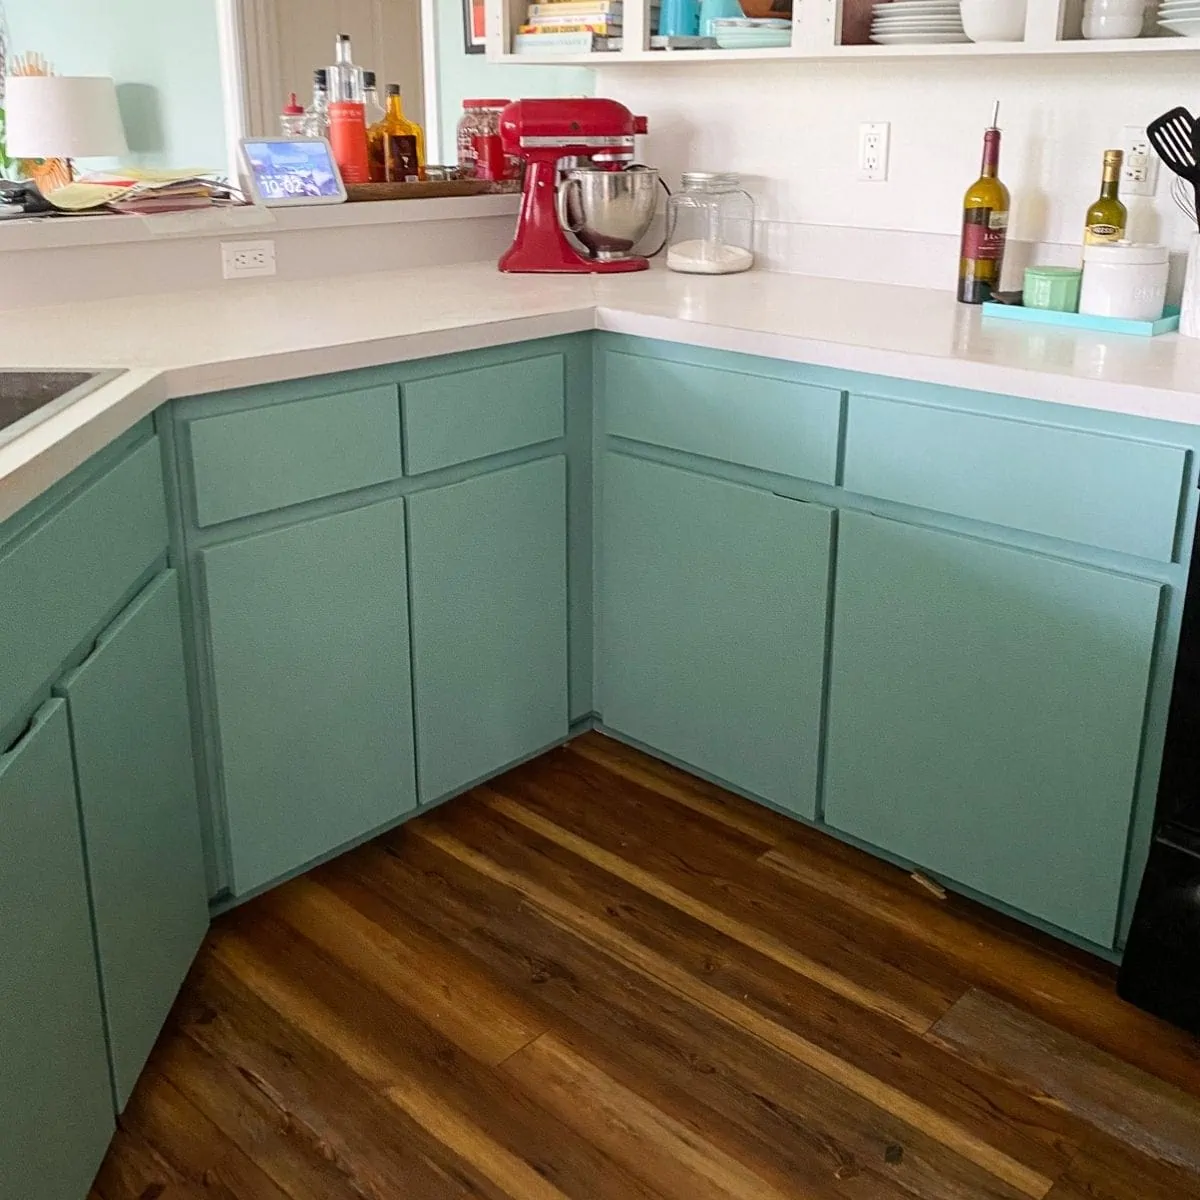
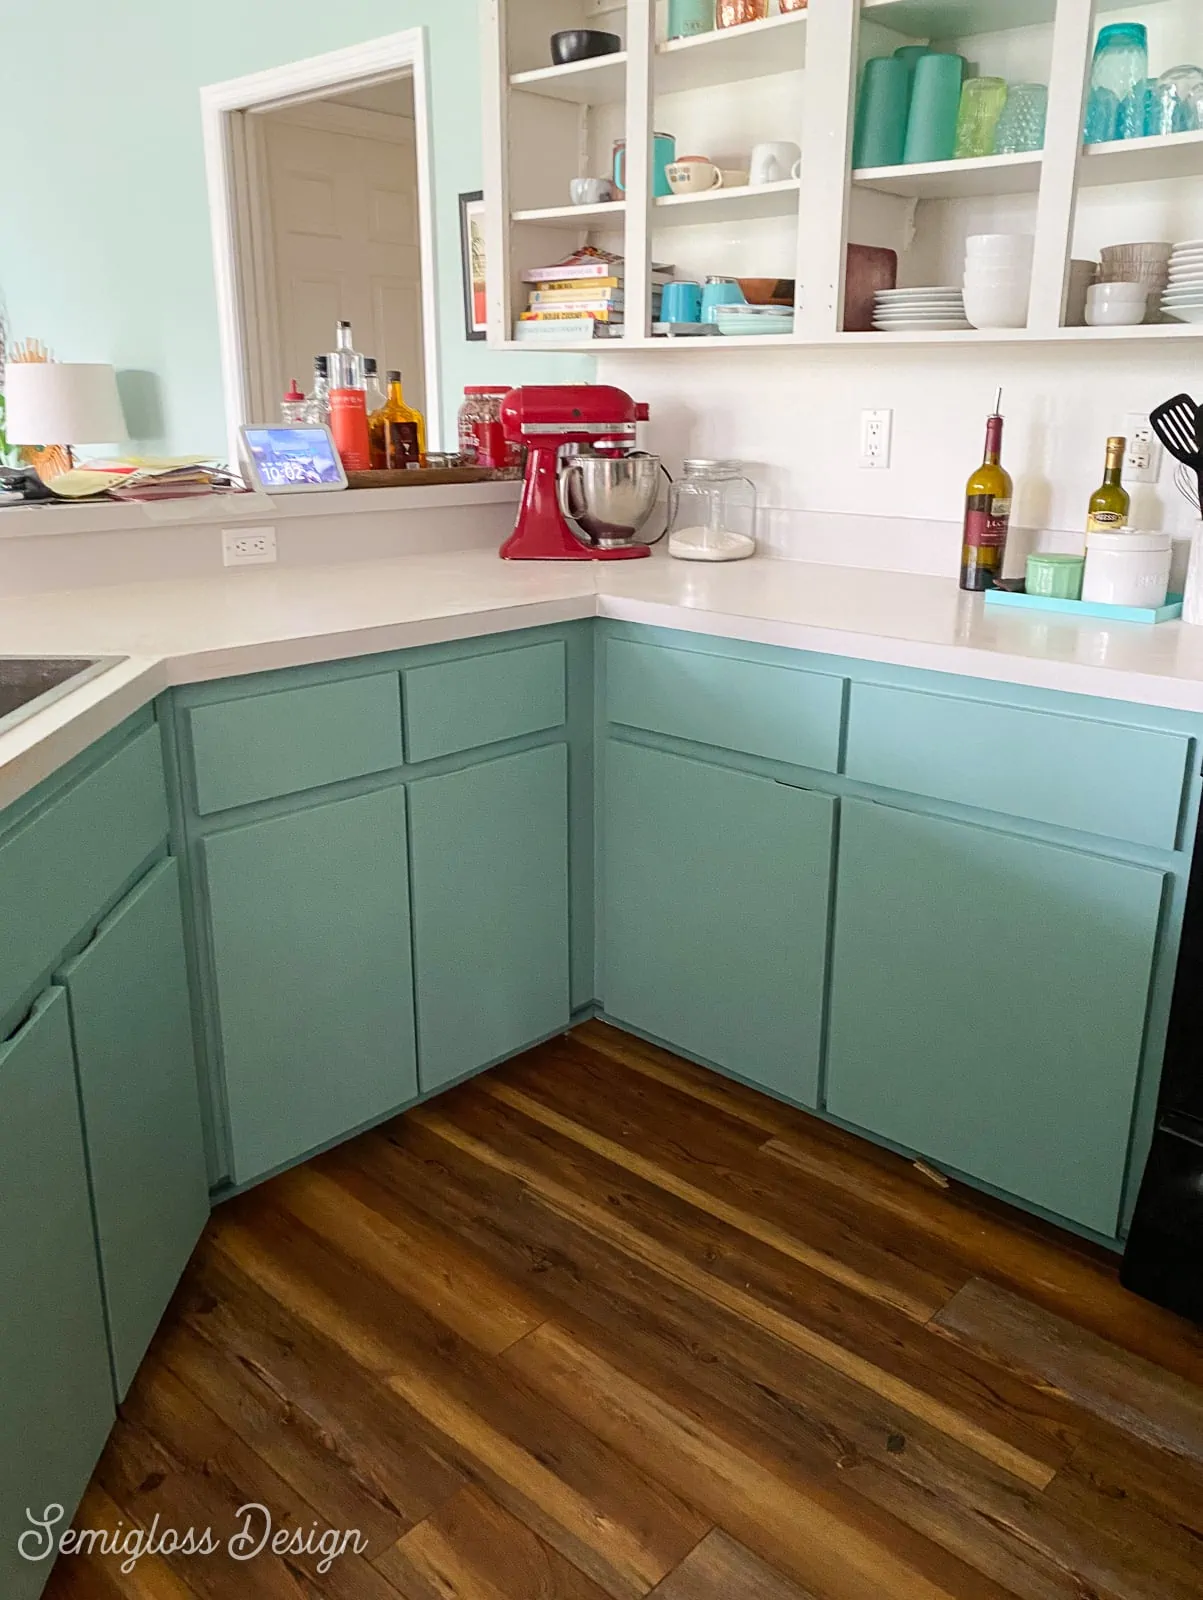
We color-matched the paint to HGTV Home for Sherwin Williams in Composed Teal.
Preparing Your Cabinets for Paint
As I mentioned above, prep work is the most important part of painting your cabinets. It can take longer for this part than the actual painting, but it’s so worth it.
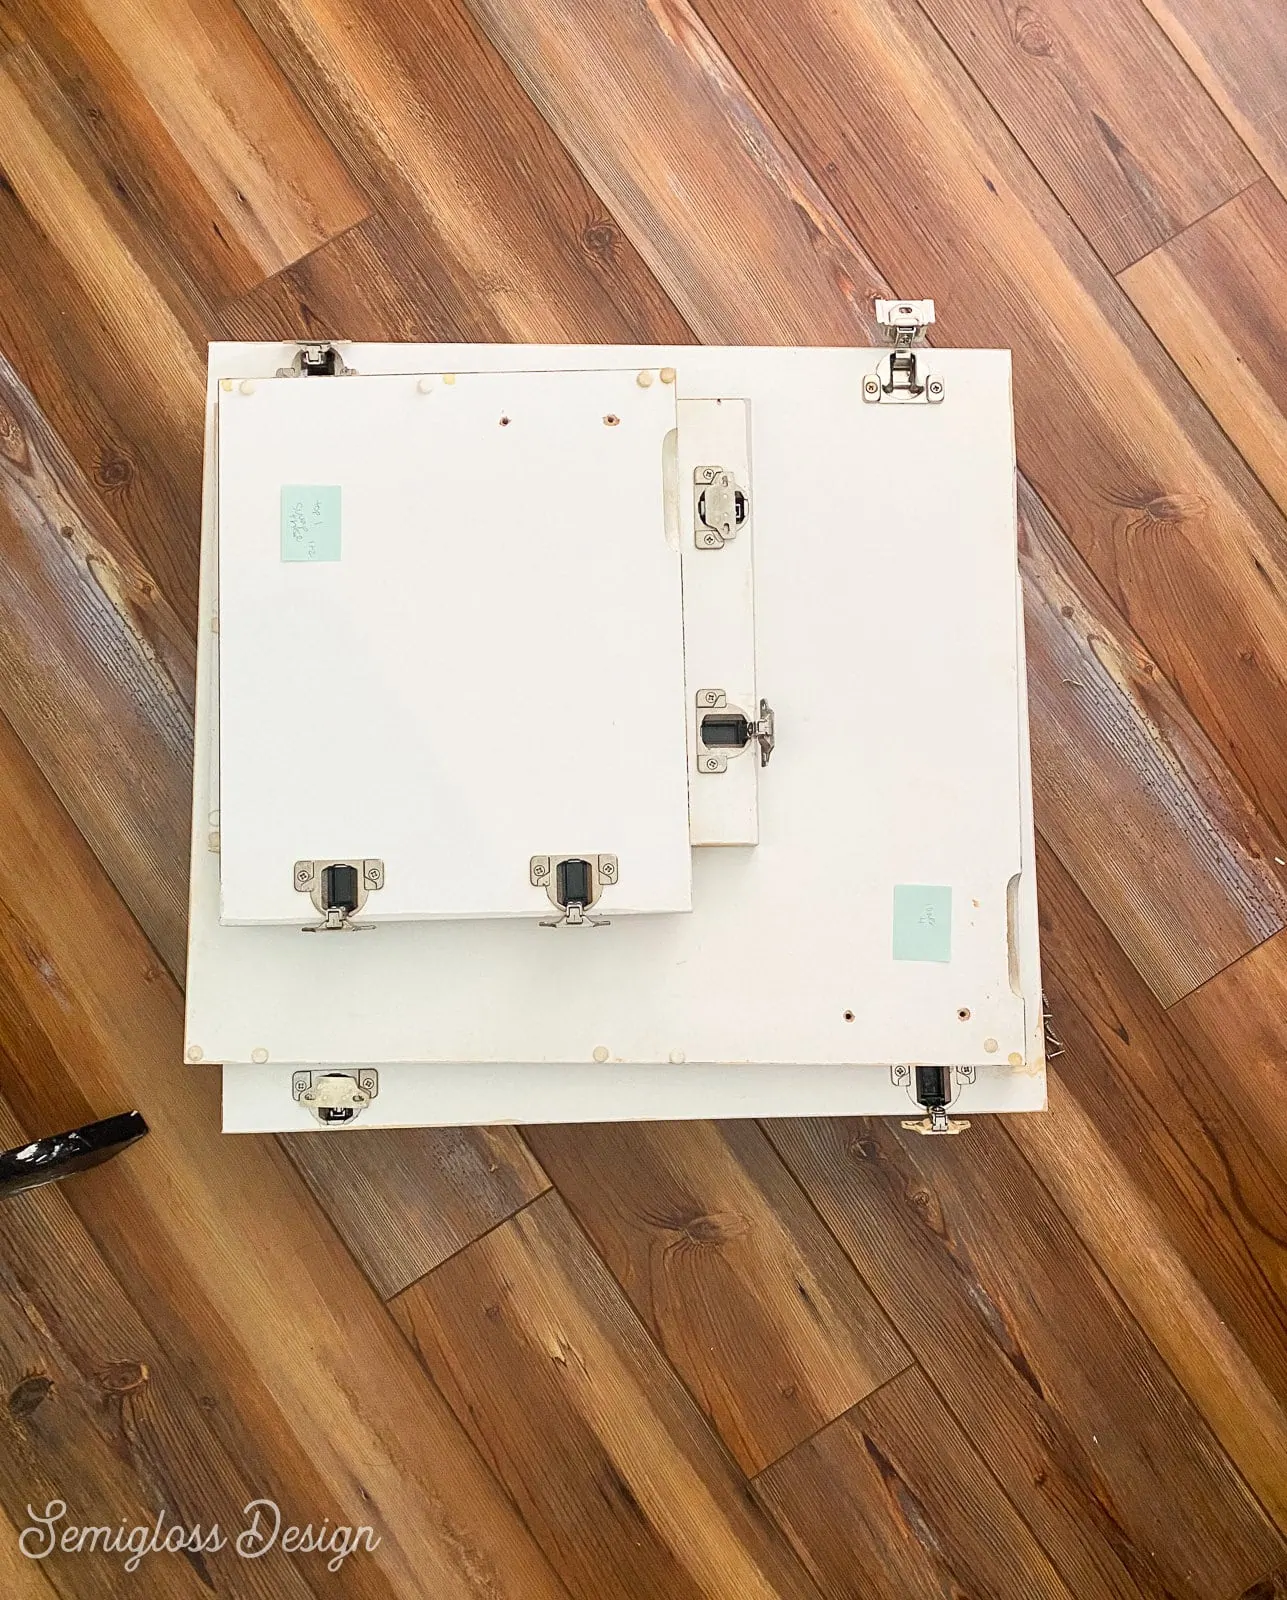
Remove the Cabinet Doors
- Label each door with a post-it note so that you know where it goes.
- Remove the handles from the doors and drawers.
- Remove the doors from the cabinet bases. You can do this by removing the hinges from the doors or the cabinet bases.

- Remove the hinges. (If you’re keeping the hinges, put them all in a ziplock bag for safekeeping.)
- Clean the doors and cabinet bases thoroughly with a degreaser. Pay special attention to the edges, especially on the doors near the stove, sink, and garbage cabinet if you have one.
Fill Holes from Hardware
If you’re changing the hardware, you might need to fill the holes to accommodate a new size of hardware.
By the way, if you want to change the hardware and not fill the holes, you can either find hardware in the same size or you can buy adjustable hardware.
I used them on my craft cabinet because the sizing was weird and they are so easy to use!
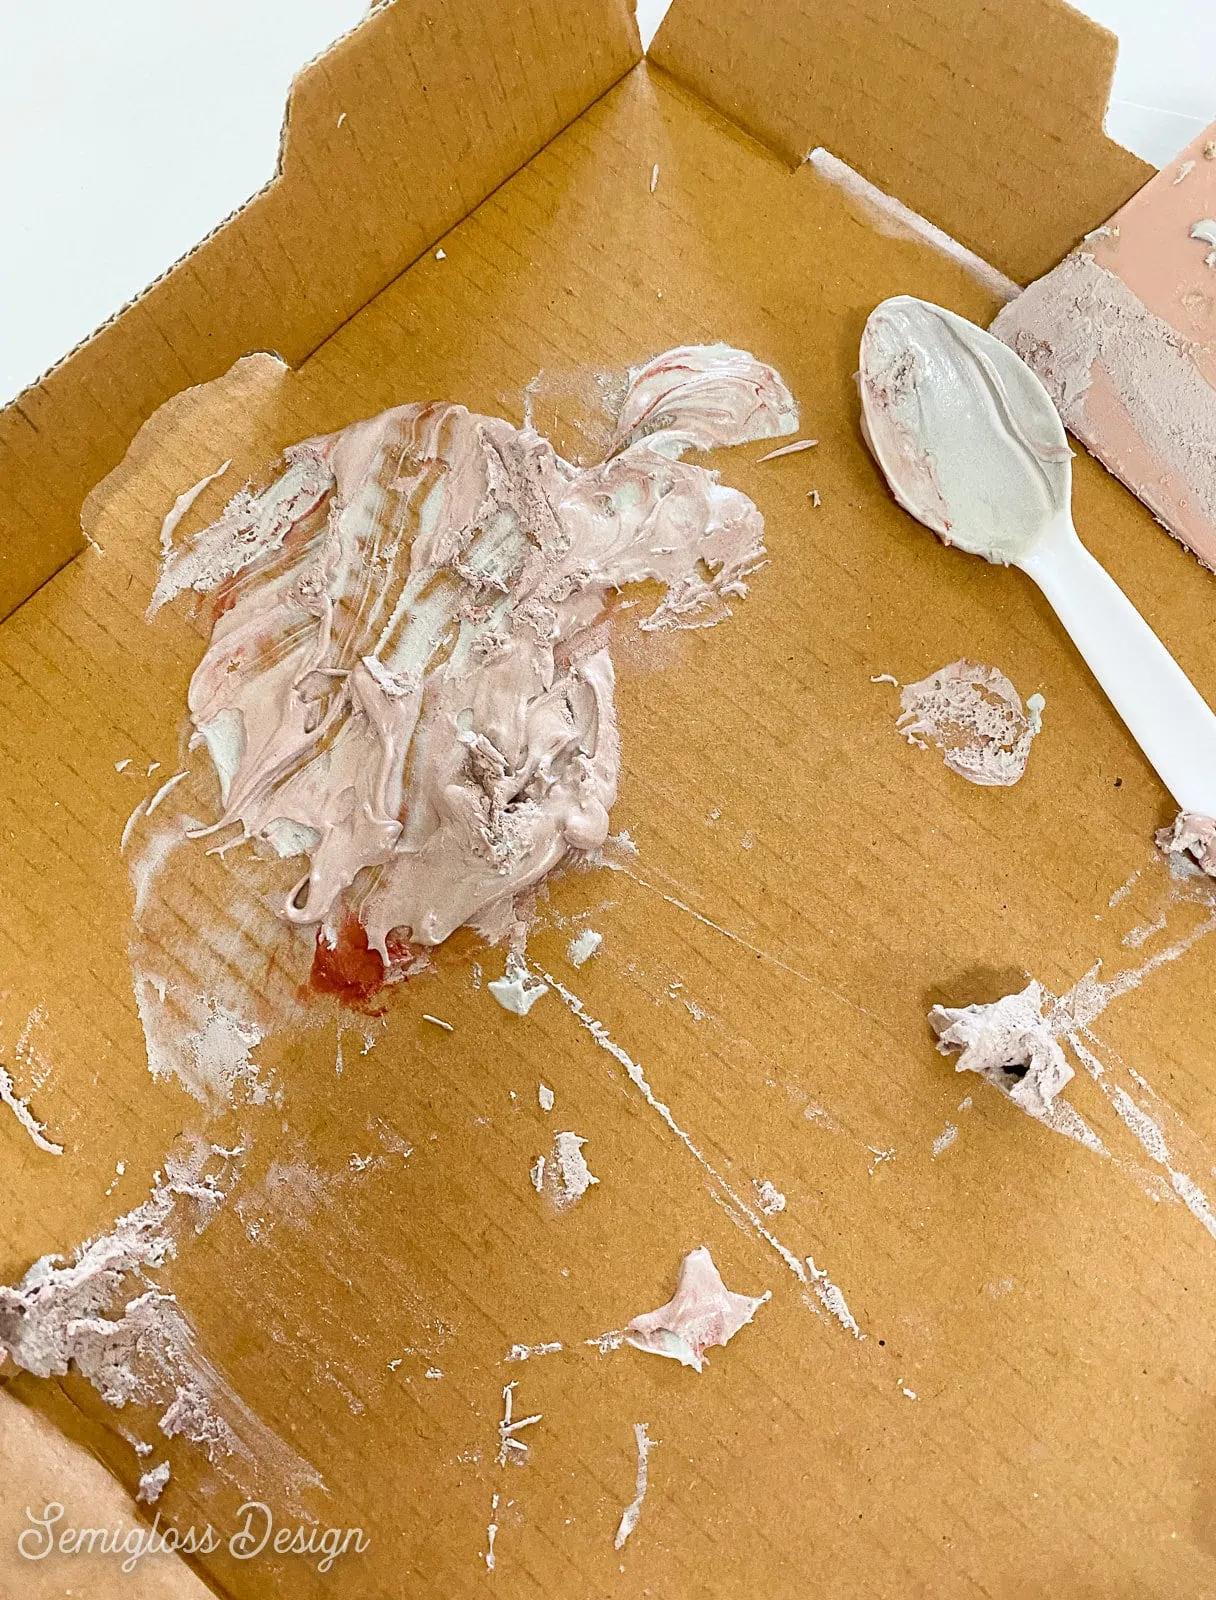
My go-to “wood filler” is Bondo. It fills holes without leaving a grainy texture like wood filler. However, it is a bit stinky.
No matter what you choose, make sure that you sand it well with both grits of sandpaper. Sanding is the next step for prep work anyways.
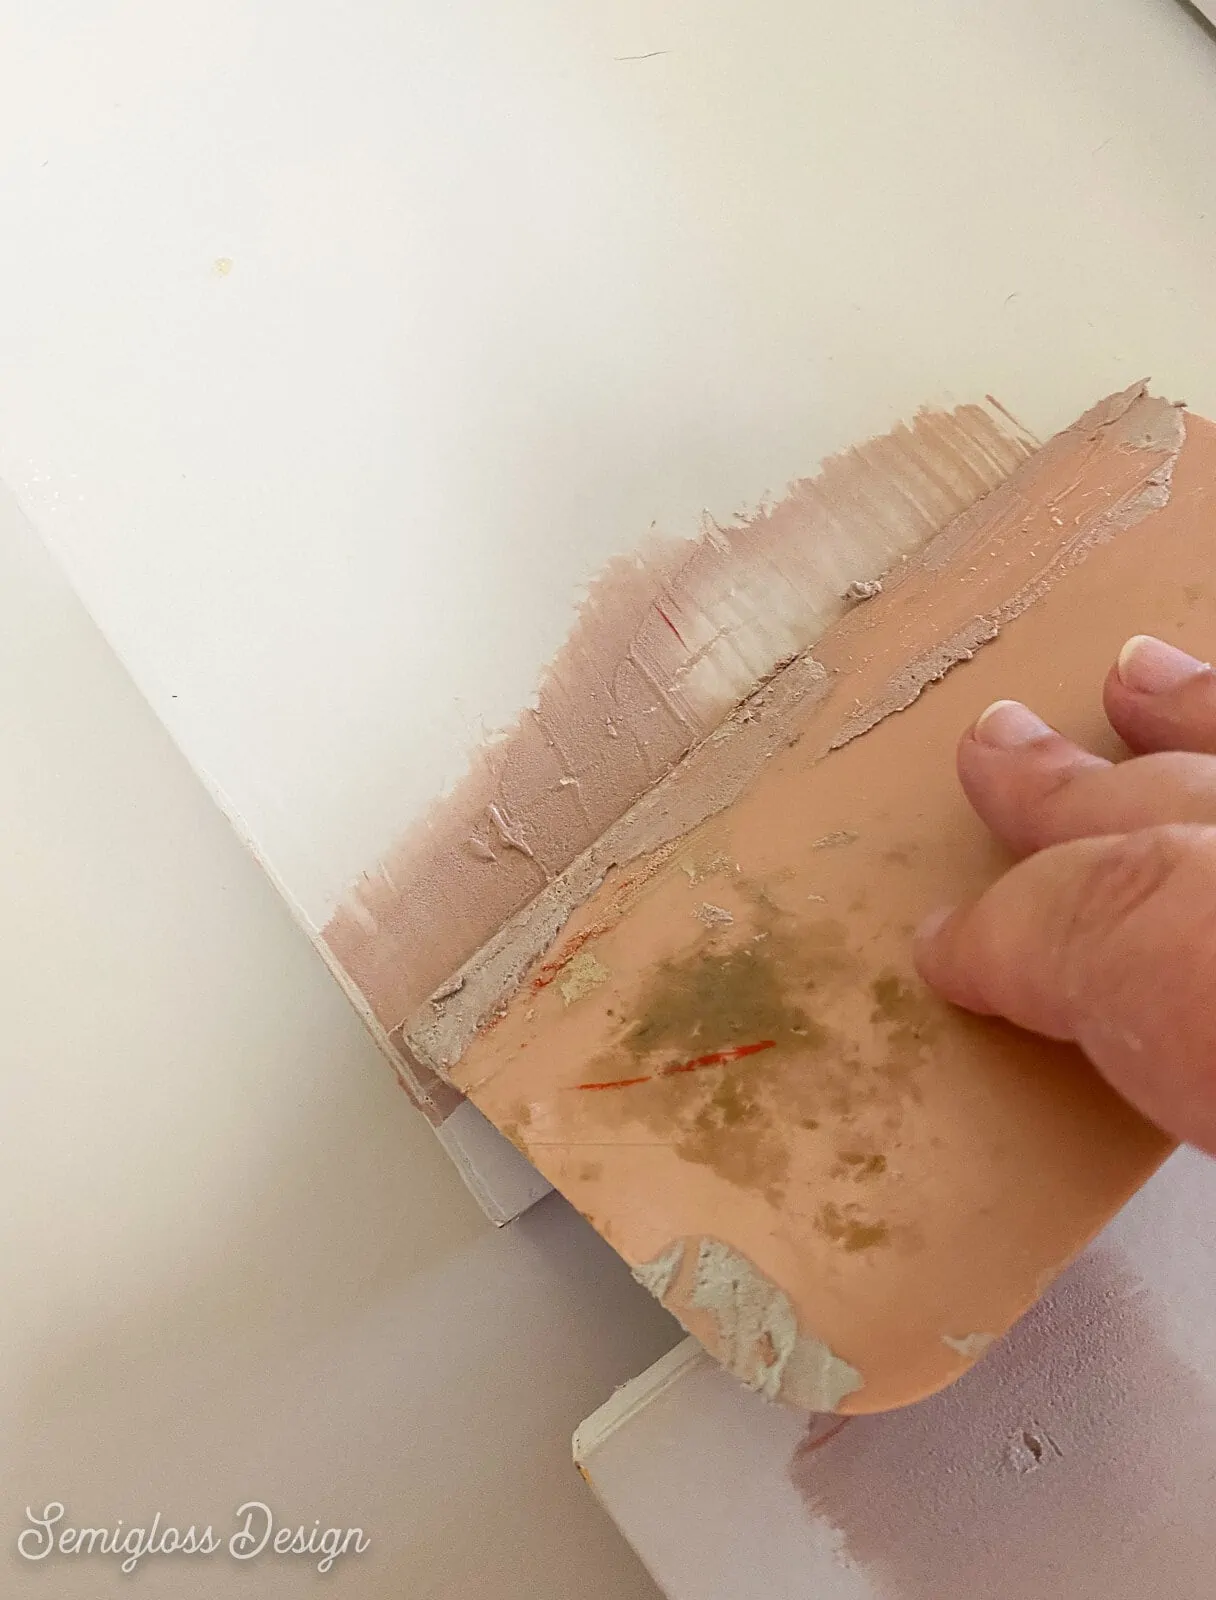
- Mix your Bondo as instructed on the can. I typically use a piece of cardboard and a plastic spoon or knife to mix. Only mix a small amount because it dries really fast.

- Use a Bondo spreader to smooth the Bondo over the holes. Try to use as little as possible, while still filling the holes.
- Let it dry completely.
- If you need another coat to fill the holes, mix another batch of Bondo and add another coat.
- Let it dry completely.
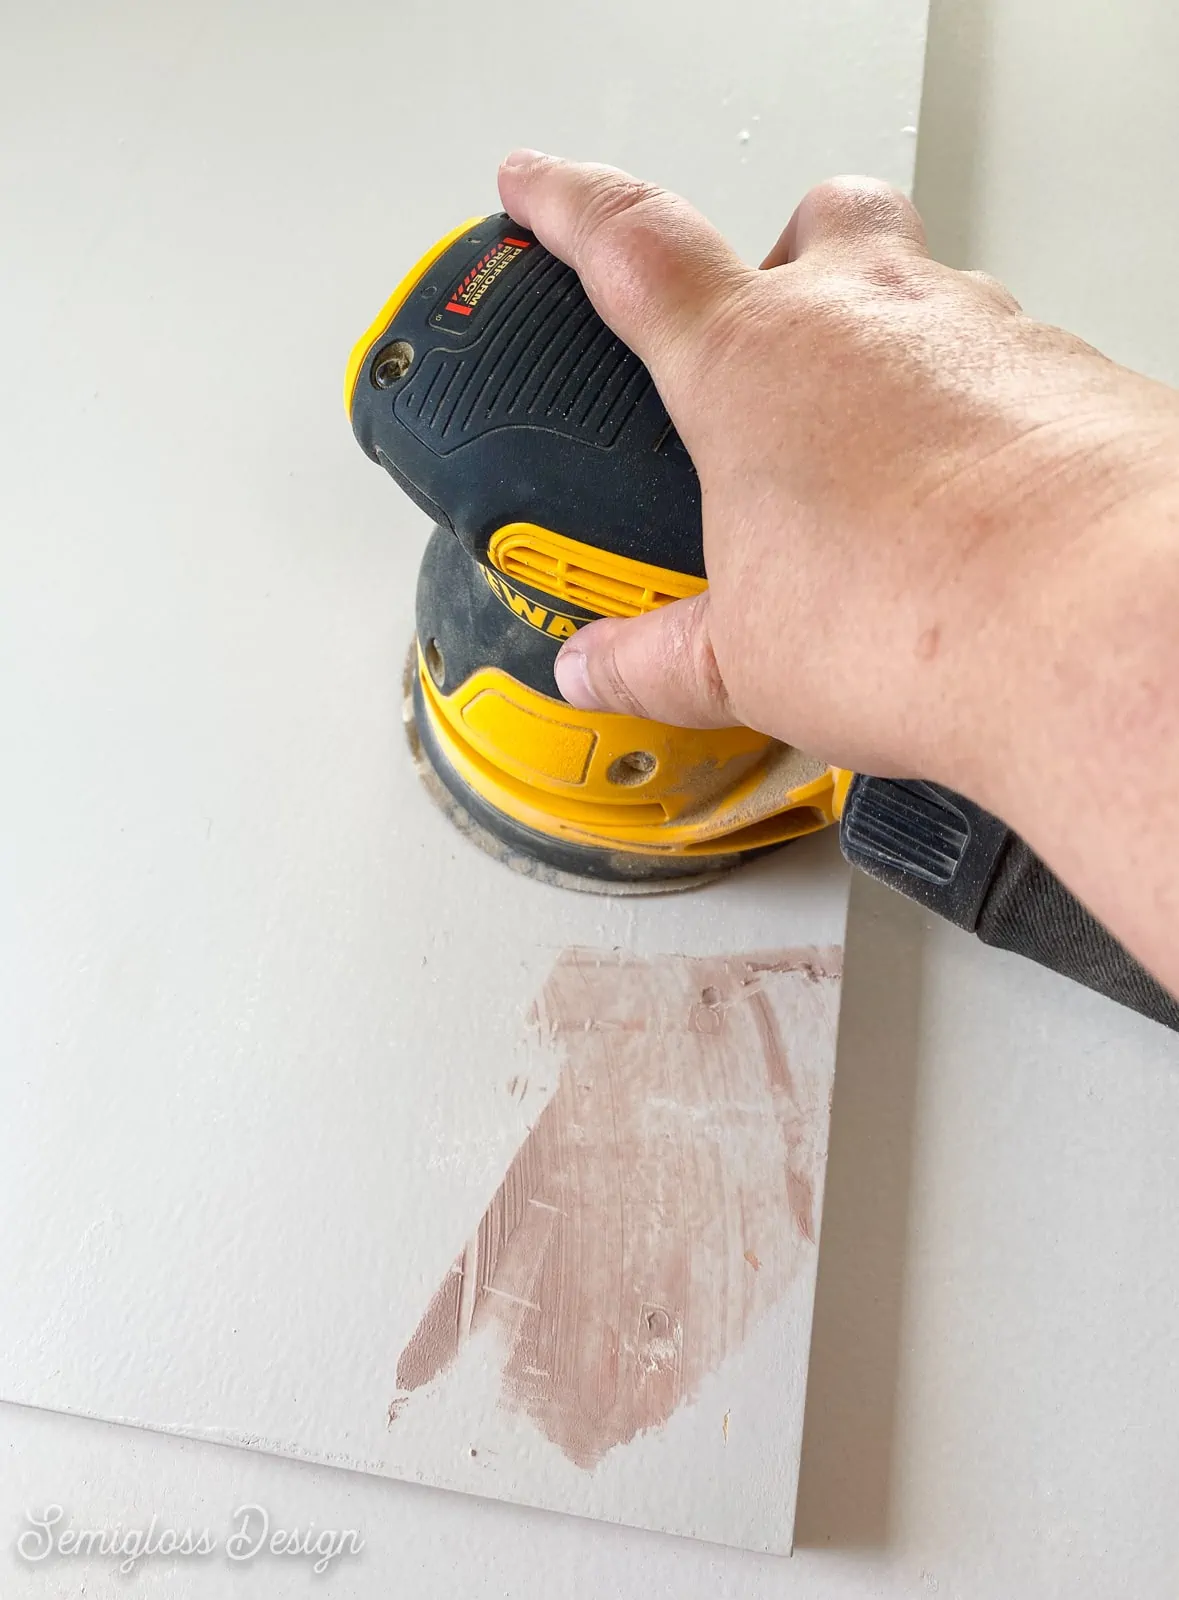
- Sand the Bondo with an electric sander. I like to start with a heavy grit (80) and work my way to a lighter grit (120). This knocks down the excess Bondo with the first sandpaper and the lighter sandpaper smooths it.

- Sand until it’s smooth to the touch.
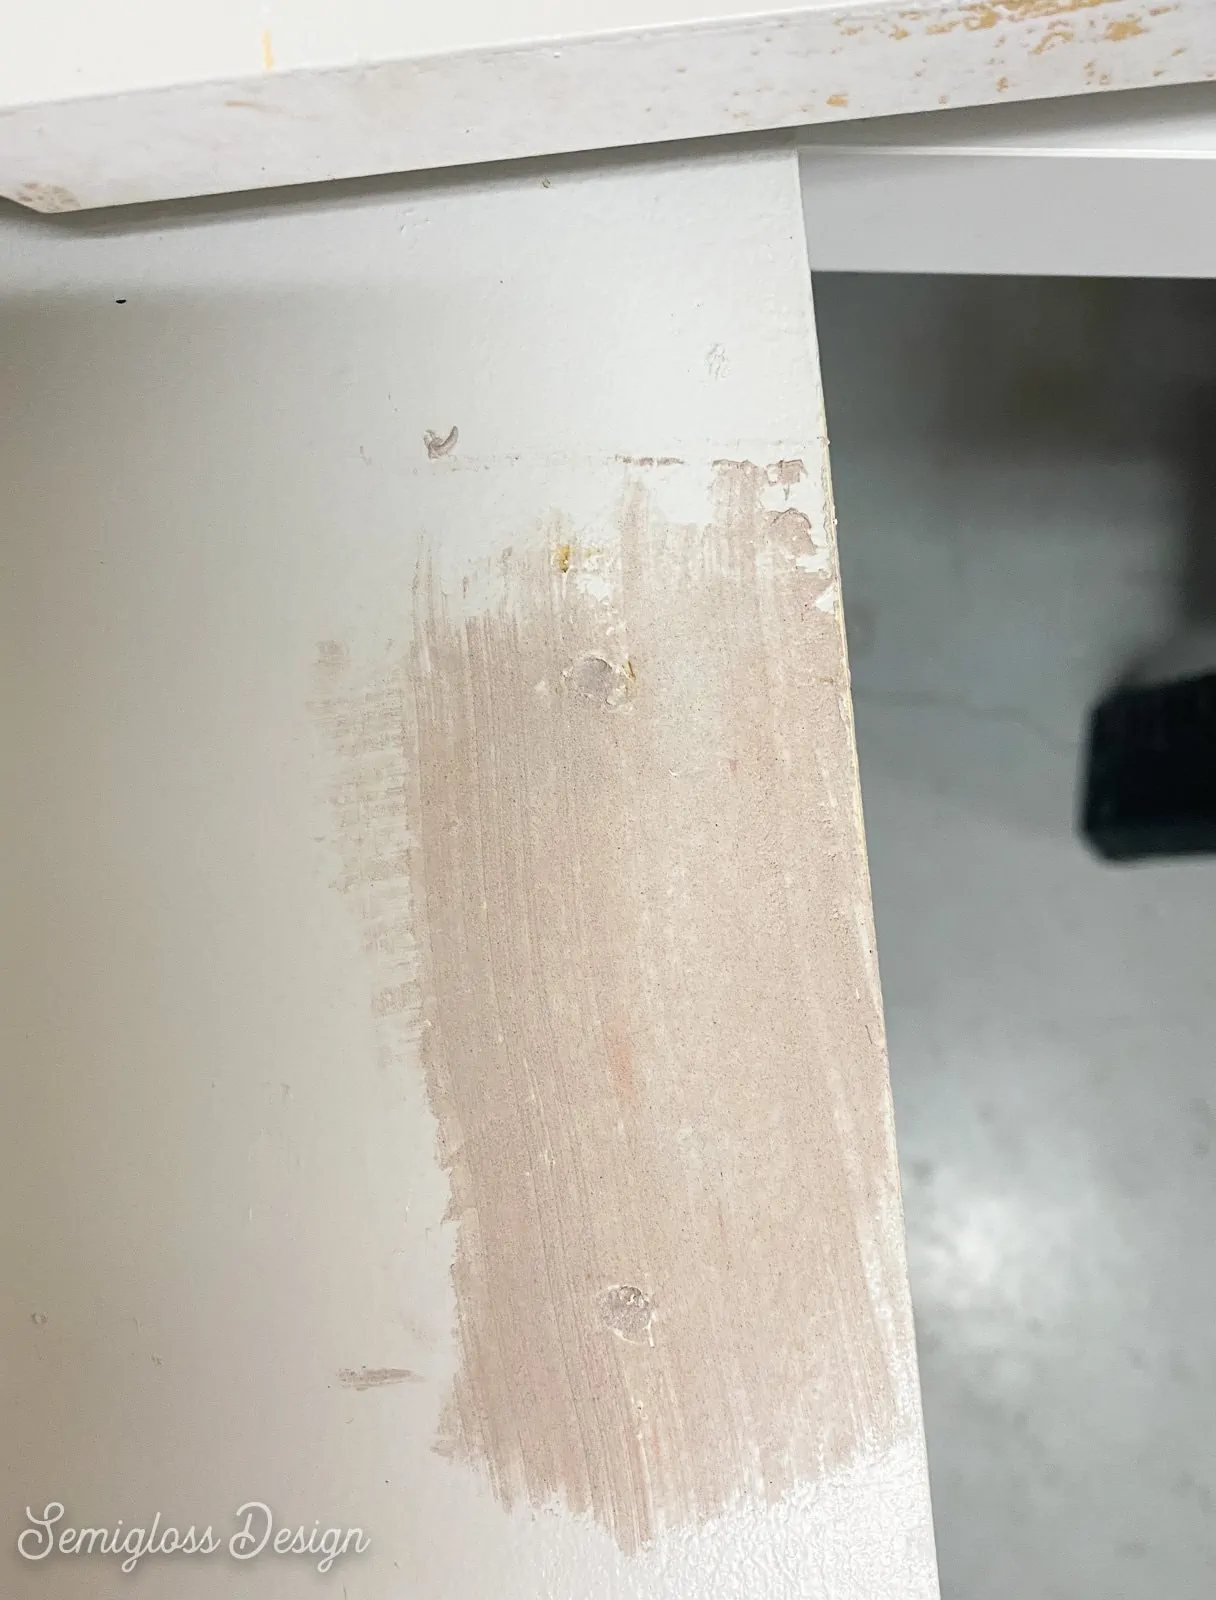
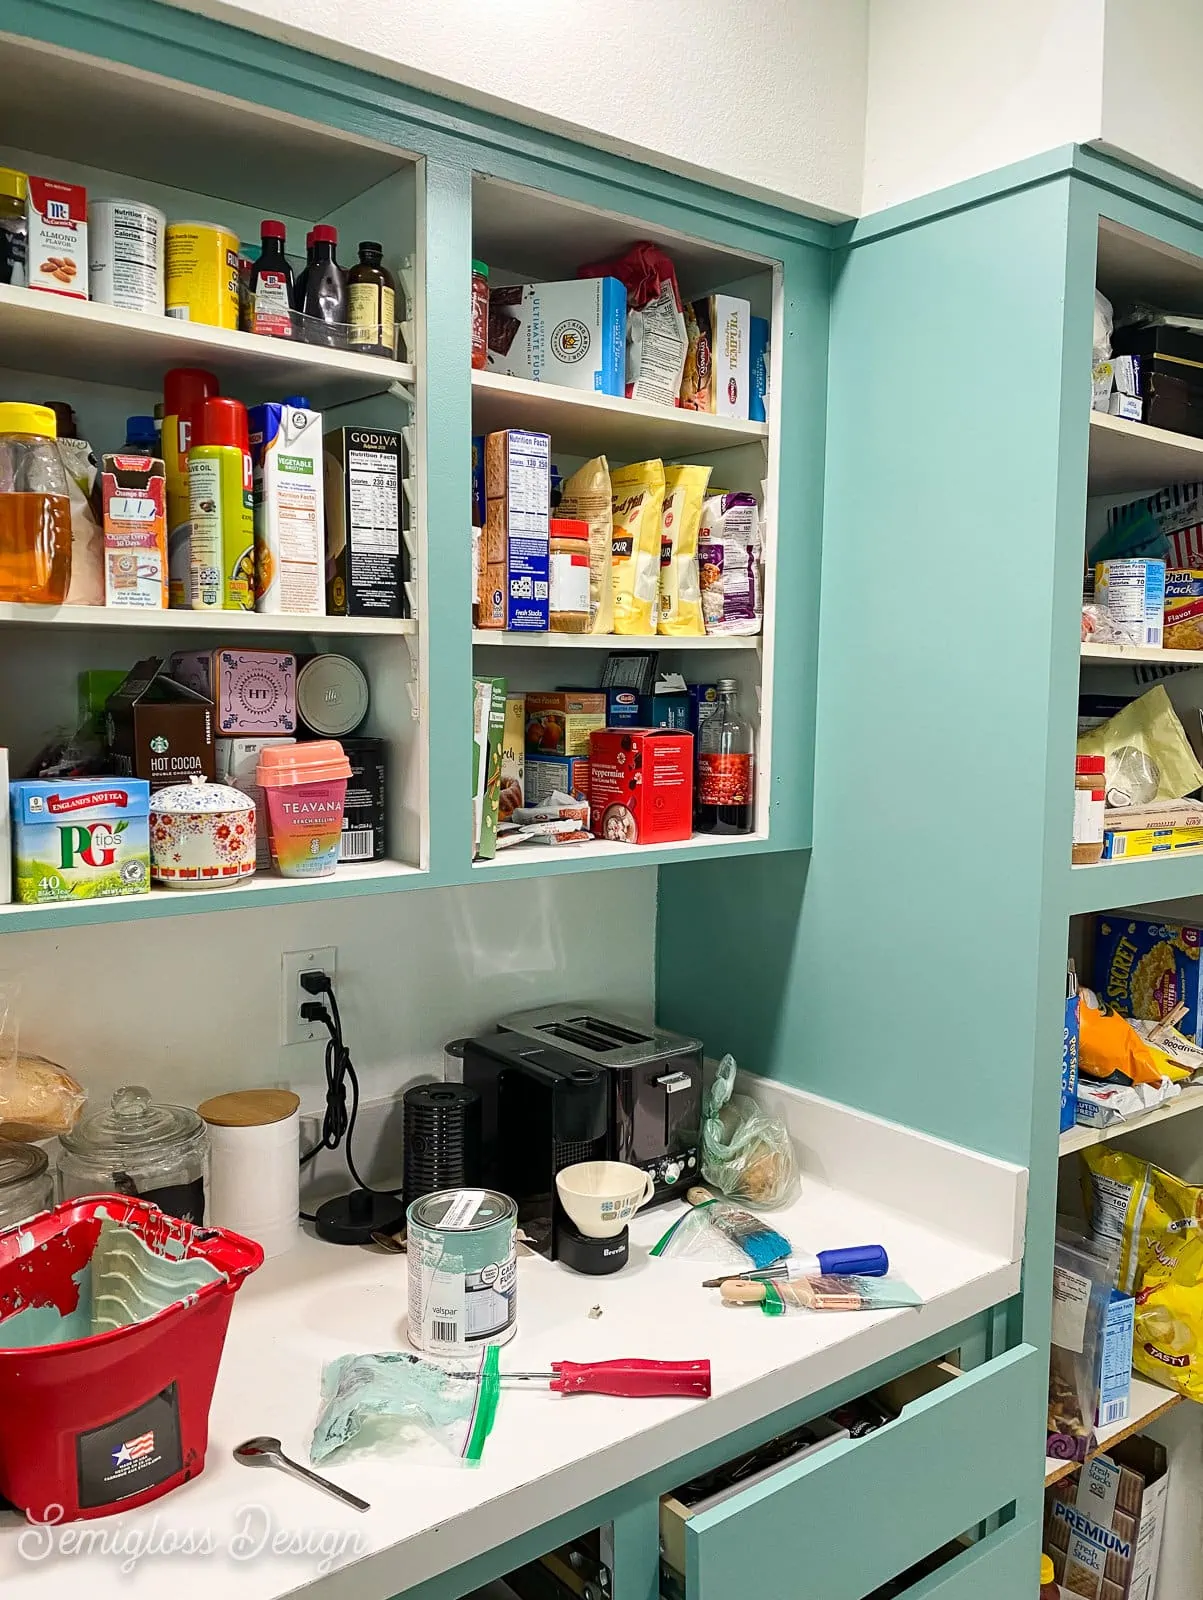
I left my drawers in the kitchen and filled the holes in place. Then I sanded them as normal.
Sand the Cabinet Doors
My cabinet doors had a horrible texture from the previous paint job, so they needed heavier sanding than normal cabinets.
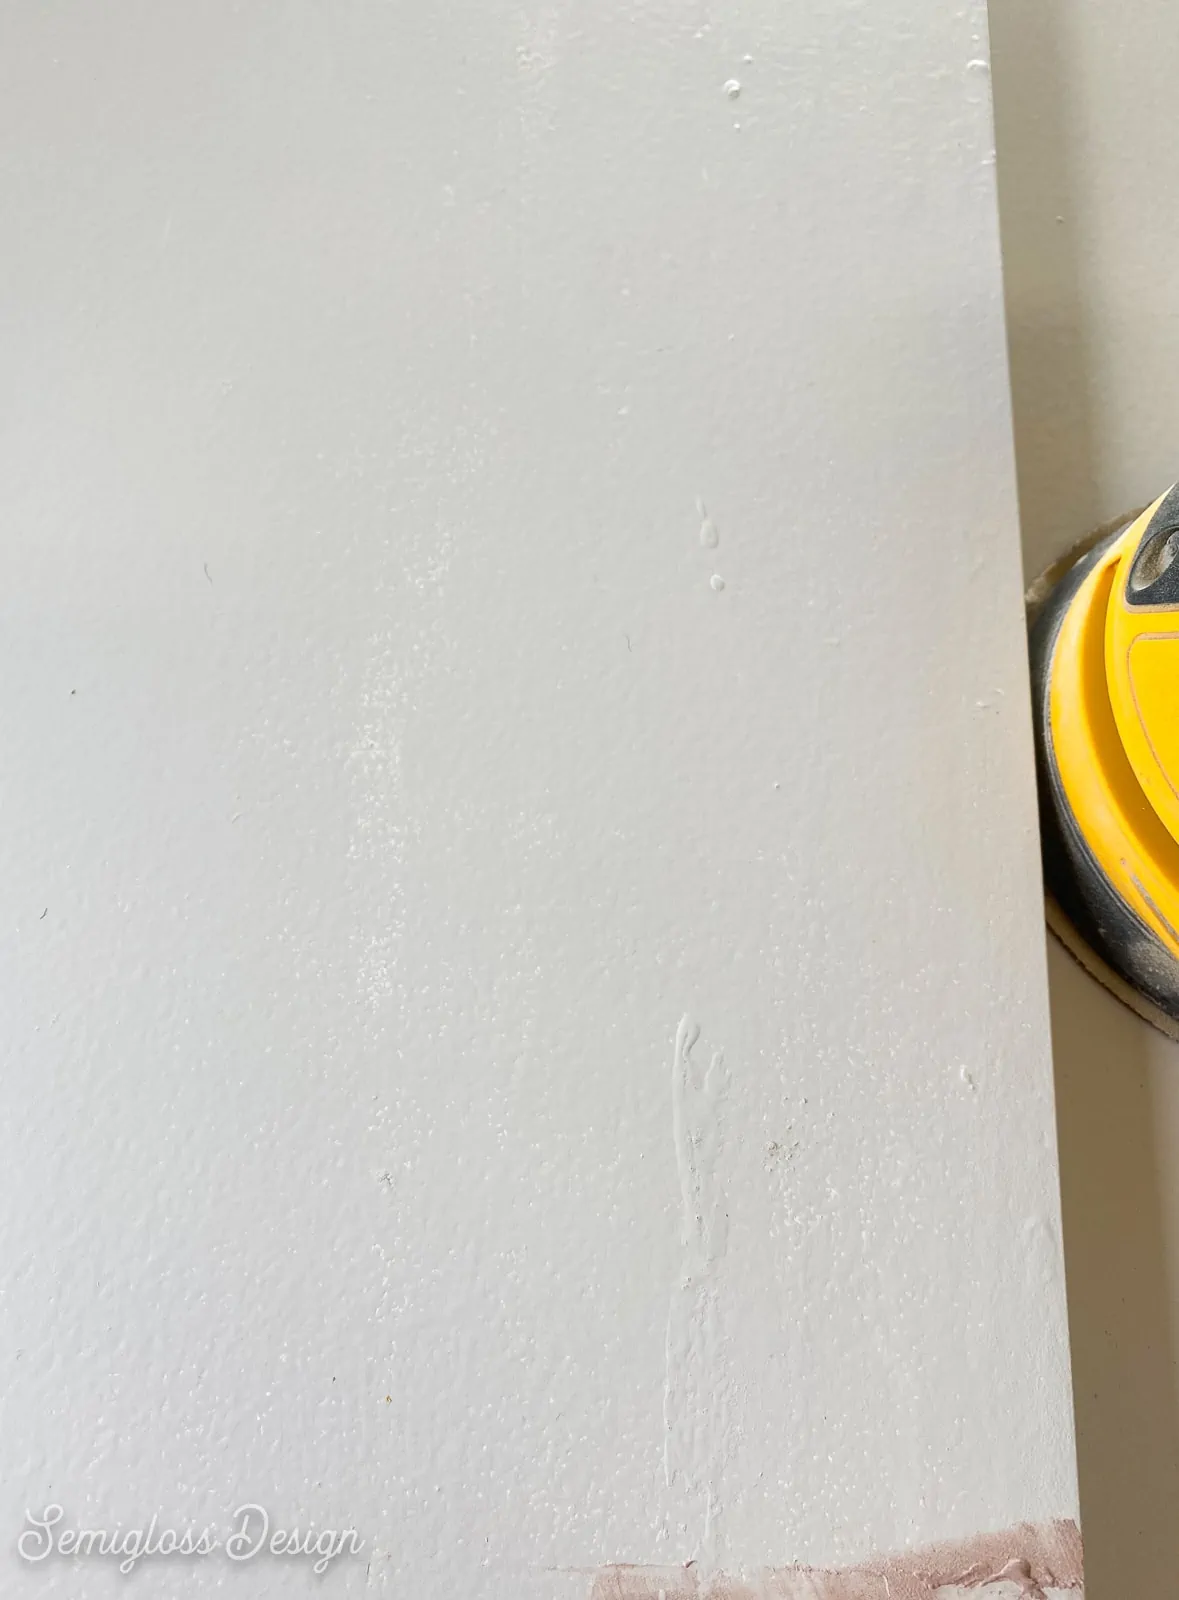
- If your cabinets were previously painted, you might want a heavier grit of sandpaper to remove the paint and imperfections. (I used 40 grit sandpaper to fix some of the problem textures.) Change the sandpaper when it doesn’t feel like it’s working anymore.
- If not, sand the cabinet doors with 80 grit sandpaper.
- I also sanded rough areas on the cabinet bases. (My sander has a pretty good dust collection bag so it didn’t make a huge mess in the house.)
- If you’re removing a messy paint job, sand the doors again with 120 grit sandpaper.
- When you’re finished, clean the cabinets well to remove all of the dust.
Prep Your Work Area
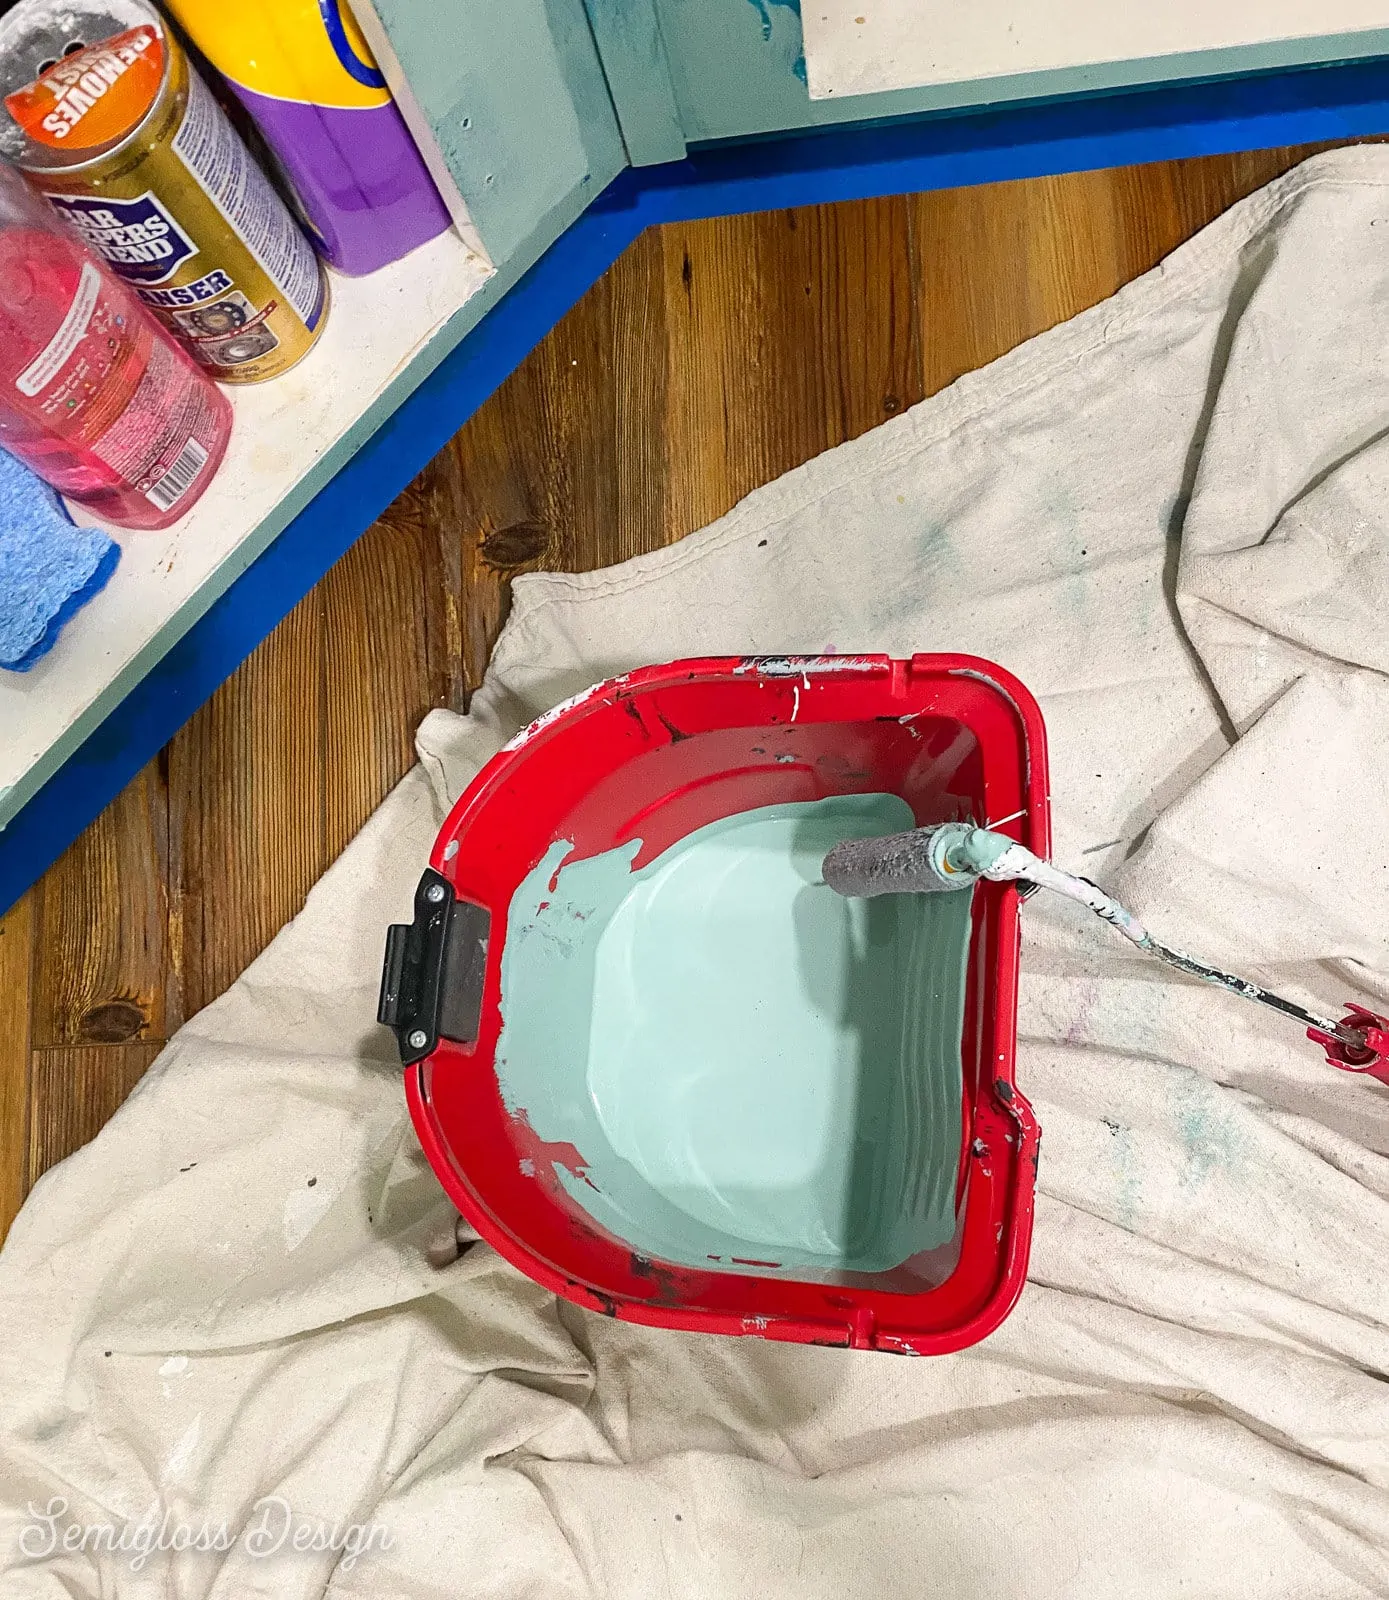
Protect your floor with drop cloths. I prefer the cloth ones to the plastic ones because they aren’t slippery to walk on and they do a better job of protecting your floor.
I also placed drop cloths to protect the tables where I painted the doors. My doors were placed in my craft room and the garage.
I took my time and painted the edges one at a time, but if you want it to go faster, you can place the doors on painter risers or even canned goods to raise them off the surface.
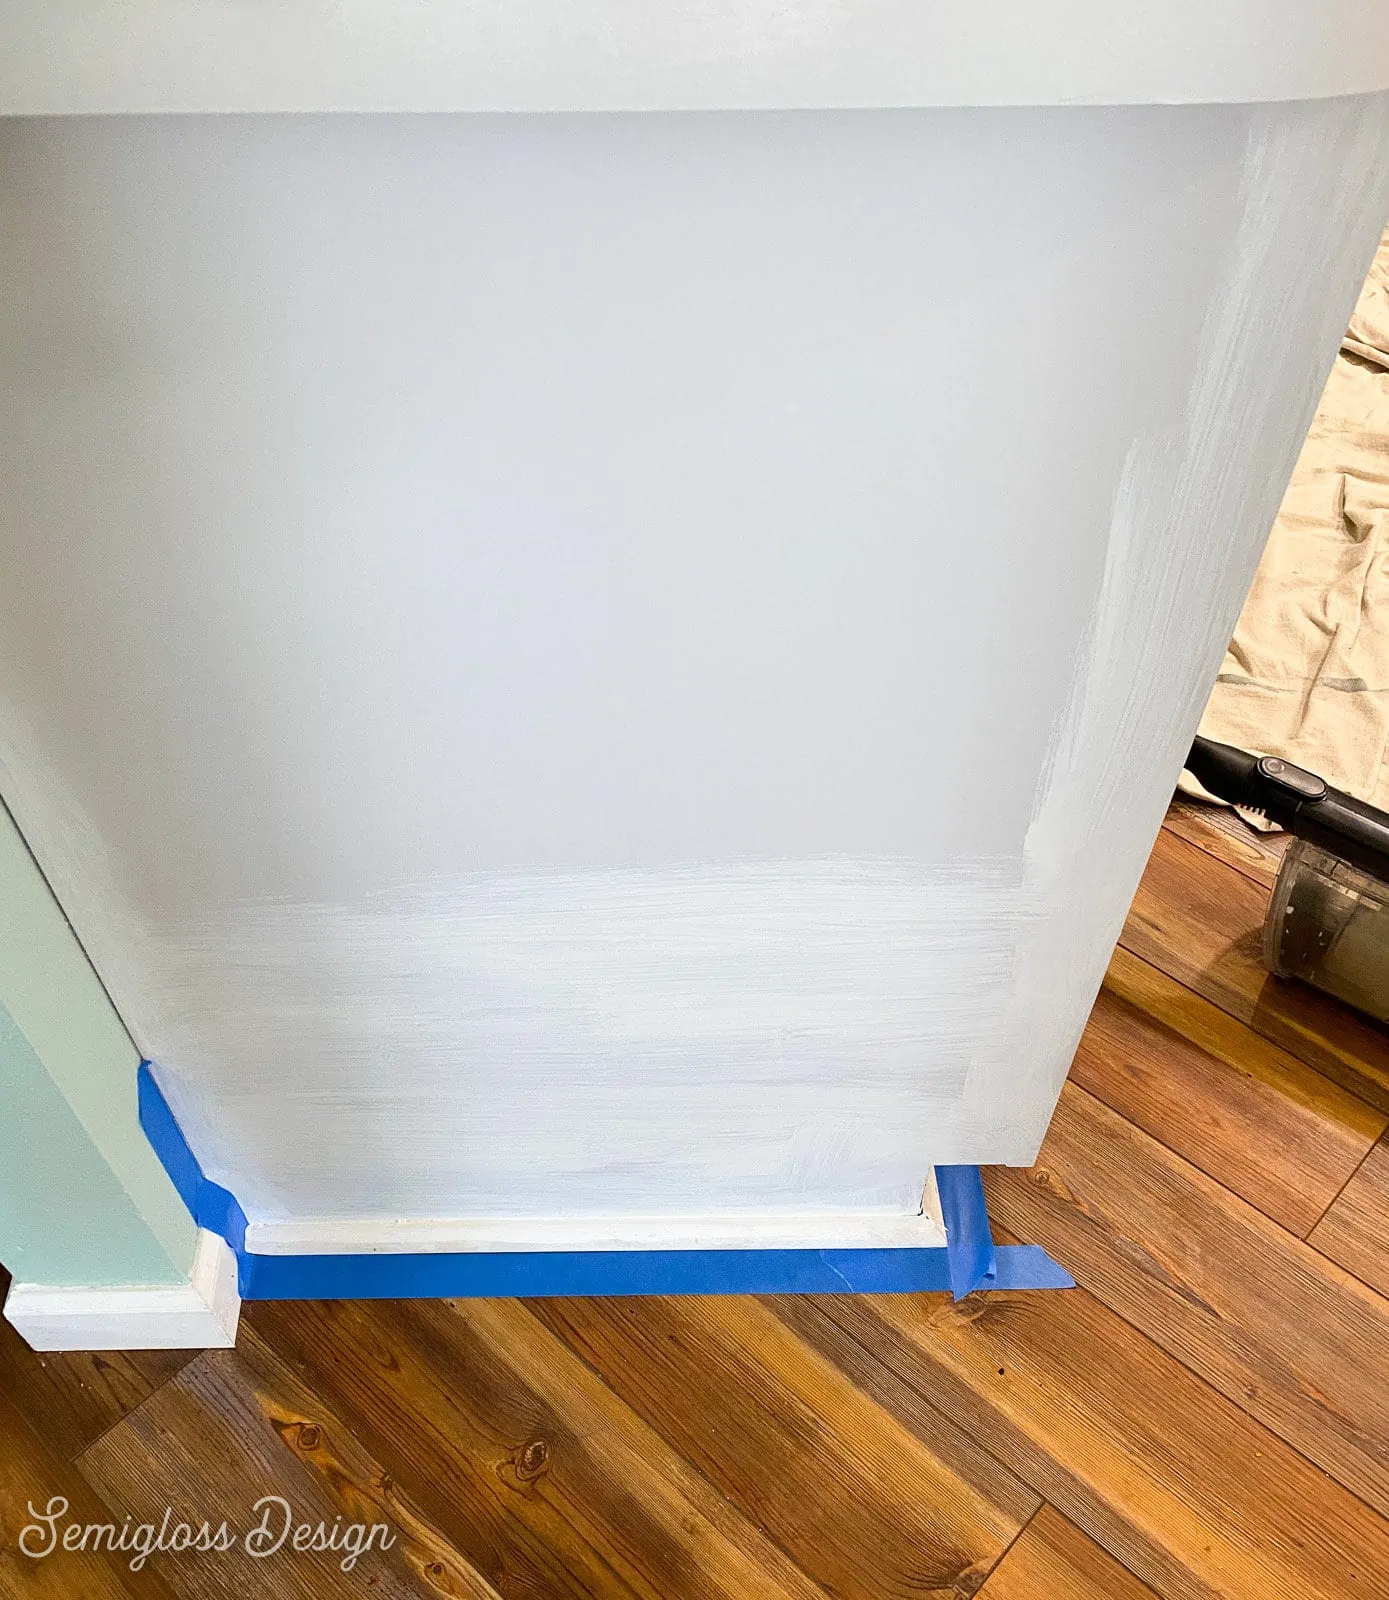
Use painter’s tape to protect the floor and walls where you don’t want paint.
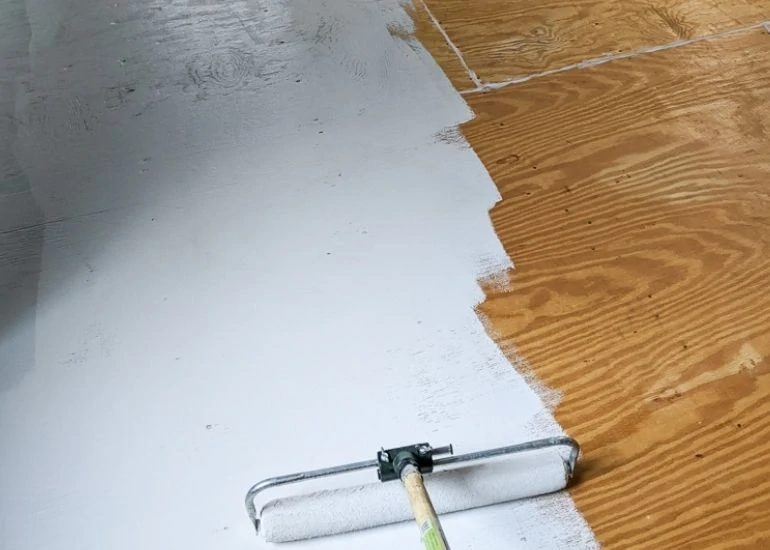
Prime the Cabinets
This primer is the KEY to making the paint stick well. It’s a bit stinky as well, but it’s worth it.
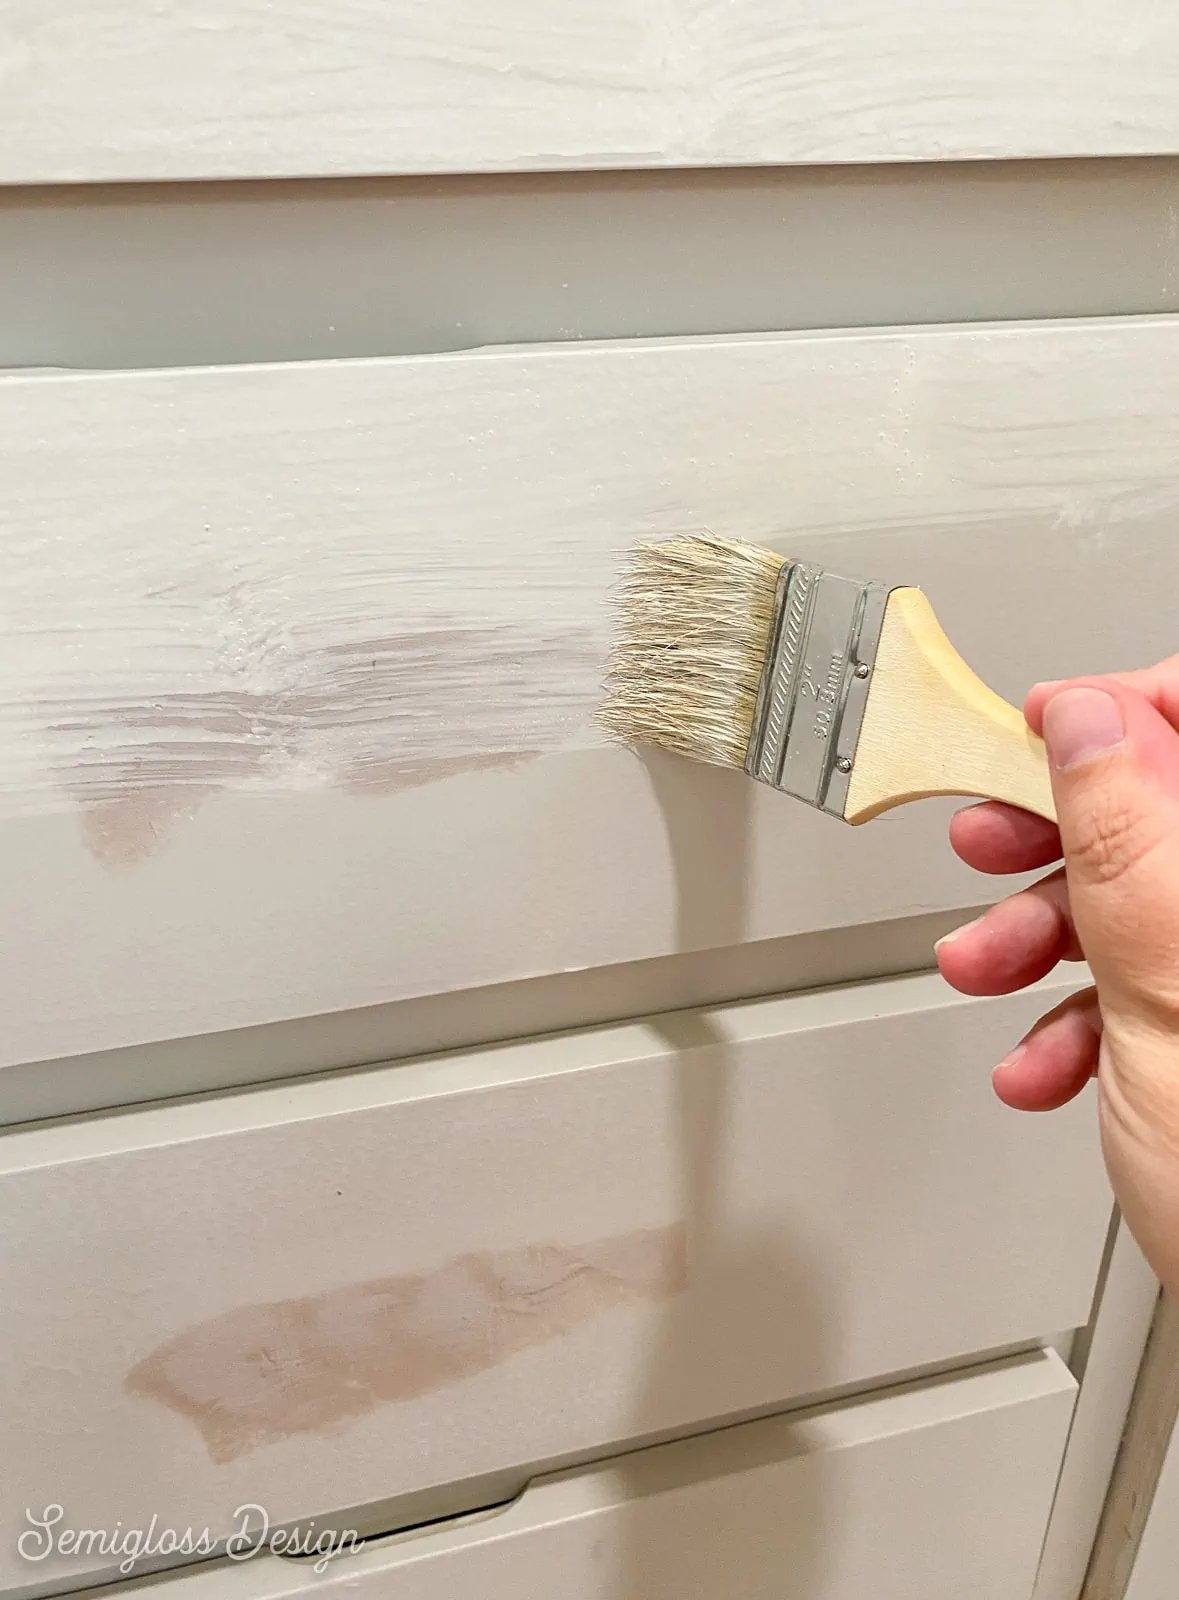
It’s shellac-based, so don’t use it with your nice paintbrushes. I always use it with a chip brush, which can be thrown away or cleaned by soaking in a jar of ammonia and then rinsing.
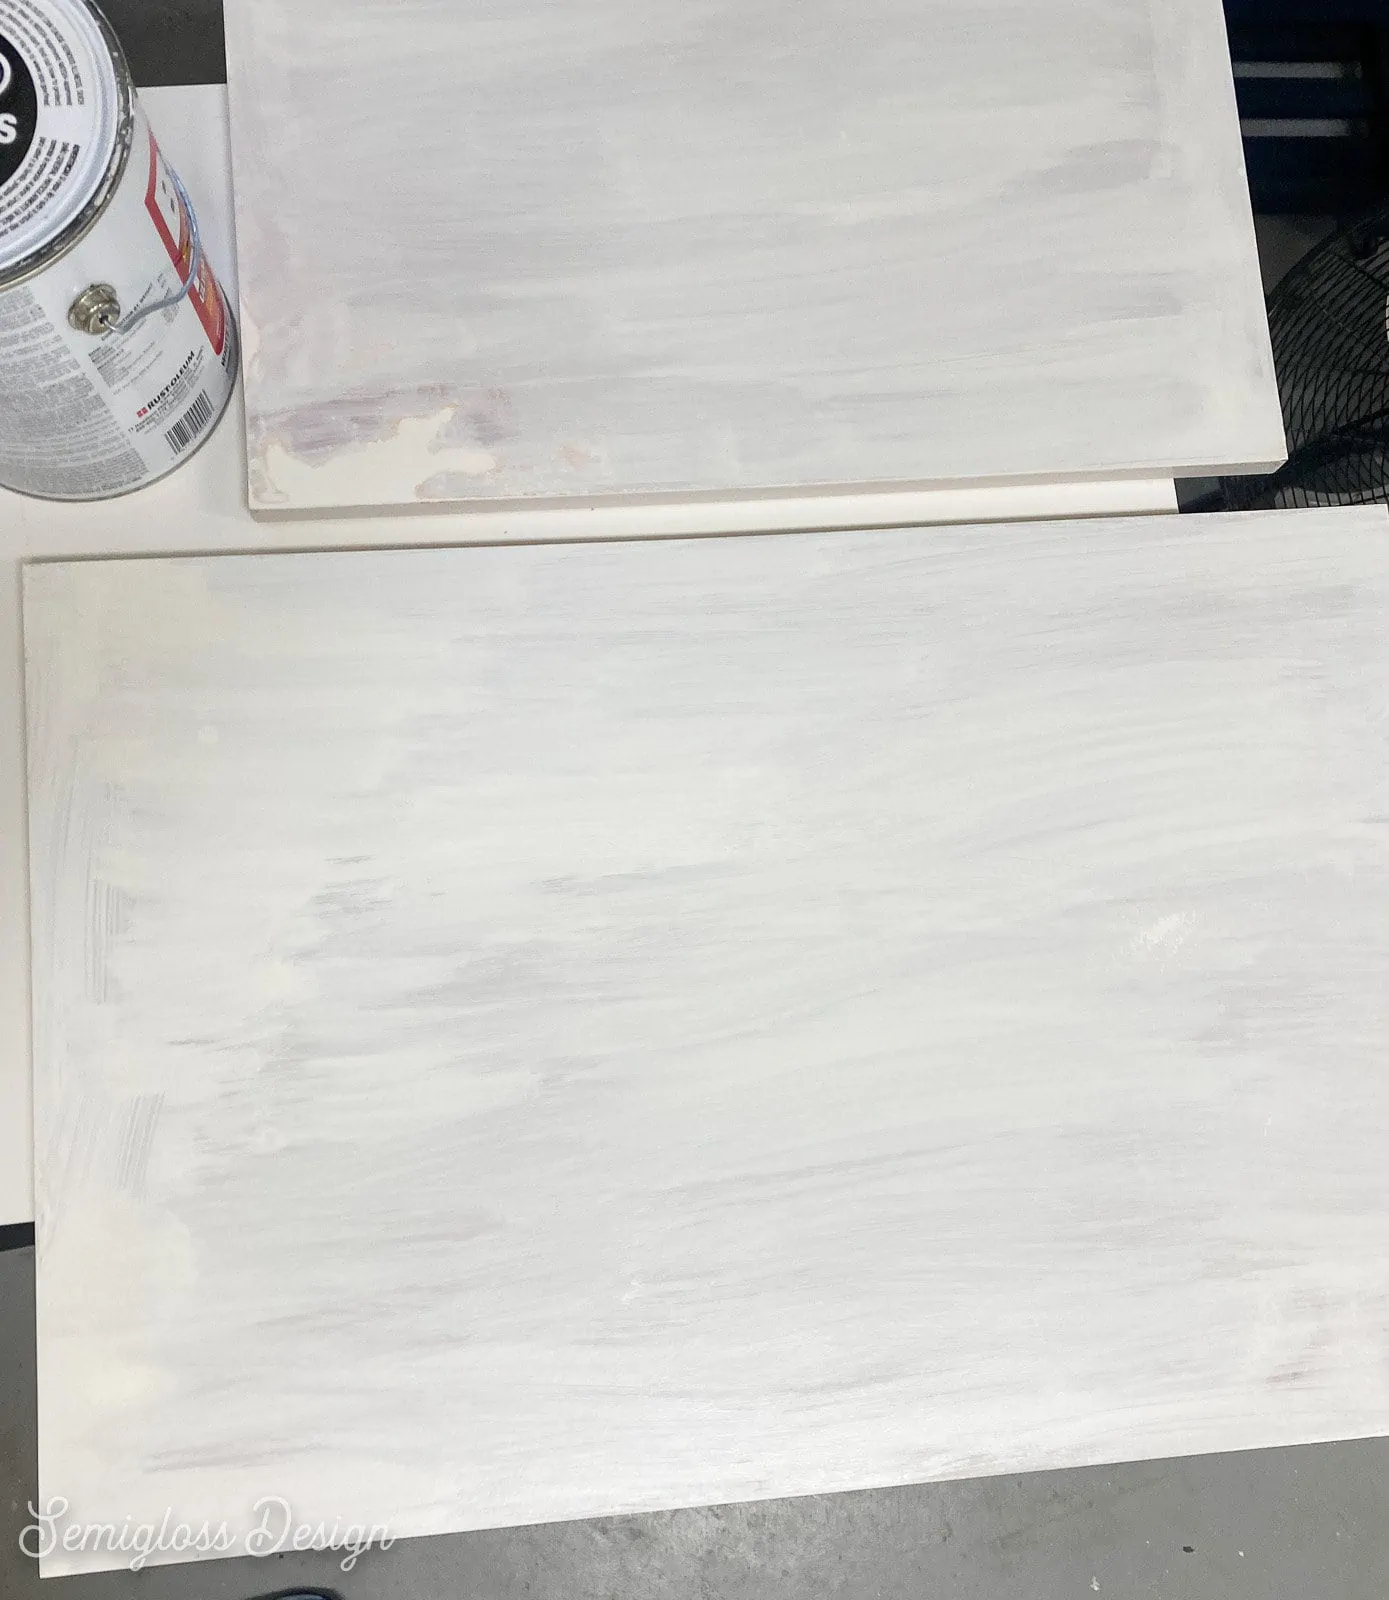
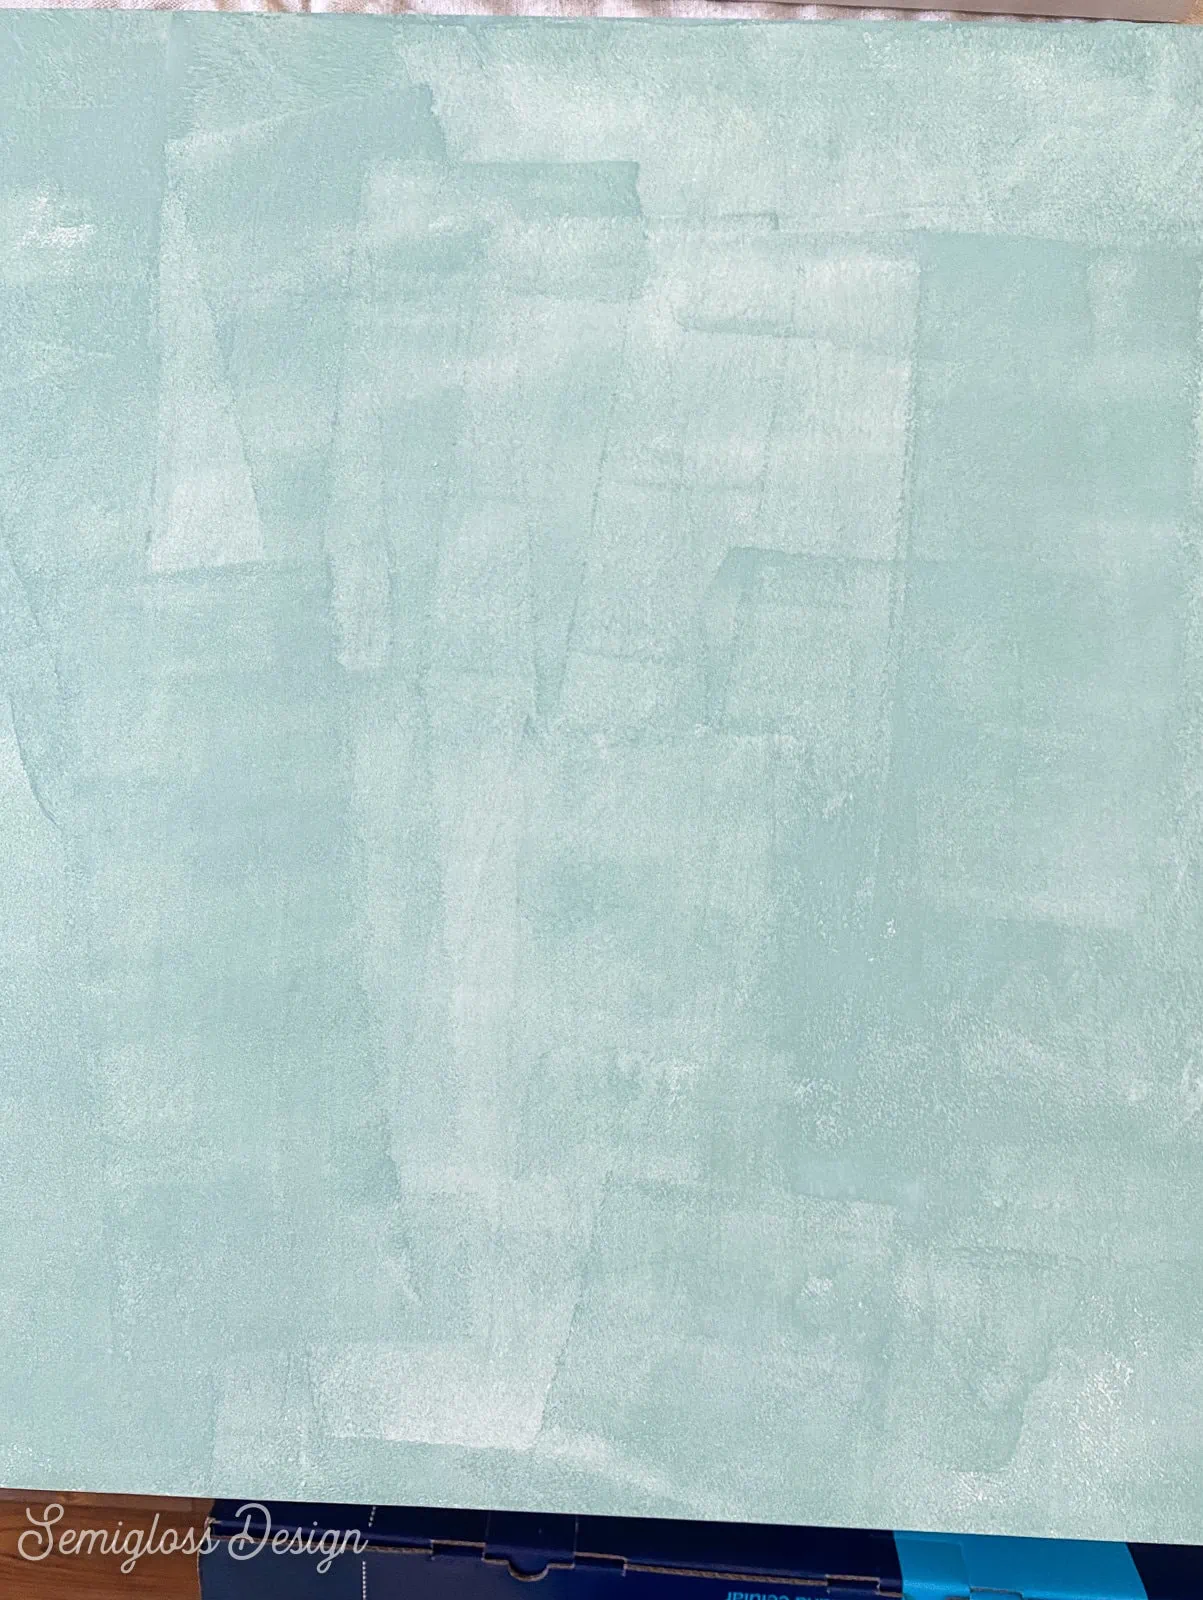
- Paint the cabinet doors and bases with the primer and chip brush. It will leave visible brush marks, but they level out.
- Let the primer dry.
- Add another coat of primer in areas that get used a lot. I added another layer to drawers, the areas on the doors where the hardware is, and the sink cabinet doors since they get used so much.

Paint the Laminate Cabinets
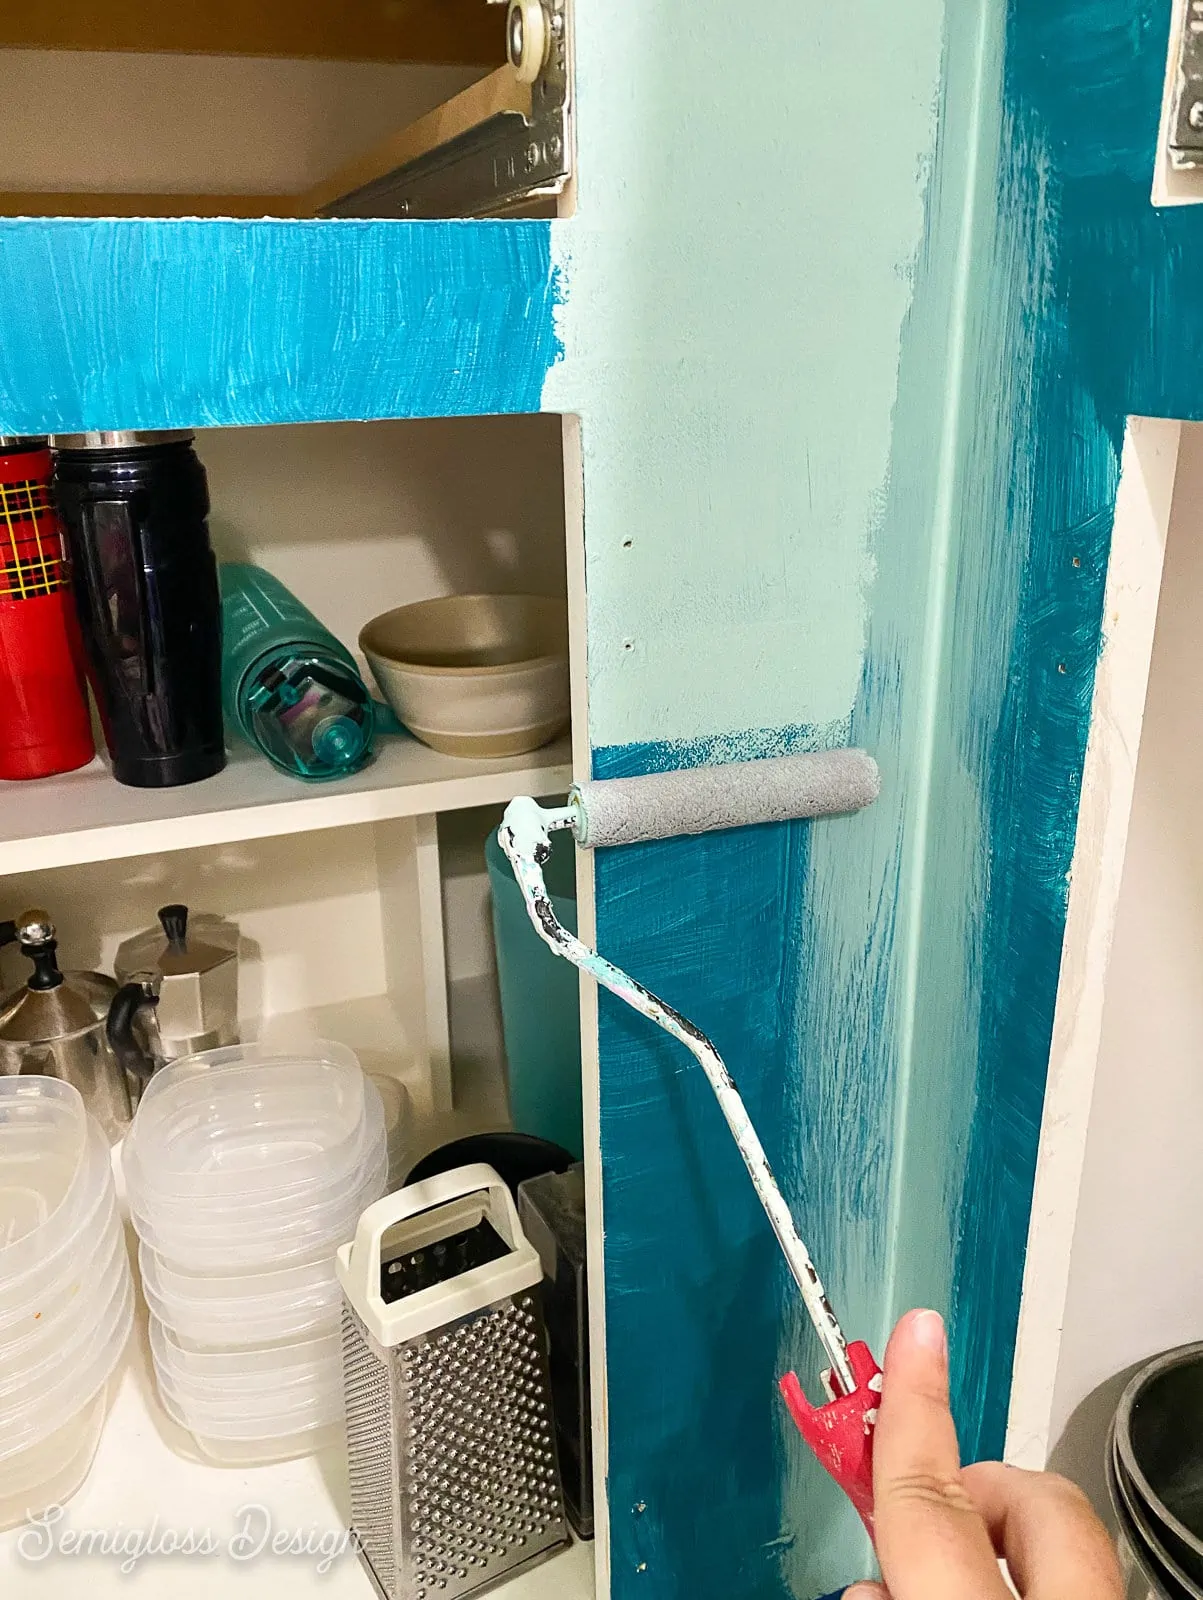
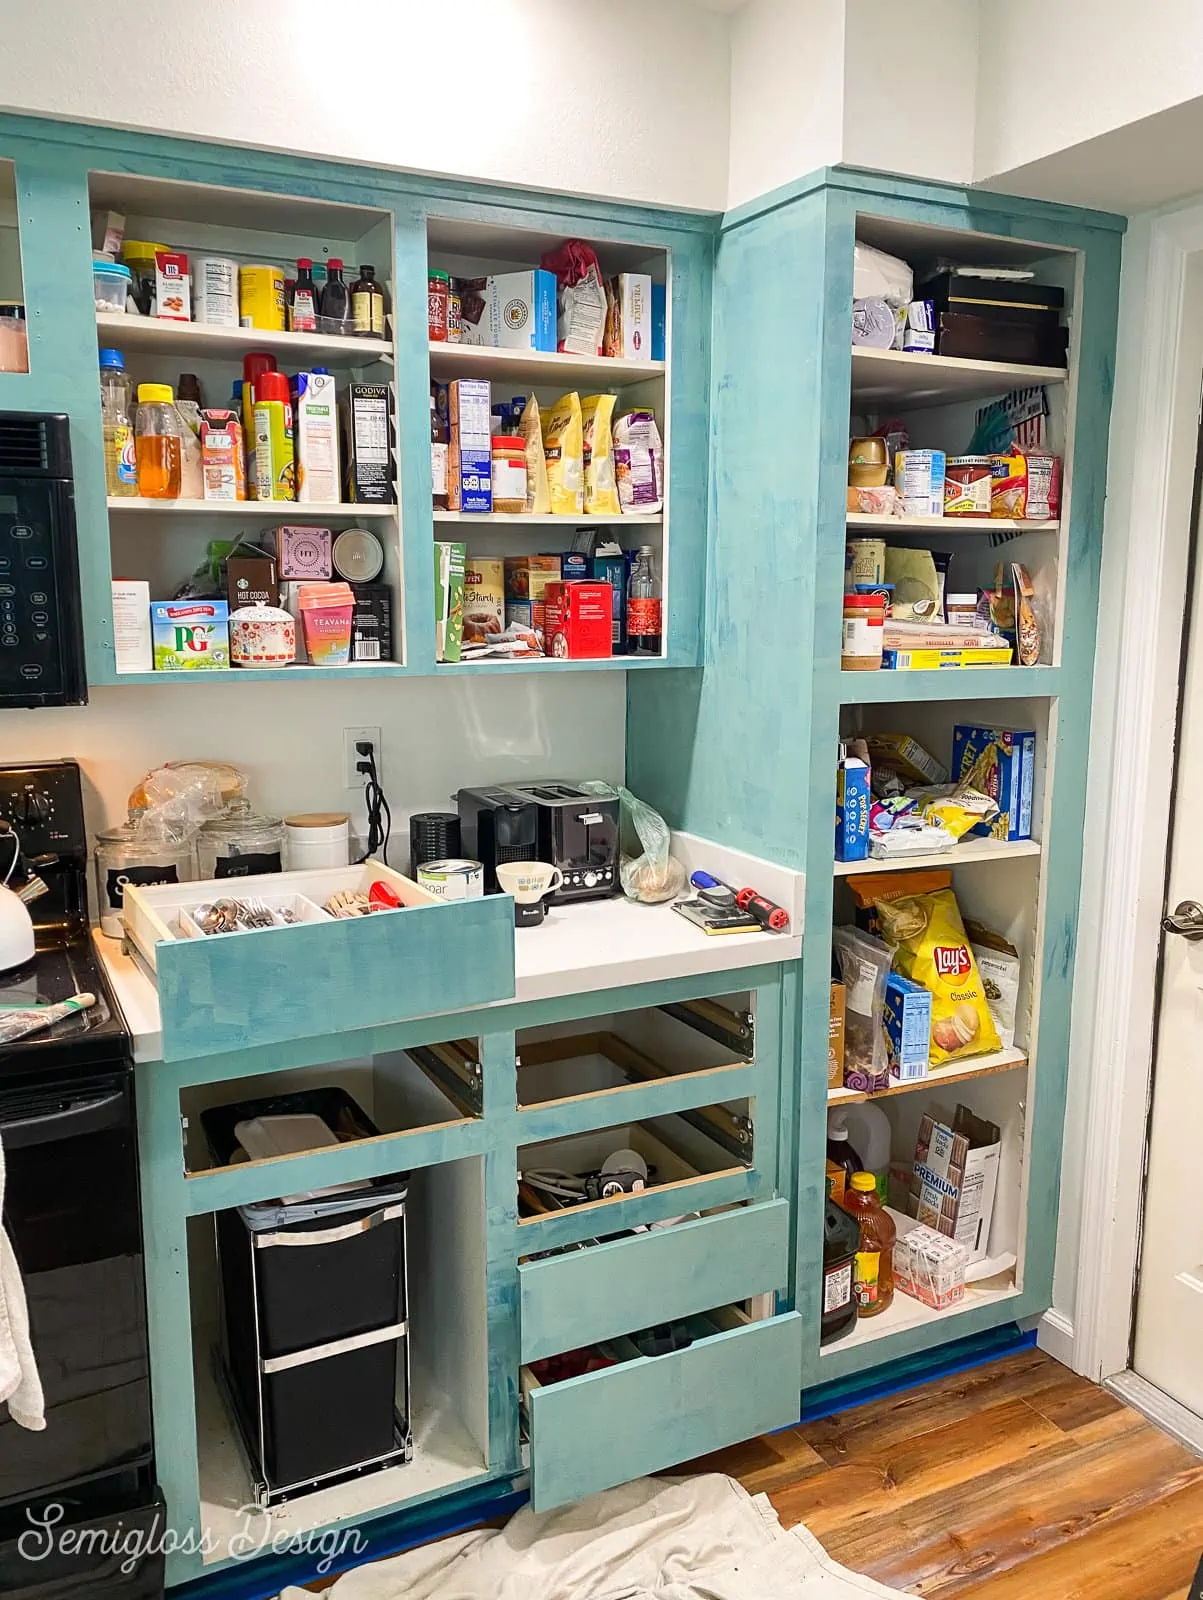
I changed my mind about the paint color after the first coat. It was too bright compared to the other rooms around it, so you will see that in the process photos.
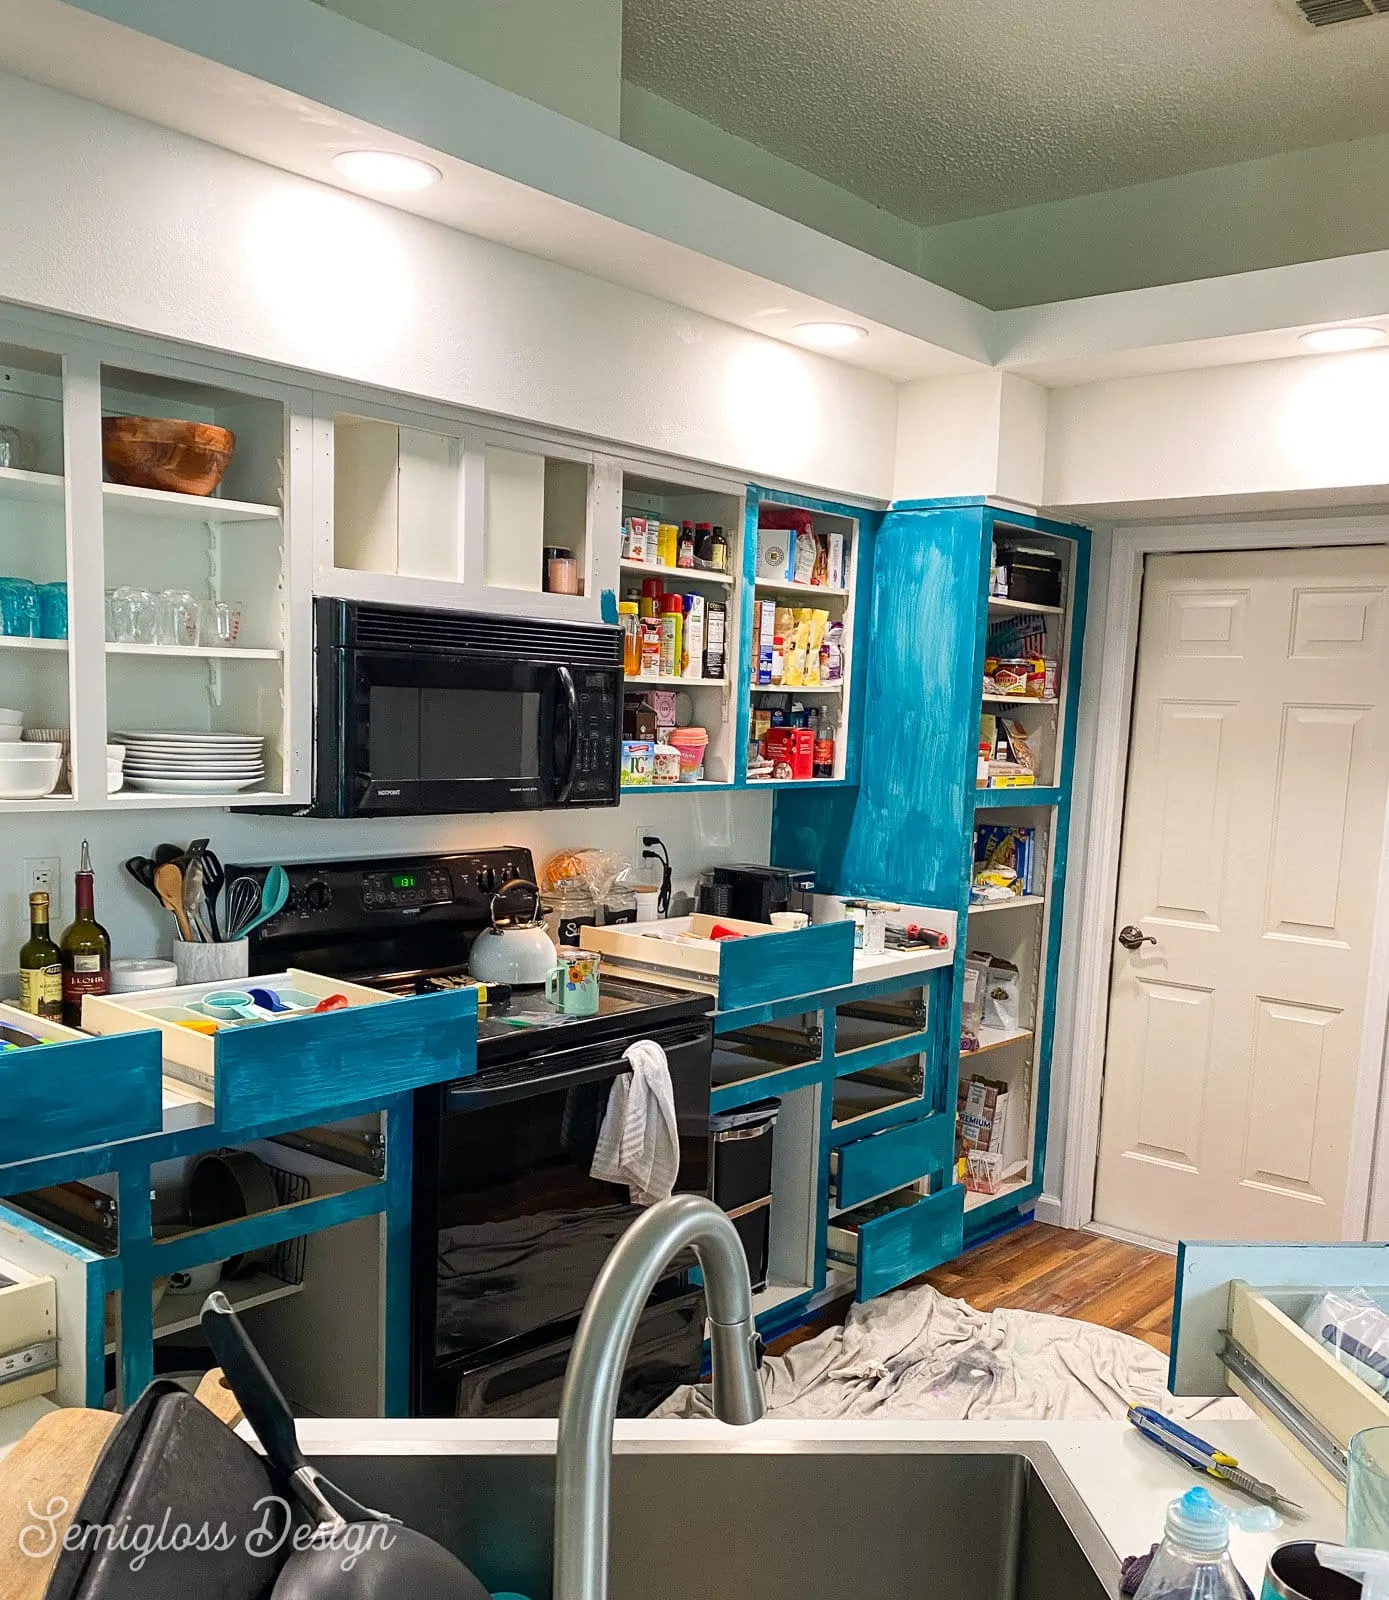
When painting, I always try to get the hard part out of the way first, so I started with the cabinet bases first and then the doors and drawers, but you can start wherever you want.
I used a velour roller cover because I wanted a really smooth finish and it worked great. A foam roller works okay, but I do not recommend using a typical roller that you use to paint walls because it adds way too much texture.
A paintbrush also works well. The cabinet paint does a pretty good job of self-leveling.
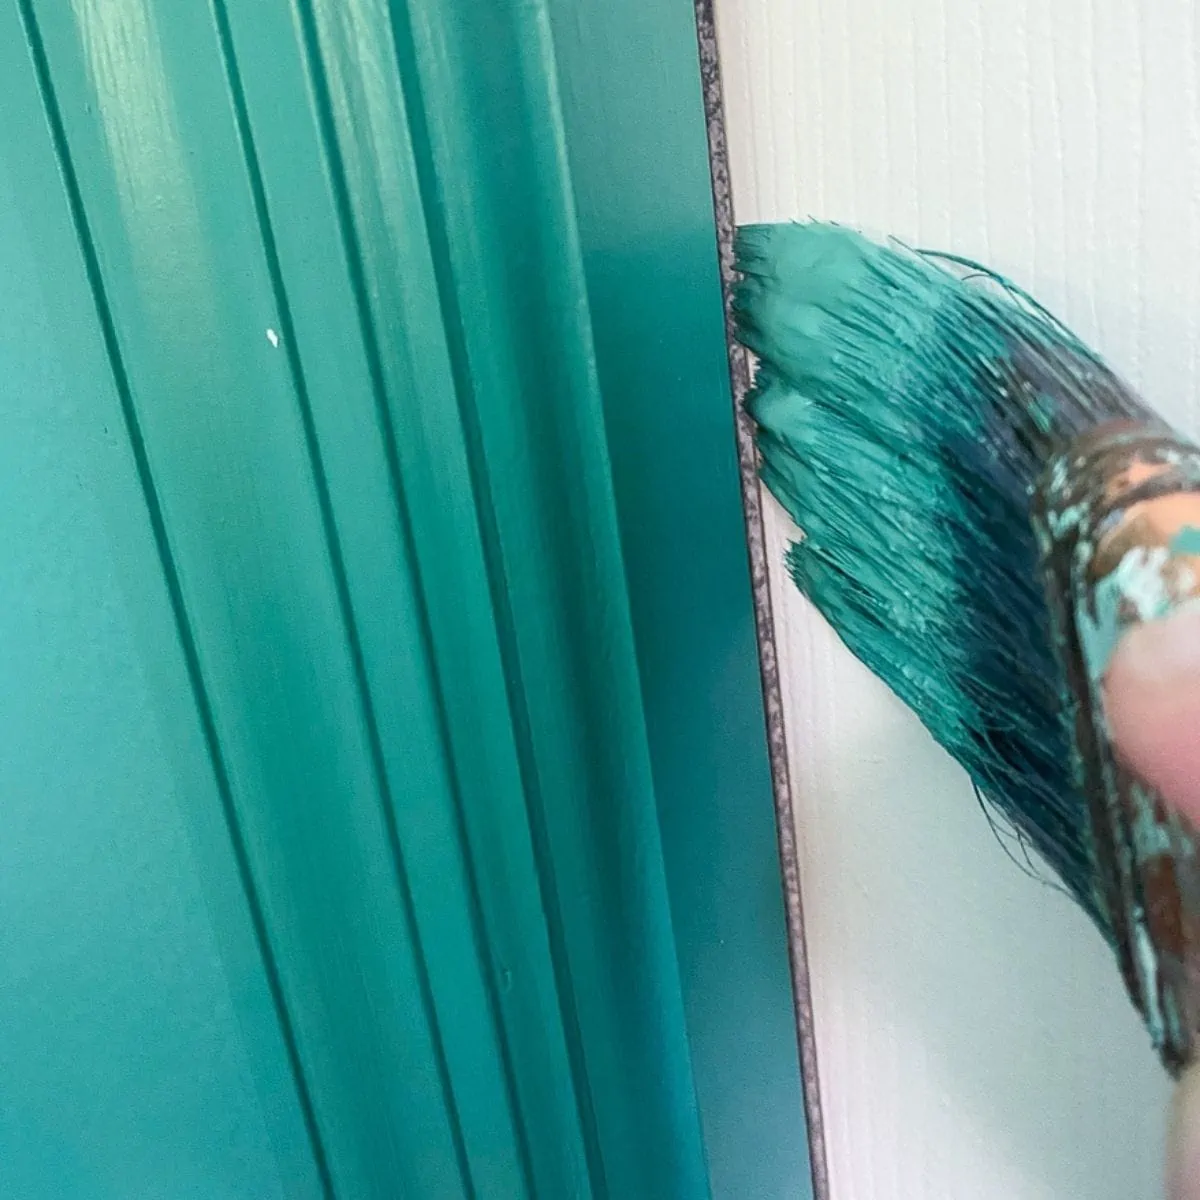
Always keep a wet edge when painting to avoid making brushstrokes.
- Use a paintbrush to start painting the corners and edges of the cabinet bases. Paint any area that you can’t get with the roller.
- If your cabinets have panels, paint the inset parts with the paintbrush as well.
- I also painted the toe kick beneath the cabinet. Laying on the floor makes this possible.
- Use a roller to paint all of the larger flat areas.

- Paint the cabinet doors and drawer fronts with the roller.
- Don’t forget to paint the cabinet door edges.
- Let the paint dry completely.
- Paint another coat of paint using both the paintbrush and roller as before.
- If you used a roller, you might need 3-4 coats of paint in total, letting them dry completely between coats.
- Touch up any areas if necessary.
- Let the cabinet doors dry as long as possible before replacing them.

I also painted the metal door that goes to the garage.

The doors are back on and now it’s time to install the new handles.
Care for the Painted Cabinets
If possible, let the cabinet doors dry for several days before handling them. It takes paint 30 days to cure, even though it feels dry to the touch.
Clean your cabinets with a gentle cleaning spray. I like Method because it’s never damaged anything that I’ve painted.
Touch-up might be necessary after a few years of use. In most cases, you can just add a bit of paint where it’s missing, but heavily used areas might need a bit of sanding, primer, and then paint.
Even professional paint jobs will need the occasional touch-up after a while.
You might also like:
Pin for Later!

Emy is a vintage obsessed mama of 2 DIYer who loves sharing affordable solutions for common home problems. You don’t need a giant budget to create a lovely home. Read more…