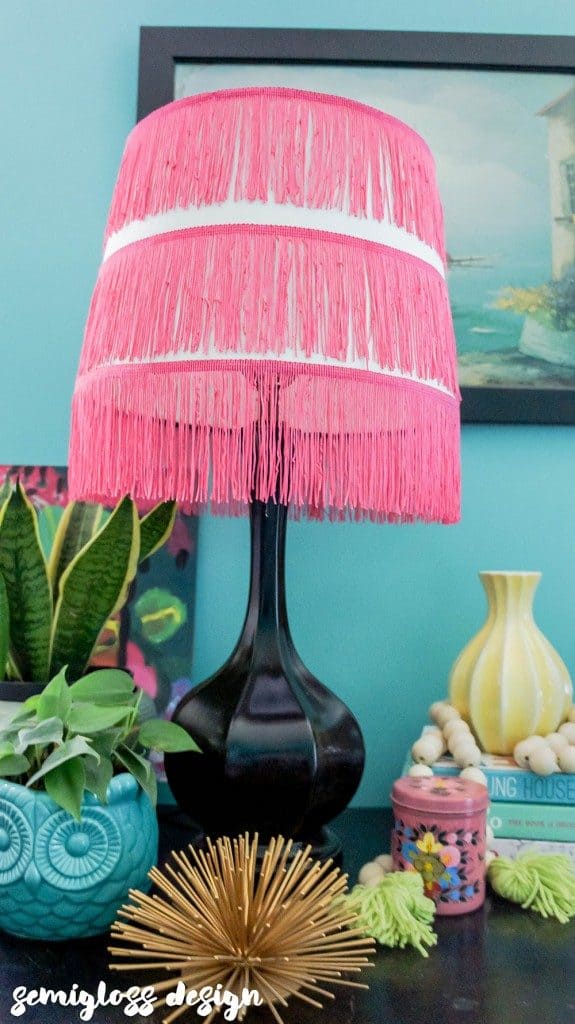
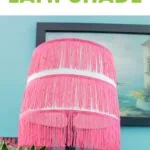
Revamp a Lampshade with Fringe
Learn how to add fringe to a lampshade. This simple DIY is an easy way to add interest to a dull white lampshade.
If you like this post, you might also like these easy-to-make trinket dishes.

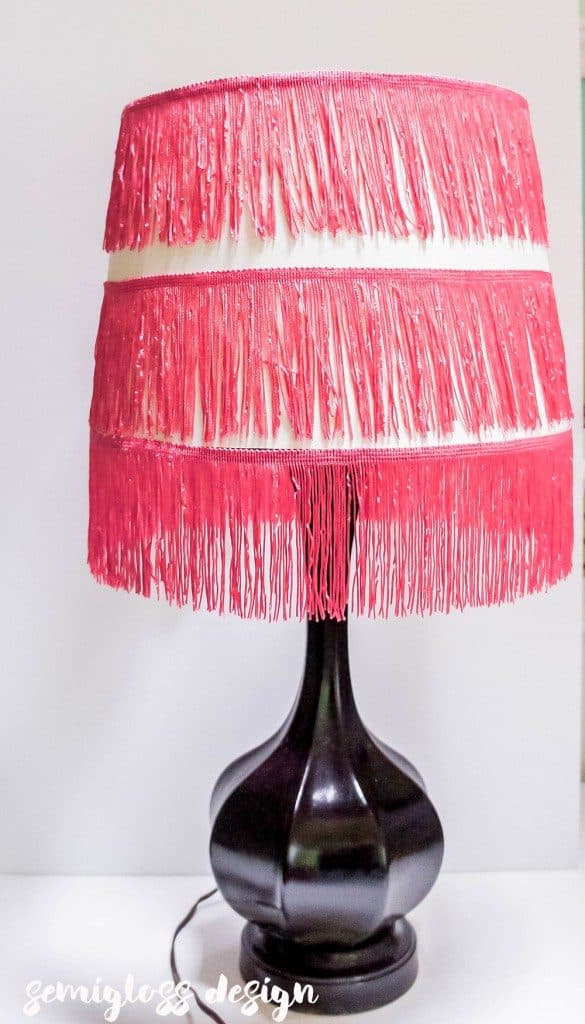
Adding fringe to a lampshade is one of those stupidly easy DIY projects that are good for instant gratification. I was able to transform a plain white lampshade in minutes!
How to Add Fringe to a Lampshade
This post contains affiliate links. By purchasing an item through an affiliate link, I earn a small commission at no extra cost to you.
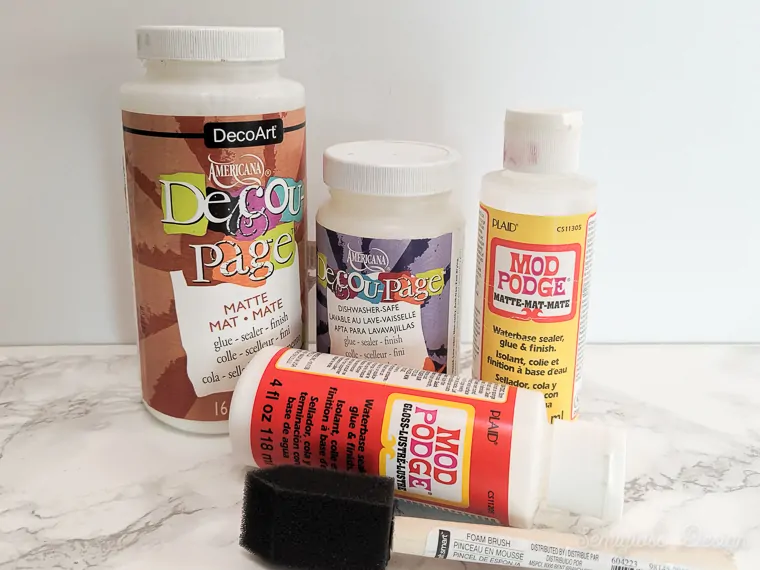
Supplies
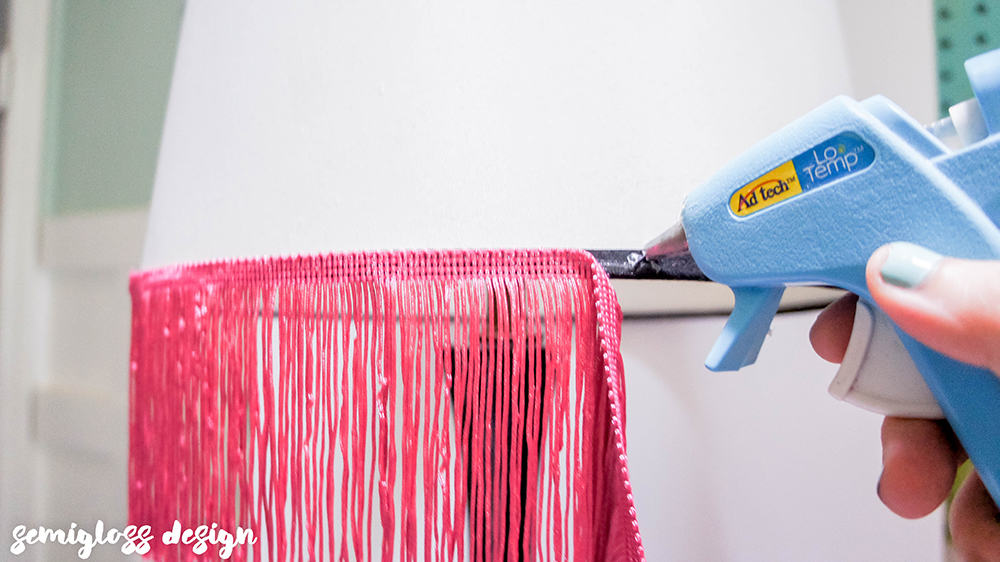
If you’re using a hot glue gun (versus cool temp), be careful. It’s really easy to burn your fingers.
It would also be cool to cover the entire lampshade with fringe.
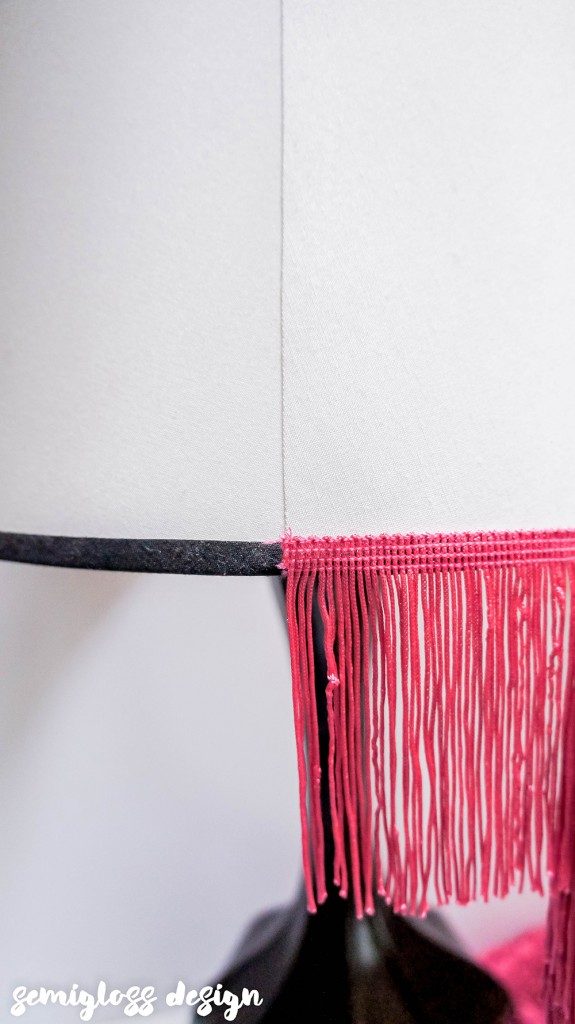
- Start at the back seam. Apply about 3 inches of glue and press the fringe against the glue.

- Continue along the bottom edge.

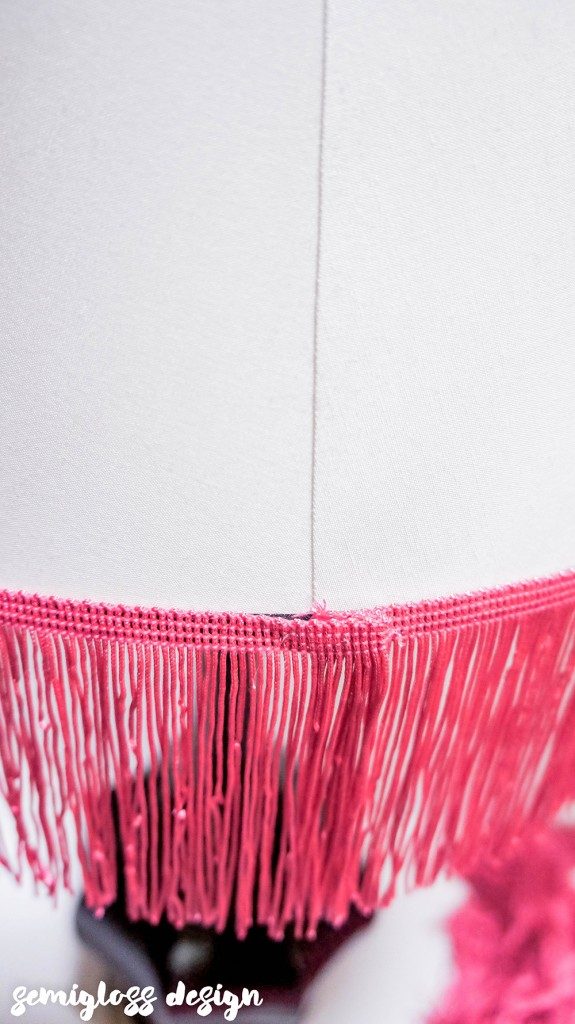
- When you reach where you began, cut the fringe 1/2″ longer and fold it over when you glue it down.
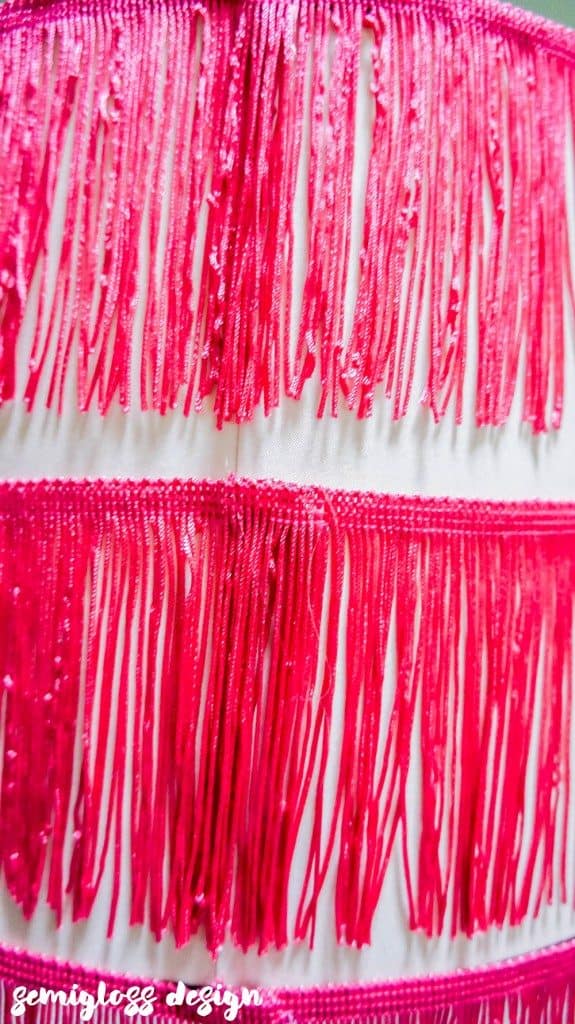
- Continue gluing the fringe on the lampshade where desired. I added another layer at the top.
- Then I added one last layer in the middle, trying to keep the spacing even from the top layer.
- Enjoy! Don’t you love simple DIY projects?

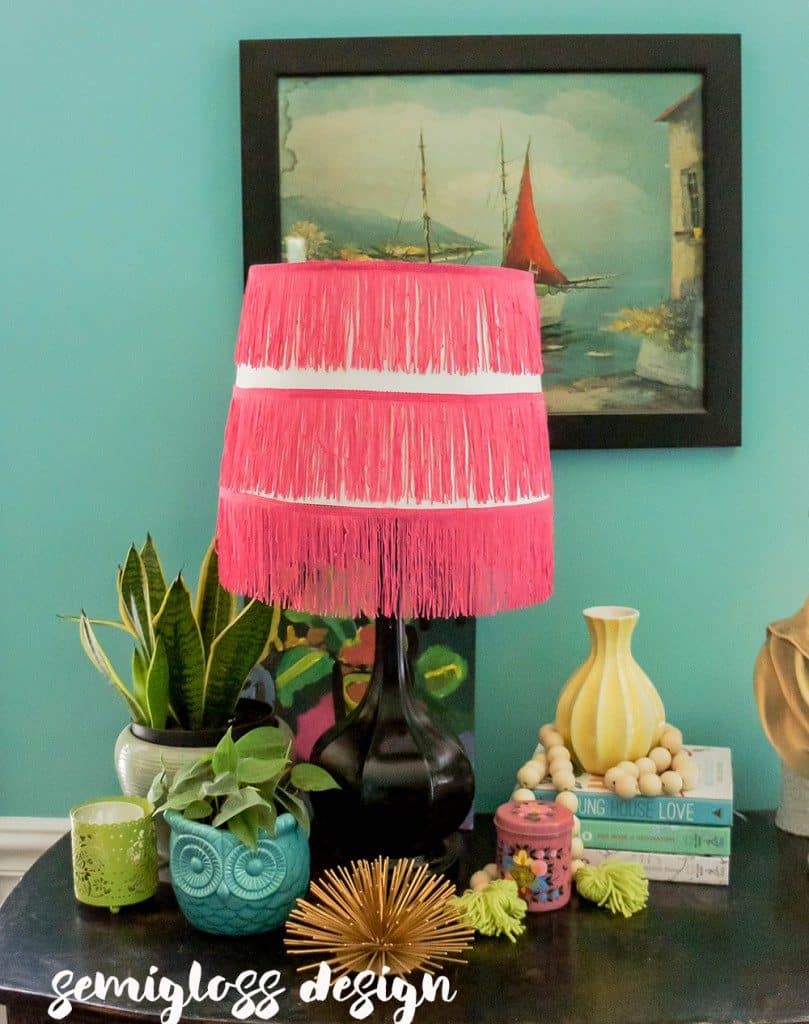
I love this corner of my home now! It’s so colorful and happy now. Everything needs a bit of fringe!
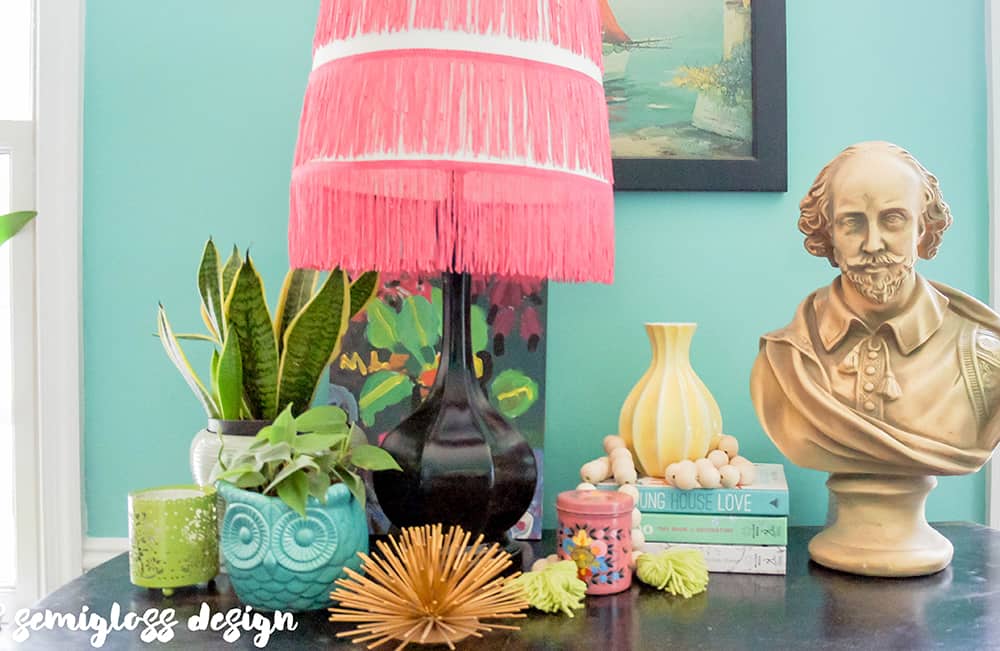
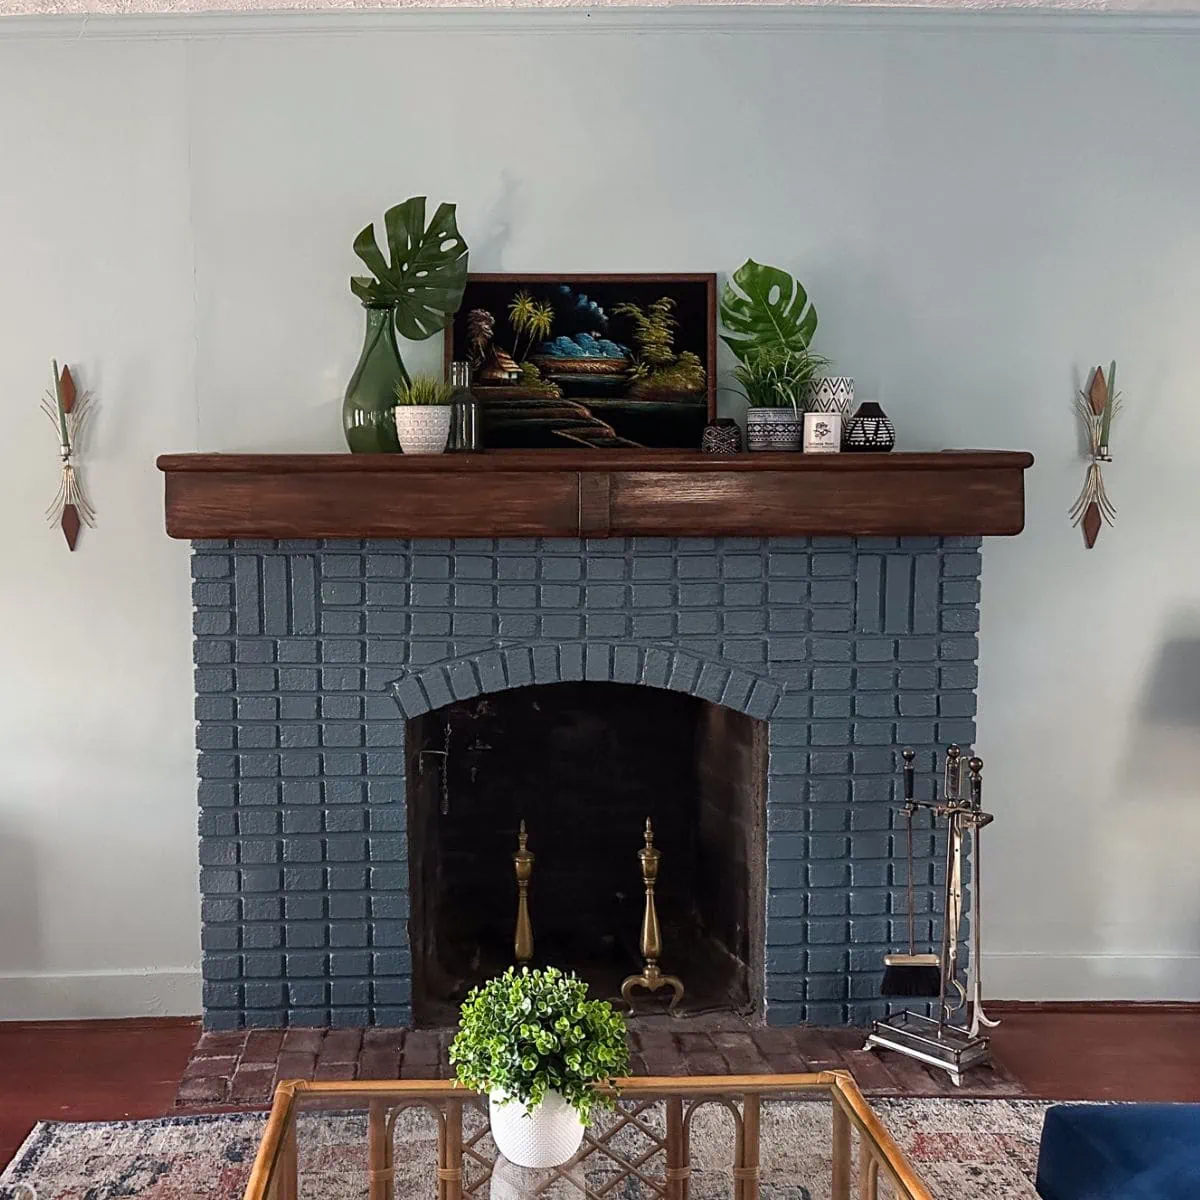
A vignette in my home is never complete without a cool bust.
What do you think about my revamped lamp?

Emy is a vintage obsessed mama of 2 DIYer who loves sharing affordable solutions for common home problems. You don’t need a giant budget to create a lovely home. Read more…

I need some fringe in my life now!!!! Especially if it’s pink! Love it, Emy!
Thanks Brynne! I’m looking for more places to add pink now. 🙂
emy, this is such a fun project and i am team “fringe is always a good idea!”
Fringe is always fun! When I was looking, I kept finding super long fringe! I need to find places for long fringe now!
What a fun update-It fits perfectly with all of the accessories atop your dresser!
Thanks Diane! It makes it such a happy space now!
This is such a fun project! Love the way this lampshade turned out!
Thanks Kate! Easy projects are always the most fun. 🙂
This is so fun and creative! Nice job, Emy!
Thanks Mila! It was a lot of fun to make!
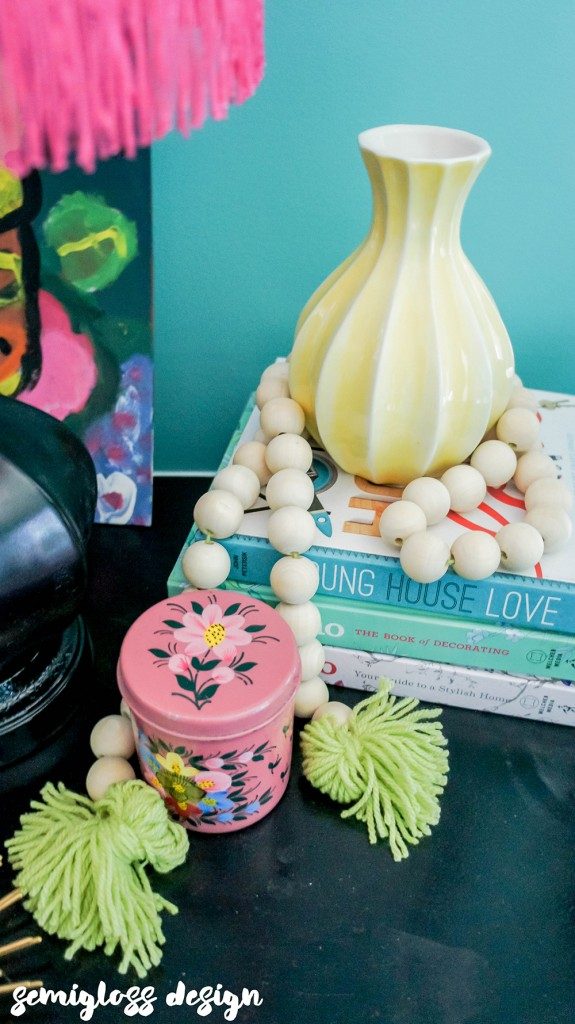
This is so fun Emmy! That pink looks fabulous. Love that beaded garland with tassels too. I think Willie, Cleo, and Daphne could make quite the trio! lol
Thanks Kathy! Our busts would make quite a party! 🙂
Pinned! Girl, I love a good kitsch lampshade. This is too fun. The fringe is *insert 100 emoji*
How fun is this? I love the teal and pink combo! More is certainly more and less is surely BORE!
Thanks Jes! I think I need more pink everywhere now.
OMG I need this in my bedroom! I think the hubs will hate me but I’m willing to take the risk.