Four Ideas for Cute Painted Pumpkins for Fall
Learn how to make 4 different cute painted pumpkins. If you like this post, you might also like these tissue paper decoupage pumpkins or these felt pumpkins.
I love fall, but orange isn’t my favorite color. It doesn’t really go with my decor, if you know what I mean! I need my fall decor to be less candy corn and more candy colored. Cute painted pumpkins in my favorite colors and patterns is the answer to my desire for non-traditional fall decor.
They can be done to match any decor. Besides, who says seasonal decor has to be in certain colors?
Four Ideas for Cute Painted Pumpkins
This post contains affiliate links. By purchasing an item through an affiliate link, I earn a small commission at no extra cost to you.
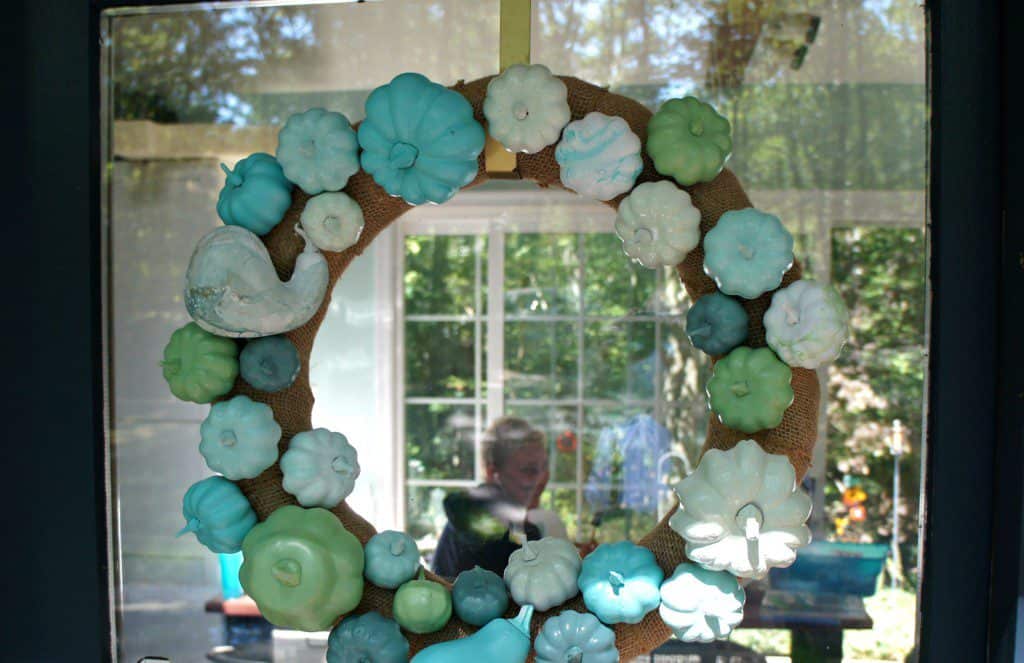
Candy Colored Painted Pumpkin Wreath
Supplies Needed
- Small fake pumpkins and gourds
- Spray paint in pretty colors
- Wreath form
- Hot glue gun
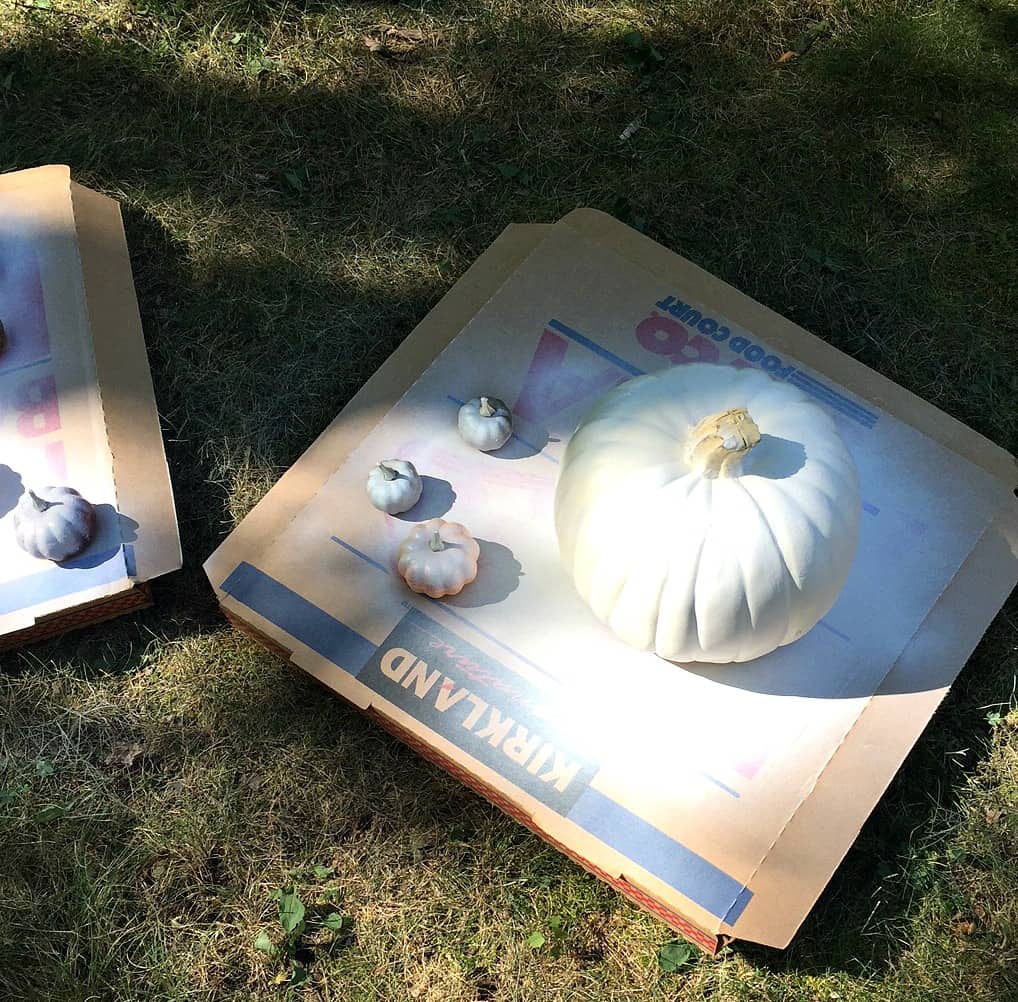
Start with small fake pumpkins so that you can reuse them next year. The small pumpkins come in little bags of about 6-8 pumpkins. Adding gourds is a fun way to mix it up.
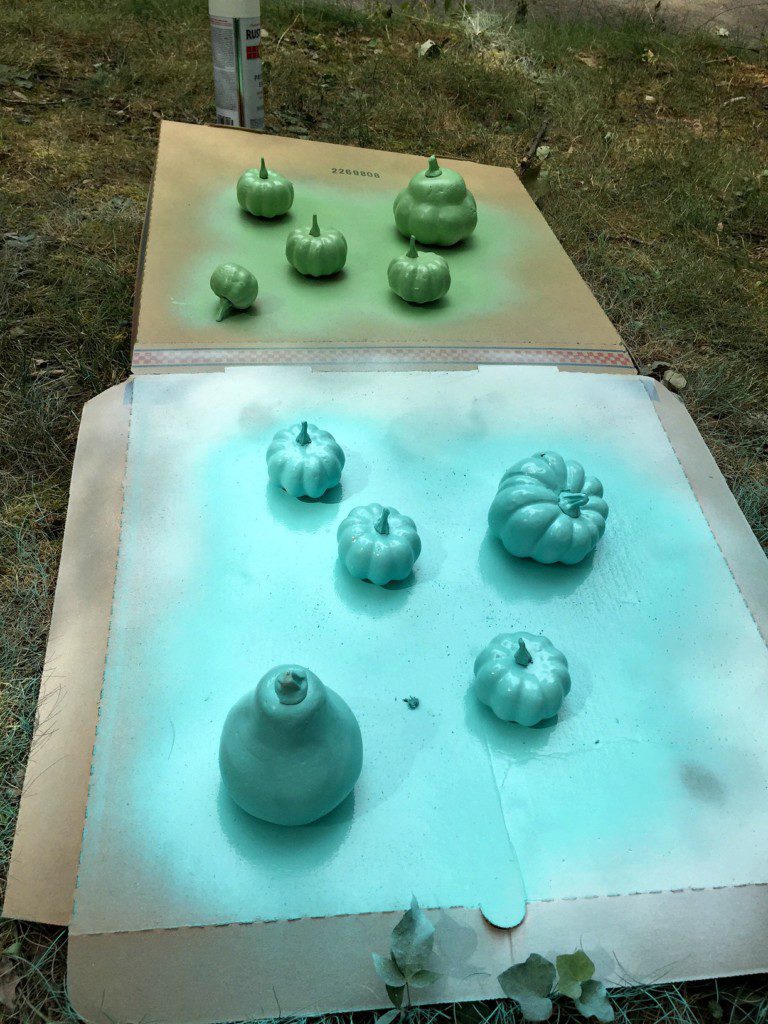
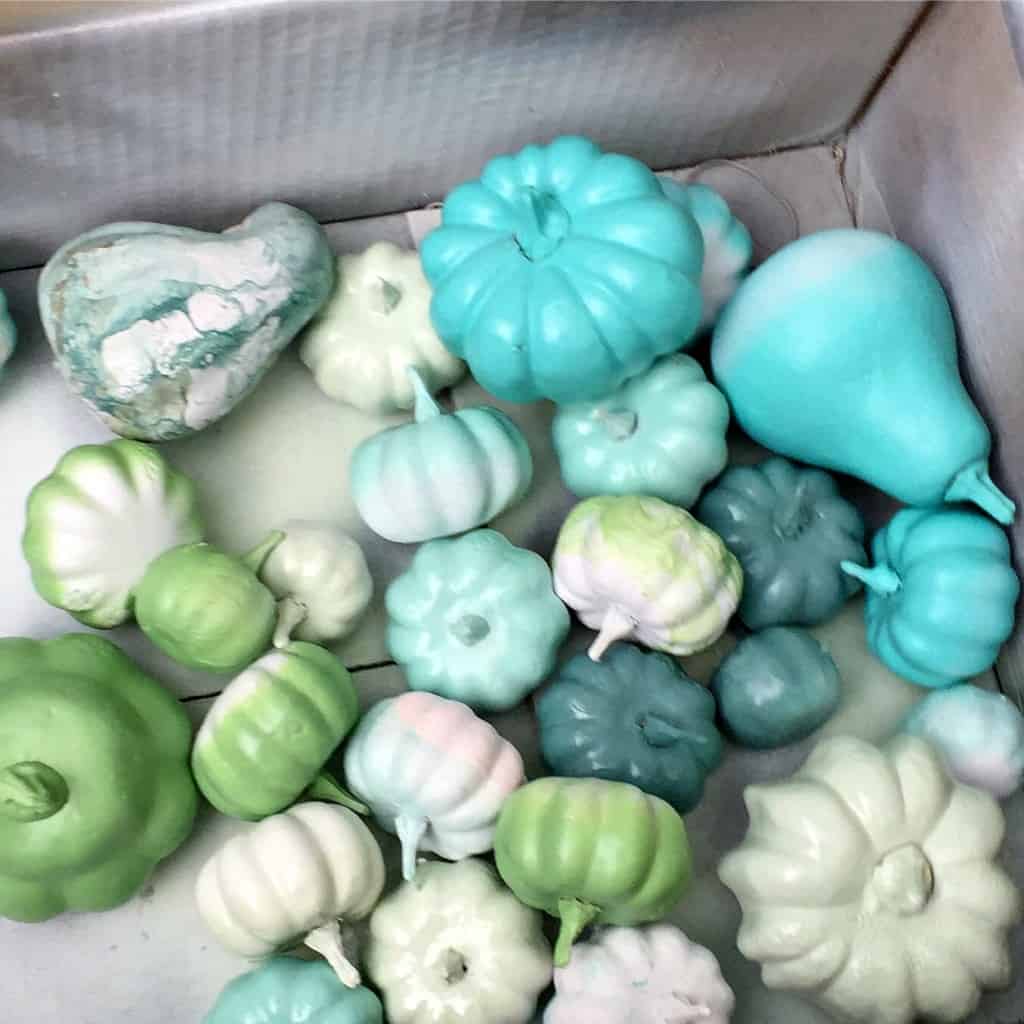
Spray them white to cover the orange and let them dry. Then, spray them in several different colors. I left a few white so I could marbleize them (I’ll explain that in a minute.) I chose aquas and greens because they’re my favorite colors.
Aren’t blue and green pumpkins pretty?
Glue them onto a burlap covered wreath. Hot glue is amazing. I love the mix of the marbleized pumpkins with the solid pumpkins.
Marbleized Painted Pumpkins
Supplies Needed
- Fake Pumpkins
- Spray Paint in Different Colors
- Bucket of Water
If your fake pumpkins aren’t white, spray paint them white. You might even want to spray paint the white pumpkins to be white-r.
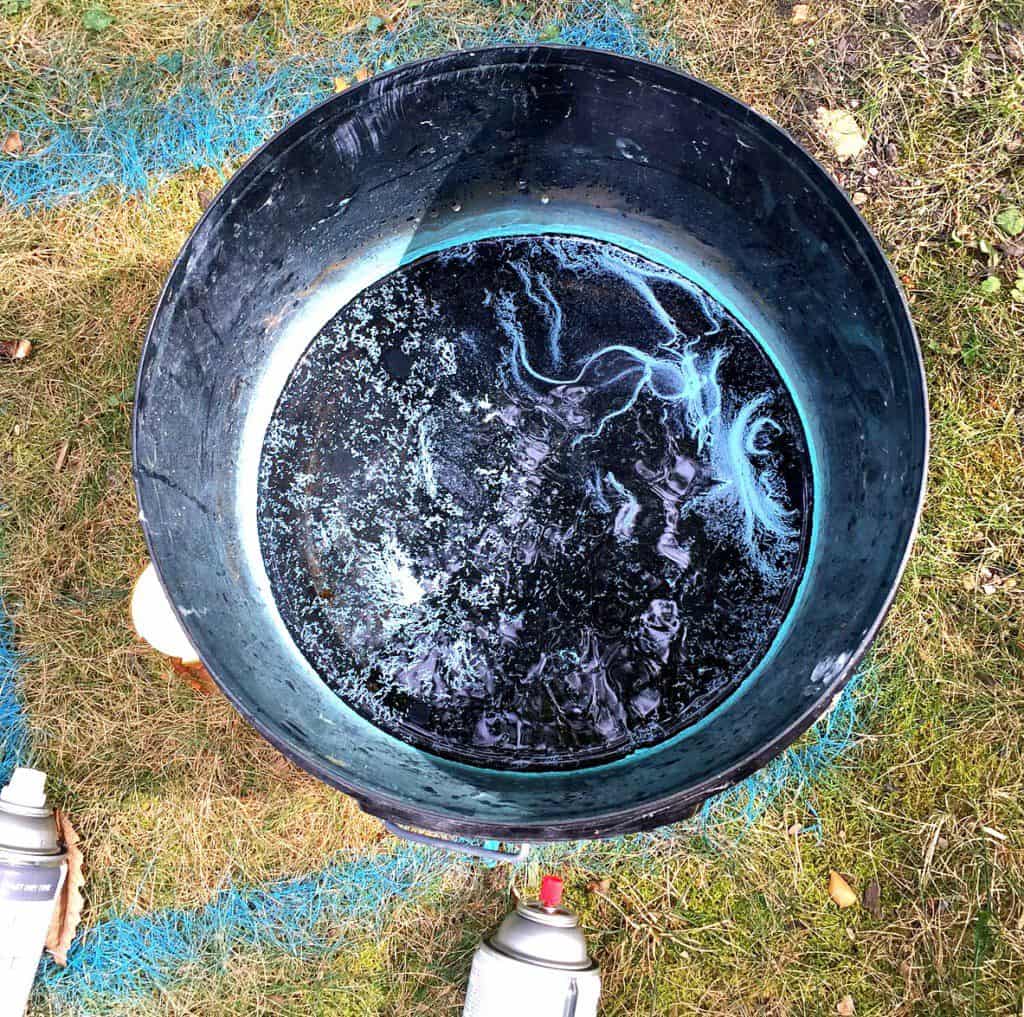
Fill a bucket with water. It doesn’t matter if you use warm or cold water. Spray into the water. The colors will swirl on their own. (You can also use nail polish.)
Dip the pumpkin in and pull it out. You’ll have to dip in from many angles. I didn’t always let them dry completely between dips, but it didn’t matter.
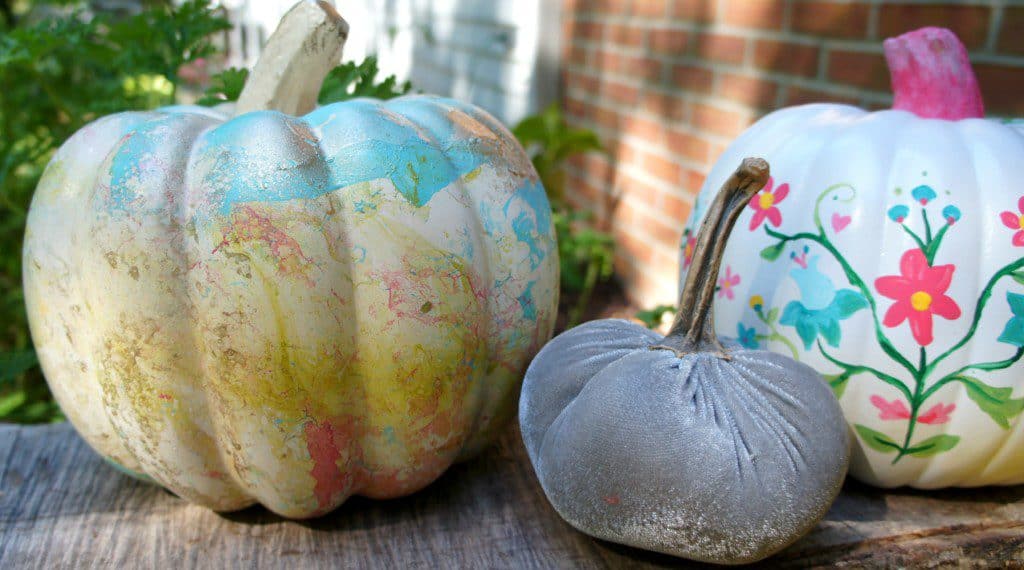
Repeat as necessary with as many colors as you want. I added pink for my daughter and I really love it more than my aqua and green one. I also added a few quick sprays of gold to the stem while it was wet. It looks almost like mercury glass because of the way the paint dried.
Marbleizing them is so easy and so much fun!
Splatter Painted Pumpkins
Supplies Needed
- Fake Pumpkins
- Spray Paint
- Liquid Gold Leaf
- Craft Paint
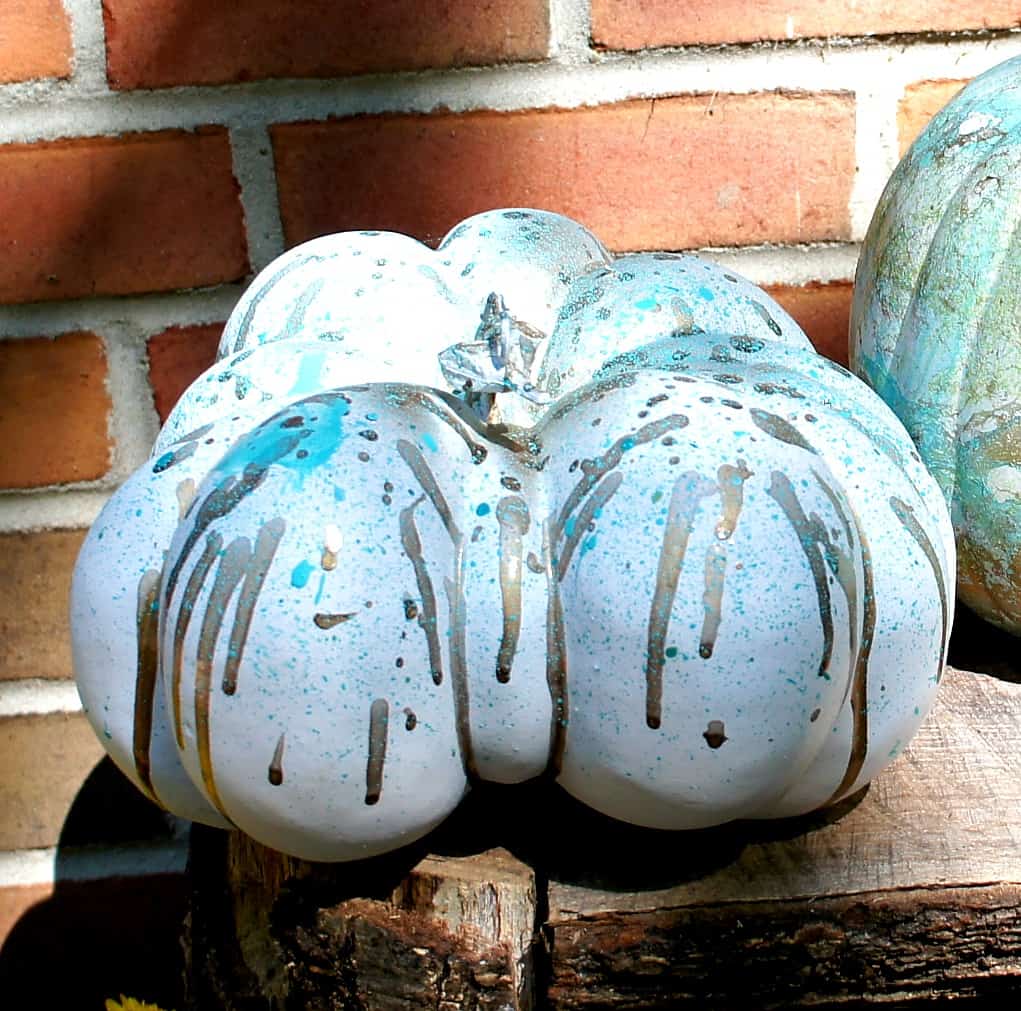
Spray paint the pumpkin white.
Then fling paint at the pumpkin using liquid gold leaf and craft paint.
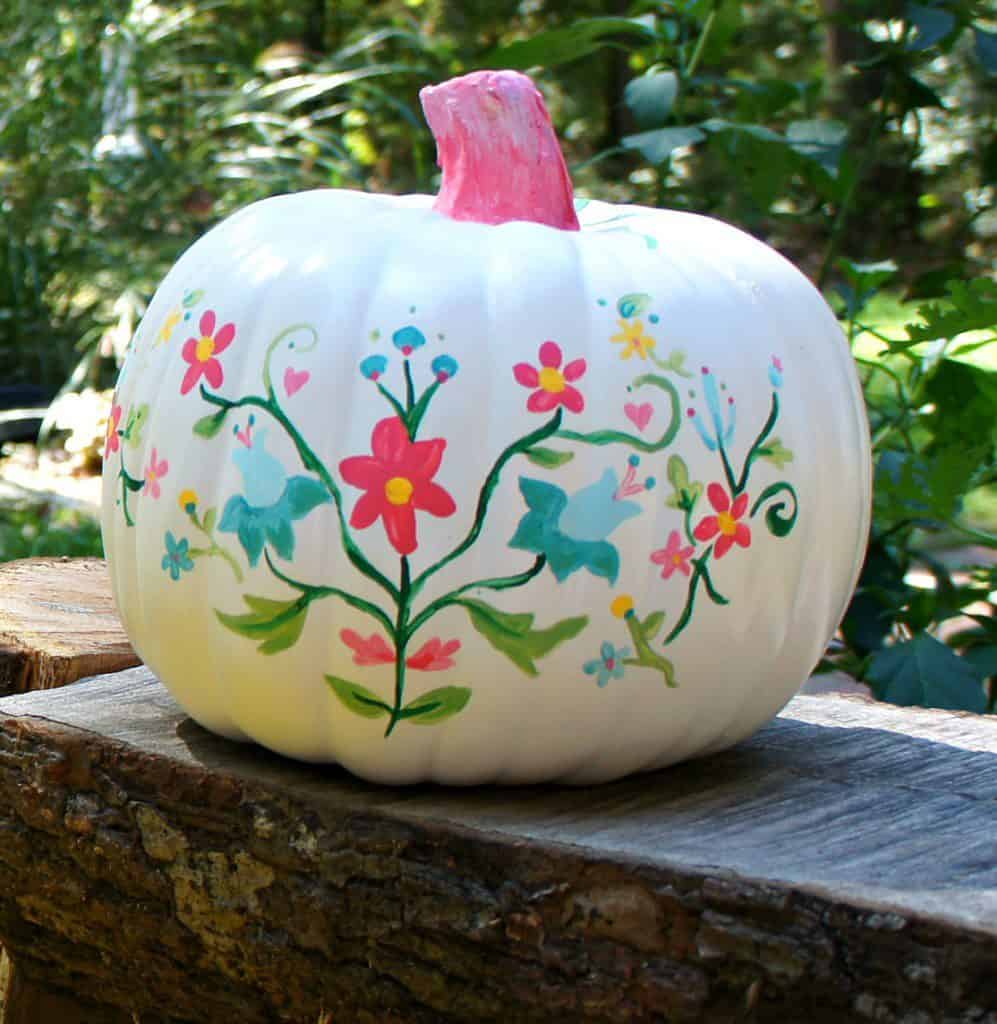
Embroidery Inspired Painted Pumpkin
Supplies Needed
- Fake Pumpkins
- White Spray Paint
- Craft Paint
- Embroidery Pattern
Use an embroidery pattern to freehand paint on the pumpkin.
I painted several motifs on a white pumpkin using craft paint.
A pink stem completes the look.
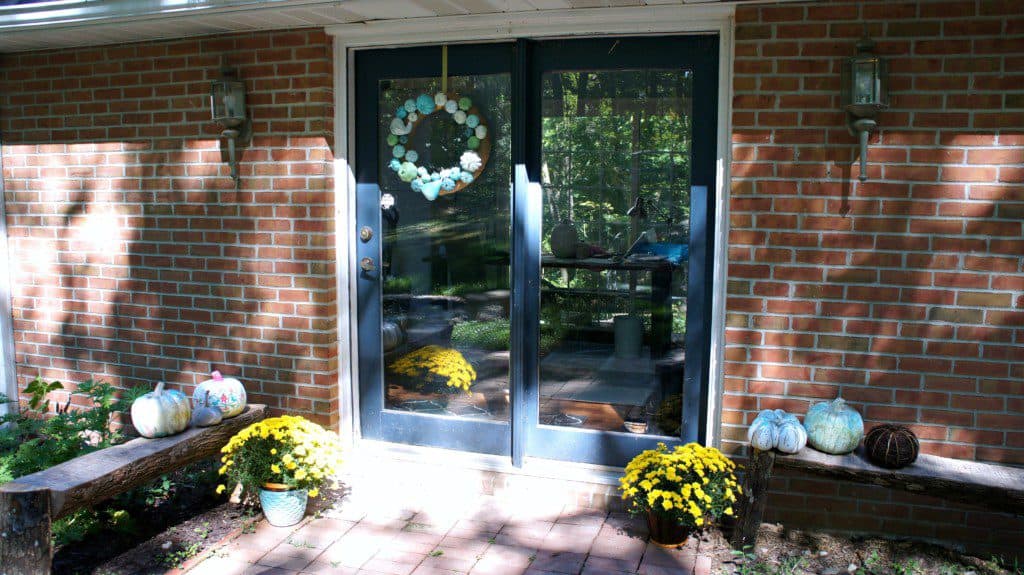
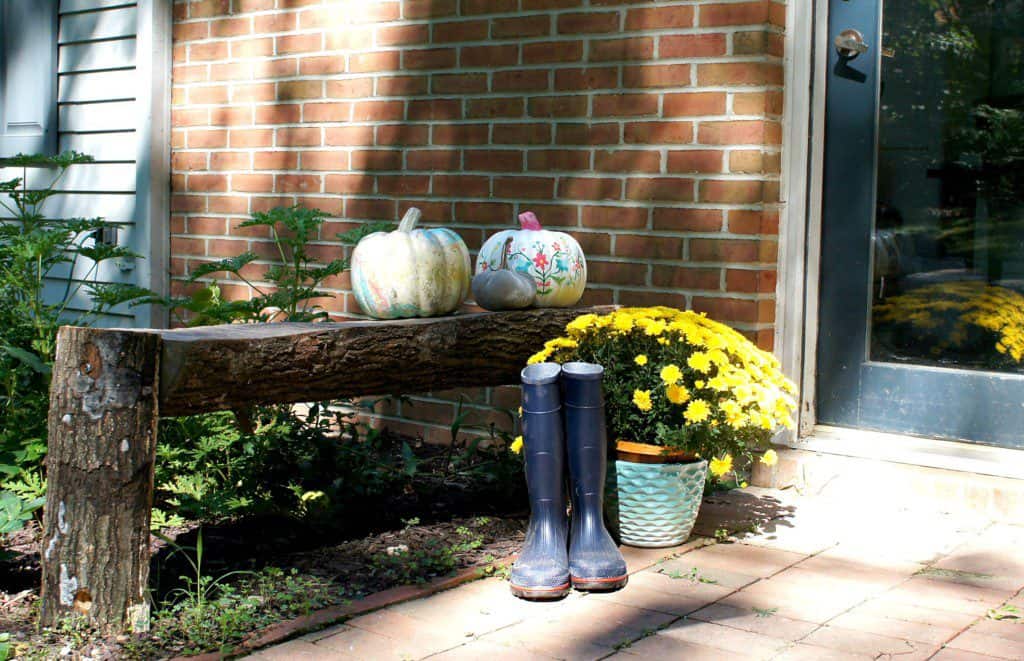
My front patio area looks so festive now! Clearance mums add a pop of color that makes us smile every time we come home. My husband added the log benches a few weekends ago. He built them from trees that he chopped down. I love the juxtaposition of the rustic, manly benches with the flowers and candy colored painted pumpkins.
Do you prefer traditional fall colors or candy colors?
Looking for more pumpkin ideas?
Pin for Later!

Emy is a vintage obsessed mama of 2 DIYer who loves sharing affordable solutions for common home problems. You don’t need a giant budget to create a lovely home. Read more…



i love your painted pumpkin! ariel at pmg for two showed one today, too, and they are both so lovely!
Thanks Cassie. I saw Ariel’s and it was super pretty. TOday was a good day for pumpkins! 😉
I love the painted pumpkin! I did something similar this year, it was amazing!