DIY Galaxy Ornaments to Make for Your Tree
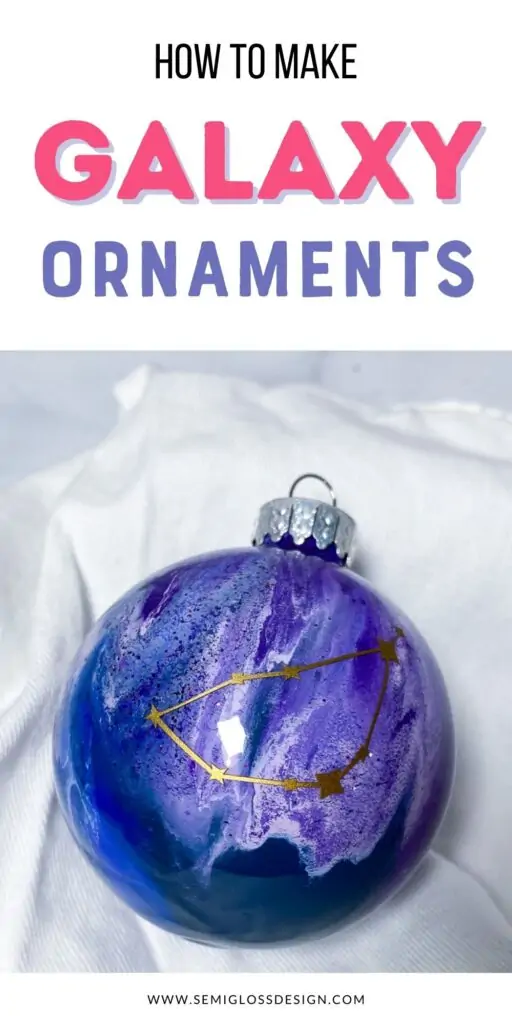
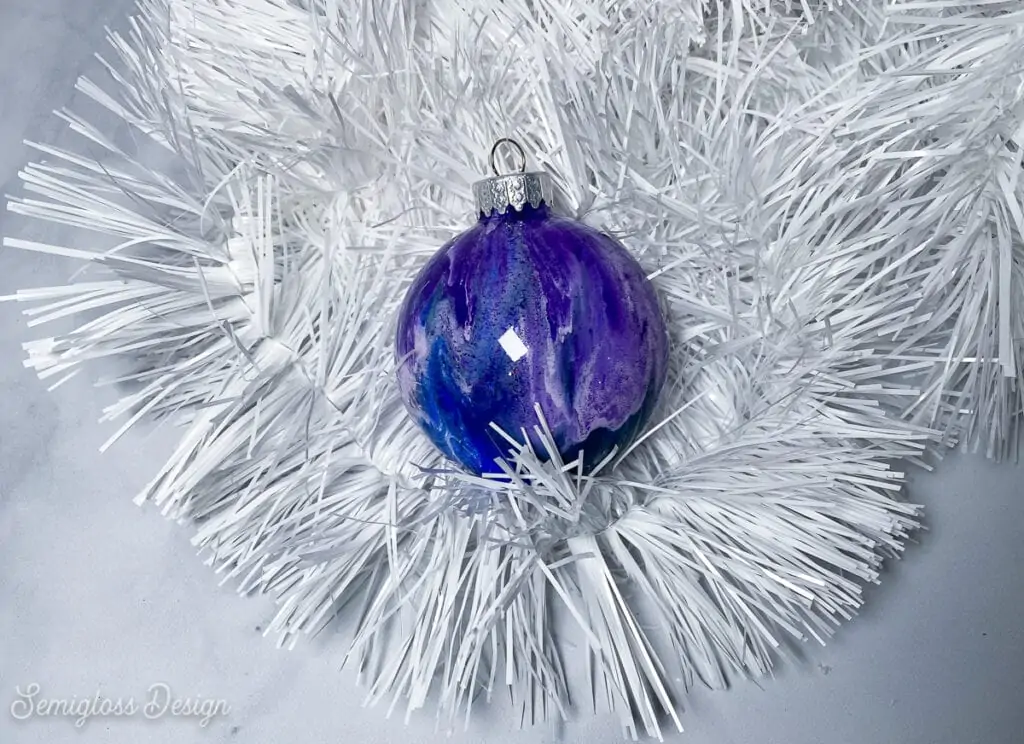
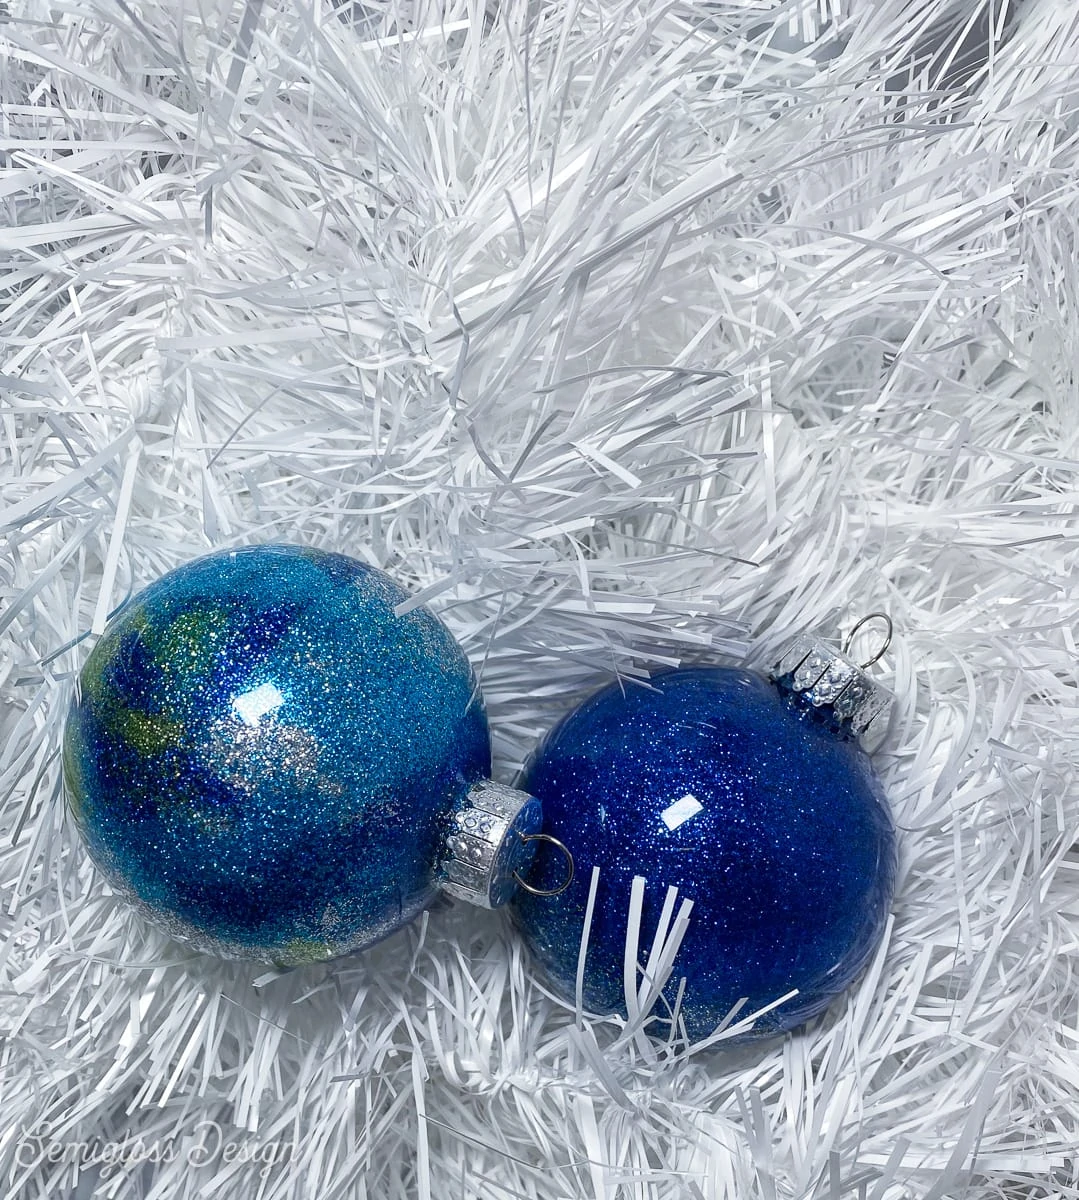
Learn how to make DIY galaxy ornaments to decorate your Christmas tree. You will learn 2 easy methods to make easy DIY ornaments that resemble the night sky.
Be sure to check out my other ideas for making your own Christmas ornaments.
This post contains affiliate links. By purchasing an item through an affiliate link, I earn a small commission at no extra cost to you.
How to Make DIY Galaxy Ornaments
I’m sharing 2 different ways to make these fun galaxy ornaments. The first method uses craft paint and a paint swirl technique.
The second method uses glitter.
Both methods can be embellished with a vinyl decal if you want!
Paint Swirl Galaxy Ornaments
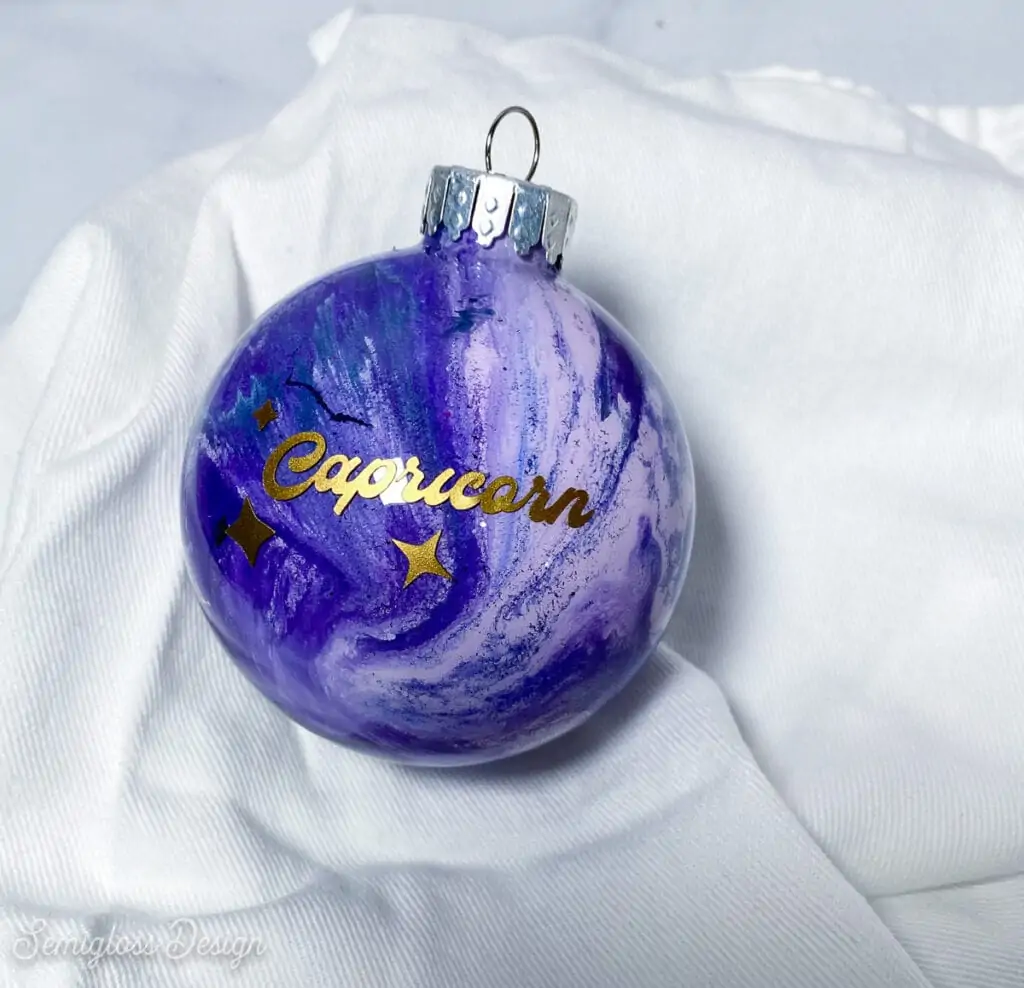
The first technique is a variation of my paint swirl ornaments. The colors you choose can make these easy ornaments look like galaxies.
Galaxies can be any color, but for a traditional look, combine dark blues, purples, and black.
Adding light colors is a great way to make them glow. I added lavender to this ornament.
Pastel colors are also fun if you’re into that look.
Supplies Needed
- Clear ornaments
- Craft paint
- Disposable cups
You can use plastic or glass ornaments. I’ve used both types and they have worked.
Read more about clear ornaments here.
Directions
- Protect your work area with paper. I used freezer paper because I have a ton of it. Craft paper works well too.
- Open the ornaments by removing the top. Pull the top until the prongs become visible, then squeeze them to remove the top.
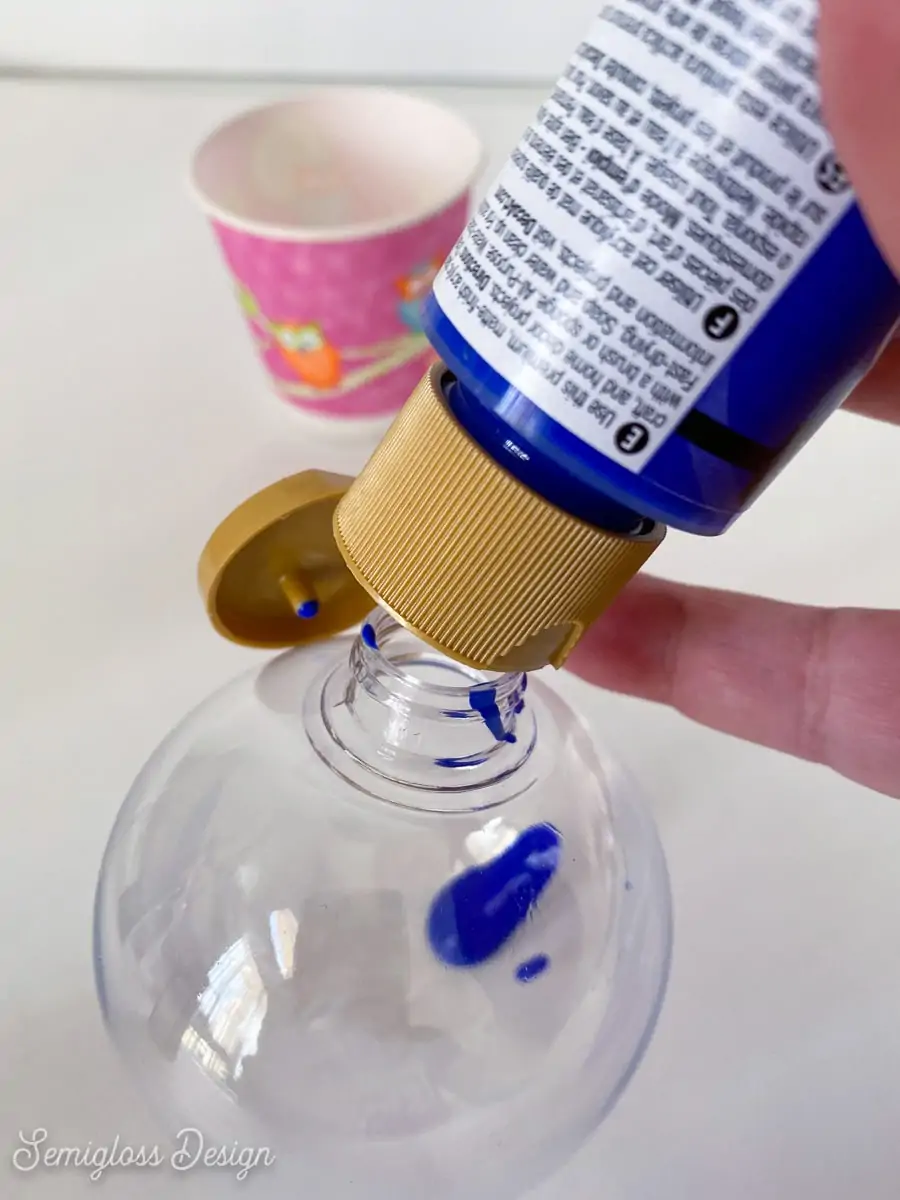
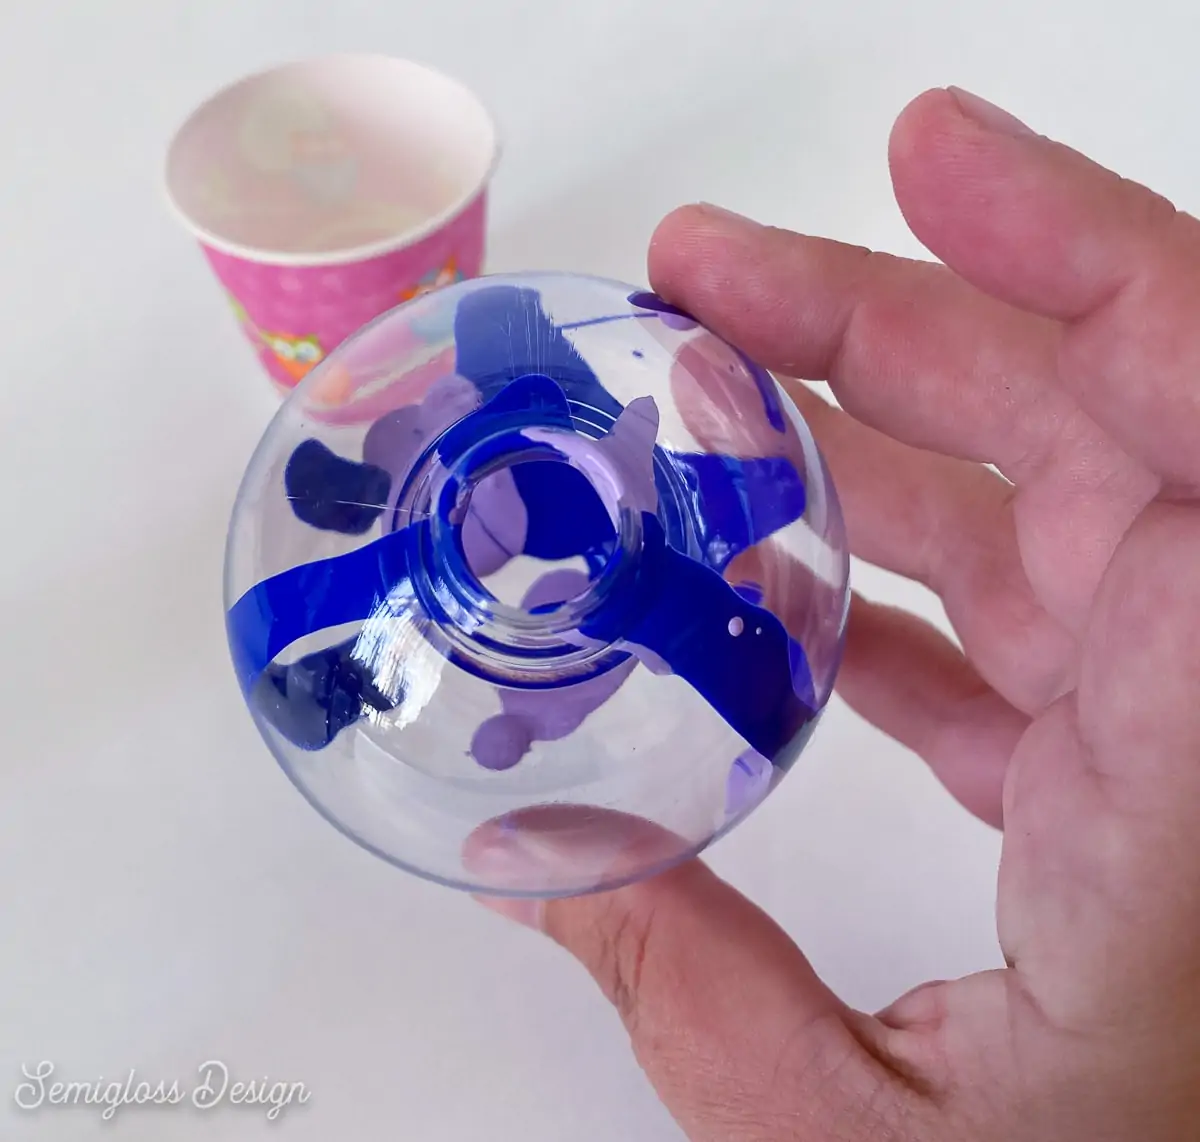
- Pour a small amount of paint into the ornament.
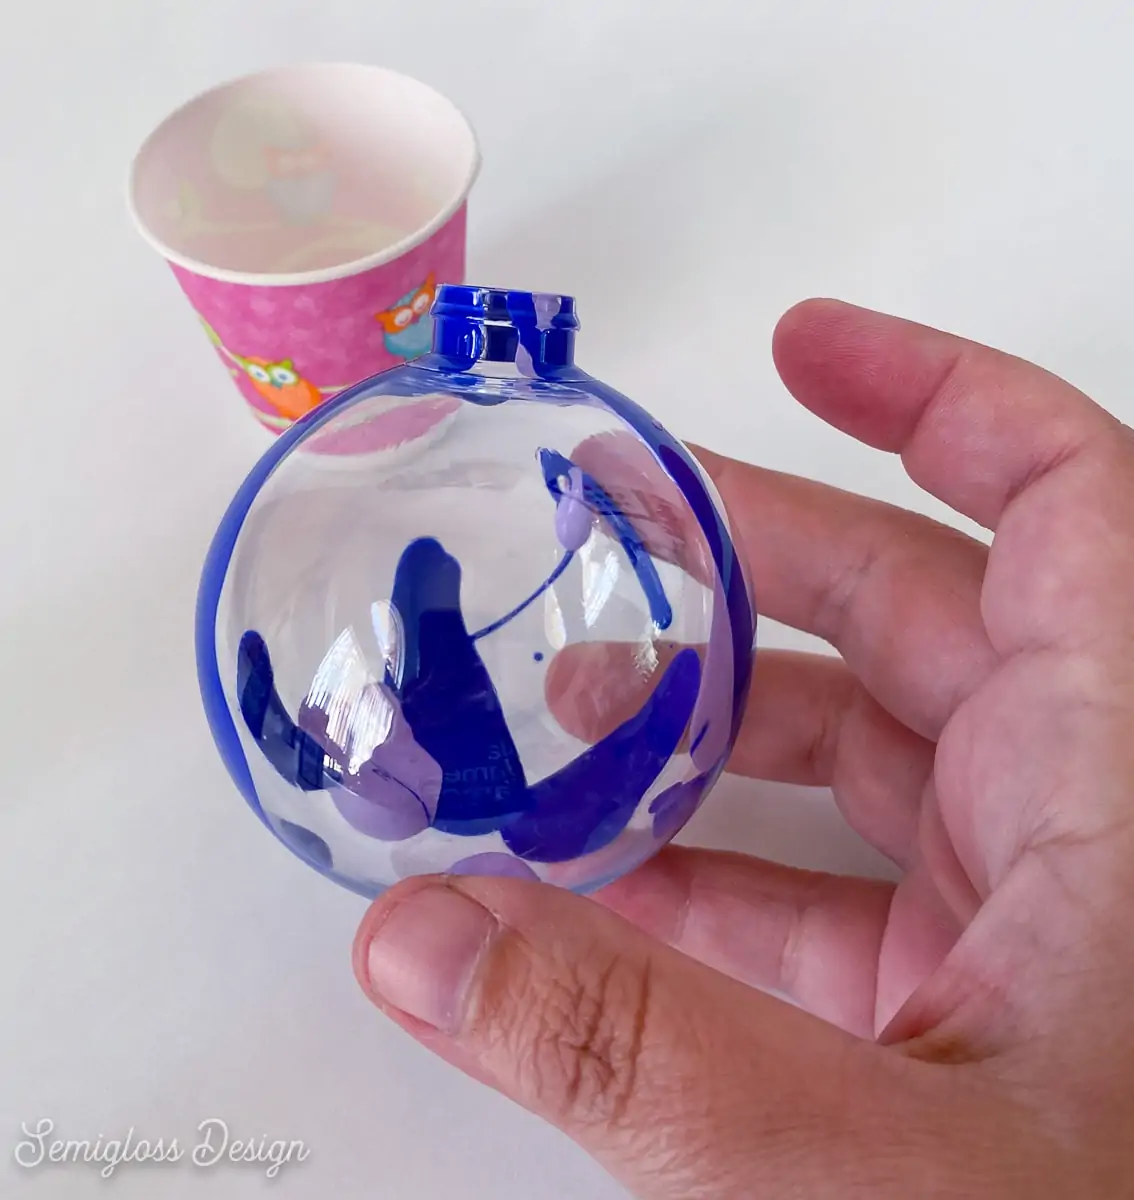
- Add another color next to it.
- As you move the ornament, the colors will start to swirl.
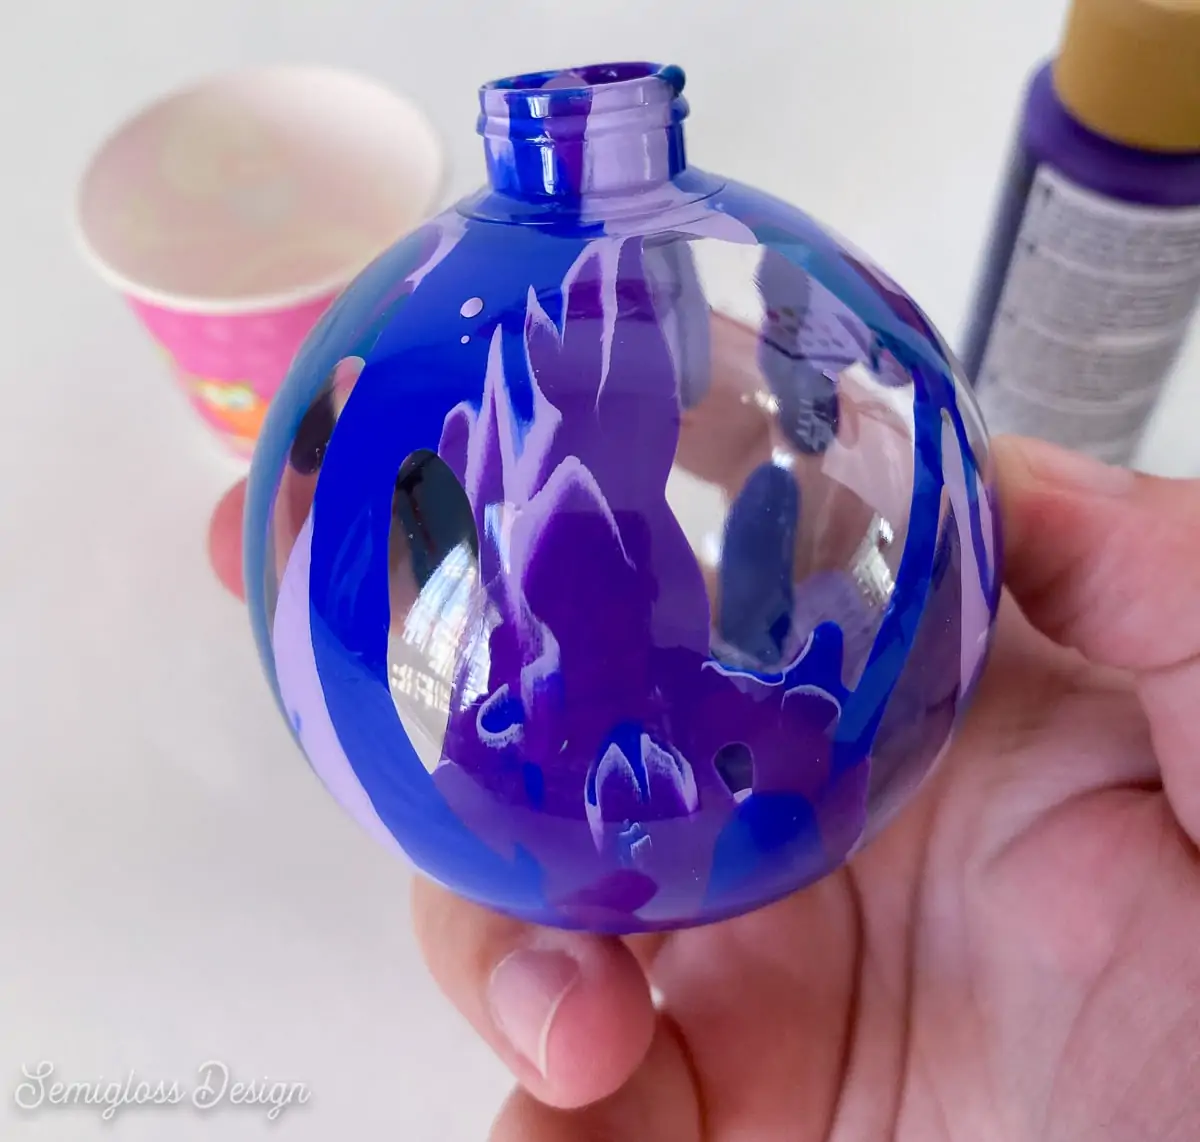
- Add as many colors as you want.
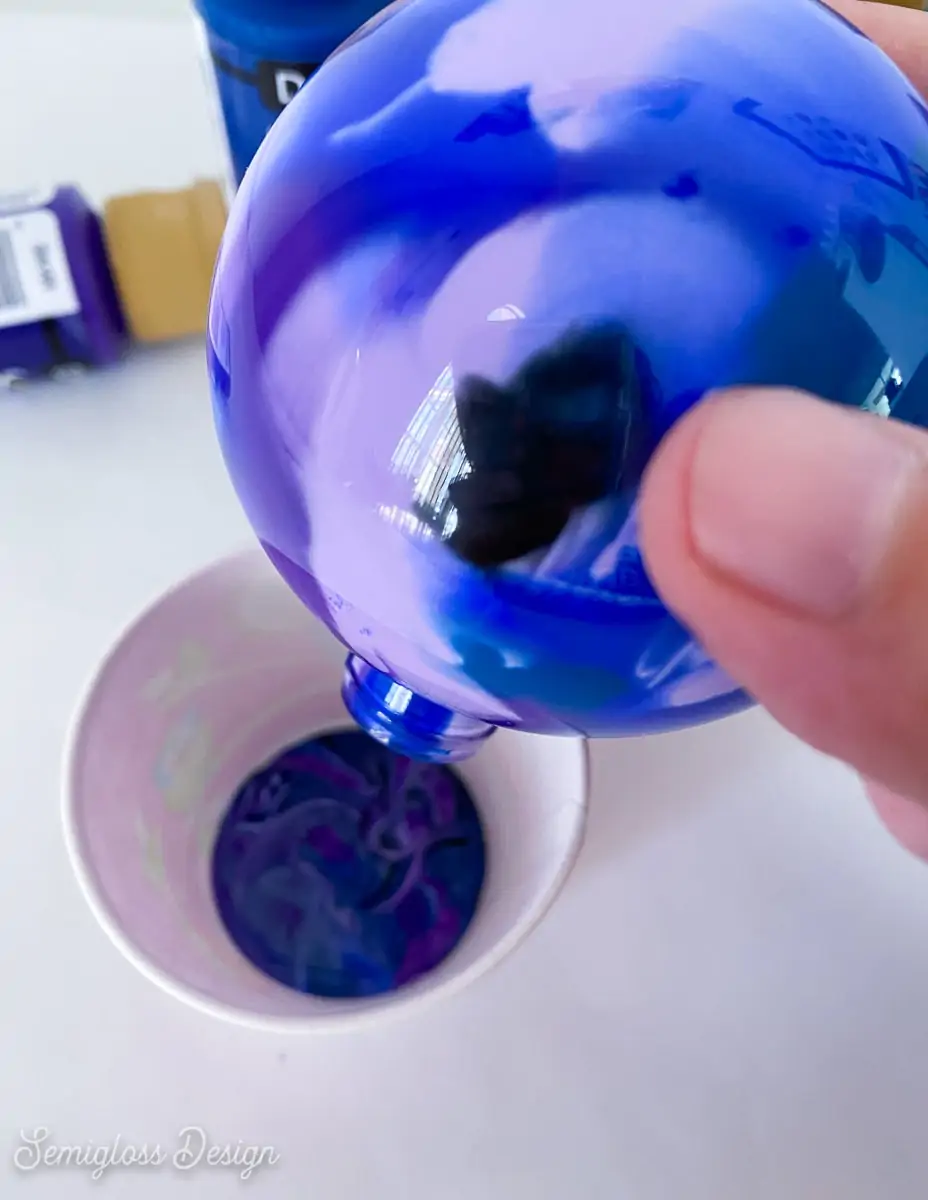
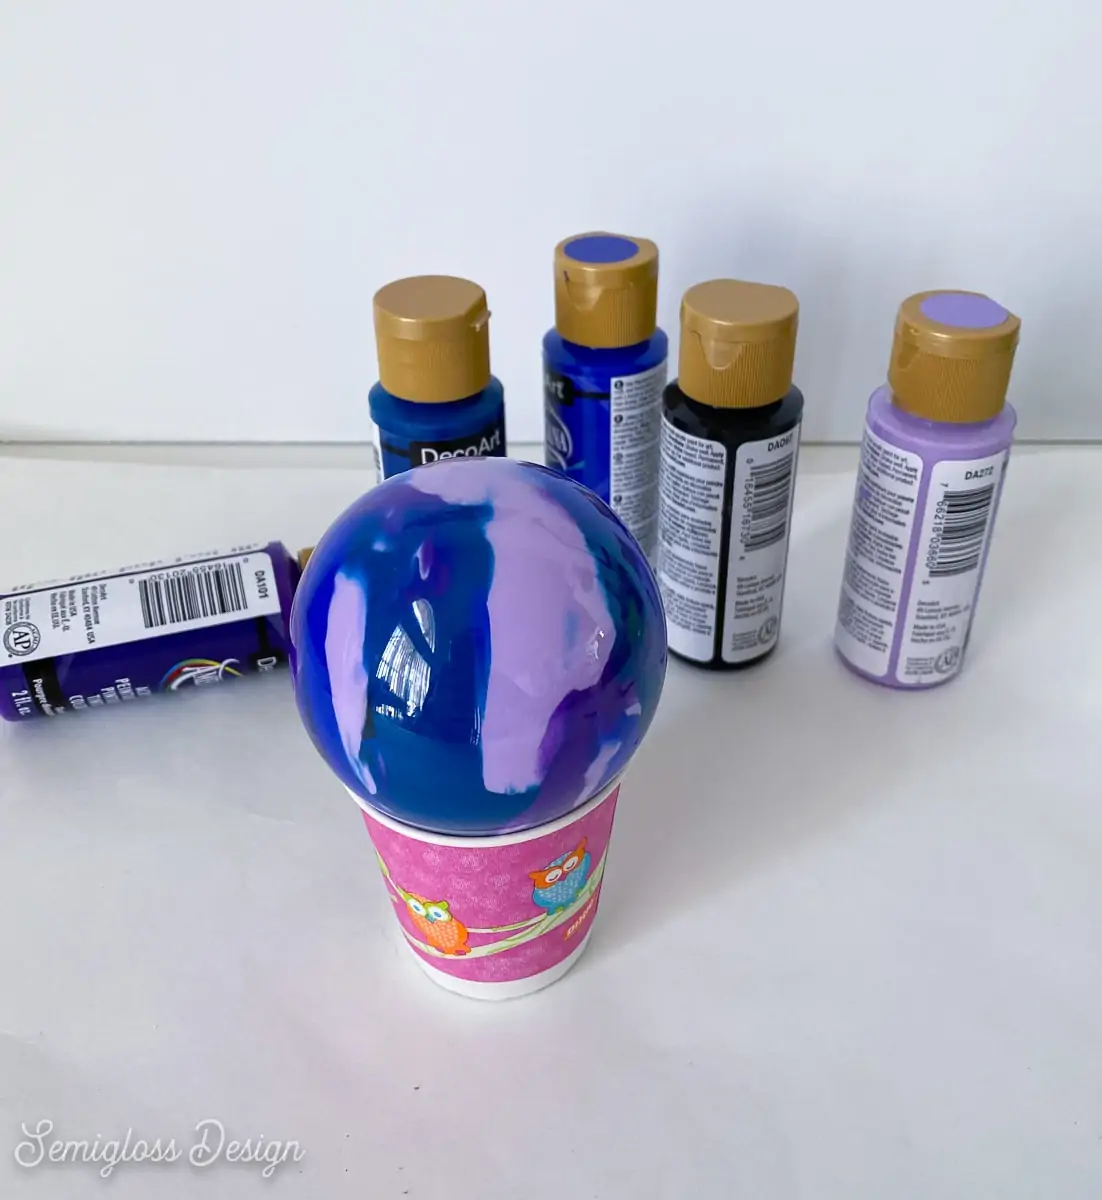
- When the ornament is entirely coated in paint, turn it upside down and let it drain into the paper cup.
- Let the paint dry completely. It might take a few days depending on the humidity where you live.
- When the paint is dry, replace the top, add a hook or string and hang them on your tree.
Glitter Galaxy Ornaments
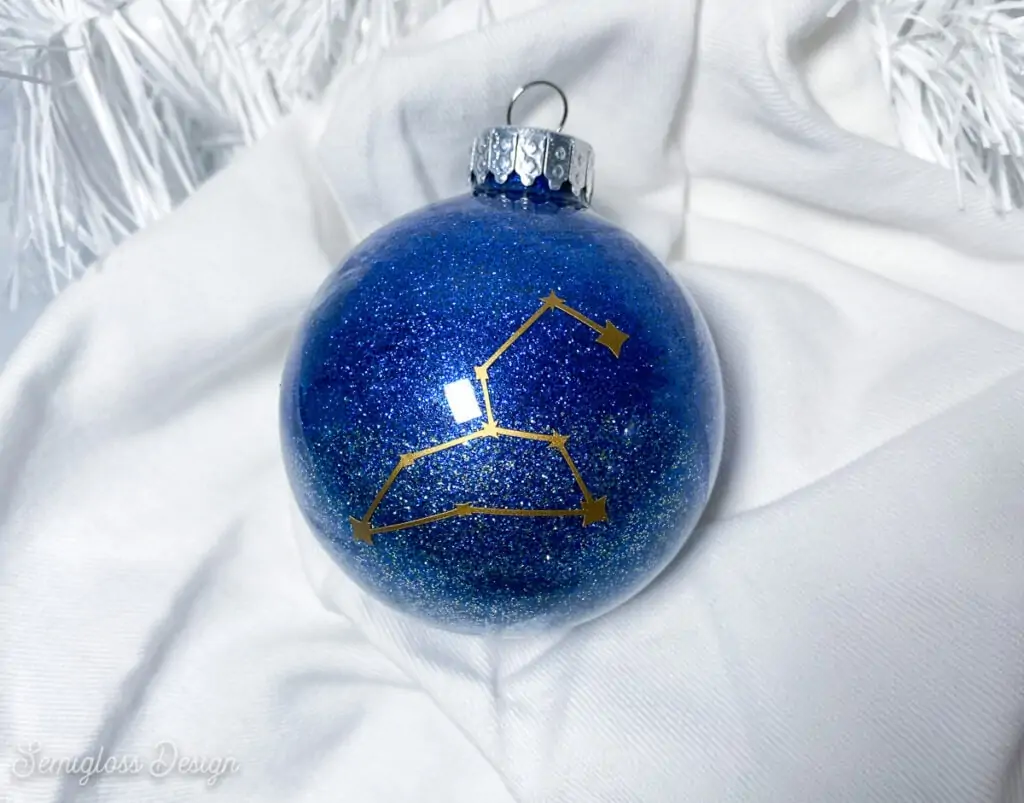
Swirling night sky colors makes glitter ornaments into galaxy ornaments.
Supplies Needed
- Clear ornaments
- Fine glitter in different colors
- Eye dropper
- Polycrylic sealer
- Disposable cups
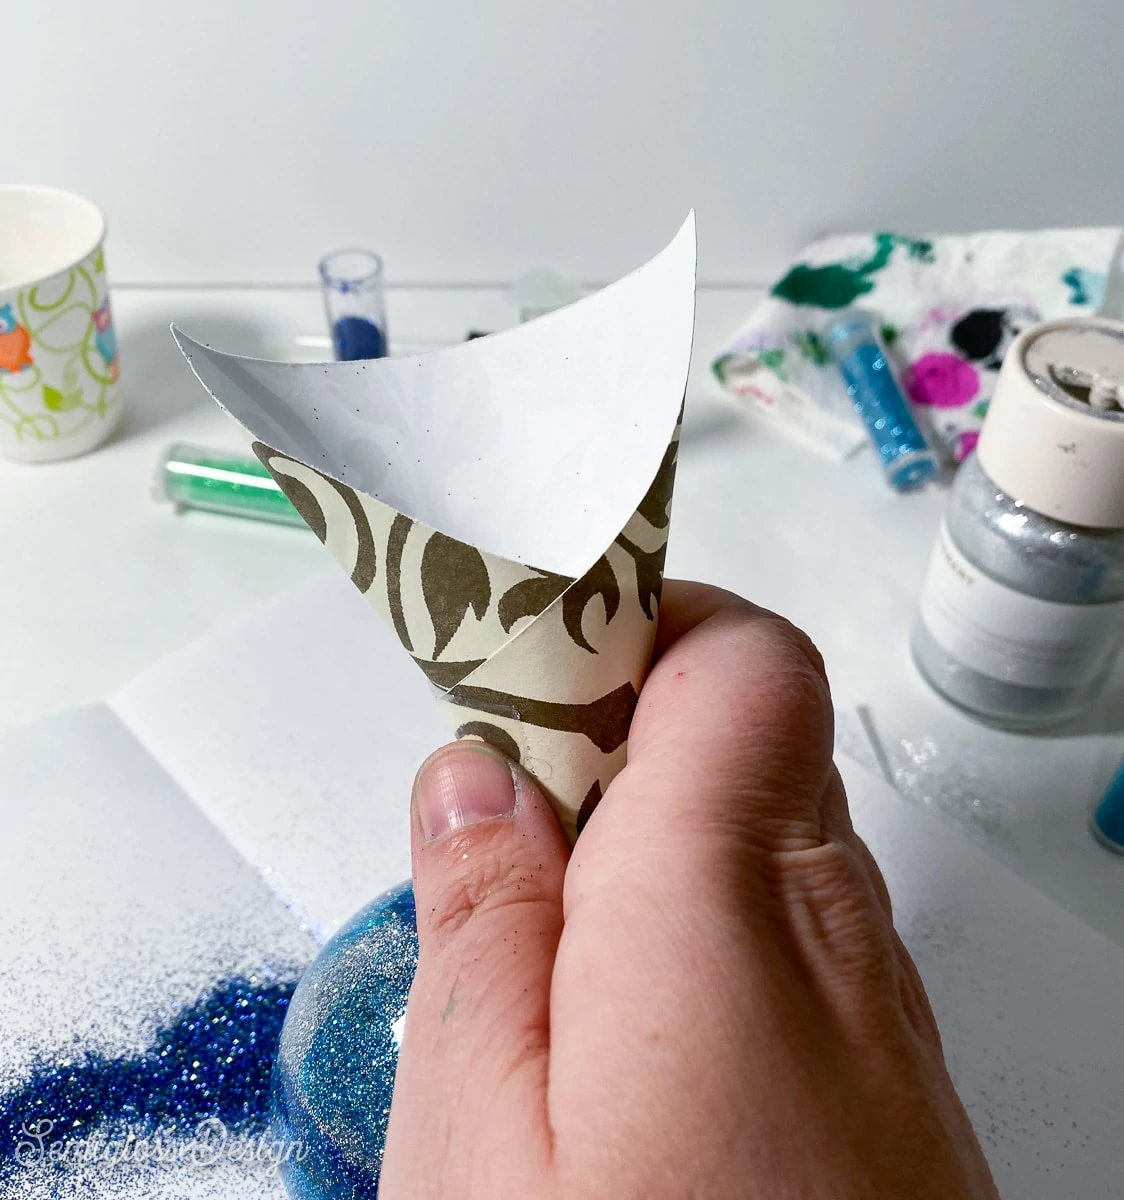
- Small funnel (or paper to use a funnel)
Directions
- Remove the top from your ornament as directed above.
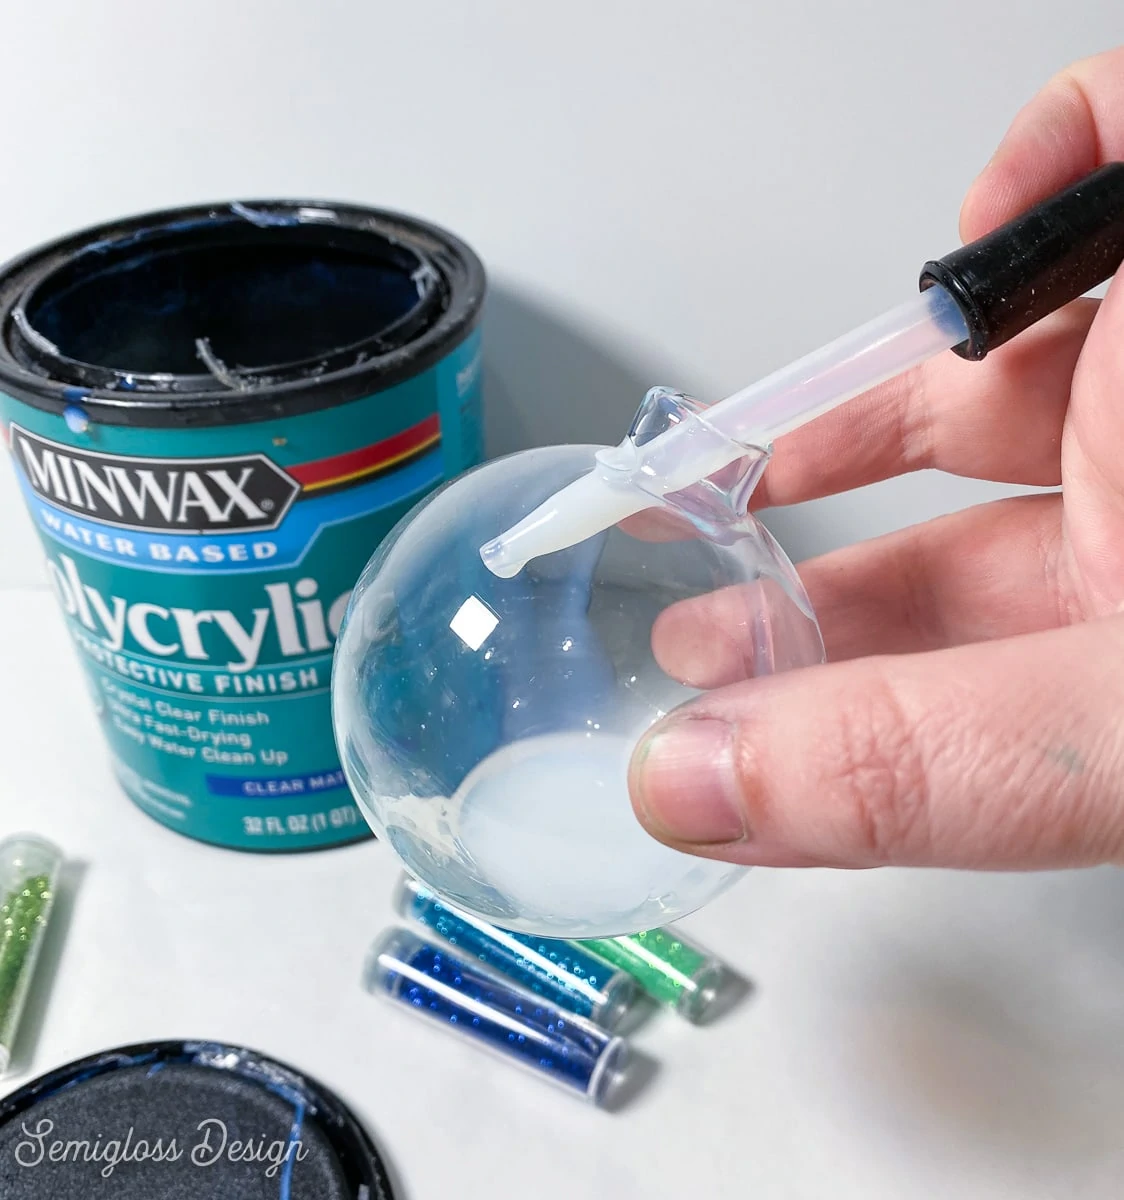
- Use an eye dropper to put polycrylic into the ornament opening.
- Swirl it around to coat the sides as you go.
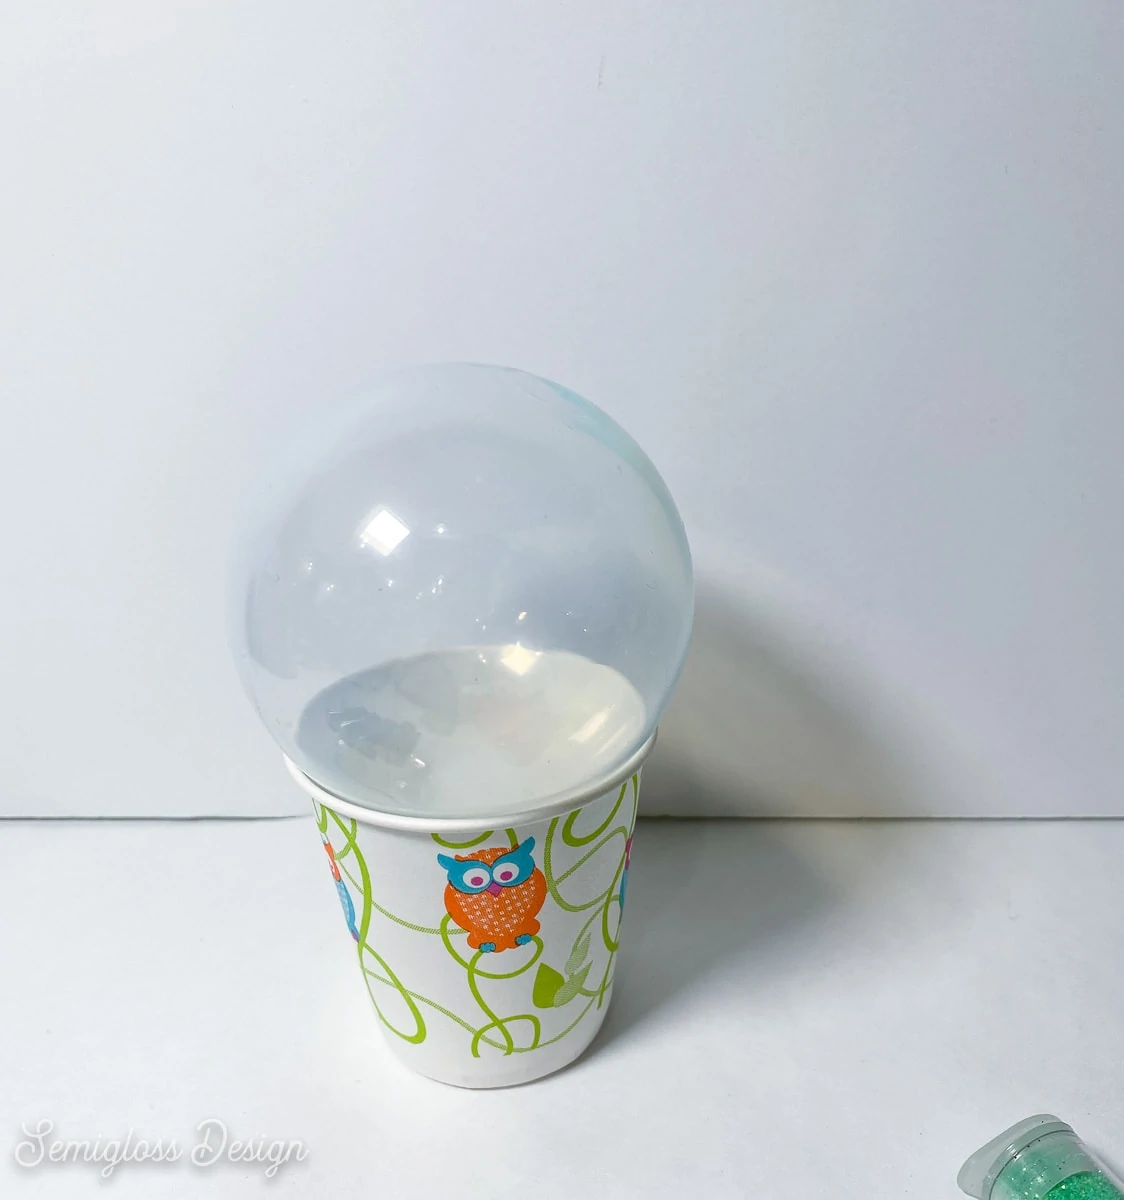
- When the ornament is entirely covered, tip the ornament over the disposable cup to let it drain. (Only let it sit for a few minutes or the polycrylic will dry out.
- Use a small funnel to pour some glitter into the ornament.
- Pour another color, swirling the ornament as go.
- Add as many colors as you want until your ornament is completely covered.
- Sit the ornament upside down over a disposable cup to drain the excess glitter.
- Let dry completely.
- Replace the top and add an ornament hook.
Tips for Adding Vinyl Decals
To make my glitter and paint swirl galaxy ornaments even more special, I added vinyl constellation decals.
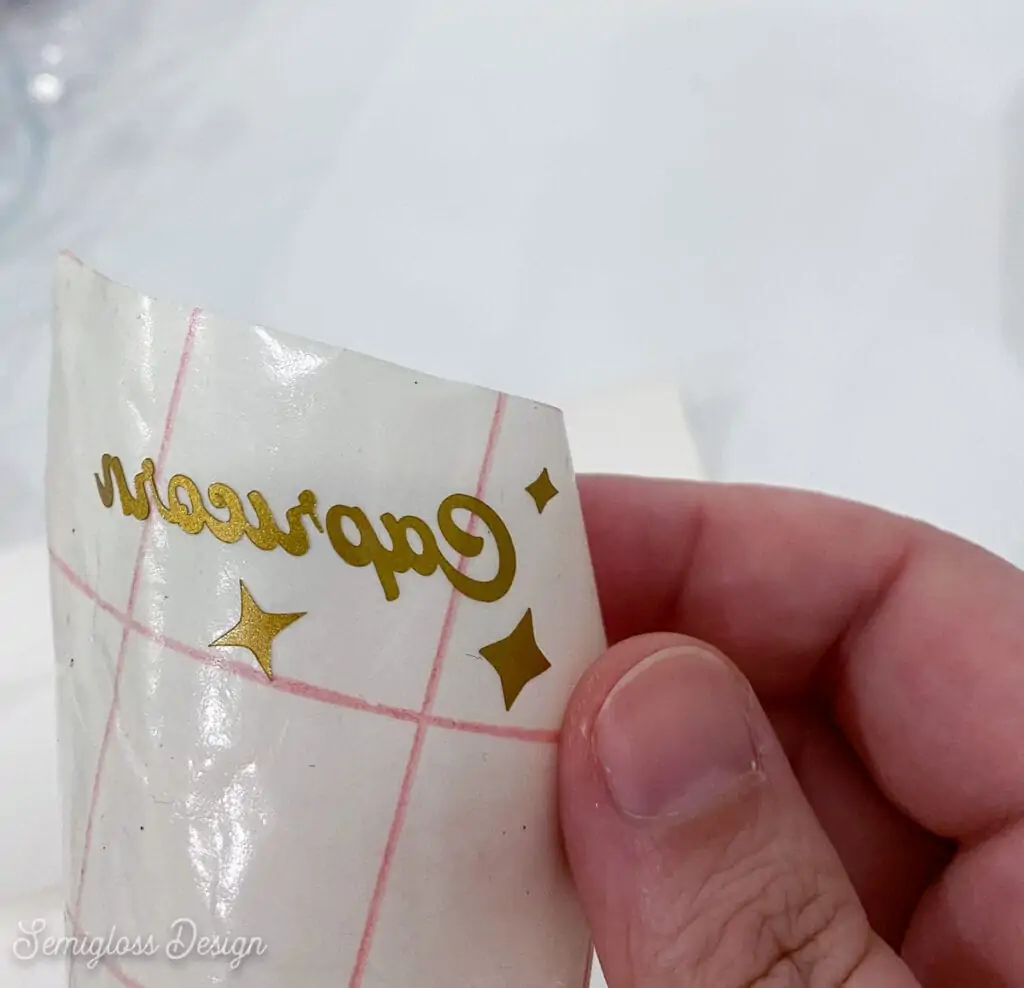
I made my vinyl decals with my Cricut Maker, gold vinyl, and SVGs from my zodiac constellation set.
Adding vinyl decals is an easy way to add interest to a handmade ornament. It’s also a great way to personalize the ornaments as gifts.
- It’s easier to use regular vinyl (versus iron-on vinyl) on round ornaments. I used removable vinyl, but permanent is also fine.
- Smaller designs work better on round surfaces. Measure the space where a design will fit and make it even smaller. Trust me.
- Simple designs also work better. Fine details might get lost.
- Remember to think about contrast when choosing your vinyl color. Black vinyl would be lost over these dark colors, but the gold shows up nicely. White would also show up well.
- You might need to make tiny cuts in your design to get it to bend over the curve of the ornament.
You might also like:
Pin for Later!

Emy is a vintage obsessed mama of 2 DIYer who loves sharing affordable solutions for common home problems. You don’t need a giant budget to create a lovely home. Read more…


