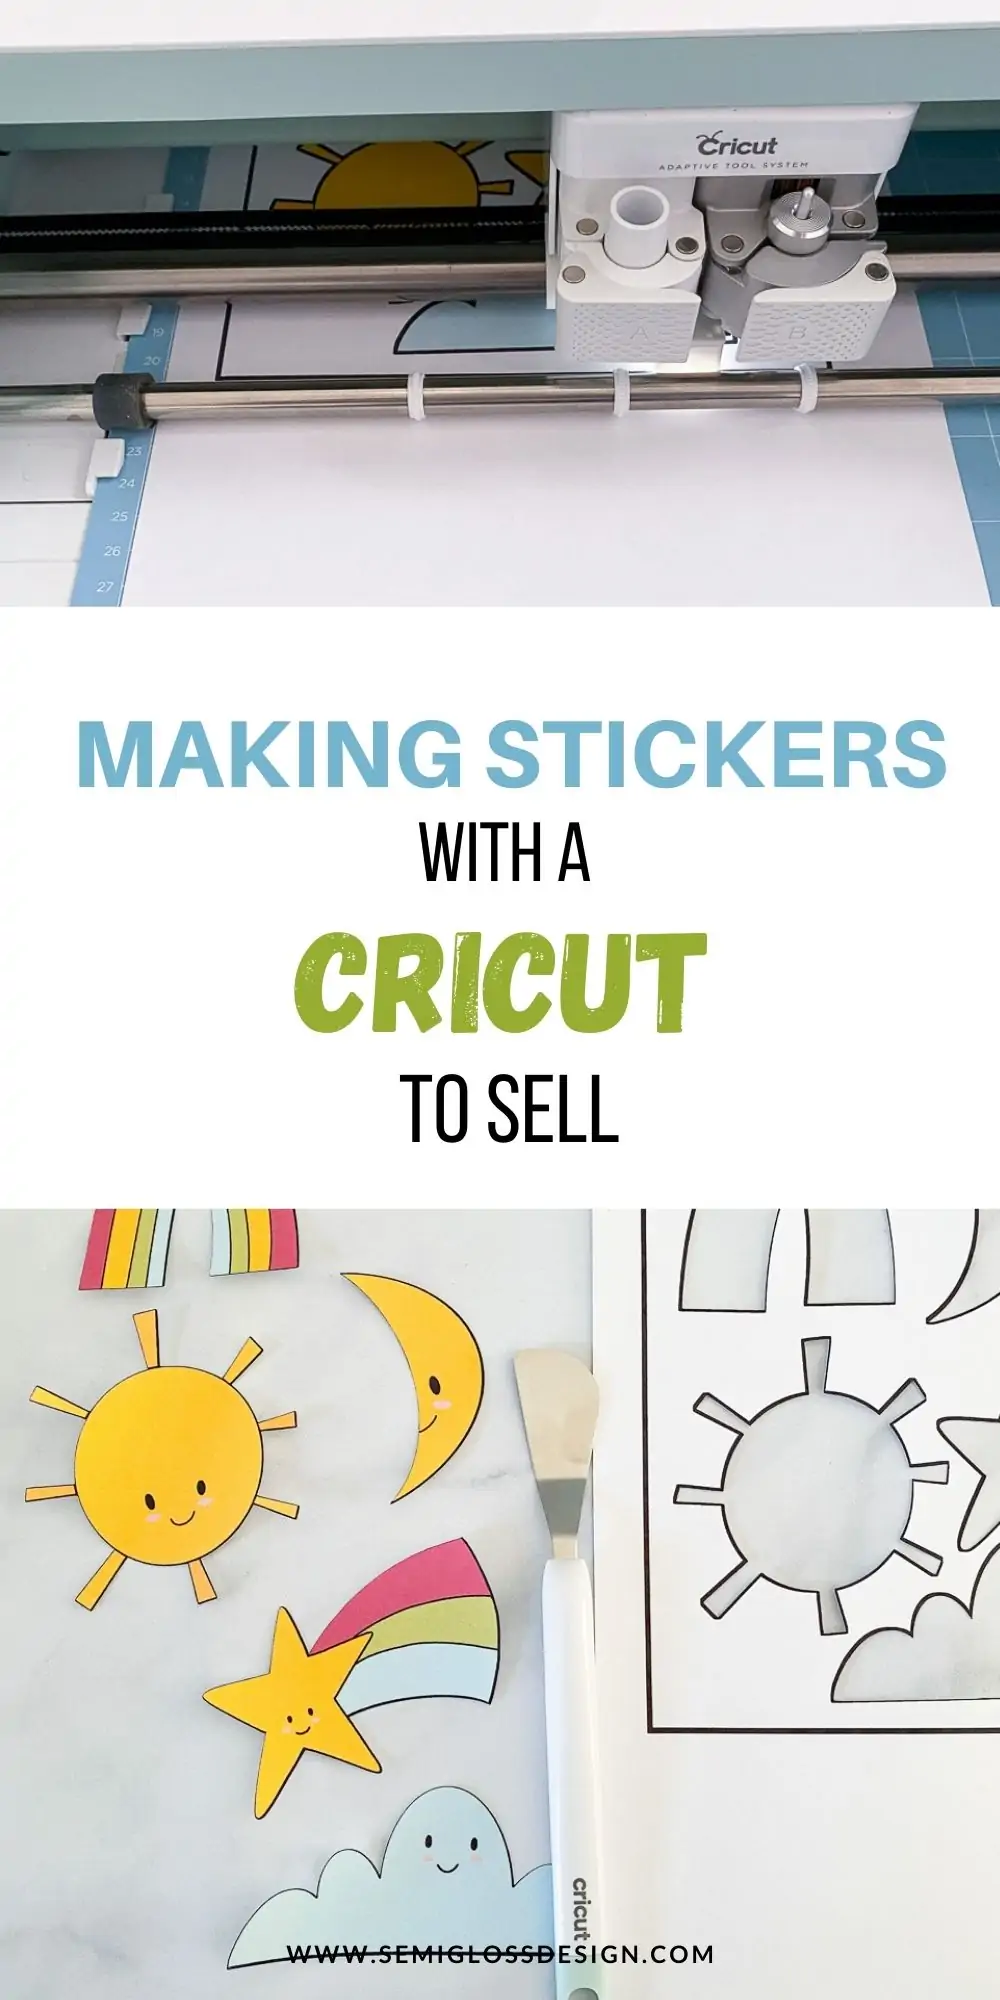
How to Make Stickers with a Cricut to Sell
Learn how to make stickers with a Cricut to sell. Making stickers is so much fun! They’re a great addition for selling in your shop (or to make for yourself!)
You might also like this post on things to make and sell with a Cricut.
This post is sponsored by Cricut. All thoughts and opinions are my own. Thank you for supporting the brands that make Semigloss Design possible.
This post contains affiliate links. By purchasing an item through an affiliate link, I earn a small commission at no extra cost to you. As an Amazon Associate I earn from qualifying purchases.
Stickers are a great thing to make and sell. They’re inexpensive and easy to ship.
They’re also on-trend. I see so many cute stickers in boutiques. Why not add them to your shop?
Here’s how to get started making your own stickers with a Cricut. Buckle up; this is a long one.

How to Make Stickers with a Cricut
Supplies Needed:
- Cricut
- Sticker paper
- LightGrip Mat
- Weeding toolset
- Printer
- Artwork for the stickers
Notes About Supplies
Cricut
I’m using my Cricut Maker, but you can also use a Cricut Explore. Cricut Joy cannot print and cut, but you can use pens to draw on labels.
Is it possible to cut stickers without a Cricut? Sure. But using a Cricut saves you so much time and effort.

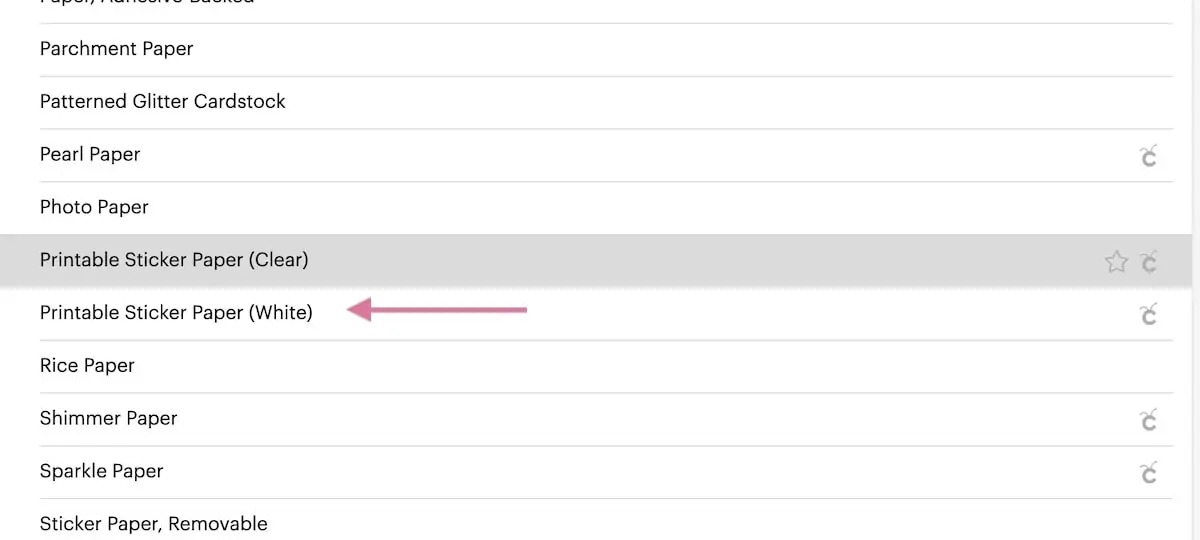
Sticker Paper
I wanted to use the Cricut sticker paper, but I couldn’t get it to load in my printer. It’s new and I’m not used to it quite yet.
The Cricut paper works with an inkjet printer, so the stickers are not waterproof. However, you can spray them with a few thin coats of clear spray paint to waterproof them.
Instead, I used this printable sticker paper similar to this that I had on hand. It’s not the best quality, but it’s great for perfecting your sticker method since it’s cheap. For selling stickers, I’ve heard great things about this paper.
Printable vinyl is also available, but I’ve never used it.
LightGrip Mat
I love using my LightGrip mat when cutting paper products because it’s gentle.
If you only have a regular cutting mat, de-stick it by rubbing a clean towel or t-shirt on it a few times.
Creating the Sticker Art
Creating art is fun, but there are a few things to be aware of.
Avoid Copyright and Licensing Issues
According to the Cricut Angel policy, you are not allowed to use the Cricut Access designs for stickers that you are selling.
The same goes for anything you buy on a digital marketplace like Creative Market. Unless you drastically change the design, this probably violates the licensing rules.
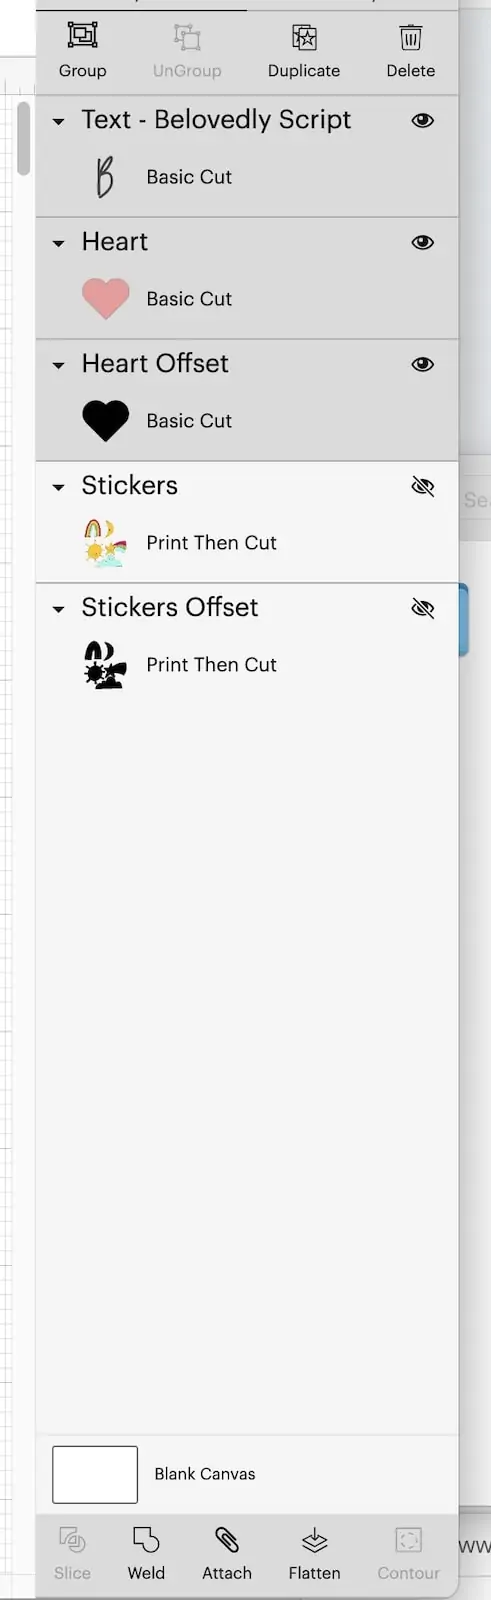
Making a Design in Cricut Design Space
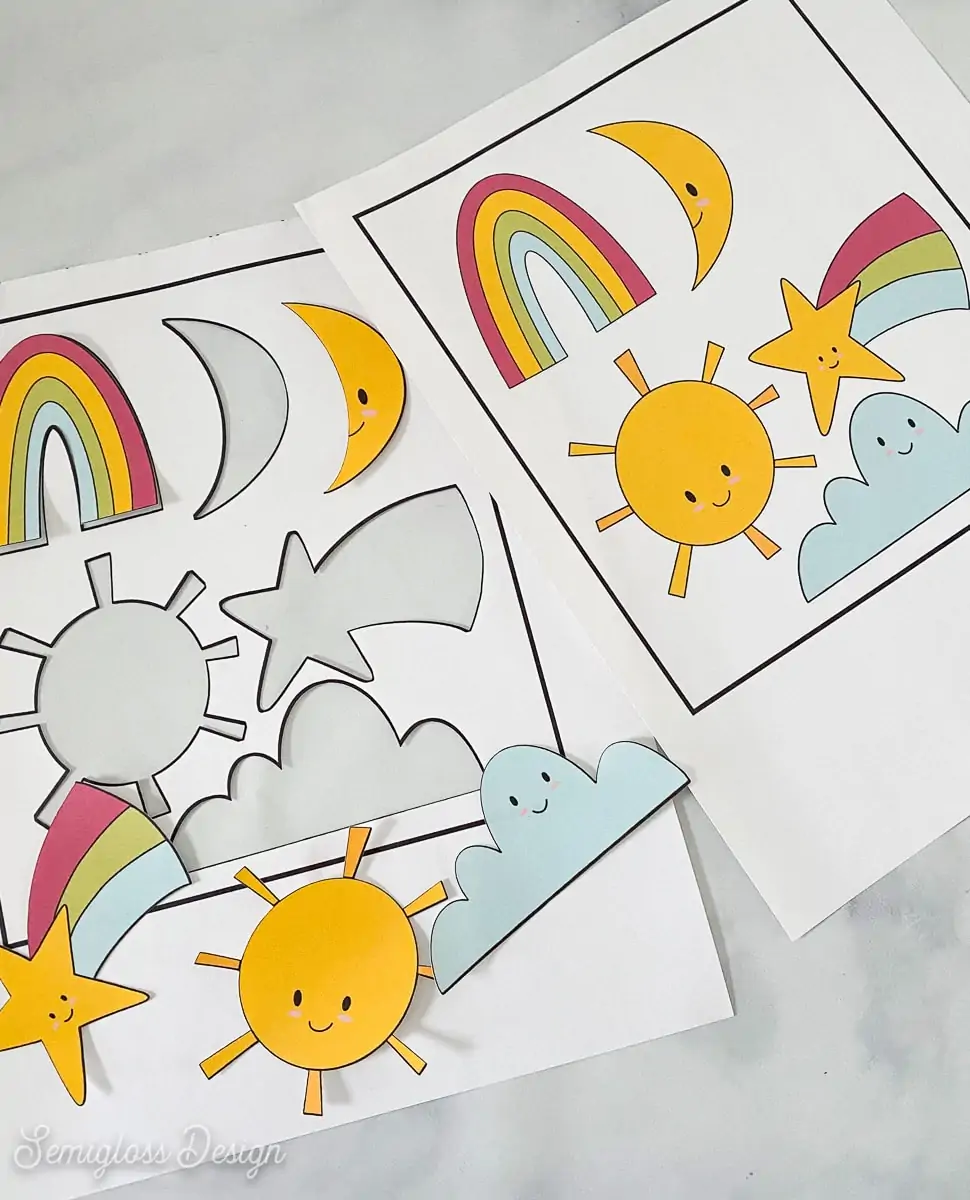
If you plan on selling your stickers, it’s best to create your own artwork. It’s easier than it sounds, and you can even create word-based artwork.
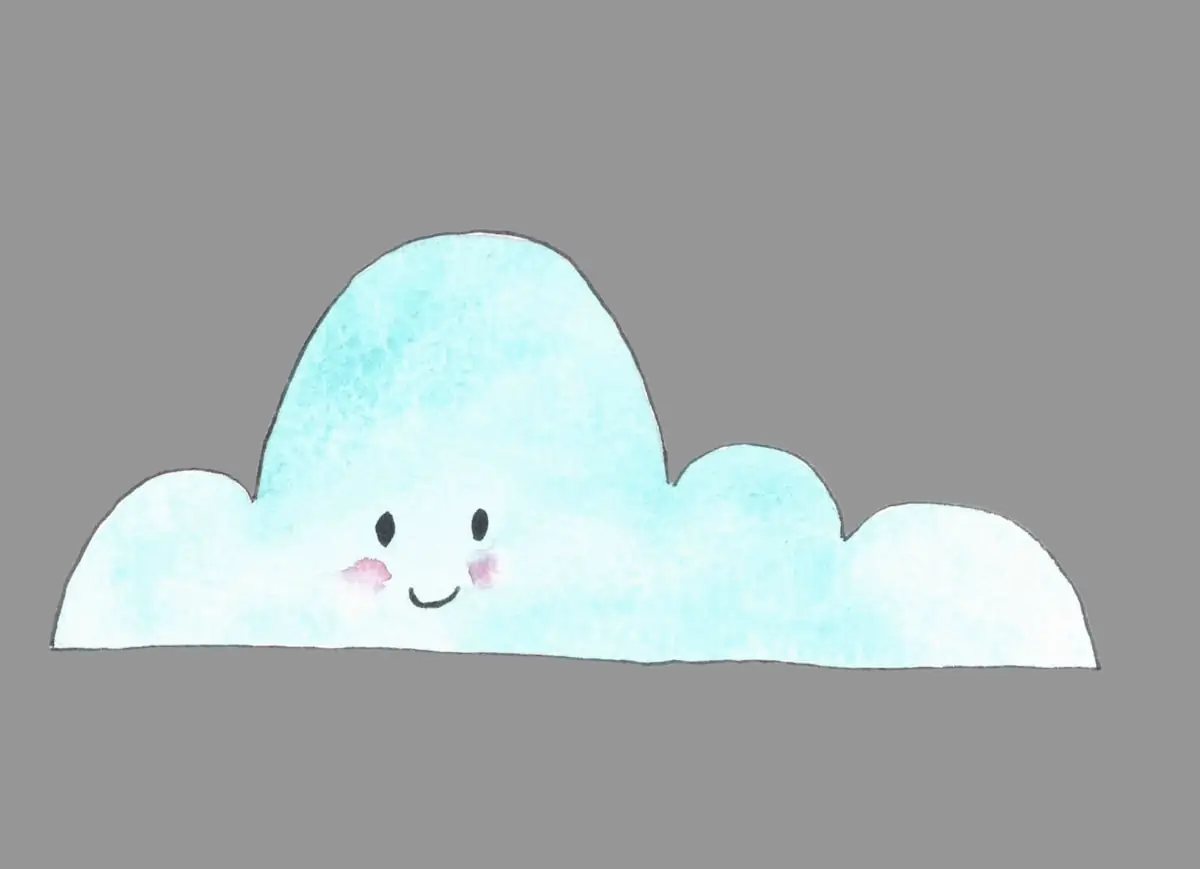
This simple design was created by adding a heart shape and a word.
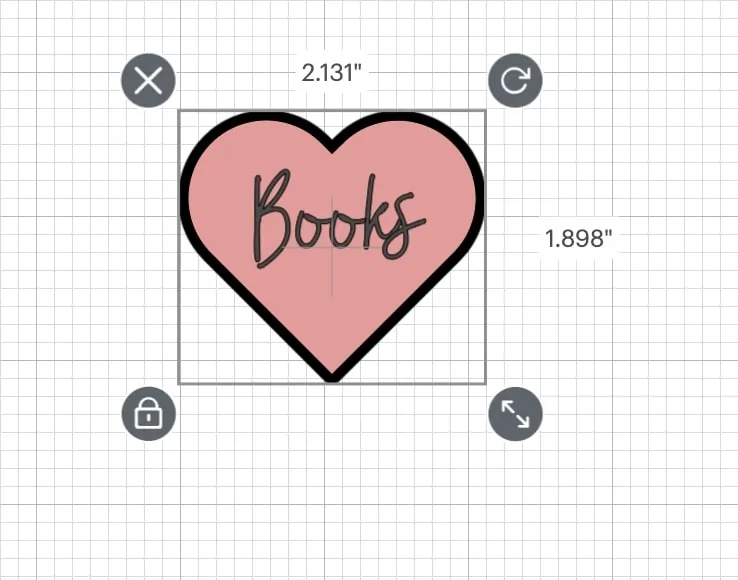
I also added an offset to this design.
Be sure to flatten the design to make it one layer (not individual cuts). (The option to flatten is at the bottom right of the screen.

Tips for Making Art for Stickers
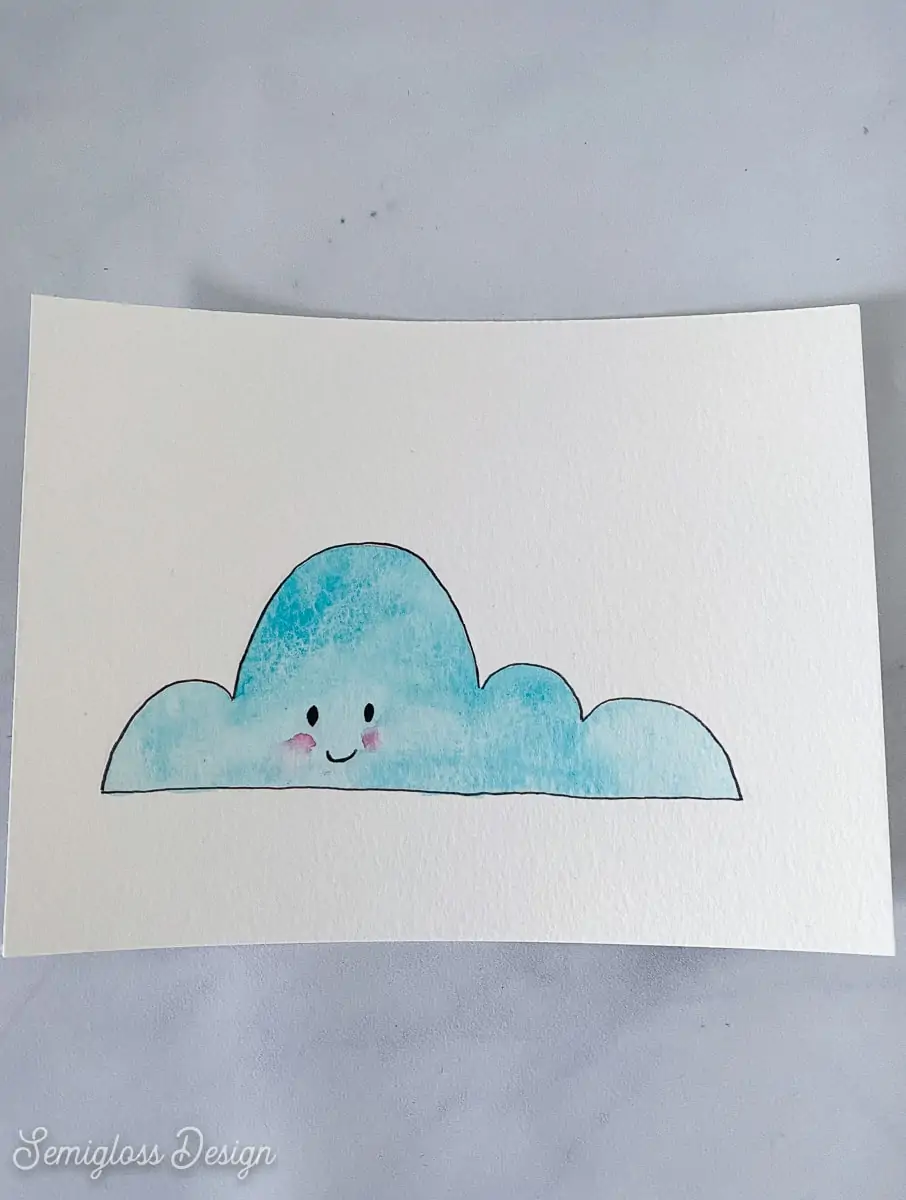
You can also create art in your usual manner through digital or traditional media.
Are you creating your art digitally or by hand? Digital art is easier because you don’t have to digitize it.
However, traditional hand-made art has a texture that is hard to replicate with digital brushes. But it must be scanned and cleaned with a program like Photoshop.
I prefer working in the Procreate app on my iPad. It’s pretty easy to learn, and drawing with the Apple pencil feels more natural than drawing with a mouse.
My other blog has a ton of Procreate tutorials.
Here are some tips to get started.
- Use a cohesive color palette. This helps your stickers feel like a set.
- Use a cohesive style. You probably already have a brand style, so keep it in mind when creating your stickers.
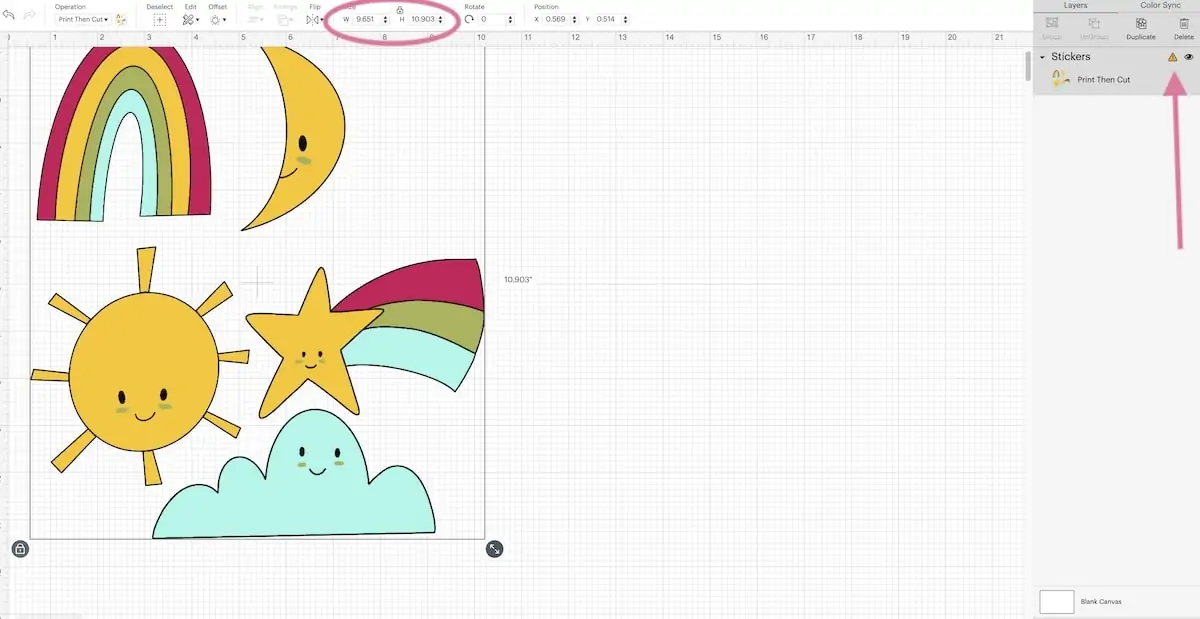
- Make the art bigger than it needs to be. This is especially important if you’re creating digital art. Start with a large canvas or artboard. I used a 12″ x 12″ canvas on Procreate, and then I was able to resize my art in Cricut. (This allows you to use the art in other ways at a later date if you want.)
- Cricut Print then Cut has a size limit. The designs need to be smaller than 6.75 x 9.25 inches to be printed on an 8.5 x 11″ sheet of paper.
- If working digitally, create in CMYK format and then do a test print with your colors. The printed colors can be very different.
- If your designs are delicate, you might want to add a white background around the edges to make the stickers a bit sturdier. You can do this when creating the design or adding an offset in the Design Space.
- Adding an offset is easy. You can turn it on at the top of the screen. Be sure to lower the amount so that the stickers remain individual cuts.
Digitizing the Sticker Art
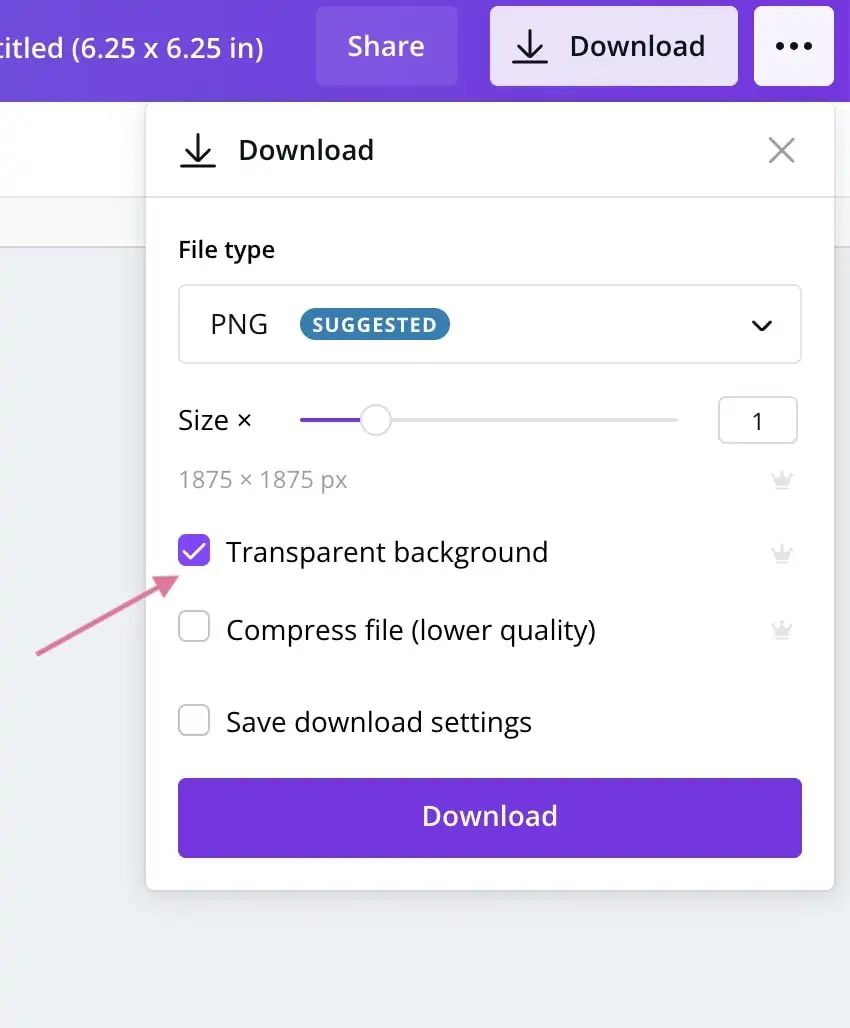
If you created your art digitally, you’re good to go. Save each image as a PNG file with the background layer turned off. You want a transparent background.
Alternatively, you can resize them all to fit on one page, like I did.

SVG designs work as well, but you must change the setting when you upload them to Cricut Design Space.
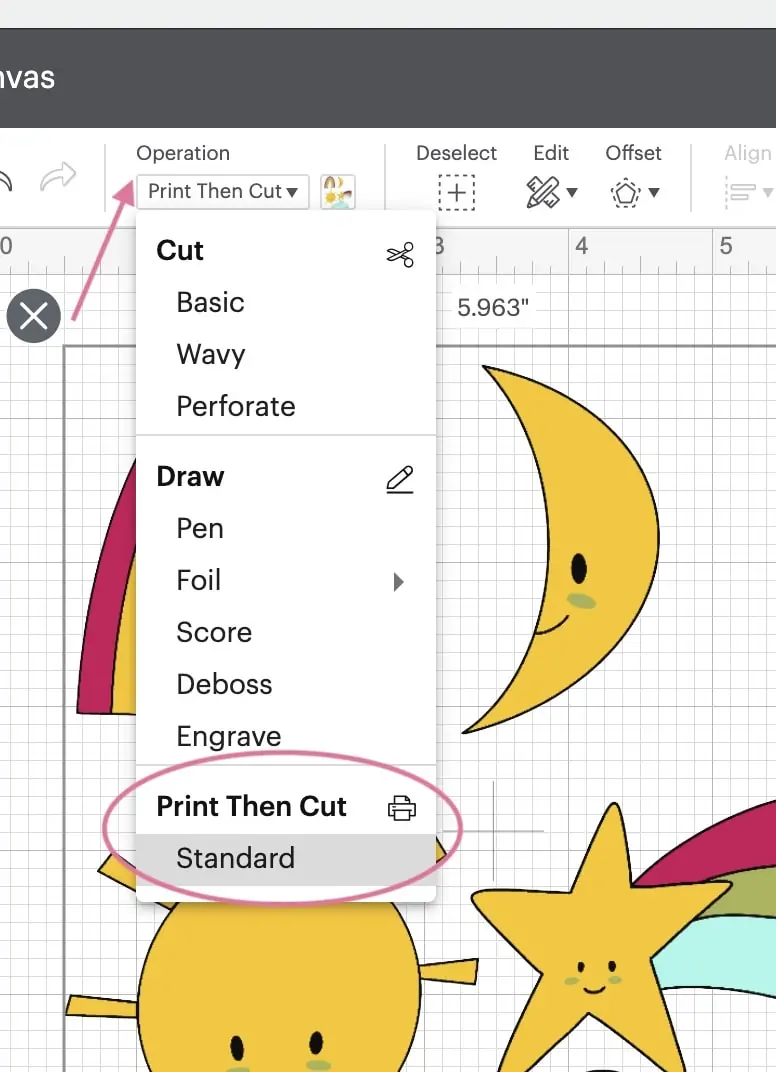
Make sure to change the operation from “cut” to “print then cut – standard.”
Scanning Artwork
If you create traditional art, it will need to be scanned. You can use a scanner (most printers come with a simple scanner) or a scanner app on your phone.
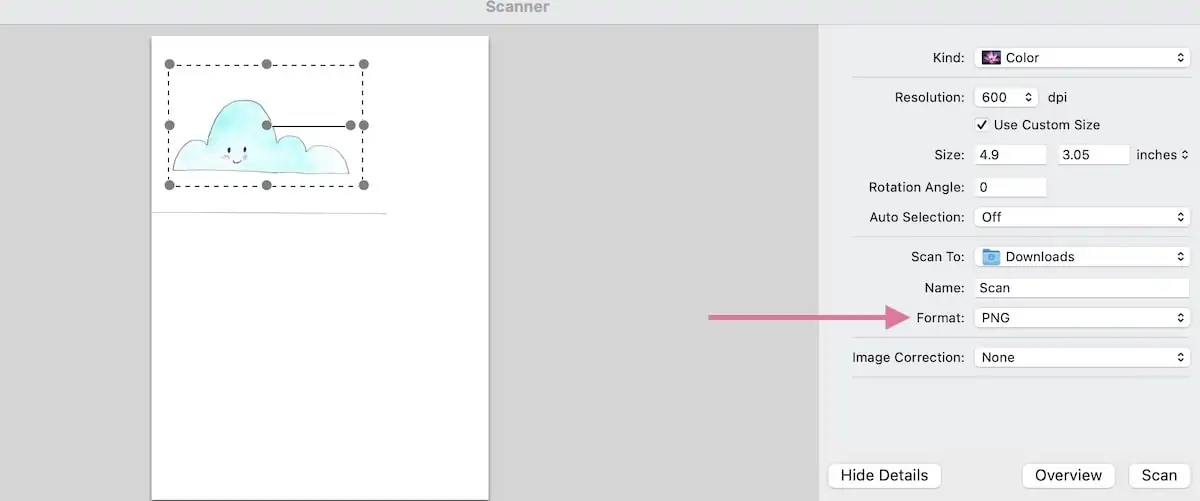
- Scan your work using at least 300 DPI. (I usually use 600 DPI to be safe.)

- Make sure that it’s being saved as a PNG or JPG file.
- If the artwork needs to be cleaned up, you might need a program like Adobe Photoshop. (That’s its own tutorial, so I won’t get into that in this post.)
Most computers come with basic editing capabilities. I have a Mac, and I can resize and do basic color adjustments.
There are also programs like PicMonkey and Canva that allow you to do basic adjustments.
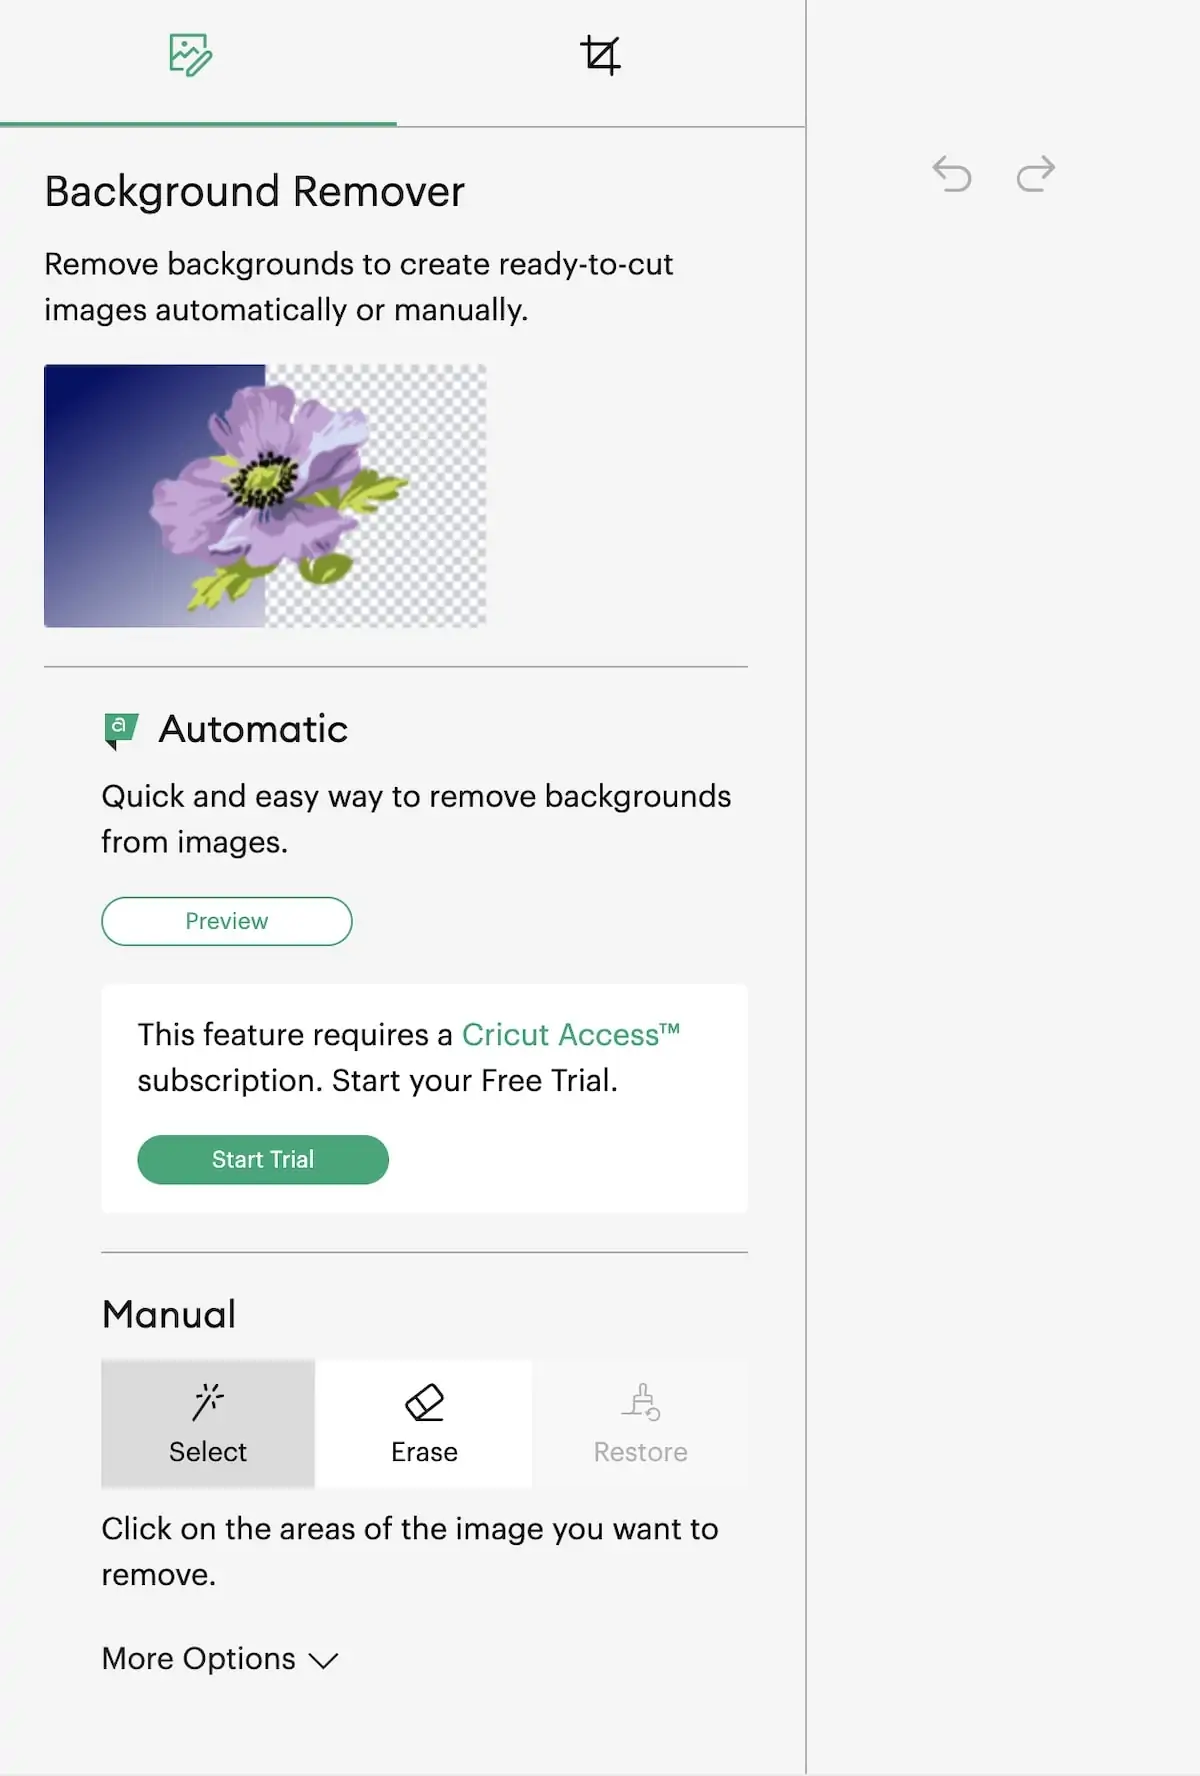
I use the Pro version of Canva, which easily allows me to remove backgrounds and save images as PNGs with transparent backgrounds.
Cricut Design Space also has an automatic feature if you subscribe to Cricut Access.
Making a PNG File in Canva
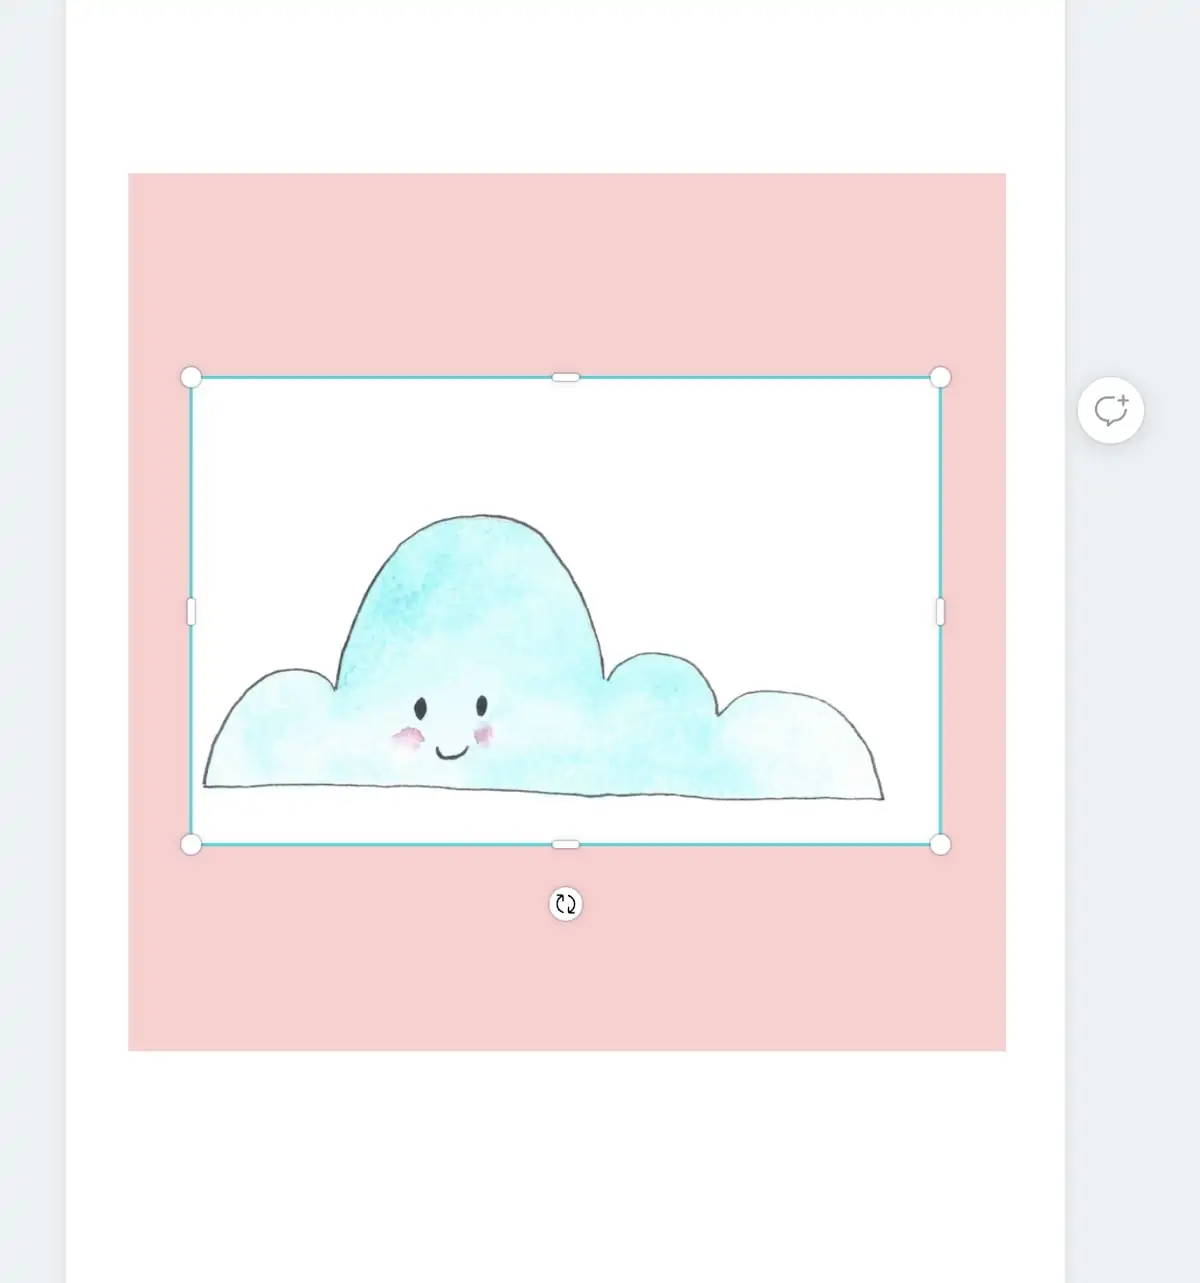
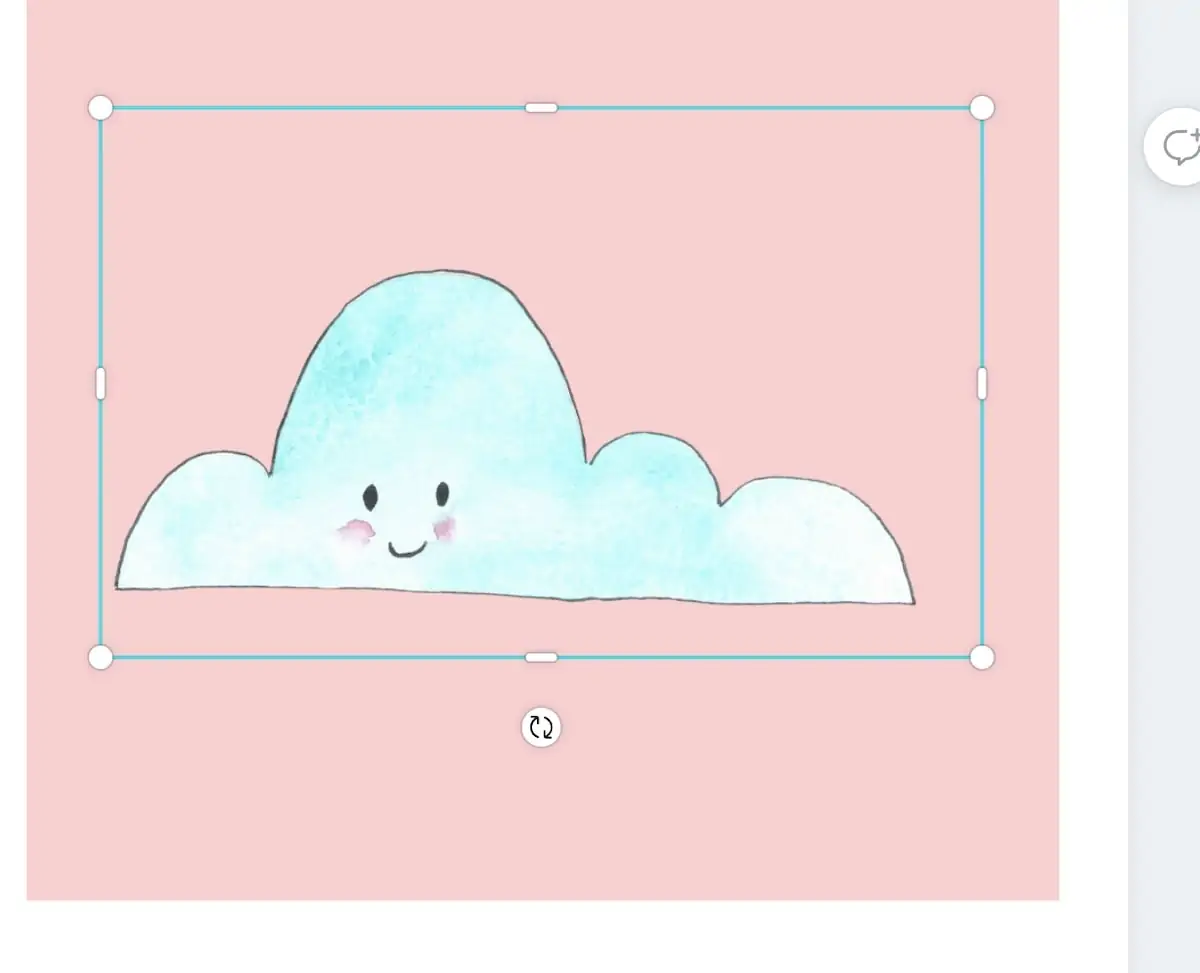
- After scanning your image, create a square canvas slightly larger than you need.
- Add a colored shape to the background. This will help you see when your art has a transparent background.
- Upload the image.

- Click edit image to access the background remover. It does a pretty good job of automatically removing the background, but you might want to remove some spots manually.

- Click done to accept the changes.

- Click the download button and select PNG.
- Check the box by transparent background.

- Click download and rename the file when you save it to your computer.
- You now have a PNG file with a transparent background.


Using Print then Cut in Cricut Design Space
The Print then Cut setting in Cricut Design Space is pretty easy to use!
Kiss-Cut or Die-Cut?
Will you sell sticker sheets or individual stickers? This will determine the settings for cutting the stickers with your Cricut.
A kiss cut doesn’t cut through the backing of the paper. This is important if you want to sell sticker sheets.
A die-cut will cut through the back of the stickers, making individual stickers.
Should You Use Bleed?
When you go to print your stickers, bleed is toggled on. This means that every design will be printed with a border around it. This prevents the sticker from having white around the edges and makes it look more professional.
However, if you’re selling by the sheets, this option will make your sticker design look weird, so turn it off.
Get access to my SVG Library.
Get access to over 50 SVG sets and Cricut cheat sheets. Join my SVG library.
Directions for Using Print then Cut
Here’s how to create die-cut stickers.
- Create a new project.
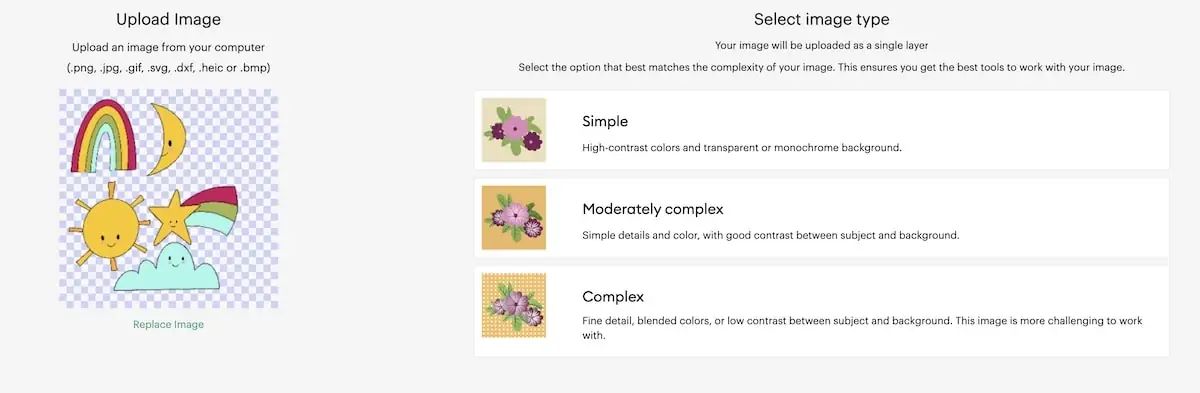
- Upload the image to the Design Space.
- You will get options for using a PNG design. I have used both Complex and Simple with no real differences. But if your design is more complex, choose complex.

- Click the Cut image preview to make sure that the designs will be cut correctly.

(Your design might show up with weird colors. It will print correctly, though.) - Resize the designs to fit within the size limits. An error sign will appear until the sizing is correct.

- Click Make it.
- This takes you to the print dialog page. For die-cut stickers, it’s useful to leave “bleed” toggled to on.

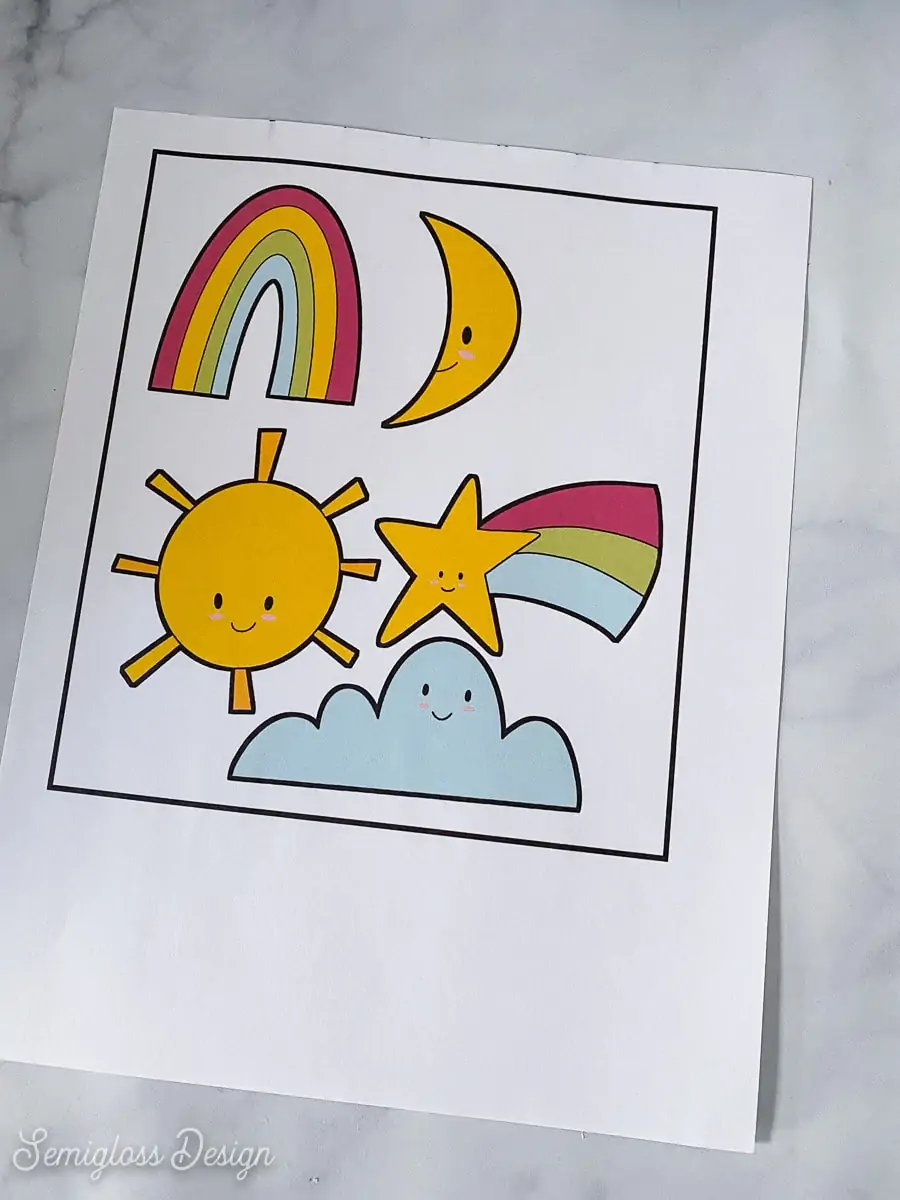
- Print the page in the best quality that you can. You can access your printer settings by toggling on the “use system dialog” option. If you don’t see the box, minimize the Cricut screen.
- When printed, the page will print with black lines around it. This helps the Cricut read the image and see where to cut.

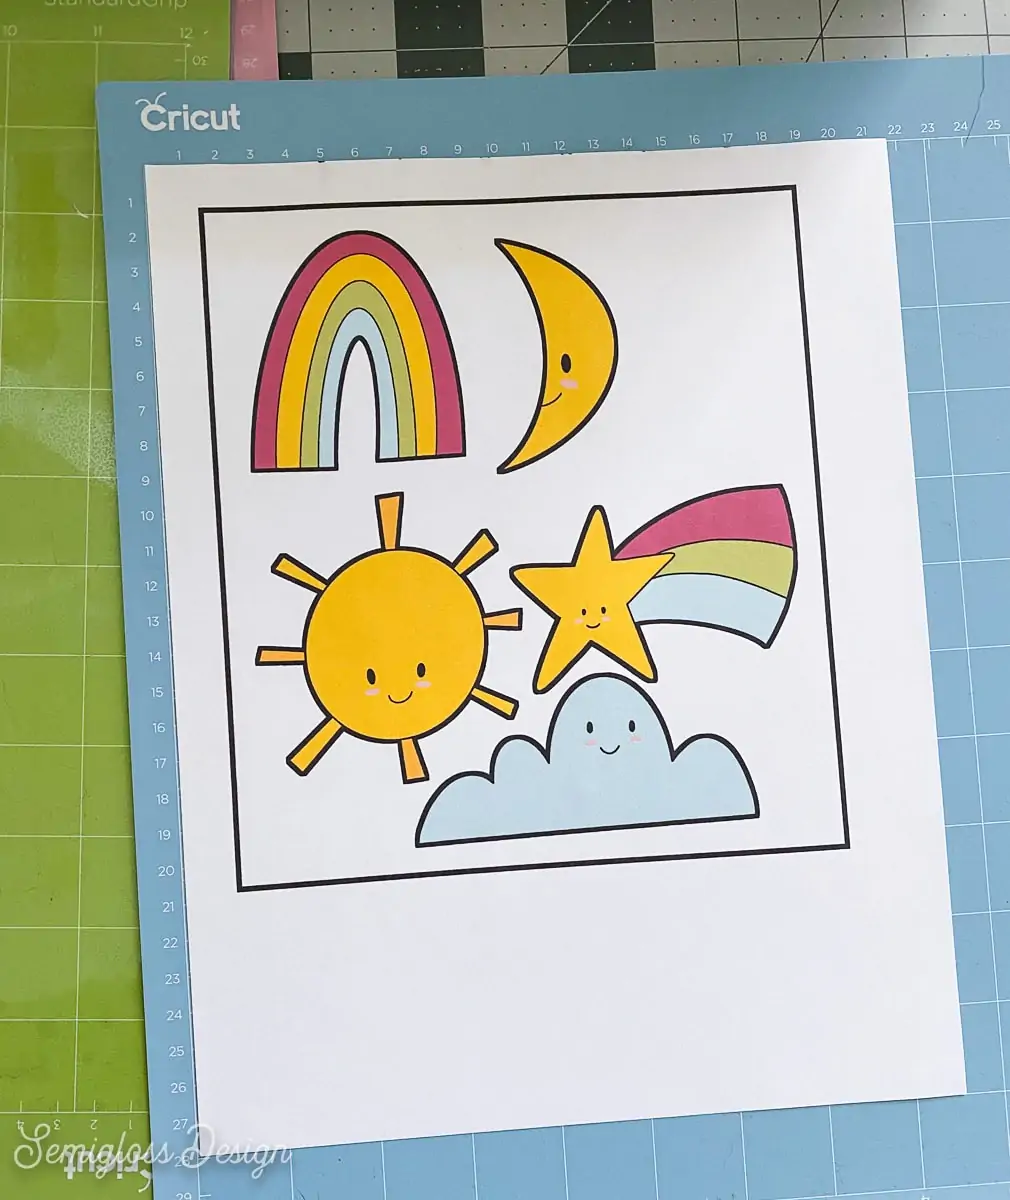
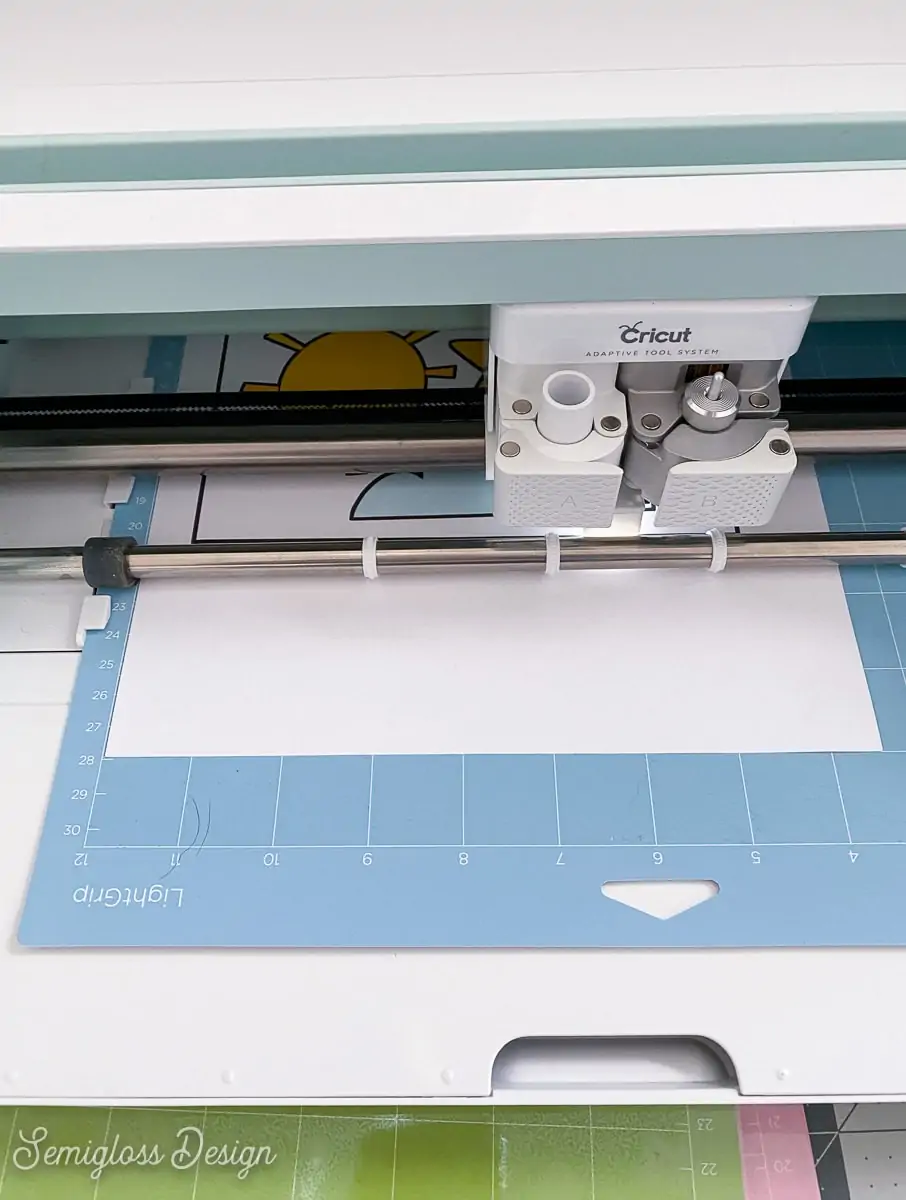
- Apply the sticker page to your LightGrip mat and gently smooth it to ensure it adheres.

- Load the mat.
- Select your materials. I chose sticker paper, white.

- Press the Cricut button to start cutting the design. It takes a while because the machine has to read the registration lines before it cuts the design.

- Before unloading the mat, use a spatula tool to make sure that the paper was cut. If needed, send to cut again.
- Unload the mat.
- To prevent the sticker page from curling, flip the mat over on a clean surface and remove the mat from the sticker page.

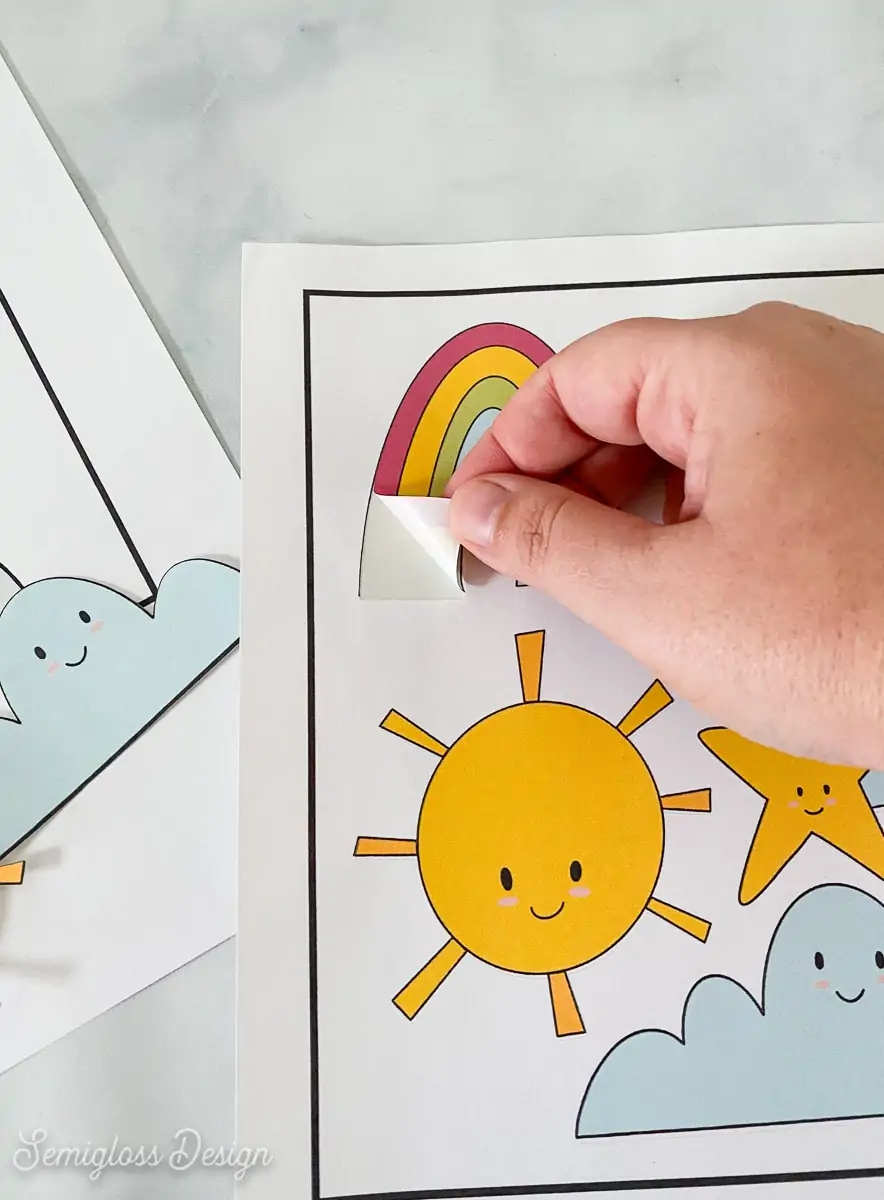
- If you made die-cuts, use the spatula tool to remove the stickers from the mat gently.


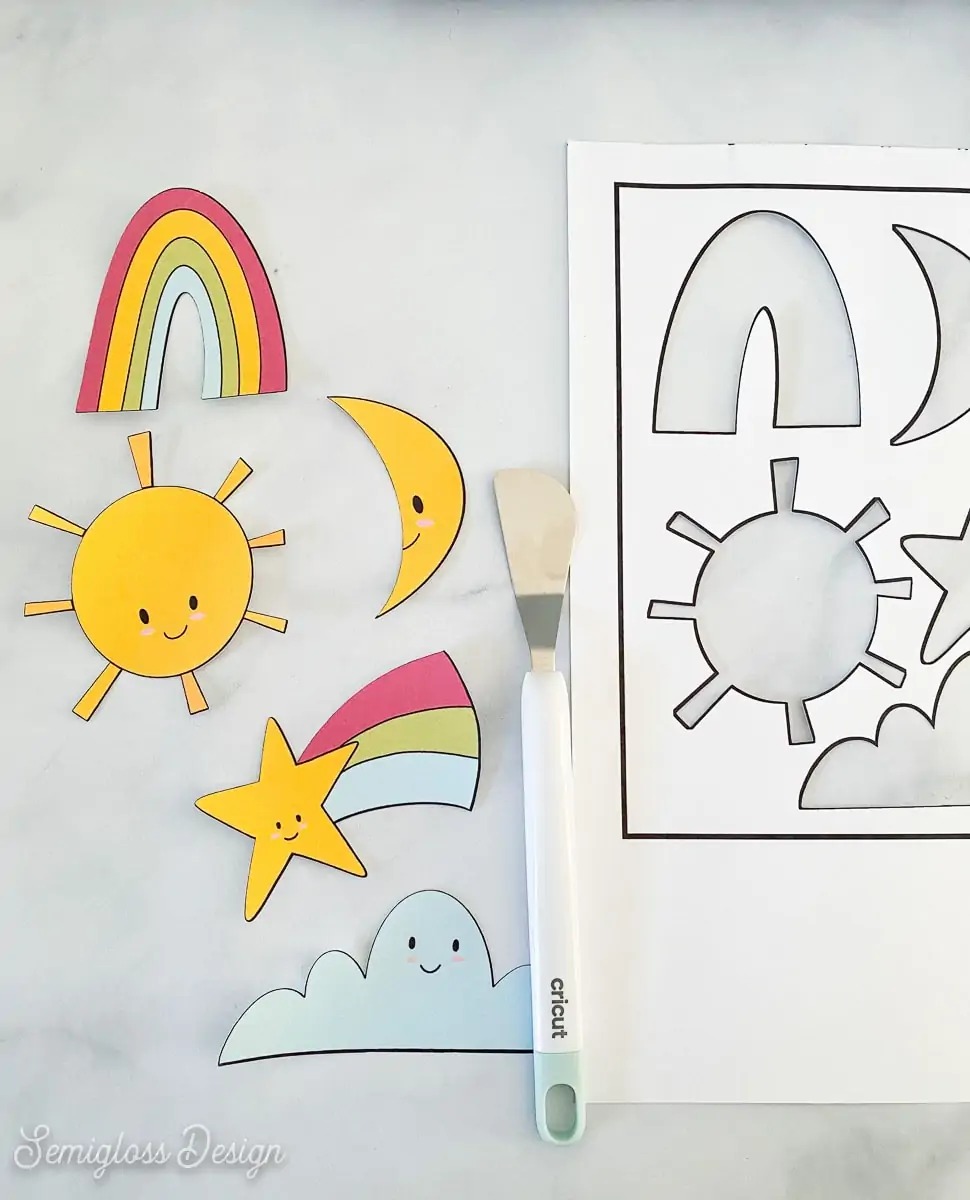
Ta-da! You made stickers!
How to Make Kiss-Cut Stickers
The directions are mostly the same. Upload the image as directed above and resize.
For printing, turn the bleed off.
Print as usual.
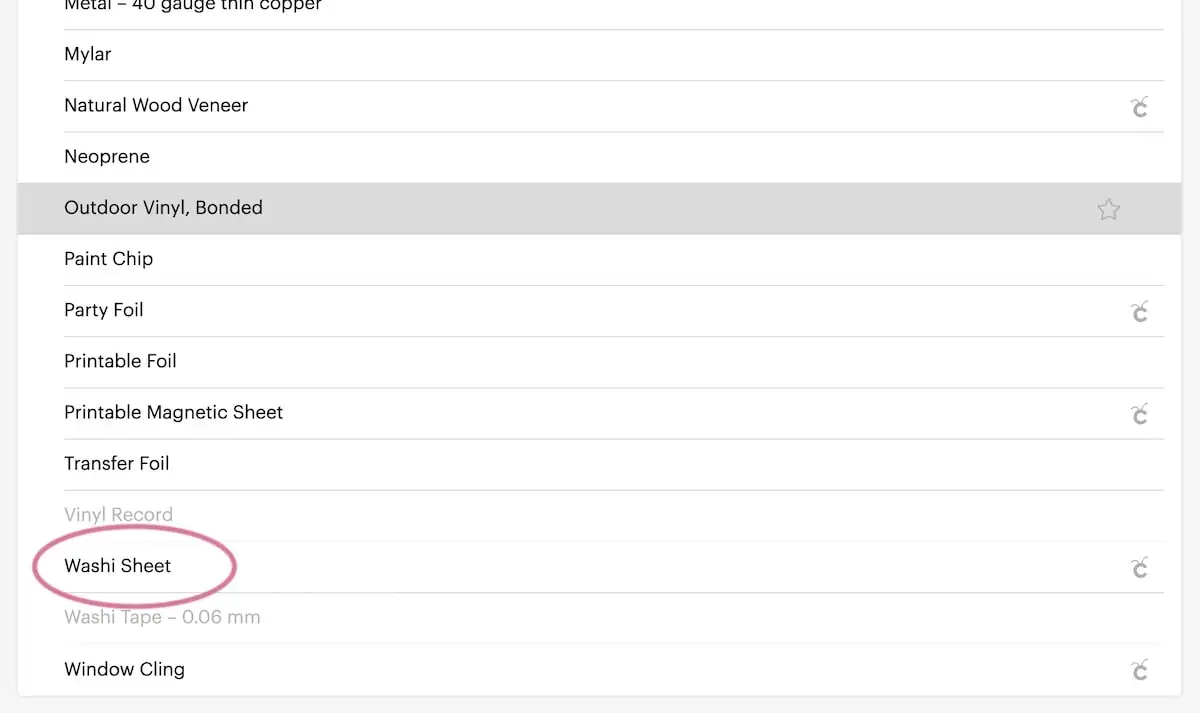
When cutting the sticker paper, choose the Washi sheet setting. This option is at the end of the materials list under “Other.”
Cut your design as usual. Before unloading the mat, check to make sure that the sticker layer is cut properly.
When finished, your design will have a black rectangle outline around the edge. 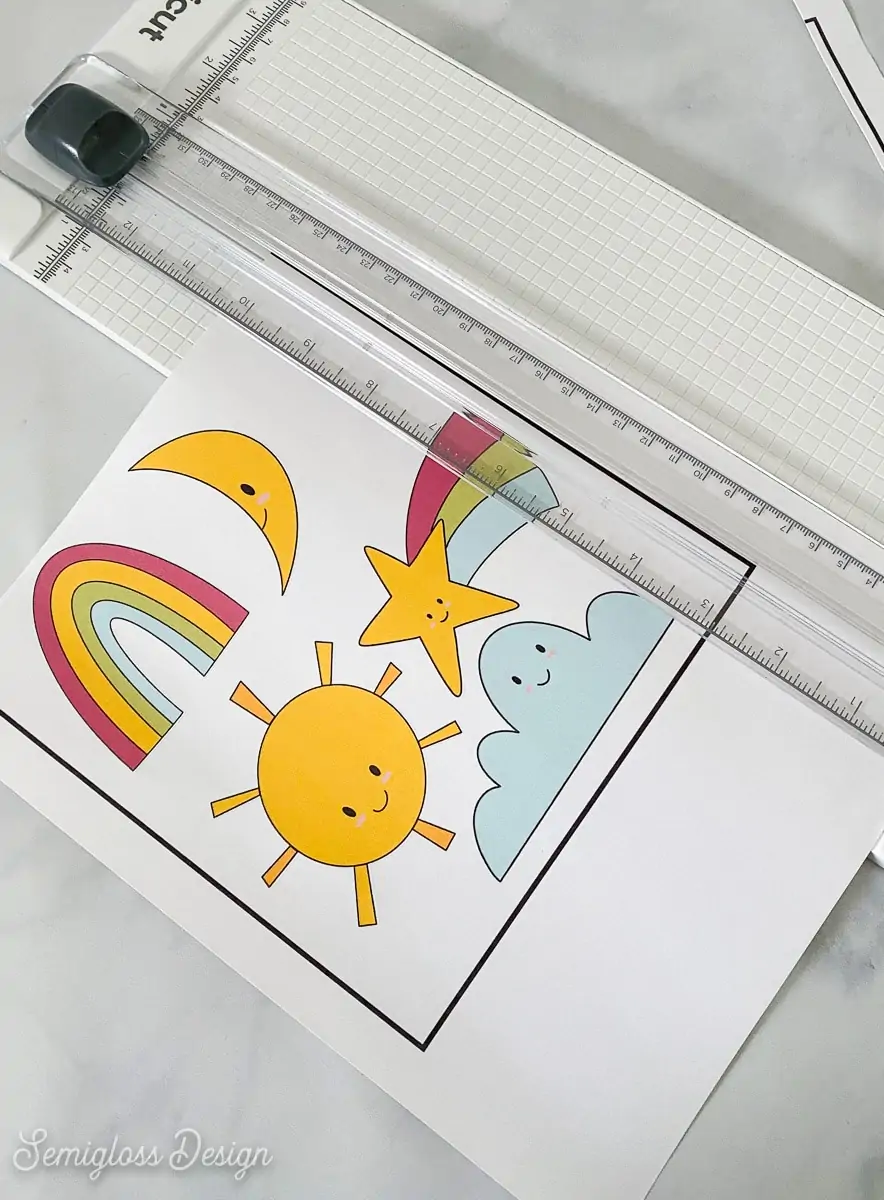
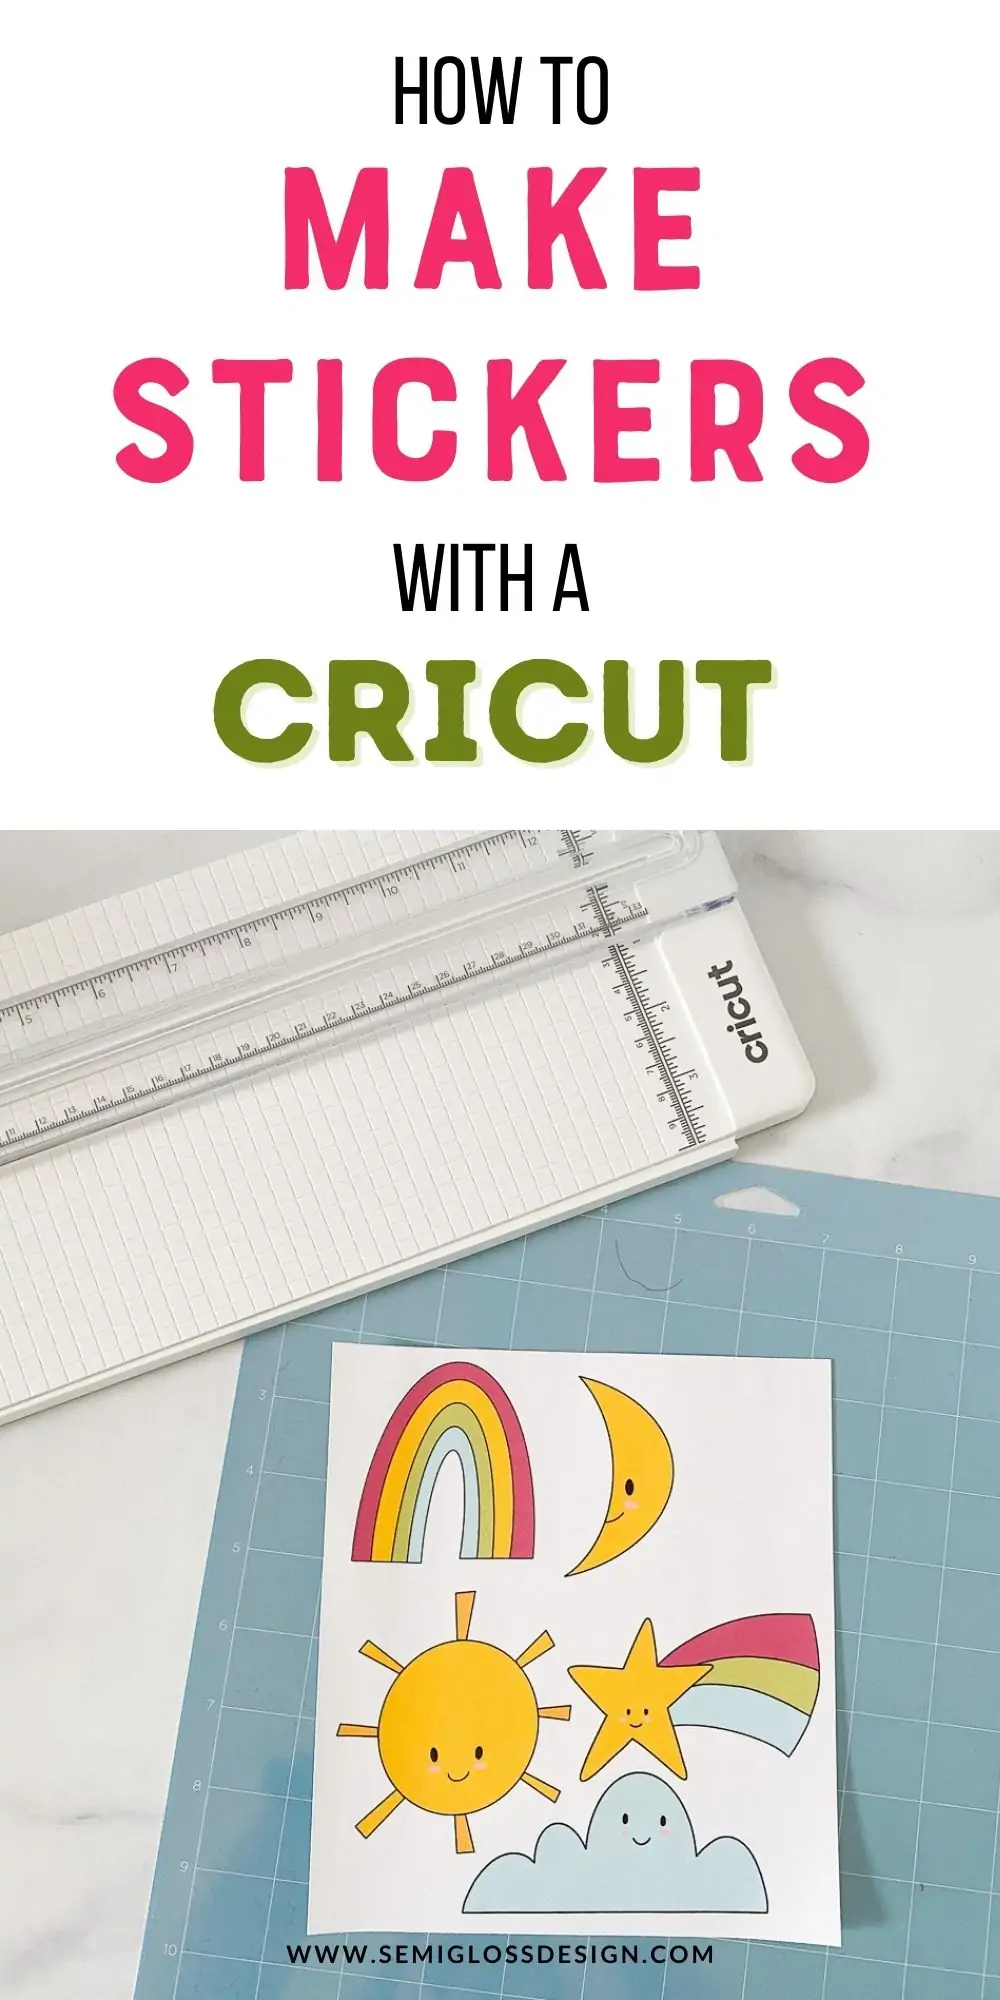
You can use a paper cutter to trim it off and make the sticker sheet look neater.
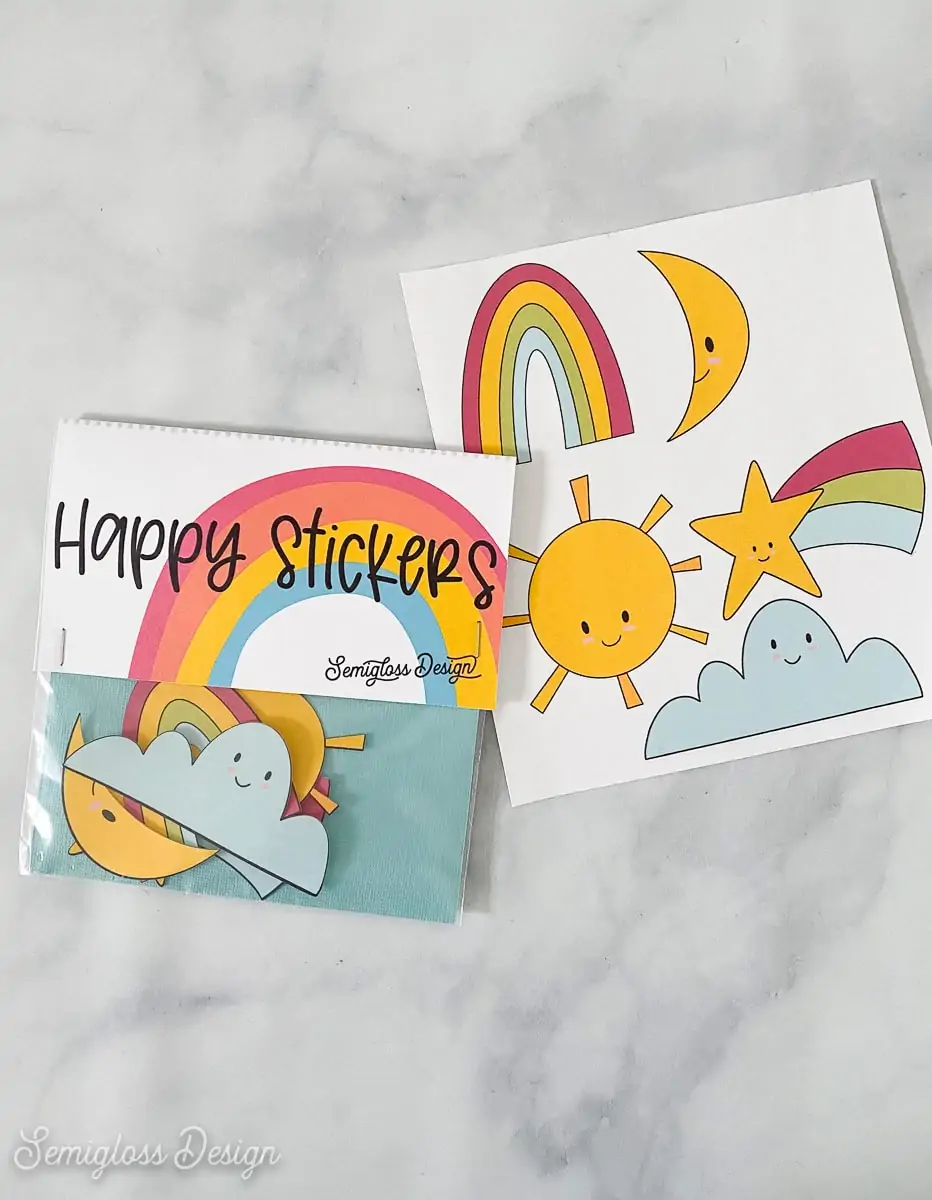
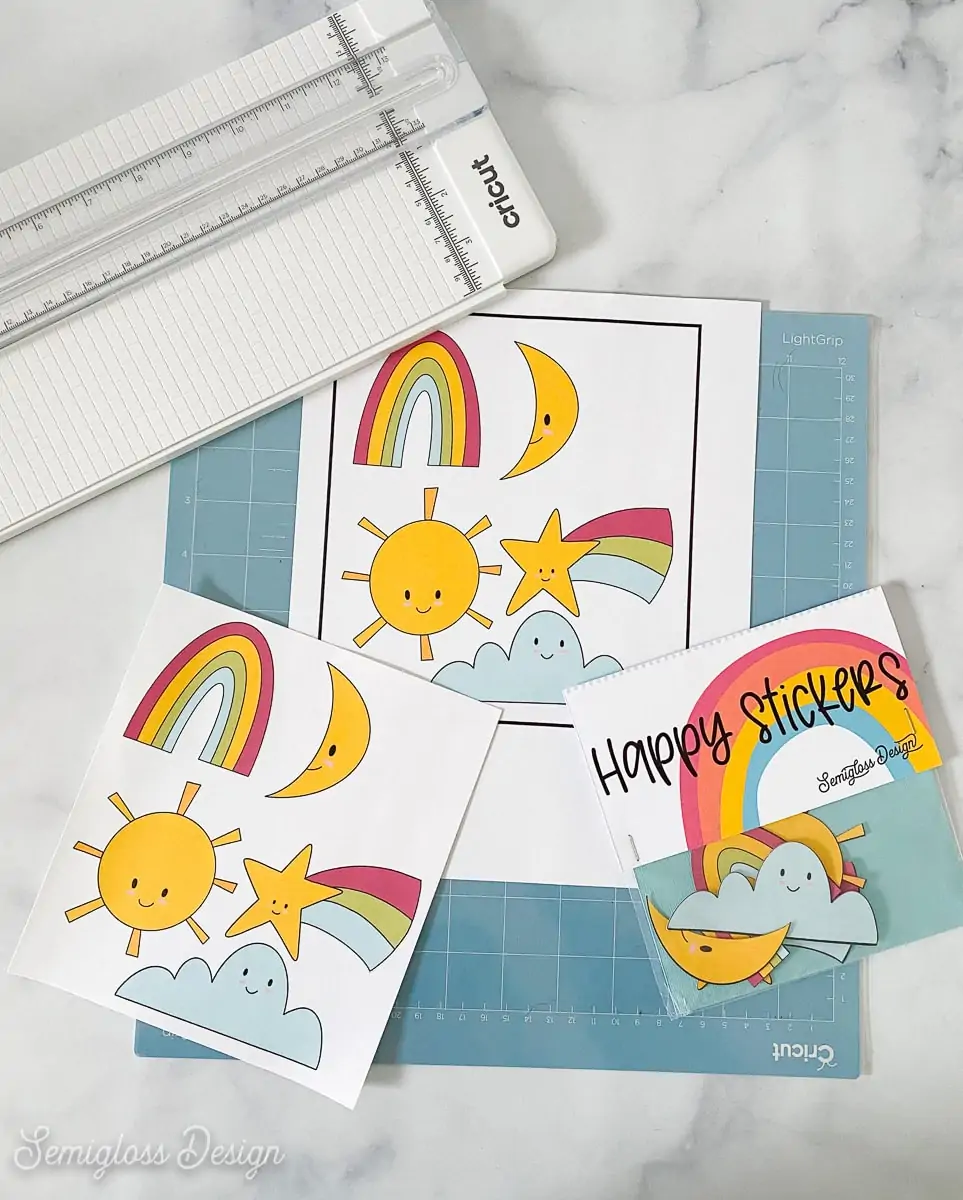
Packaging the Stickers for Sale
Add an extra touch to your stickers with cute packaging.
I packaged the stickers in small plastic bags with a printed cardstock label. The package also includes a sheet of colored cardstock to provide a stiff backing.
You could also use Cricut pens to make cute labels.
You might also like:
Pin for Later!

Emy is a vintage obsessed mama of 2 DIYer who loves sharing affordable solutions for common home problems. You don’t need a giant budget to create a lovely home. Read more…