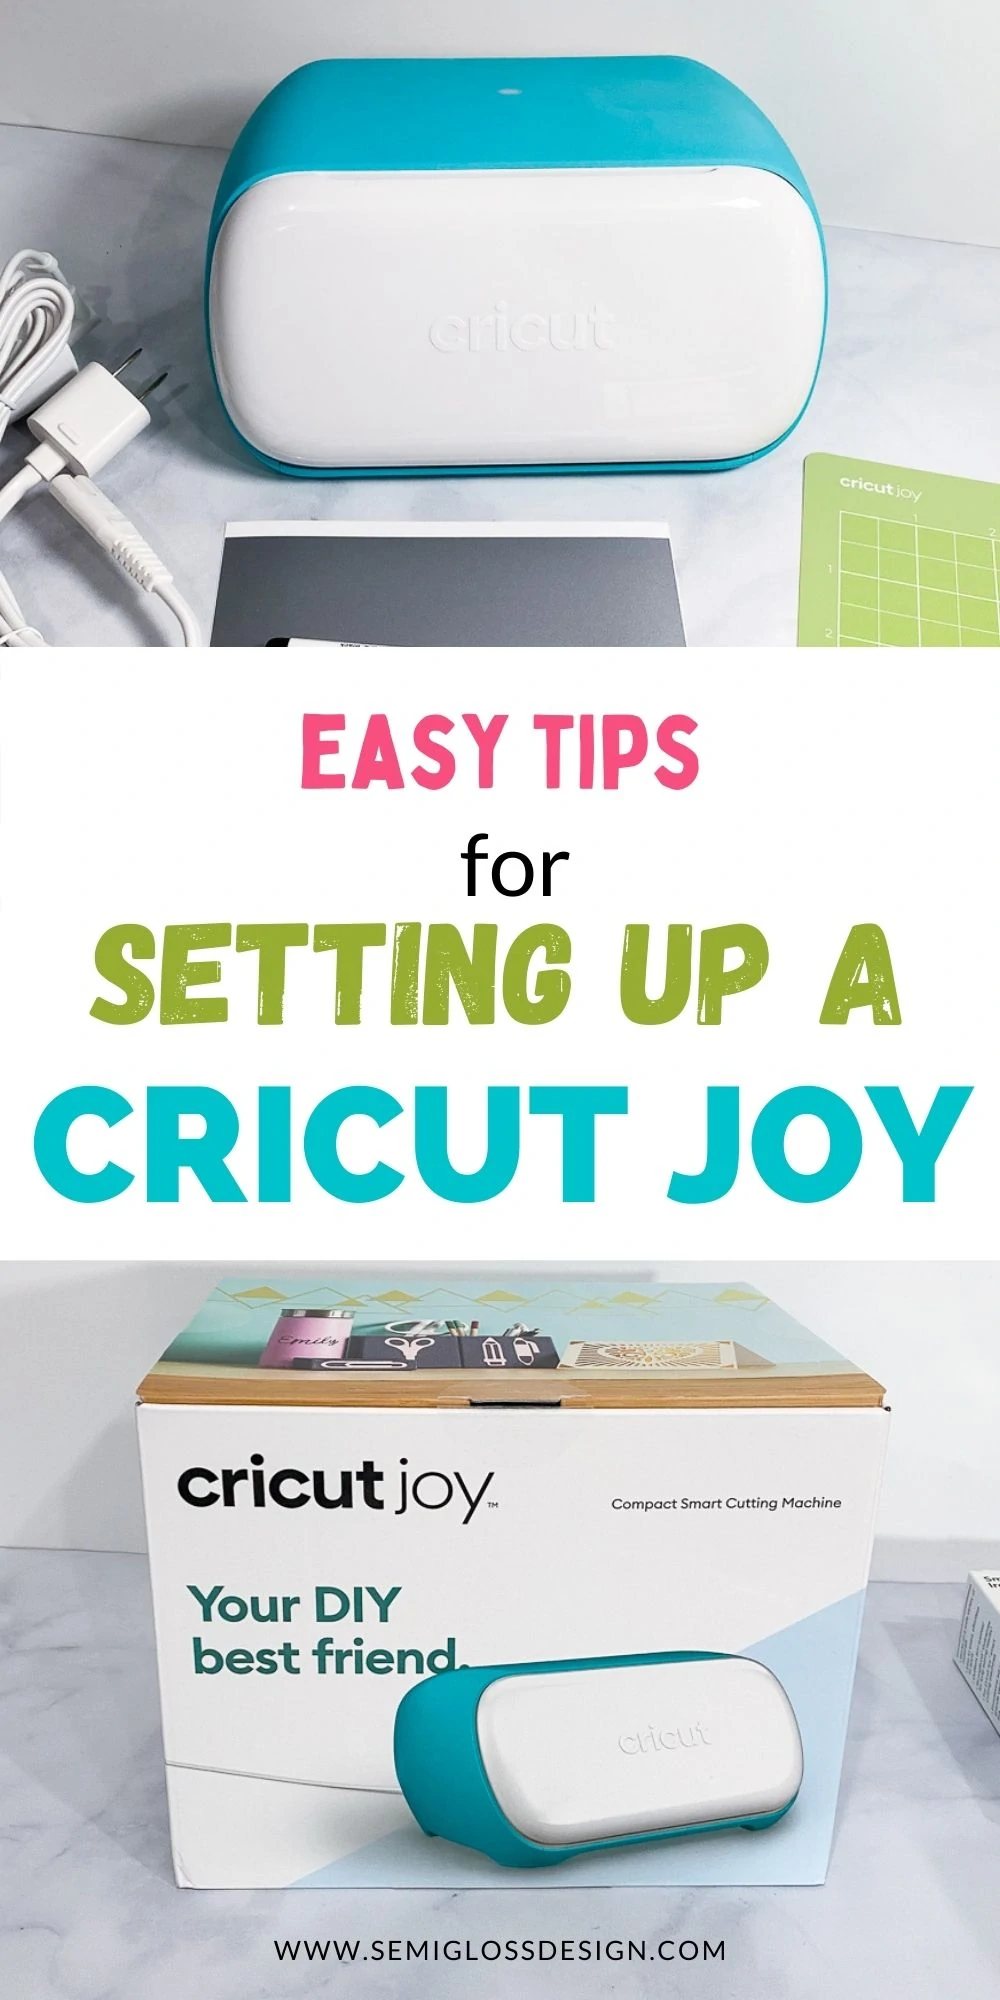
Cricut Joy Set Up: Tips for Making Your First Project
Learn how to set up your Cricut Joy and get easy tips for making your first project. It’s easier than you think, so stop being intimidated by your new toy. It’s time to take it out of the box.
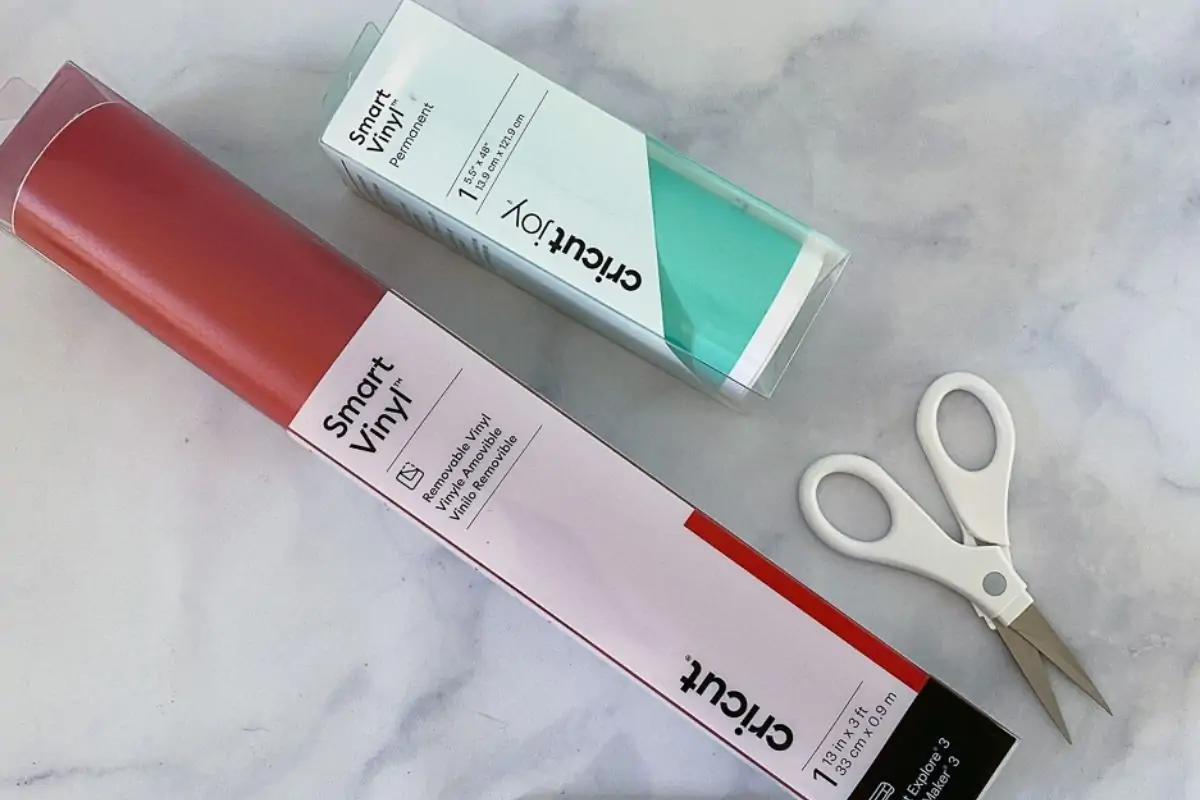
You might also like this post on the differences between Cricut vinyl types.
This post contains affiliate links. By purchasing an item through an affiliate link, I earn a small commission at no extra cost to you. As an Amazon Associate I earn from qualifying purchases.
When they first came out, I thought the Cricut Joy machines were a bit gimmicky. It’s like a regular Cricut, but tiny!! I just didn’t see the point.
Then I read more about them and decided to buy one because they have the ability to make really cool greeting cards, which sadly this post is not about. But it’s coming soon.
There are so many cool card designs available, but I’m really excited about making my own.
It also has the ability to cut without a cutting mat and can cut long cuts up to 4 feet long.
So far, I think the Cricut Joy is going to be the perfect companion to my Cricut Maker. I’m excited to be able to make quick projects without dragging out my mats and having to work on my desktop.
About the Cricut Joy
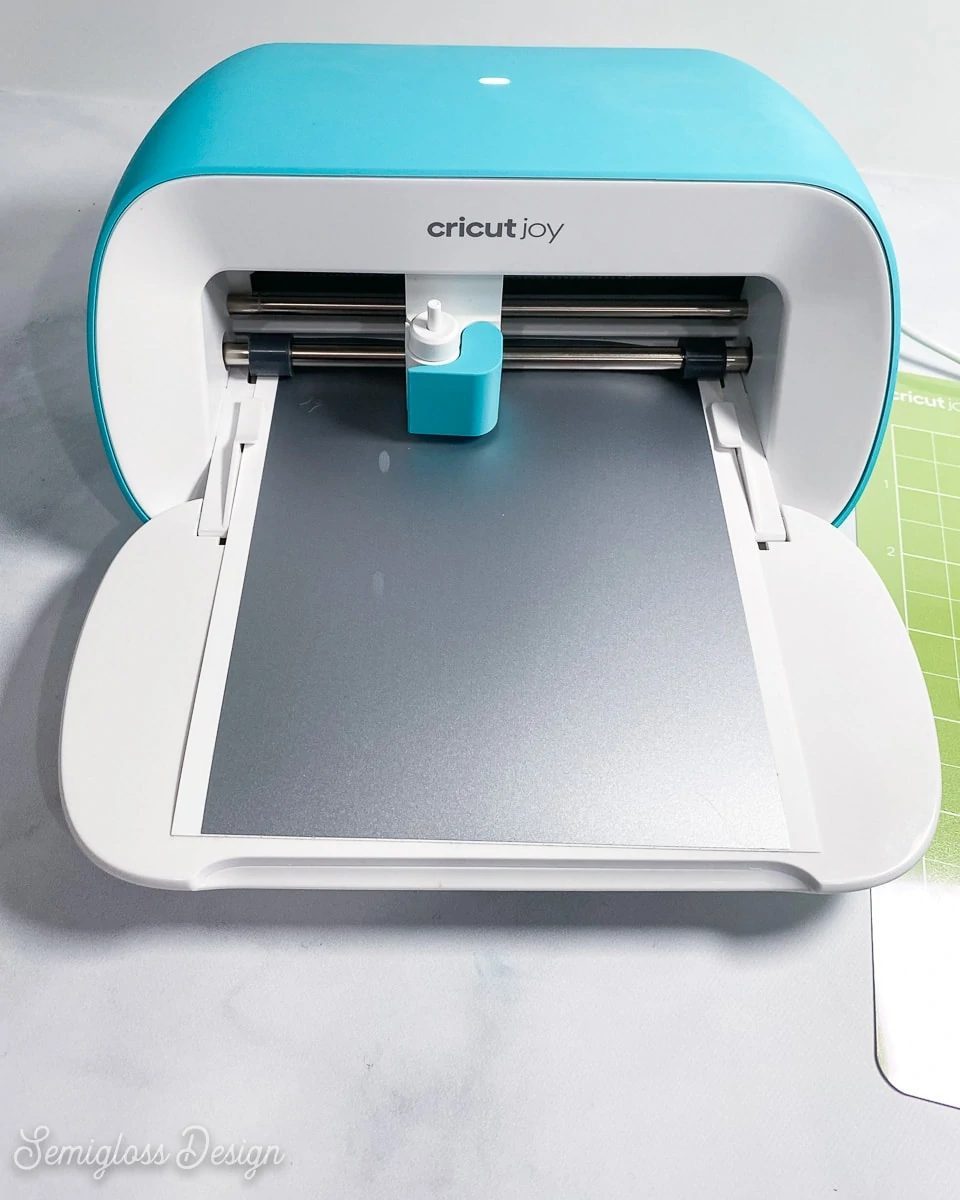
The Cricut Joy is a smaller version of the Cricut. It has some limitations, but it also does some things that a regular Cricut cannot do.
Weighing in at just 3.9 lbs, this machine is lightweight enough to carry to any room of the house.
And since the design software connects to both Android and iOs smartphones, tablets, and laptops, it truly is portable.
Just like other Cricut machines, the Cricut Joy can cut a variety of different materials.
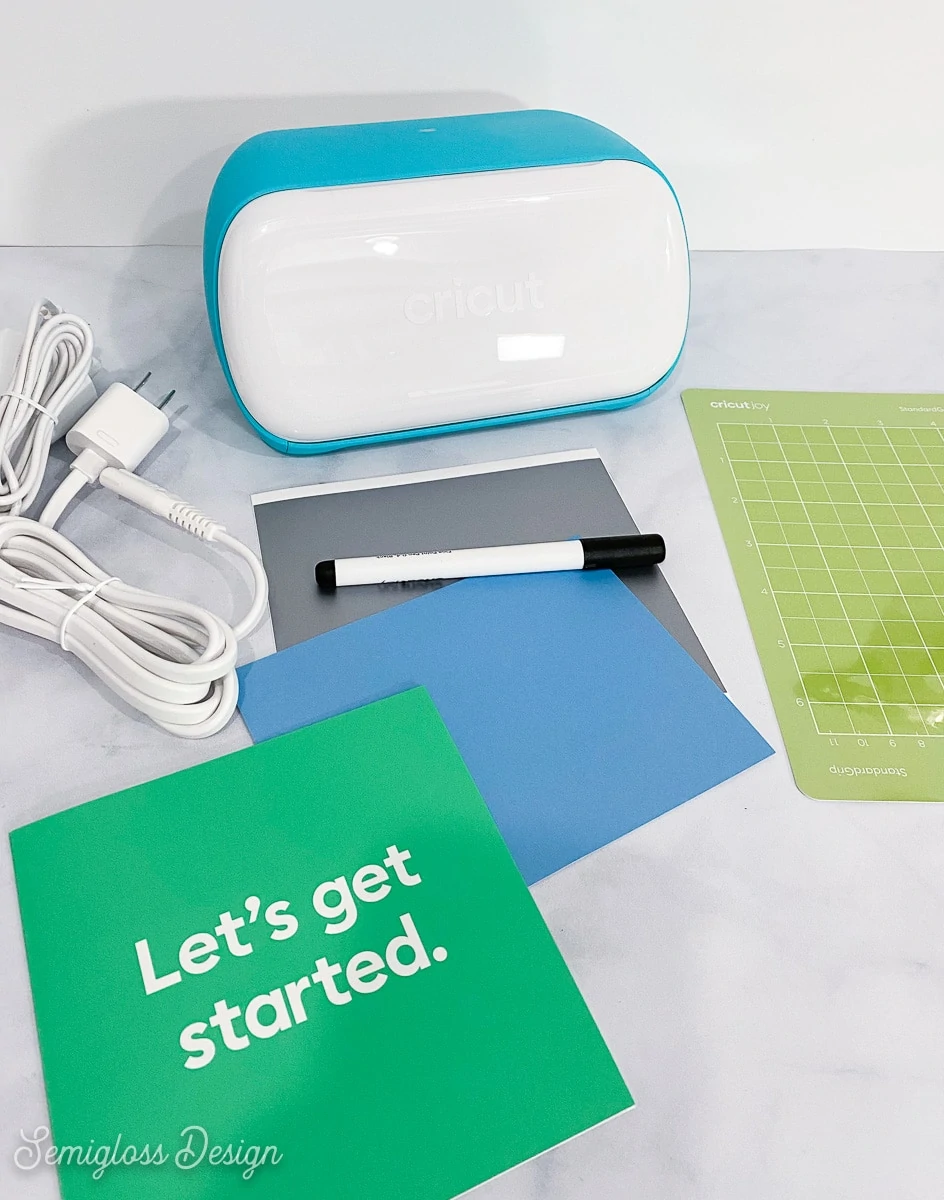
The Cricut Joy machine comes with a fine point blade, a StandardGrip mat, and a fine point black pen.
It also comes with the power cord, a quick start book, and a sample of vinyl and cardstock.
Other Cricut Joy Materials You Might Need
Depending on your crafting preferences, I would also purchase insert cards, the card mat, and some vinyl.
If you don’t already own transfer tape and weeding tools, those are useful to own as well.
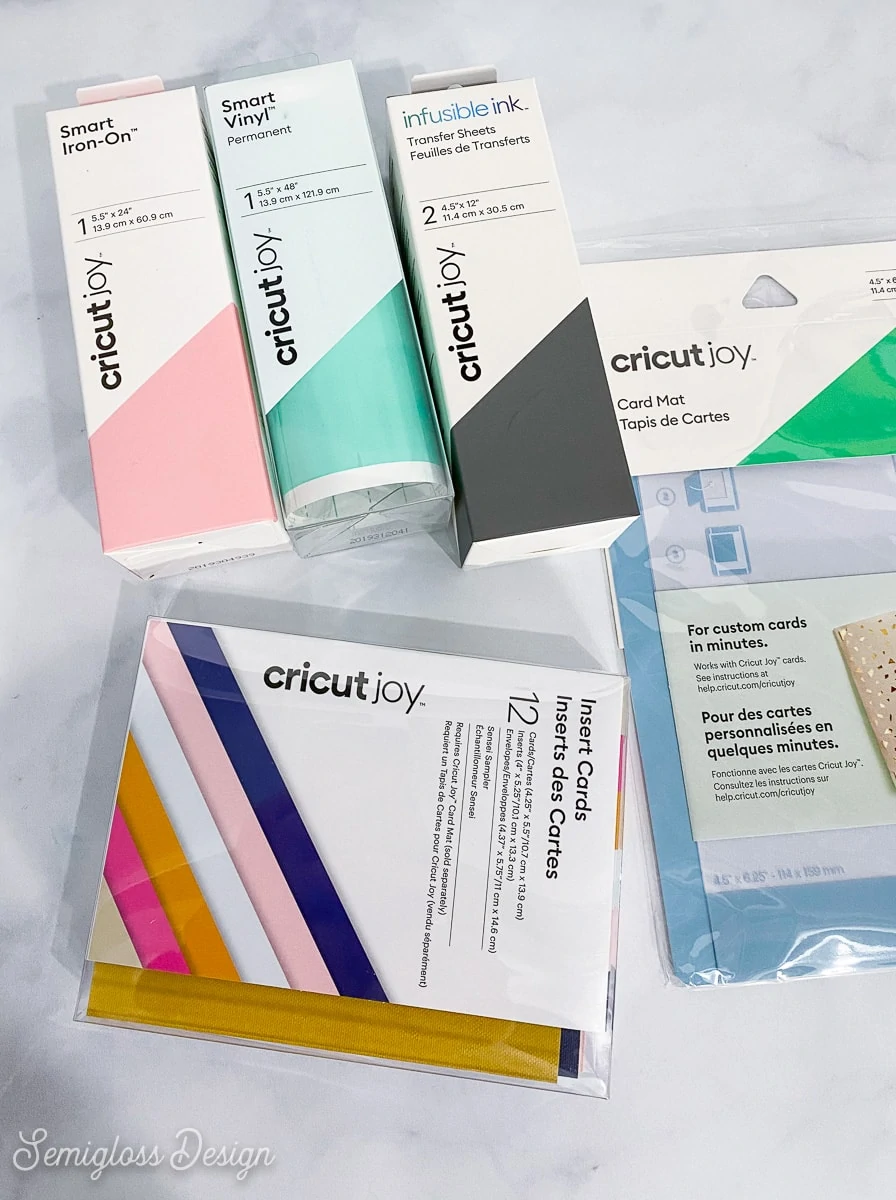
To get started, I bought a roll of smart vinyl permanent, smart iron-on, and infusible ink, as well as a set of insert cards and the Cricut Joy card mat.
Get access to my SVG Library.
Get access to over 50 SVG sets and Cricut cheat sheets. Join my SVG library.
Cricut Joy Set Up
Setting up your Cricut Joy is so easy! Even if you have issues connecting Bluetooth like I do!
I have a Mac, but the setup should be very similar on a PC.
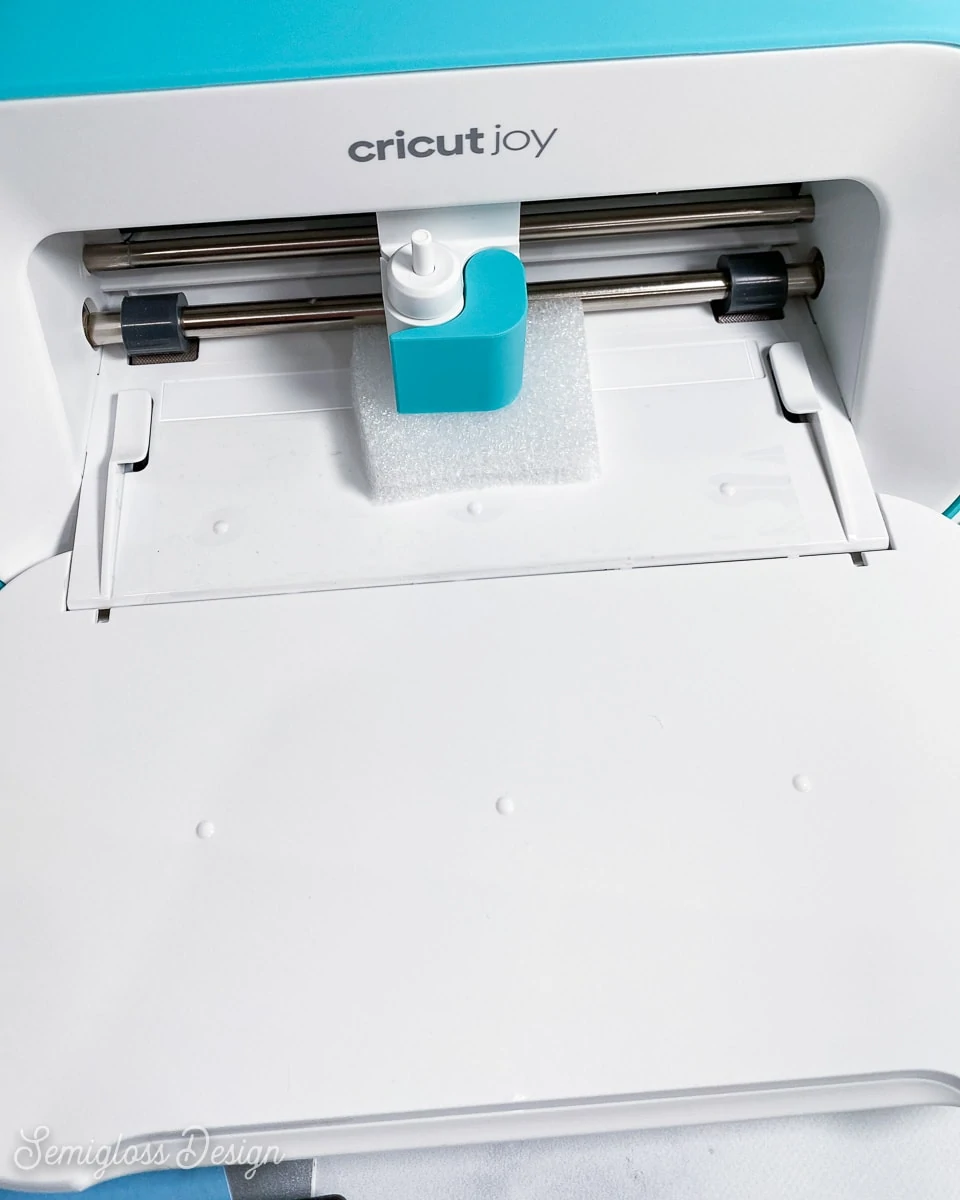
- Take your machine out of the box and open it.
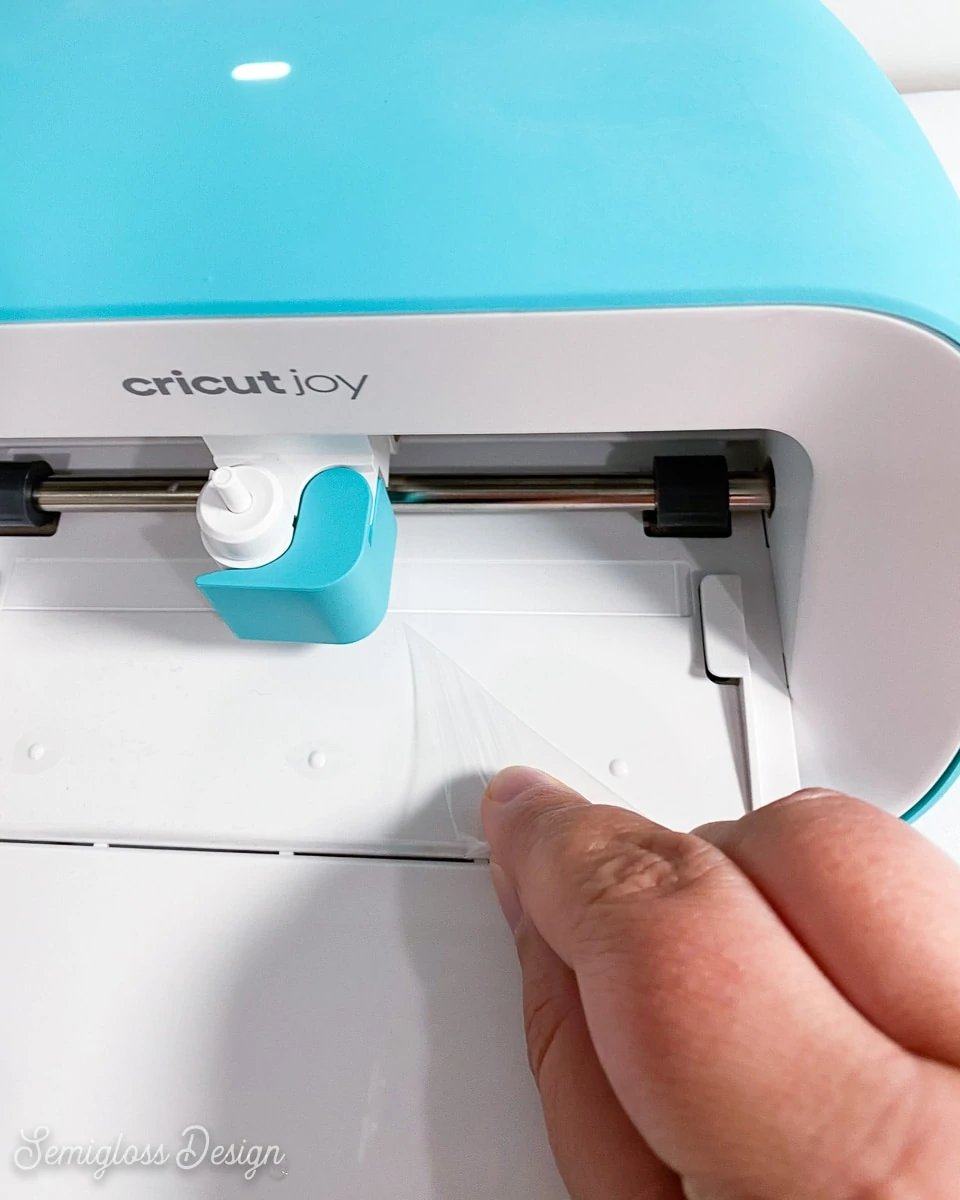
- Remove the styrofoam from the blade housing.

- There’s also a clear sticker that needs to be removed.
- Plugin the machine.
- Go to the Cricut website to set up your machine.
- You will need to download and install the app on your computer if this is your first Cricut machine.

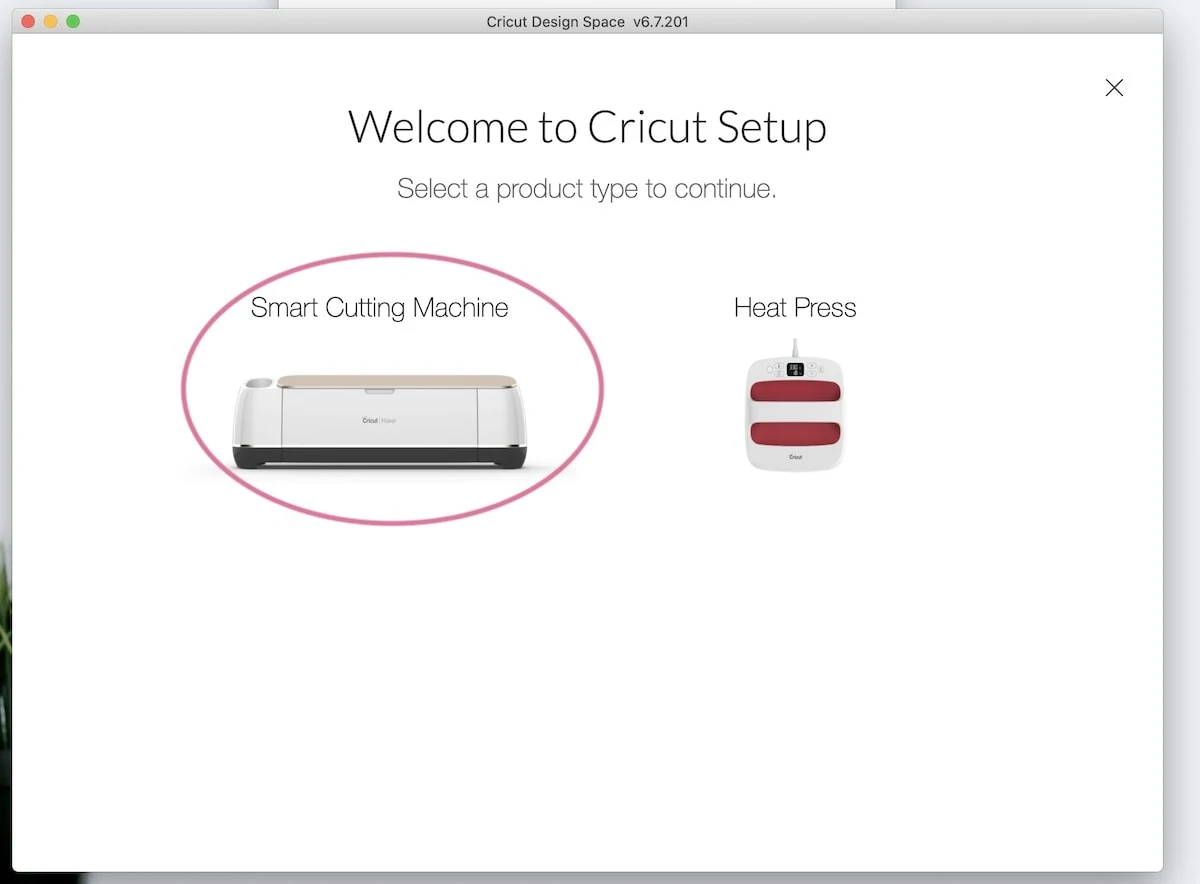
- Choose “Smart Cutting Machine” from the menu.

- Choose the Cricut Joy.

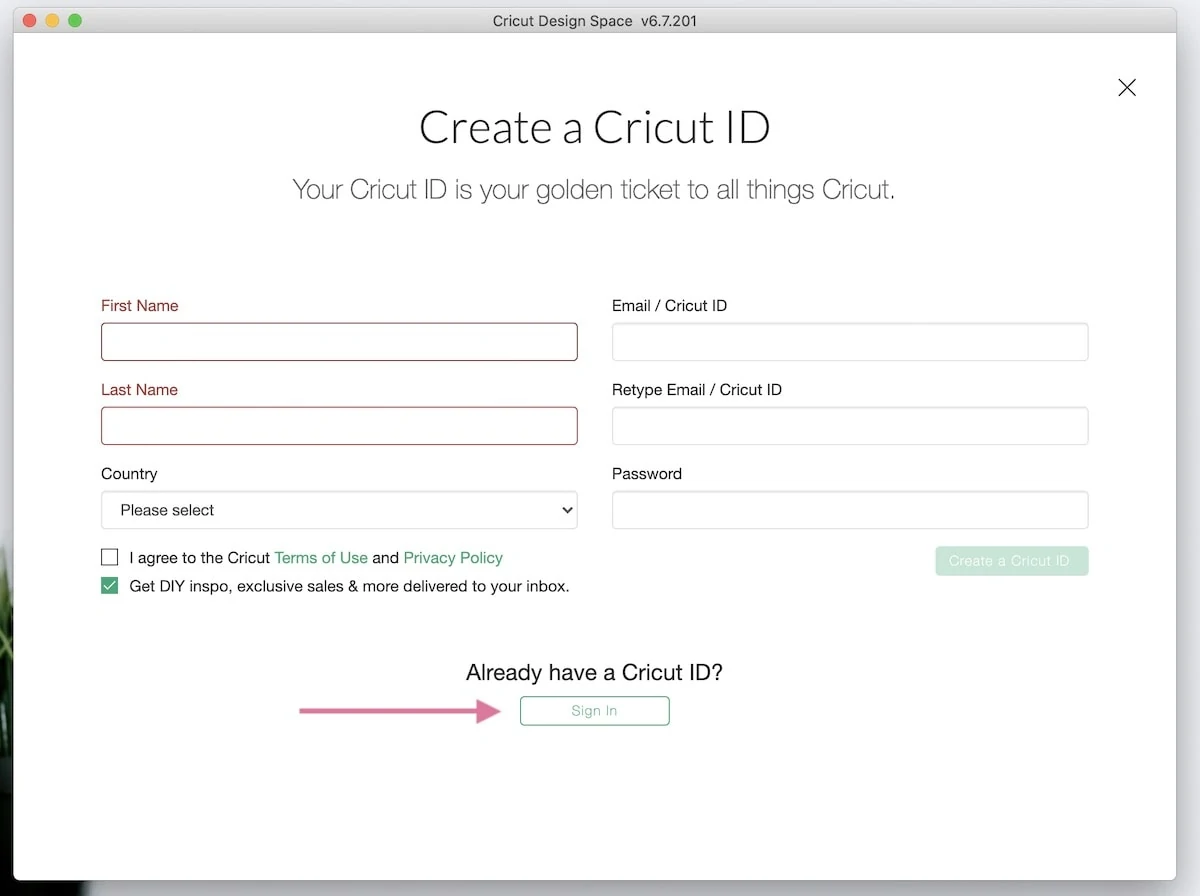
- Make an account if you don’t already have one. Otherwise, login as normal.

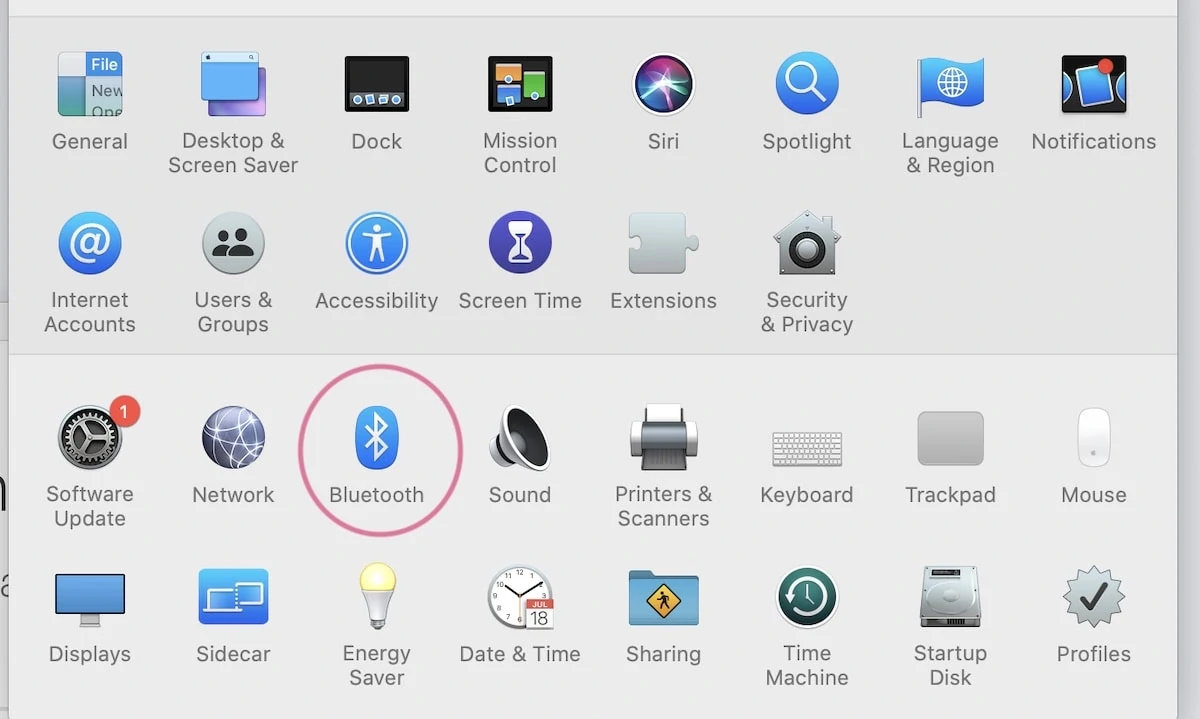
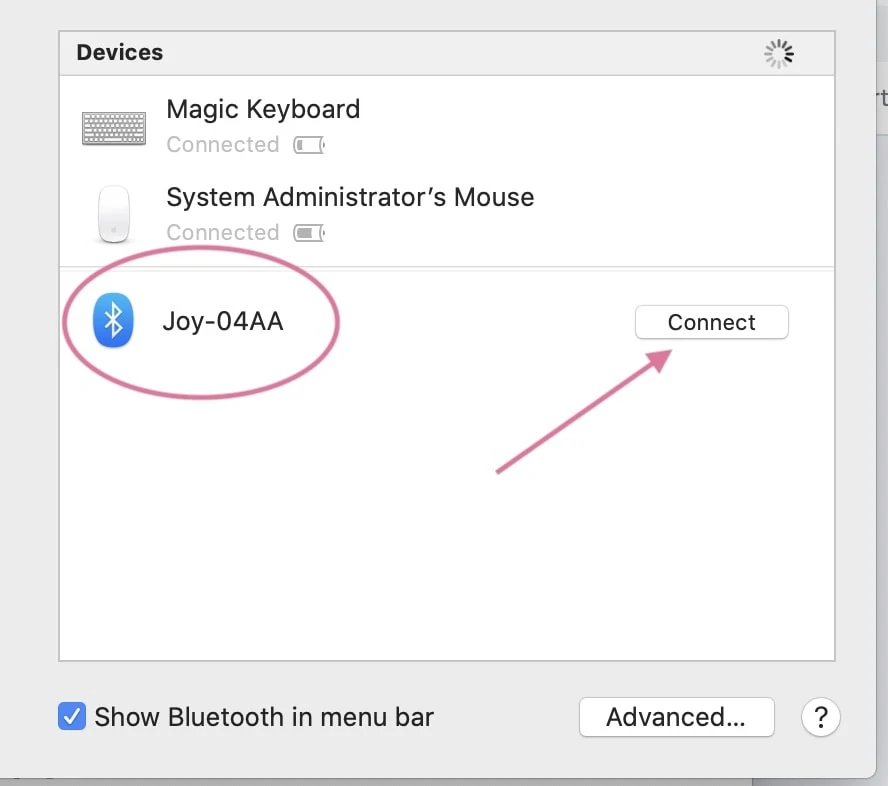
- You will need to connect your computer’s Bluetooth to the Cricut Joy. I’m on a Mac, but Windows has similar options. In my Systems Preferences panel, select Bluetooth.

- You should see an option for “Joy-Numbers and Letters.” (Yours might be different from mine.) Select that option and choose Connect.

- After it connects, the screen would not advance, so I clicked the X at the top of the screen and was warned about leaving before it was completely set up. It still worked fine…


Now it’s time to make your first project. Since they provided some samples, I decided to use the vinyl one.
Tips for Making Your First Project with Your New Cricut Joy
Using your Cricut Joy for the first time might feel intimidating, but just do it. It’s even easier to use than other machines.
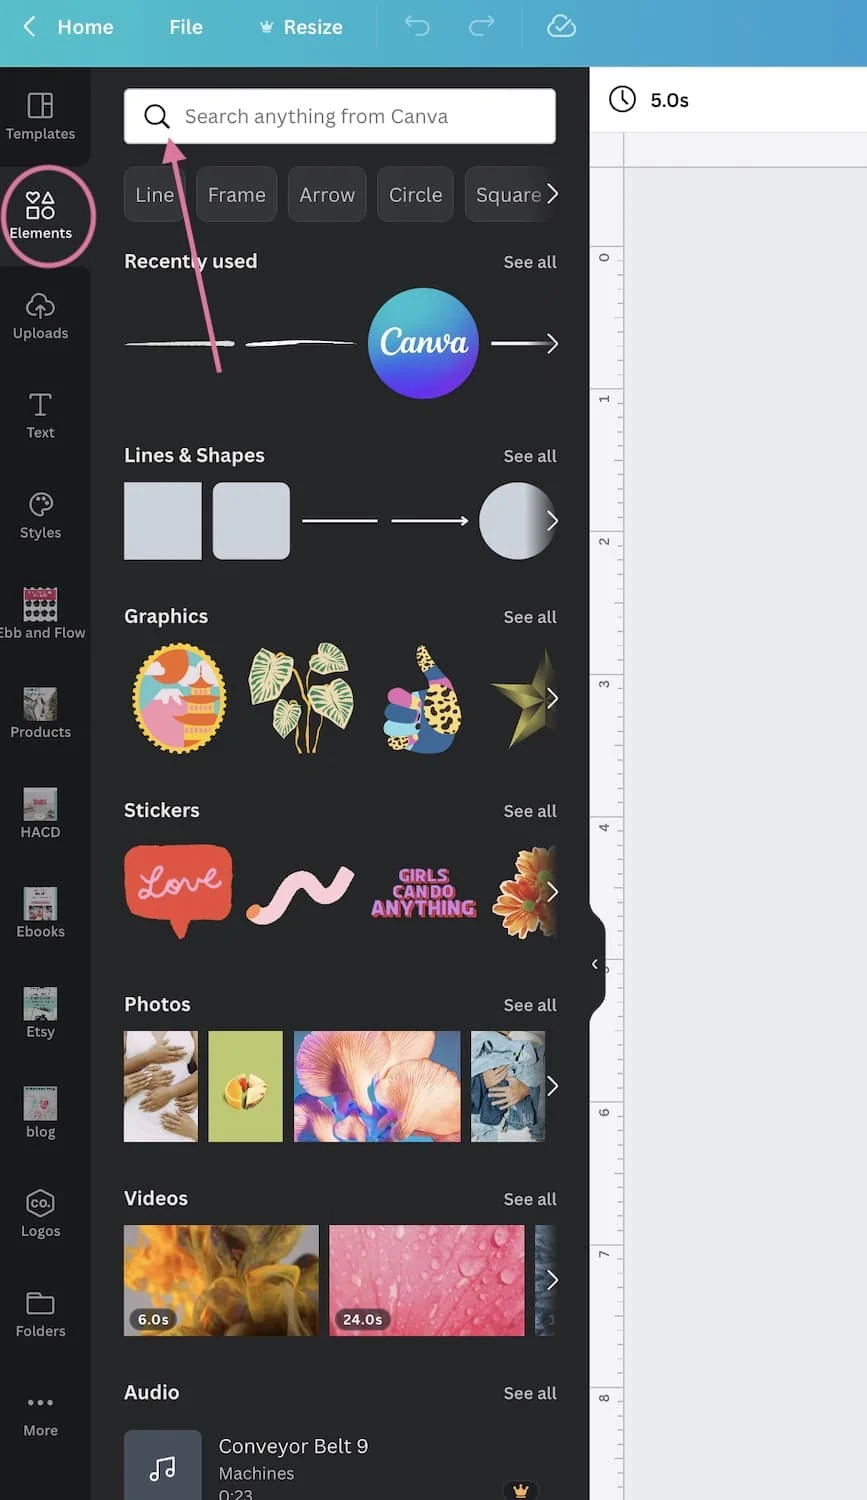
You can make your own images or designs or you can purchase Cricut Access and use any of the pre-made designs.
If you’ve never used a Cricut, I have a simple overview on how to use a Cricut Maker, but the premise is pretty much the same.
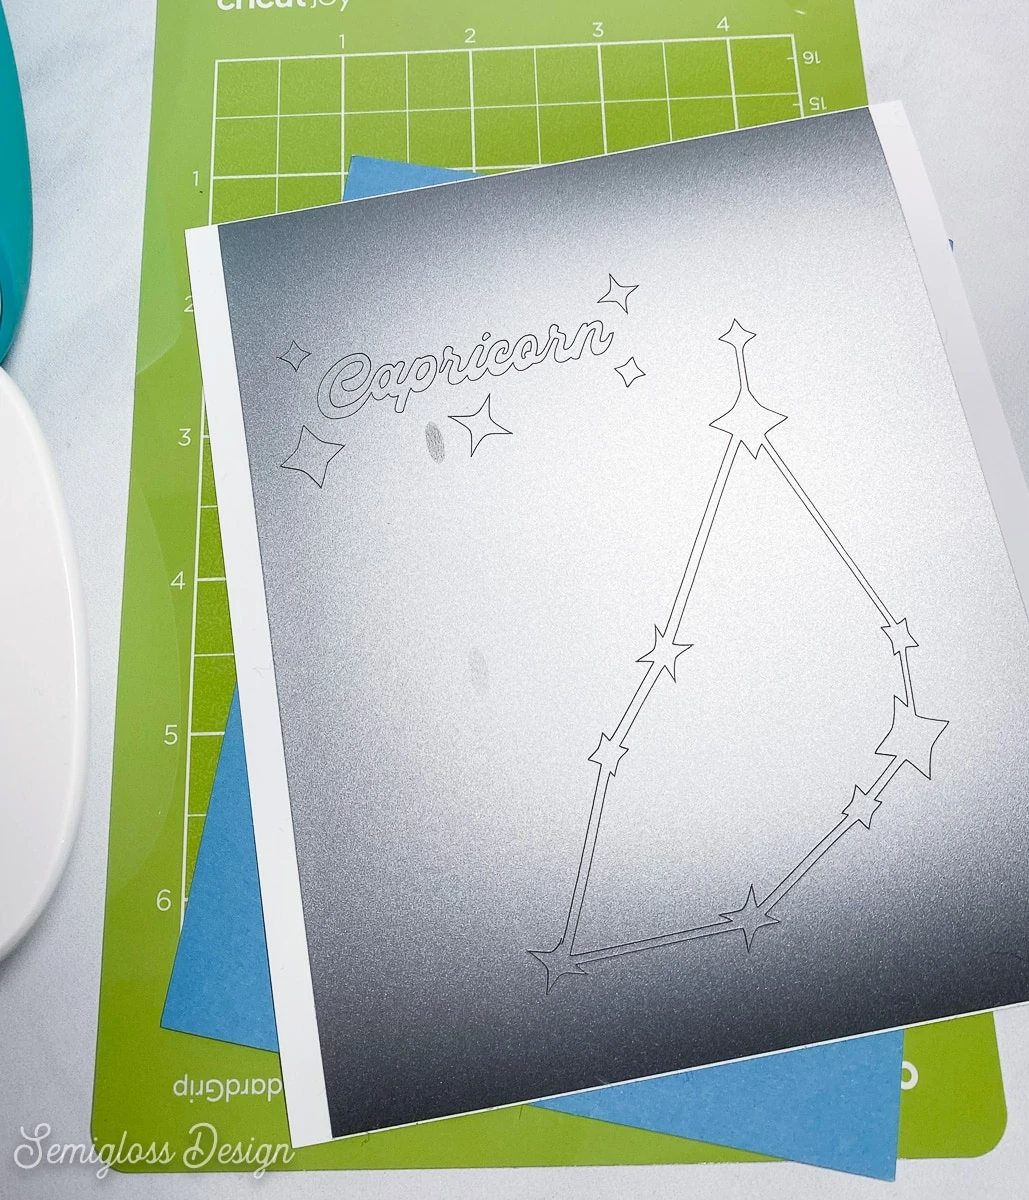
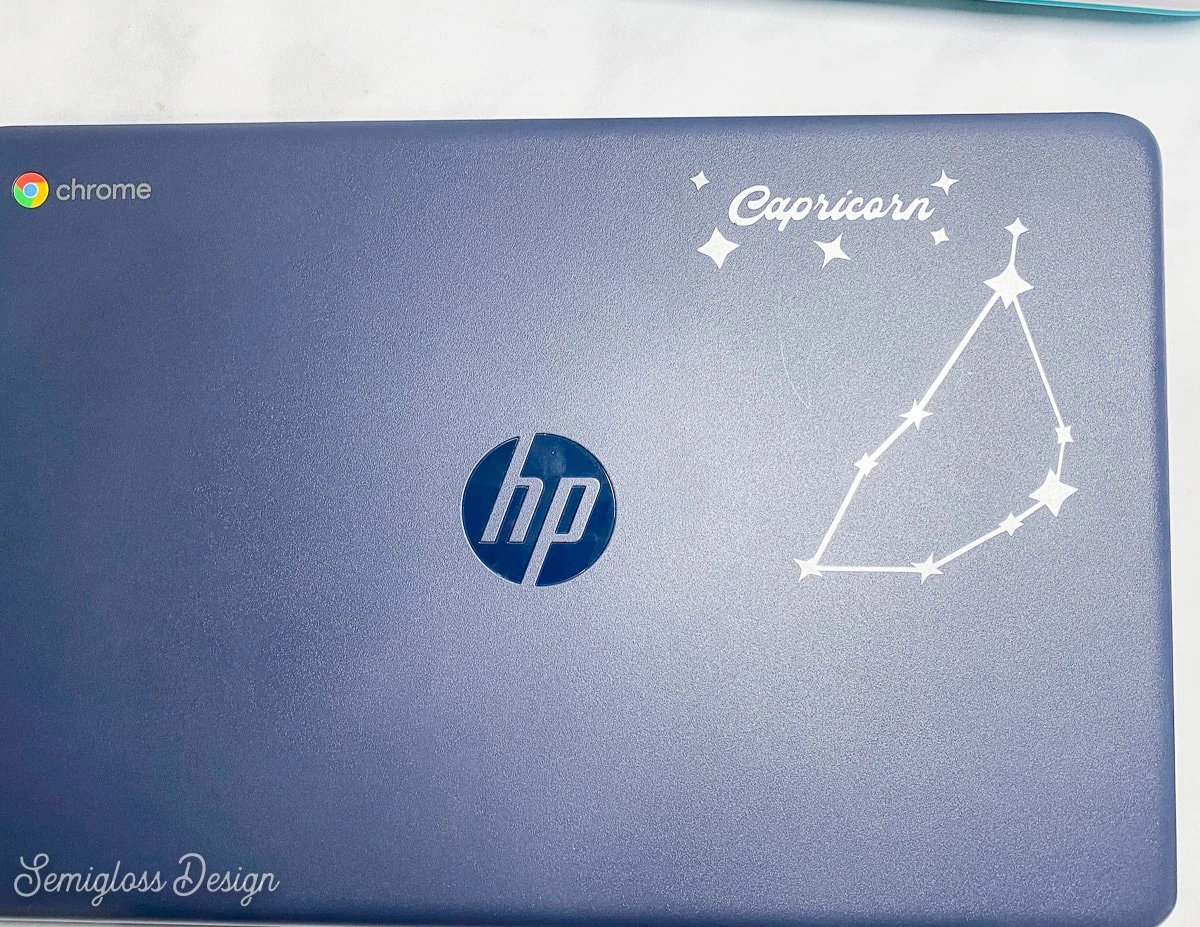
I used a zodiac symbol from my zodiac SVG set and made my daughter a decal for her Chromebook.
- Choose a simple design if you’ve never used a Cricut. They give you several free options in the Projects panel.
- Vinyl decals are one of the easiest things to make. I always suggest them when starting out.
- You will really need to burnish the transfer paper to get it to stick to the vinyl. Larger designs work much better!
My Initial Thoughts So Far
Pros:
- The size. Although I don’t see myself traveling with it, I can see myself bringing it to the kitchen to make labels for my pantry. One of my next purchases will be the Smart Labels which work with the pen.
- I haven’t made the cards yet, but I love the idea of them.
- Bluetooth connected seamlessly. I’m notorious for not being able to get it to work.
- I love that the Cricut software walks you through step-by-step what to do when cutting. Even as a seasoned Cricut user, the ability to use it not use a mat throws me for a loop. So I appreciate that it tells me exactly how long my vinyl needs to be.
Cons:
- The new smart vinyl is so hard to come off of the backing paper. I’ve never had this much trouble before. You really have to rub it hard to get it to stick to the transfer paper.
- The colors for iron-on are so limited. I have something in mind that I want to make and there’s no yellow. Mustard is not what I’m looking for.
- The need to purchase special supplies just for this machine. It takes different vinyl, different mats, and even different pens. It came with a mat so I’m sure that I can just use regular vinyl I already own and cut it to size (which I do already.)
You might also like:
- How to Use a Cricut Easy Press
- Easy DIY Koozies
- Making Decals for Tumblers
- Easy Tips for Cutting Scrapbook Paper with a Cricut
- Cricut Gift Guide
Pin for Later!

Emy is a vintage obsessed mama of 2 DIYer who loves sharing affordable solutions for common home problems. You don’t need a giant budget to create a lovely home. Read more…