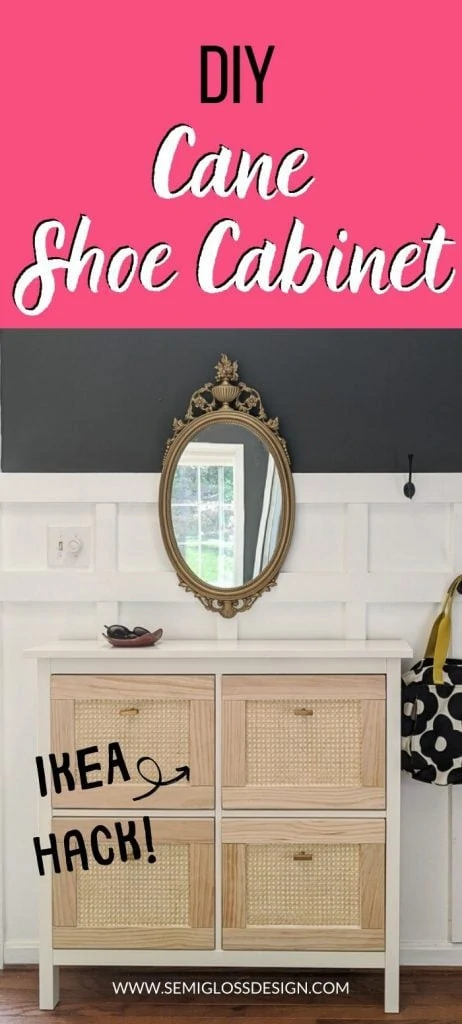
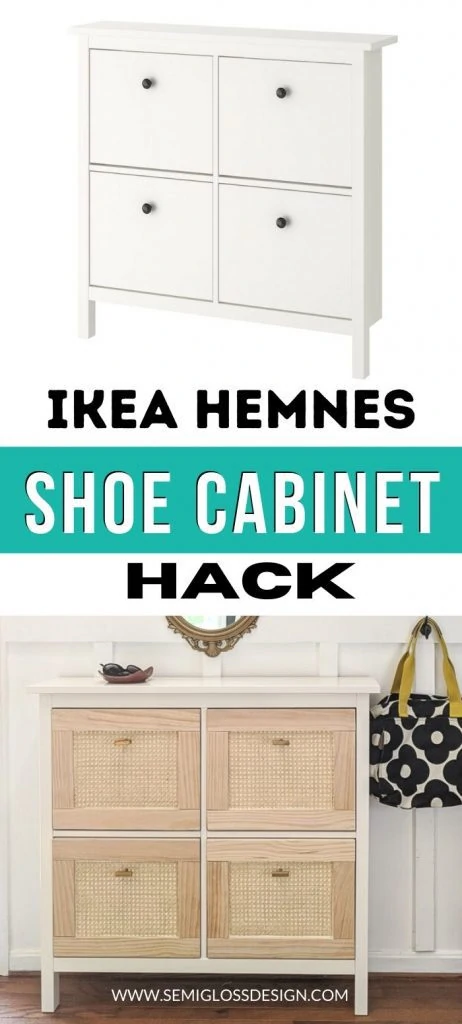
IKEA Hemnes Shoe Cabinet Hack: Adding Cane Panels
This easy IKEA Hemnes shoe cabinet hack features wicker cane panels. Add interest to the ubiquitous shoe storage piece with the beautiful texture of caning.
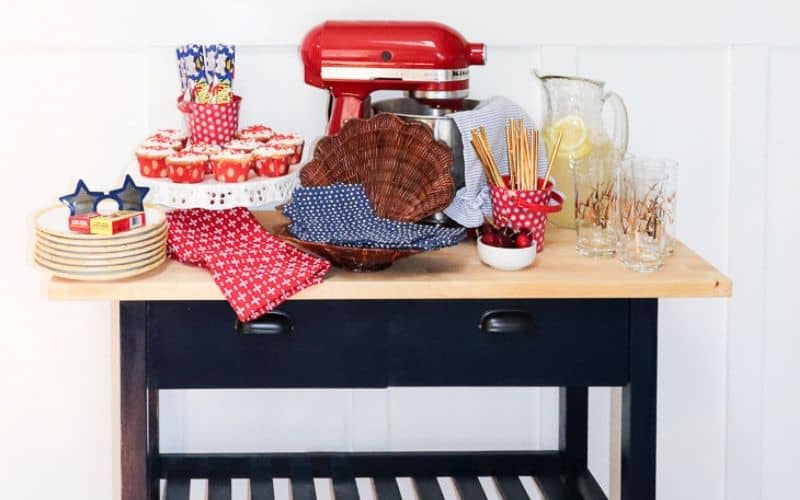
You might also like this post on how to hack an IKEA forhoja cart.
This post contains affiliate links. By purchasing an item through an affiliate link, I earn a small commission at no extra cost to you. As an Amazon Associate I earn from qualifying purchases.
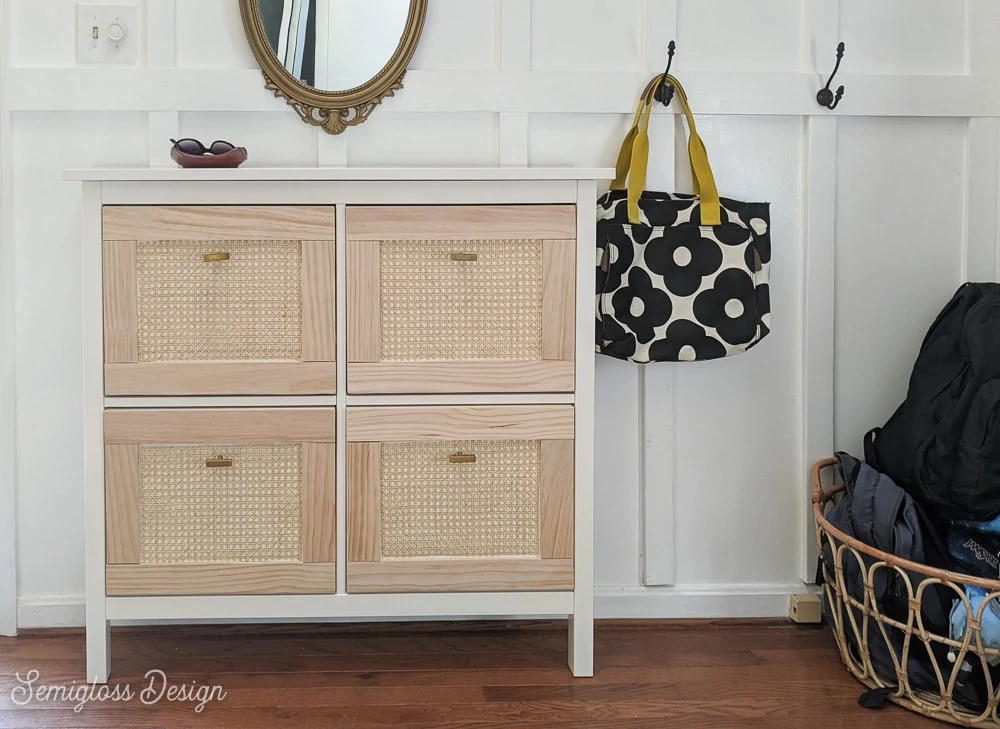
I’m in the process of giving my entryway a much needed makeover. The IKEA Hemnes shoe cabinet provides shoe storage and takes up very little space. It also provides a surface to place keys and mail.
I knew that I wanted to add cane, but I wanted to do a simple hack that didn’t involve cutting the cabinet to pieces. I also don’t want to look at shoes through the cane.
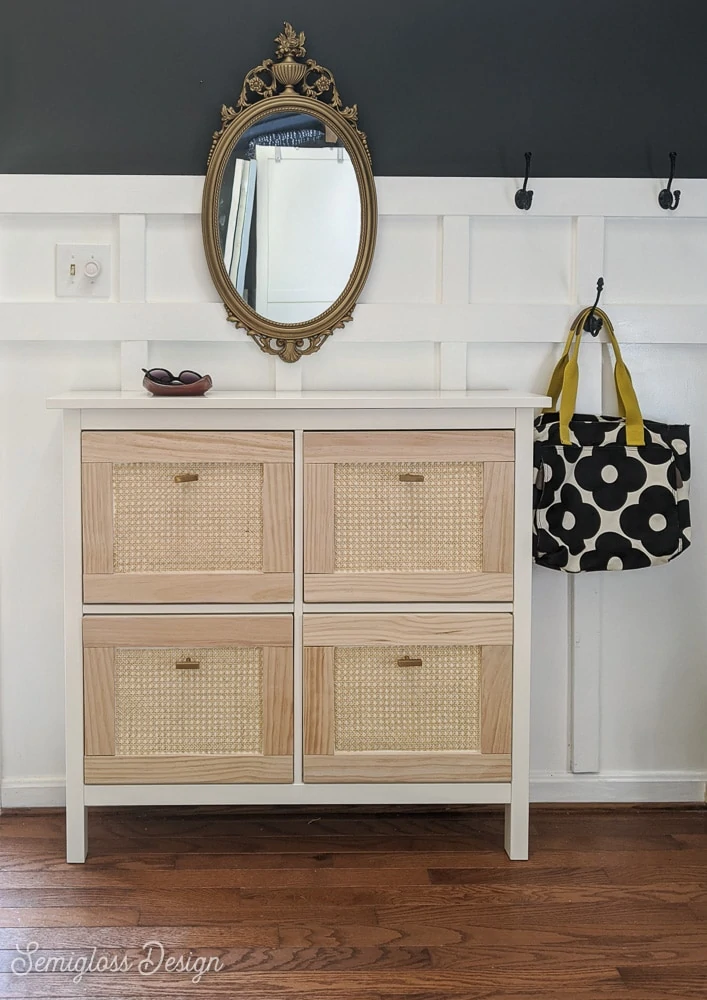
This hack turned out exactly as I envisioned it and I love the results. Best of all, it was pretty quick and easy. Most of the time spent was drying time.
By the way, I got the tip about using contact cement from this cane cabinet tutorial.
IKEA Hemnes Shoe Cabinet Hack
Supplies Needed
- IKEA Hemnes Shoe Cabinet (I used a white one, but black would look cool too.)
- Wood (I used 12 – 2’x 2″ pieces) It needs to be very thin!
- Miter Saw
- Cane* (I bought 4′)
- Scissors
- Sander with 80 grit sand paper
- Wood Glue – This is the BEST wood glue!
- Clamps – Clamps are necessary when using wood glue.
- Contact cement
- Scrap Wood
- Heavy items
- Awl
- Knobs
*There’s also cane contact paper if you want to avoid working with wicker cane.
Directions
I didn’t measure the wood for this hack because IKEA is typically sized weird. Instead, I used a pencil and held the wood up to mark where to cut.
- Assemble the IKEA Hemnes shoe cabinet up until attaching the wood panels to the drawers.
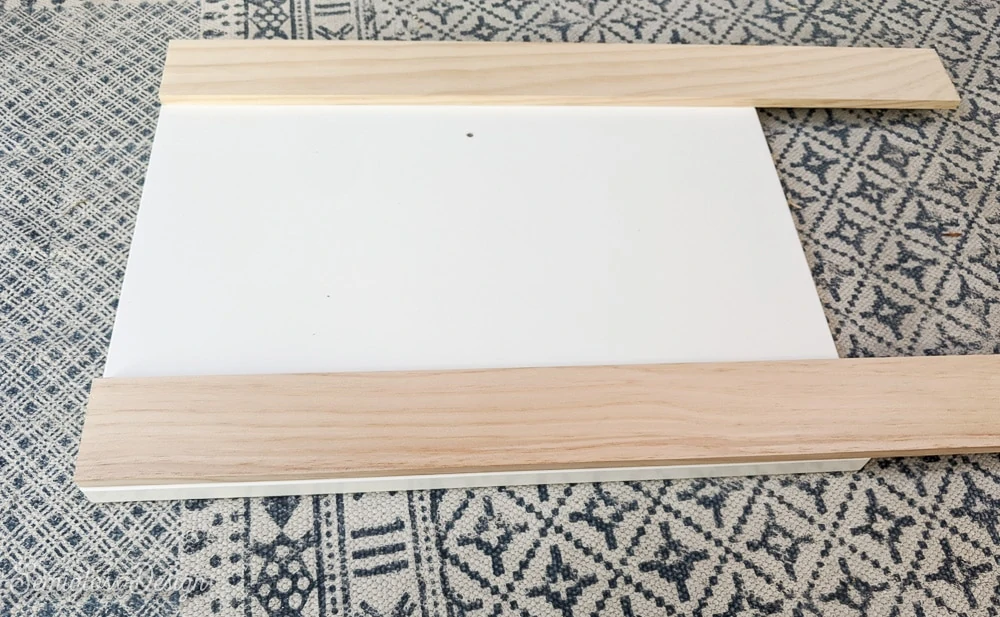
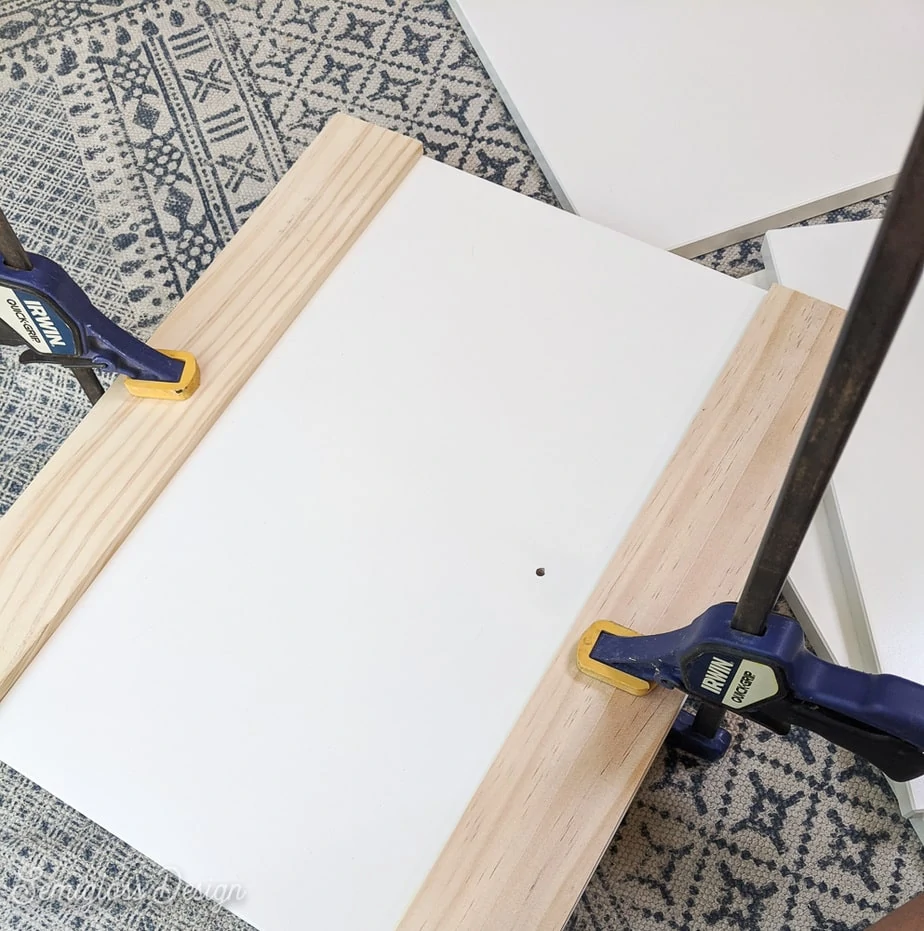
- Measure and cut the pieces of wood for the top and bottom rails.

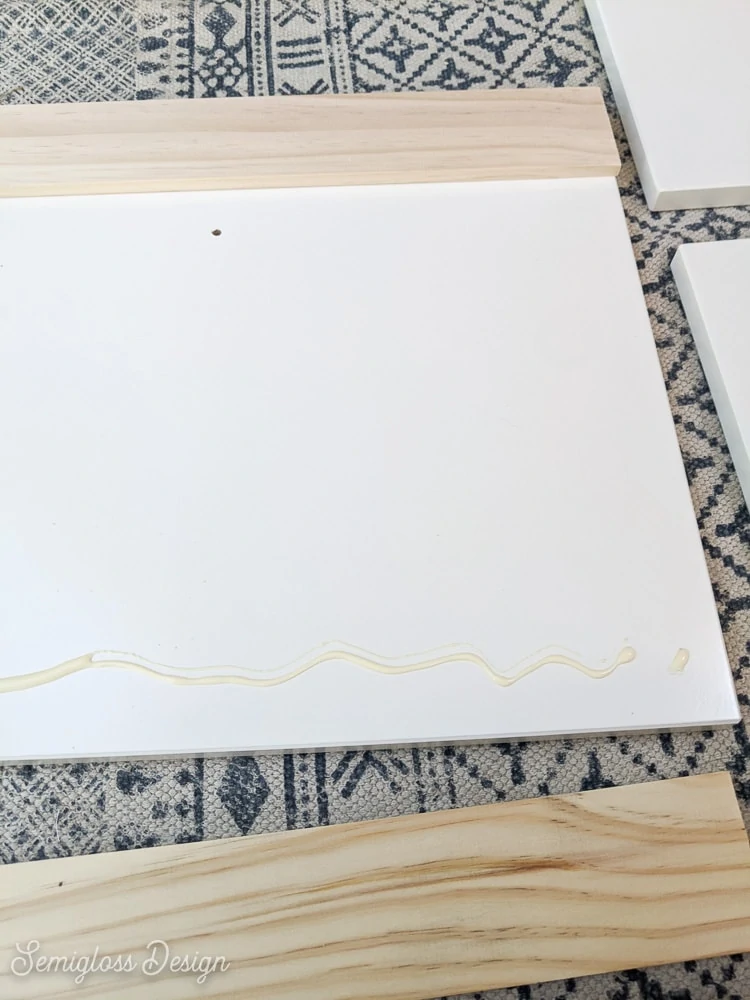
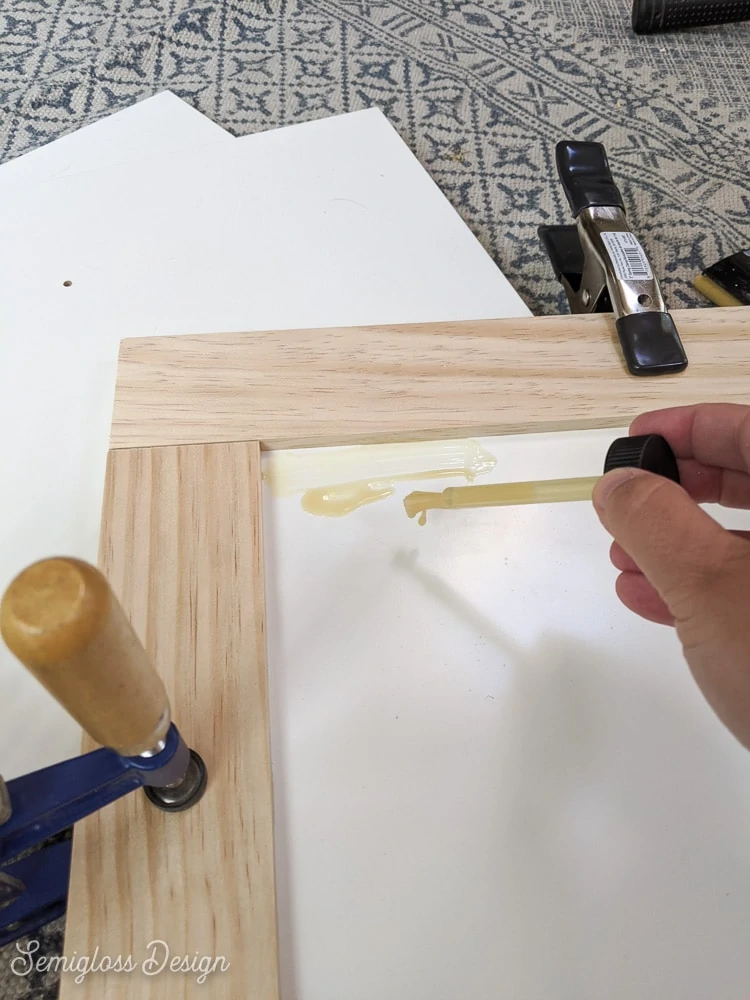
- Apply wood glue and put the wood in place, lining it up along the top and sides.

- Clamp in place. The surface is slippery so make sure that the piece is still aligned.

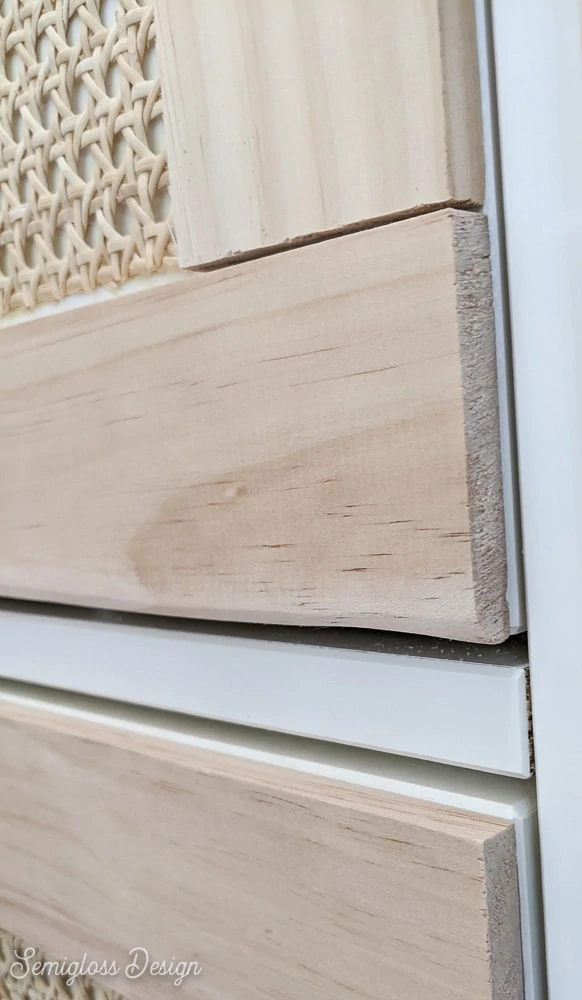
- For the bottom piece, you will either need to place the wood up about 1/4″ from the bottom or sand the edges smooth. The drawer can’t open properly without this.
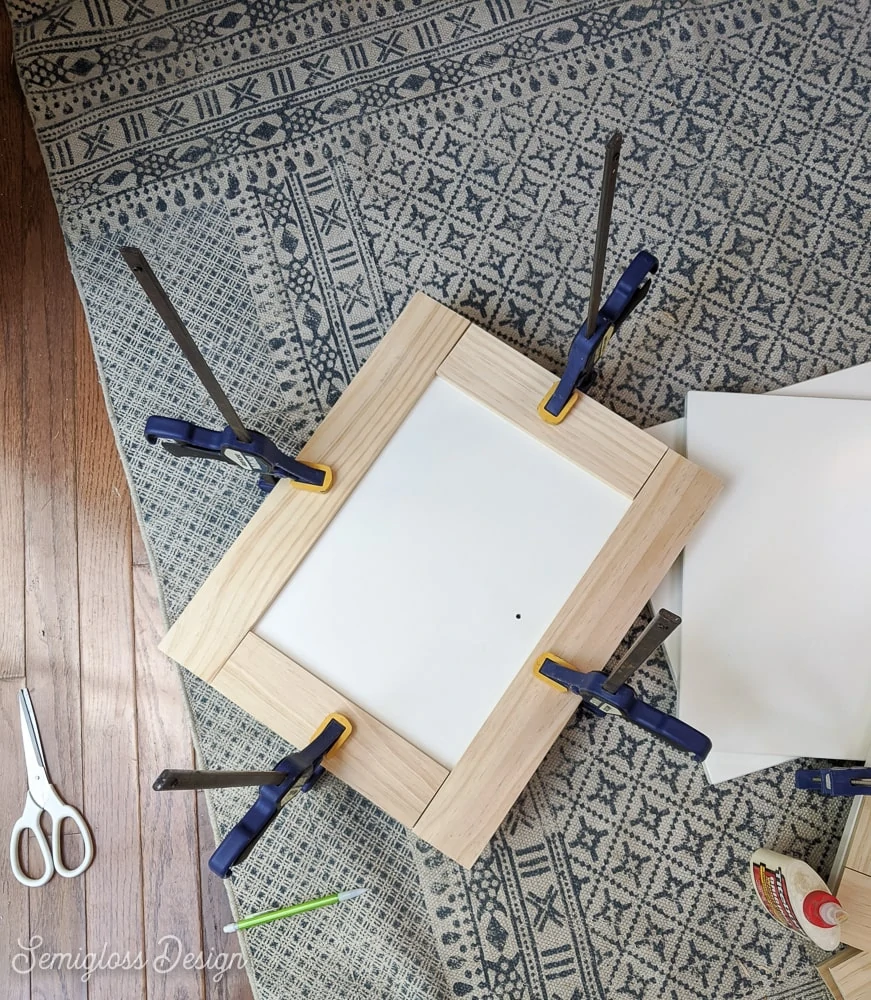
- Cut the pieces for the sides and glue and clamp these as well.

- Let dry for at least 24 hours so that the glue can bond well.
Making Sure the Drawers Can Open
This step was done after we added the cane panels and realized that the drawers can’t open with the thin piece of wood added.
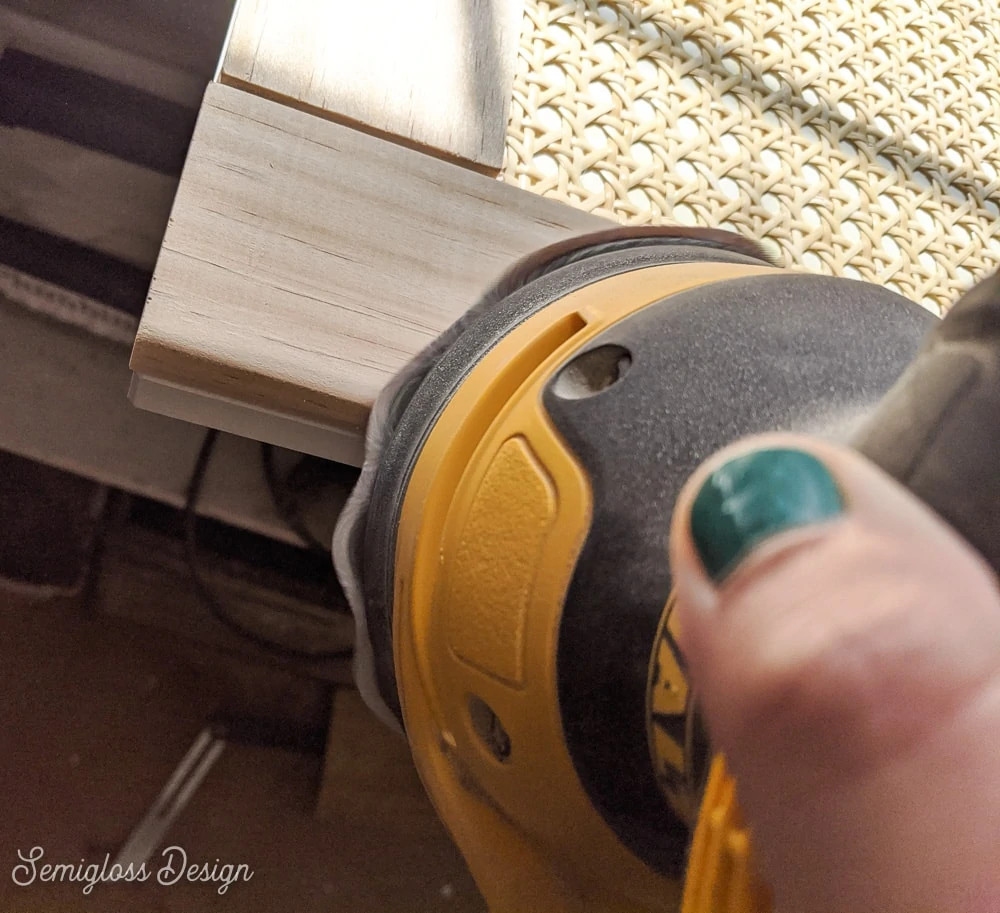
Use 80 grit sandpaper to sand the edges down. Make them rounded if possible. This will allow the drawer to open.
Adding the Cane Panels
I added the cane after letting the wood sit for a few hours.
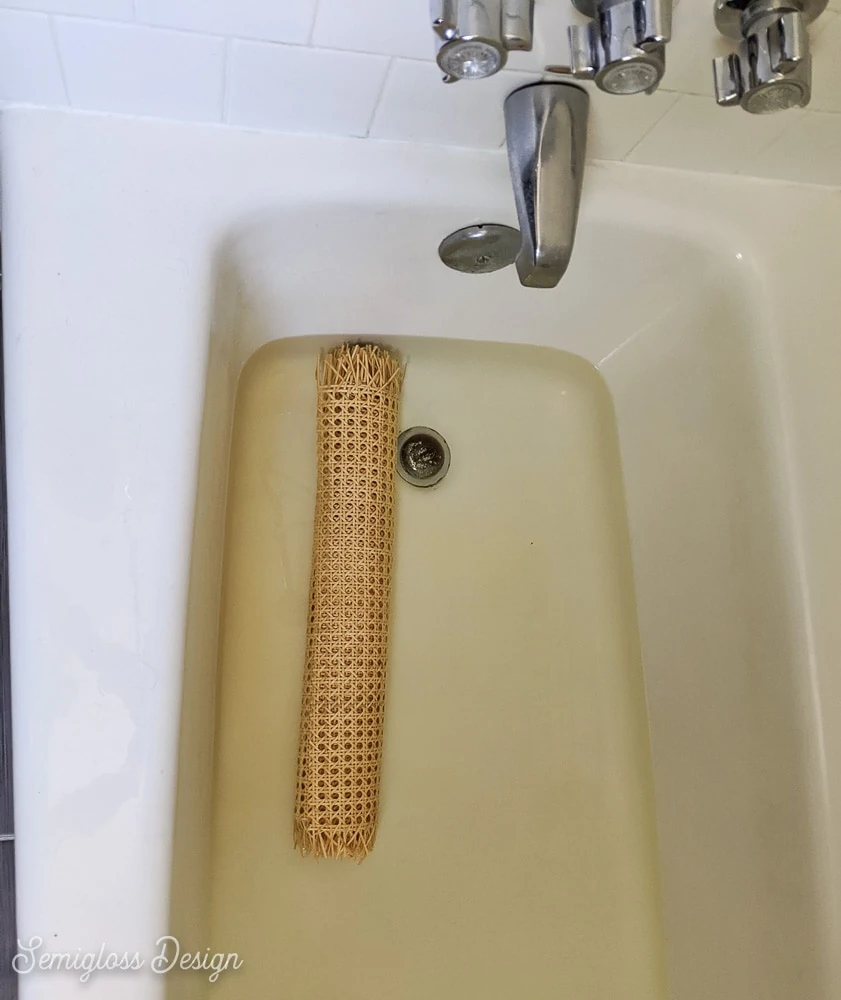
- Soak the cane in warm water for at least 30 minutes before applying. This makes the cane softer and easier to work with. I used a bathtub and the cane turned the water yellow.

- Dry it off with an old towel.
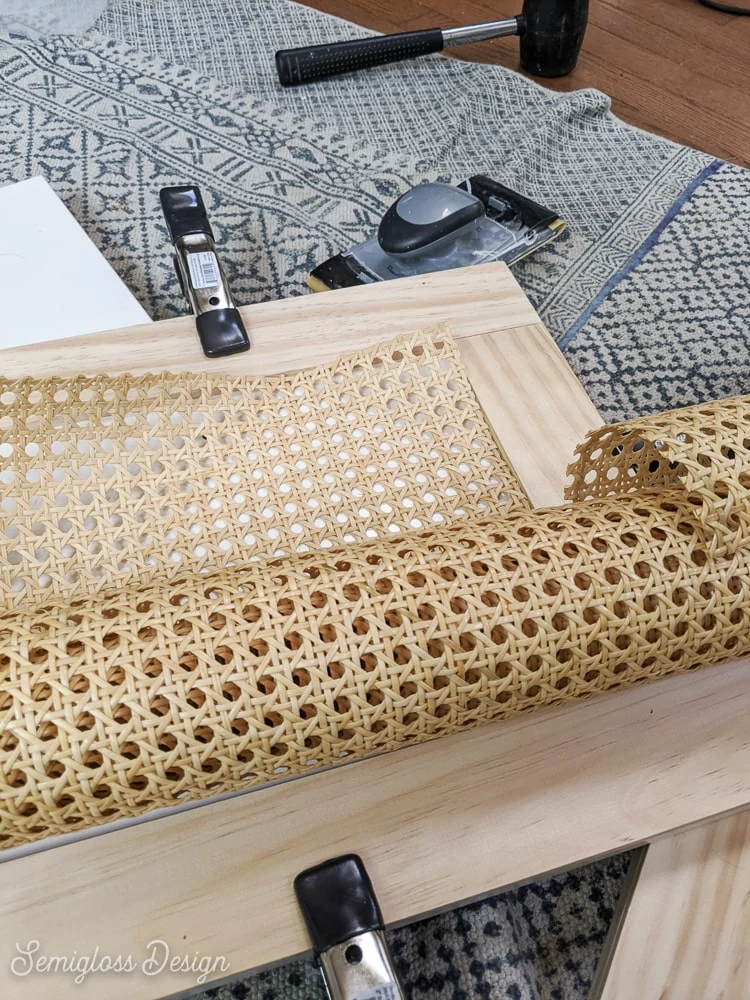
- Use scissors to cut the cane to the size of the opening.
- Dry fit the panel. Trim more off if needed.

- Apply a thin layer of contact cement. This glue is smelly and dries yellow, but it works.
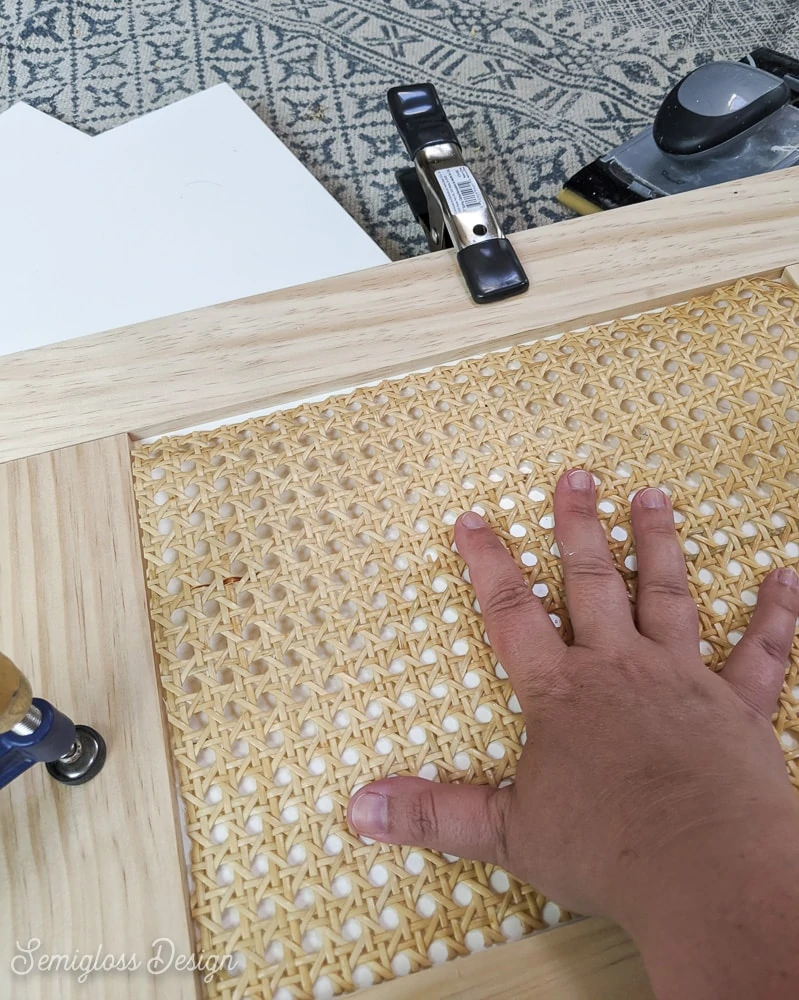
- Put the cane in place.
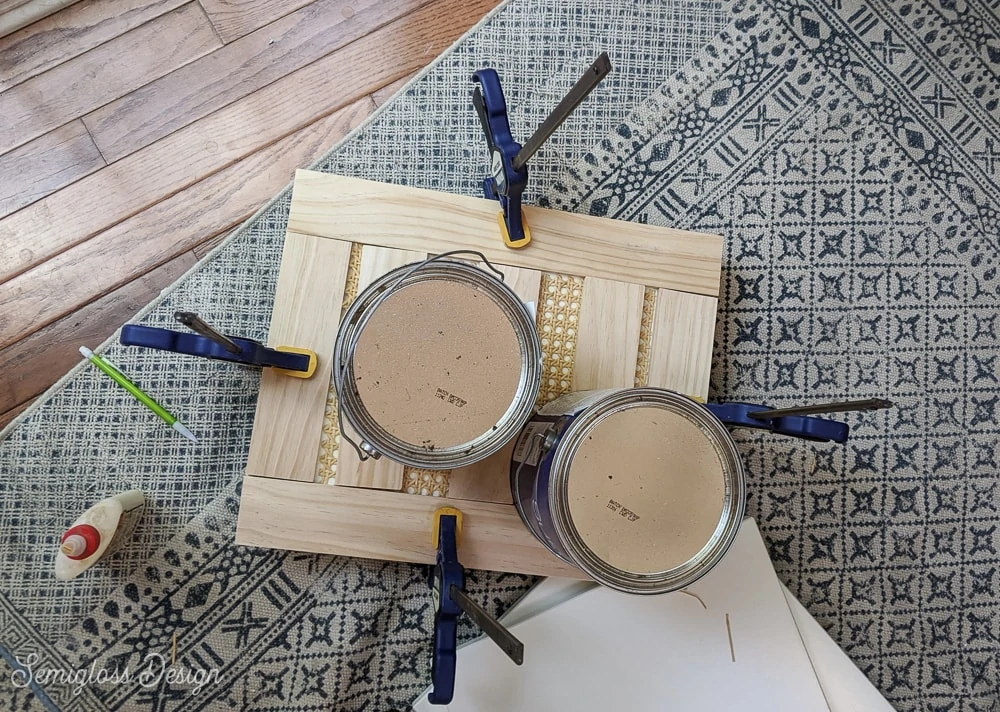
- Use scrap wood on top of the cane, making sure you get the edges and any parts that are puffing up.
- Sit something heavy on top of the scrap wood to hold it down. I used paint cans.

- Let it dry for about 24 hours.
- Finish assembling the drawers and install in the cabinet.
Adding the Knobs
Unless you get really lucky, the cane covers up the holes for the knobs.
Use an awl to push the cane aside so that you can install the knob. If you don’t have an awl, anything small and pointy works.
Other IKEA Hacks
- How to Wallpaper Alex Drawers
- Dip Dye Curtains
- IKEA Bror Cart
- Shibori Dyed Henriksdal Slipcovers
- Besta Hack
- IKEA Sektion Desk
- Painted IKEA Cabinets
- IKEA Rast Hack: Adding Peel and Stick Wallpaper
Pin for Later!

Emy is a vintage obsessed mama of 2 DIYer who loves sharing affordable solutions for common home problems. You don’t need a giant budget to create a lovely home. Read more…