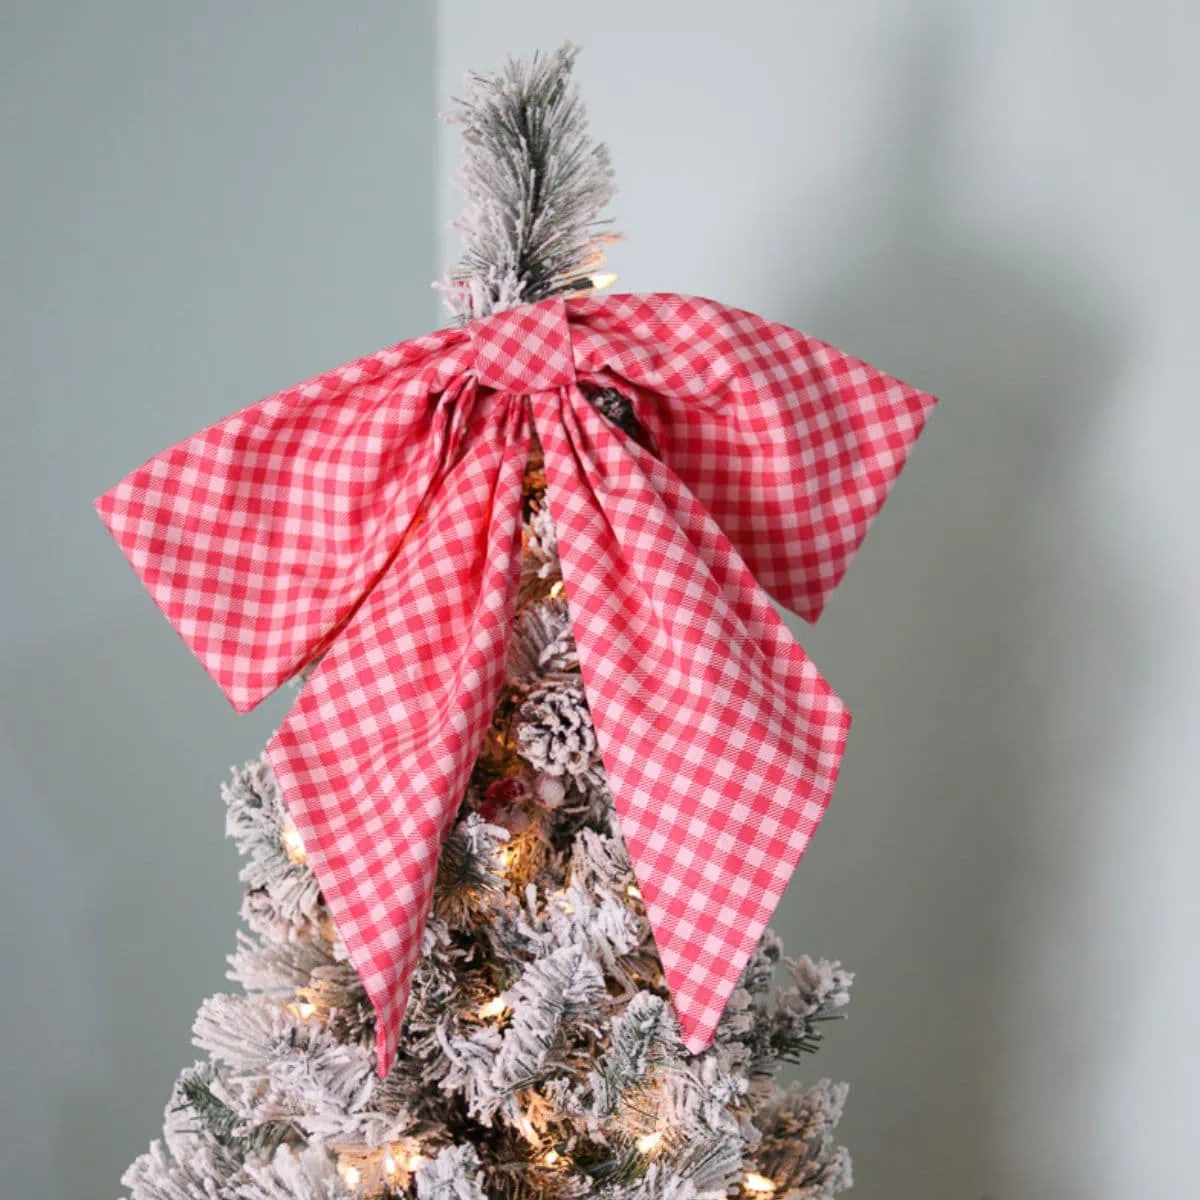
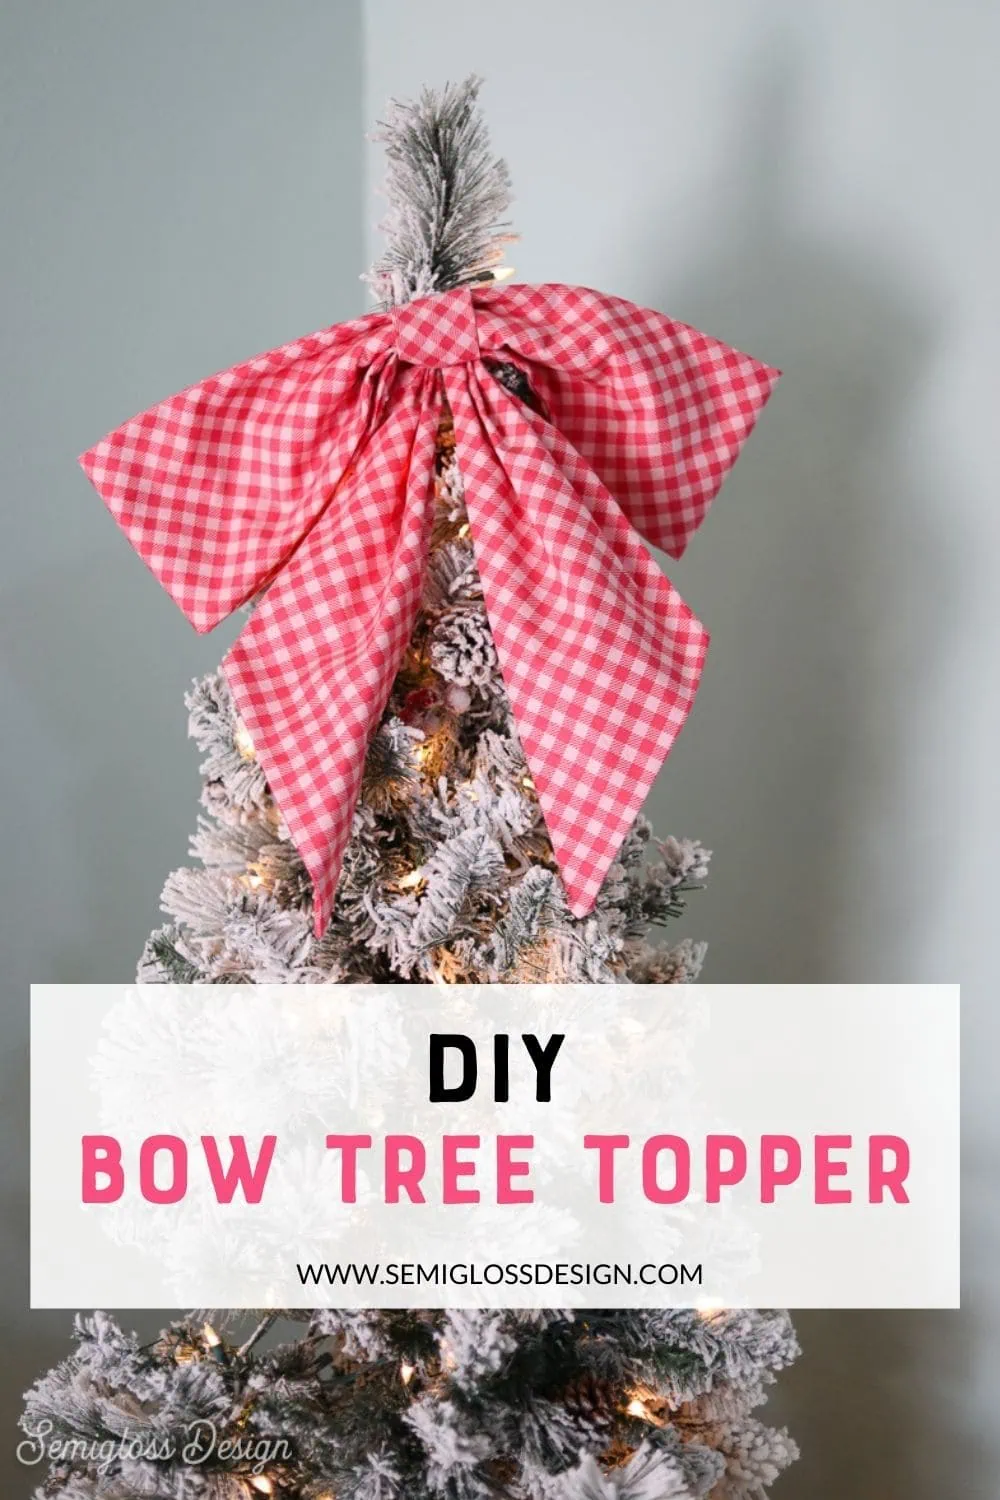
DIY Giant Bow Tree Topper
Learn how to make a large fabric bow topper for your Christmas tree. This simple sewing project is perfect for beginners who are looking to add a whimsical touch to their Christmas decor.
This post contains affiliate links. By purchasing an item through an affiliate link, I earn a small commission at no extra cost to you. As an Amazon Associate I earn from qualifying purchases.
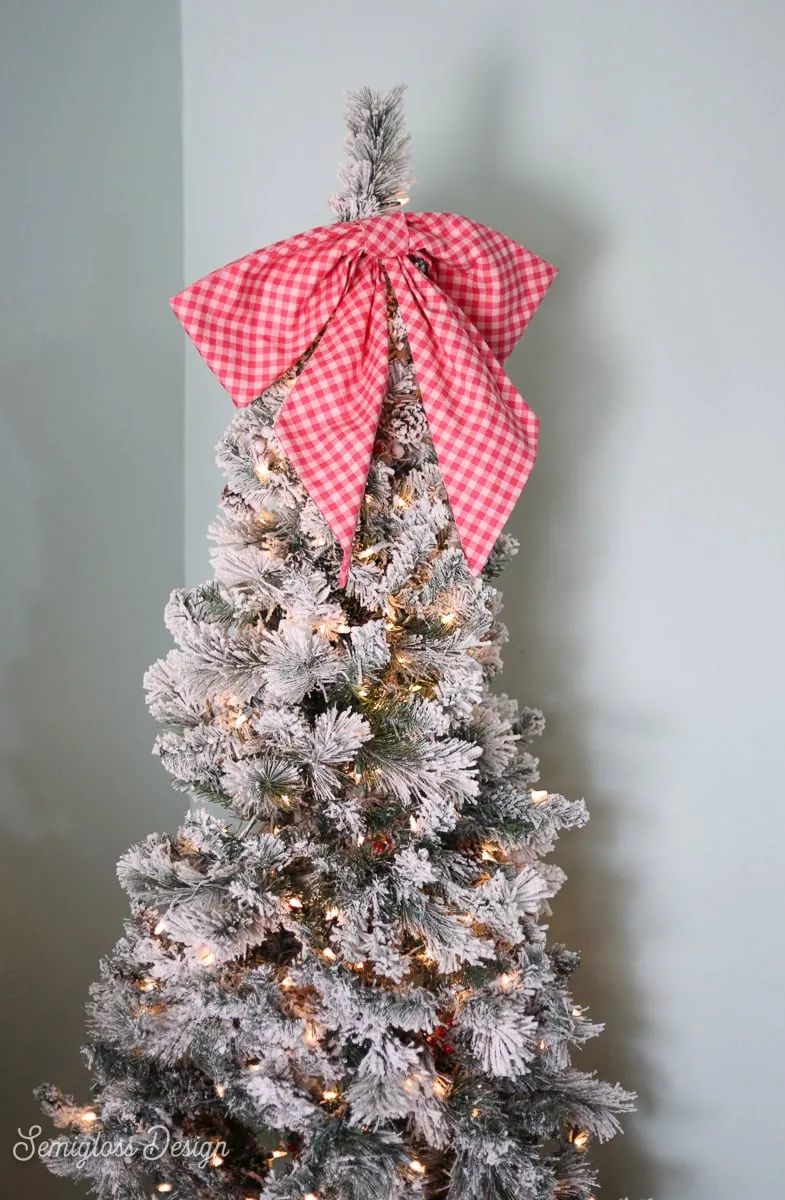
I love a fun tree topper, but they never really work well. I don’t know about you, but every tree that I’ve ever had has a wimpy top branch, which makes placing a tree topper impossible.
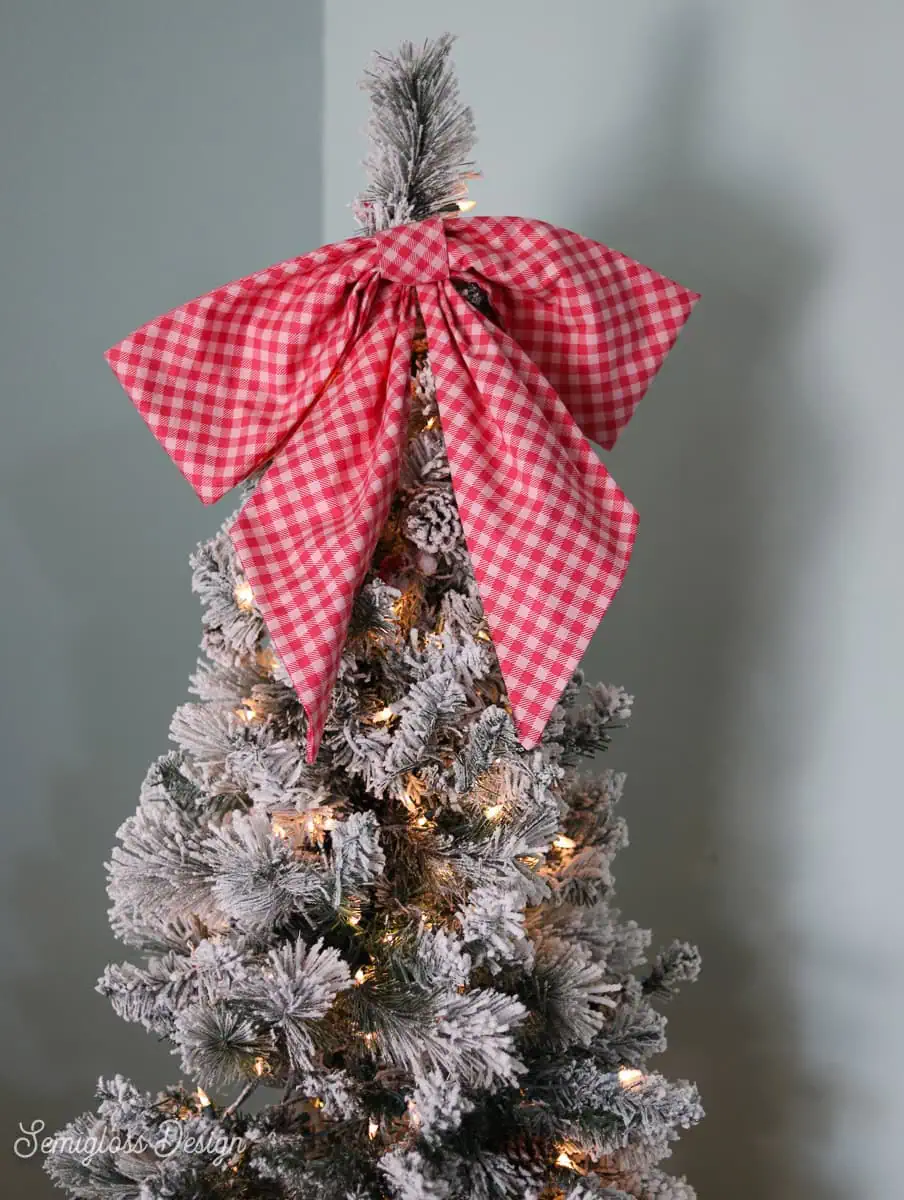
Luckily, this bow tree topper is very lightweight and is easy to attach to the tree with ties. It sits at the top of the tree without threatening to tip the whole thing over. So in my mind, it’s perfect. Plus, it’s so cute.
Notes About Construction:
Before I get started, I want to explain why I didn’t just make a long strip of fabric and tie it into a bow.
To achieve the look I’m going for, I wanted the bow loops to be nice and full, so I knew that I had to line them with quilt batting to add some structure.
The 2nd reason is that no matter how many times I try to tie a perfect bow, it always ends up lopsided and floppy.
The last reason is that this saves a bit of fabric, which is always nice.
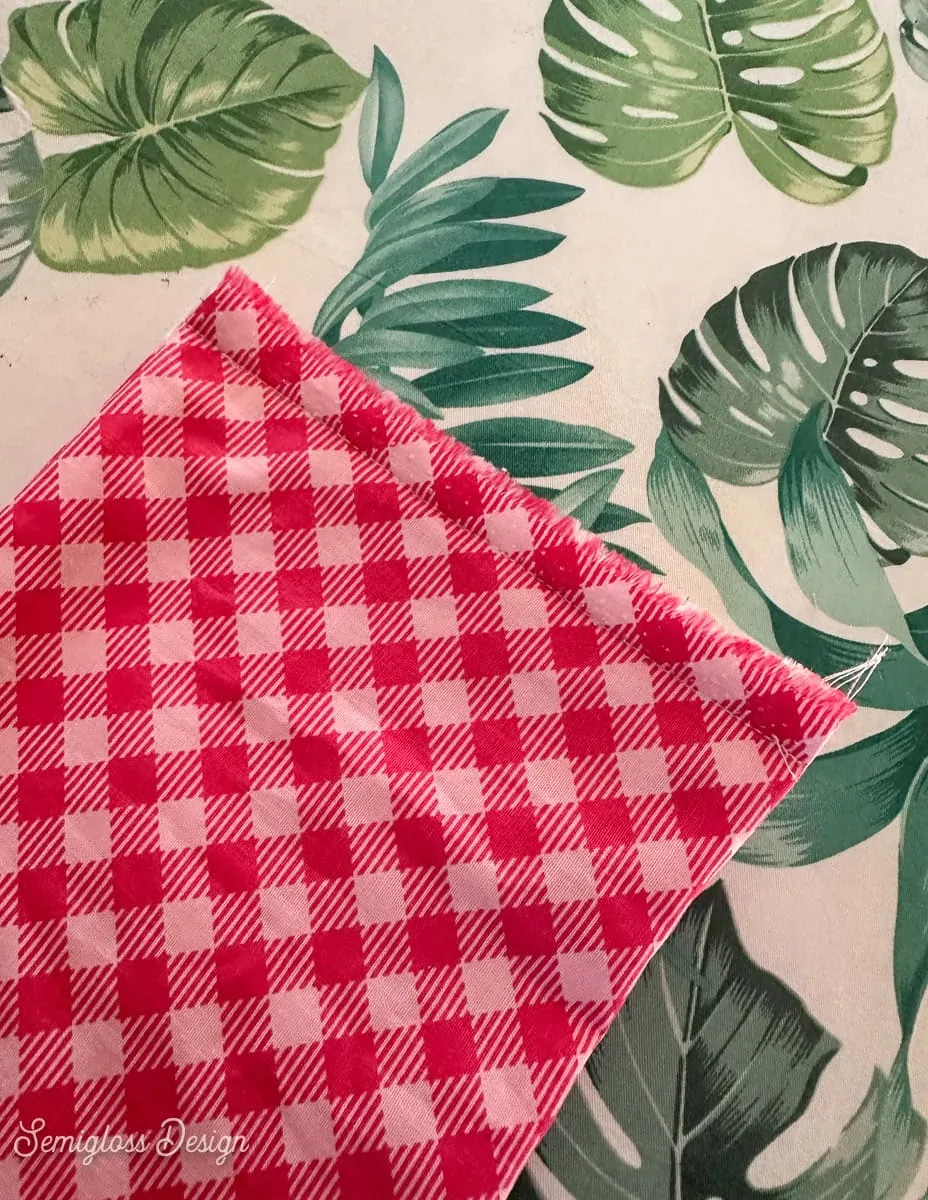
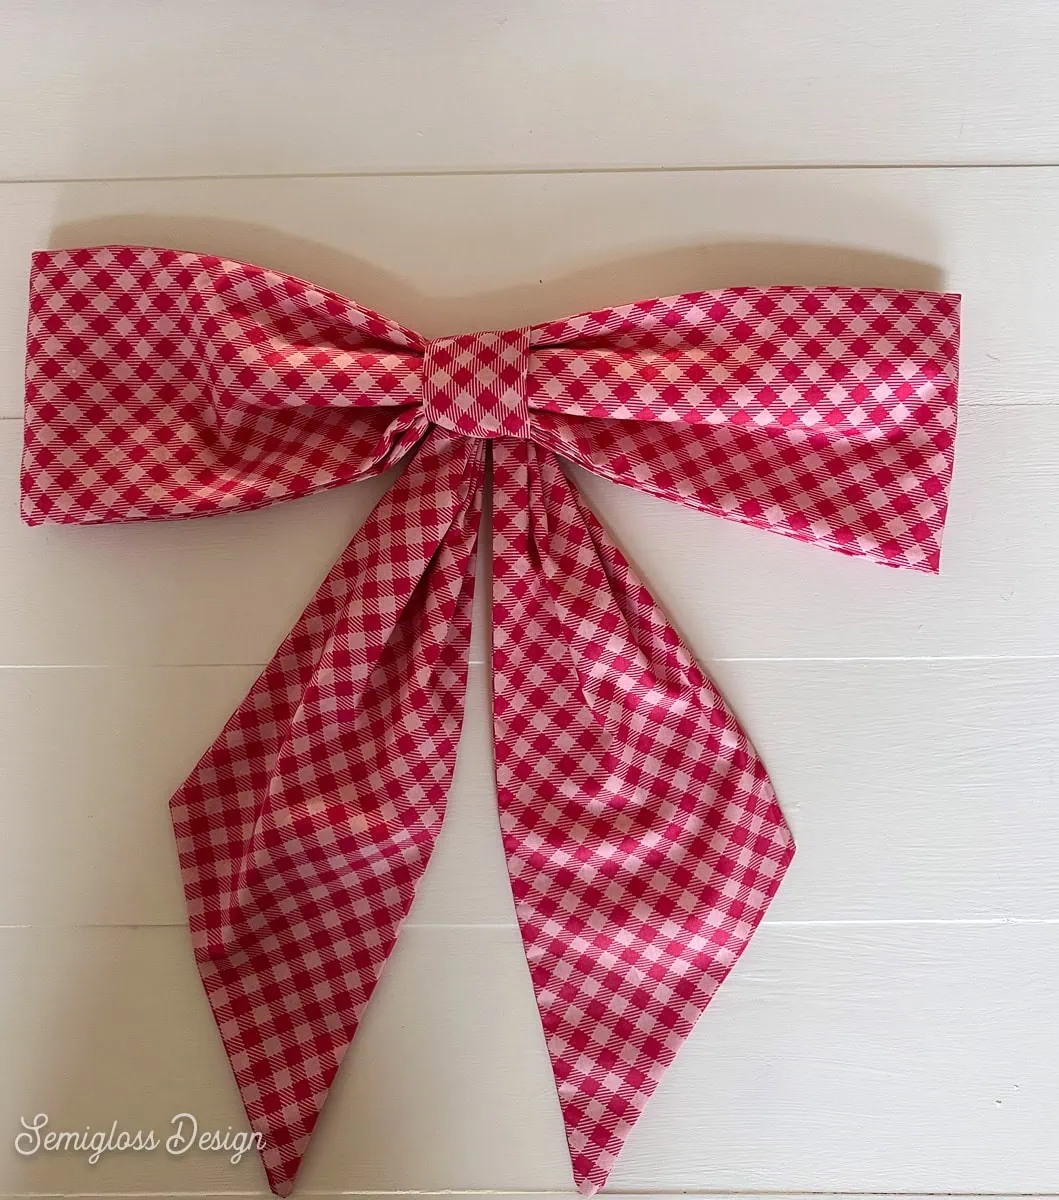
In the end, I’m so happy with the results. My giant bow tree topper looks exactly the way I was hoping it would. And how cute is that gingham fabric?
How to Make a Bow Topper for Your Christmas Tree
Supplies Needed:
- Fabric (I used 1 yd of this fabric)
- Quilt Batting
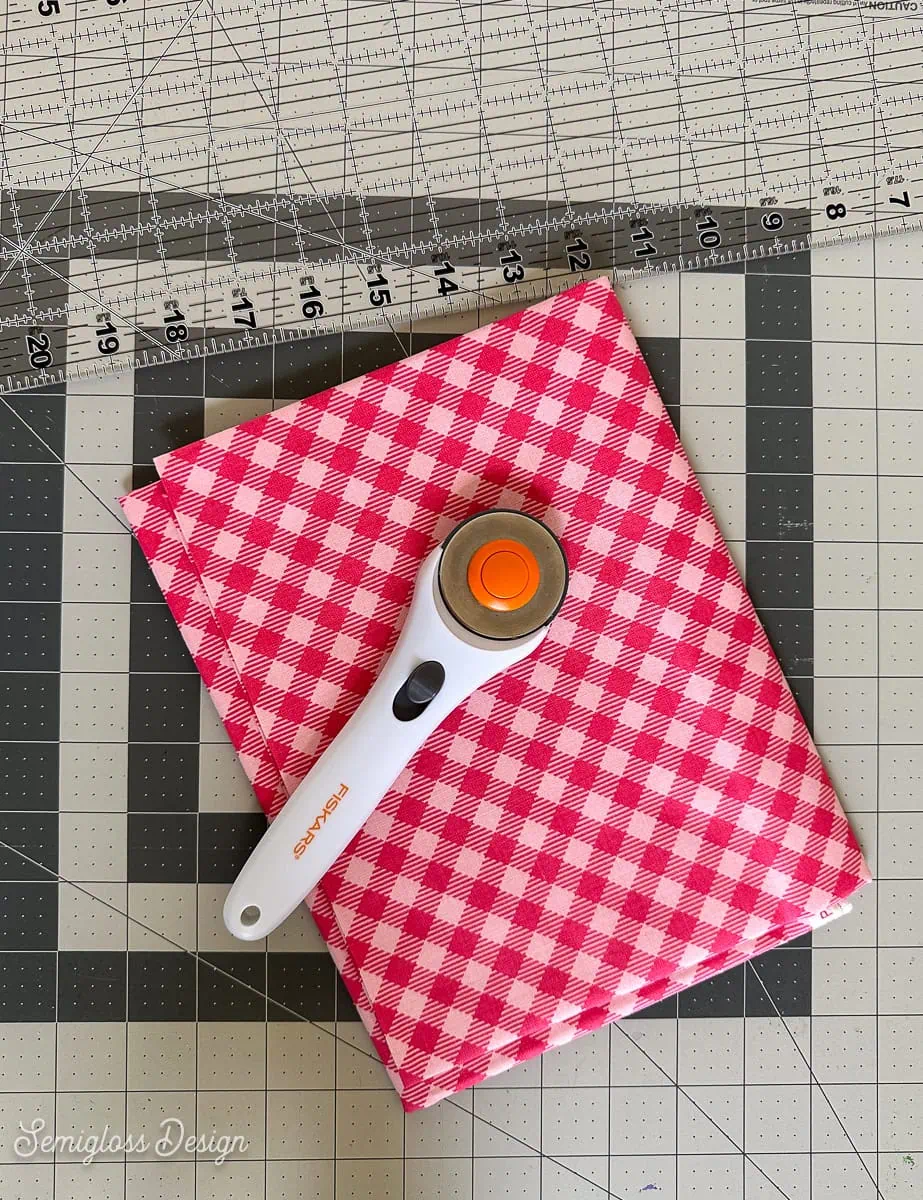
- Scissors or Rotary Cutter and Mat
- Sewing Machine
- Needle and Thread
- Pins
- Iron
- Cut List and Illustrated Sewing Pattern PDF (located at the bottom of this post)
Since I don’t plan to wear or wash this bow, I didn’t pre-wash the fabric. You can if you want, though.
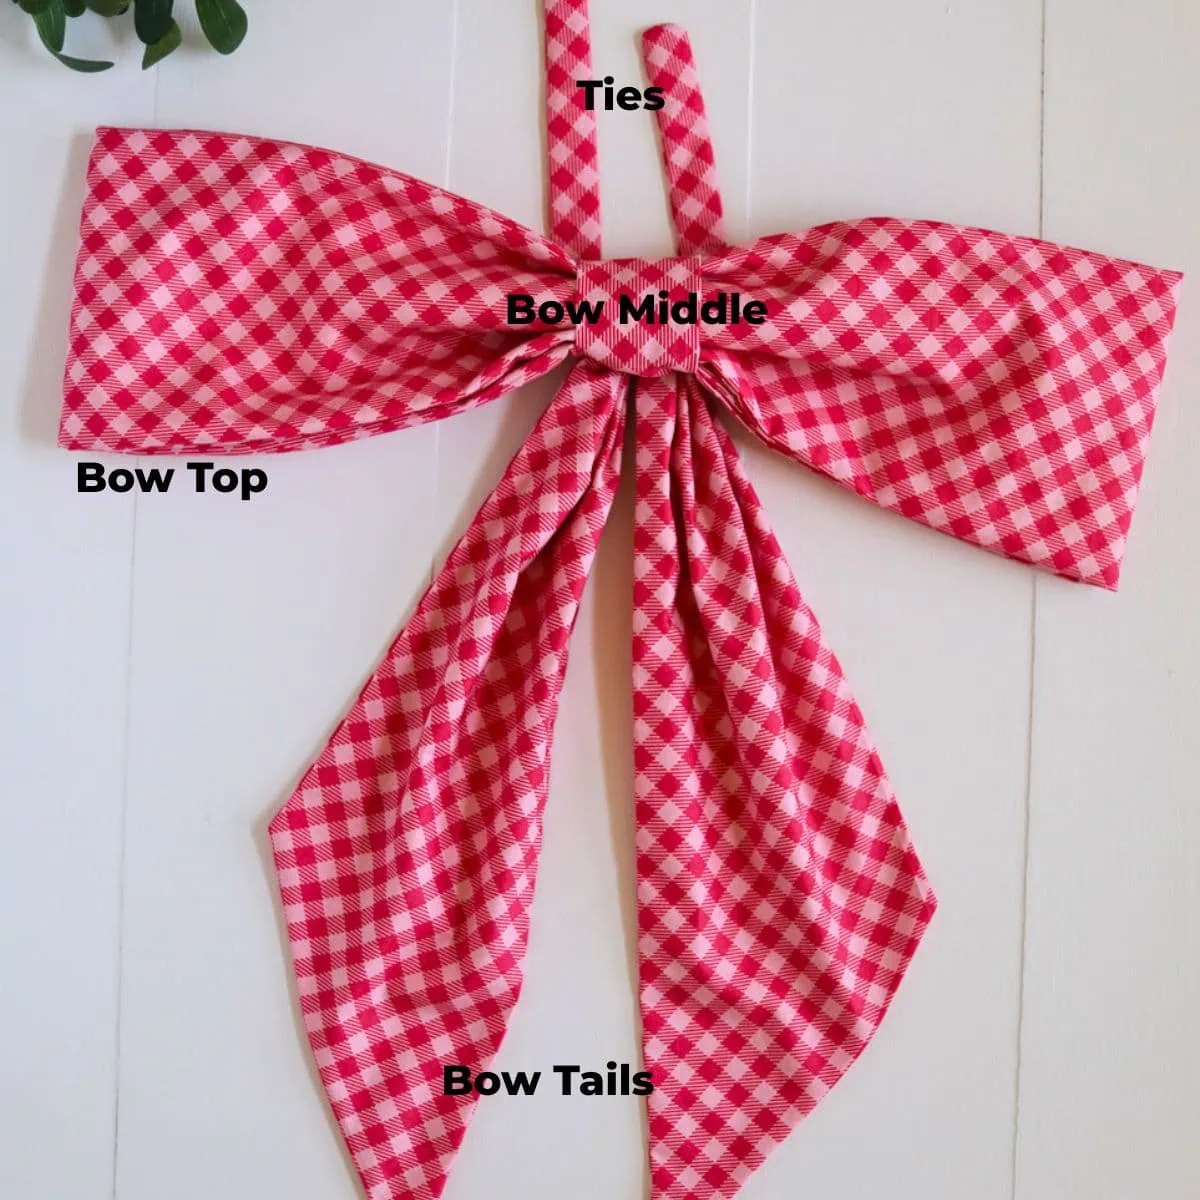
For clarification, I’ve named the parts of the bow as shown below in the diagram. And if the photo instructions don’t make sense to you, the illustrated instructions will.
Sewing Instructions
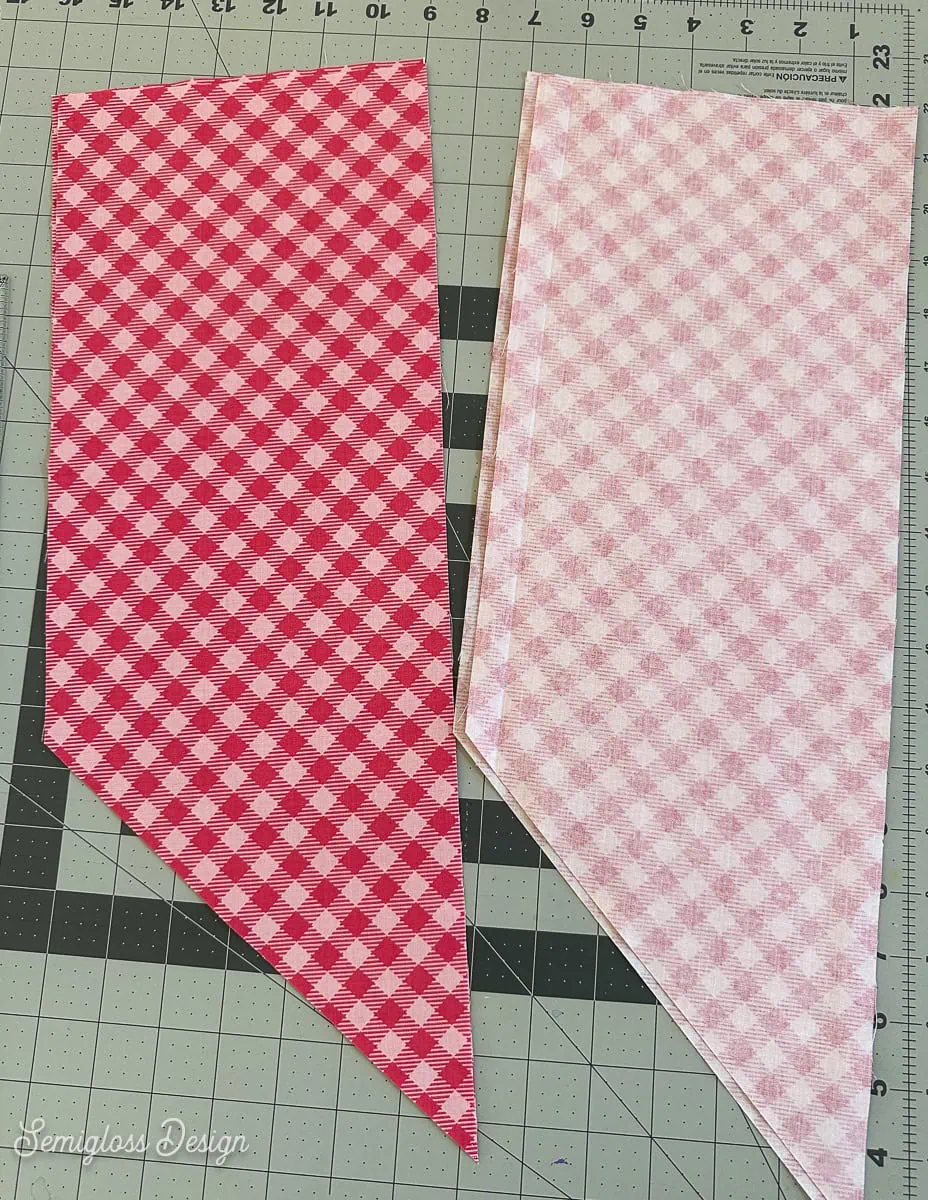
- Cut the fabric as directed in the instructions below. I’ve provided a printable PDF to help you make your own bow. The directions include a cut list and a visual guide for cutting the pieces from 1 yard of fabric. The bow tail pieces get cut at 45º. Make sure that 2 face one way and 2 face the other way.

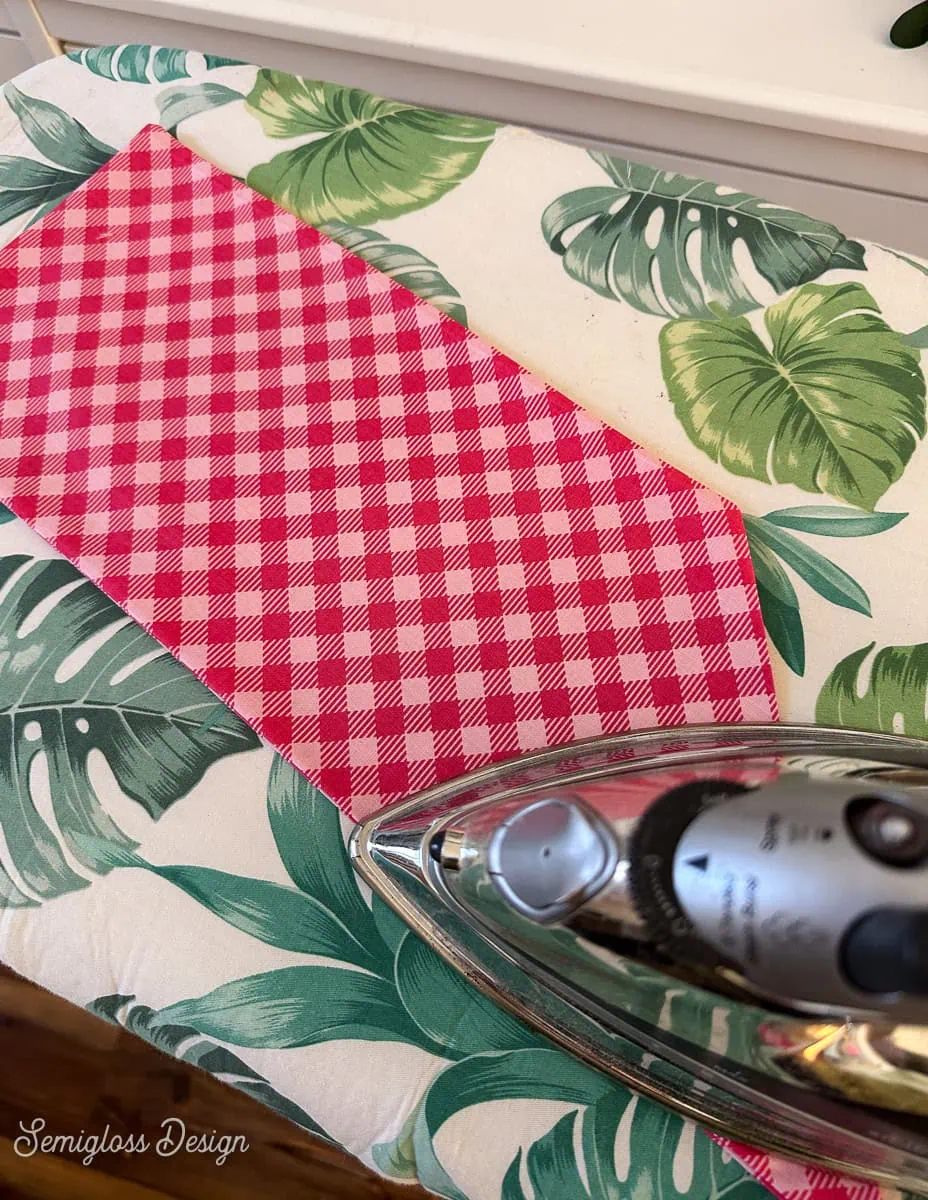
- Use your iron to press all of the fabric. This makes it so much easier to work with, rather than fighting wrinkles.
- After this, you can iron as you go after sewing the pieces, or you can iron them all at once when you’re done. Ironing is an important step, so don’t skip it.
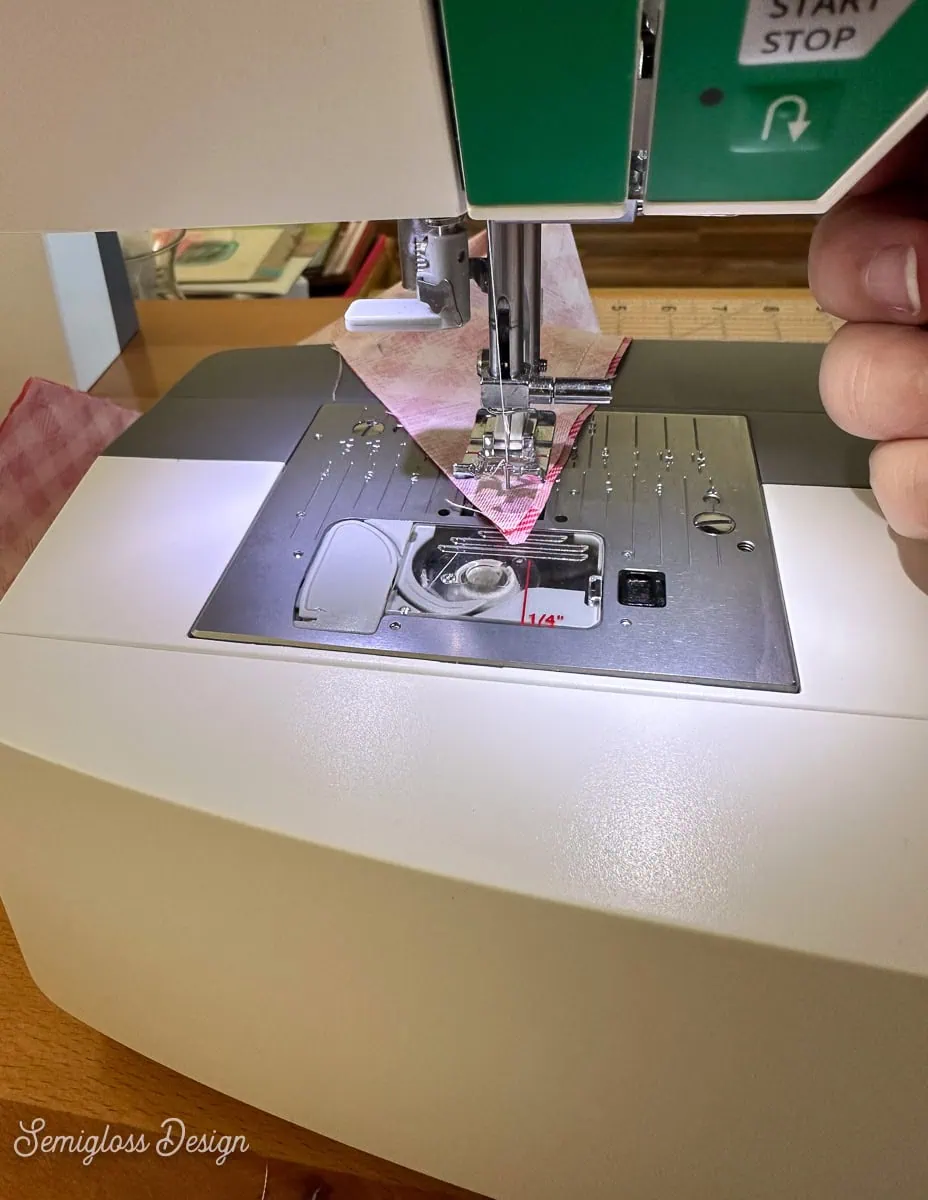
- Place the two pieces of bow top fabric right sides together and pin. Then, sew the long edges together using a 1/4″ hem.
- Flip it right side out.
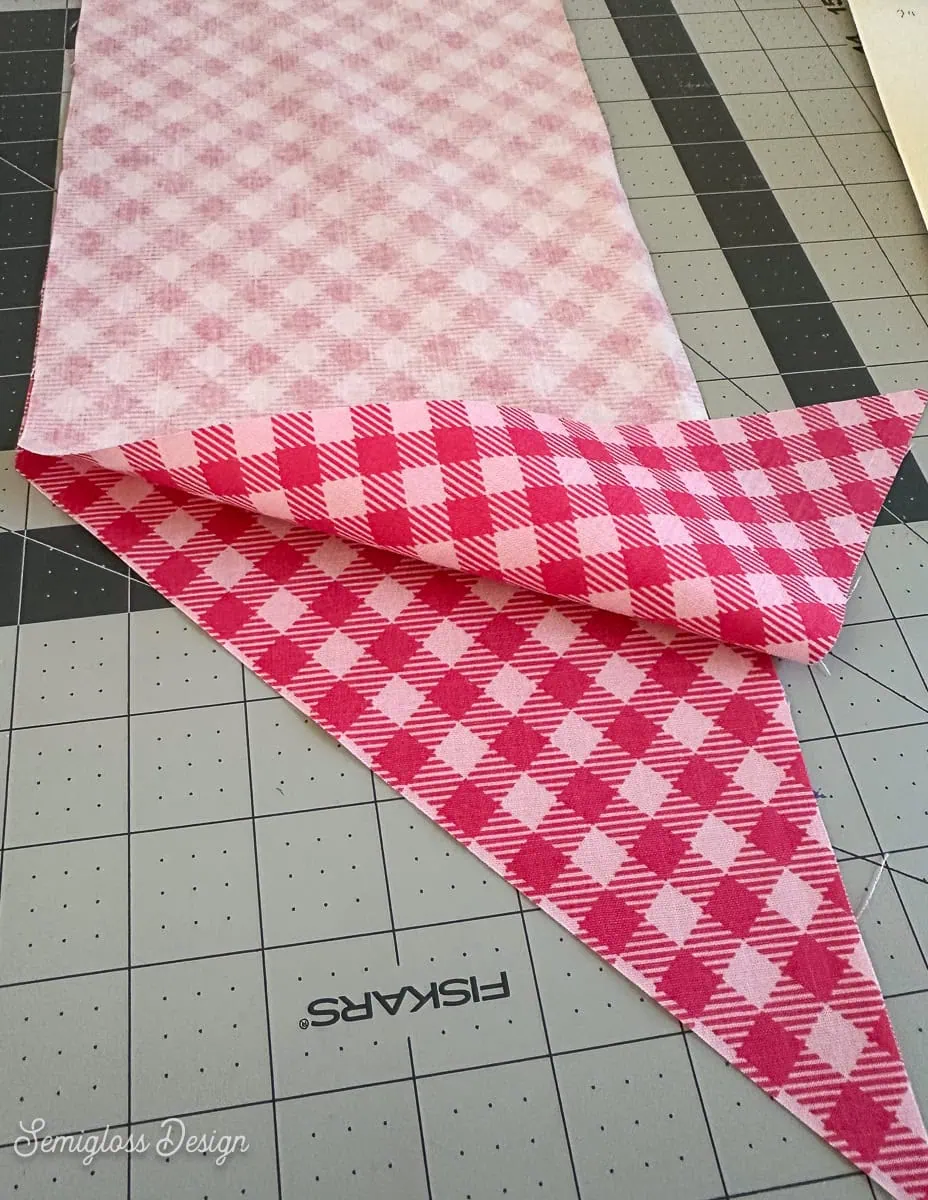
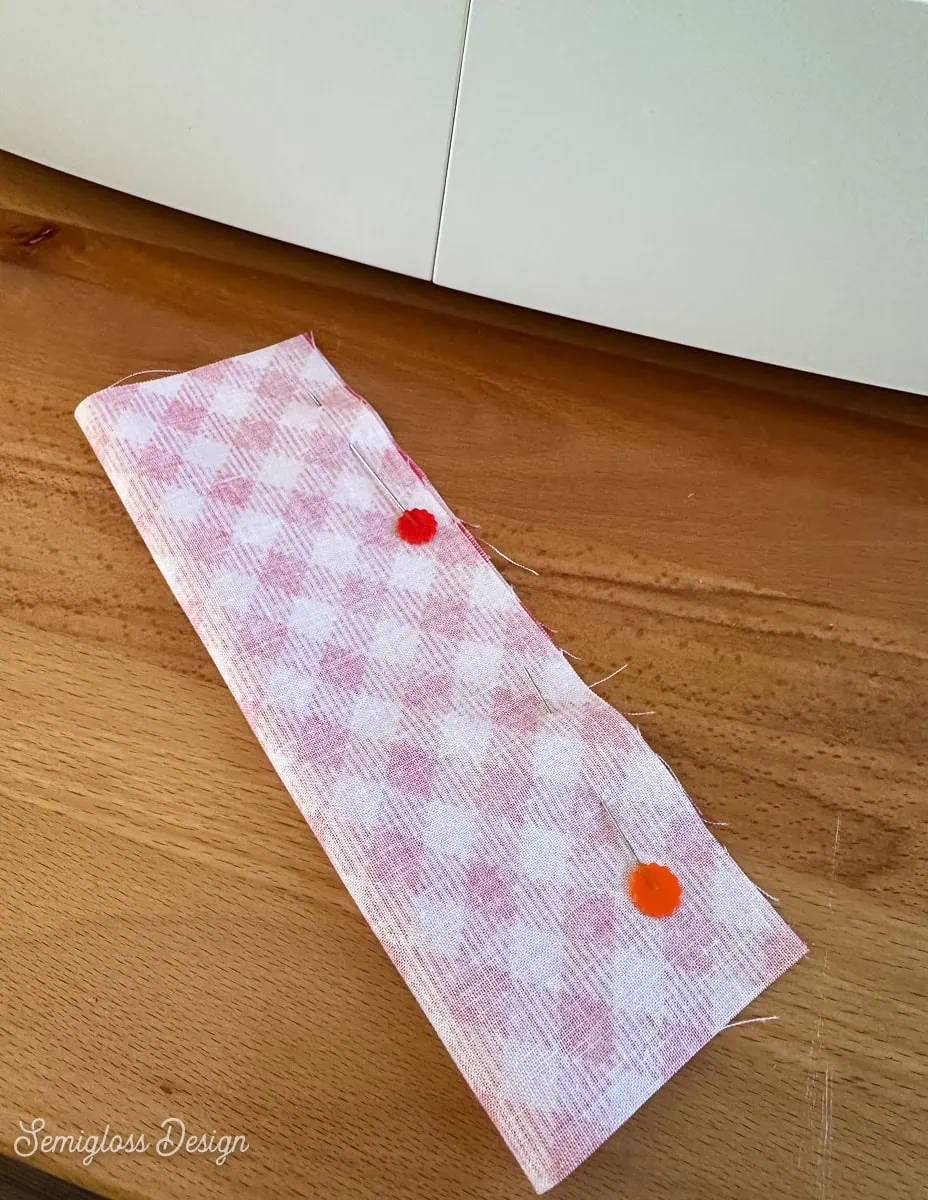
- Place 2 pieces of the bow tails right sides together and pin. Sew the long sides and the angle. Leave the short side open for now. Repeat for the other bow tail set.
- When you get to the corners, leave the needle down in the fabric, but lift the presser foot. Then turn the fabric. Use the handwheel on the side of the machine if needed.
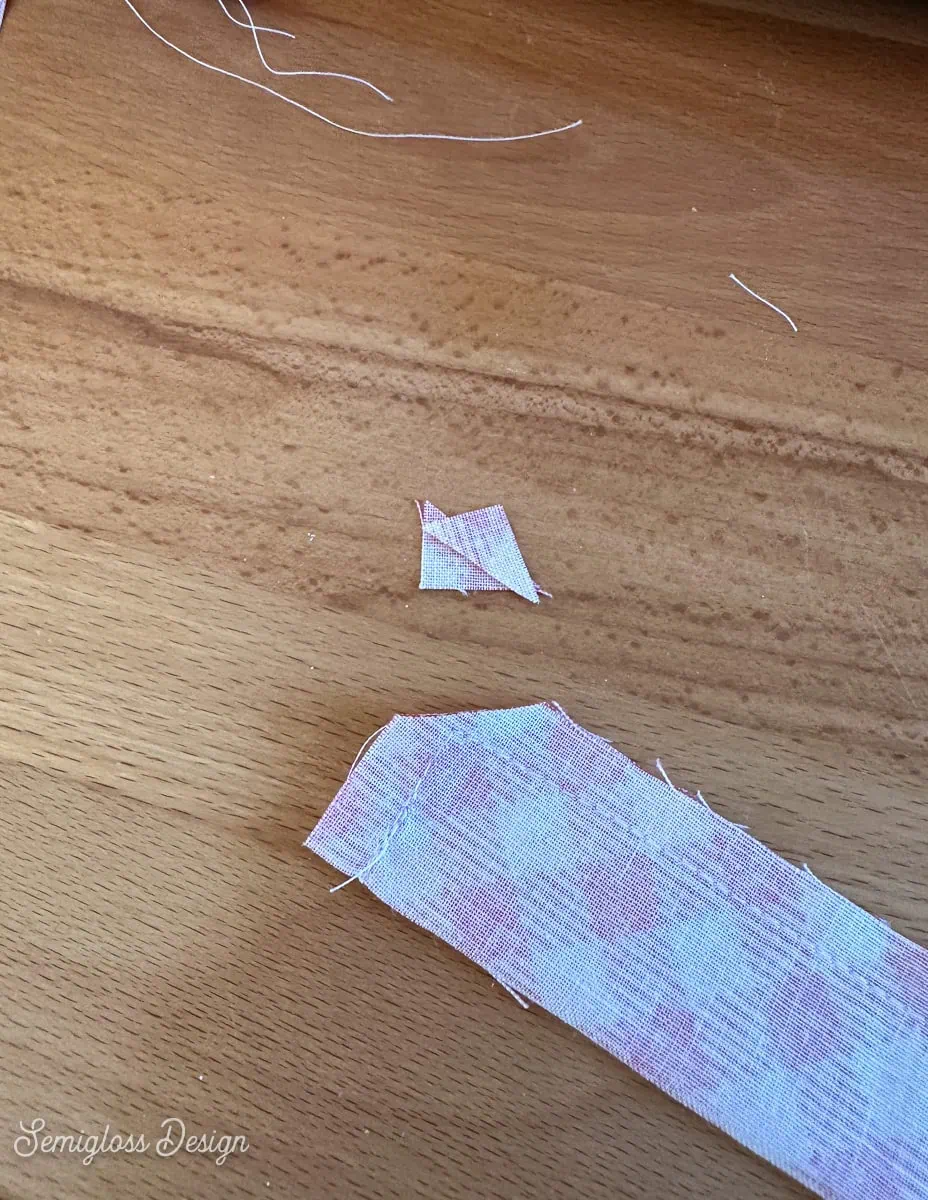
- Trim the corners to help them lie flatter.
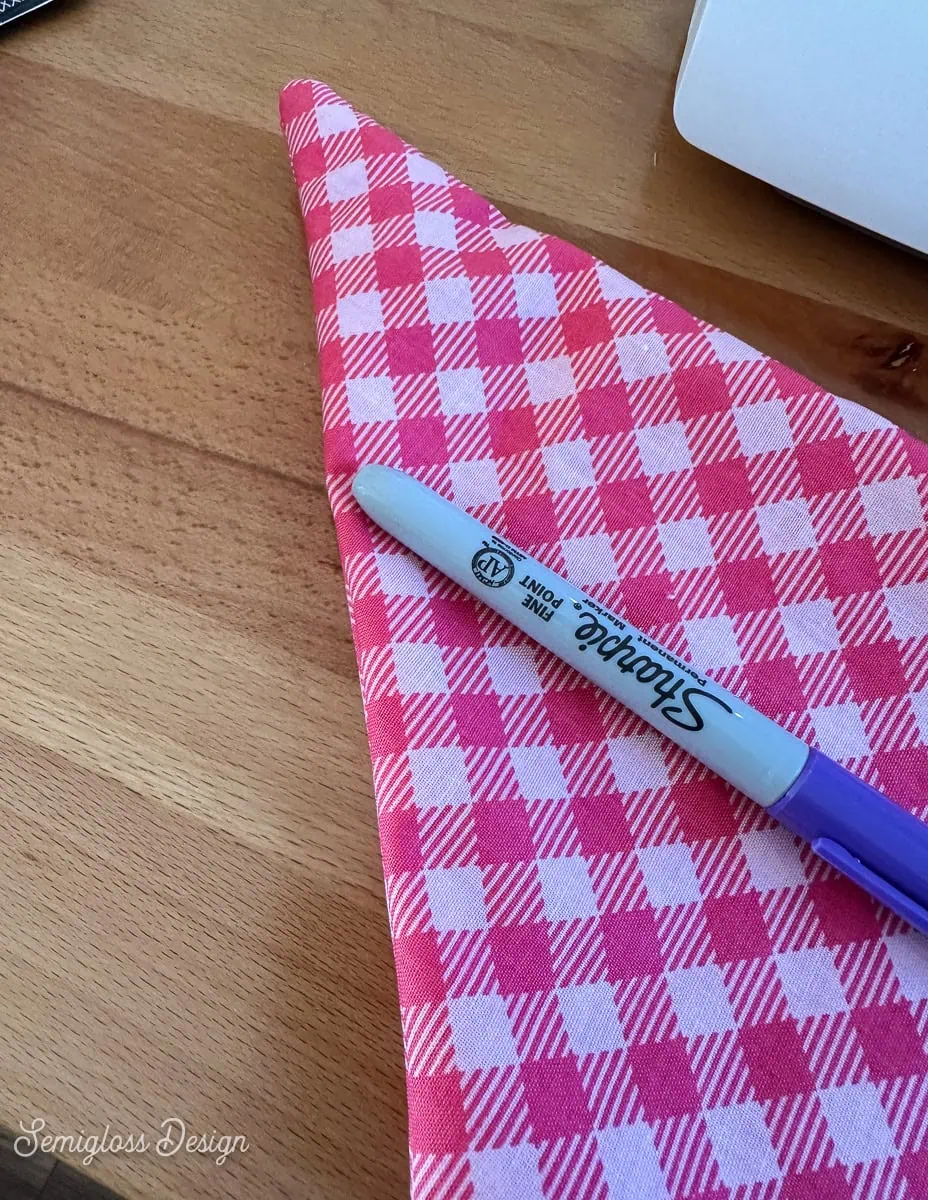
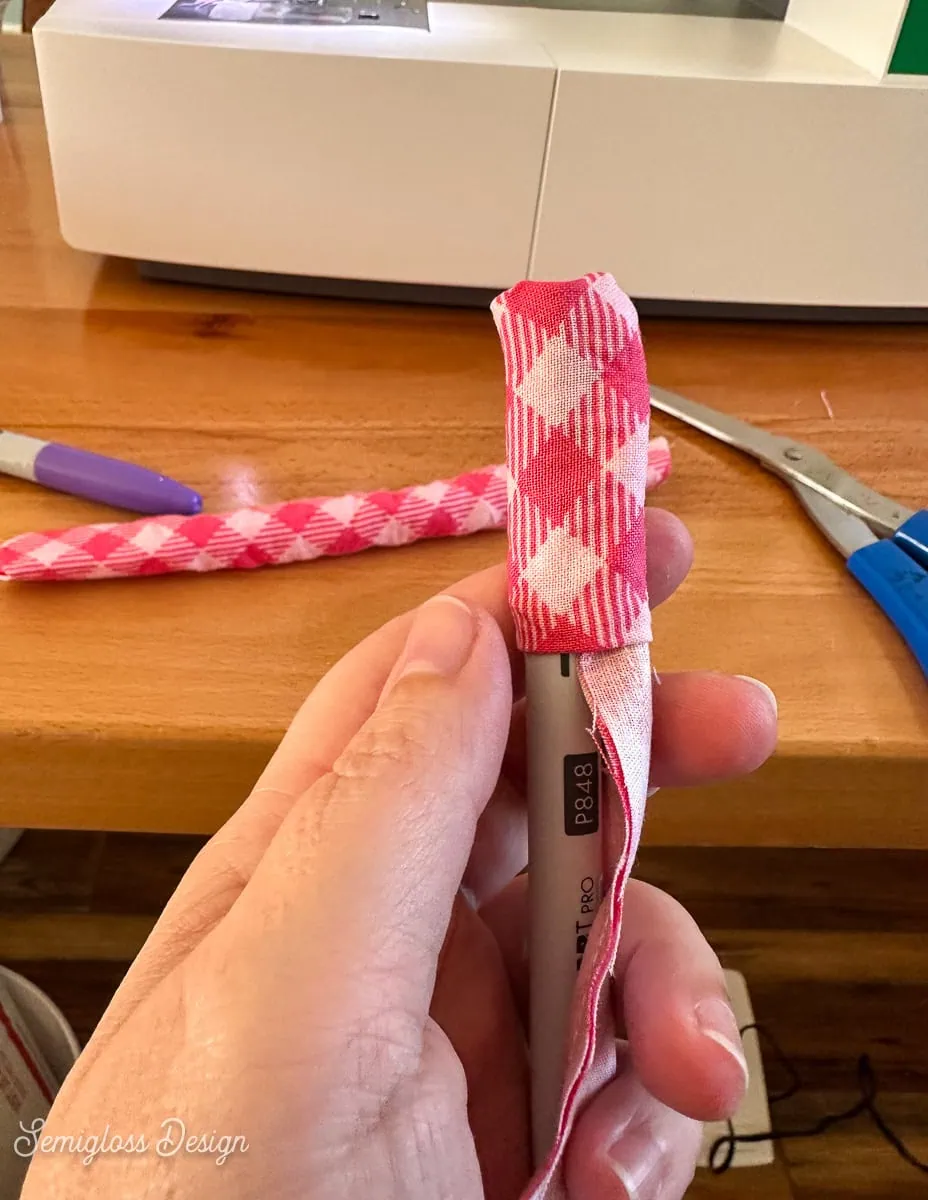
- Flip it right side out. A dull object helps with the pointy parts. I used a marker for this.
- Fold the bow middle in half lengthwise and sew along the edge.
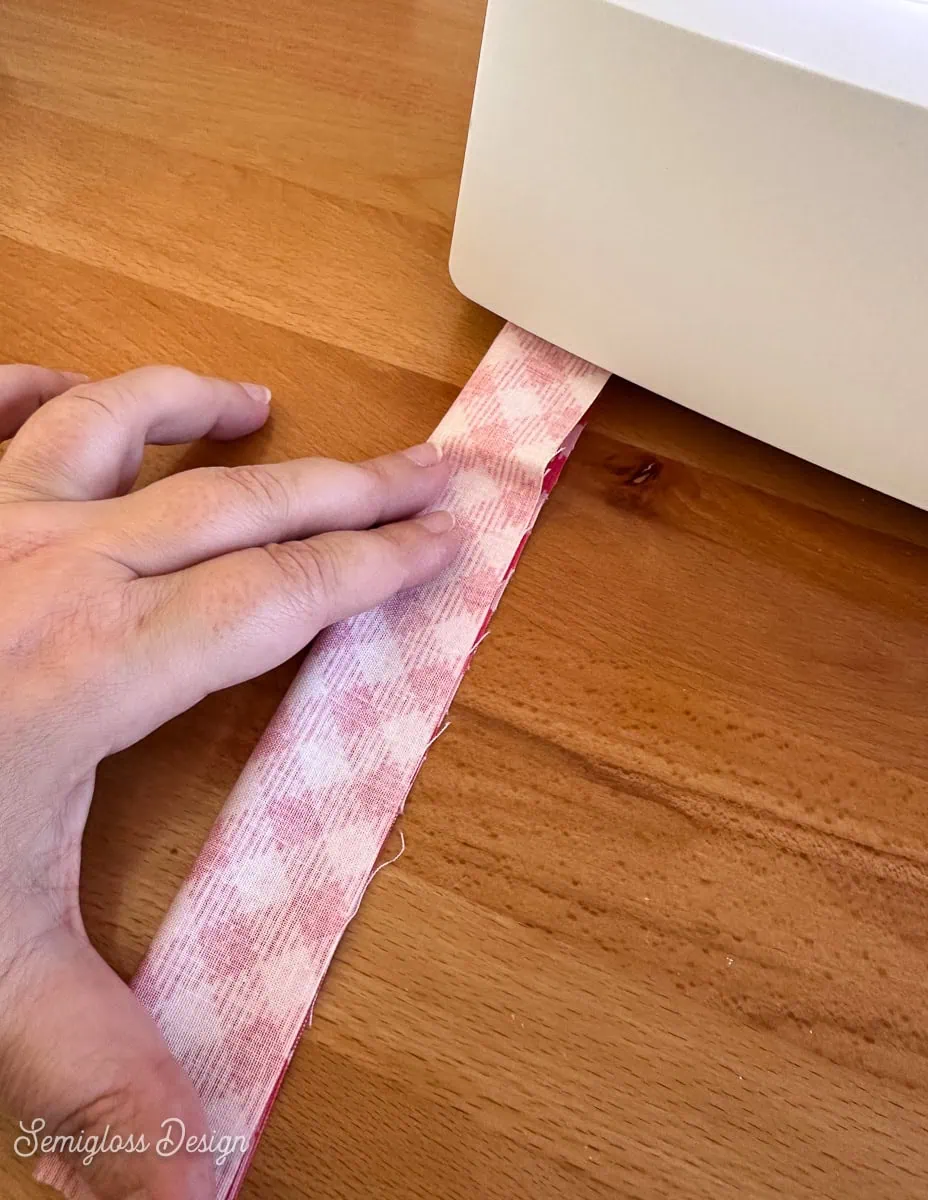
- Flip the fabric right side out.
- Fold each tie over and sew along one edge. (I sewed the ends, but this made it pretty difficult to flip, so don’t sew this part yet.)
- Flip it inside out. I used a skinny marker for this part.
- If you haven’t pressed everything, press it now. For the bow middle, I pressed it with the seam in the center, rather than along the seam.
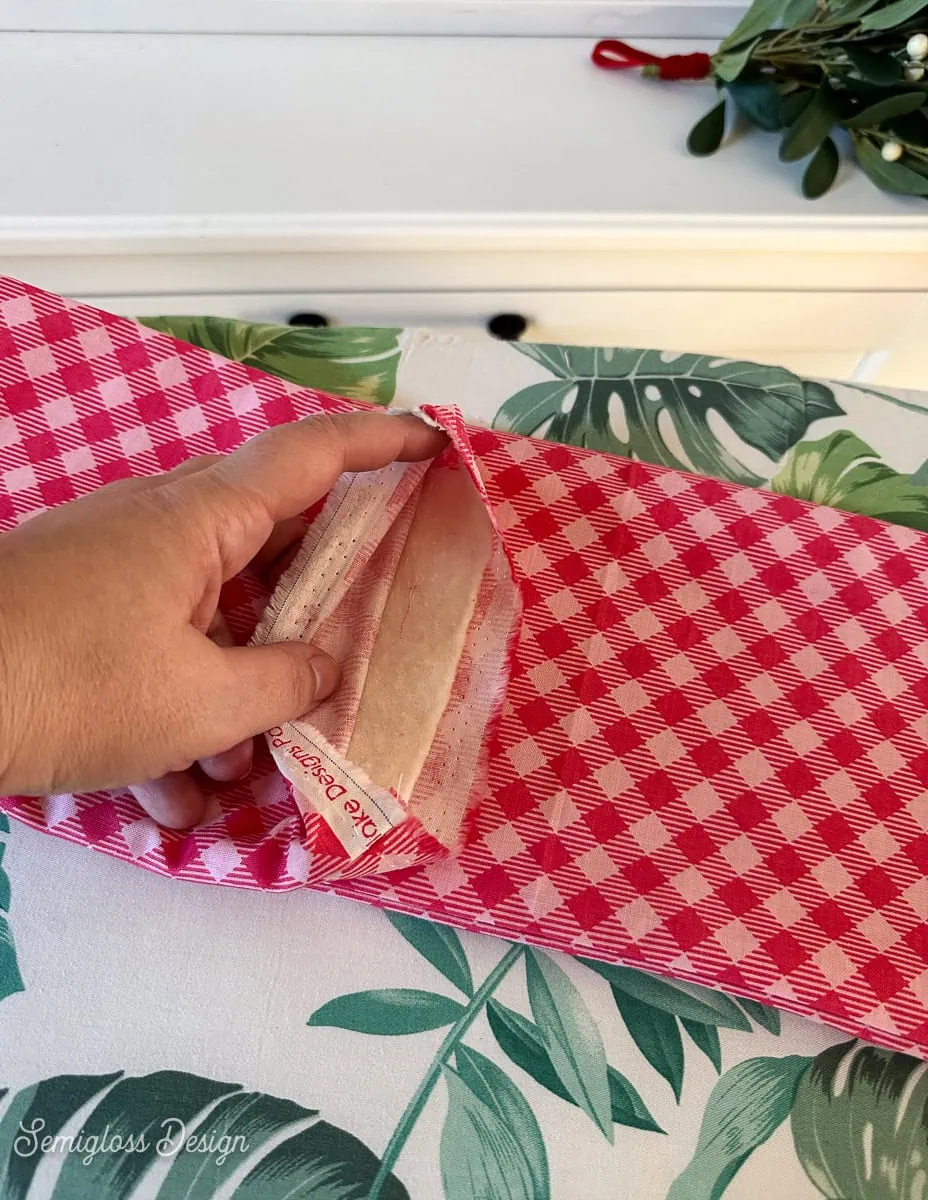
- Insert the batting into the bow top, making sure it lies flat.
- Fold it in half and sew the edges together. Flip it so the seam is on the inside.
- Sew the edges of the bow middle together as well. Flip it so that the seam is on the inside.
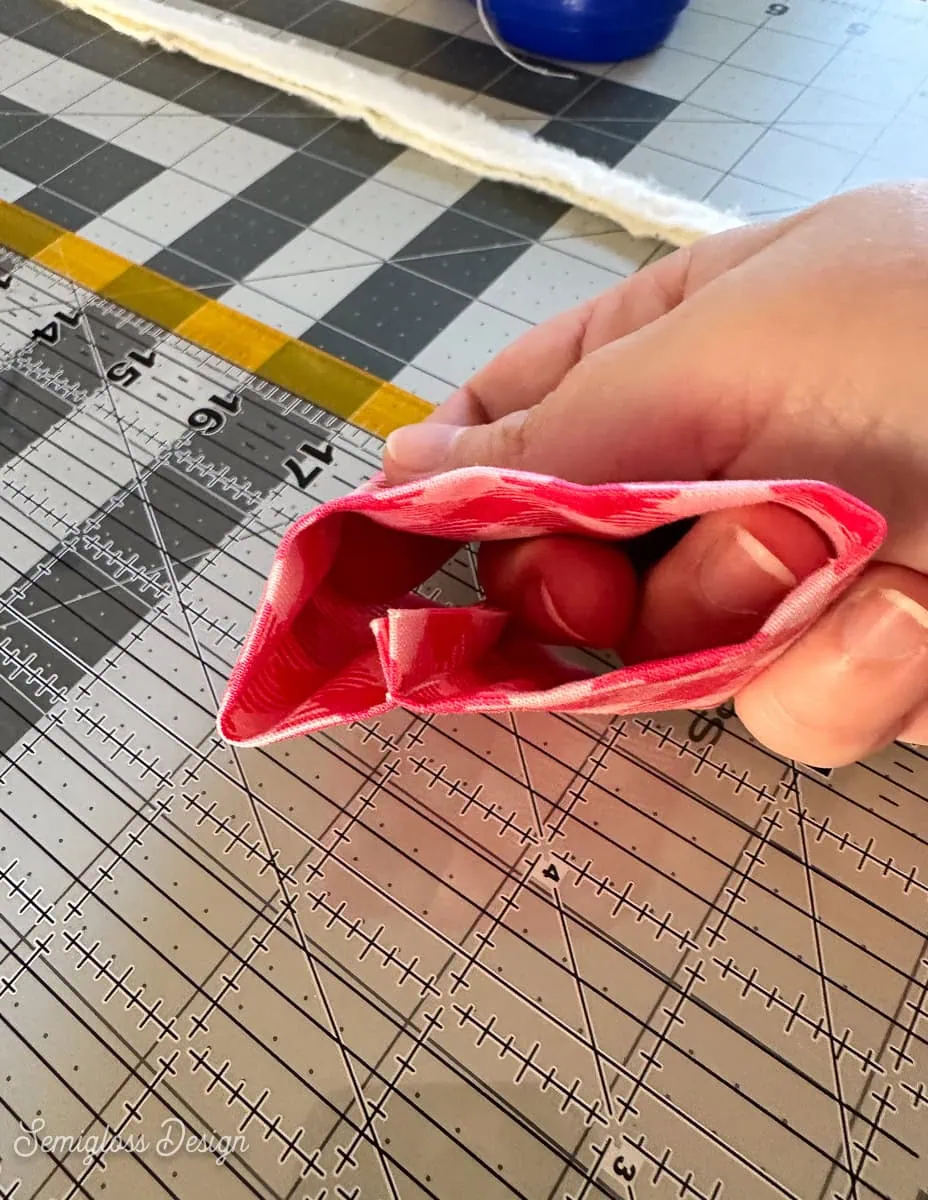
- Fold the edges in and sew the short ends of the bow tails.
- Fold the edges in and sew the ends of the ties.
Putting the Bow Together
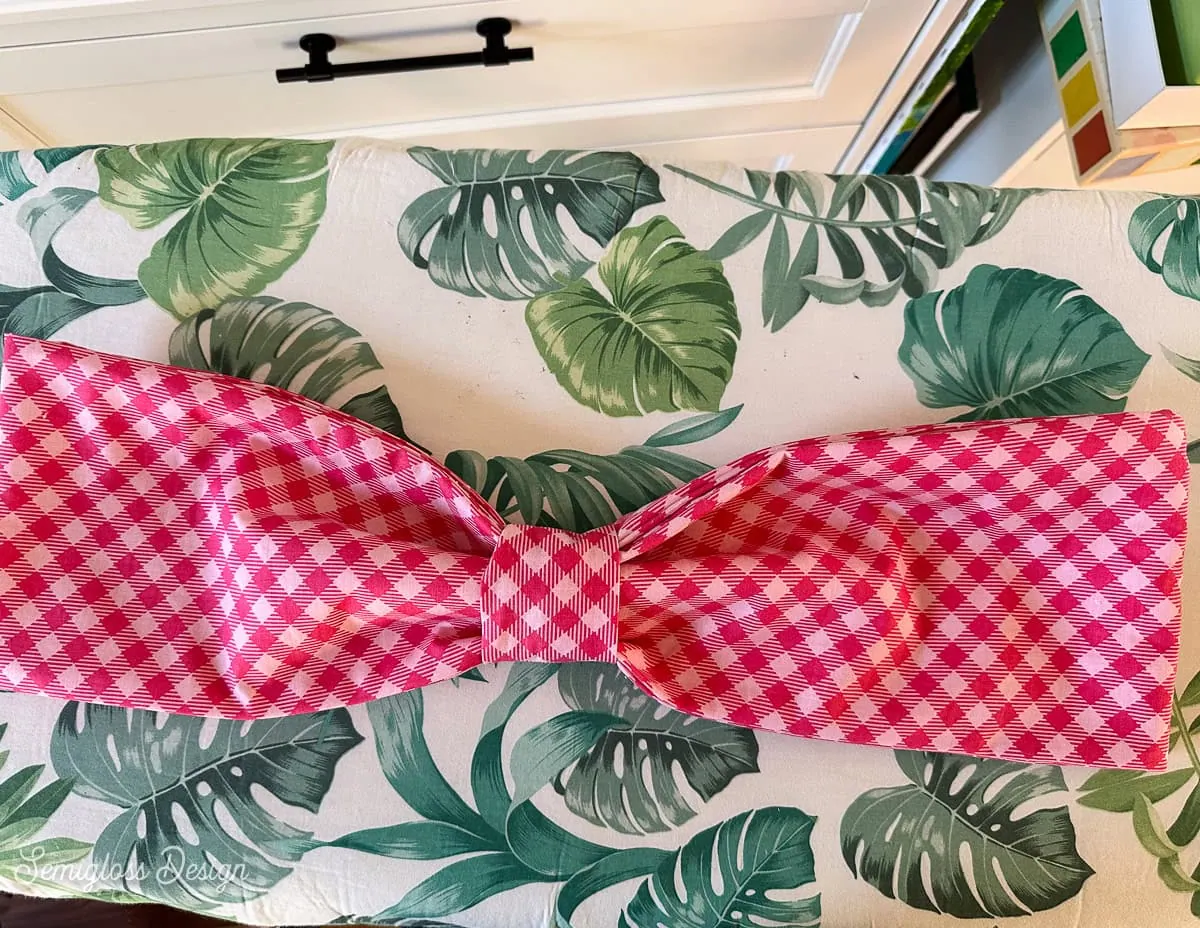
- Slide the bow middle over the bow top. You will need to fold the fabric to do this. Place it in the middle.

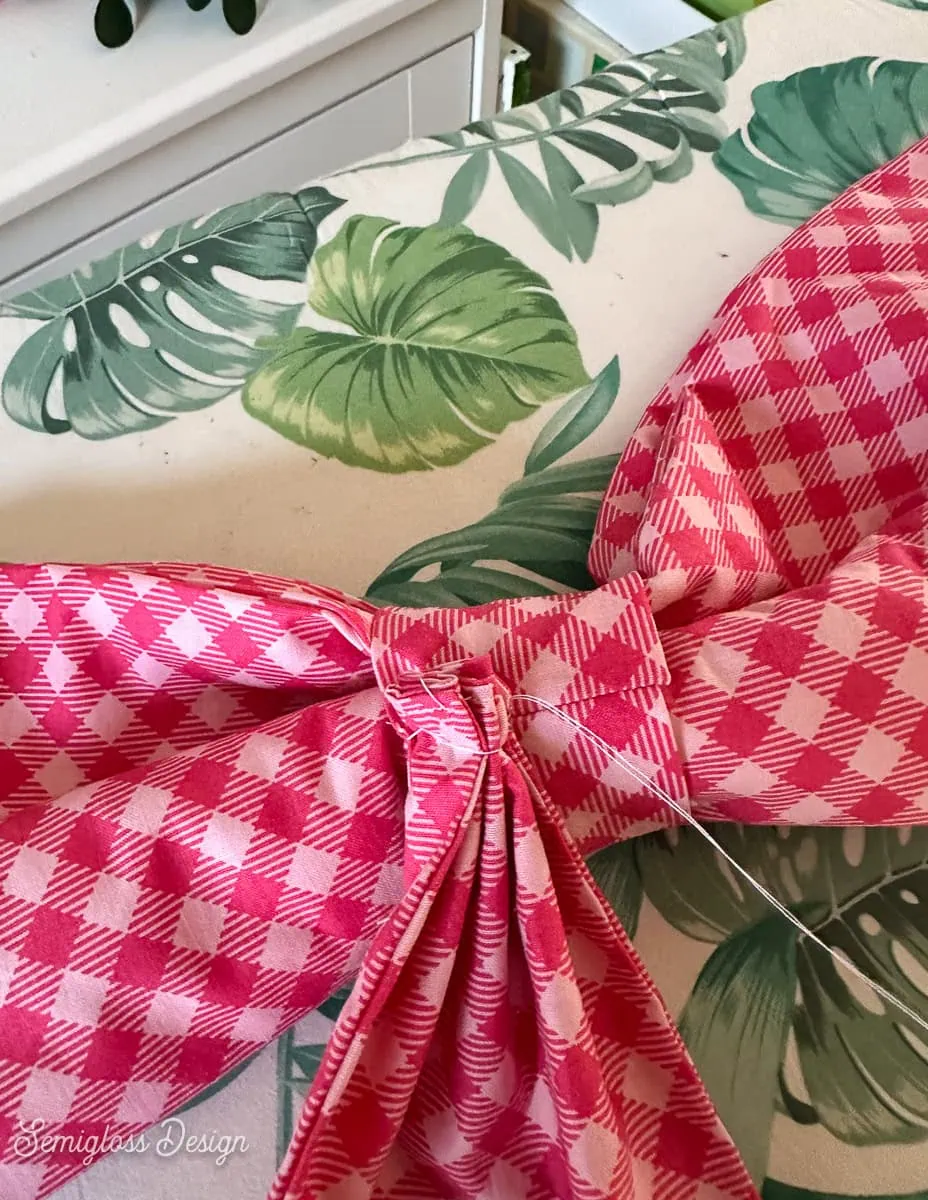
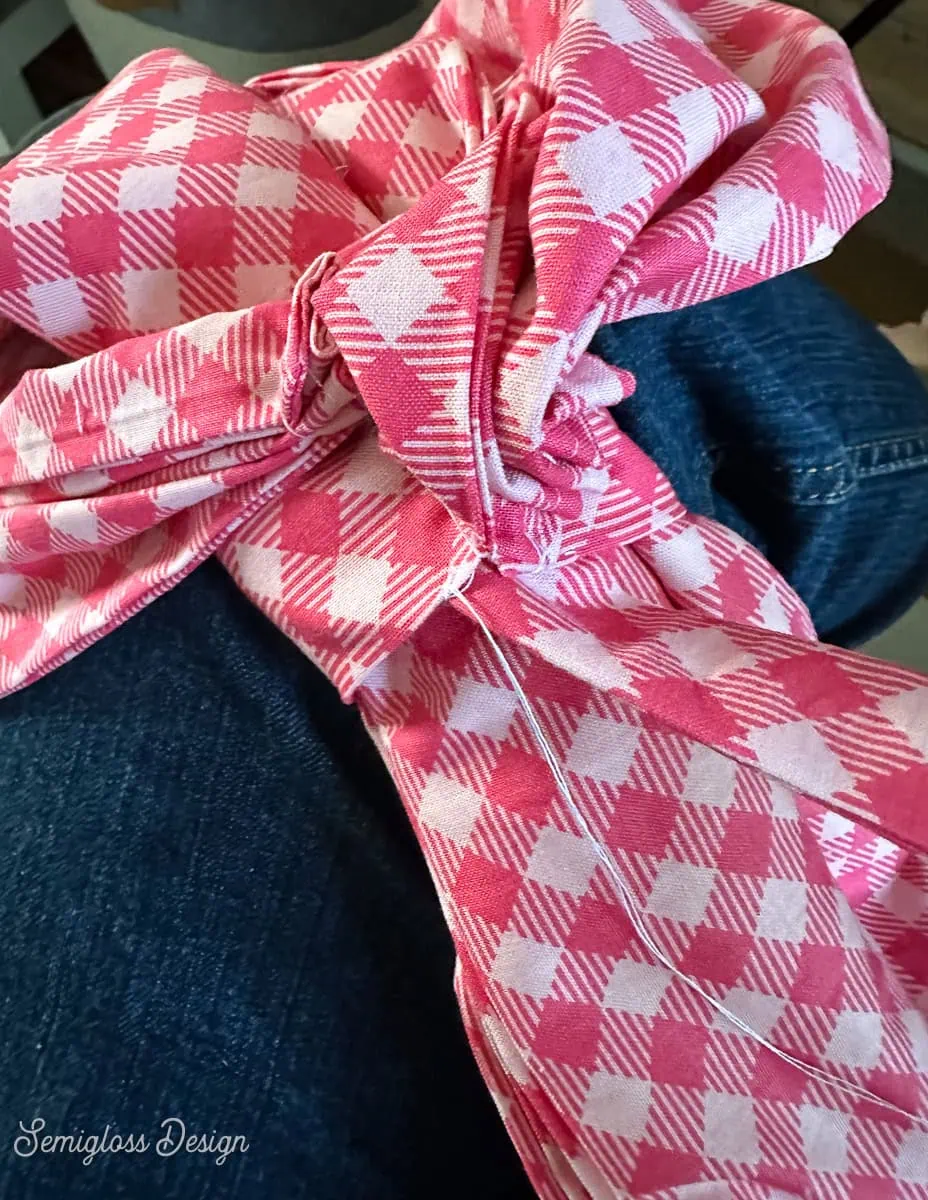
- Fold the short end of the bow tails into pleats. Use a needle and thread to sew the tails to the back side of the bow middle. They can face either way. Both options are cute.
- Sew the ties to the back of the bow middle.
- Hand-sew the bow middle to the back of the bow top as well.
You may need to adjust everything to get it to sit right. When you’re happy, tie it to the top of the tree and enjoy your beautiful bow tree topper.
Download the Bow Topper Pattern and Instructions
All downloads are for personal use only. Please do not redistribute or sell files.
More DIY Christmas Decor Ideas
I love making DIY Christmas decor. Here are some of my favorite ideas.
If you love sewing, you might enjoy making these DIY stockings. I used contrasting fabrics and fun trim to make them even cuter.
Decorate your dining table with a DIY table runner. This simple sewing project is perfect for new sewists.
Make an ornament and tinsel wreath for your front door. This vintage-inspired wreath is fun and festive.
These bottle brush trees are so easy to make. I love making a whole forest of them to create a holiday display.
DIY Christmas ornaments are among my favorite things to make during the holidays. I have so many fun ideas in this post.
Pin for Later!

Emy is a vintage obsessed mama of 2 DIYer who loves sharing affordable solutions for common home problems. You don’t need a giant budget to create a lovely home. Read more…