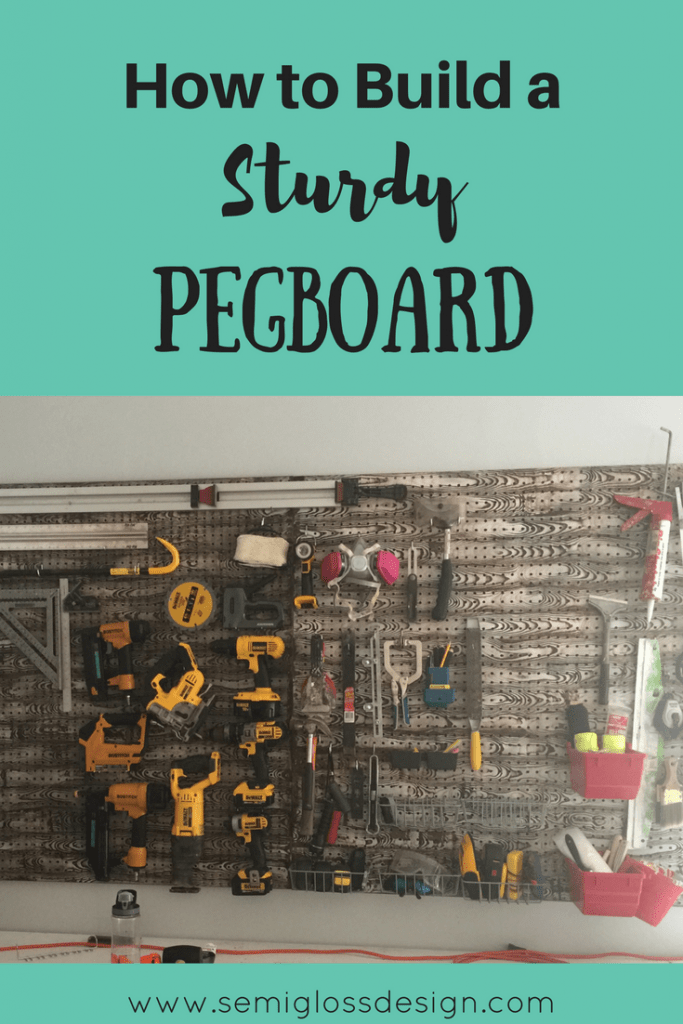
Learn how to hang pegboard on a wall the proper way. Pegboard is perfect for storing tools in your garage, but tools are heavy, so you need to make sure that your pegboard is sturdy!
According to a quick search on google, a pegboard can hold 100 pounds if properly installed.
Our holds a ton of heavy power tools with no buckling or bowing. It still looks great 2 years later!
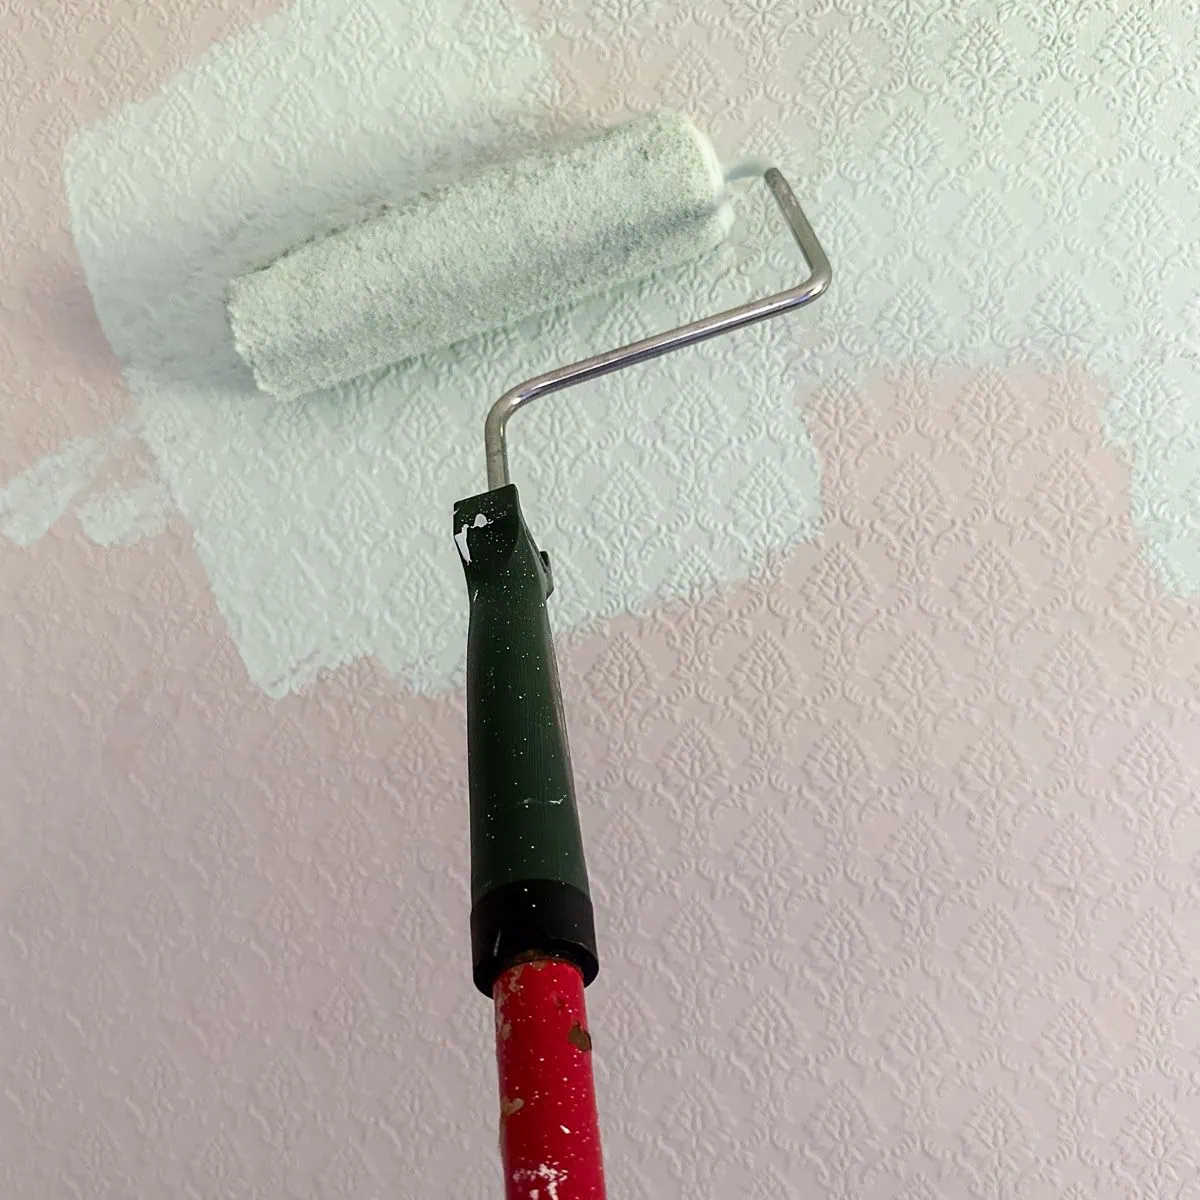
Can pegboard be painted?
Yes! I’ve used both spray paint and latex paint to paint pegboard. The trick to painting pegboard is to use thin coats so that the holes don’t get clogged.
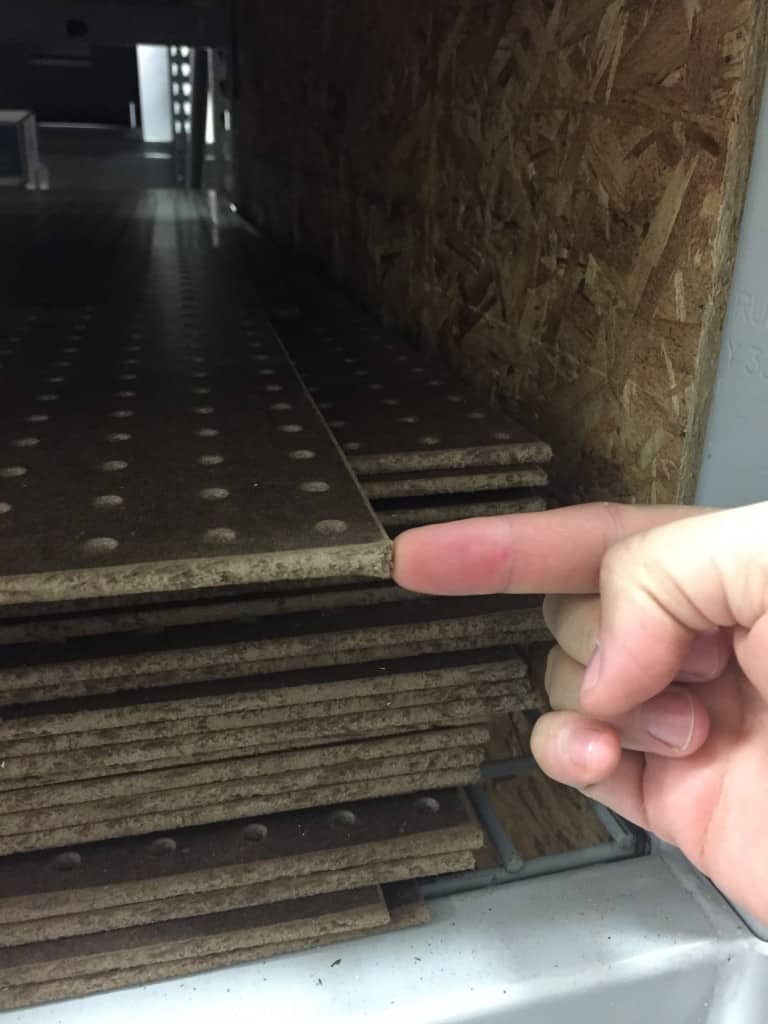
***While shopping, we found that not all pegboard is created equally. If you want a sturdy pegboard, you need to look for the thickest board you can find! In our store, that meant the 4’x4′ pieces that were not primed.
Instead of buying 1 sheet of 4’x8′ pegboard, we bought 2 4’x4′ pieces because they were so much thicker. This also helps for transport if you don’t have a truck! Bonus!
If you use a 4 x 8 sheet of pegboard, you will need a piece of wood in the middle for support.
Prepare Your Pegboard
We started by spraying our pegboard white. I didn’t do a full coat because we planned on doing a fun wood grain painting technique over the top anyways.
Once the pegboard was dry, we added our painted wood grain, which turned out super cool. Tutorial for painted wood grain is here. It looks more intimidating than it is. Promise. Two panels took about 30 minutes.
Since we used gel stain, we had to let the wood dry overnight.
How to Hang Pegboard
Pegboard needs a frame to be sturdy. We used 1x2s to make a frame on the top, bottom and sides for mounting the pegboard.
Once it was dry, we flipped each piece over and added a 1×2″ frame around the edge of the pegboard on 3 sides. Since we were joining 2 pieces of pegboard, we centered a single 1×2″ to bridge the center on the 4th side. This adds stability without sacrificing too many holes. If you use a 1×2″ frame for all 4 sides of each panel, you lose 4 rows of holes total. It’s worth it to gain more storage. The wood frame was attached with a nail gun. (This is just to tack it in place. When you attach the panels to the walls with screws, it will be nice and secure.)
Using a level, make sure your panels are straight and screw them into the wall into studs through the 1x2s. If you can’t hit studs, use strong wall anchors. Make sure that you leave enough space at the bottom for tools that hang low.
Attach the 2nd panel. Because we used a single center 1×2 brace, it was a tight fit. Butt the pieces as close as you can get them and attach the second panel in the same manner.
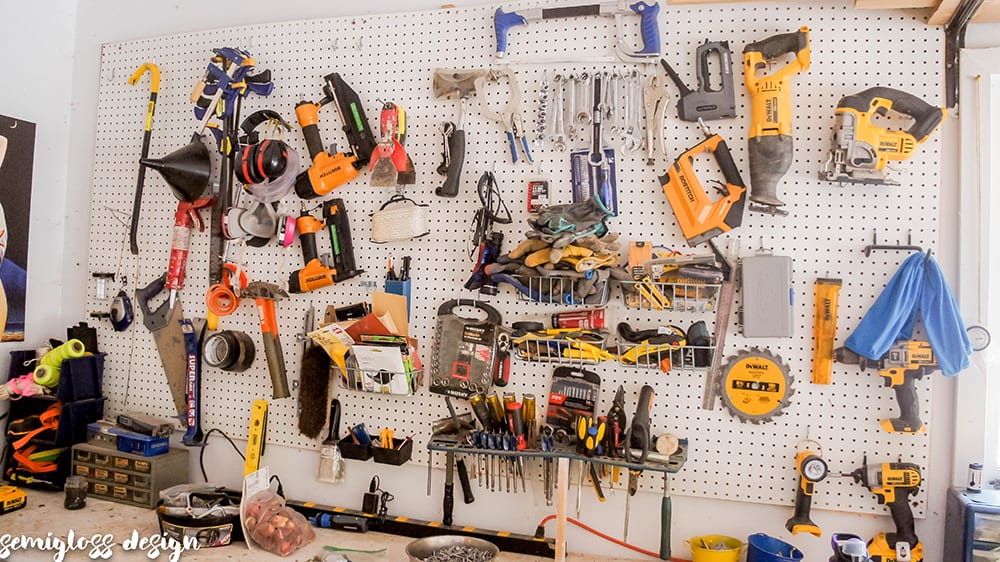
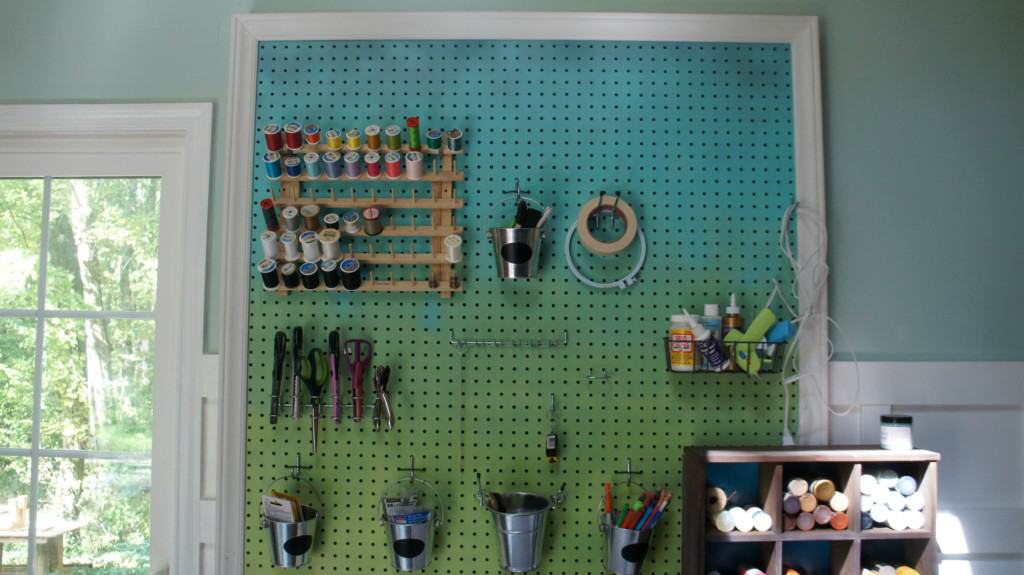
Admire your handiwork. It’s nice to have a pegboard wall that looks as cool as it functions! Bonus points if you painted it with a cool design! Now that you know how to install pegboard, you can use it everywhere. It’s also great for craft rooms!
Fill with tools after you’ve installed the pegboard. This is the fun part. Notice how much space we gained even though we added larger tools to the space.
Please note that when you buy the thicker pegboard, not all hooks will work 100% with it. Some hooks work better with thinner pegboard. You’ll want the thicker prongs.
Emy is a vintage obsessed mama of 2 DIYer who loves sharing affordable solutions for common home problems. You don’t need a giant budget to create a lovely home. Read more…
It looks so organized now!! I can’t wait to read how you got that wood look on that pegboard.
Great advice and I love the wood grain technique!
Great advice! I am especially stoked to learn that 4 by 4 sheets are thicker. That’s huge! I’ll be popping back over to this post when my craft room makeover gets underway. Love your idea of using pegboard for some of the little crafty things. Anxious to see Week 4 already! Susie from The Chelsea Project
Wow! That wood graining is so cool! Love this idea!
I love how the pegboard makes everything so organized! I can’t wait to see how everything turns out. Our garage workshop is an in process project and is next on the list to get finished!
Now that’s what I call a peg board for tools. My husband has been looking over my shoulder and drooling….lol, and I can tell this will be something we do for his future workshop! Thanks for the great inspo. and we can’t wait to see this project’s final reveal 🙂
I definitely need to make a pegboard in our makeshift garage area. This was super helpful!
As the “other” person doing a garage makeover, I’m super impressed with how far you’ve come. We still have to take out our old pegboard (along with a million other things). And you’re so right, it’s like as soon as I put our miter saw away for storage, I realized I had a bunch of things I needed to cut – ha!
I need something like this in our garage. I love how organized yours is!
I love the added wood grain details. Can’t wait to see how you did that!!
Thanks Tammy! The tutorial will be posted on Wednesday for the wood grain. 🙂
EMY. Make me a pegboard as pretty as yours, then give me all your tools for it.
This is turning into one of the prettiest garages I’ve seen!
I didn’t realize peg board came in different thicknesses. Great tips!
I always love a good pegboard and you definitely don’t disappoint with this one! It’s pretty cool how you applied that pattern too!
Thanks Diane! I wanted pattern and something pretty in my garage. 🙂
Faux woodgrain awesomeness! So cool! My hubby’s been working on getting our outbuilding organized and has a full wall of pegboard. He loves having all that storage.
How awesome is that wood grain treatment?! I love it! Good tips on the pegboard too