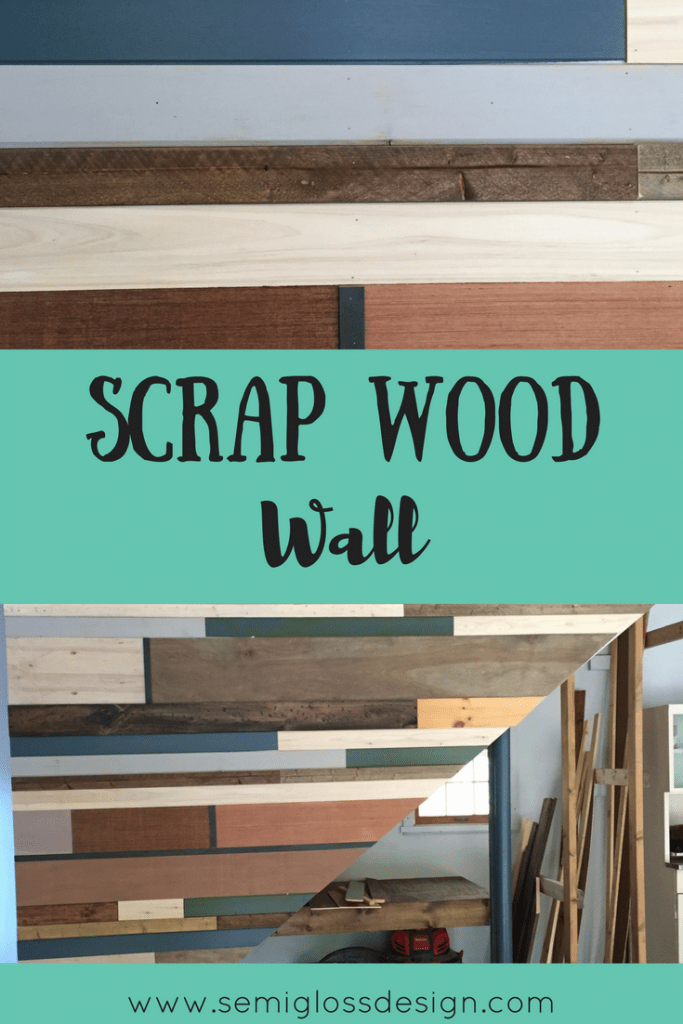
Scrap Wood Project: Make a Scrap Wood Wall Feature
It’s so easy to add warmth in normal rooms. You have rugs, upholstery, textiles, etc. None of those things belong in a garage though. So giving the room a warm feeling is a bit tricky. Gray walls and concrete floors can feel sterile. And I want my garage to feel downright homey. We joke about putting recliners in there. Is that just a Texas thing? Anyways, to add warmth, I decided to add a scrap wood wall. This scrap wood project will use up excess scrap wood, but also remind us of all of the fun projects we have completed.
I liked the idea of this project for a few reasons.
- Make it pretty. Yes, I know it’s a garage, but I want a space that is inspiring as well. So a wood wall appealed to me because it would be like a giant art installation.
- To use up scrap wood. I have added molding to almost every room in my house, so we have little bits leftover. It’s not enough to do anything else with, but it’s too much to throw away.
- Scrap wood is free. I already have it. Might as well use it.
It’s week 4 of the One Room Challenge. I’m joining Linda from Calling It Home as a Guest Participant. There are over 200 amazing rooms being made over in 6 7 weeks and 20 featured designers. That’s right! Due to natural disasters causing havoc, we now have 7 weeks to complete our room. So I’m left rubbing my hands together, trying to figure out what else I can do in my garage. The garage doors are being installed on the day this post goes live, so not real sure what I’m doing yet. Anyone want to give me a heater? 😉

My scrap wood wall is very inspired by my friend in real life who added wood to their basement wall. So I looked at pictures of her walls, plus a zillion pictures of wood walls on pinterest. Some are all wood, some are all painted wood. But I had never seen a combo. It could either turn out really good or really bad.
Scrap Wood Project: Scrap Wood Wall Feature
Supplies
This post contains affiliate links. By purchasing an item through an affiliate link, I earn a small commission at no extra cost to you.
- Scrap wood
- Stain in various colors and paint
- Foam brushes and rags for staining
- Miter saw
- Stud finder
- Chalk line
- Nail gun and nails
Prepare Your Scrap Wood
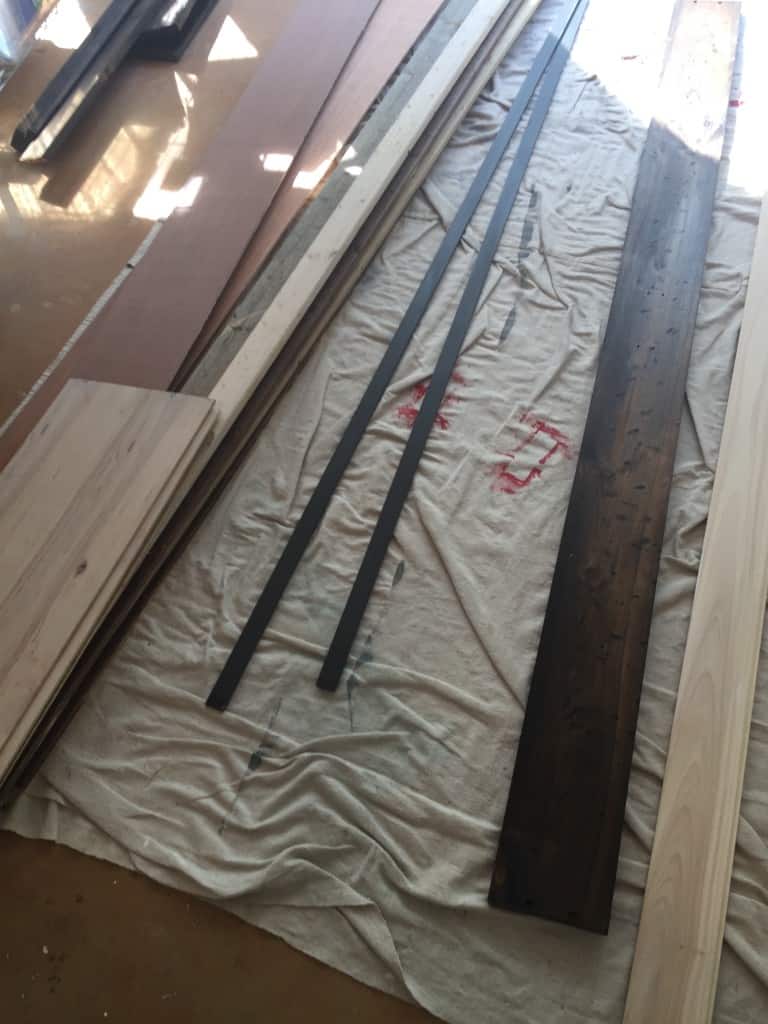
- Start by figuring out what scrap wood you have. You need enough leftover wood with the same width to span the wall. I had lots of different thicknesses and qualities of underlayment from shiplap walls, tongue and groove boards from last fall’s ORC bathroom, scraps from an epic build fail, and some crappy wood that I bought being cheap.
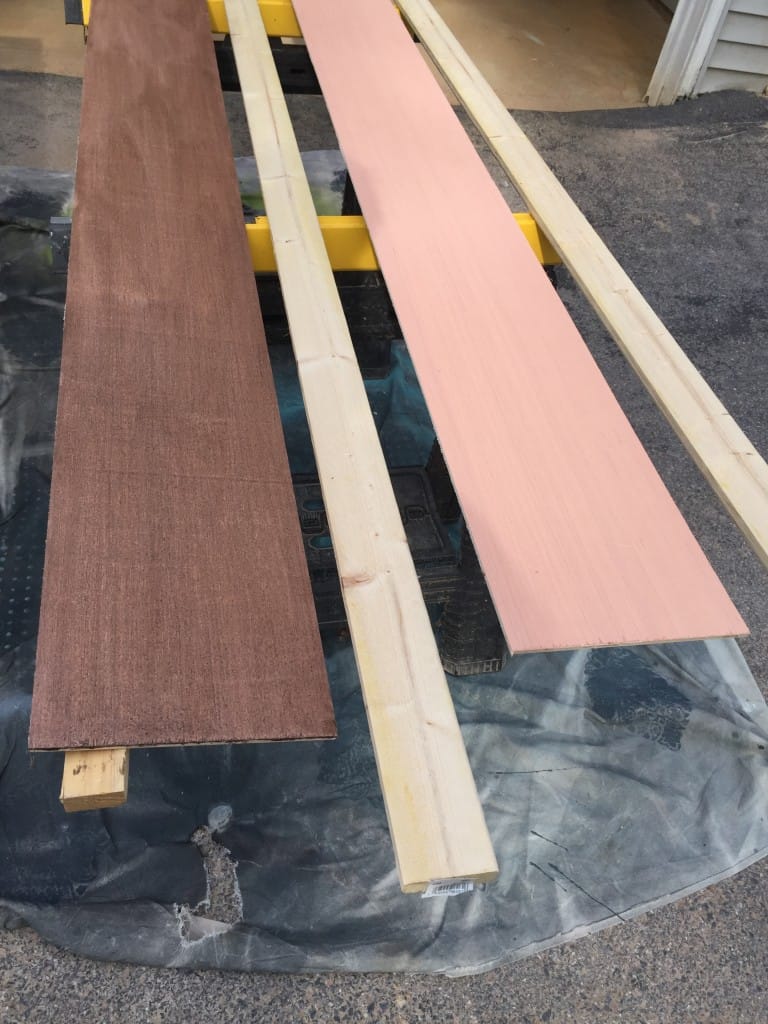
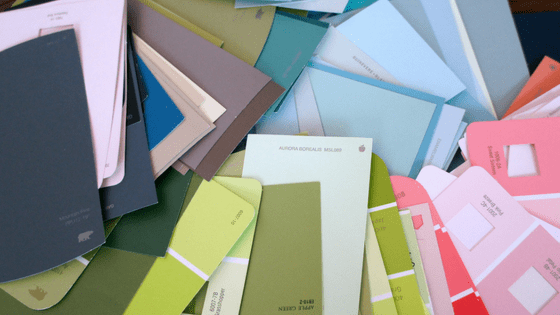
- Stain the wood in different colors. Luckily, I have quite the stash of paints and stains. And can I just profess my hatred of gray stain? It promises to be beautiful, but it’s such a disappointment. Luckily, I found the perfect substitute that works beautifully every time. It deserves it’s own post, quite honestly. So I’m going to leave you hanging…

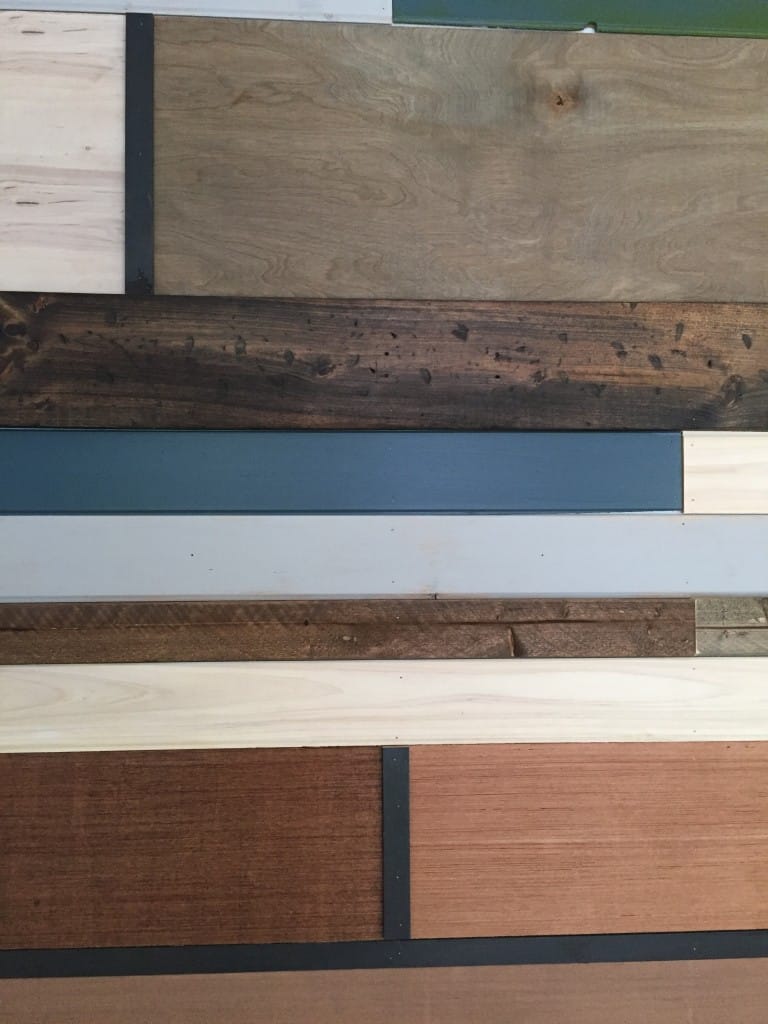
- Use a variety of colors. The key to getting a nice mixture is to stain each thickness a different color. I made the mistake of staining 2 boards the same. I had to go back and restain some pieces while I was working. So if you have 2 full length boards, each one gets different color and they need to be vastly different. I used cherry, dark walnut, special walnut, whitewash, and my secret mixture. My son told me that I should make batches of it and sell it. It really is perfection.
- Add in some painted wood pieces. Some of the wood was already painted from the bathroom, so I left those. I painted some the slate blue color (SW Reflection) from the rest of the room, one gray, and one is dry brushed with the slate blue. I just wanted a ton of variety for my scrap wood wall.
- Make sure that you have enough wood. I would love to say that I did some crazy math calculations to figure out the square footage, but in reality, my daughter’s 4th grade math homework makes me cry. I visually estimated it by dividing the wall into 4×8 drywall panels and tried to make enough wood to cover that. There was a good chance that I would underestimate using these very inadequate math skills, but it was a chance I was willing to take. Besides, I wasn’t feeling my best. (Spoiler alert: we ended up having way too much wood.)
After letting the pieces dry overnight, we came back to it the next day. I was feeling much better and able to fully concentrate on getting this scrap wood project masterpiece done. I enlisted hubby’s help because I knew that he would be able to get those angles, where if I tried to do it, it would be a hot mess. Know your strengths.
Making the Scrap Wood Wall
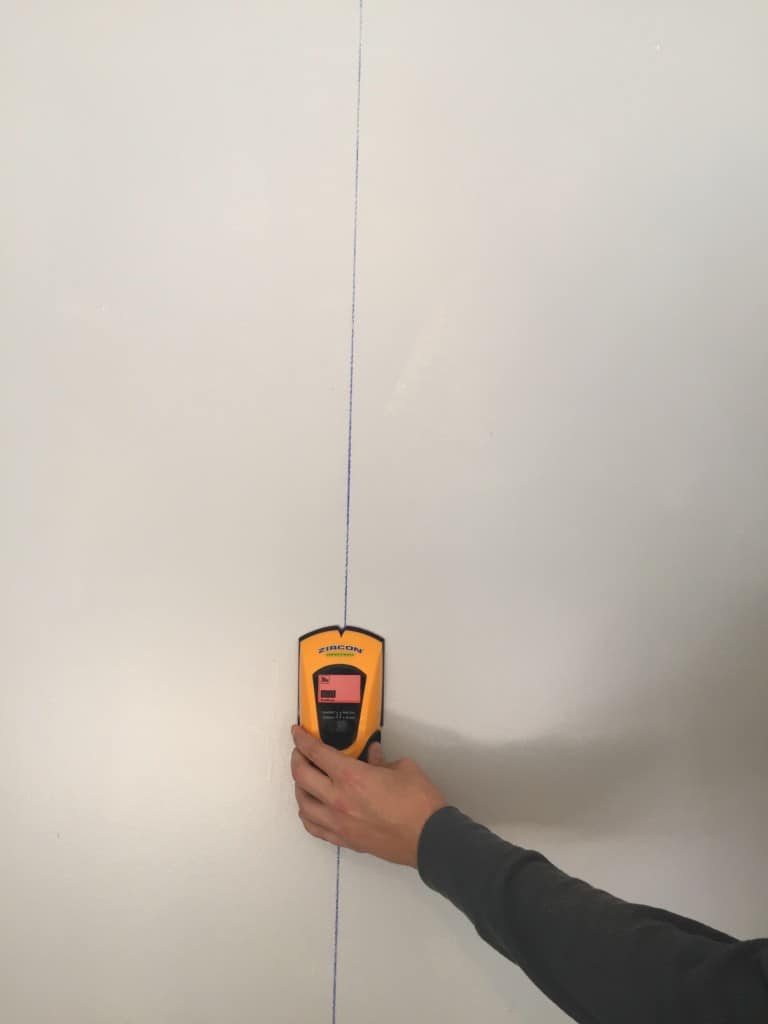
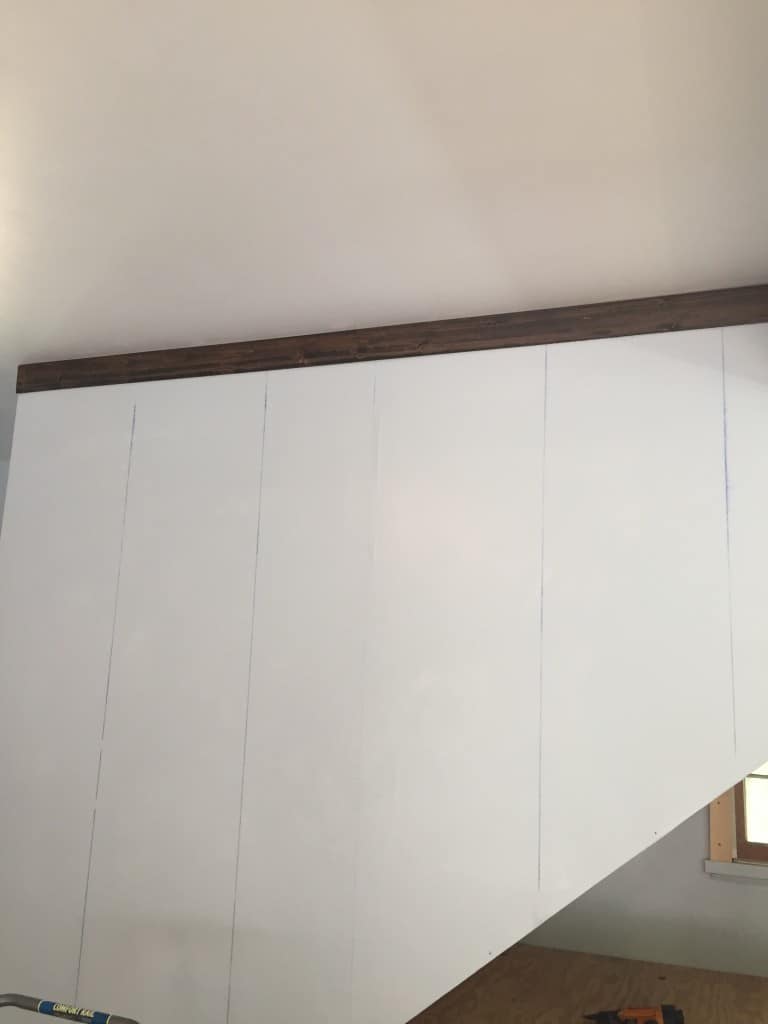
- Find your studs. We started by snapping chalk lines along the studs. Use a stud finder in places where the studs aren’t obvious.
- Hang the first piece at the top. We got the first piece level and attached it with a nail gun in every stud. This room is subject to humidity and weather, so we needed the wood to be firmly attached to the studs.
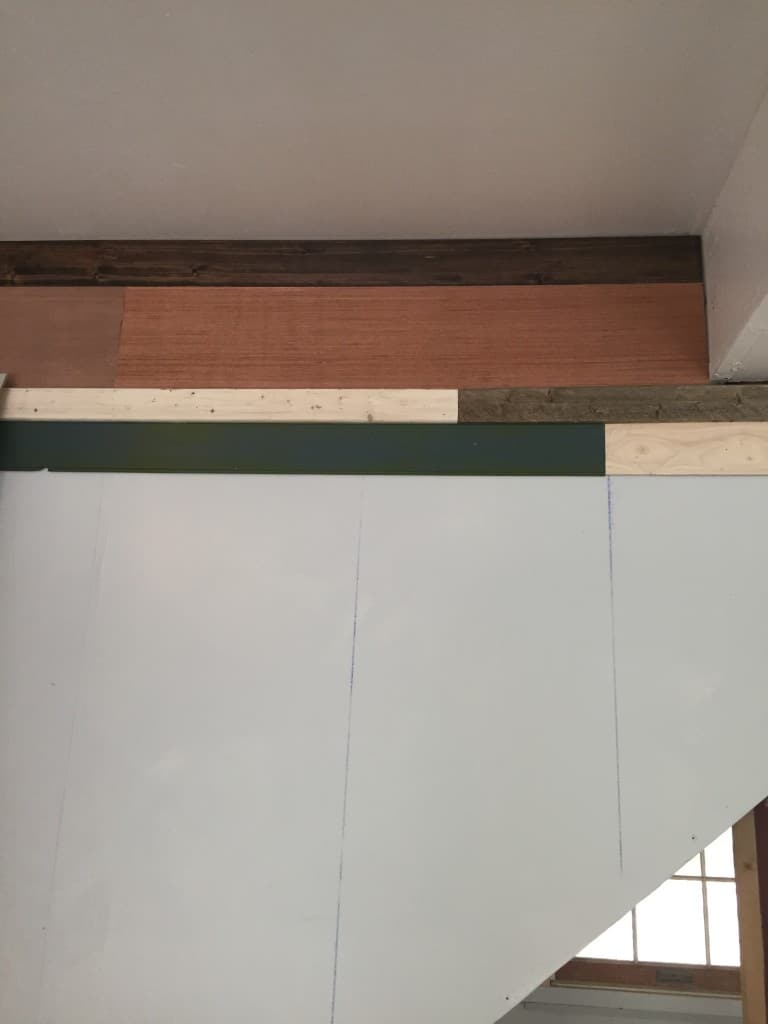
- Attach the next row. Each stripe of wood was the same width, but we cut them in different lengths to add variety, trying to not let the same color touch, varying widths between the stripes.
- Keep going until you get to the bottom. At the bottom, we knew that we needed a 1×6 for the baseboard to match the rest of the room, so we figured out the placement of that and figured out which pieces of wood would fit in the remaining space. We got lucky and didn’t have to rip any to fit perfectly. The good thing about a garage, is that you have wiggle room because you don’t want your baseboards touching the floor.
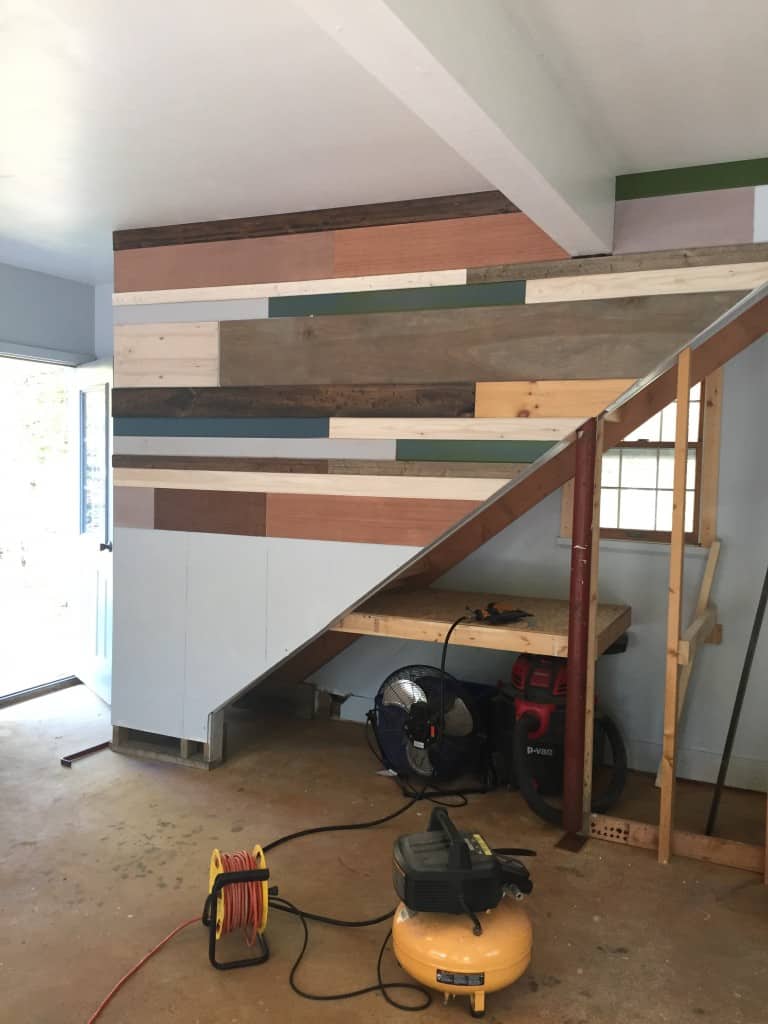
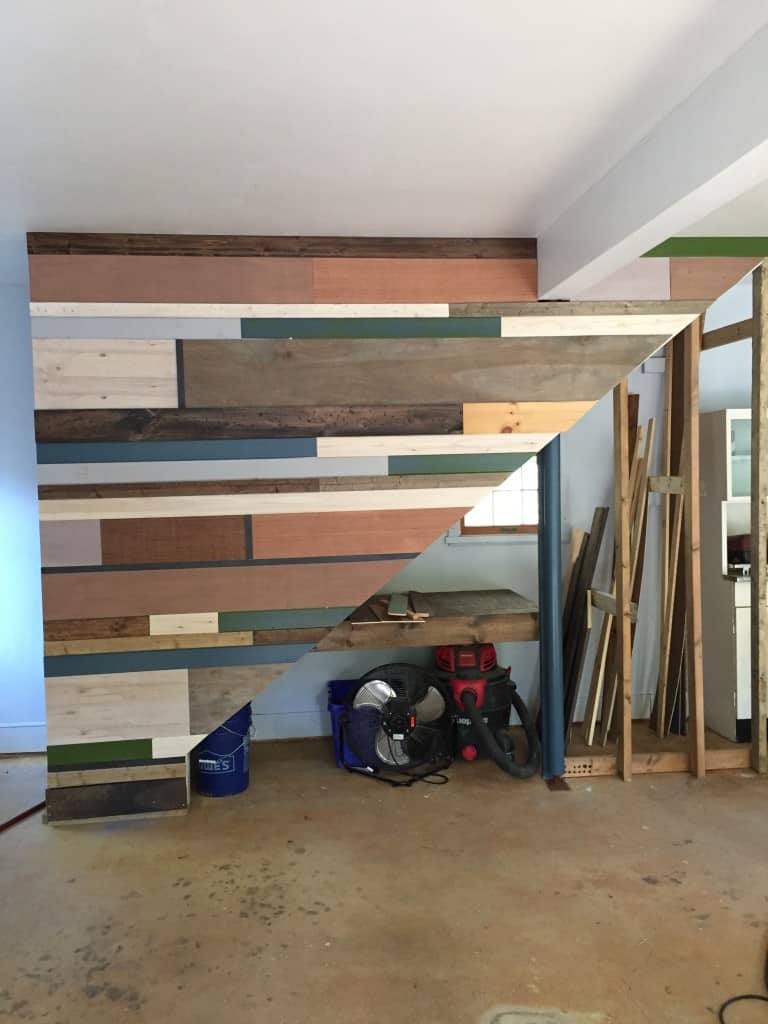
When it was done, the wood storage that my husband just built stood out like a sore thumb, so I stained it with my super secret mixture. I also painted all of the wood on the walls to make it disappear. It blends in much nicer and looks like it’s part of the design now.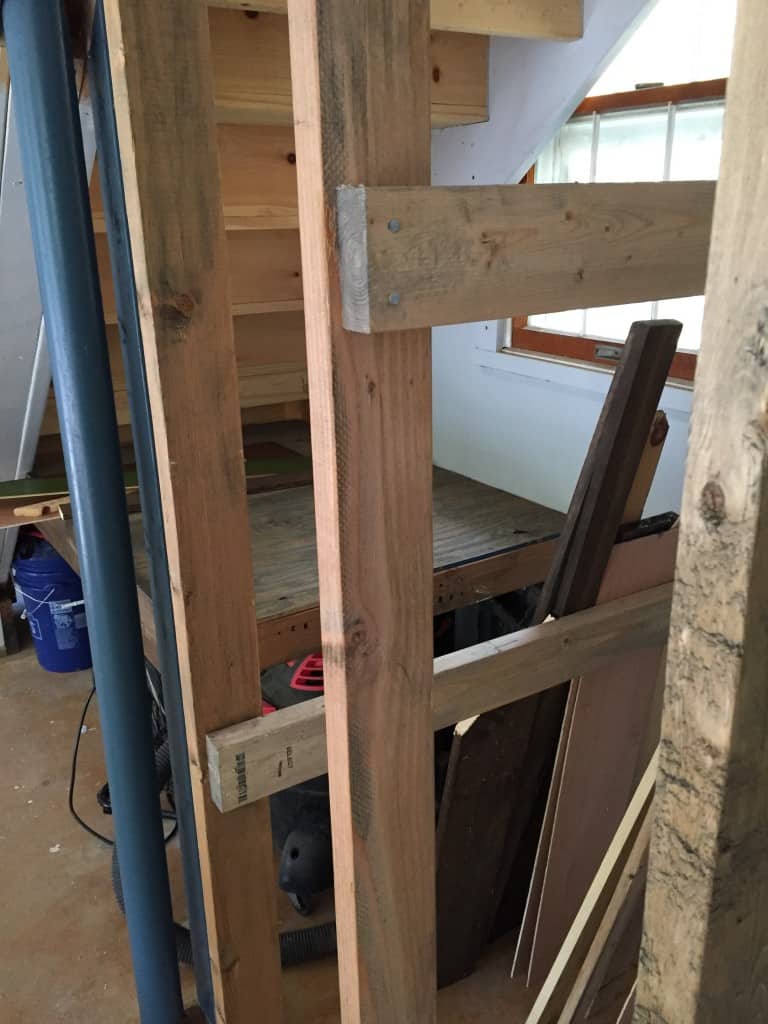
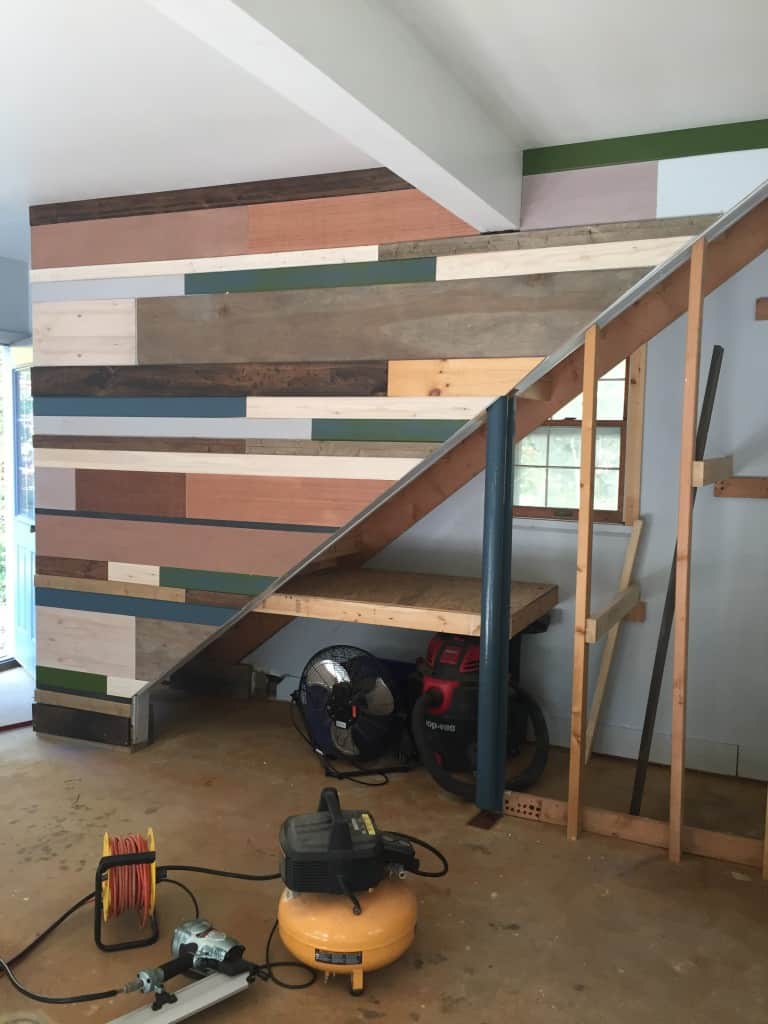
I love that it showcases design successes and failures all in one space. Every piece of wood has a memory. It’s like a DIY scrapbook. 😉 I also love that this wall reflects our personalities so well. The linear aspect reflects my husband who is very tidy and logical, and the crazy colors reflect me and my crazy ideas. Who knew that a wood wall could be so deep?
 So what do you think? What kind of scrap wood projects have you done?
Pin for Later!

Emy is a vintage obsessed mama of 2 DIYer who loves sharing affordable solutions for common home problems. You don’t need a giant budget to create a lovely home. Read more…


Such a fun idea! That looks awesome!
I really love this idea. it turned out even better than I would have thought! It’d be great for a background wall for photos too!
Oh my gosh! This is so cool. Loving the idea of styling out the garage. 🙂
Your scrap wood wall looks so cool! Definitely adds a touch of homey-ness to the garage. I got really excited to see all of the colors you had chosen. I made a “scrap” wood wall in my craft room. Because, why not? Ha! Mine wasn’t scrap though, I definitely went and bought a bunch. Anyways, I love all of your colors!
https://happydayandi.wordpress.com/2015/08/03/pallet-wall/
Emy I just love this wall!!! What a great way to give the garage warmth and character…I expected nothing less from you, you rocked it!! 🙂
I love the variation of colors!
Looks great! Your garage is going to be amazing!!
I love how this turned out too. Such a cool idea!
Very cool. I never would have thought about this. And I think you should have recliners anywhere you want to.
Love it! What a great use for scrap wood
What a fab idea! It’s so chic and current, but so perfect for the garage. I just love it! Can’t wait to see the reveal! XO ~ Susie from The Chelsea Project
What a fun wall! Great idea – can not wait to see the final reveal!
WOW! That wall looks great. I love all the colours, especially the green. You are a pro with the laser! I swear!