Easy Kid’s Art Display: Vinyl Decal Frames
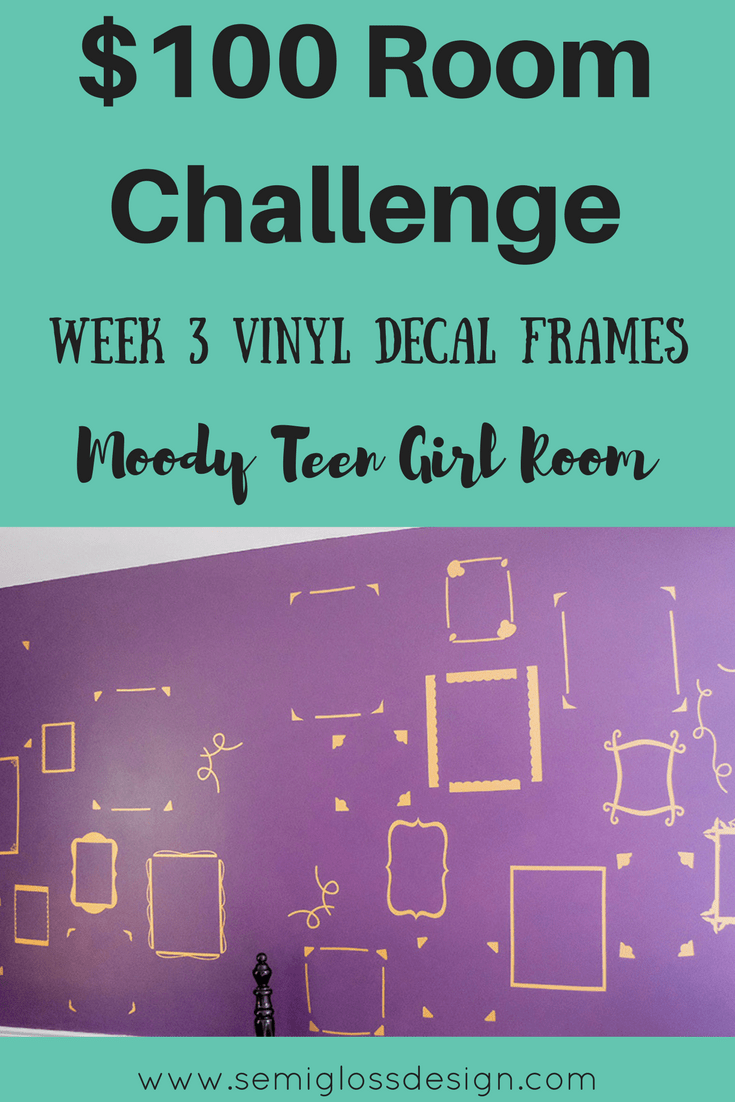
It’s Week 3 of the $100 Room Challenge hosted by Erin at Lemons, Lavender and Laundry. This week, I’m sharing how I made vinyl decal frames to display my daughter’s art. In case you have no idea what I’m talking about, I’m making over my budding artist’s bedroom into a FNAF inspired moody tween girl paradise.
The catch: (besides having to work with my daughter on a theme that I don’t love) is that I have 1 month and I can only spend $100, which forces me to get creative with what I have around the house already.
Week 3 Progress
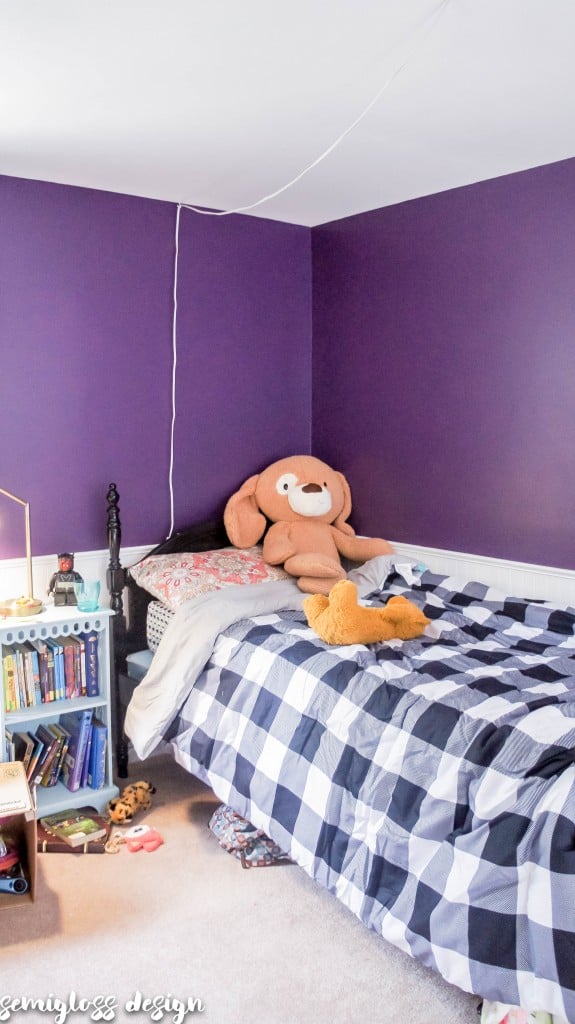
Last week, I was knee-deep in kid clutter and wanted to cry as I painted around her mess. I’m happy to say that I persevered, finished painting, and got her room cleaned up.
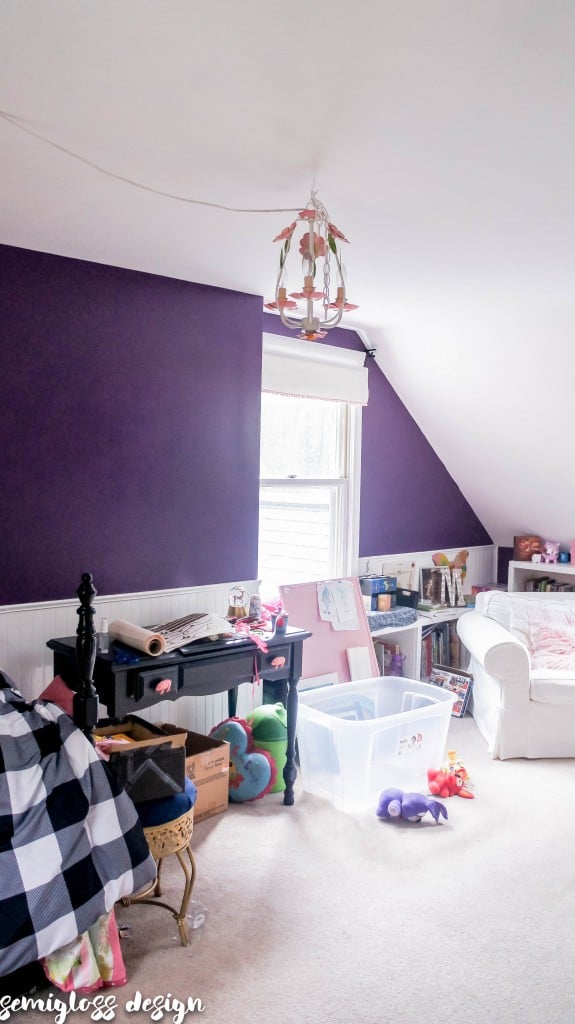
I don’t normally clean her room, which is probably part of the problem to begin with. While she was at school, I went through and got rid of stuff that she hadn’t even looked at in years. Then I organized the rest. We were all amazed to see her floor again.
I even got rid of some of her beloved boxes and talked her into covering the remaining ones with black paper, so they would look nicer (probably won’t happen by next week.)
I’m still trying to talk her into getting rid of her unused vanity, but so far, no luck.
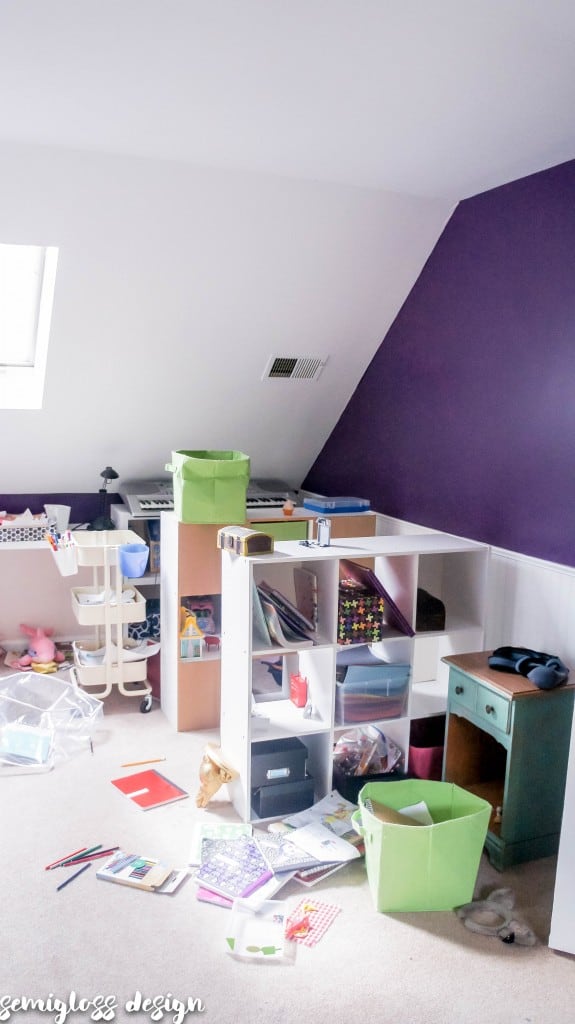
This might look messy, but it’s a million times cleaner than it was! I still have a few things to remove from the room, like the aqua nightstand and her Lego collection.
Since I took these pictures, I also added the top to the bookshelves to make them into a desk. I had 2 old IKEA desk tops in my attic that were unused.
How to Make Vinyl Decal Frames
Supplies Needed
This post contains affiliate links. By purchasing an item through an affiliate link, I earn a small commission at no extra cost to you.
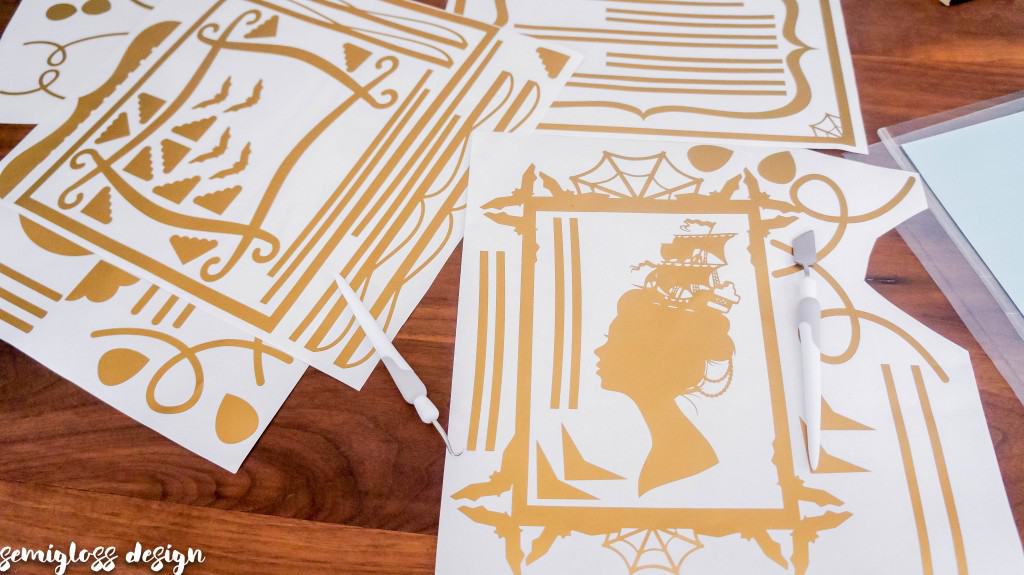
- Make a series of frames in the silhouette software. I used a combination of rectangles, corner pieces and lines for the sides of the frames. I wanted to waste as little vinyl as possible, so I had to get a bit creative in constructing my frames. Some of my frames were made by welding shapes to rectangles.
- Cut out vinyl to fit your mat and send all of the images to cut.
- Weed all of the excess vinyl.
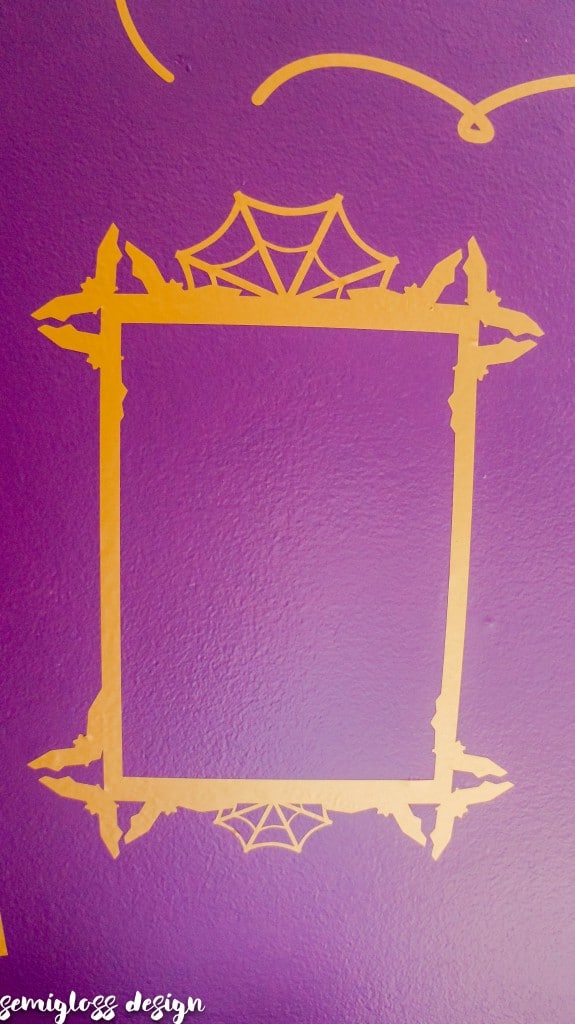
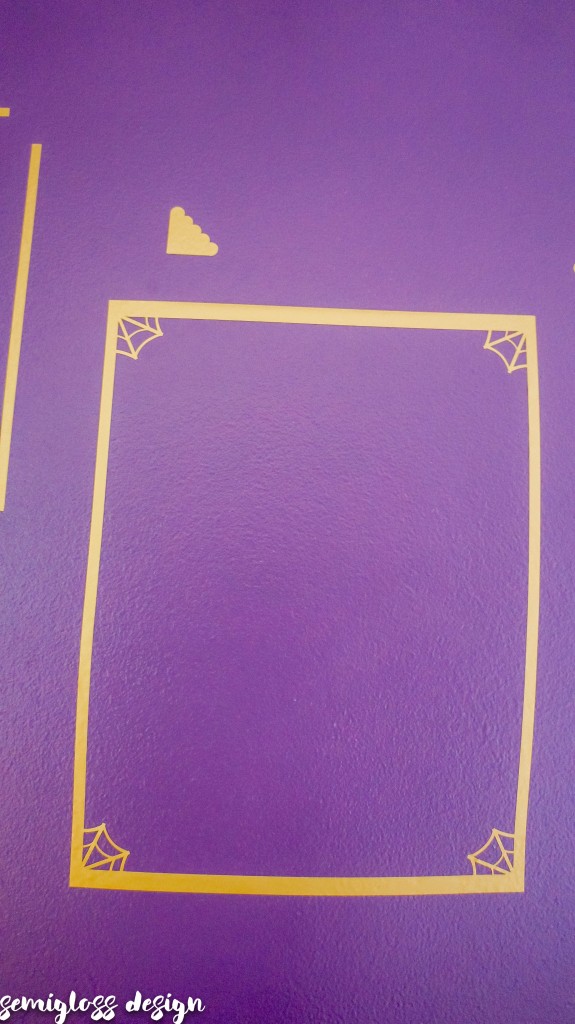
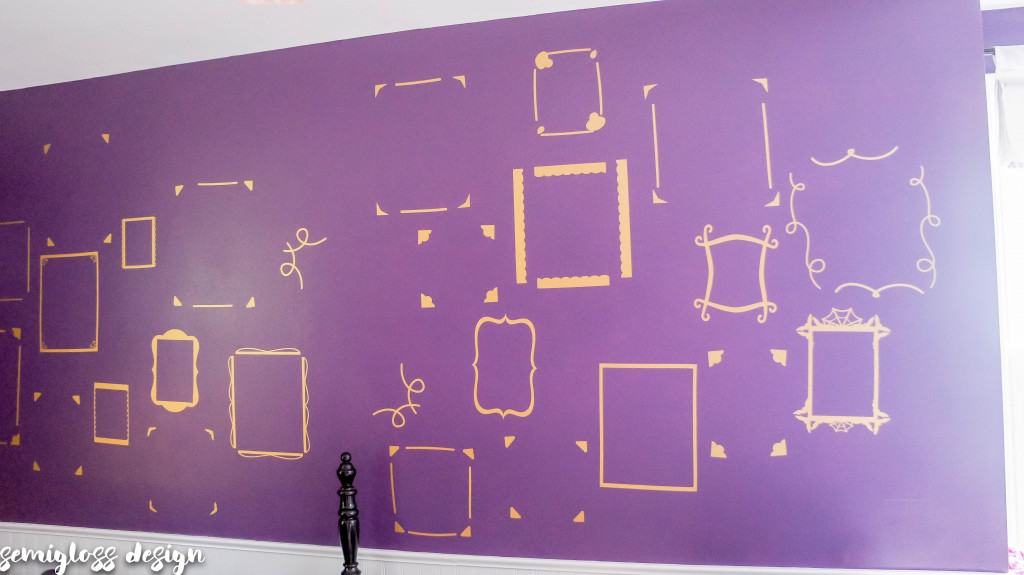
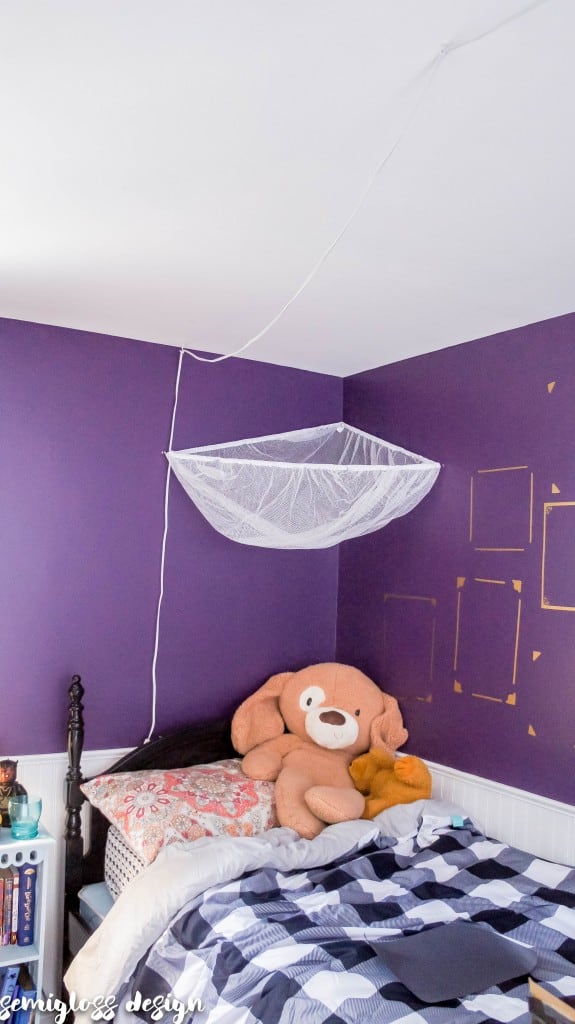
The lady silhouette will be used for a piece of art. - Carefully start positioning the frames on the wall. I nested my designs too intricately to be able to use transfer tape, so I just had to do my best. I positioned the interesting frames to be displayed prominently and filled the space between them with smaller ones. My daughter loves to make art of all sizes, so I know she will fill the odd shaped sizes too. Rub the vinyl to make it adhere to the wall.
I added a few creepy ones just for her.
Now she can use tacks to hang her art in the frames. She was using tape, which is the worst to scrape off. I decided that instead of fighting her, I will just fill a million tack holes. Pick your battles.
These photos were taken on the same day as the previous photos, but the colors look so different. The top photos are more accurate than this Barney color.
When I was done with the frames, I added a pet net that I bought for her a few months ago. Did you have one as a kid? I know I did!!
I already know that I’m a few dollars over the $100 budget. This has been an eye opening experience to how I normally don’t pay attention to what paint costs or all of the little things. It has also been a good lesson in thinking outside the box to use what I already have. Normally, I would have built her a desk with new wood.
Still to Do:
- Spray paint chandelier
- Spray paint and reupholster thrifted stool
- Make her skull pillow
- Add some hooks to her room
- A bit more tidying
$100 Budget So Far:
- $35 Comforter
- $26 Paint
- $2 Tacks
- $0 Vinyl (already had)
- $10 Stool (not shown)
TOTAL: $73
Leftover: $27
I can’t wait to see how everyone else is doing this week!
Pin for Later!

Emy is a vintage obsessed mama of 2 DIYer who loves sharing affordable solutions for common home problems. You don’t need a giant budget to create a lovely home. Read more…



This is such a fun idea! I know that growing up it meant a lot to me when the people I loved went out of their way to support my passions. Every time I read about this room I just want to hug you and shout about what a great mom you are! I can’t wait to see it all revealed next week. 🙂
That is a fun and creative idea for wall decor 😉 Good luck getting your daughter on board with your ideas! #teens
This is such an awesome idea! I love it!
What a great tutorial!! I cannot wait until next week!!
The wall is great. It’s going to be so much fun for her to fill up the frames. Great job.One more week to go!!
I love the gold over the purple!
I love the frames! What a creative idea! and I have tiny nail holes all over my walls cause I can’t make up my mind on art so tack holes are nothing 🙂
Clever idea to use vinyl for all the frames! You’re doing great… Cannot wait to see the reveal next week!
Those vinyl frames are such a great idea! I love my Silhouette!
Okay, I need to get one of those machines. This is so cool.
It’s coming together! I love how you are working with your daughter instead of fighting her to do it your way. I am pretty sure that is going to be a huge struggle for me in a few years.
What a great idea! Can’t wait for the full reveal!
This is so creative!! I love what you’re doing despite the fact that it’s not what you would pick! I can’t wait to see it all come together!
Well this is just the best idea ever! I was just brainstorming the other day how I could creatively display my kid’s artwork and this is absolutely fantastic!
I loooovvveee that color purple! Excited to see the reveal!