How to Paint a Scalloped Wall
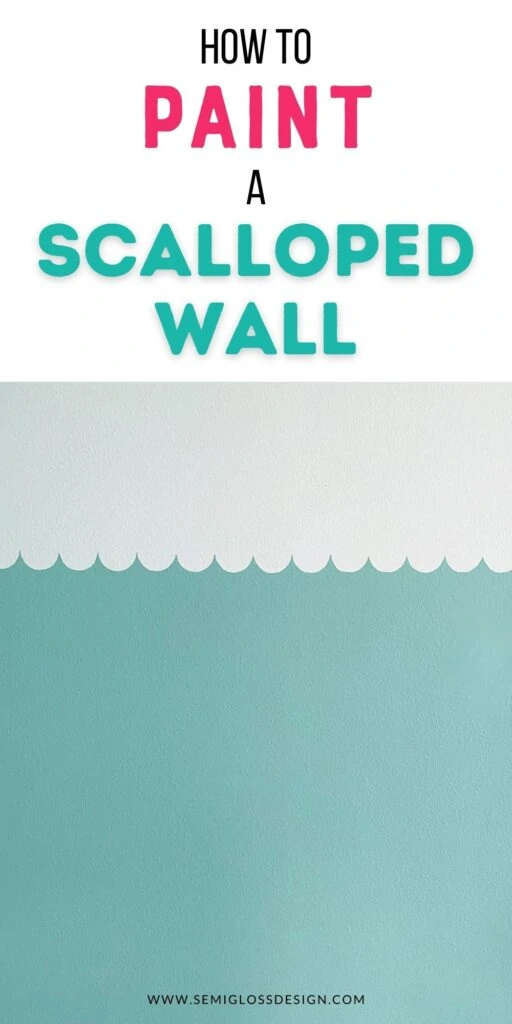
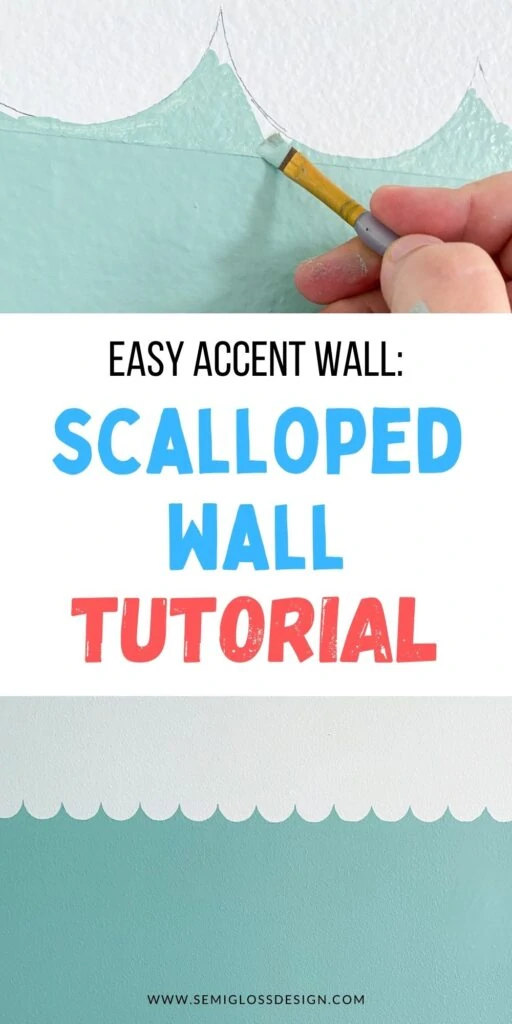
Learn how to paint a scalloped wall design in your home. This is a great way to add interest to a boring wall.
You might also like this post on painting walls for beginners.
This post contains affiliate links. By purchasing an item through an affiliate link, I earn a small commission at no extra cost to you. As an Amazon Associate I earn from qualifying purchases.
I’m so excited to share the first real project in our new house in Florida.
The entryway felt like a good place to start. It’s the first area that you see when you walk into our home. This area is also seen from my desk, so I look at this wall a lot.
My initial plans were thwarted due to light switches placed in the center of the wall, so I decided to paint a feature wall.
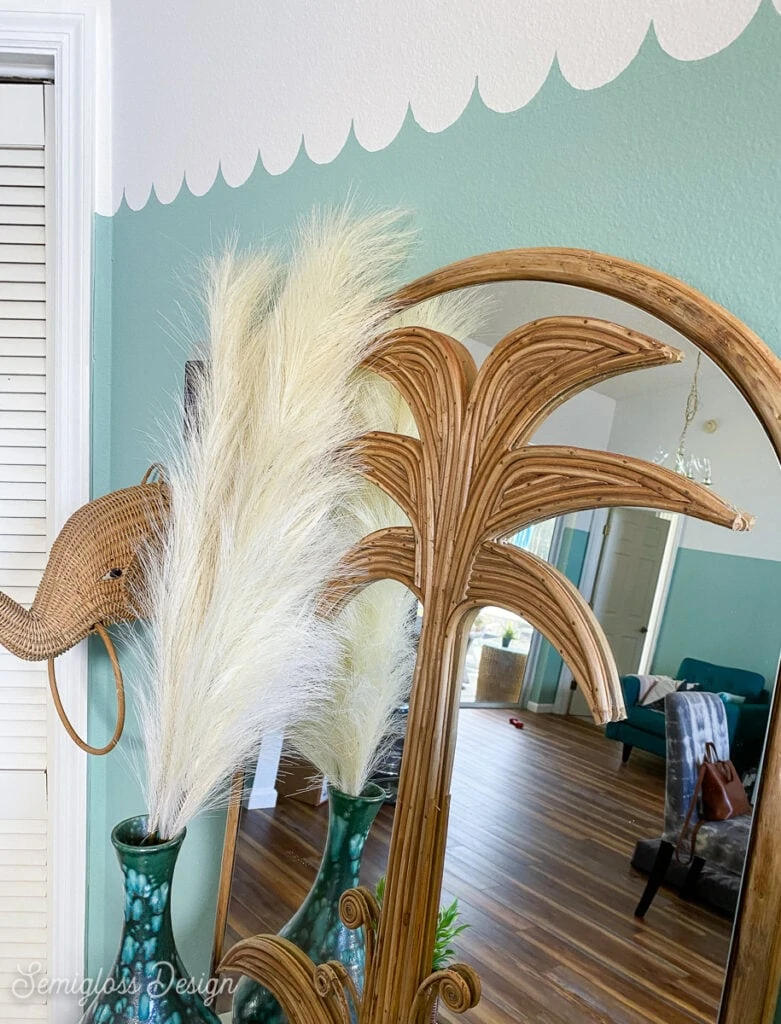
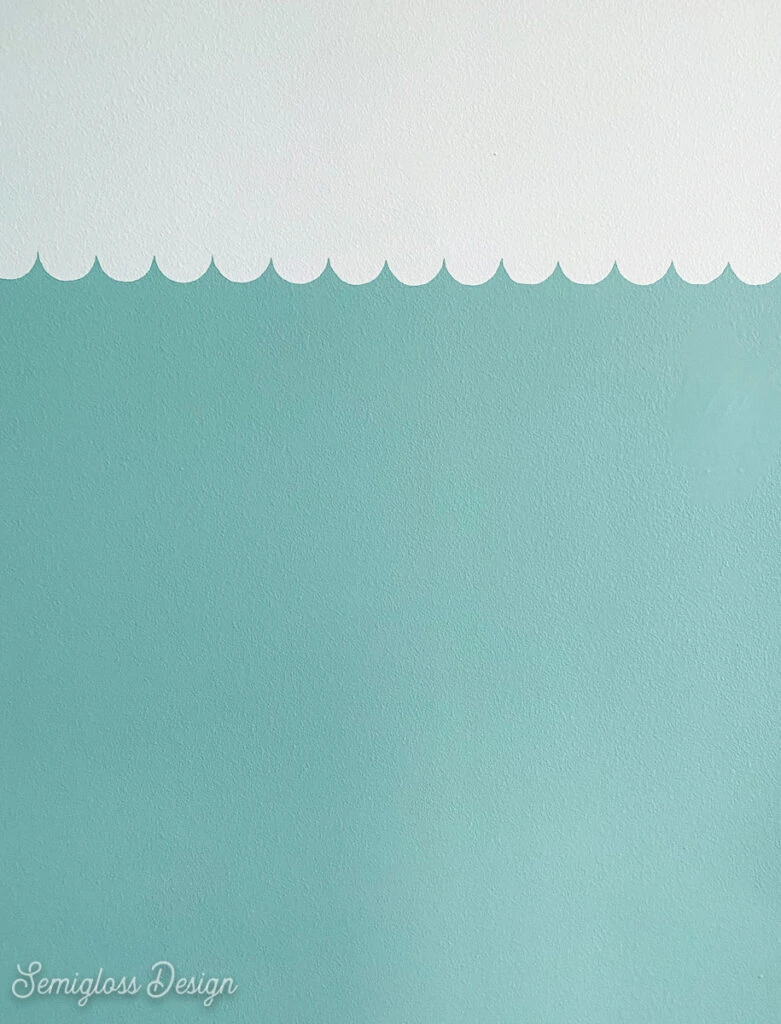
I decided on painting a scalloped wall, but with a twist. Since we live near the beach and water, I decided to flip my scallops to look more like waves.
I love the effect that it creates. Maybe it’s blue waves, maybe it’s white scallops.
How to Paint a Scalloped Wall
Before I get started, I wanted to point out that my walls have a slight orange-peel texture and this design still worked pretty well. (I get a lot of questions about textured walls, so it’s good to finally have some answers.)
Up close, it’s not perfect, but when you stand back from it, it looks amazing.
Supplies Needed:
- Paint (for base color and another color for scallops)
- Paint brush and roller
- Painter’s tape
- Laser leveler
- Pencil
- Small flat craft paint brush
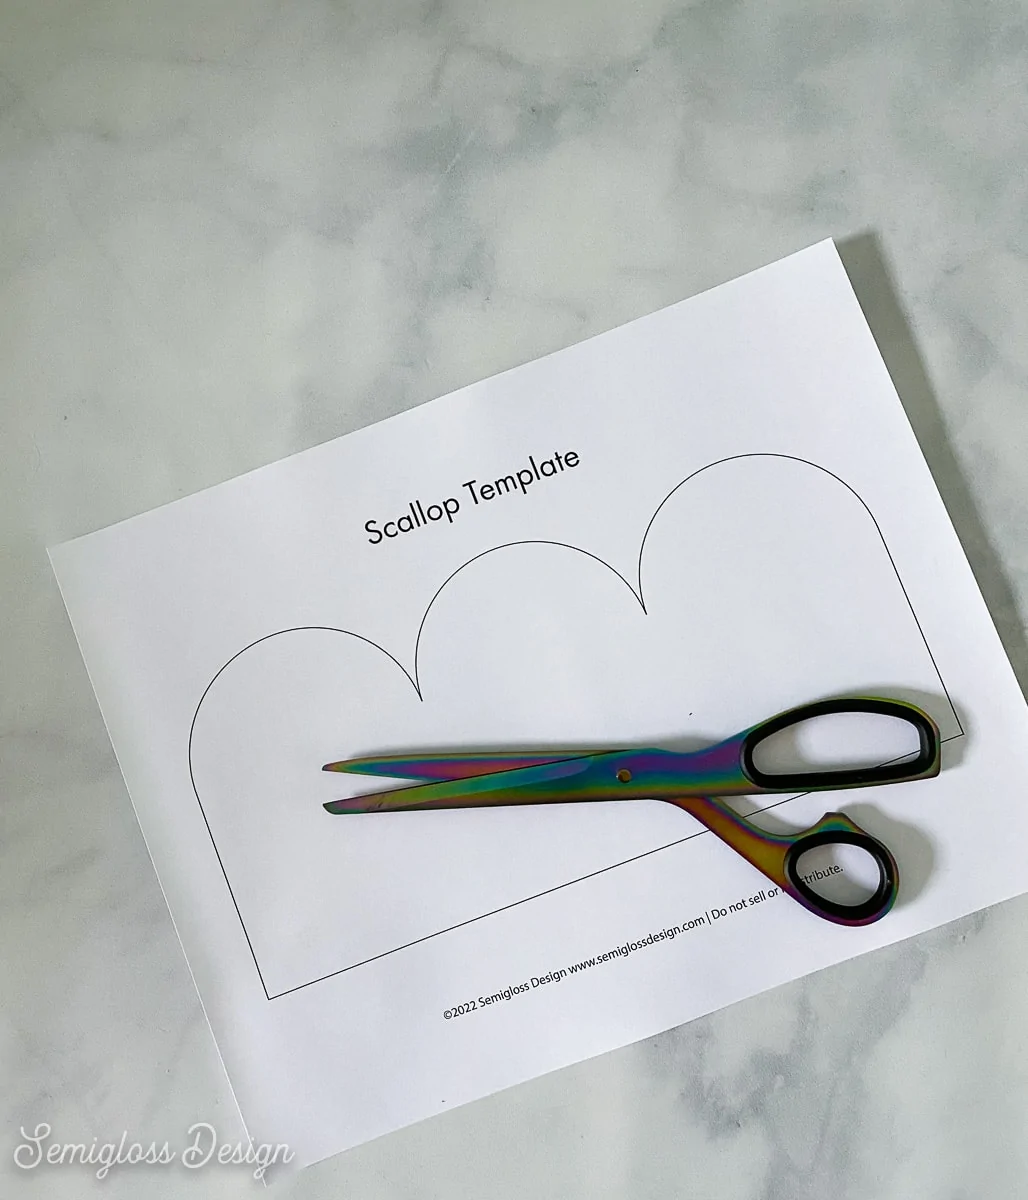
- Scallop stencil (free printable download at the end of this post)
I used HGTV by Sherwin Williams paint in Pure White and Celadon Pottery in eggshell. This color is hard to find online, but it’s very similar to SW Hazel.
Learn more about my favorite painting tools here.
- Prepare your walls for paint as needed. Fill all nail holes and prime those spots.
- If needed, paint your walls the base color.
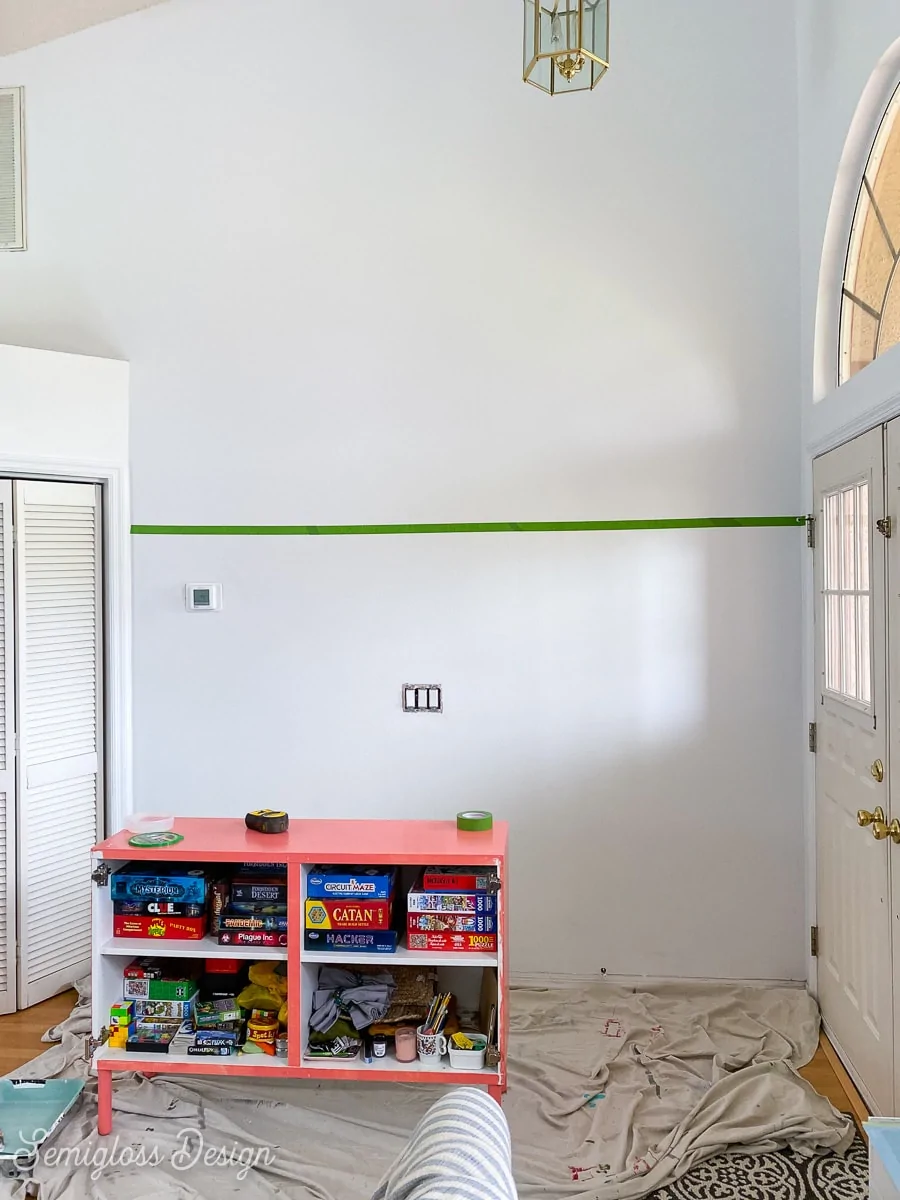
- Use a laser level and tape off how high you want the design to go. (In a normal, non-vaulted room, I recommend going up about 2/3 or 3/4 of the wall.)
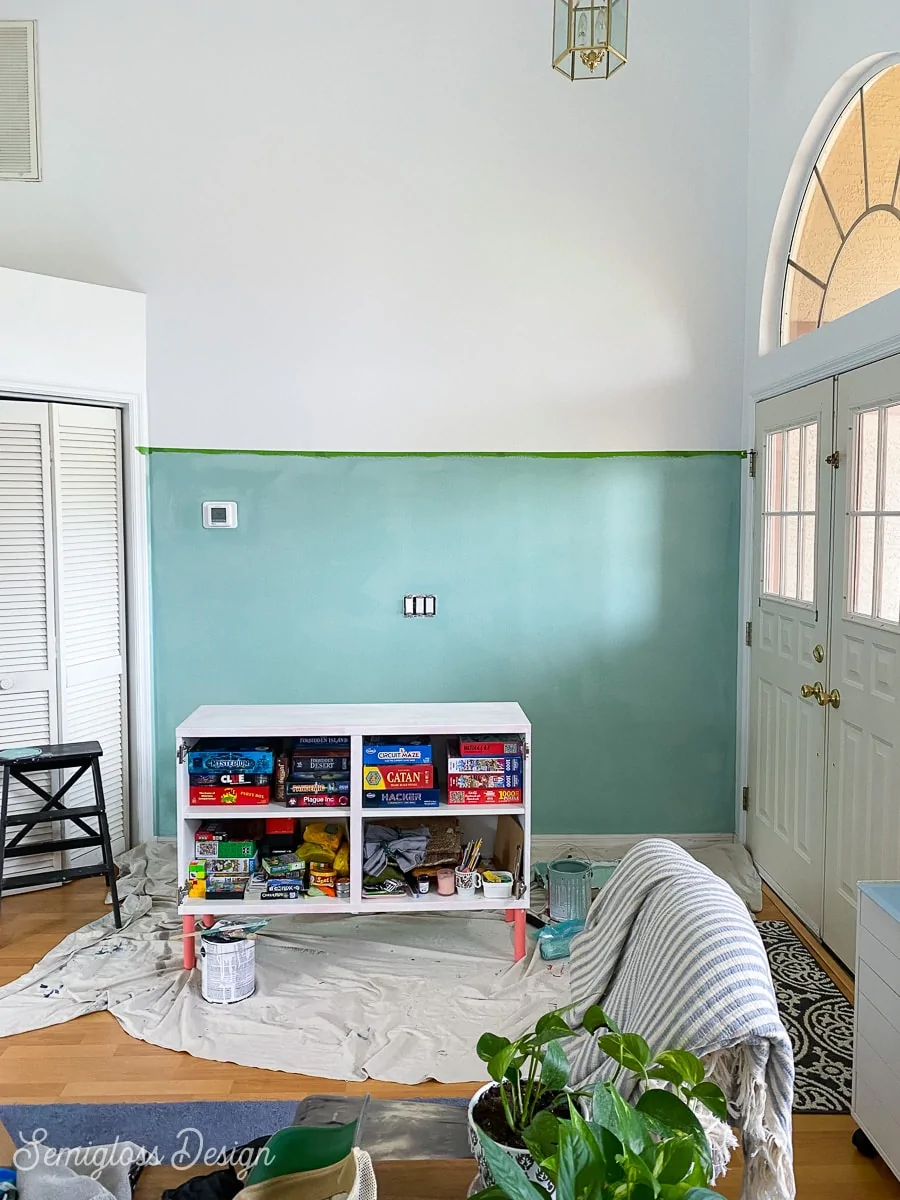
I used the height of the offensive wallpaper border to determine my height. - Paint the bottom part of the wall up to the tape.
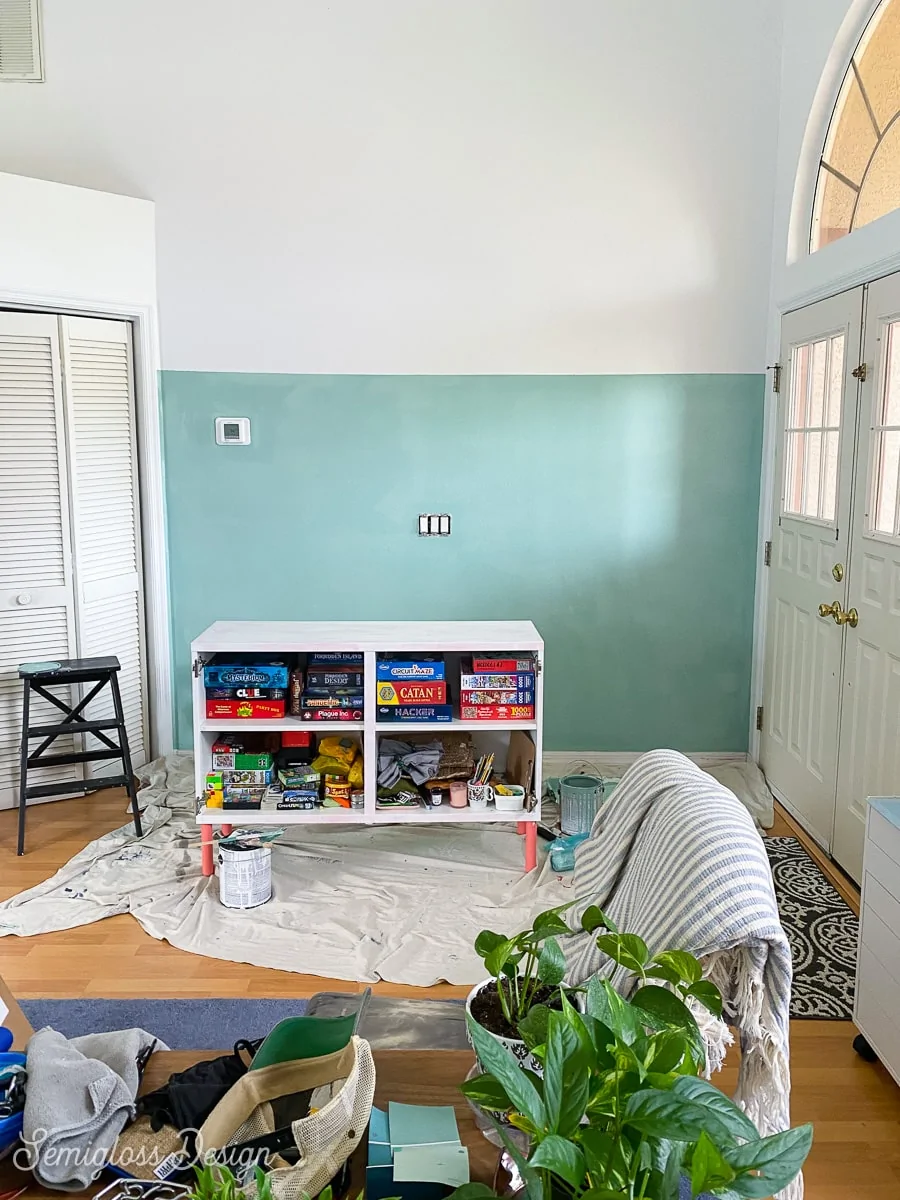
- Once that coat of paint is dry, add another coat for full coverage.
- Remove the painter’s tape while the paint is wet on the final coat of paint.
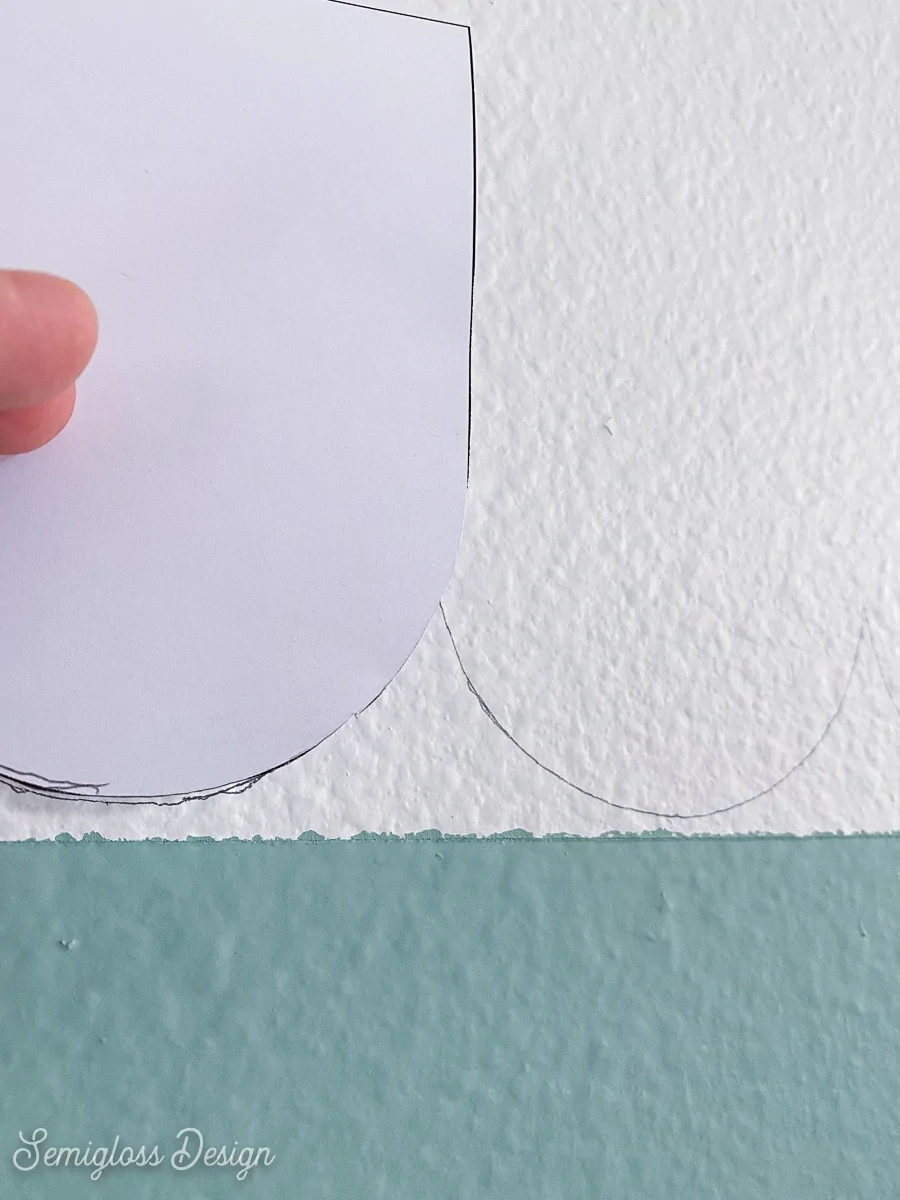
- Print out the stencil and cut it out.
- Use it to trace the design onto the wall with a pencil.
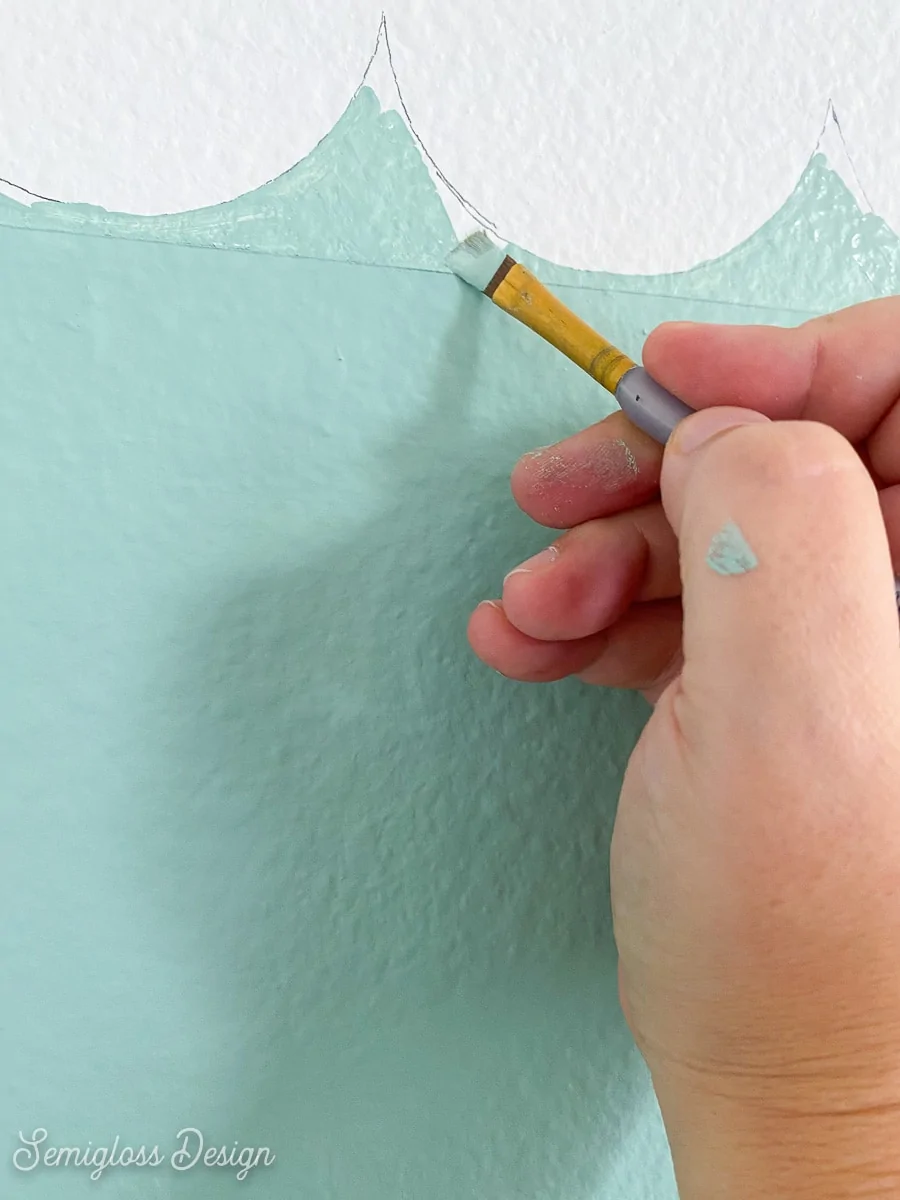
- Use a small craft paint to fill in the scallops/waves.
- Let the paint dry and add another coat as needed until it looks solid.
- If you accidentally paint outside the lines, use the base color to touch up the paint.
Other Tips to Know
- You will need a steady hand to paint this design. Skip the 2nd cup of coffee.
- I used eggshell paint because it’s much more forgiving and hides mistakes better than a glossy paint.
- Don’t use a pen to trace the stencil. Ink is almost impossible to cover with paint.
- There will be a ridge from the paint tape. If it bothers you, you can sand it smooth and touch up paint as needed.
- For larger scallops, trace something round and large, like a dinner plate.
Did you know that you can get paint samples mailed to you? This is such a convenient way to view paint colors without going to the store a million times!
The Entryway
Here’s how it looked after I painted the wall.
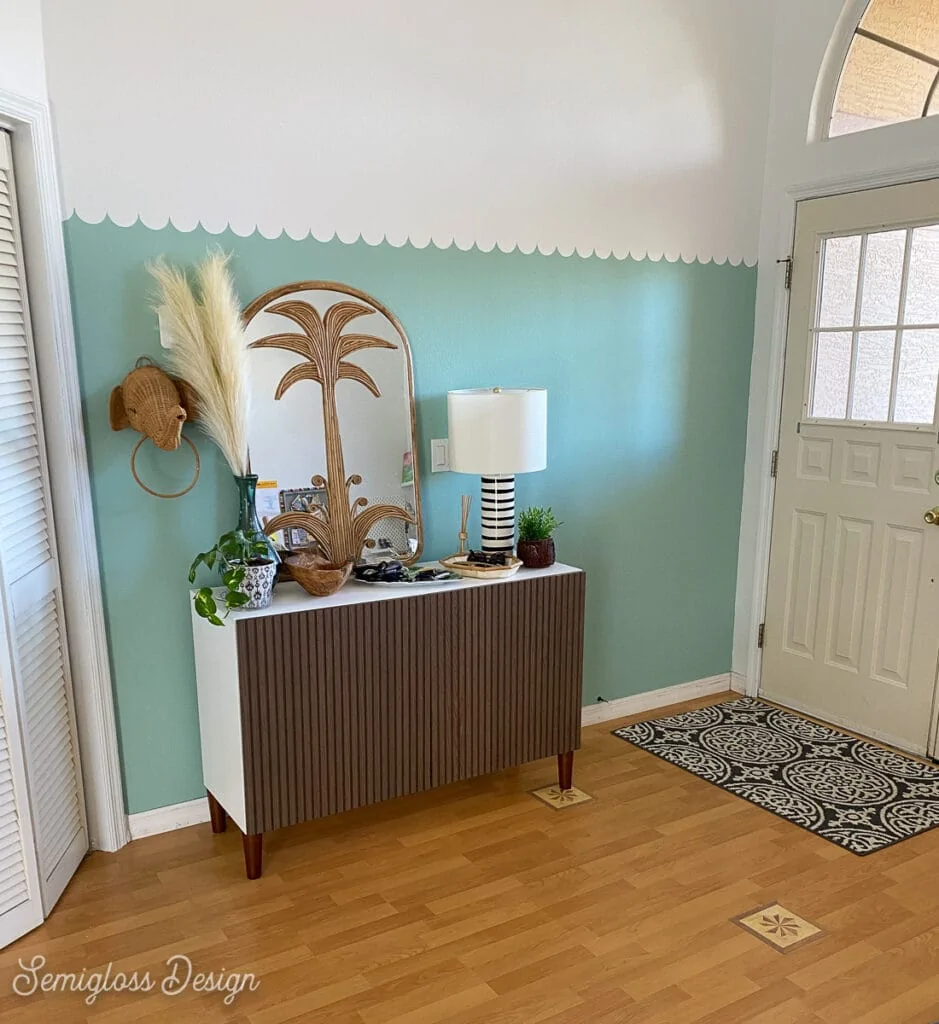
We just had the flooring redone, so here’s how it’s looking now:
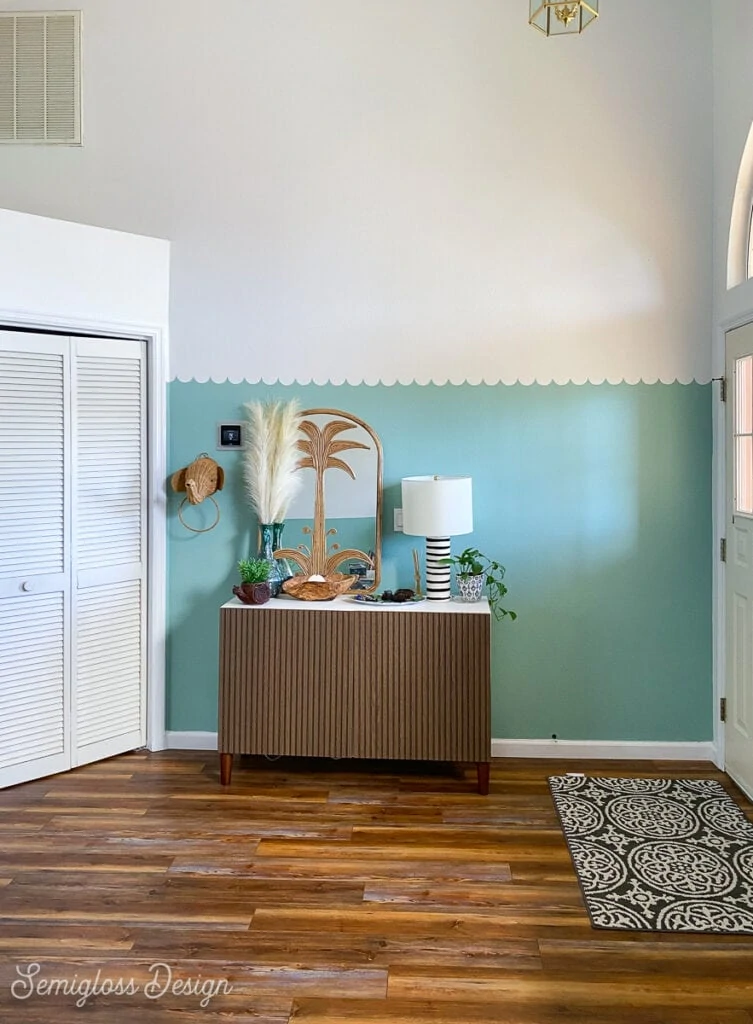
Our MCM-inspired Besta cabinet was damaged in the move, so I added new doors and legs. This cabinet holds games and puzzles.
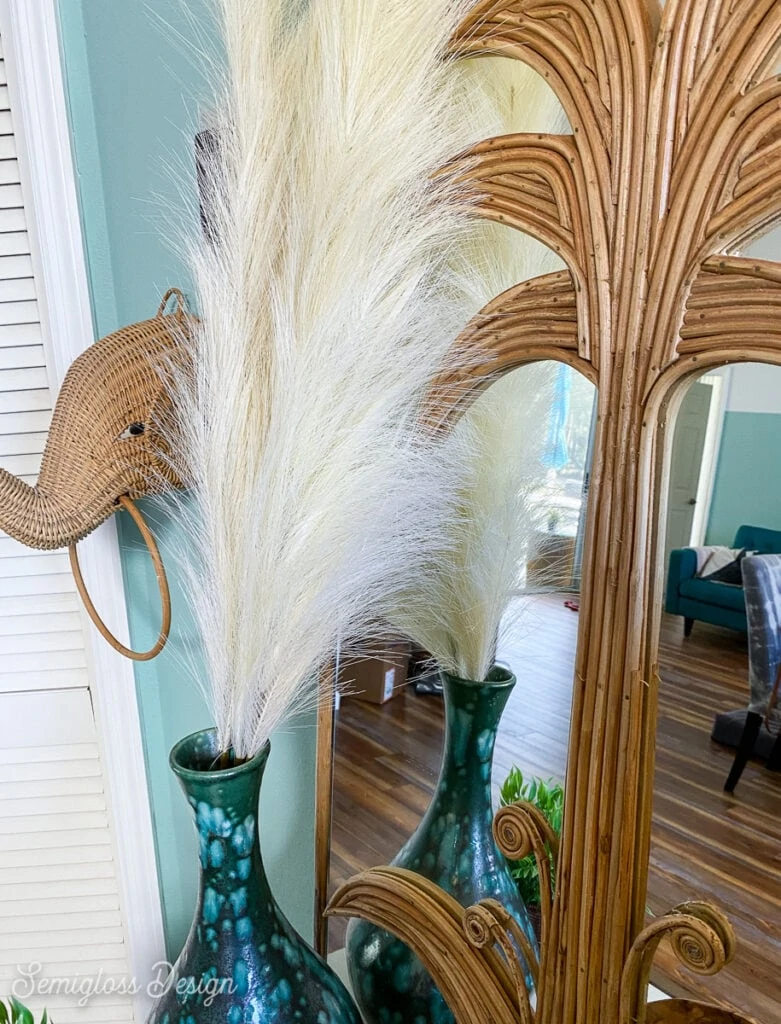
I am obsessed with this palm tree mirror. So good!
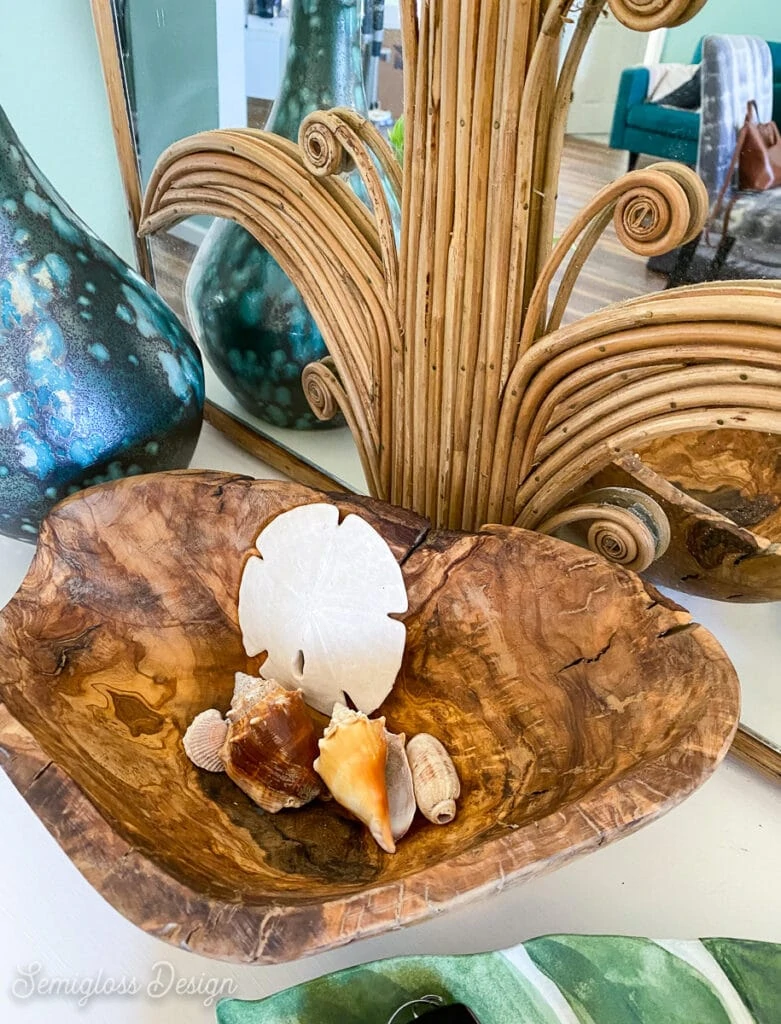
This wood bowl holds our growing seashell collection (we have a ton that needs to be cleaned still.)
The vase and pampas grass add height and disguise the HVAC controls.
Still to do:
- New light
- New rug that fits the double doors
- Paint closet door and front doors
Download the Scallop Stencil Template
All downloads are for personal use only. Please do not redistribute or sell files.
You might also like:
Pin for Later!

Emy is a vintage obsessed mama of 2 DIYer who loves sharing affordable solutions for common home problems. You don’t need a giant budget to create a lovely home. Read more…


