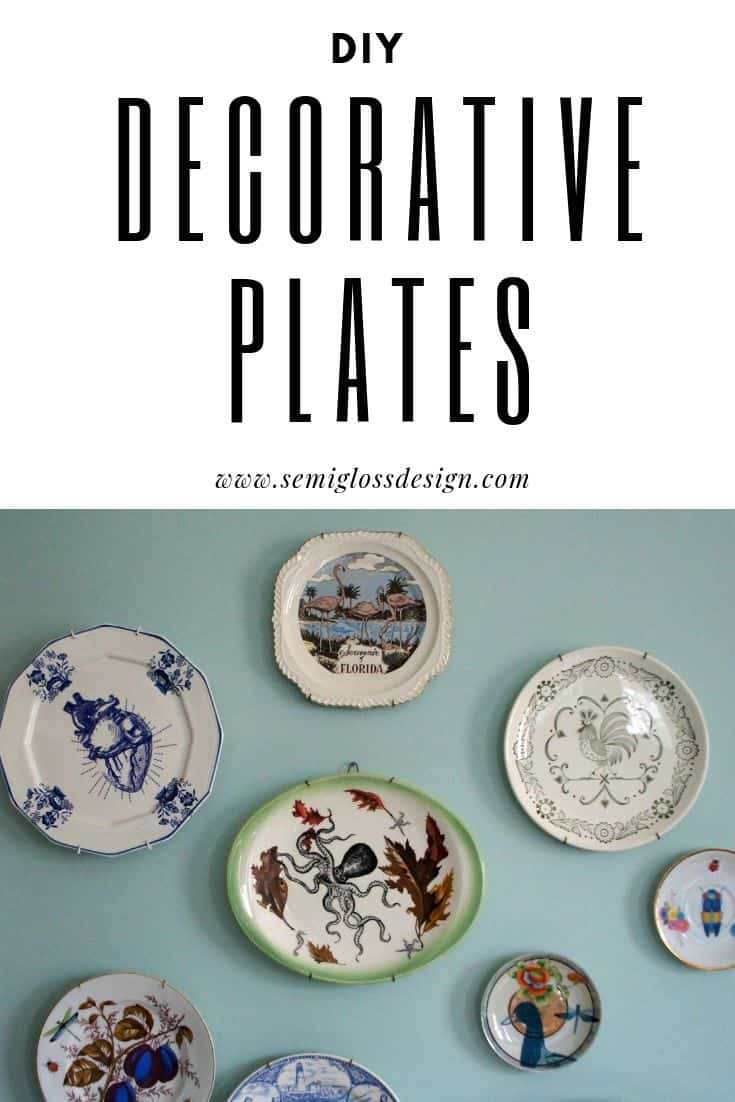
Easy to Make DIY Decorative Plates
These DIY decorative plates are so easy to make and customize. Out of every DIY craft that I’ve made, this is one of my favorite projects.

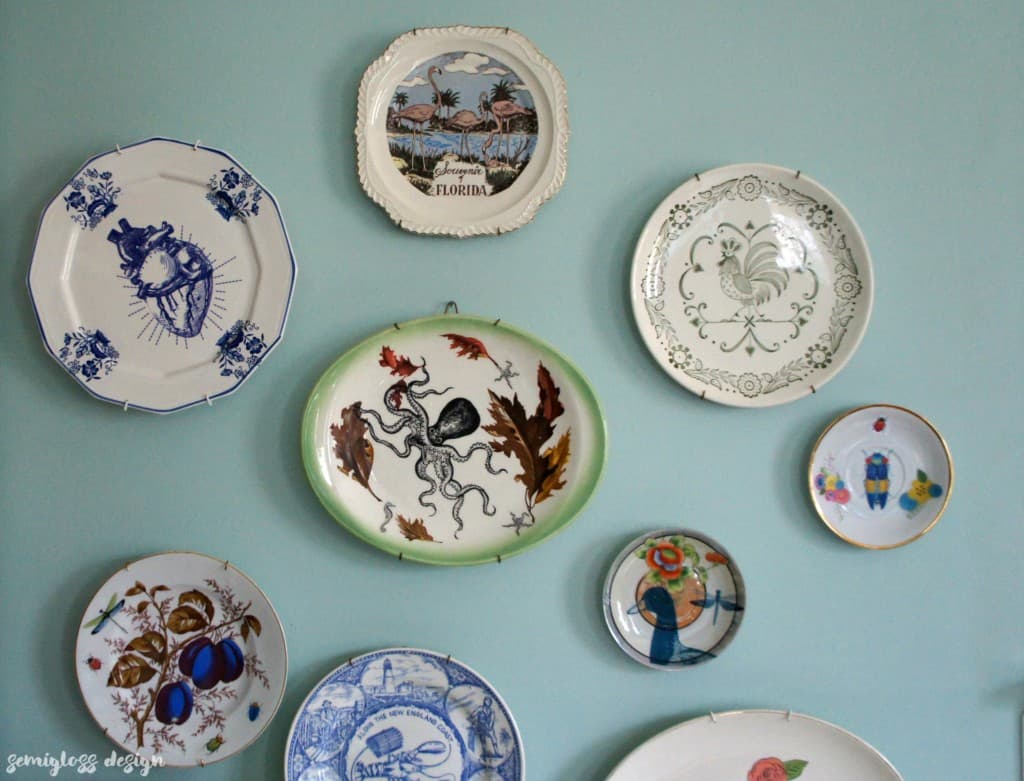
I love the decorative plates from home decor stores, but I don’t love the price tag. These plates can be made at a fraction of the price.
How to Make Decorative Plates
Supplies Needed
This post contains affiliate links. By purchasing an item through an affiliate link, I earn a small commission at no extra cost to you. As an Amazon Associate I earn from qualifying purchases.
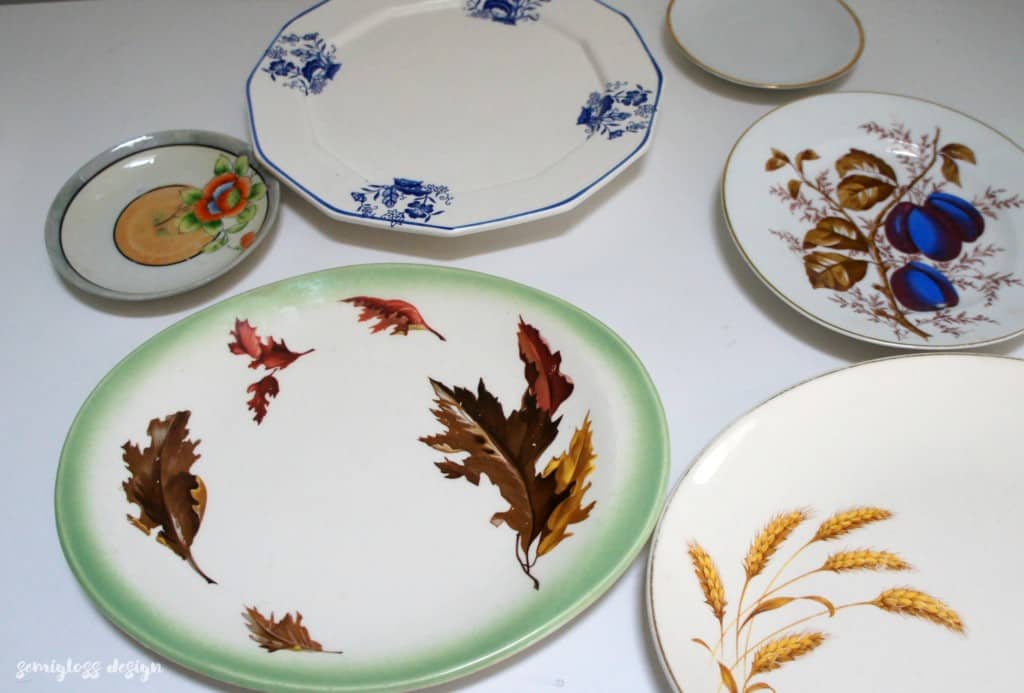
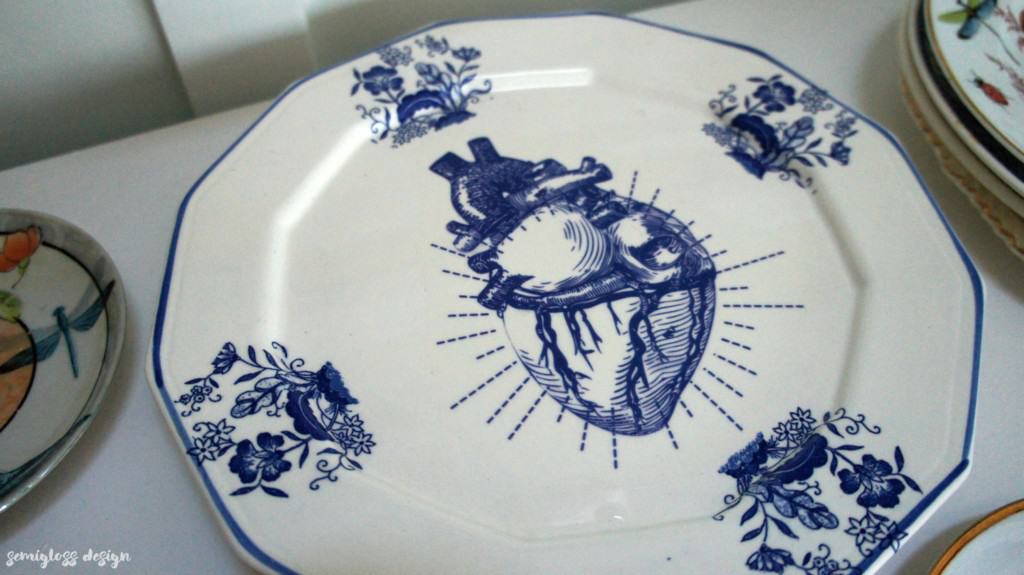
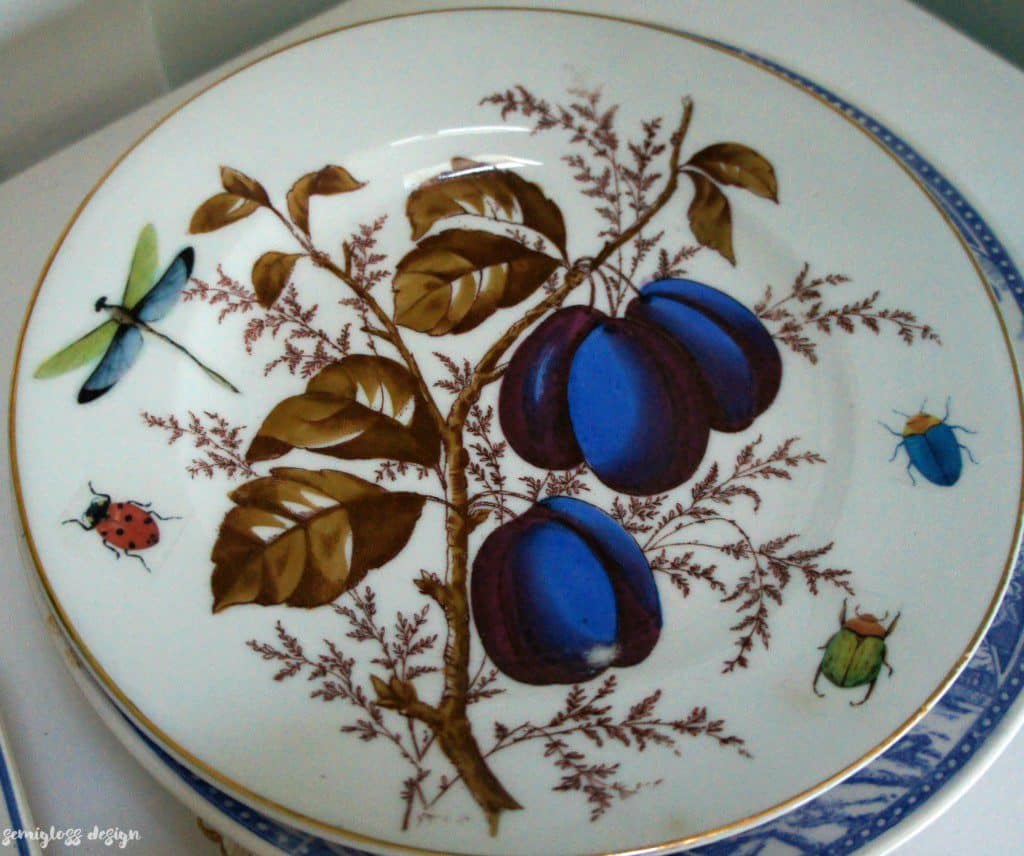
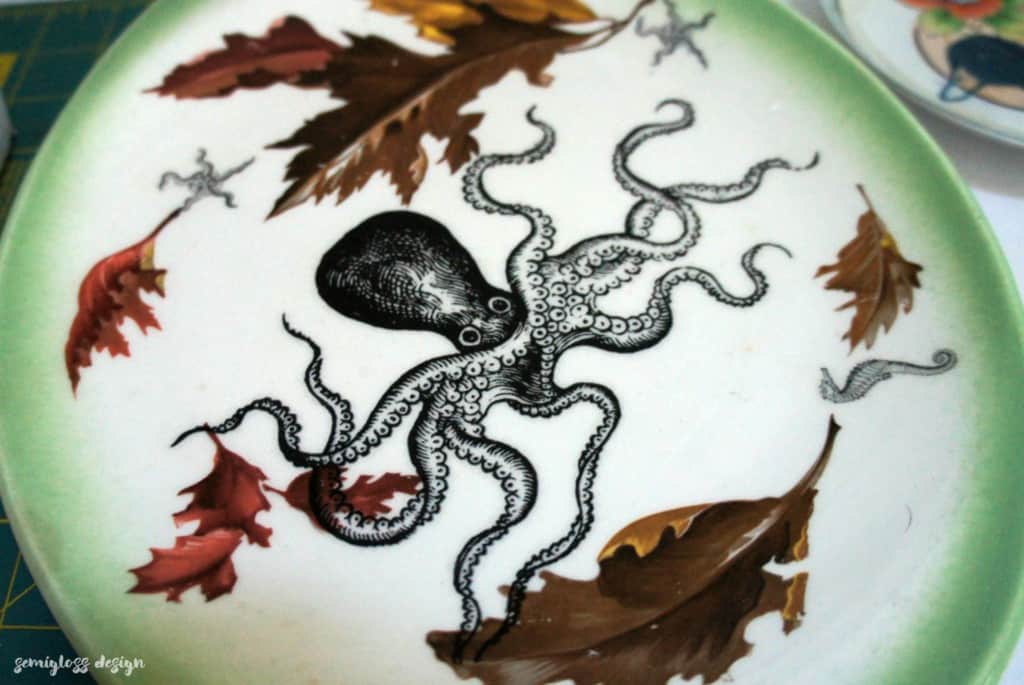
- Plates. Finding enough plates to fill a plate wall took a few trips to the thrift store. Some were even perfect as is. I looked for plates with interesting elements and plenty of white space. I tried not to buy anything too precious because I would hate to ruin something valuable.

- Decal paper. I bought this decal paper in clear.
- Scissors to cut around the decals
- A shallow bowl of water
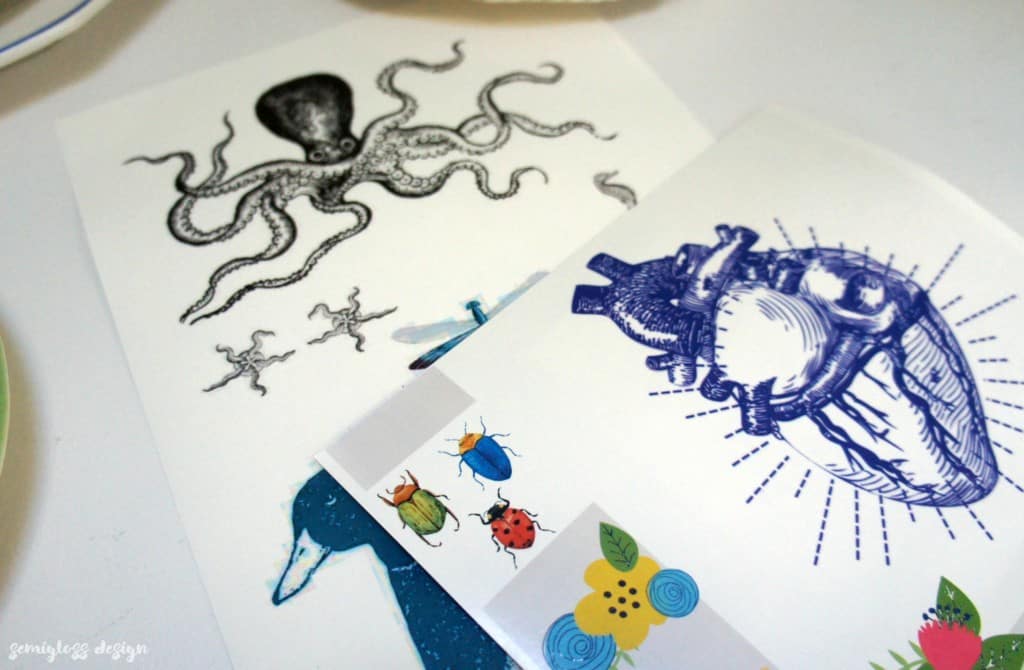
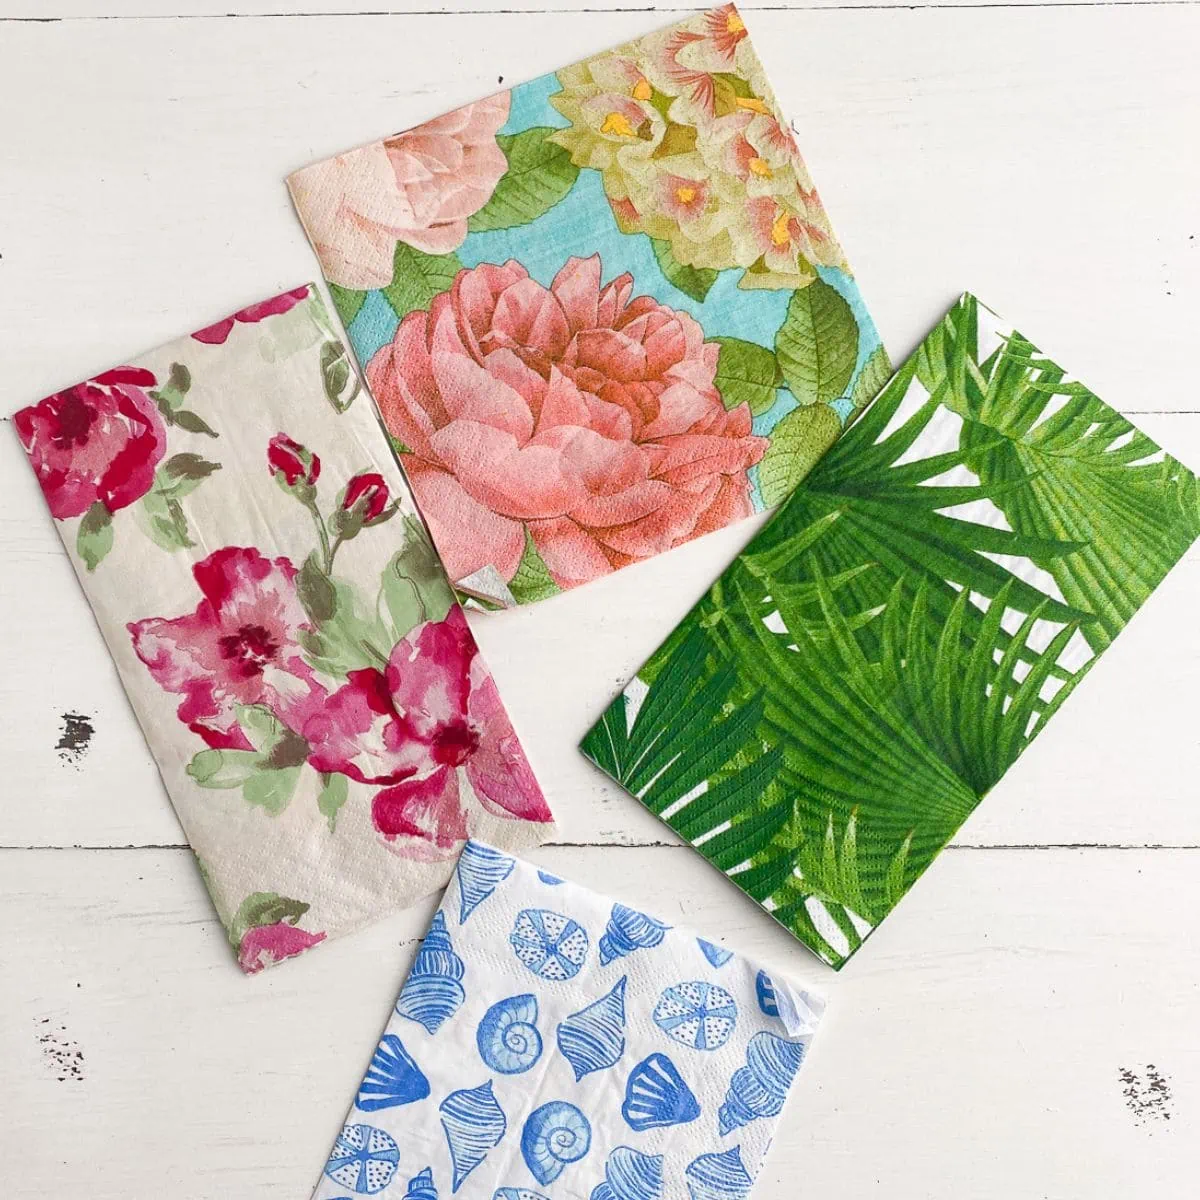
- Images. You need PNG images on transparent backgrounds.
- Clear Spray Paint. This is needed to seal the ink. If you skip this step, the images will run when wet.
How to Use Decals to Make Decorative Plates
- Print your images onto decal paper.
- Remember to spray the pages with clear spray paint. Let them dry completely.

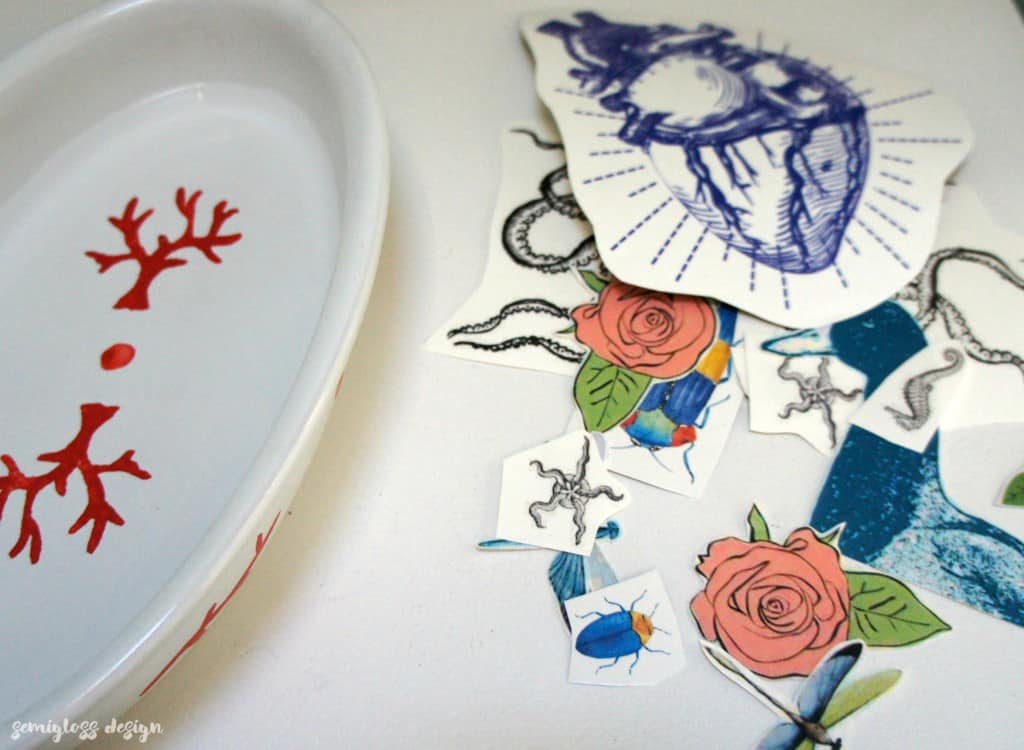
- Cut out each image, leaving a small area around each object.

- Soak the image in a shallow bowl of warm water for a few seconds. The decal will slip off of the paper quite easily. Don’t panic if the decal folds onto itself. It’s fine and not ruined at all! The decal paper is pretty forgiving.
 The large ones feel a bit scarier to use. Wait until you take it out of the water before you remove the paper backing.
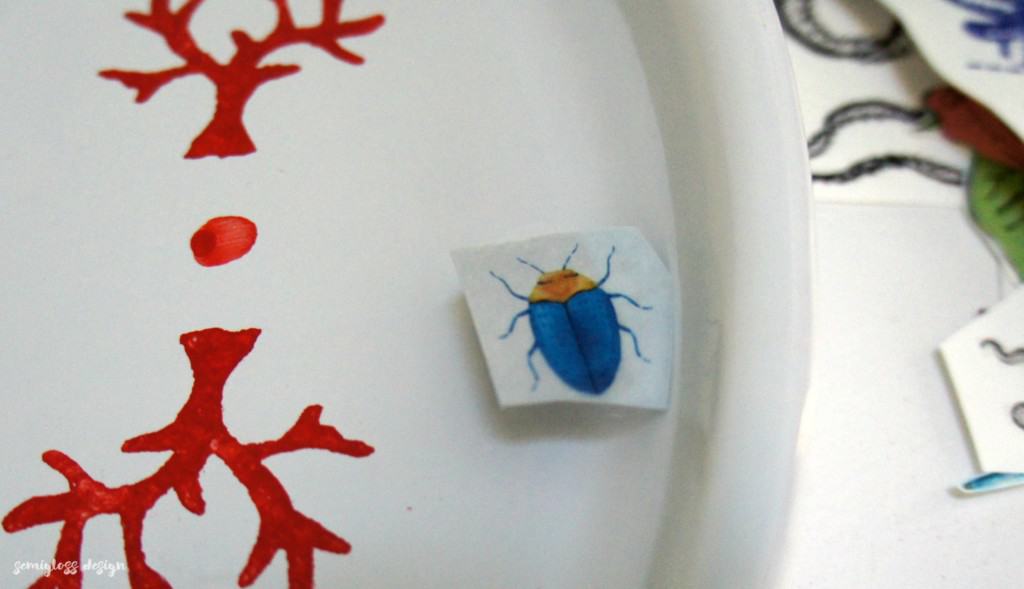
- Slide the decal into place, removing the paper backing as you go.
- Use an old gift card to squeeze the bubbles out and a towel to wipe away excess water.

- Let dry, and it’s done.

 The large ones feel a bit scarier to use. Wait until you take it out of the water before you remove the paper backing.
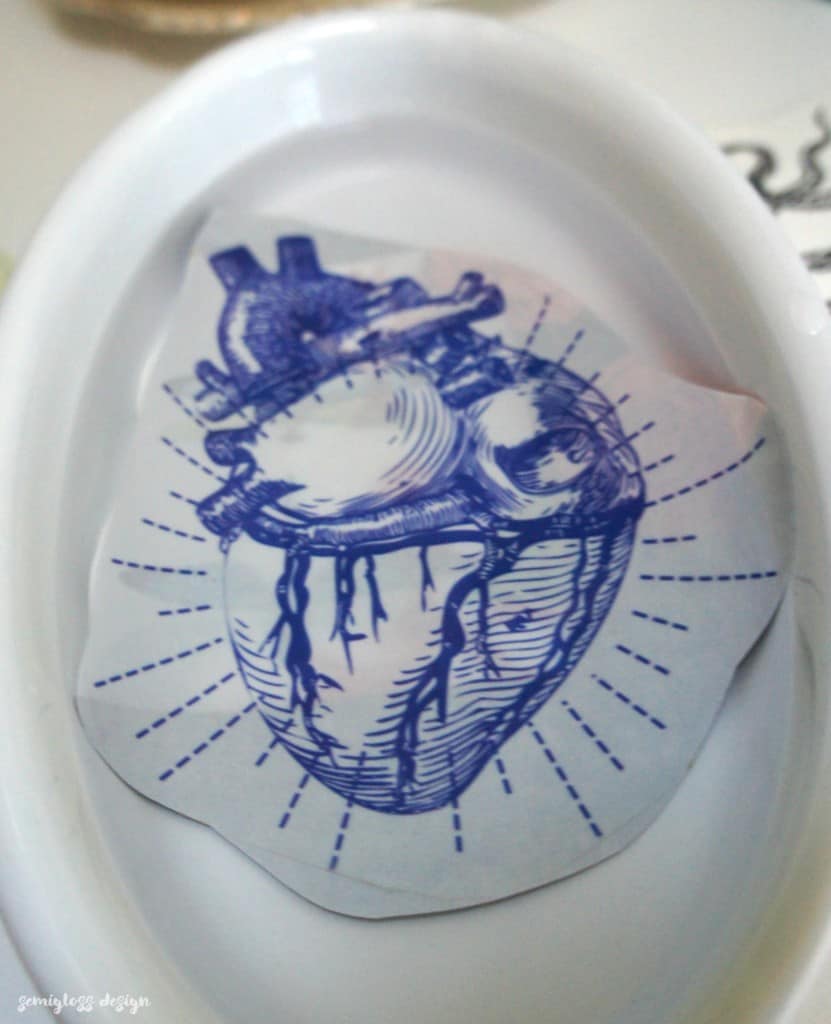
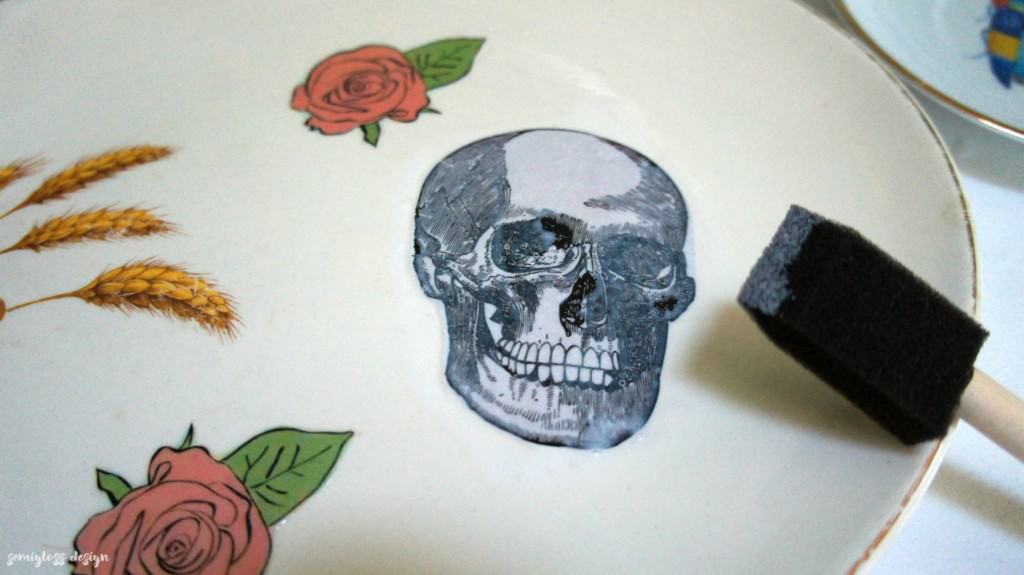
How to Use Decoupage to Make Decorative Plates
You can decoupage paper printouts instead if you want. You don’t get a clear background, but it looks pretty cool anyway.
- Print and cut out the images in a similar manner to above. Remember to spray with clear spray paint!
- Use a foam brush to apply decoupage glue to the back of the image.
- Place the image onto the plate and add another coat of glue onto the top of the image.
- Smooth the image with your fingers to get rid of any bubbles.

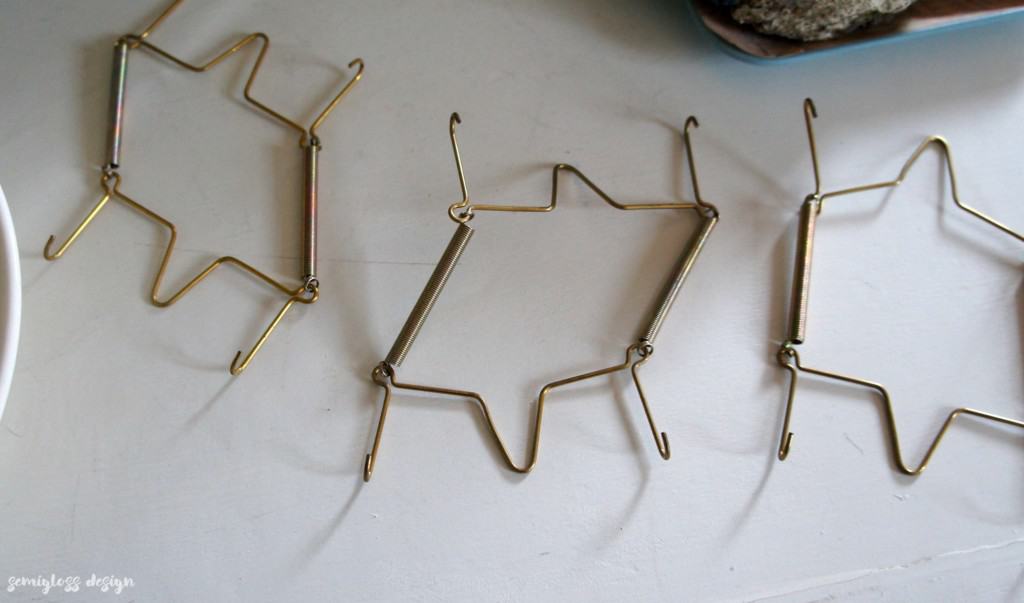
Hanging the decorative plates was easy. I used plate hangers for the larger plates. I love these things because they are easy to use and work well. Stretch them to fit and then hang on a nail.
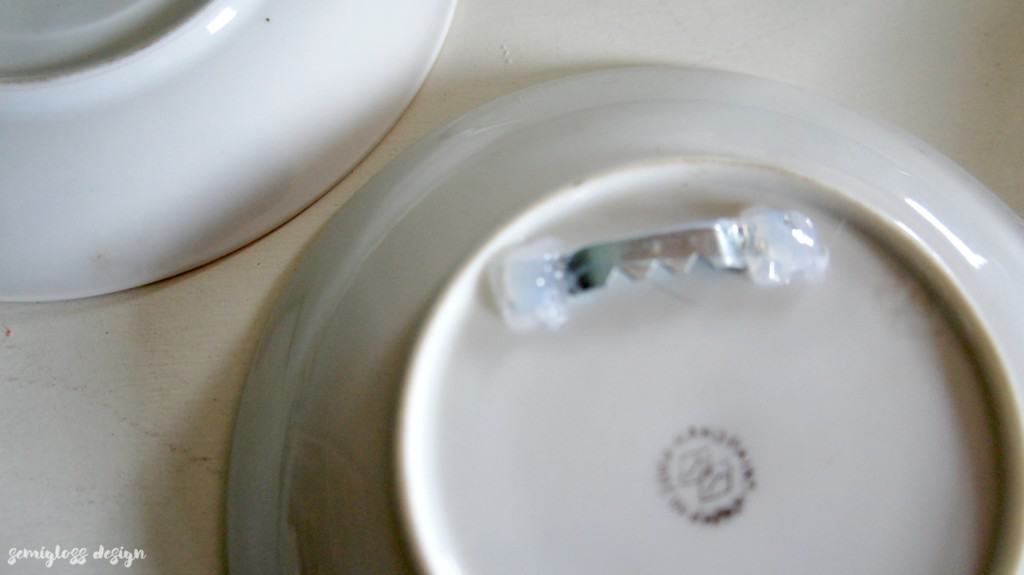
For the small plates, I hot glued metal hangers to the backs. Since the plates are lightweight, the hot glued hangers hold just fine.
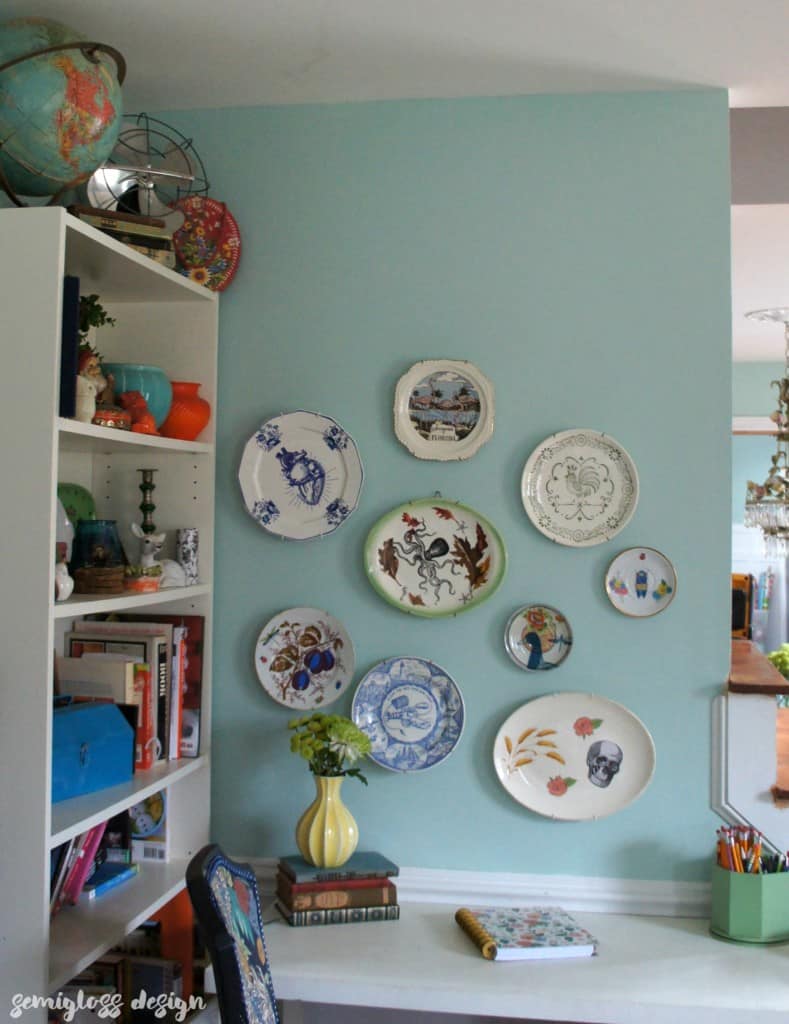
My plate wall really cheers up this corner of my living room! I combined my DIY decorative plate with the other plates that I found that were already awesome.

Be sure to follow me on Pinterest for more great DIY ideas!
You might also like:
Pin For Later!

Emy is a vintage obsessed mama of 2 DIYer who loves sharing affordable solutions for common home problems. You don’t need a giant budget to create a lovely home. Read more…


ok these are awesome!!! so fun, emy!!
Thanks Cassie! They were so much fun to make!