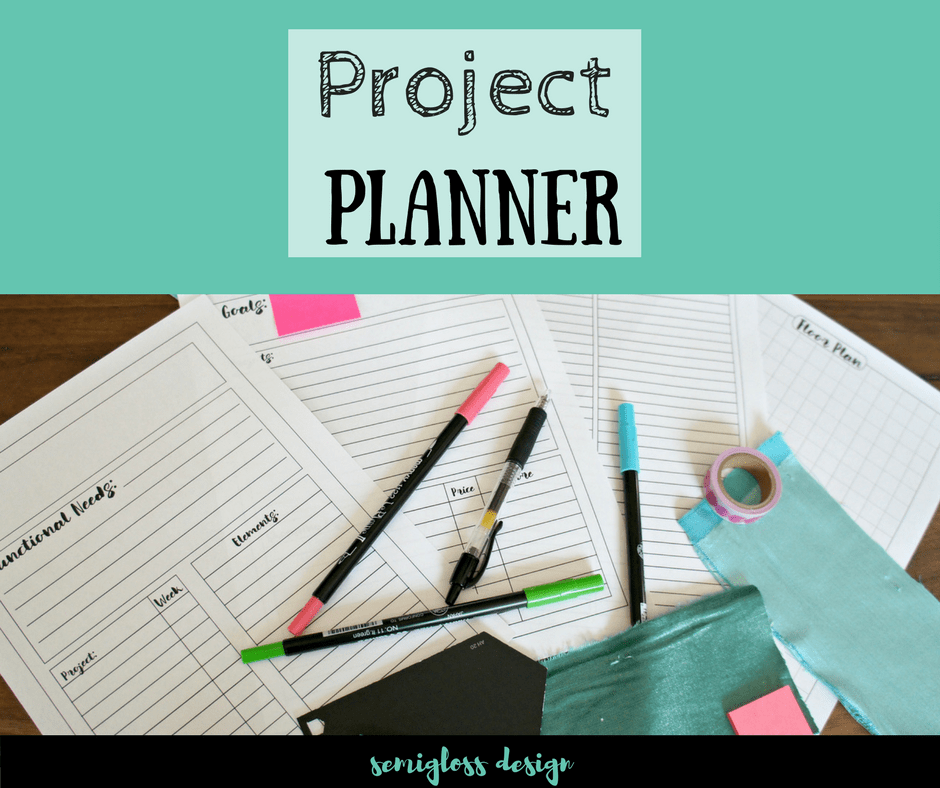
My Project Planning Process: Simplify the Process
The Spring One Room Challenge is right around the corner and I’m feeling the need to get organized with my plans for it. I know what room I’m doing and I even know how I want the room to look and feel, but I’m still in the process of organizing my ideas and projects. Six weeks is not a very long time to complete a room, so planning is important. There’s a pressure to complete, which is amazing to get a room done because I’m not always great at getting rooms done in a timely manner (I’m looking at your staircase and *ahem* son’s room and kitchen…) Organization is a must for this process, so today I’m sharing my project planning process and some free project planner printables.
Scroll to the bottom for a printable planner.
Project Planning Process
Select a room (or project.) I choose my room based on what I have prioritized and can actually complete in 6 weeks.
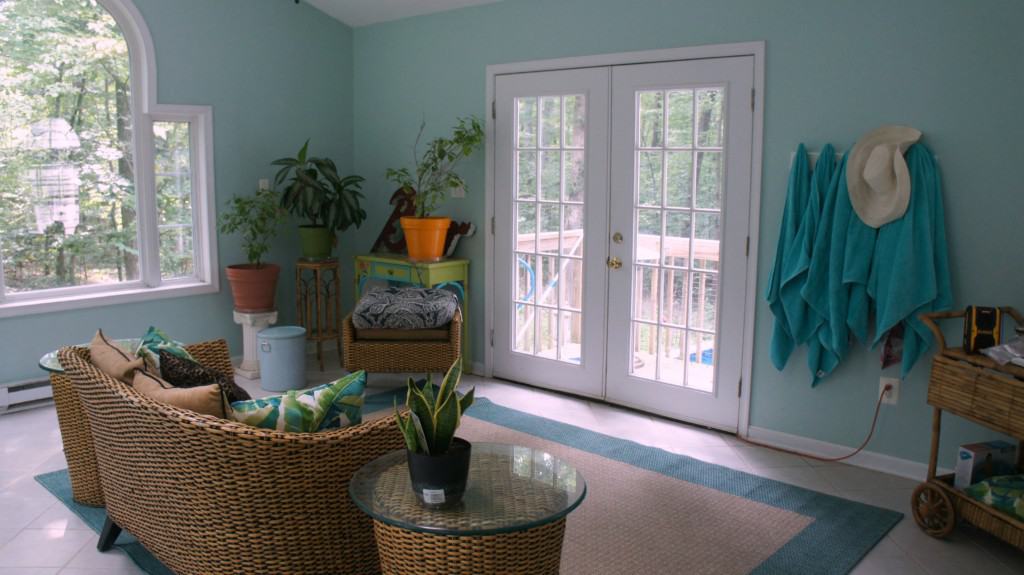
For the fall One Room Challenge, we decided to work on our main floor bathroom because we were sick of looking at the ugly floor. For the next round of the One Room Challenge, I’m doing my sunroom because we spend a lot of time in there during summer, so we want it to be ready for fun.
Assess your needs. Next, I figure out what I need and want from the room. Figuring out what isn’t working is an important first step. You want your room to be beautiful, but that doesn’t mean anything if it doesn’t function for you.
For our bathroom, we needed flooring that would stand up to splashing kids and hide dog hair. We needed a toilet that was easier to clean. Also, the room needed to be pretty. 🙂
Assess your wants. This is where it starts getting fun. What would make your room the very best room? What colors do you love? Would a swinging chair make your room complete? Would your dream fabric make your old sofa sing? Dream away. Or be practical. Your choice.
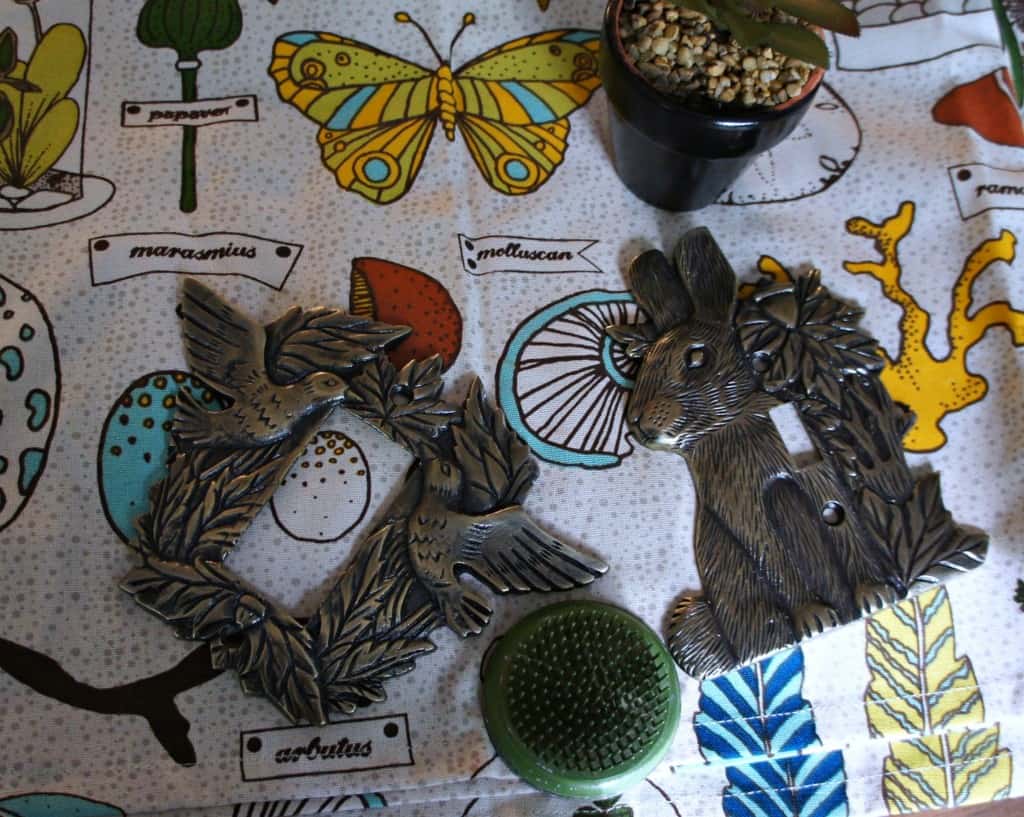
For the bathroom, I wanted a fun shower curtain. I also wanted colored shiplap and a stenciled wall. Above all, I wanted a lot of fun details because that’s what makes my heart happy.
Make a mood board. I like to use polyvore for making moodboards because it’s really easy to use. It already has a ton of products in the items list, but it’s really easy to import your own items as well. I love mood boards because I am able to take the images from my brain and make them come alive. This is really helpful if you’re very creative and need to share your ideas with someone who may not be able to see your vision.
Another easy method for creating a mood board is just to copy and paste items into Microsoft Paint.Saving items and rooms to a pinterest board is one more way to figure out how you want the room to feel. Cutting images from catalogs would work as well.
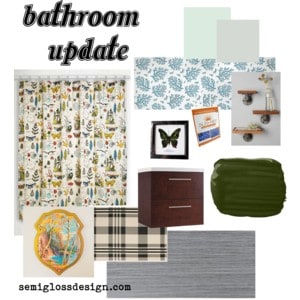
It’s not always necessary to use the exact item in your mood board. I have a lot of vintage furniture, so I typically just add an item that is a similar color and shape if possible. It’s much easier to see what works and what doesn’t work without the actual expense of doing it in real life. For instance, I considered painting my walls white for about a second. Making a mood board helped me realize that although I pin a lot of rooms with white walls, I would hate it in my own home with my furniture. It’s also fun way to play with options.
Make a project list. Okay, we know what your room needs, we know what we want, and we even know how we want it to look. Now we have to figure out how to get there. I like to start with the biggest projects first. Start making a list. You can go back and reorder it later if necessary. Be sure to add in those wants too.
For my bathroom, my list looked something like this:
- Demo old flooring
- Install new flooring
- Install shiplap and paint
- Install new toilet
- Stencil walls
- Make pipe shelves
- Decorate
Make a time line. For the One Room Challenge, you have 6 weeks to complete a room, but with photographing the room, it ends up being 5 weeks. Figure out if there are things that need to be started before your begin date. If your project is big, start the demo early. If you’re relying on contractors, you might want to get some of the bigger things done before hand as well. Things like flooring or installing cabinets can take a while. Having a time line will help you keep on schedule. It also lets you plan your project a little better. You don’t want to put all of your heavy projects in one weekend. Besides, some tasks need to be done in a certain order. For instance, in my bathroom, the flooring and walls needed to be completed before the toilet could be installed.
By spacing your projects out, you can also figure out when you need to have a certain item. If you know that you’re painting in Week 1, you need to buy the paint and supplies beforehand. In my bathroom, I fell behind because my stencil took longer to get to me than I thought it would.
Make a shopping list and start pricing stuff out. Unless you’re really lucky, you probably have a budget goal in mind with each project. Pricing stuff out will let you know what needs to be cut. It will also give you an idea of what you need to order versus go into a store and buy. Give yourself plenty of time for shipping delays. We’re all so used to 2 day Amazon shipping that other companies feel really slow in comparison.
Make a floor plan. You can do this digitally or use the floor planner that I provided in the downloadable planner. It’s much easier to plan out furniture layouts on paper (or computer) than moving furniture around. Plus, you might even come up with something that you hadn’t thought of before. I enjoy this part a lot. It’s like playing the Sims.
I didn’t move anything in my bathroom, so there was no need for this step, but I do it with other rooms.
What does your project planning process look like?
Be sure to download the free printable project planner!
This project planner can be used for any project, not just the One Room Challenge.
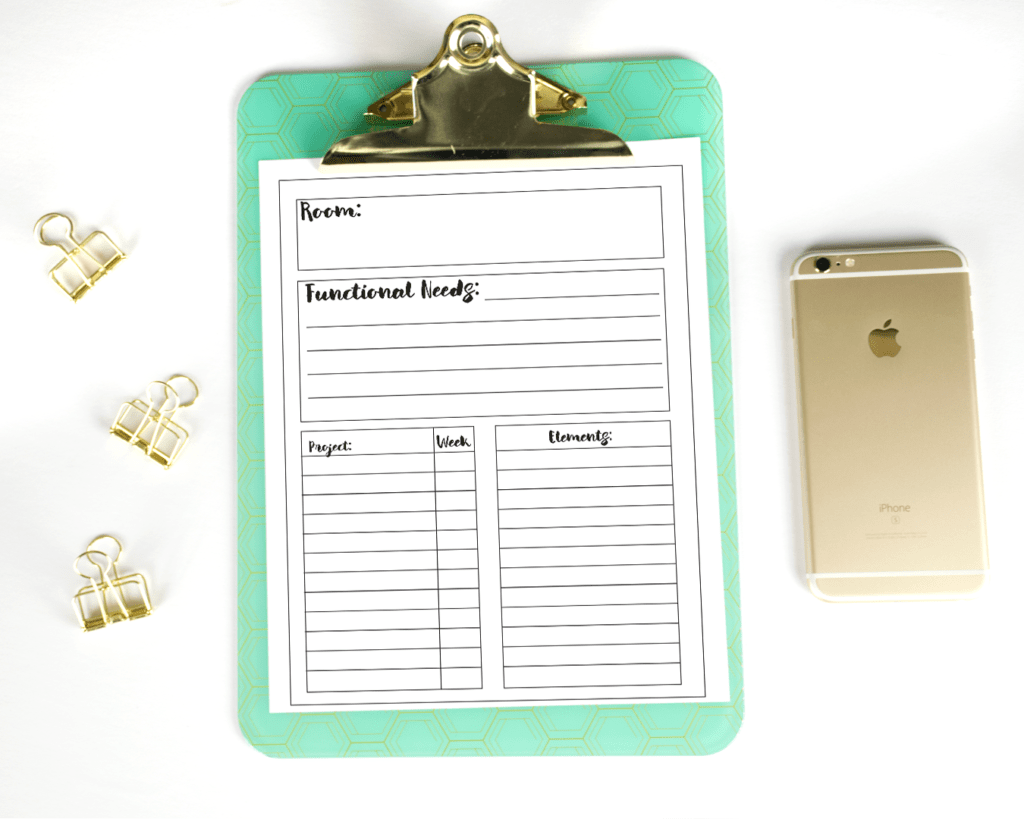
Four pages of planning for your project. The first page is for the project overview. Brainstorm to your heart’s content before breaking it down onto the next section.
The second page is for dividing tasks and shopping up over the 6 weeks. Print out 6 of this page.
I have provided additional To Do and Shopping lists in case they are needed on page 3. Print out however many you need.
Page 4 is for your floor plan.
Be sure to pin this!

Emy is a vintage obsessed mama of 2 DIYer who loves sharing affordable solutions for common home problems. You don’t need a giant budget to create a lovely home. Read more…

I can’t wait to see what you come up with for the sunroom. What a glorious space to have in your home and I know you’ll do something wonderful!
heee! I’m so excited. It’s a disaster already and already way over the top.