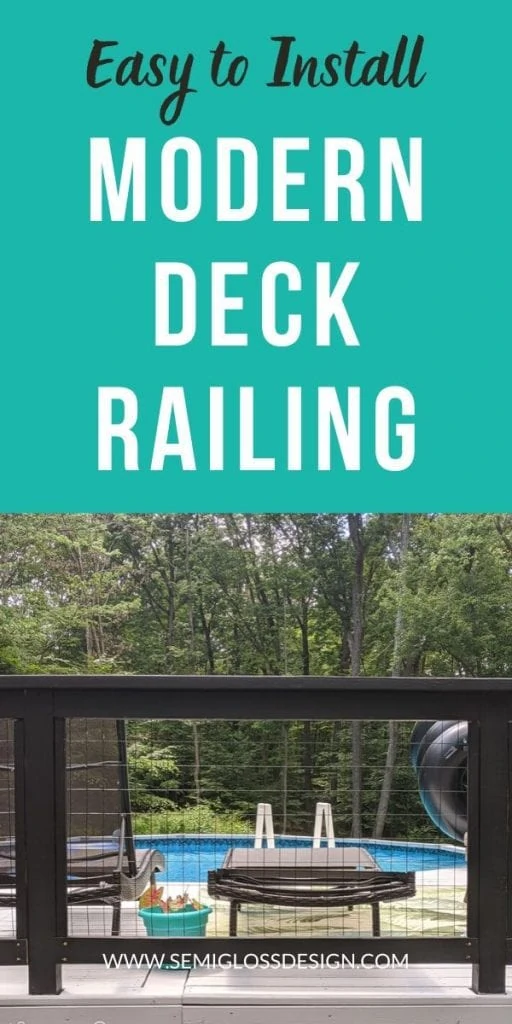
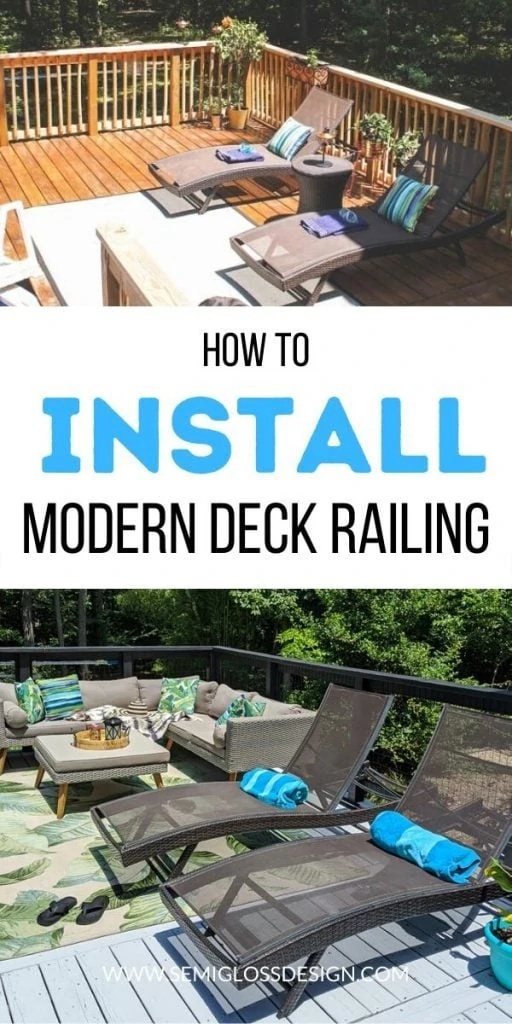
How to Install Modern Deck Railing with Hog Pen Fencing
This modern deck railing tutorial is an easy way to update your deck. This deck railing features hog pen fencing that allows your view to be unobstructed.
You might also be interested in this post on painting a deck.
This post contains affiliate links. By purchasing an item through an affiliate link, I earn a small commission at no extra cost to you. As an Amazon Associate I earn from qualifying purchases.
We live in the middle of a beautiful forest and our traditional deck railing was ruining our view. As soon as we installed it, we hated it, so it was never painted or stained.
Last spring, we decided to give our deck a makeover, so we ripped it off. Our plans to re-stain the deck were delayed until this spring when we suddenly had an abundance of time on our hands.
We started by painting the deck and decided to install a modern deck railing that is very similar to our stair railing in our home.
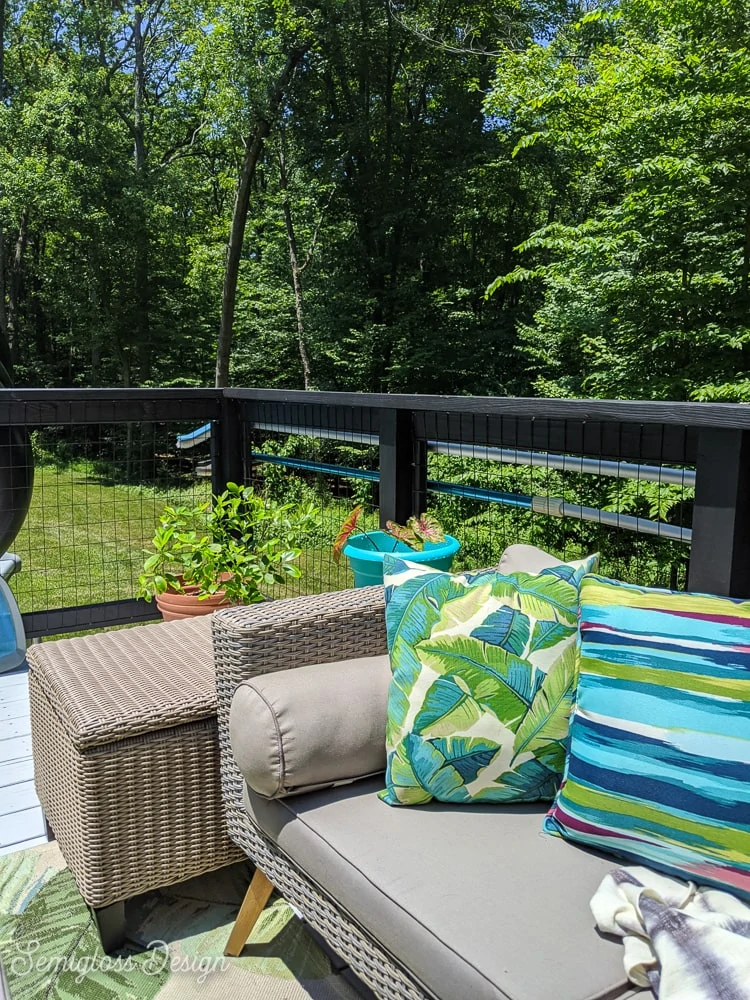
This modern railing allows doesn’t block the view and we can see our forest again. I’m super in love with the way it turned out.
The only downside is that spiders love it too. However, a quick spray with the water hose removes any spiderwebs.
As always, check your local building code regulations before making changes.
How to Install Modern Deck Railing
Supplies Needed
- Hog pen fencing*
- Pneumatic Narrow Crown Staple Gun**
- Air Compressor
- Narrow Crown Staples
- Tin Snips
- 2x4s
- Kreg Jig
- Drill
- Deck screws***
*Hog pen fencing can be found in rolls at stores like Tractor Supply. Look for the roll with larger squares or rectangles. It’s not always called hog pen fencing, but I’ve seen it called that on the internet, so that’s what I’m going with.
**Normal staple guns use short staples. Narrow crown staple guns use longer, thinner staples. It also has a smaller head that allows you to see exactly where you’re putting that staple.
***Deck screws don’t fit perfectly in the kreg jig holes, but we used them because they are meant for exterior building. As far as I know, kreg jig screws aren’t.
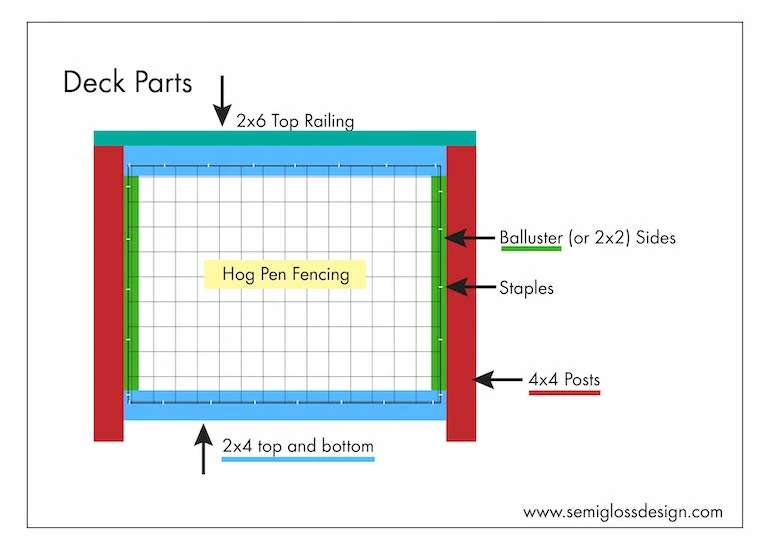
I don’t have a lot of process photos, so I’m including this illustration to hopefully clarify how to install the railing parts.
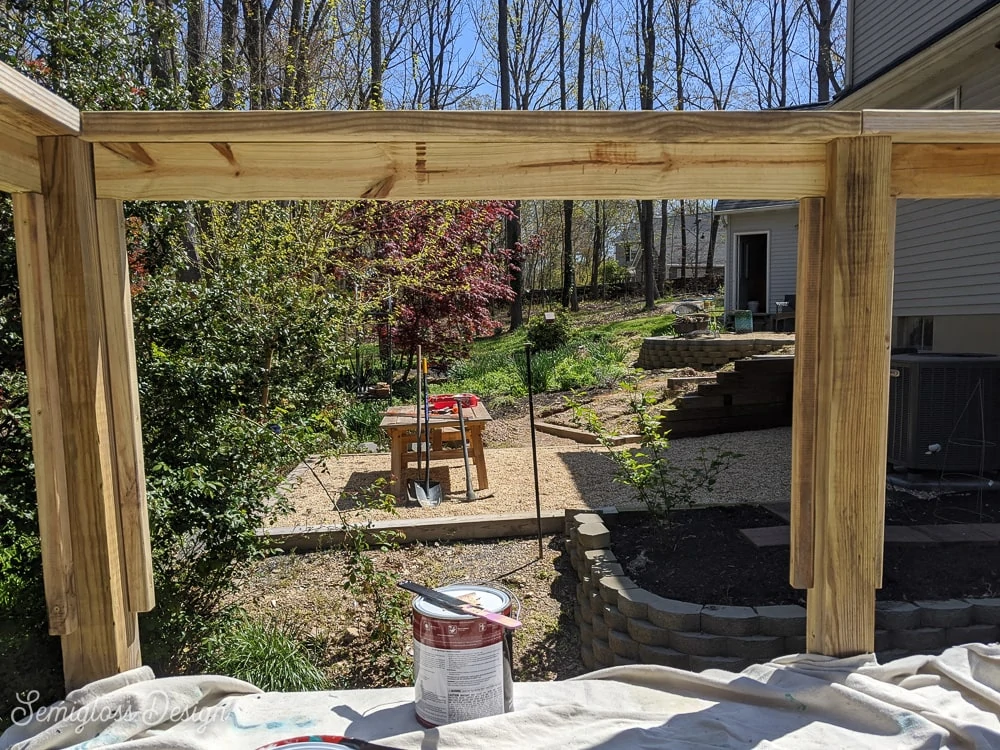
Making the Deck Rail Frames
- Remove the top railing and the balusters. If you like the top and bottom rails, you can leave those, but it not remove them and cut new ones.
- Take the time to secure any posts and make any repairs that are needed.
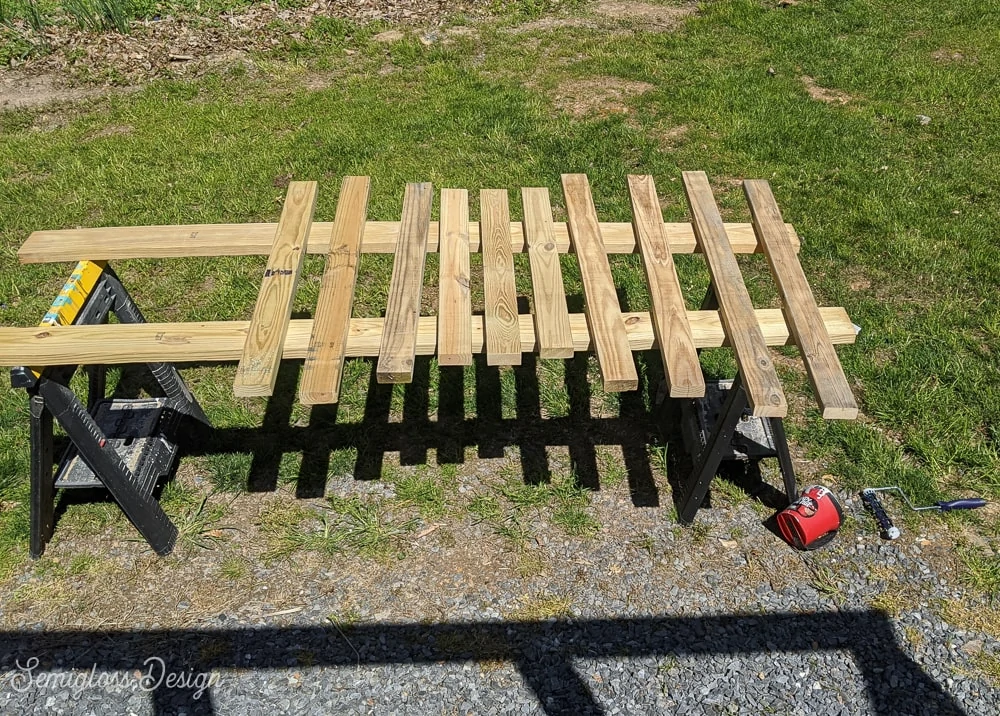
- We used old balusters for the side frame pieces. Cut off the angled ends and screw into the posts. You can also use 2x2s or 2x4s.

- If needed, cut 2x4s for the top and bottom rails. (We had removed ours in the demo process.)

- Use the kreg jig to make pocket holes to cleanly attach the top and bottom rails to the side pieces that we installed in step 3.
- Paint the posts and the wood.
- Install the frame in each section using the kreg jig pocket holes to join them together. Use deck screws for this.
- Add the top rails.
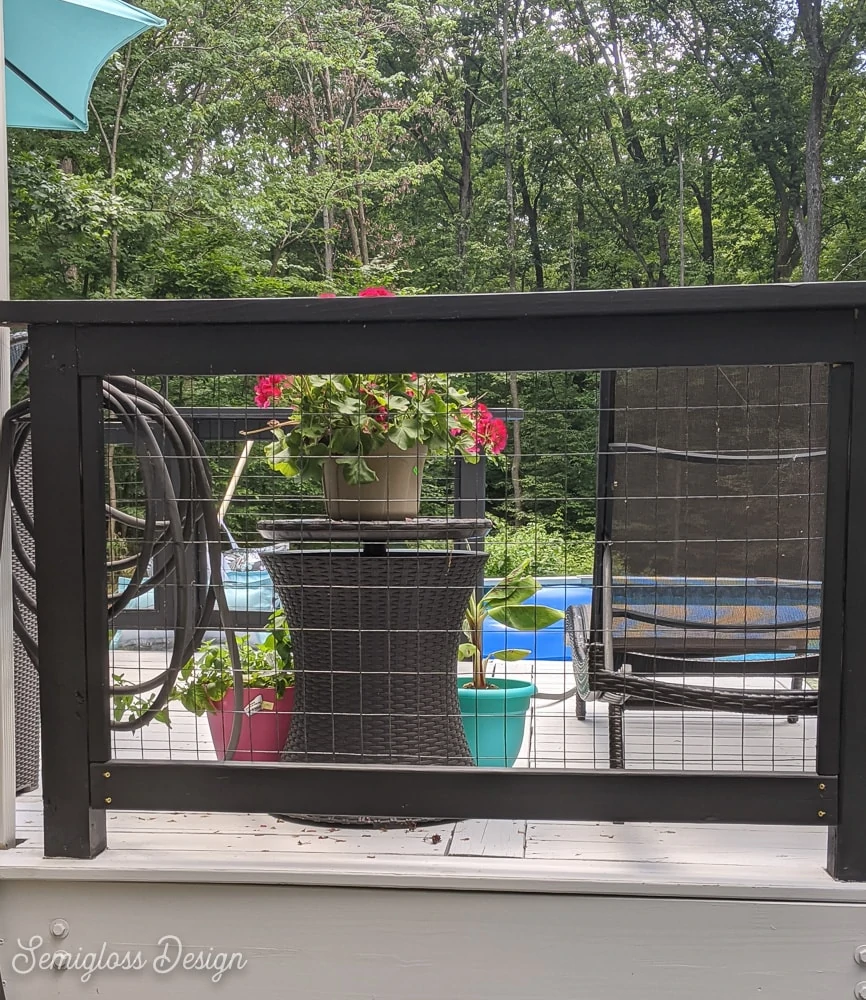
Adding the Hog Pen Fencing
- Measure and cut a piece of the hog pen using tin snips. (Wear gloves because it will hurt after a while.)
- Have one person hold it in place while the other person staples it. Start in one corner and pull it tight.
- Keep stapling in one direction as another person holds it tight.
- Staple around the edges, making sure that it’s tight until it’s secure.
- Continue along the entire deck.
- When you’re finished, you can leave the staple as is because they don’t show up. Or you can paint them.
- Alternatively, you can add a piece of trim wood on top and secure it with a nail gun or screws.
For the stair rail, we cut a length of hog pen fencing that was angled on the ends.
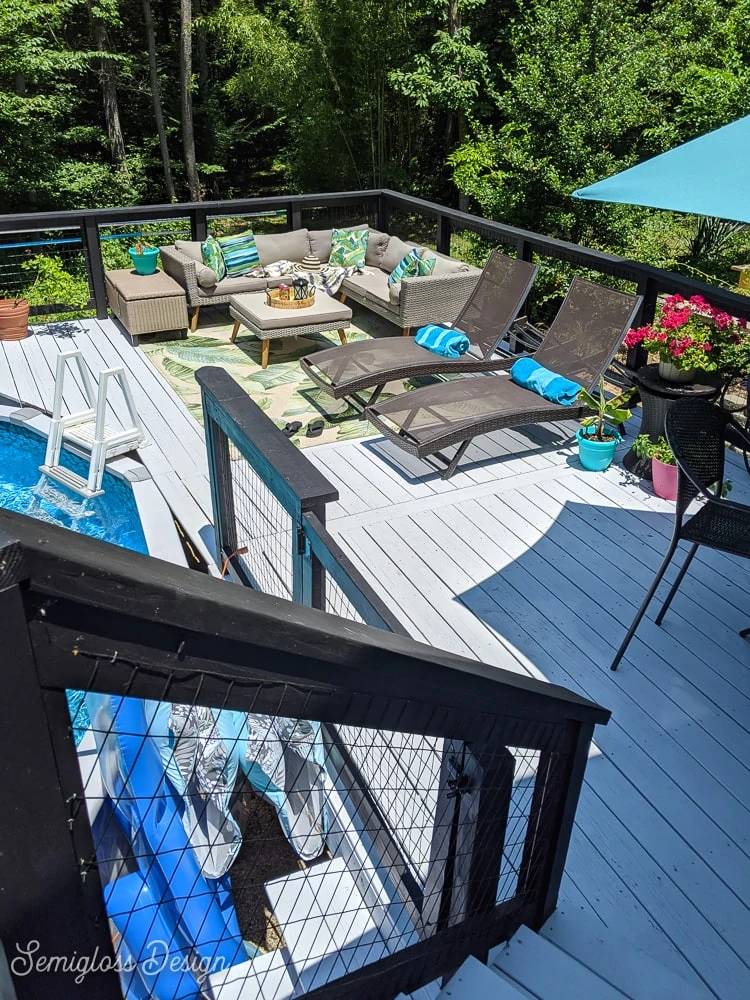
The best part of the deck is the new gate that keeps our dog out of trouble. It’s made from a simple frame with mitered corners.
See more of the finished deck makeover here.

You might also like:
Pin for Later!

Emy is a vintage obsessed mama of 2 DIYer who loves sharing affordable solutions for common home problems. You don’t need a giant budget to create a lovely home. Read more…