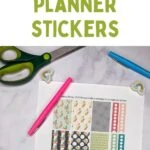
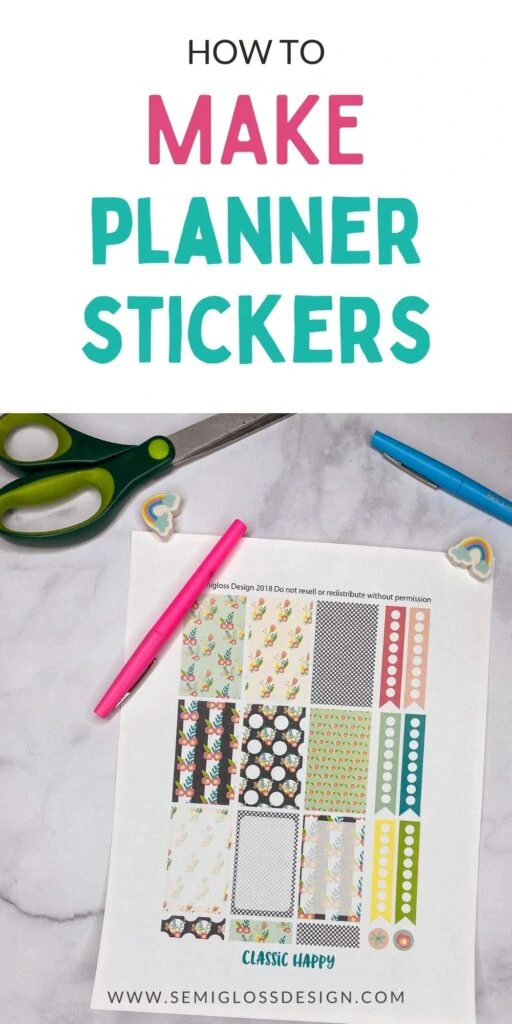
How to Make Planner Stickers
Learn how to make planner stickers. Making your own planner stickers is so much fun. It’s a great way to customize your planner without spending a ton of money.
You might also be interested in this post on the current Happy Planner Sticker sizes.
This post contains affiliate links. By purchasing an item through an affiliate link, I earn a small commission at no extra cost to you. As an Amazon Associate I earn from qualifying purchases.
How to Make Planner Stickers
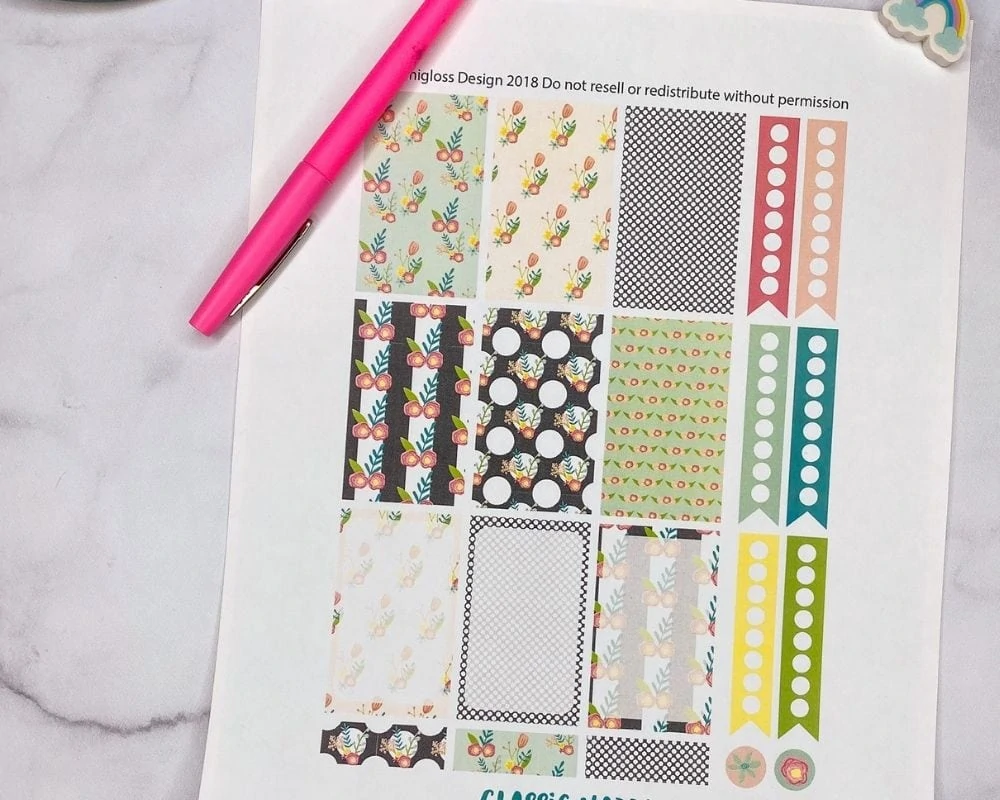
There are several ways to make planner stickers. You can buy pre-made printable sticker sheets or design your own.
Designing the Stickers
You will need to measure the sizes of your planner boxes before designing your stickers.
If you use a Happy Planner, I have an updated post about the sizes for the Mini, Classic, and Big Happy Planner.
Software
There are so many software options for making stickers. It depends on how complicated you want to get with your sticker designs and what software you are comfortable with or learning.
I started off using Canva, a free online software. It’s easy to use but difficult to get exact sizes.
Now, I use Adobe Illustrator. I love Illustrator because it’s vector-based, meaning it can be scaled without losing the quality of pixel-based images. Since planner sizes change, I can easily change the designs.
Affinity Designer is another vector-based software that is a lot cheaper to buy. It lacks a few fun tools that Illustrator has, but it’s pretty good software. There’s even an option for an iPad.
You can also make stickers with your cutting machine software. Cricut Design Studio has pretty limited design options, but you can use it for simple designs.
Silhouette software is closer to Adobe Illustrator.
You can also make stickers using Photoshop and programs like Microsoft Word.
Making the Stickers
Once your stickers have been designed, it’s time to make the stickers.
Printer
You want a printer that prints nice, bright colors. I use a Canon Pixma. It was super affordable and got the job done. If you plan on selling printed stickers, you might want to invest in a nicer printer.
Inkjet vs. laser Printers. I have both types of printers, and I find that my inkjet prints much brighter than my laser printer. However, laser printers can print waterproof stickers, so that might be more important to you.
Sticker Paper
I use this sticker paper because it’s inexpensive, and you get a ton of it. It’s probably not the best sticker paper for selling printed stickers. For personal use, it’s good enough.
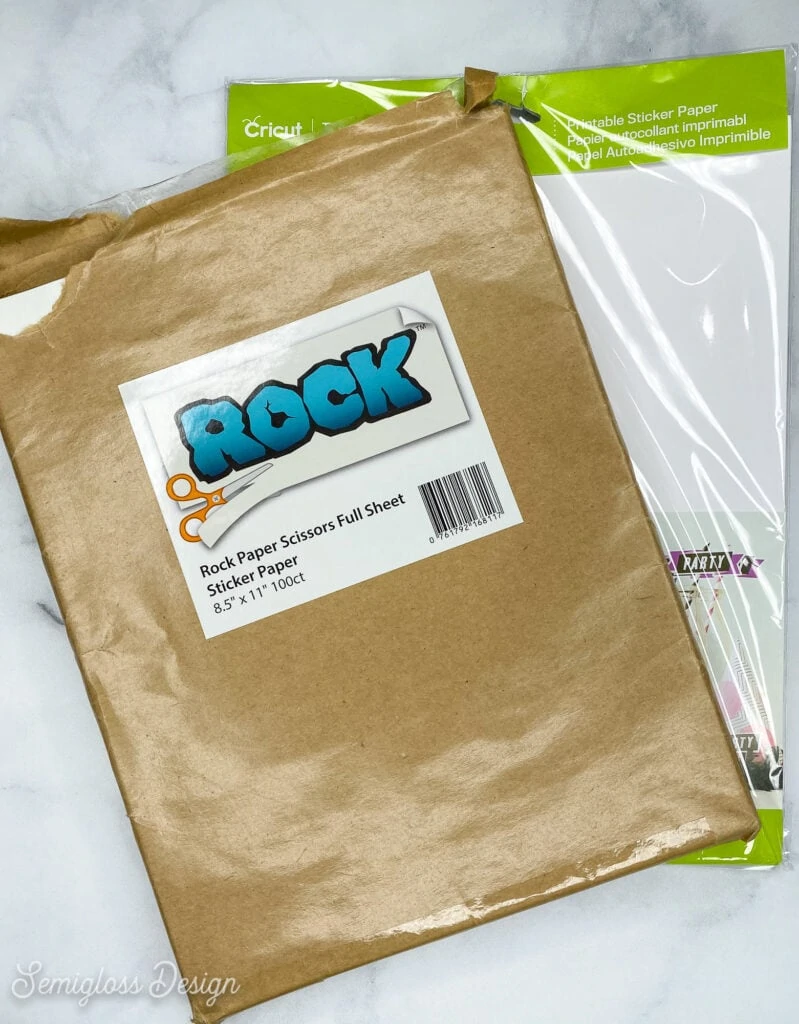
If you need a higher quality paper, I’ve heard that this paper is fantastic.
Matte paper is my personal preference because you can write on it. Some of my store-bought stickers are awful to write on, and the inks smudge like crazy.
Sticker Maker
You can also print your stickers on printer paper and run them through a sticker machine. I love my sticker maker, but it does have a size limit, so keep that in mind.
Here’s a tutorial on how to use a sticker maker.
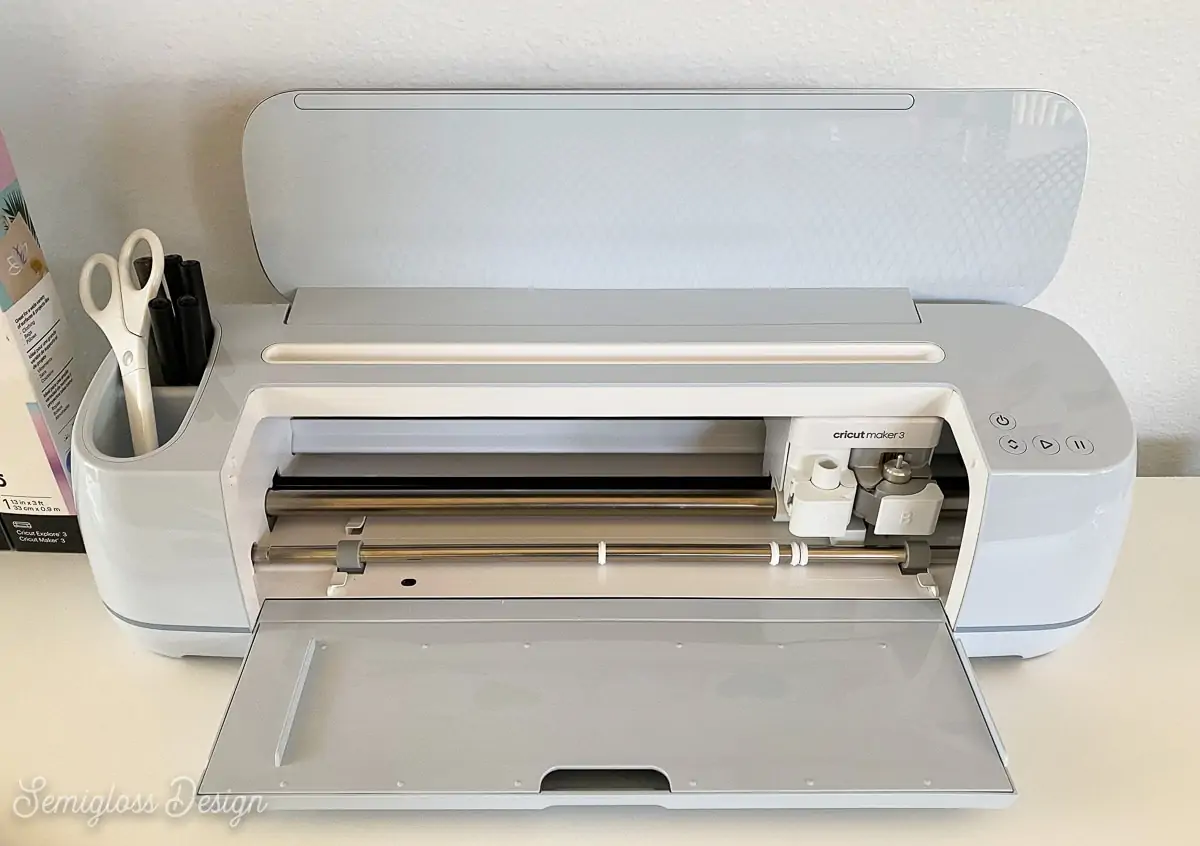
Cutting Machine
I own both a Silhouette and a Cricut Maker. Both machines can be tricky to set up correctly for the print and cut function. There can be a learning curve, and they can be intimidating to use. Plus, they are pretty pricy.
However, they make cutting stickers so fast. Use SVG files to cut stickers on the Cricut and DXF files to cut with the Silhouette Basic software.
Here’s a tutorial for the Silhouette print and cut feature.
Here’s how to use the print-then-cut feature on Cricut to make stickers.
Cutting by Hand
You can cut your stickers by hand. When designing your stickers (or buying them), use straight shapes.
If you are designing stickers, consider butting the stickers next to each other so that you can use a paper cutter on them. Alternatively, you can use scissors.
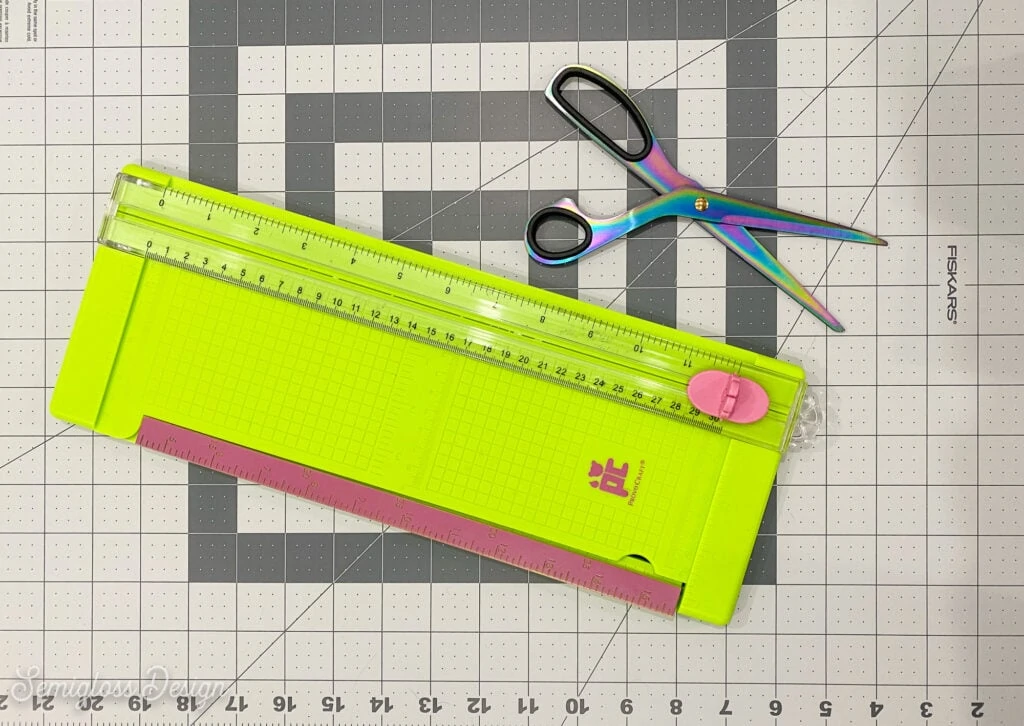
On the downside, peeling off the backing can be more difficult. (I find that slightly bending a corner makes peeling easier.)
You might also like:
Pin for Later!

Emy is a vintage obsessed mama of 2 DIYer who loves sharing affordable solutions for common home problems. You don’t need a giant budget to create a lovely home. Read more…