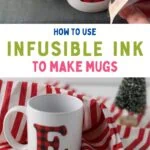
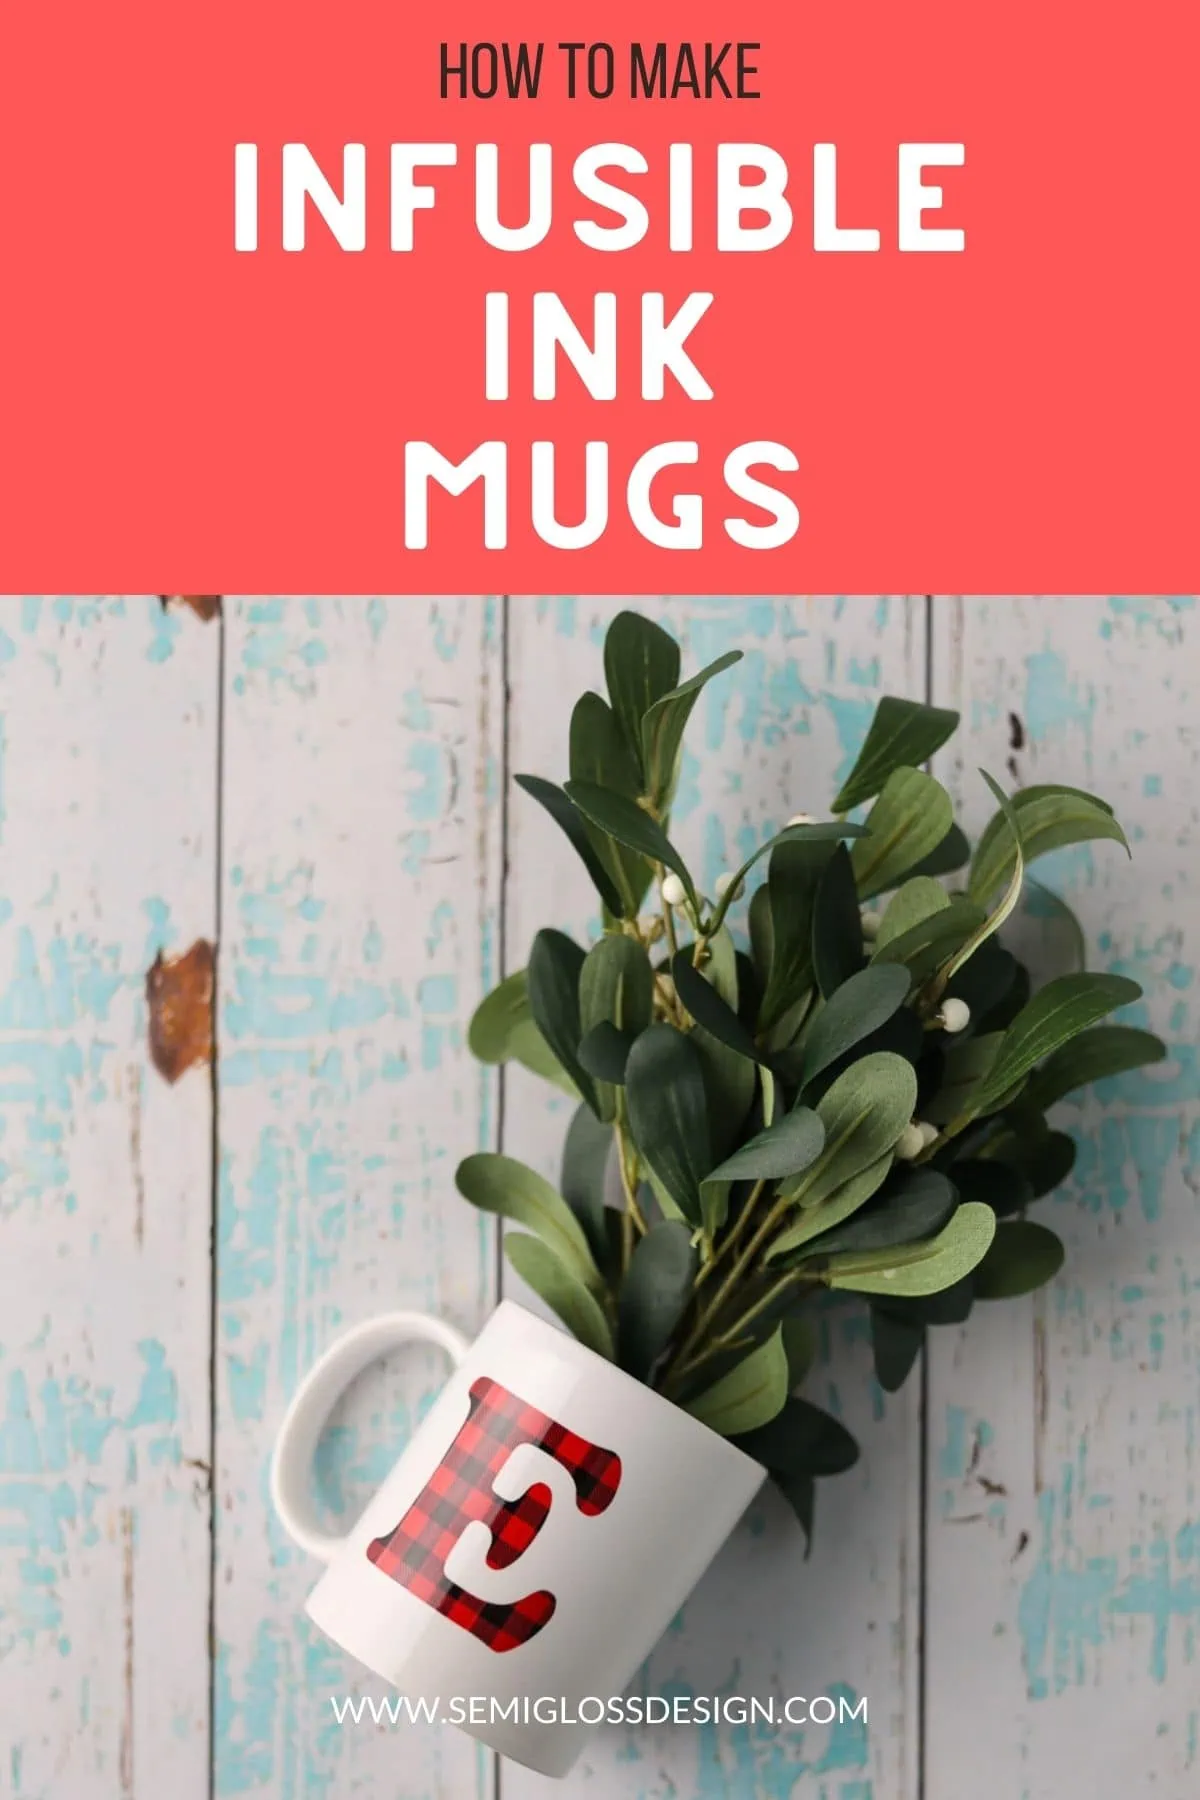
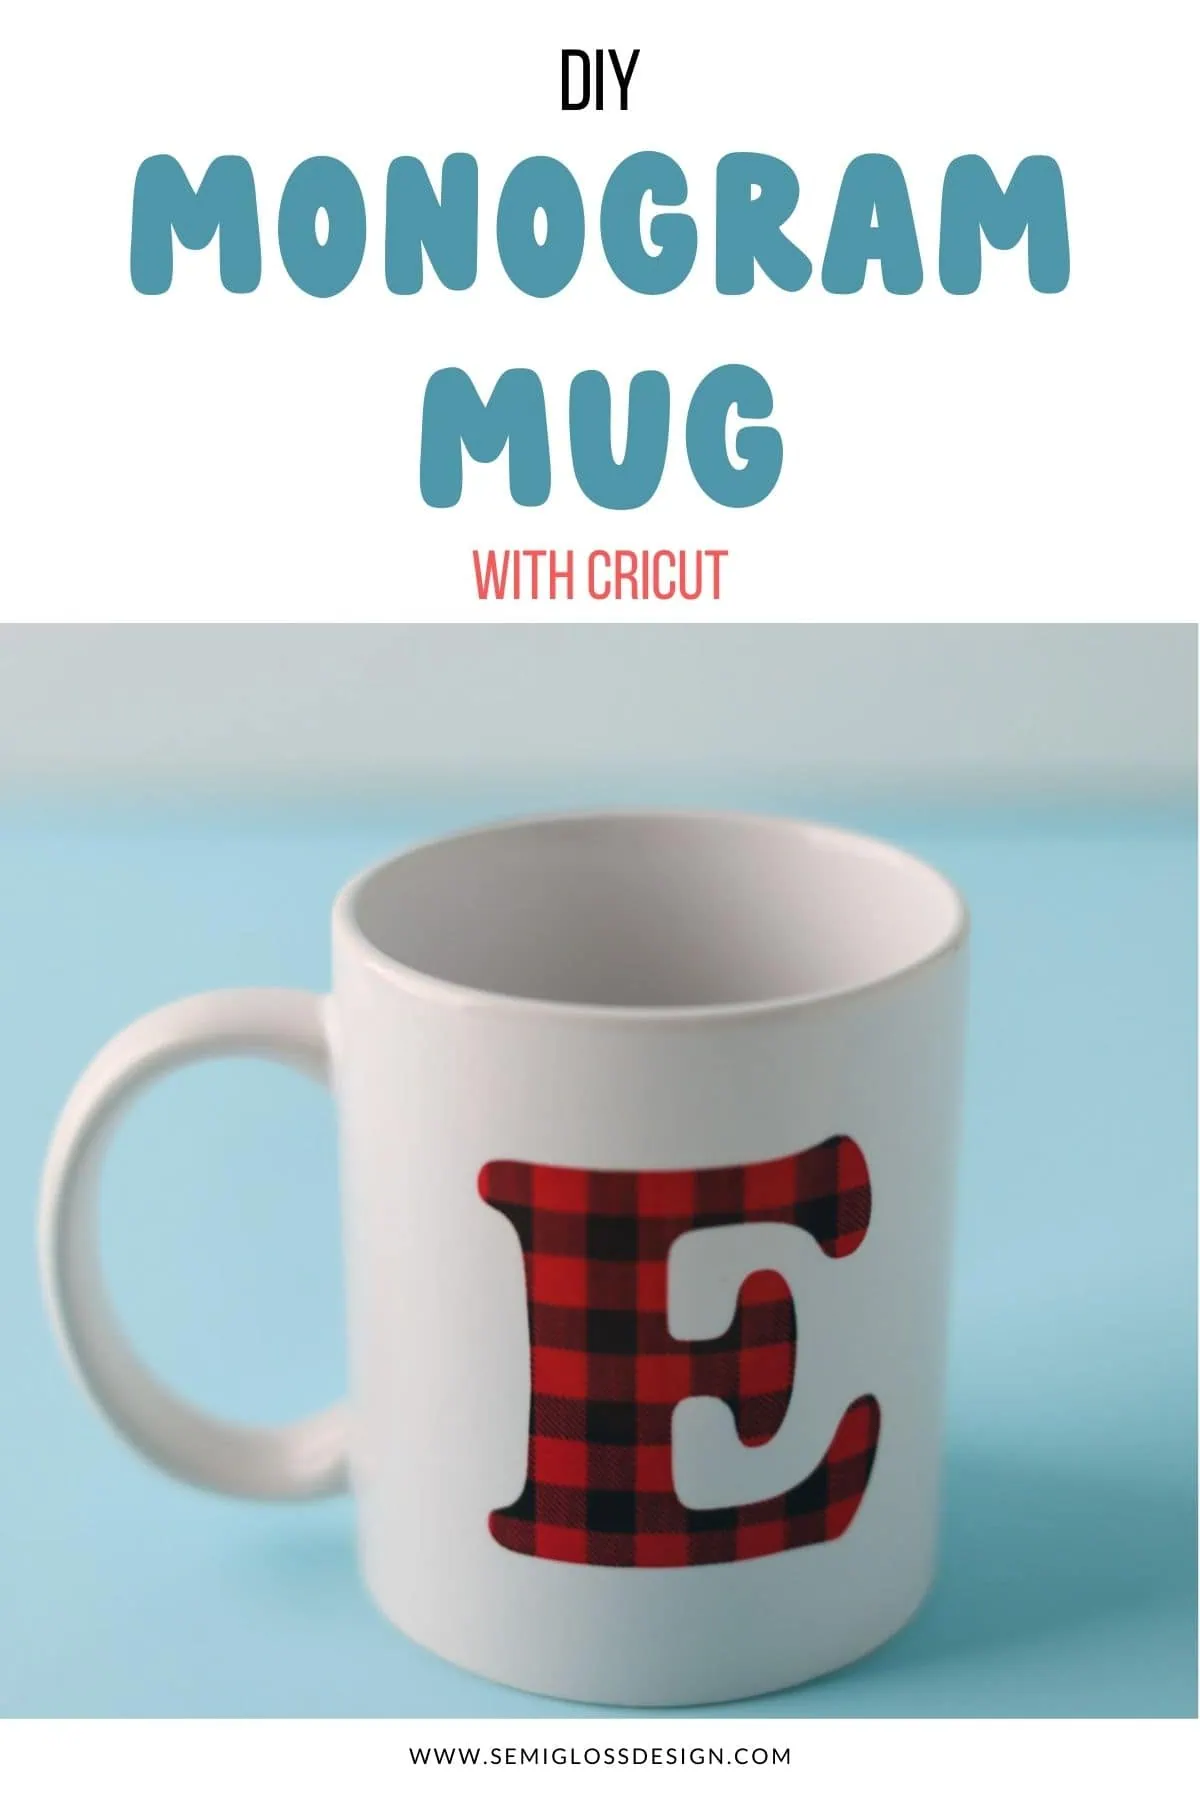
Infusible Ink Mug for Christmas
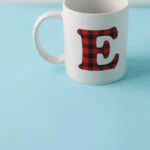
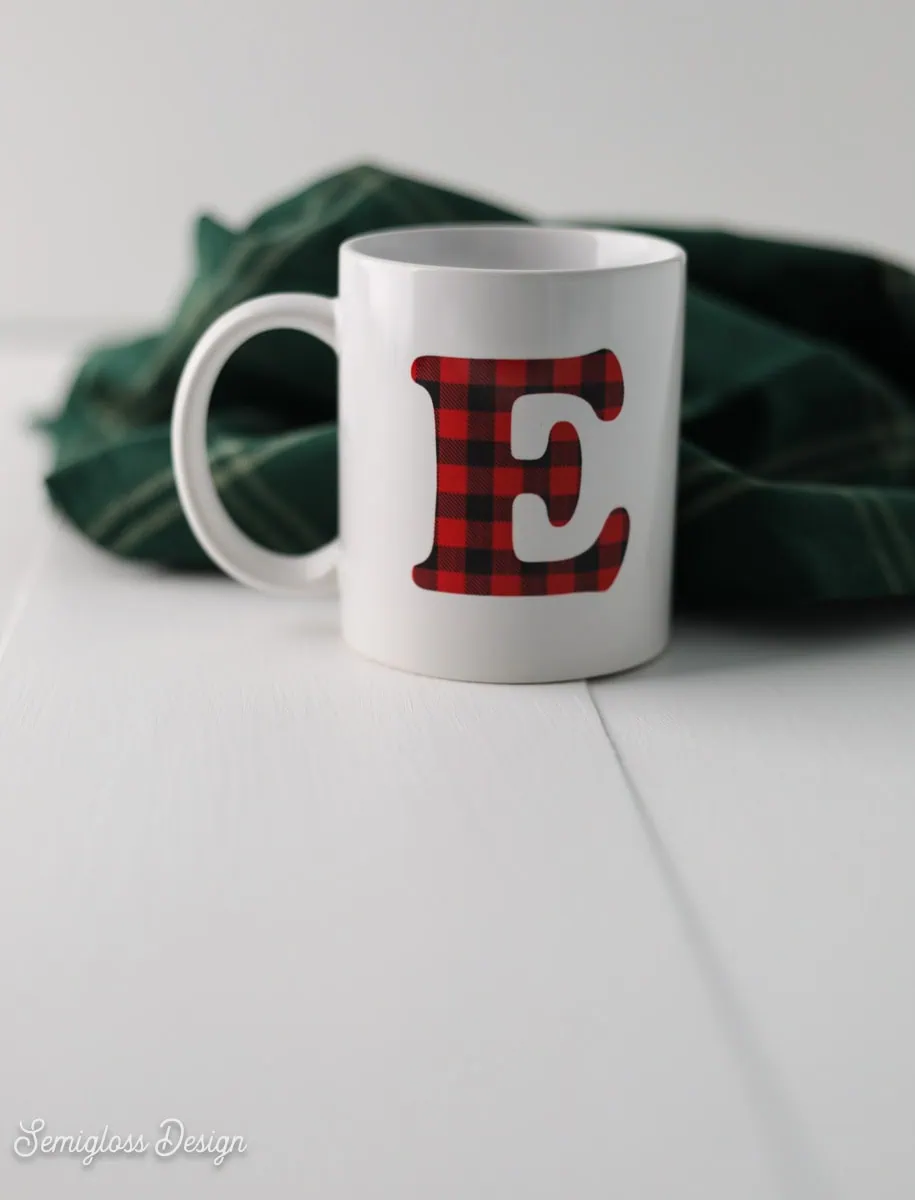
Learn how to create an infusible ink mug for Christmas. This cute mug features a retro monogram in a red buffalo check pattern. It was so easy to make and is perfect for drinking hot cocoa on a cold morning. Makes a great gift!
This post contains affiliate links. By purchasing an item through an affiliate link, I earn a small commission at no extra cost to you. As an Amazon Associate I earn from qualifying purchases.
Is there anything better than hot cocoa in a Christmas mug?
I made this simple mug using buffalo check infusible ink sheets, and I love its subtle Christmas feel.
Whenever I use infusible ink, I fall more in love with it. It’s so easy, and I love that it’s permanent—no peeling vinyl to worry about.
How to Make a Christmas Mug with Infusible Ink Sheets
Supplies Needed:
- Infusible Ink Sheets (buffalo check)
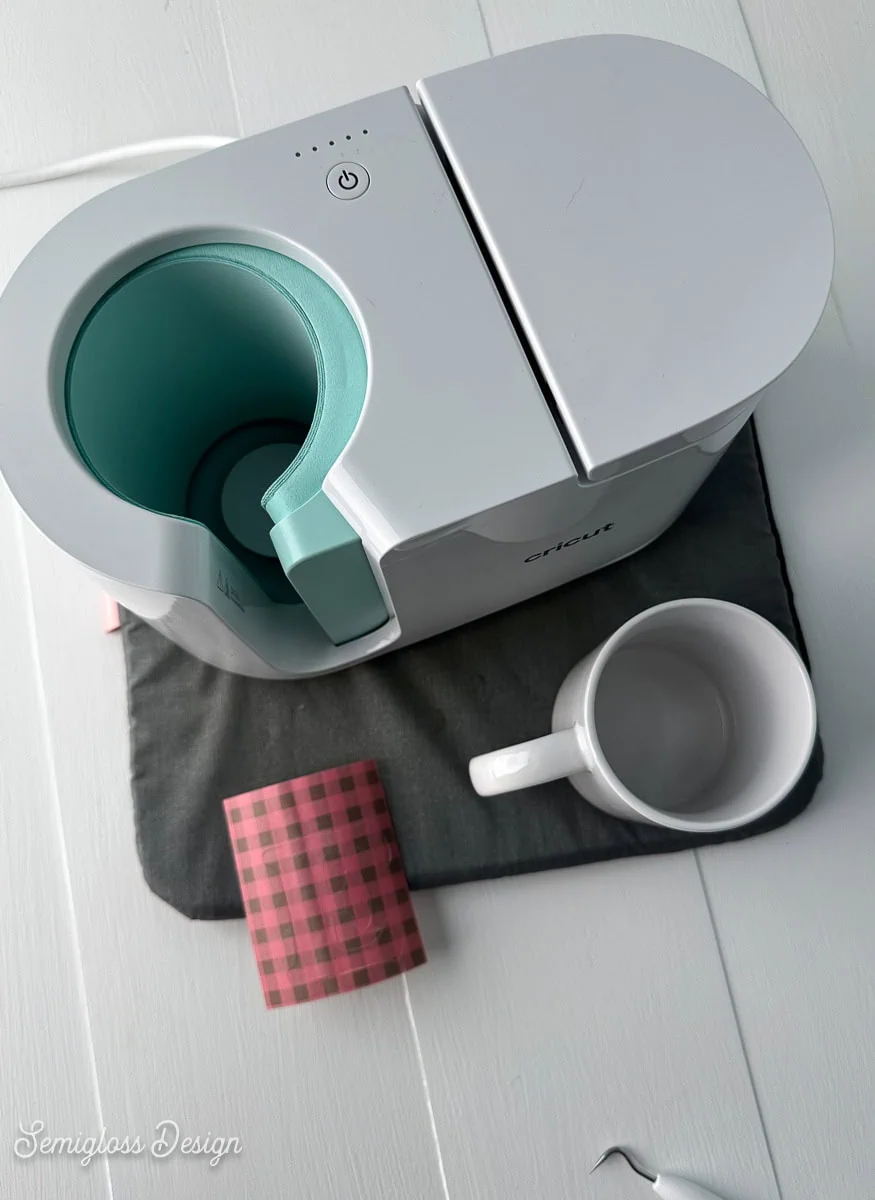
- Cricut Mug (or sublimation mug blank)
- Cricut Mug Press
- Cricut Heat Press Mat
- Heat Transfer Tape
- Cricut (I used my Cricut Maker 3)
Directions
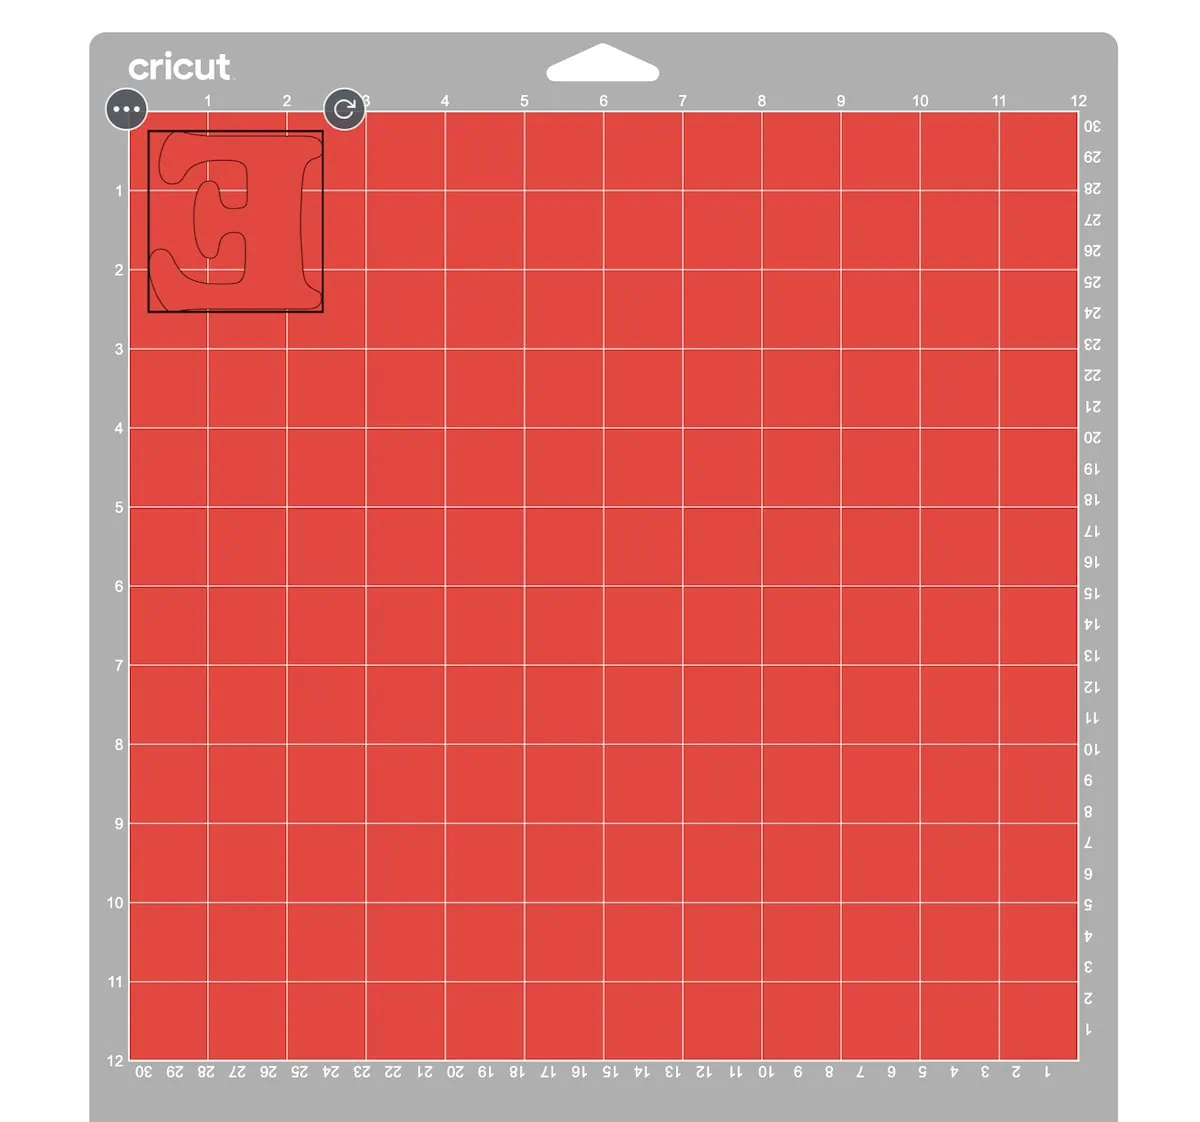
- Create the monogram in Cricut Design Space. I used the Cooper font, which is available with a Cricut Access subscription. You can use the fonts that are installed on your computer, though.
- Resize the letter to fit your mug. (If needed, use the mug template on the canvas to ensure it’s the right size. It’s in the projects section under “mug design set up.” If you find it, be sure to bookmark it for later use. Delete the template when you’re done so it doesn’t cut the design.)
- When your design is ready, press Make.
- On the mat set up page, mirror the design.

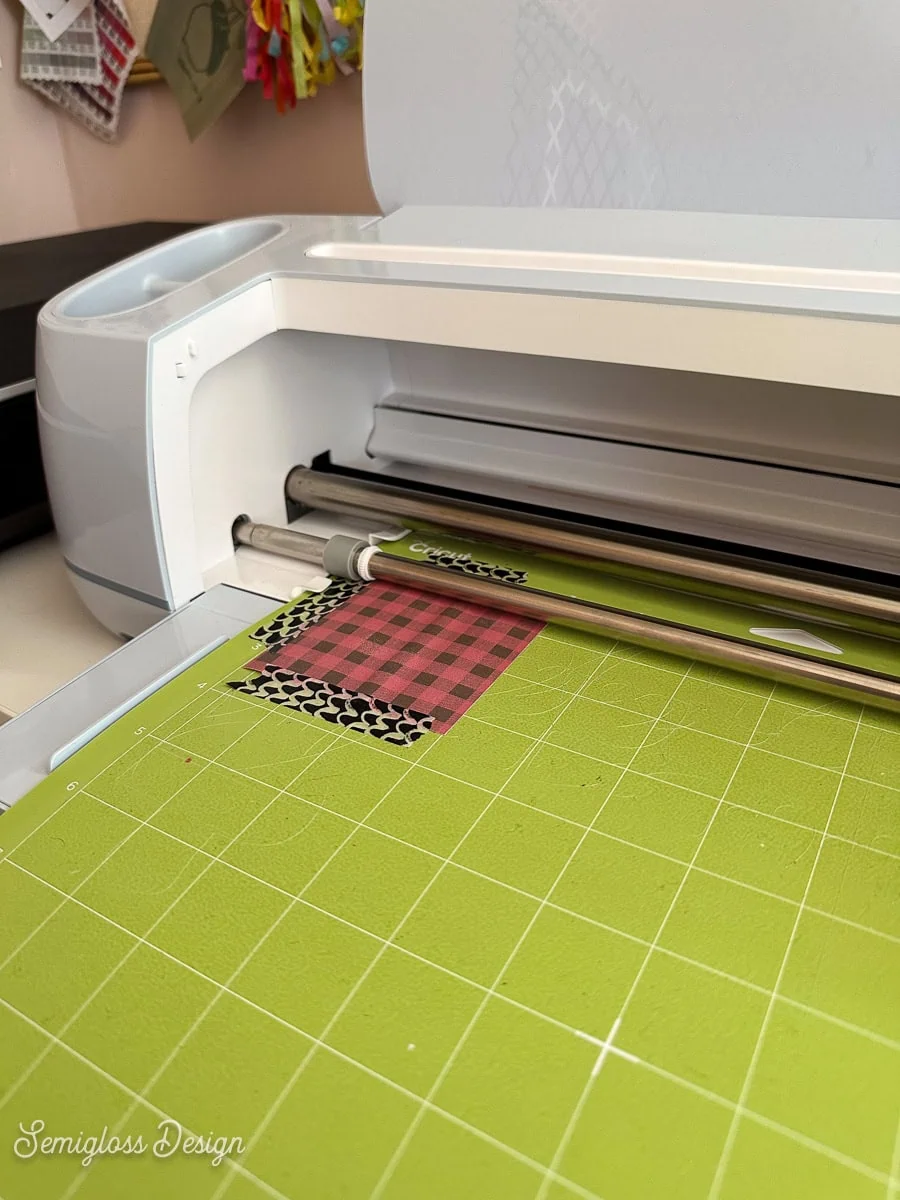
- Place the infusible ink paper side up on the mat. I like to cut the sheet down to a manageable size first. I used a bit of washi tape to get it to stick better since it’s so thick.

- Select infusible ink as the material.
- Load the mat and cut as usual.
- Unload the mat and weed the design. When weeding infusible ink, try not to use the tools. Instead, bend the paper to help remove the unwanted portions. They pop off pretty easily.
Get access to my SVG Library.
Get access to over 50 SVG sets and Cricut cheat sheets. Join my SVG library.
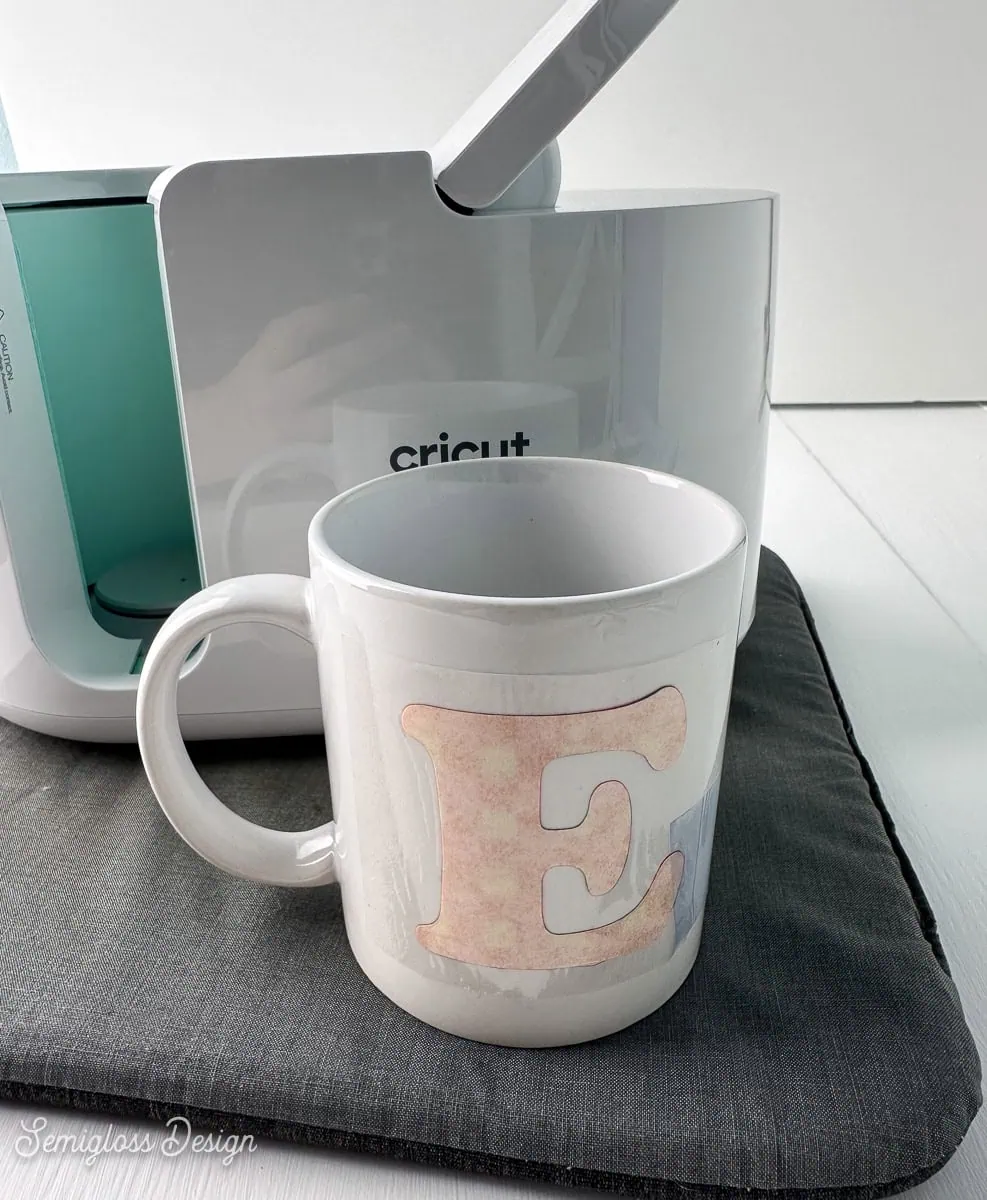
Using the Mug Press
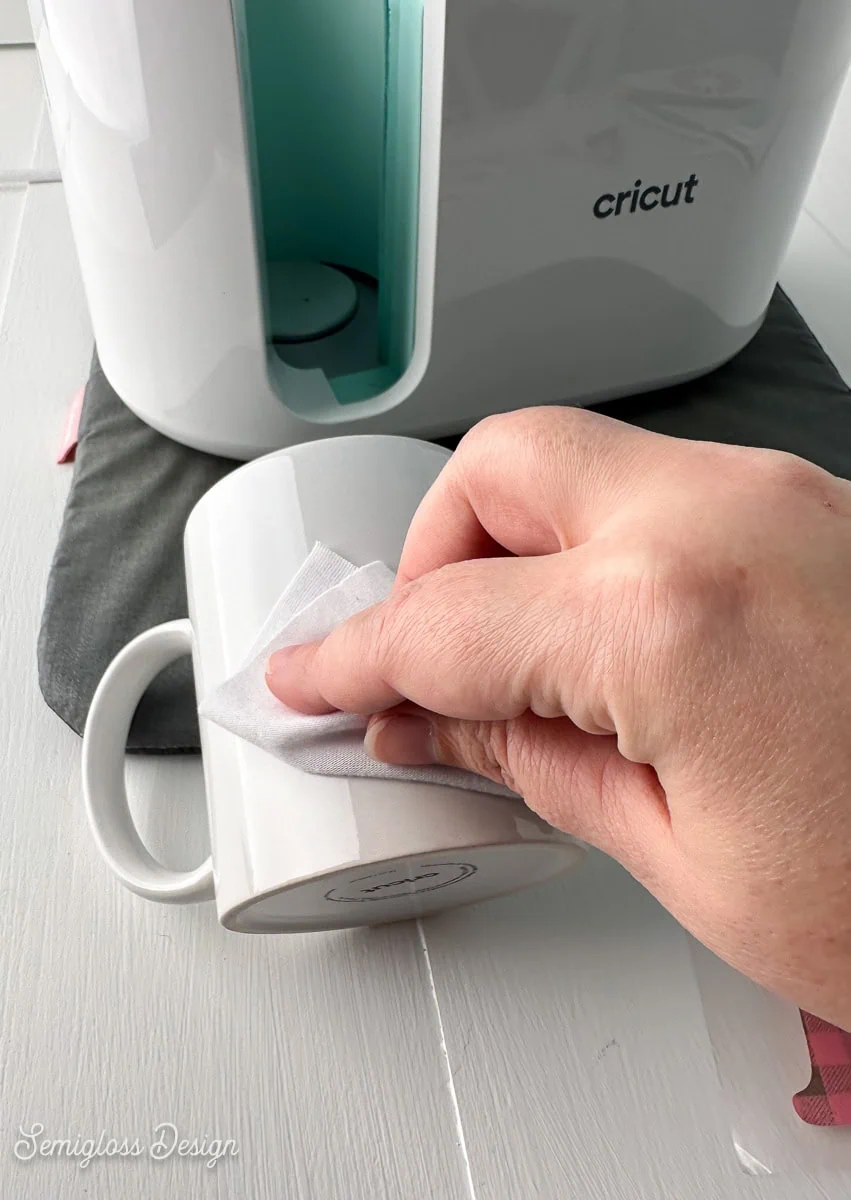
- Clean the mug to remove any oil, dust, or fingerprints.

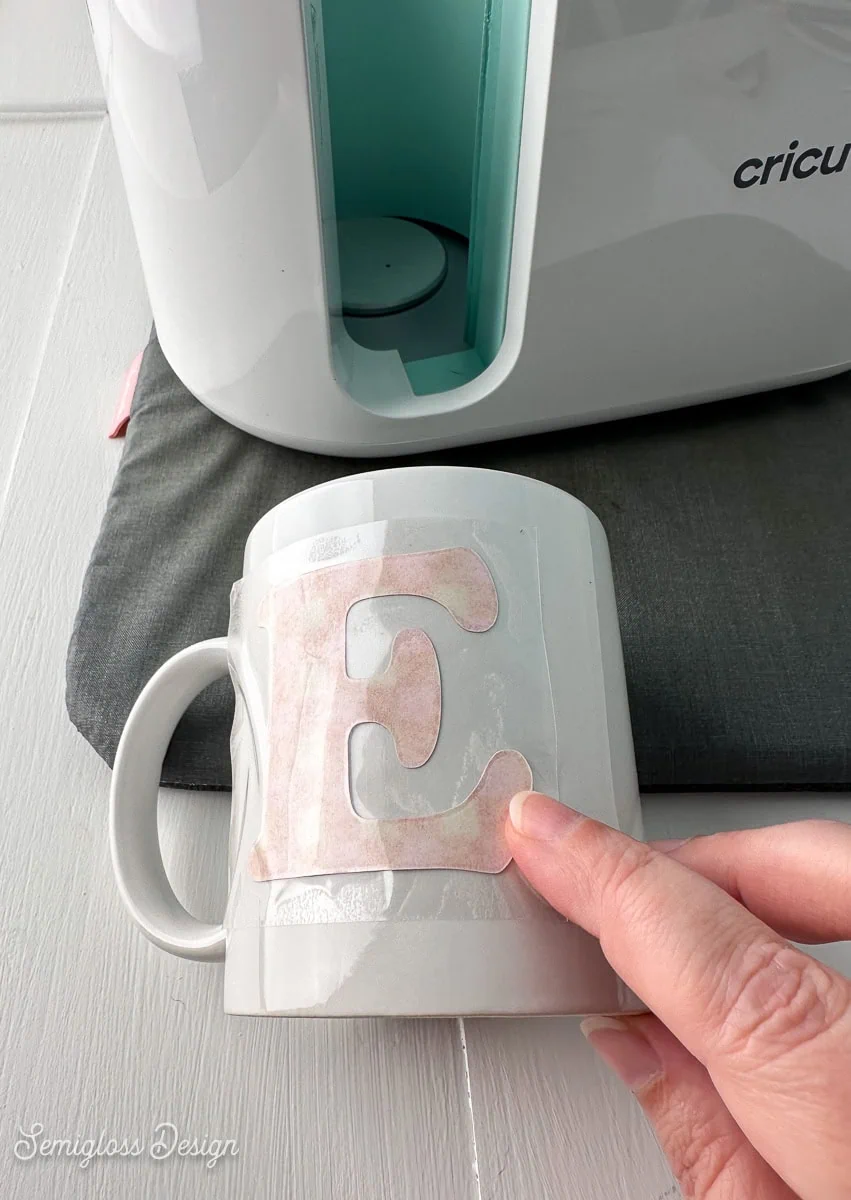
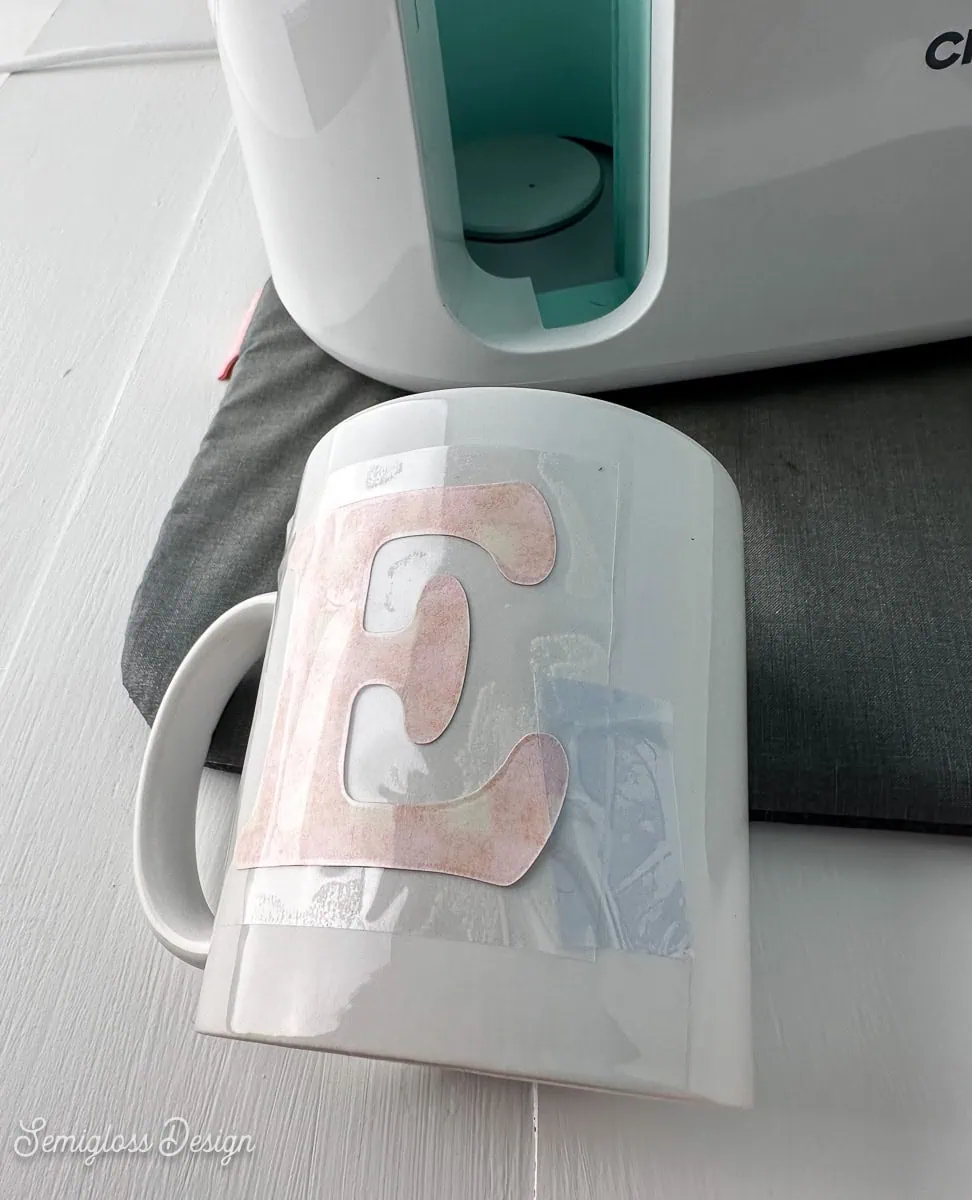
- Apply the design using the backer onto the mug. I placed mine on the mug so that when I held it, I could see my initials because I’m right-handed.
- If needed, apply heat transfer tape to secure the design.

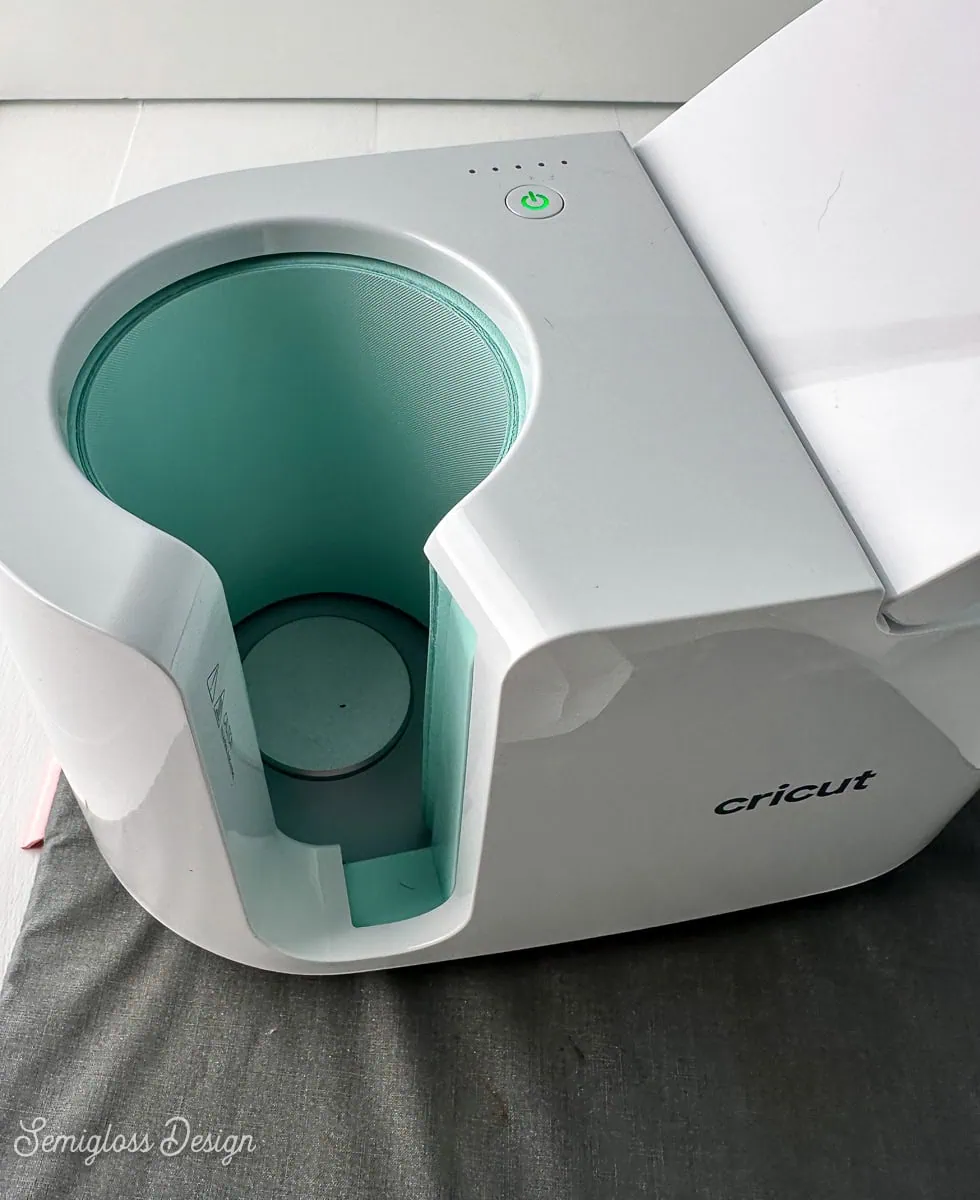
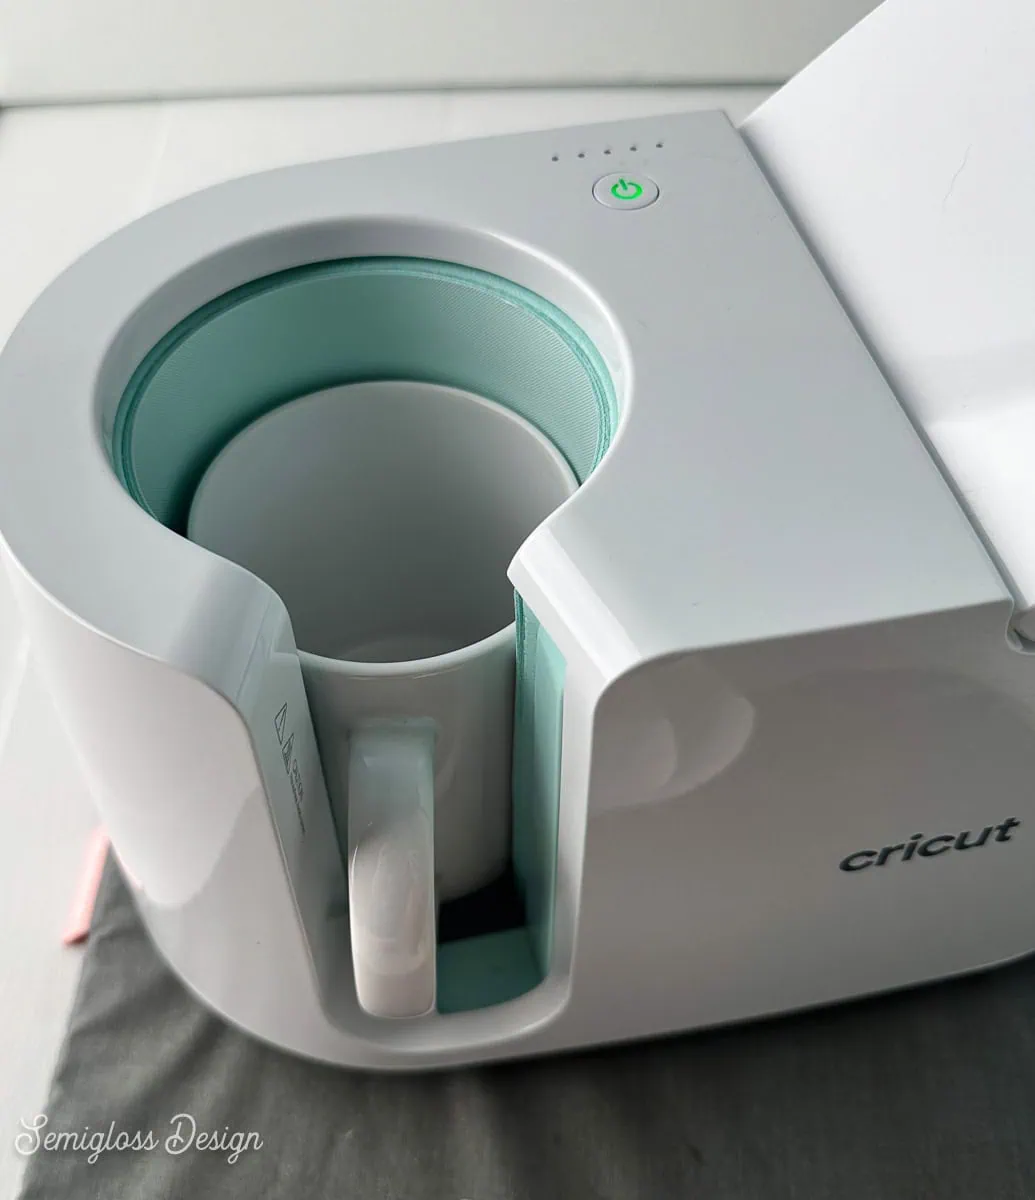
- Place the mug press onto the mat, and turn it on. It takes several minutes to heat up all the way.

- When the mug press beeps, place the mug into the mug press and push the clamp down.

- It takes about 6 minutes to heat the mug. It will beep when it’s finished.
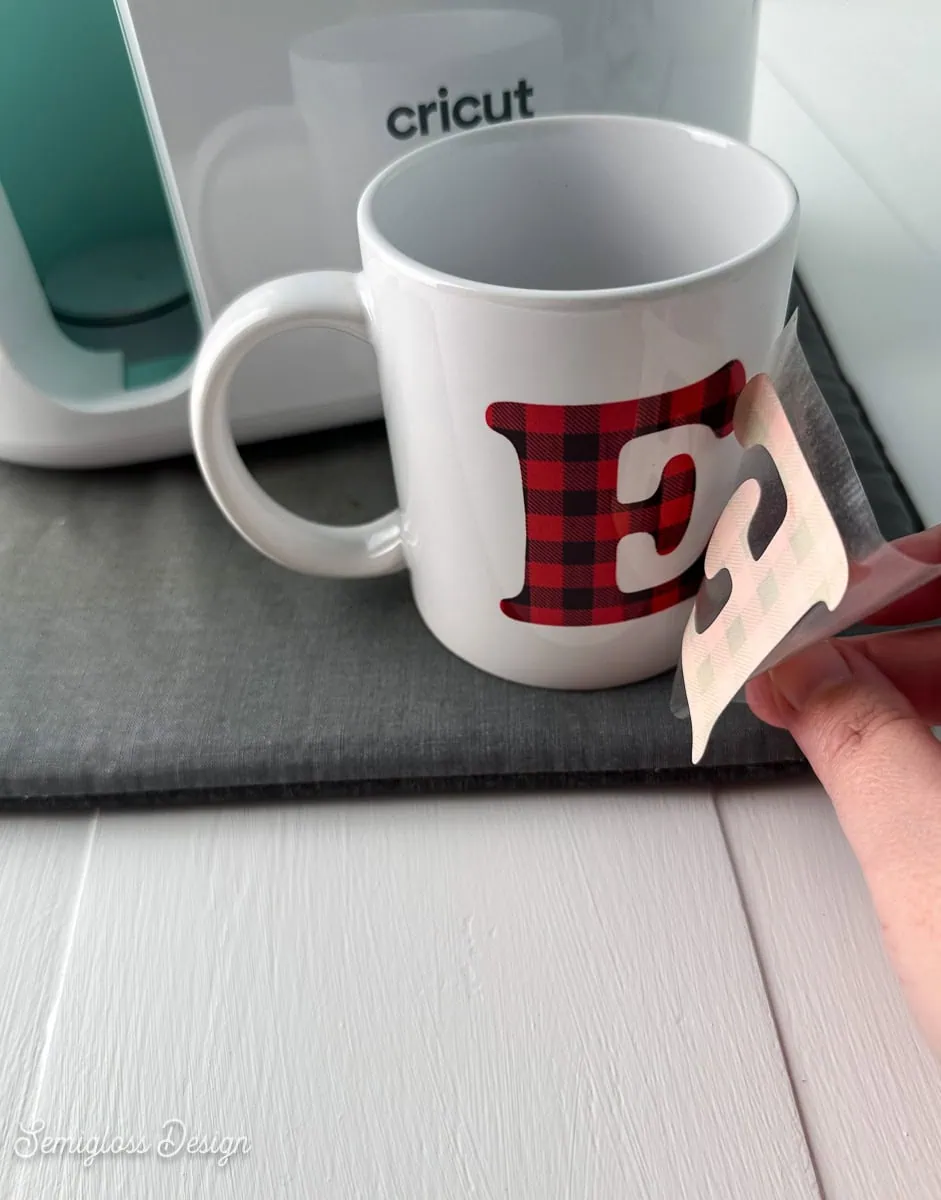
- When it’s done, gently remove the mug from the mug press and place it on the mat. It is very hot, so only touch the handle.

- Let the mug sit for at least 10 minutes before removing the infusible ink sheet.

- Let cool thoroughly before handling.
Care for Infusible Ink Projects
Mugs made with infusible ink are permanent and can be placed in the dishwasher.
Other Infusible Ink Projects
Pin for Later!

Emy is a vintage obsessed mama of 2 DIYer who loves sharing affordable solutions for common home problems. You don’t need a giant budget to create a lovely home. Read more…