ORC Week 2: Tropical Sunroom Progress and Demo
Have you ever have a weekend full of DIY and at the end, feel completely defeated? That was my weekend. Despite working until exhaustion, we’re nowhere near the point where we want to be. I was hoping to be much further along at this point, but removing the tile took longer than we thought it would and once it was gone, we found a nasty surprise.
Part of the floor was rotted out, so it needed to be repaired. My poor husband had to go into the creepy crawl space under the room and fix the joist. I’m thankful that we discovered the damage, but annoyed as well. Because now we know that we need a new roof sooner than later. It’s always something when you own a home.
In case you have no idea what I’m talking about, I’m a guest participant in the biannual One Room Challenge. We have 6 weeks to completely transform a room. There are over 200 guests and 20 featured designers. Be sure to check out the Featured Designers here. Big thanks to Linda for organizing this event!
For this event, I’m making over our sunroom.

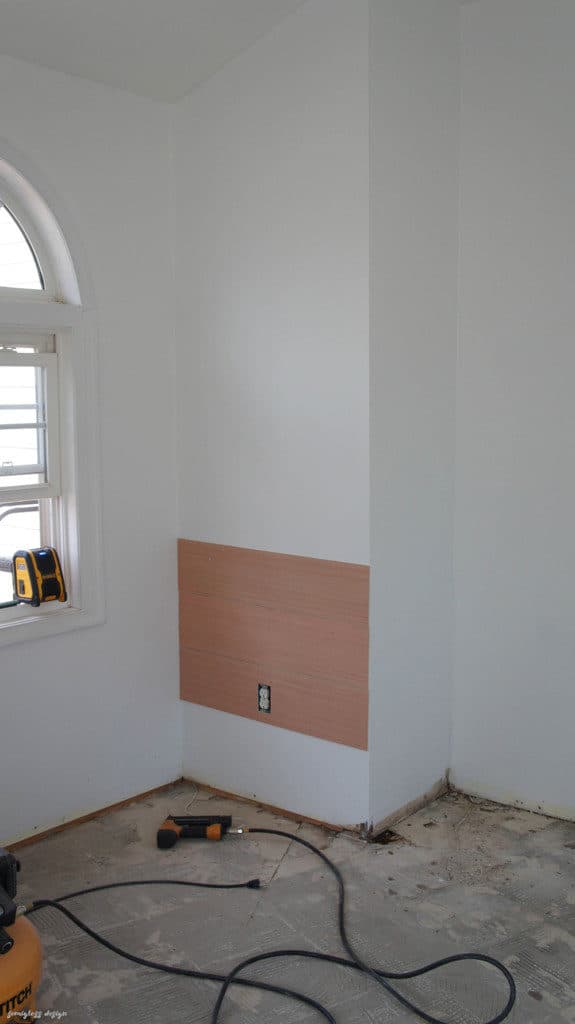
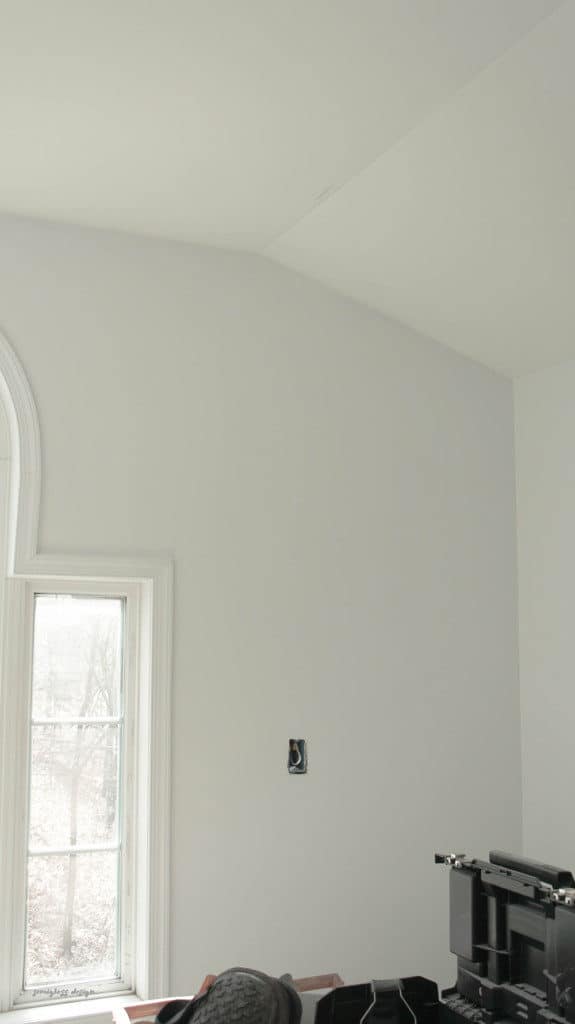
Once the tile was completely gone and cleaned up, we were able to paint the walls.
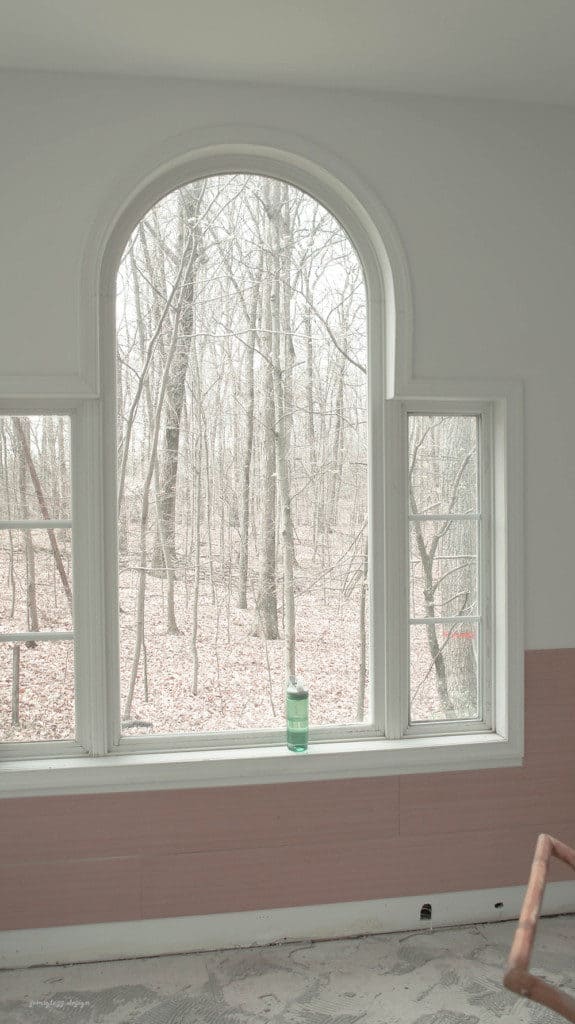
And we installed 99% of the planking.
Still so much painting to do, though.
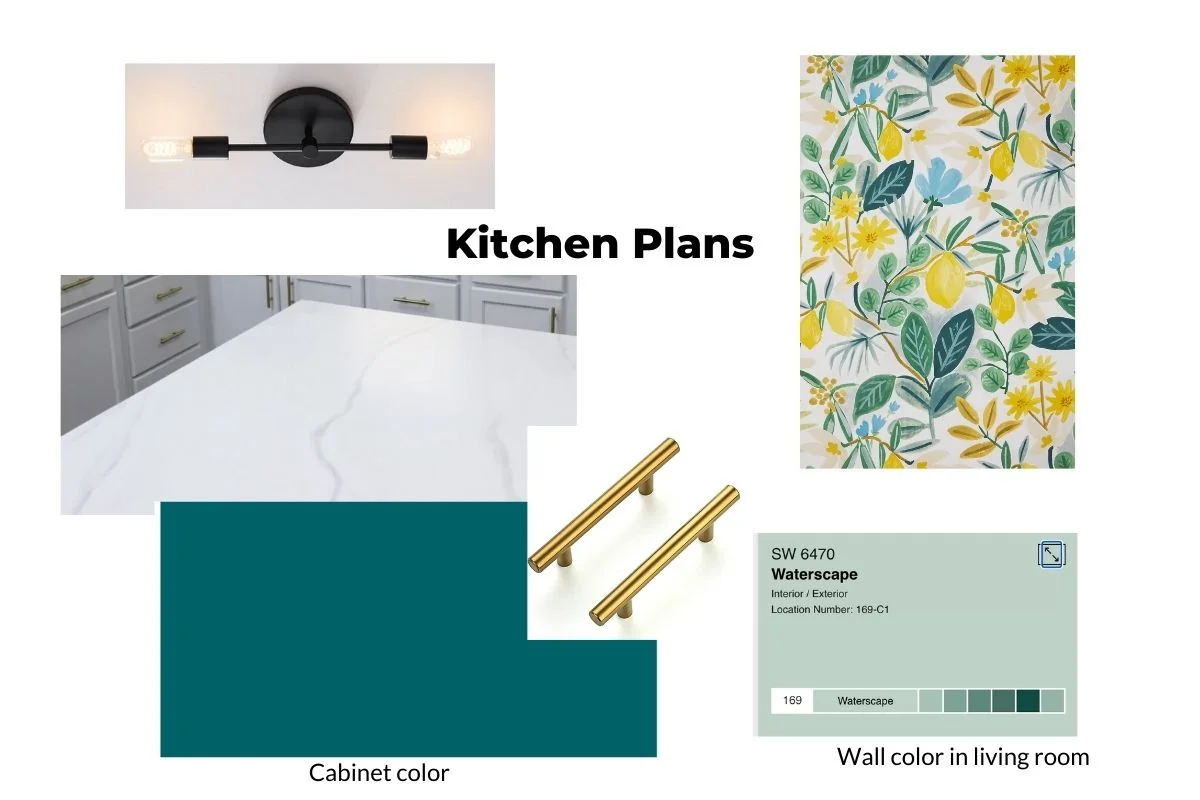
Our Plans for the Floor
The only way that I agreed to ripping out the tile was to do my dream floors. It’s not that I was super attached to the tile, but I wasn’t into the amount of work that ripping them up would cause.
Hubby agreed and so this weekend we will be mixing about 25 bags of self-leveling concrete for a skimcoat. Once it’s cured, the floors are going aqua! I’m using Kemiko stain, which I’ve been dying to use since I saw it on the Christopher Lowell show years ago! Best of all is that it’s super affordable if you already have concrete. Which we do NOT, hence the 25 bags of concrete. 
As much as I love the glossy finish, I need to not die when I come inside with wet feet, so we’re going for as low of a sheen as possible. Can you understand why I’m so excited?
Next week is Spring Break for my kids or as I like to call it “Child labor” week. One can dream. I’m hoping to catch up with my work, so that next week will actually look like we’ve done something!
Still to do:
- Pour the floor and let it cure.
- Paint the fun shibori pattern on the walls.
- Install cabinetry.
- Super fun countertop treatment
- Stain the floors
- Install the sink
- All new baseboard
- Finish painting trim
- Install shelving
- Build a bar
- Make new cushions
- Paint the armoire

Instagram | Pinterest | Facebook

Emy is a vintage obsessed mama of 2 DIYer who loves sharing affordable solutions for common home problems. You don’t need a giant budget to create a lovely home. Read more…


those floors are going to be AMAZING!!!!!!! i might have envy over here…
Thanks Cassie! I’ve got my fingers crossed that it works. My husband is taking off work tomorrow to pour floors with me. Such a great start to spring break!
I love the stained floor idea! This is a great space, good luck!
Thanks Jillian! Thanks for stopping by!
Ahh aqua floors sound amazing!! I know what you mean when you work the whole weekend and feel like you got nothing done. So frustrating! You got this!!
Thankfully this weekend was much more productive! 🙂
You’re getting lots done! I’ve never done full blown demo work before! I’ve always thought it would be fun to break things! Haha
Breaking things is super fun, but cleaning it up afterwards isn’t as fun.
Can’t WAIT to see the new floors! It sounds like it will be worth all of demo to get them in.
They’re almost finished and it was totally worth the mess and the fuss. 🙂
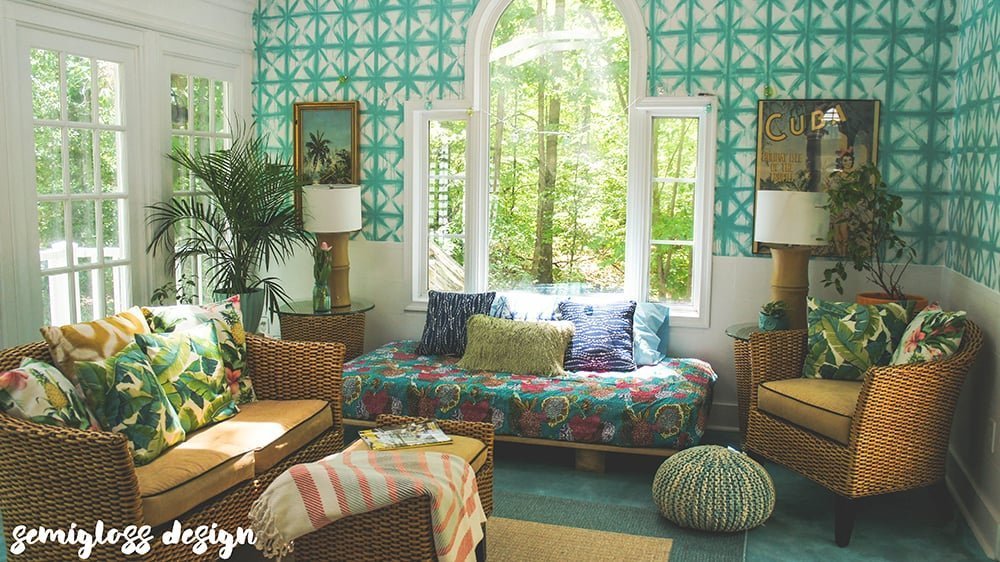
I am so excited to see more of this! I love the mood board, the floors sound intriguing, and the wallpaper is so bold!
Thanks Lora! I can’t wait to show off the floors. 🙂
Love following along with this space because it’s so different than so many of the other rooms. Really looking forward to seeing the floor progress!
Thanks Brittany! I enjoy making weird rooms. 😉 The floors are going to be so much fun to share!!
Can’t wait to see how the Shibori pattern turns out on the walls! Love ?
Thanks Robin! There’s a sneak peek on instagram of the walls. My son says it looks like I’m bad at painting. But I love them.
Ambitious floor idea. So intrigued. Can I ask what material you used for the ‘planking,’ and where you got it? It’s much thinner than shiplap. Thinking of wrapping my island…myself?
Hi Gina! For the planking, I used underlayment.It’s super thin plywood that comes in 4’x 8′ sheets and costs less than $15 a sheet. I had the guys at Lowes cut it into 8″ strips. It’s much cheaper than traditional shiplap. I used a nailgun to attach it to the wall, leaving a tiny space between the planks. Super easy and cheap. The best kind of project!
So fun! I’m excited to see that colourful floor!