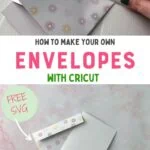
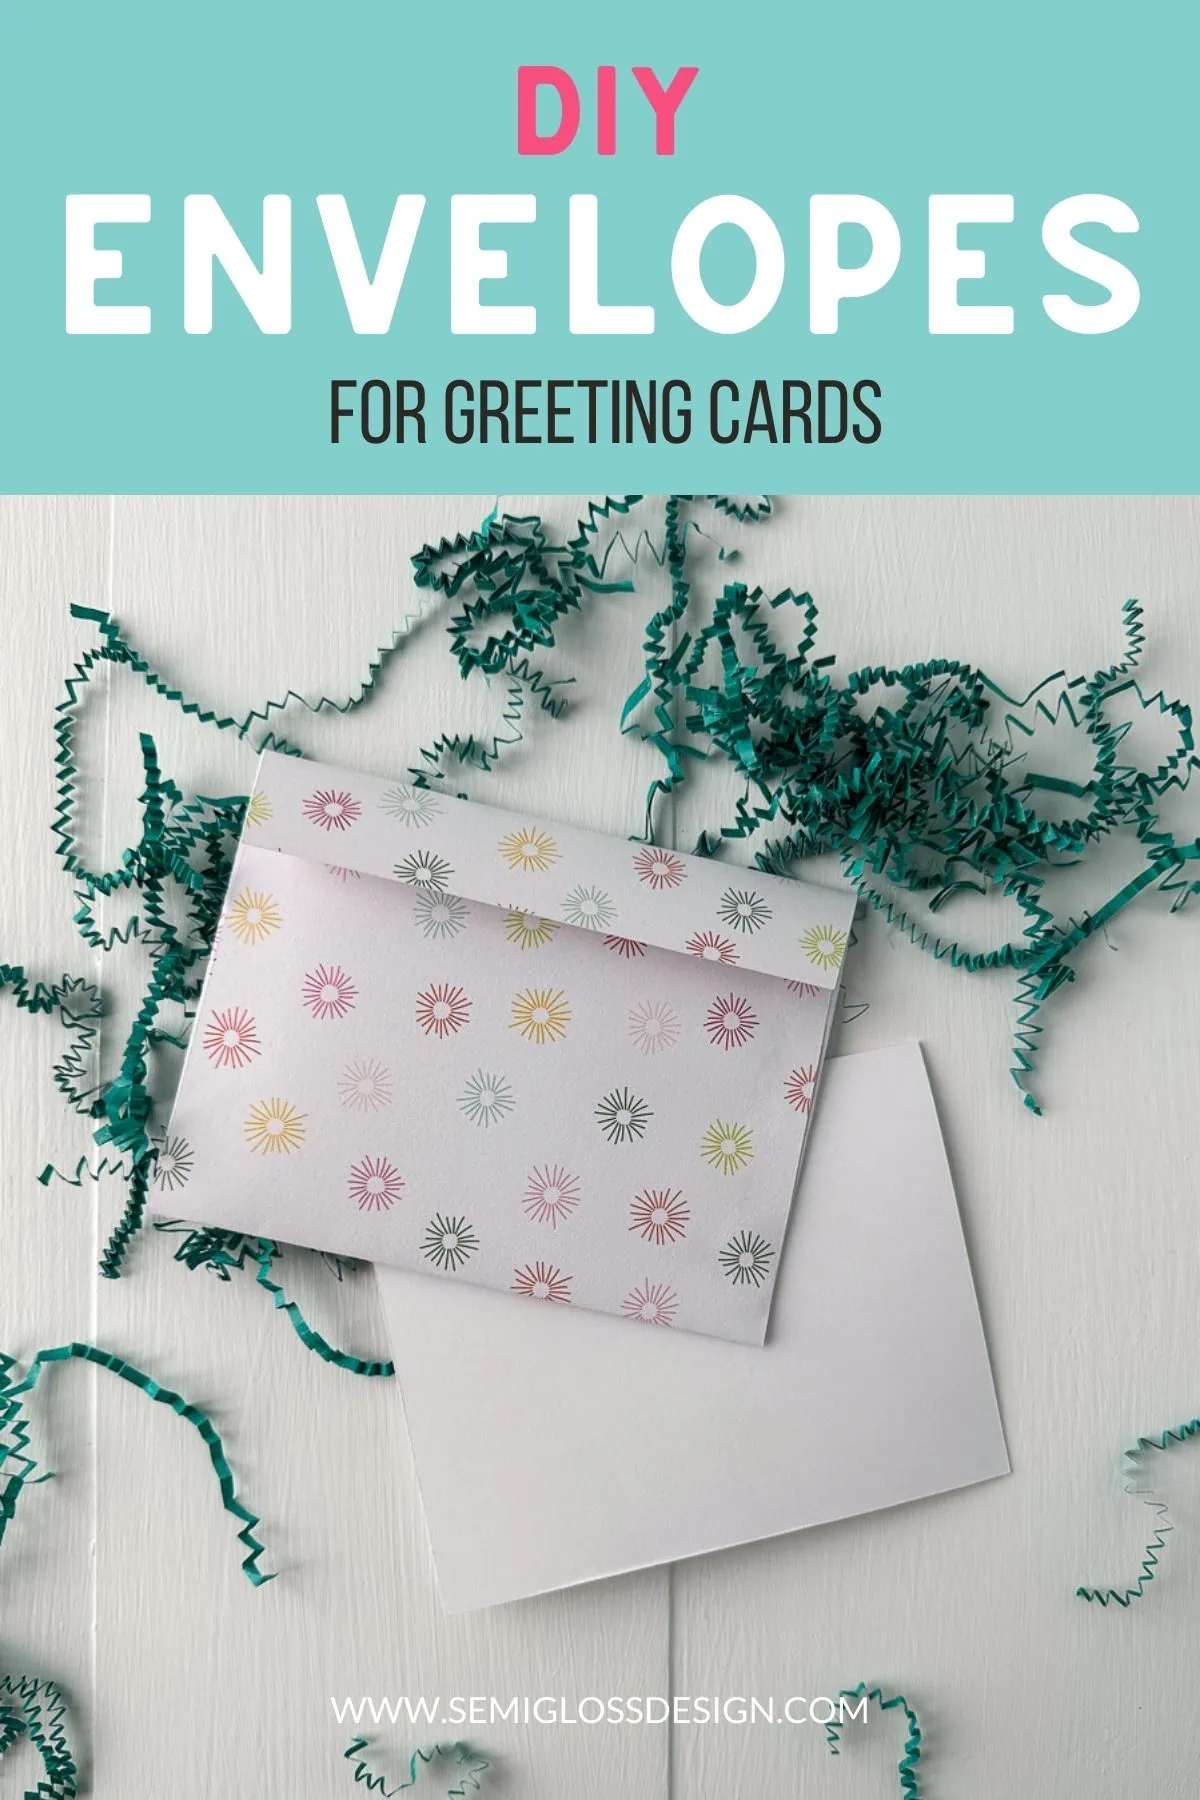
Easy Envelopes with a Cricut
Making your own envelopes with a Cricut is easy. Get easy tips for making envelopes to go with handmade cards.
This post contains affiliate links. By purchasing an item through an affiliate link, I earn a small commission at no extra cost to you. As an Amazon Associate I earn from qualifying purchases.
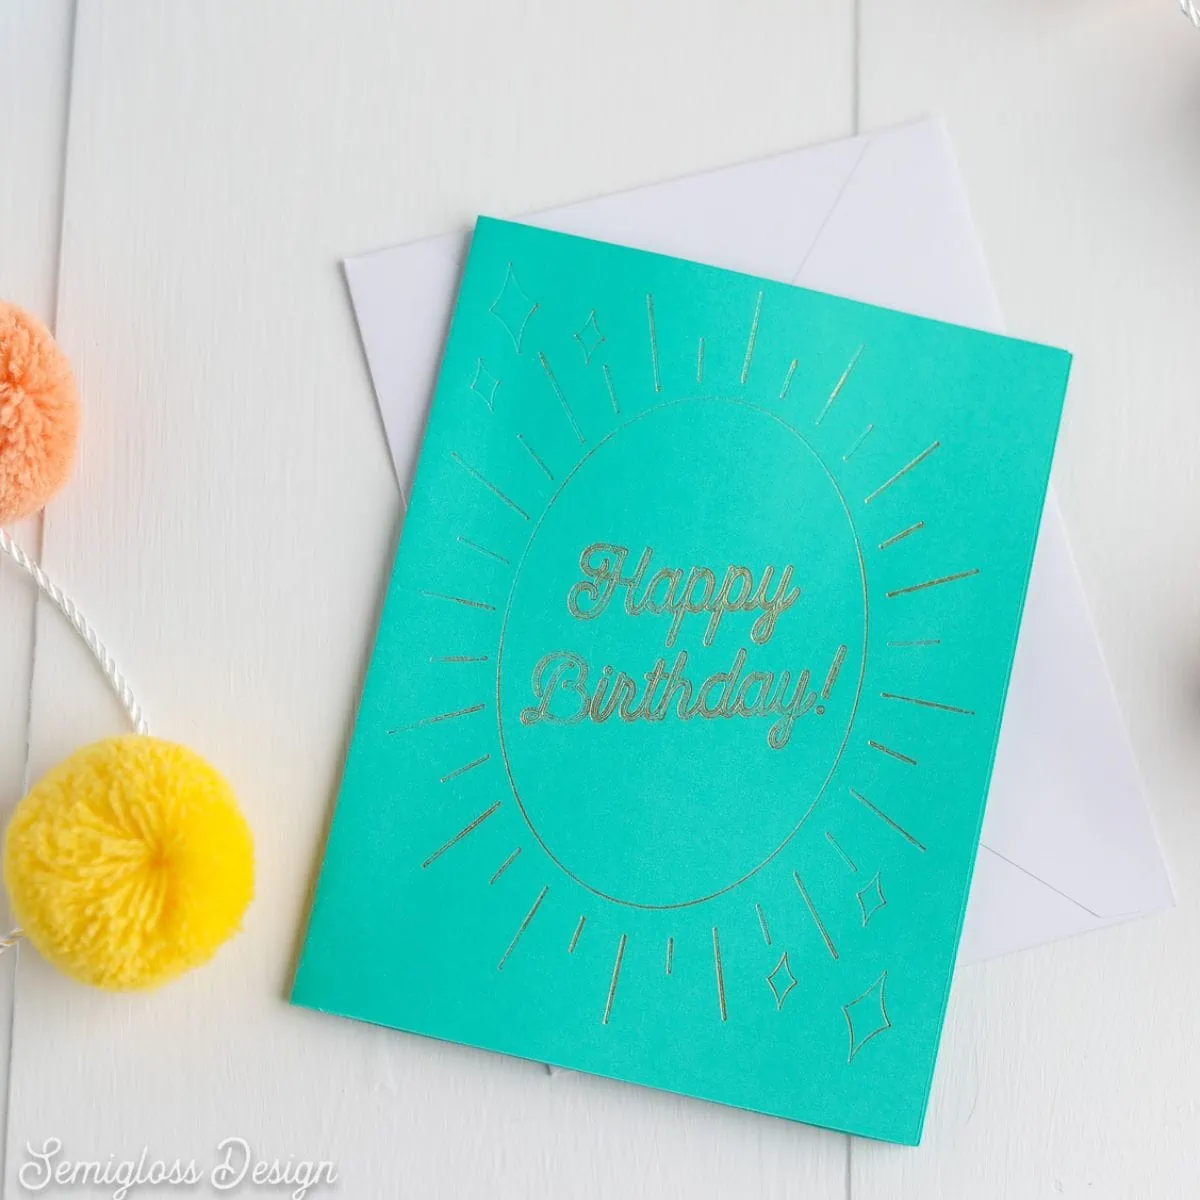
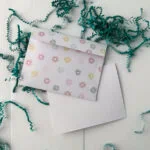
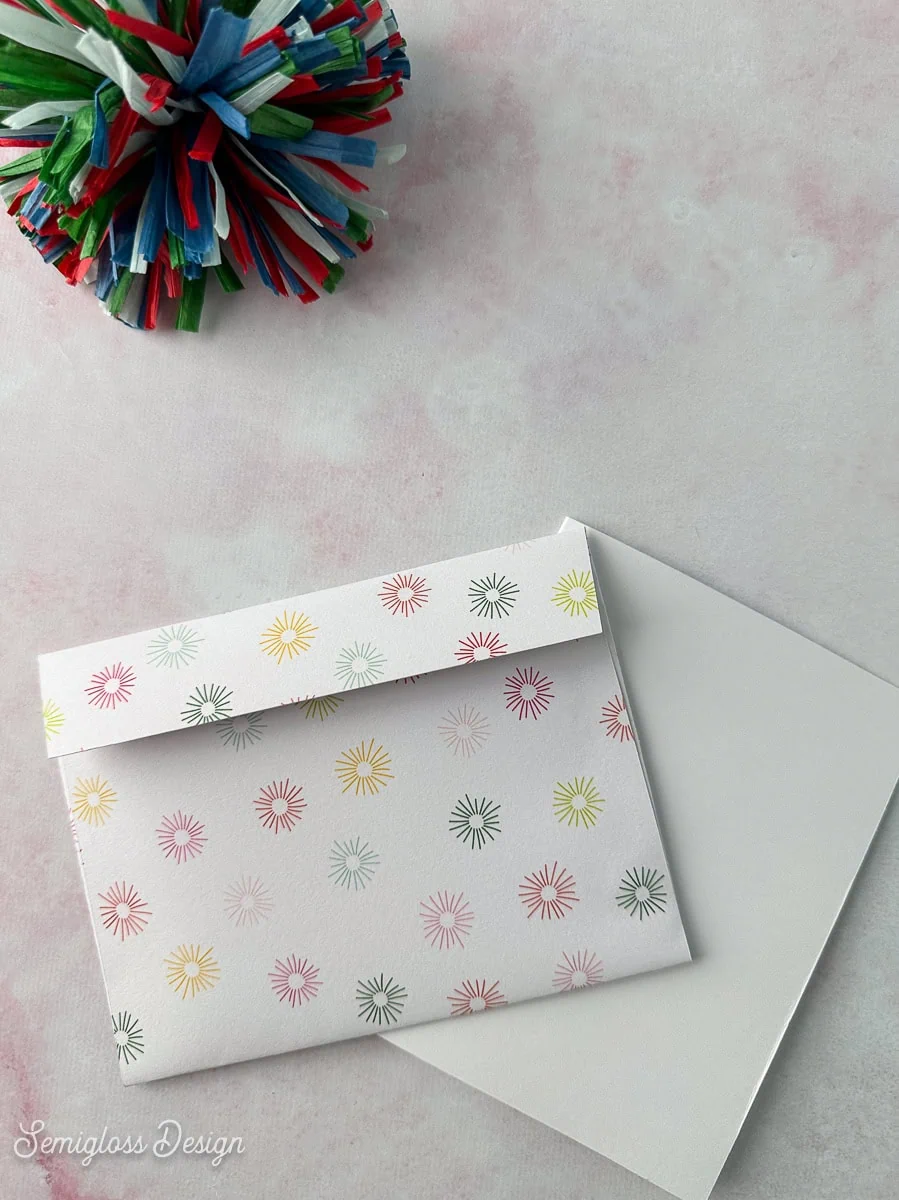
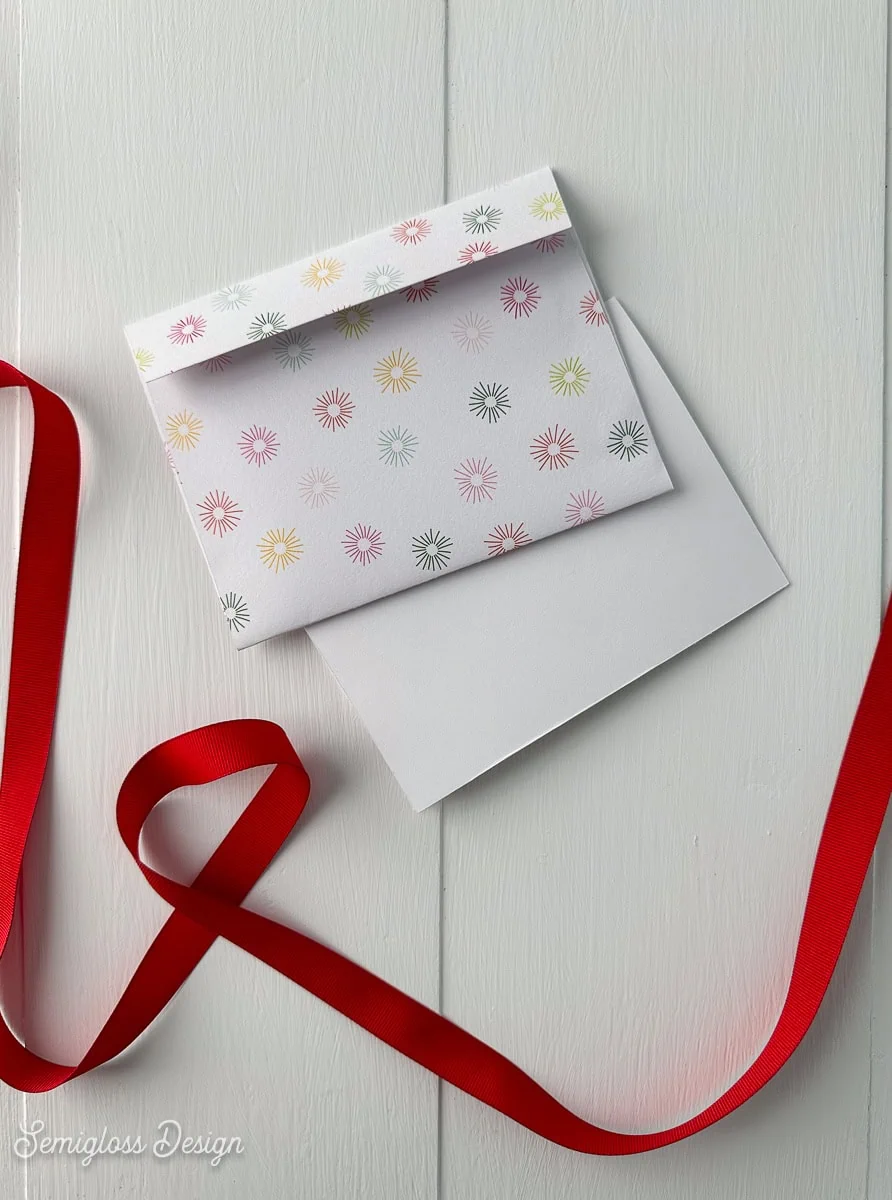
I love making handmade cards with my Cricut. Placing a beautiful card in a plain envelope feels a bit lackluster, so I like to make my own with scrapbook paper.
No Cricut? No problem. Here’s a post on DIY envelopes without a Cricut.
Standard Card and Envelope Sizes
There are probably way more card sizes than this, but these sizes are pretty standard and correlate to Cricut products.
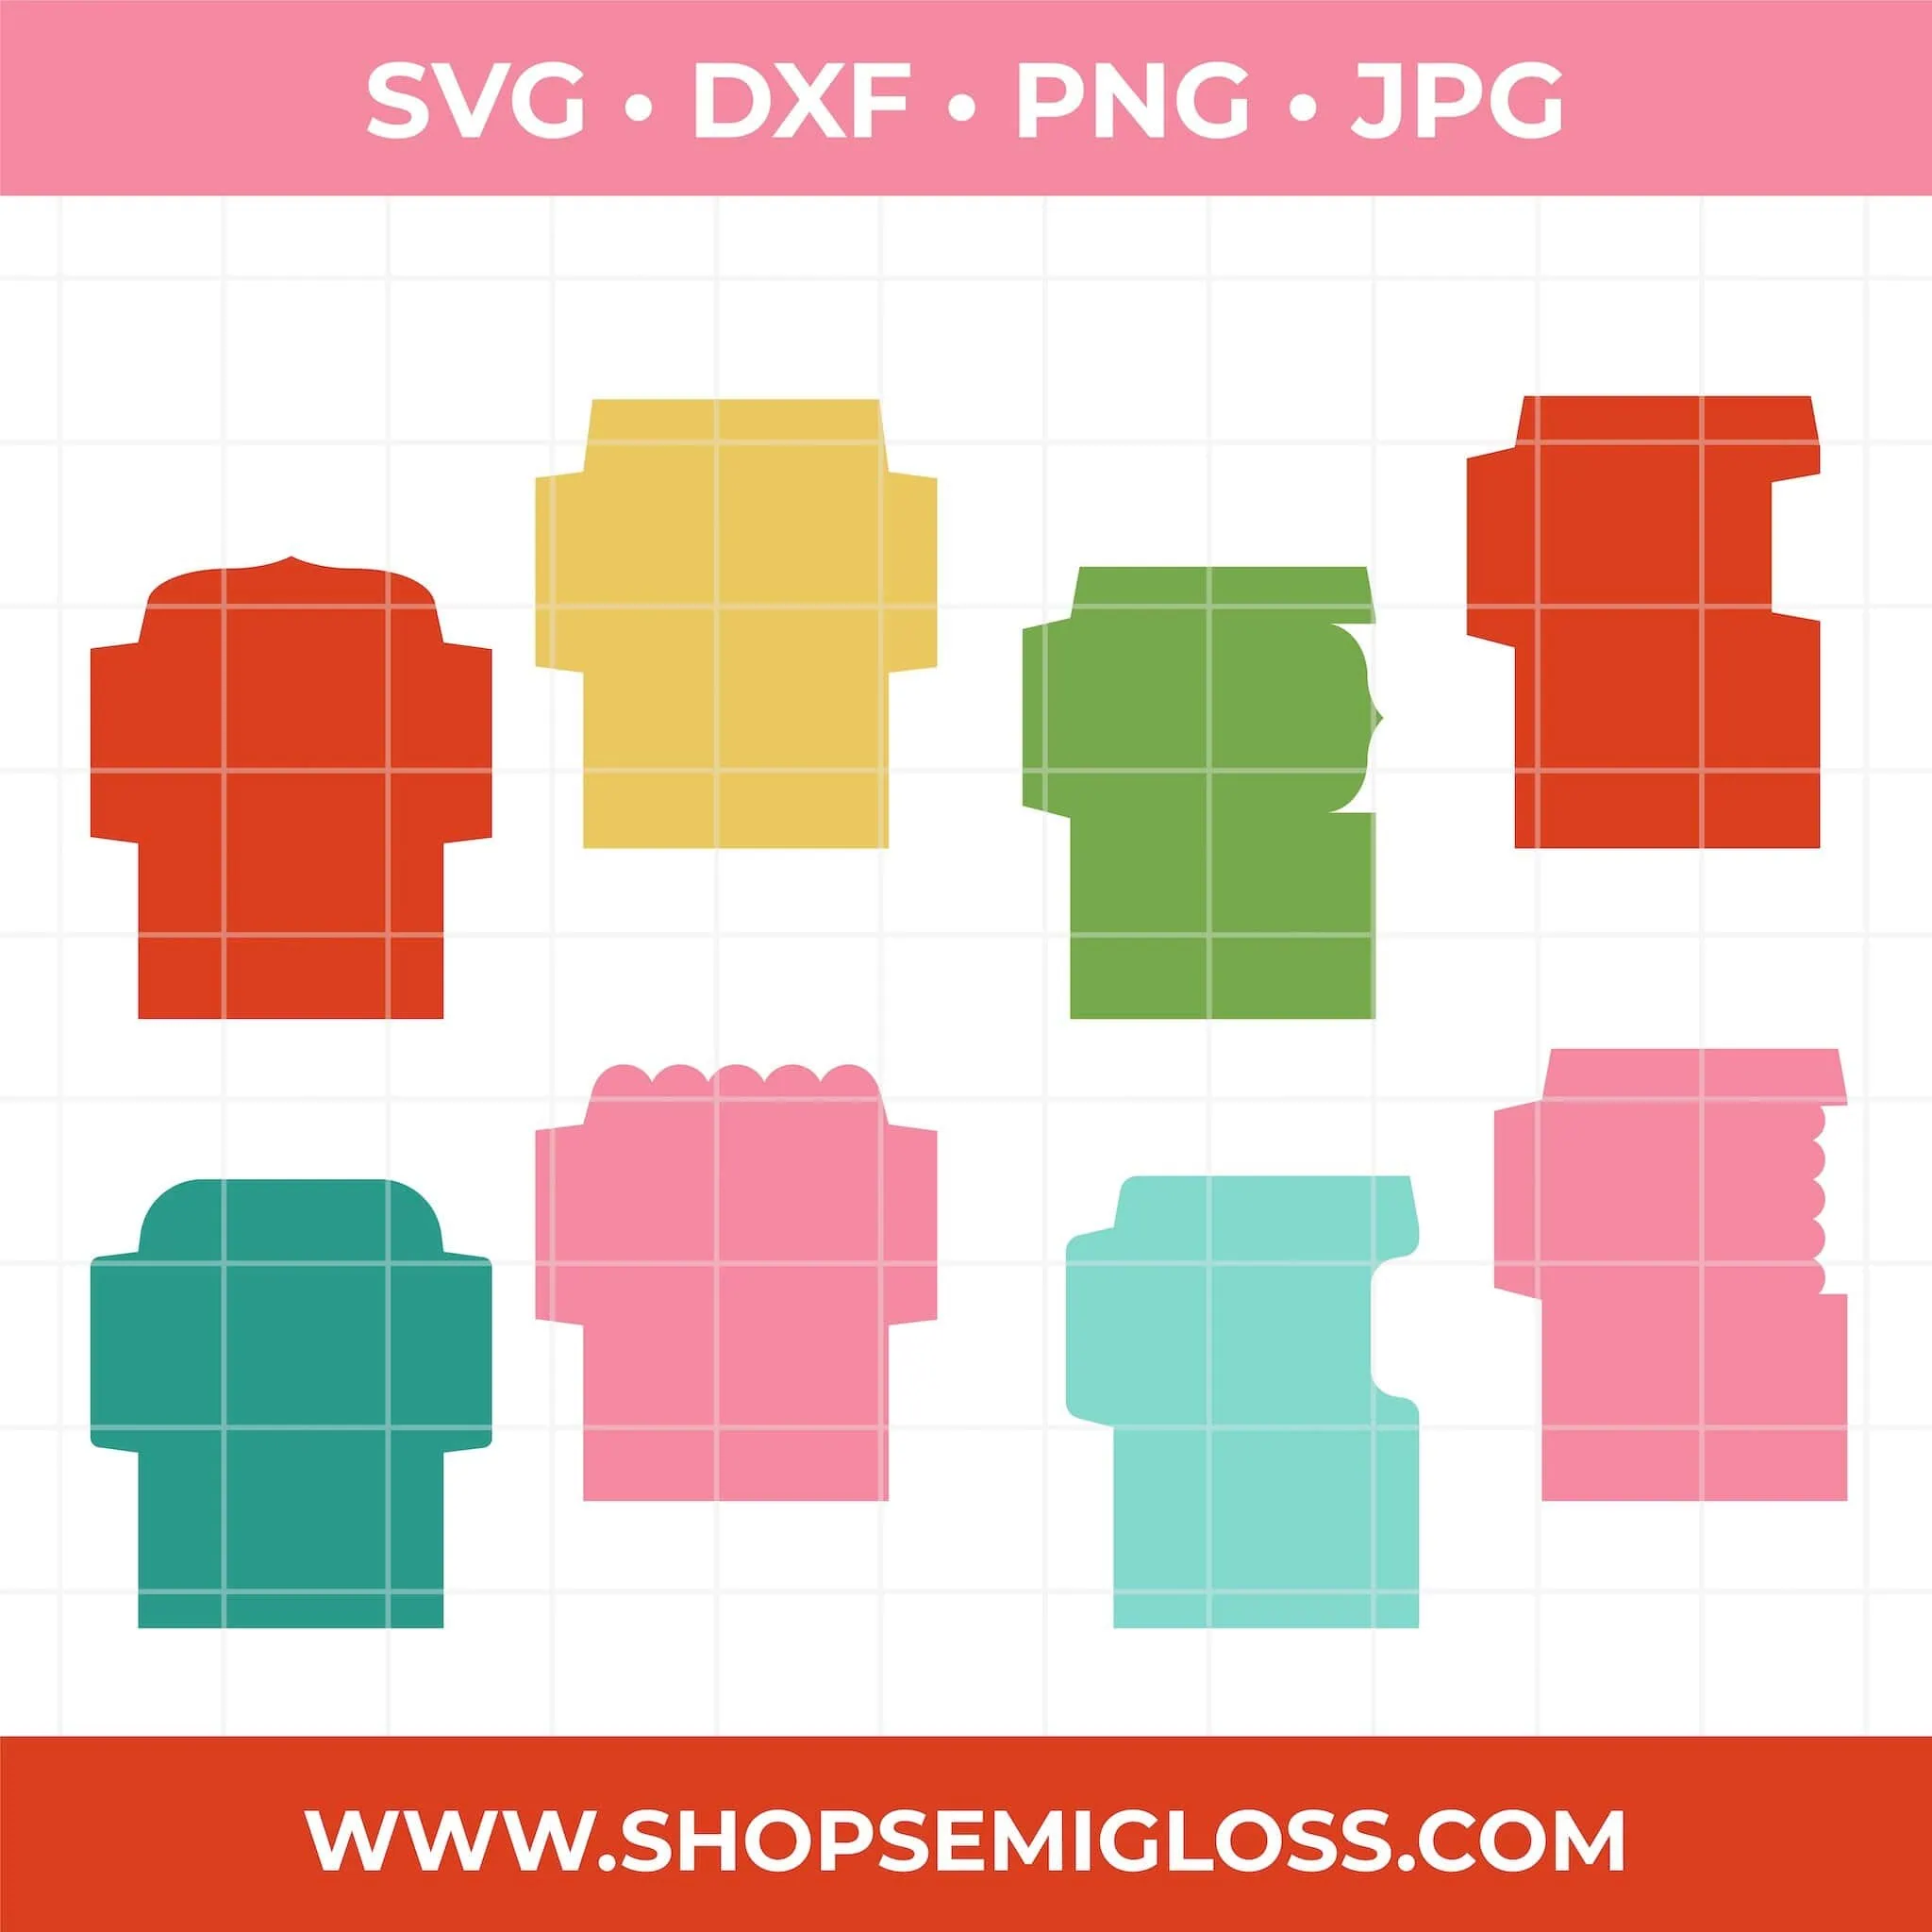
Cricut Card and Envelope Sizes
Envelopes are slightly larger than the finished card size. Here are the sizes if you want to make your own.
(The first size is the card dimensions. Envelope sizes are the 2nd size listed, denoted by “E.”)
- R10 – 3.5″ x 4.9″ – E: 3.75″ x 5.25″
- R20 – 4.25″ x 5.5″ (A2) – E: 4.4″ x 5.75″
- R30 – 4.5″ x 6.25″ (A6) – E: 4.875″ x 6.625″
- R40 – 4.75″ x 6.6″ – E: 5.125″ x 7″
- S40 – 4.75″ x 4.75″ – E: 5″ x 5″
Non-Cricut Card and Envelope Sizes
- 4 x 6 – E: 4.25″ x 6.25″
- 5 x 7 – E: 5.75″ x 7.25″
How to Make Envelopes with Cricut
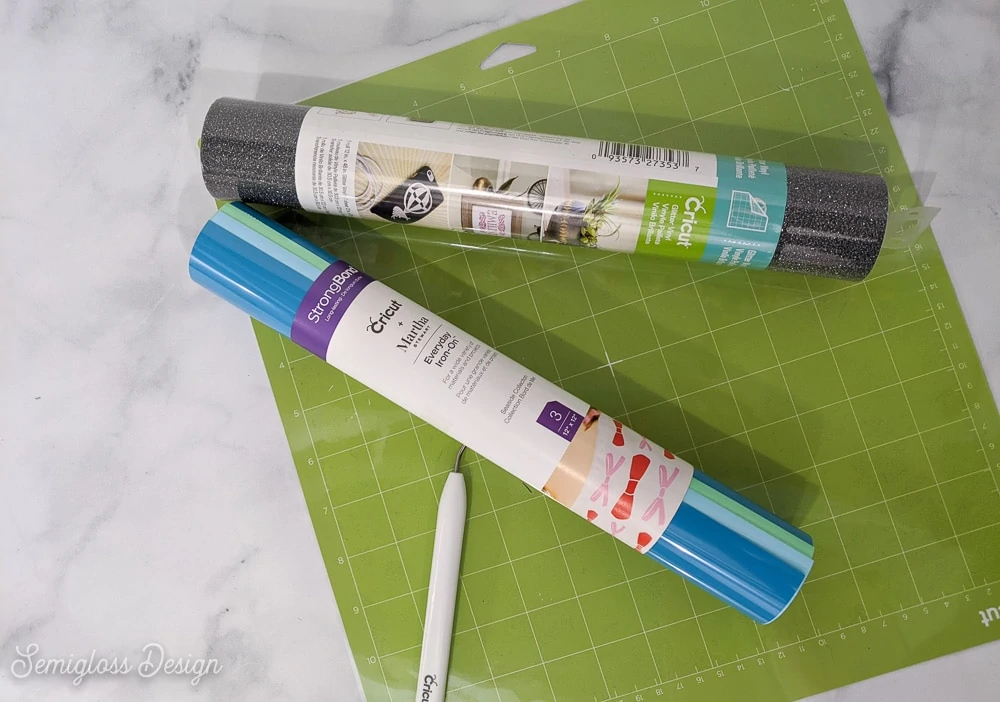
Supplies Needed:
- Scrapbook paper* (the thinner, the better!)
- Bone Folder
- Glue
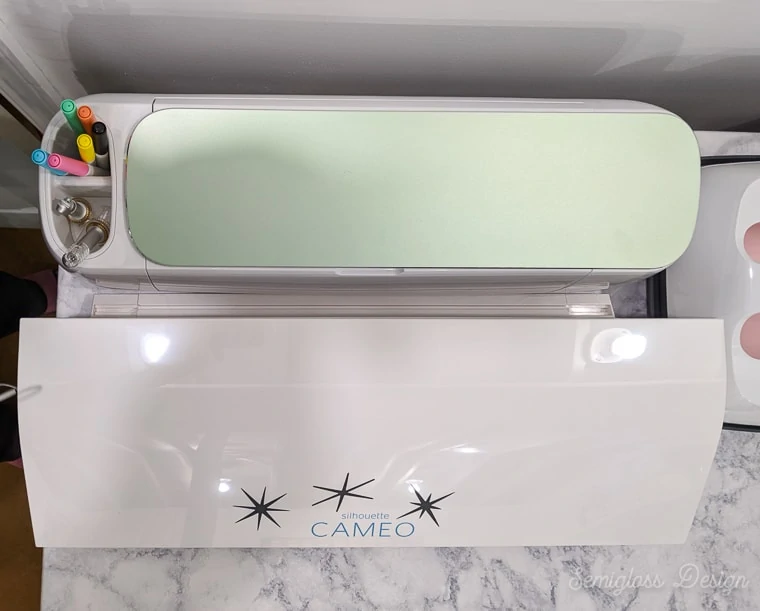
- Cricut (I used my Cricut Maker 3)
- Scoring Stylus**
*Each envelope size can fit on a 12″ x 12″ scrapbook paper sheet. Not all sizes fit well on a standard sheet of paper, so keep that in mind when choosing paper.
**I’m using the scoring stylus for this project because it is much cheaper than the wheel. The last time I looked, the wheel was $35 compared to the $10 scoring stylus. That seems excessive for a blade that I rarely use. If you own the scoring blade, skip the part where I tell you how to change the tool from wheel to stylus.
Directions
The envelopes include score lines to make folding easier. If you don’t have a scoring stylus or blade, delete the rectangle from the design.
- Upload the design as usual.
- Select the rectangle in the design and change it from “basic cut” to “score.”

- Attach everything to keep it in place.
- Click Make. Change the paper size, if needed, on the mat setup screen.
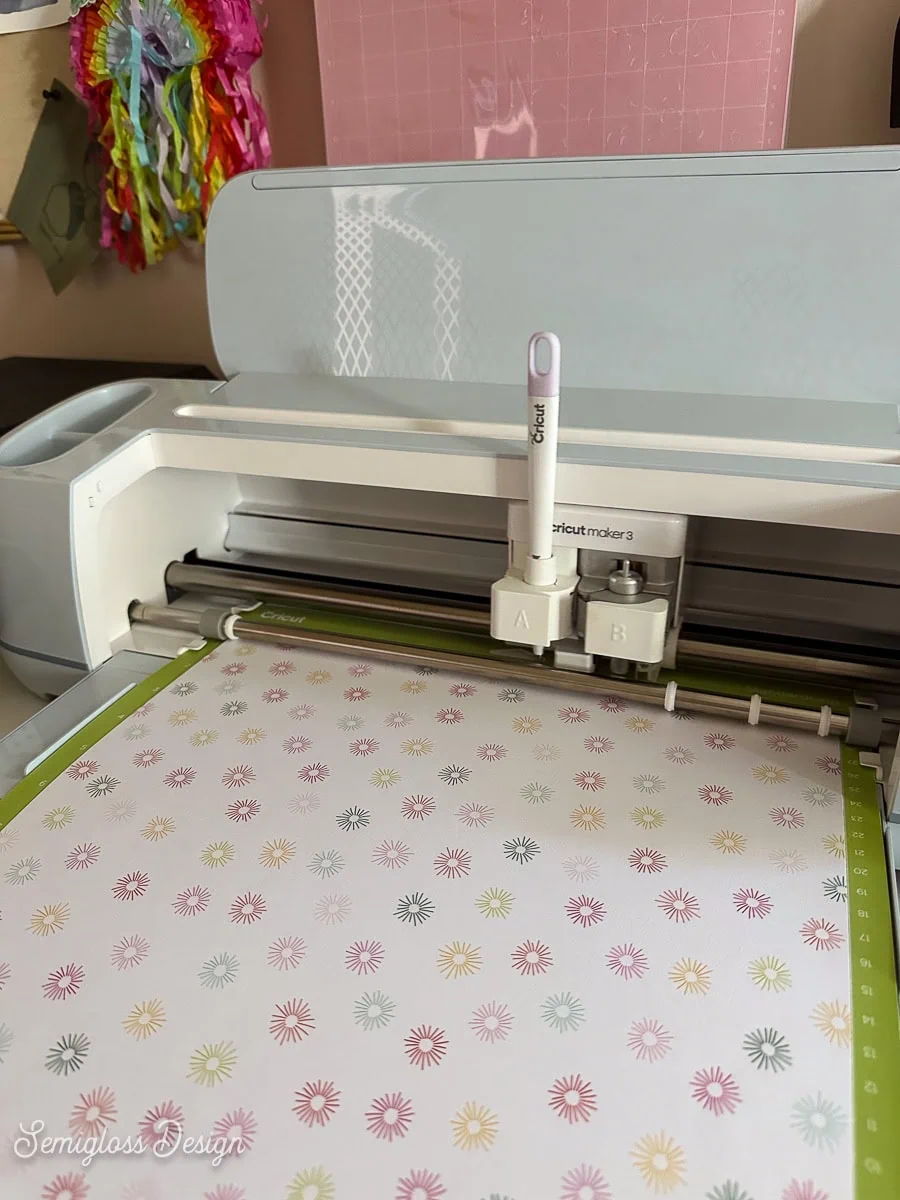
- Choose your paper type. For cutting scrapbook paper, I like to use heavy patterned paper.
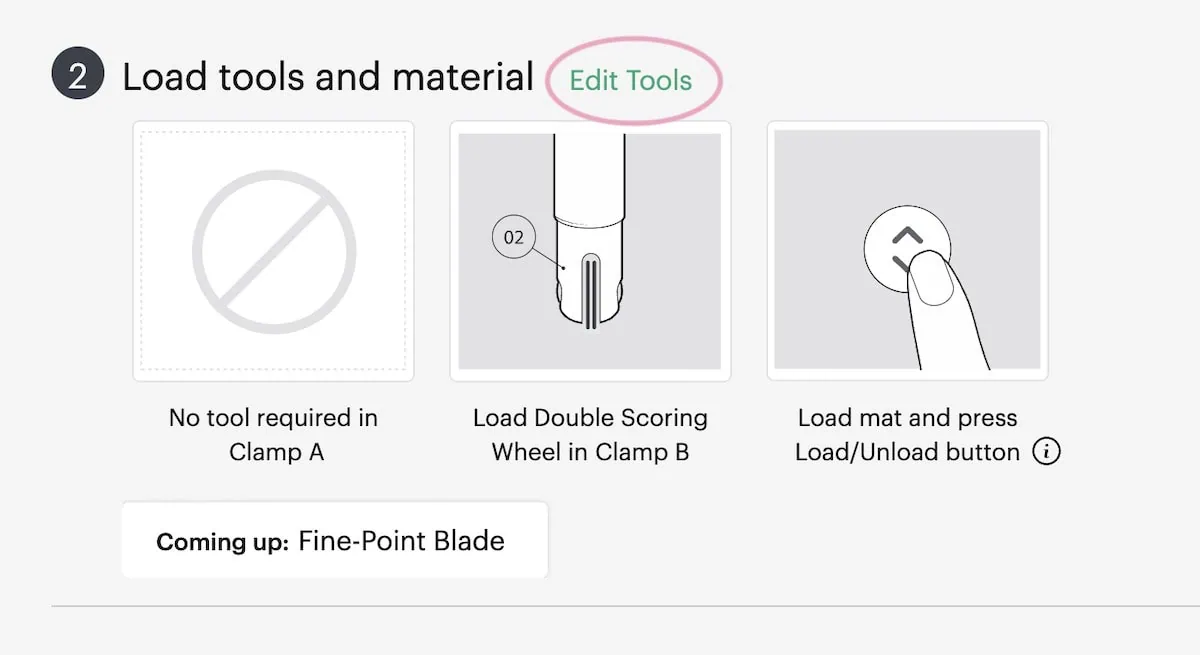
- Under “load tools and materials,” click edit tools.

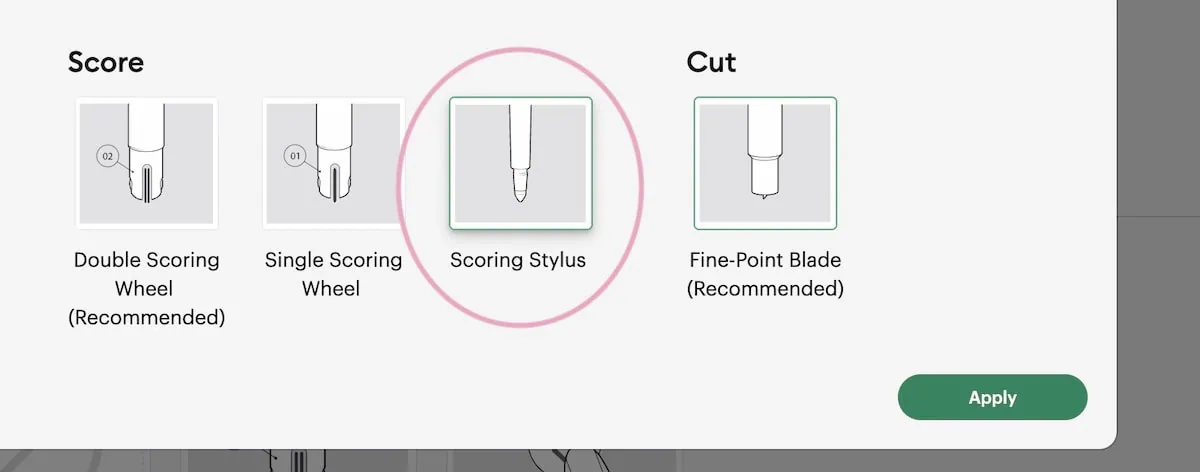
- Change the scoring wheel to the stylus. Click apply.

- Place the scoring stylus in tool slot A. It will click when it’s pushed in completely.
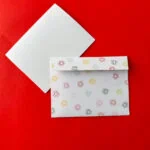
- Apply the paper to the mat, smoothing as you go.
- Cut as usual.

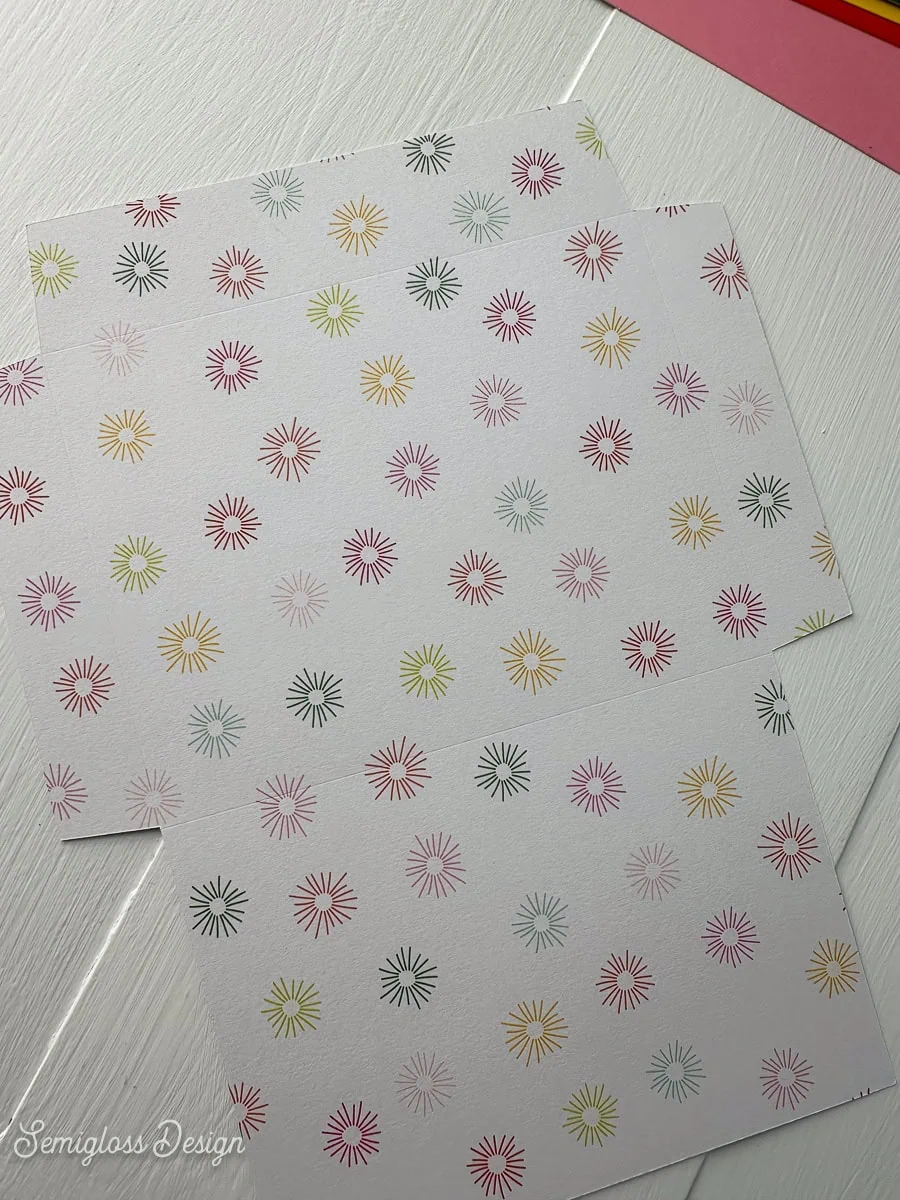
- Peel the mat away from the paper to avoid curling the paper.
- The score lines are faint, but they’re there.
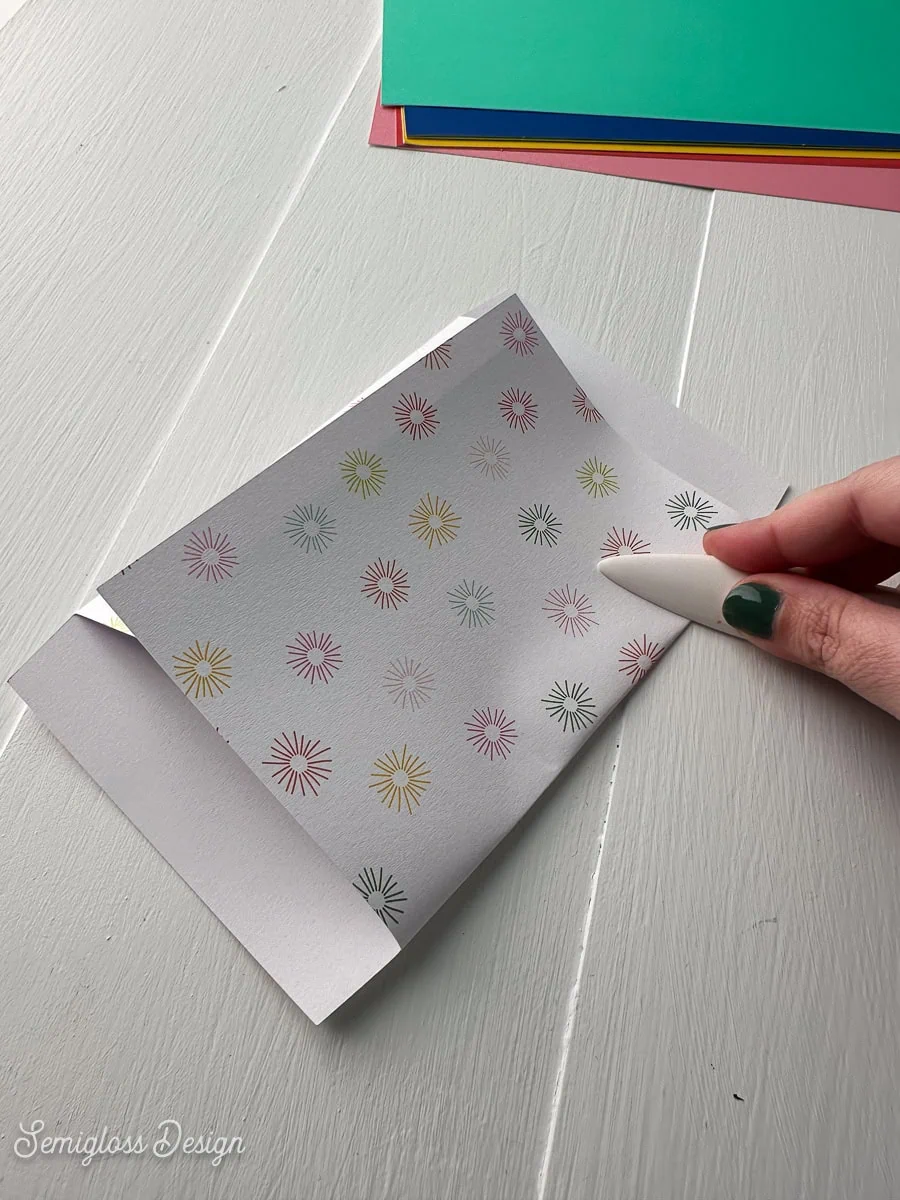
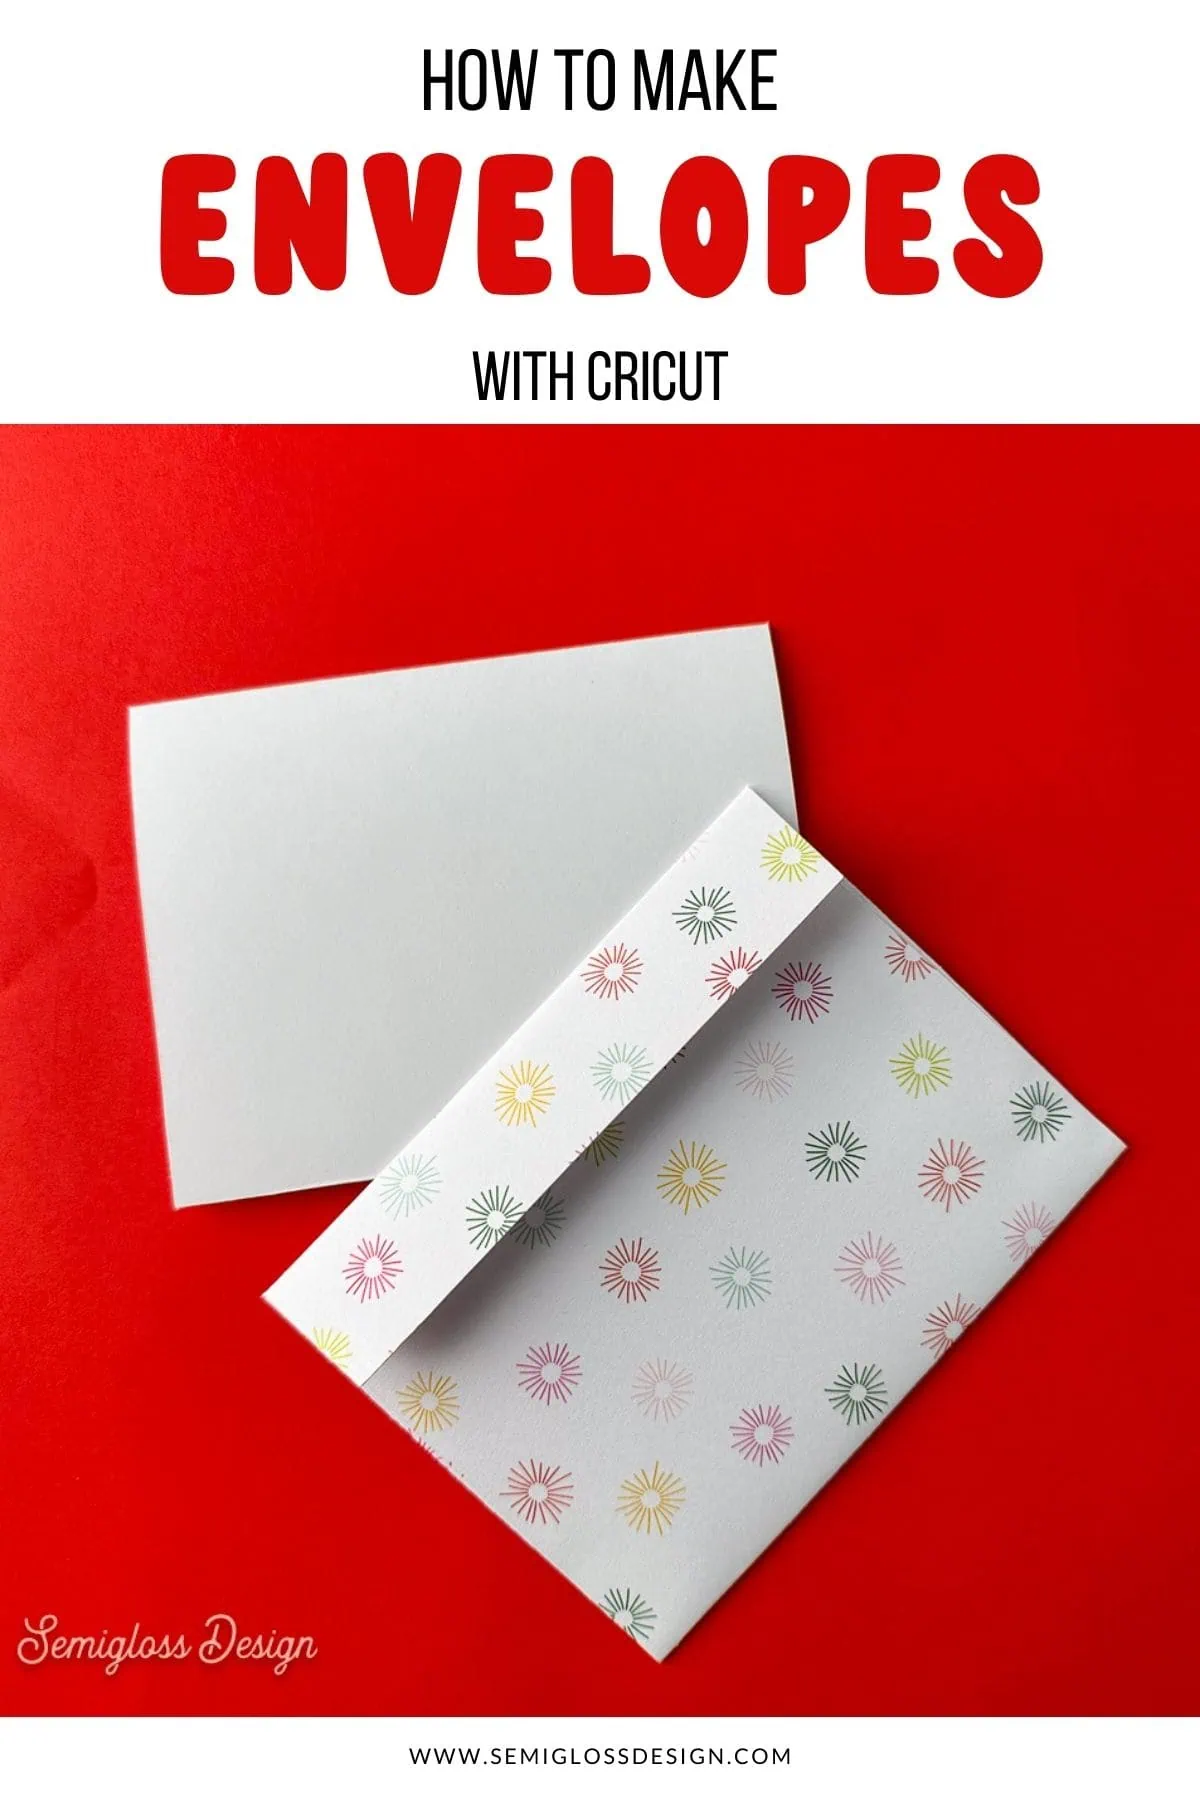
- Use a bone folder to fold the scored lines.
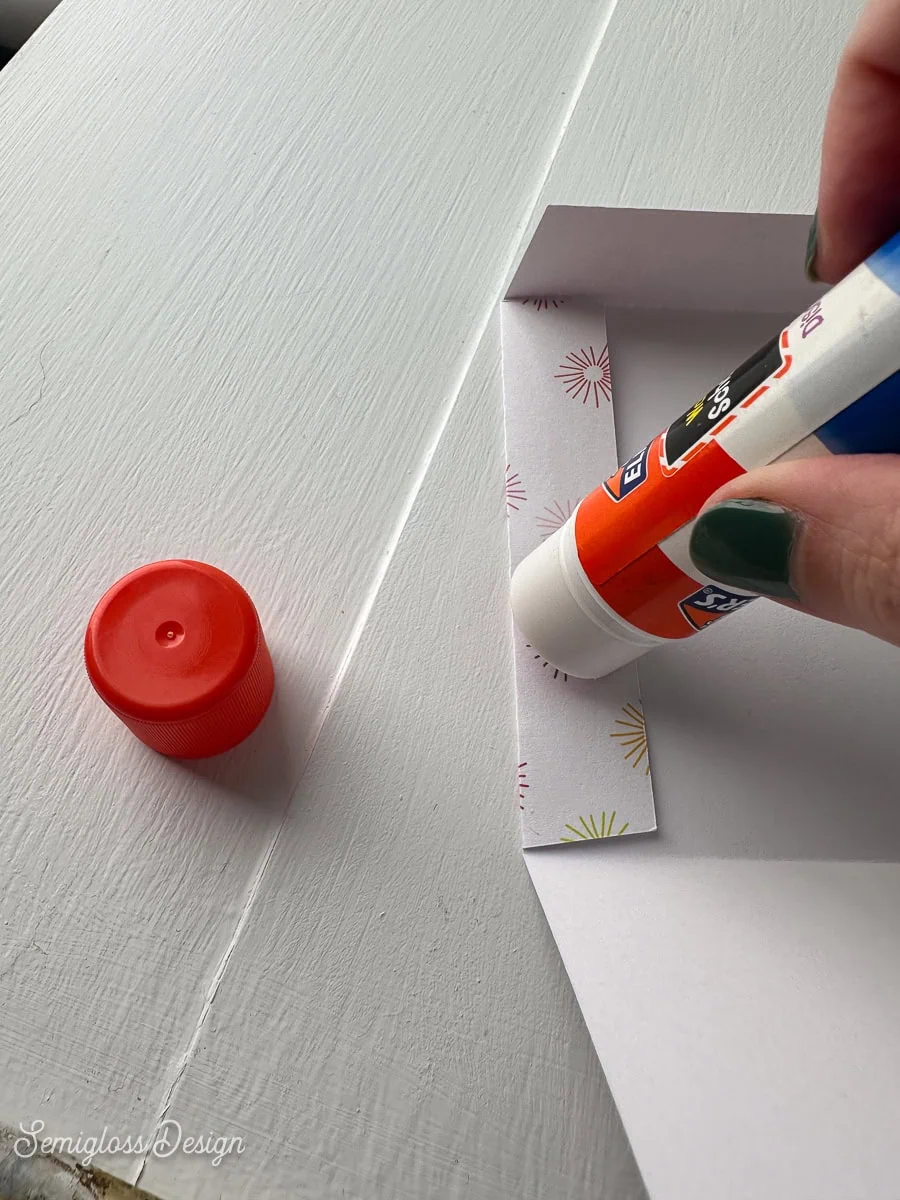
- Apply glue to the side flaps and press closed.
- Let the envelope dry before using. If you use thicker paper, you may need to sit something heavy on it to keep it from opening.

Get access to my SVG Library.
Get access to over 50 SVG sets and Cricut cheat sheets. Join my SVG library.
Download Cut Files
This includes all of the sizes above. This is a zip file and must be unzipped before use. Contains SVG files only.
All downloads are for personal use only. Please do not redistribute or sell files.
Shop My SVG Designs
You might also like:
Pin for Later!

Emy is a vintage obsessed mama of 2 DIYer who loves sharing affordable solutions for common home problems. You don’t need a giant budget to create a lovely home. Read more…