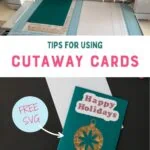
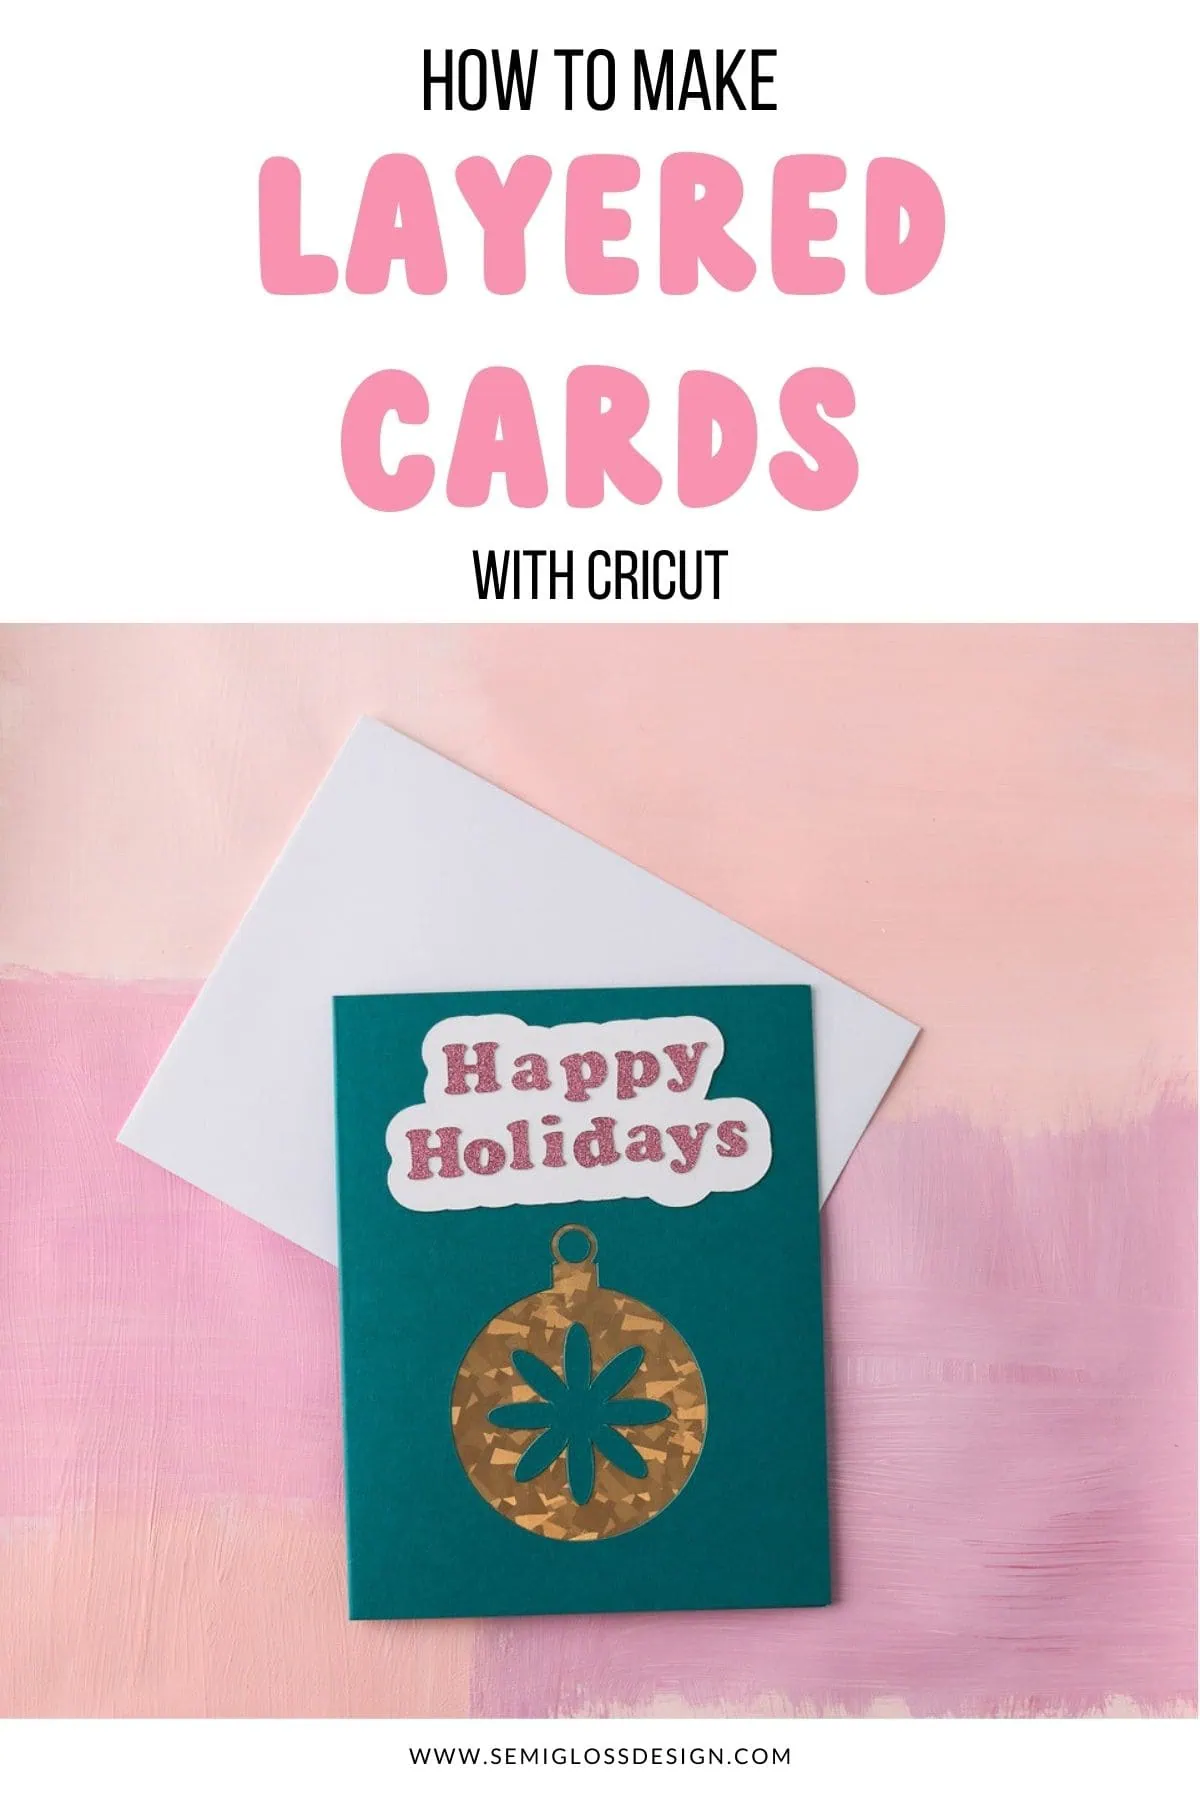
How to Make Cricut Cutaway Cards
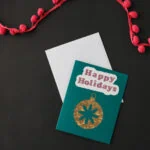
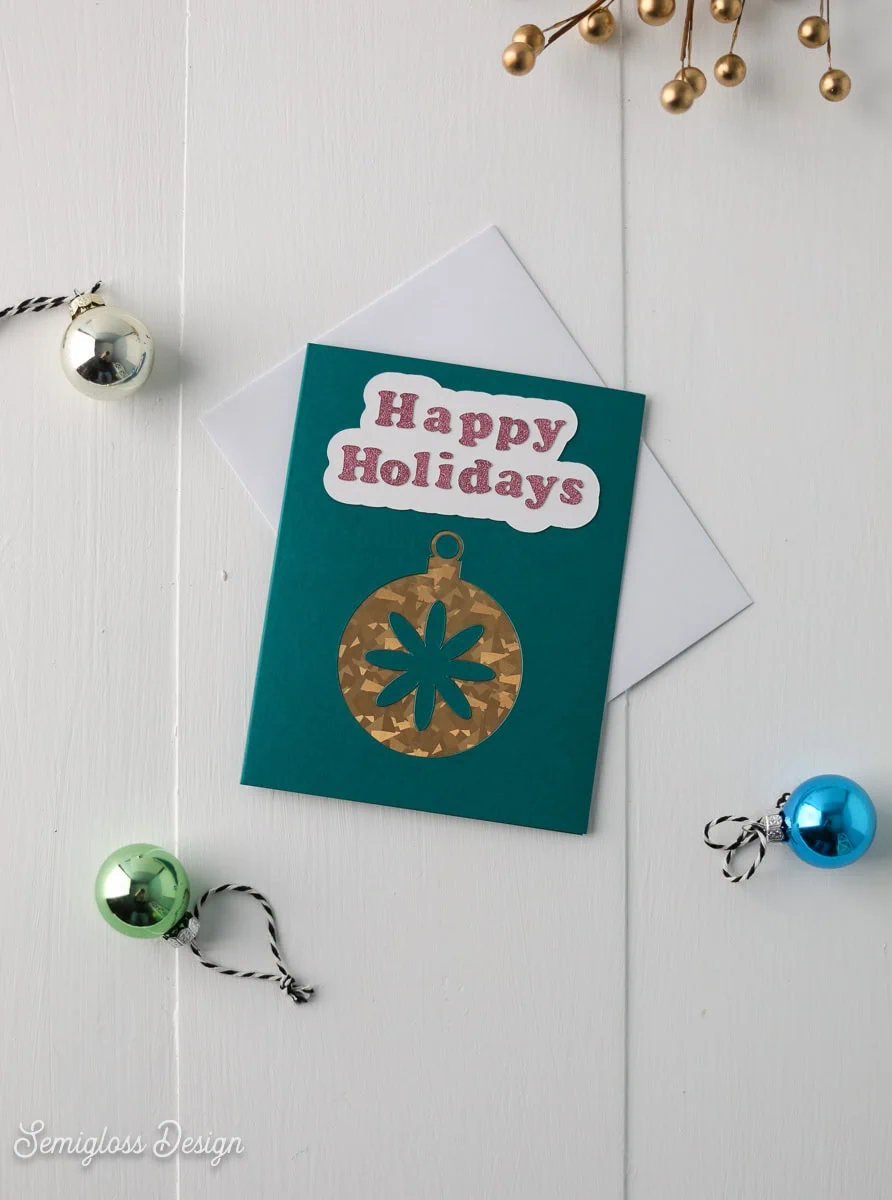
Make cutaway cards using your Cricut. This easy Christmas card features a simple cut-out retro ornament and layered cardstock.

This post contains affiliate links. By purchasing an item through an affiliate link, I earn a small commission at no extra cost to you. As an Amazon Associate I earn from qualifying purchases.
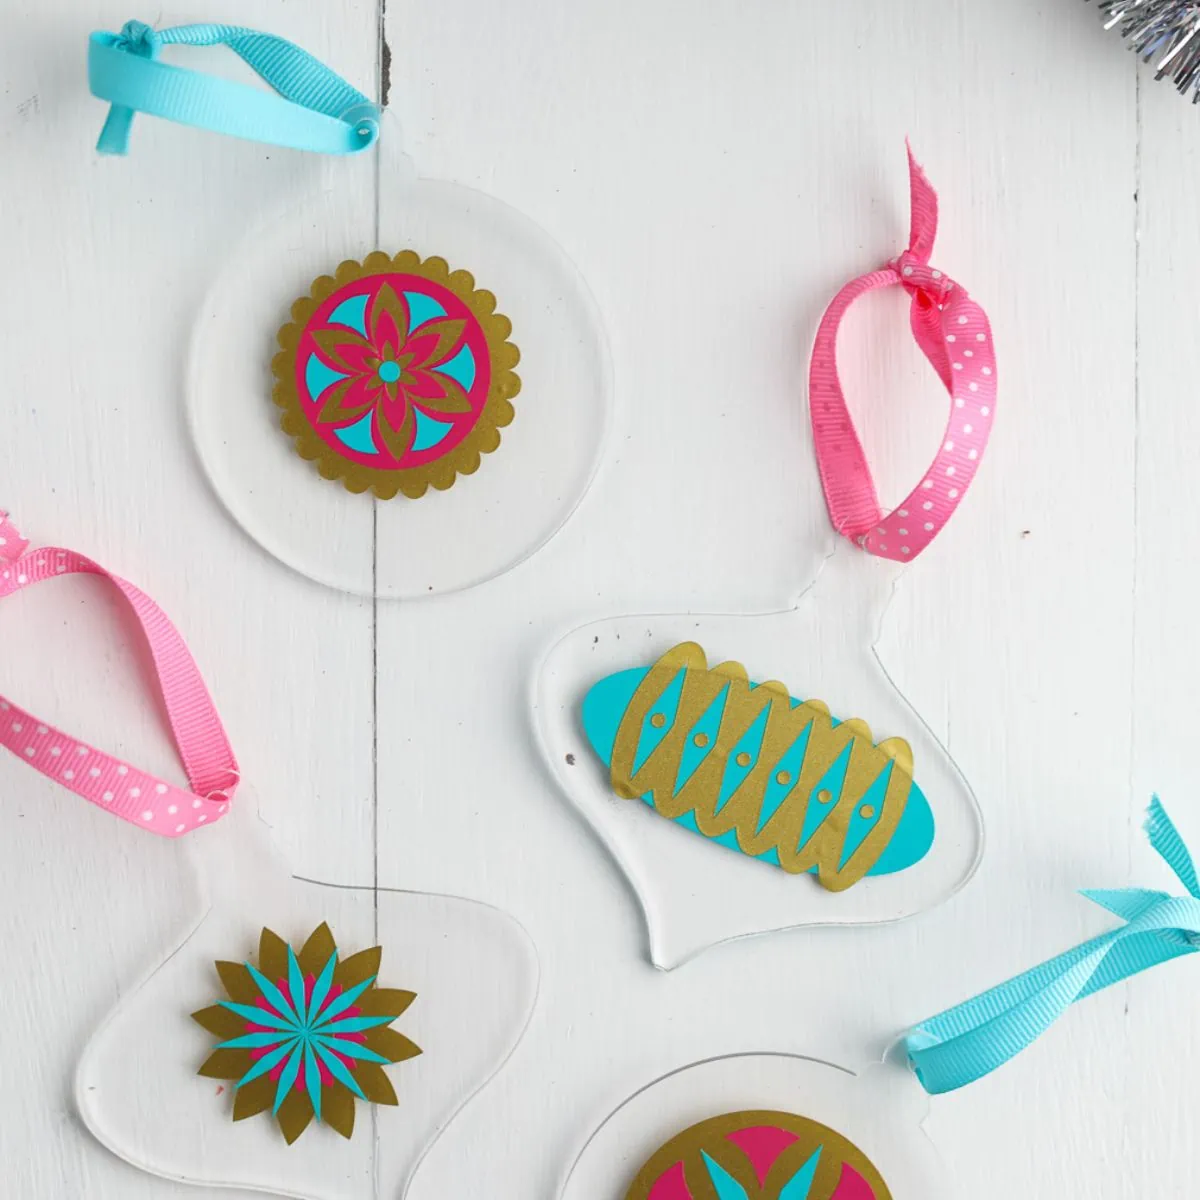
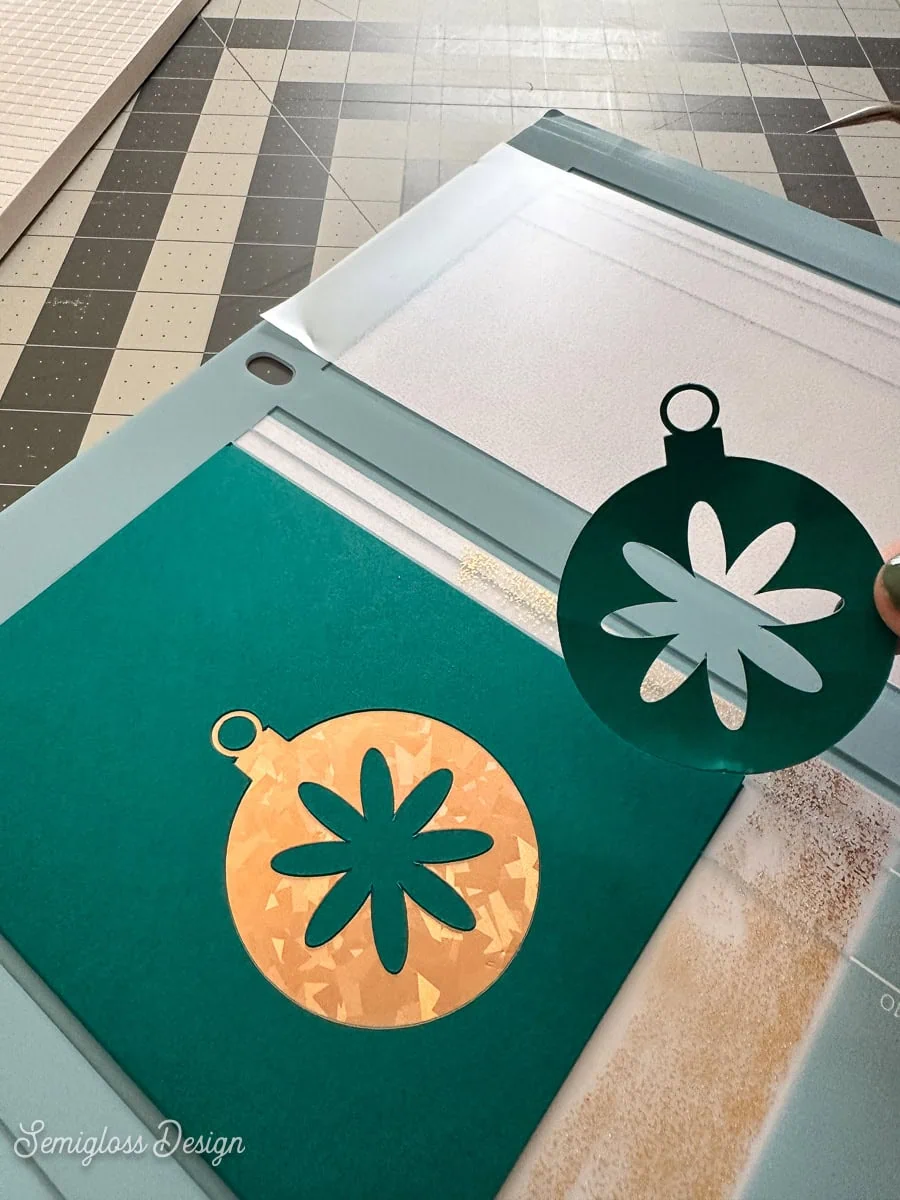
Cricut cutaway card kits use a cut out image to reveal a metallic backing paper.
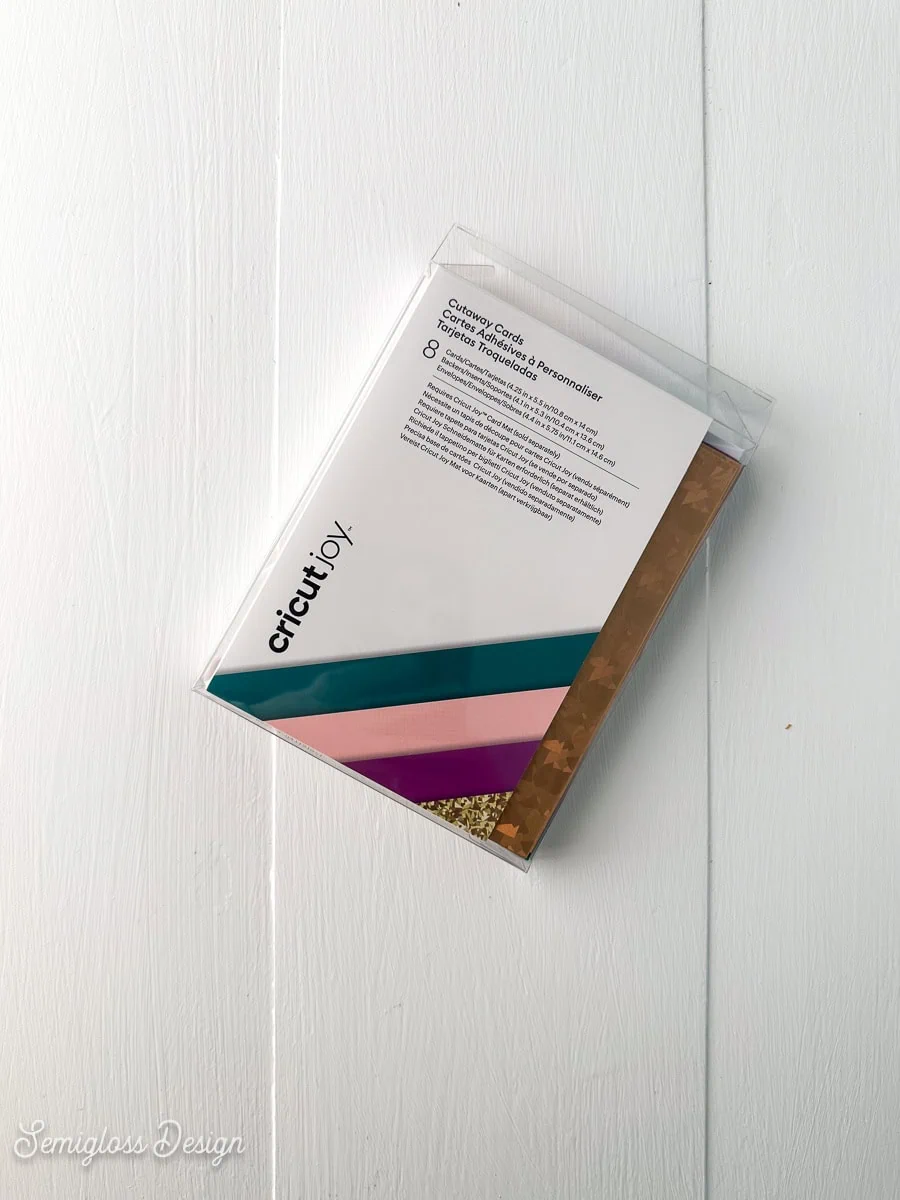
They’re available in several colors and sizes.
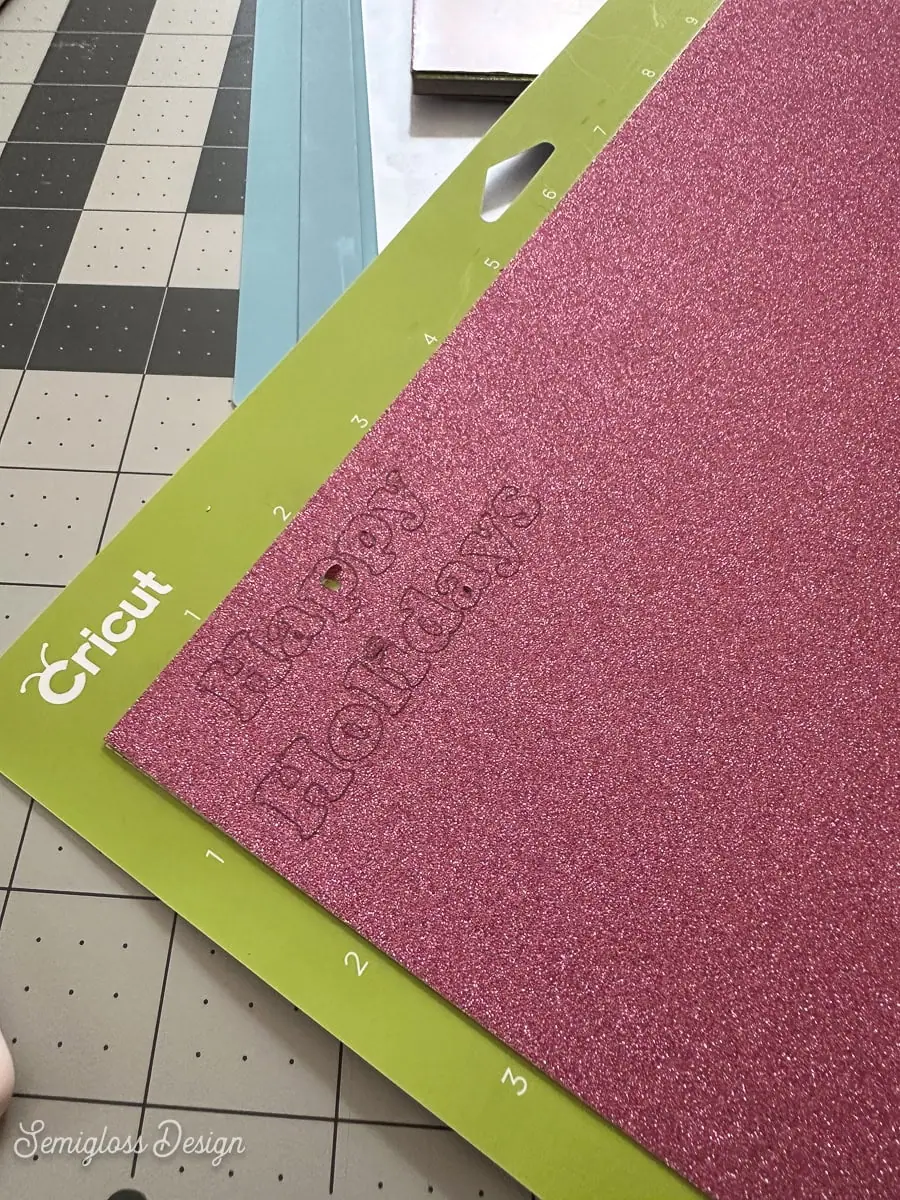
In addition to the cutaway card, this card features layered cardstock and glitter cardstock because there can never be enough glitter.
You can skip this option and just cut out the letters on the cutaway card. (Skip the white outline part.)
Christmas Cutaway Card
Supplies Needed:
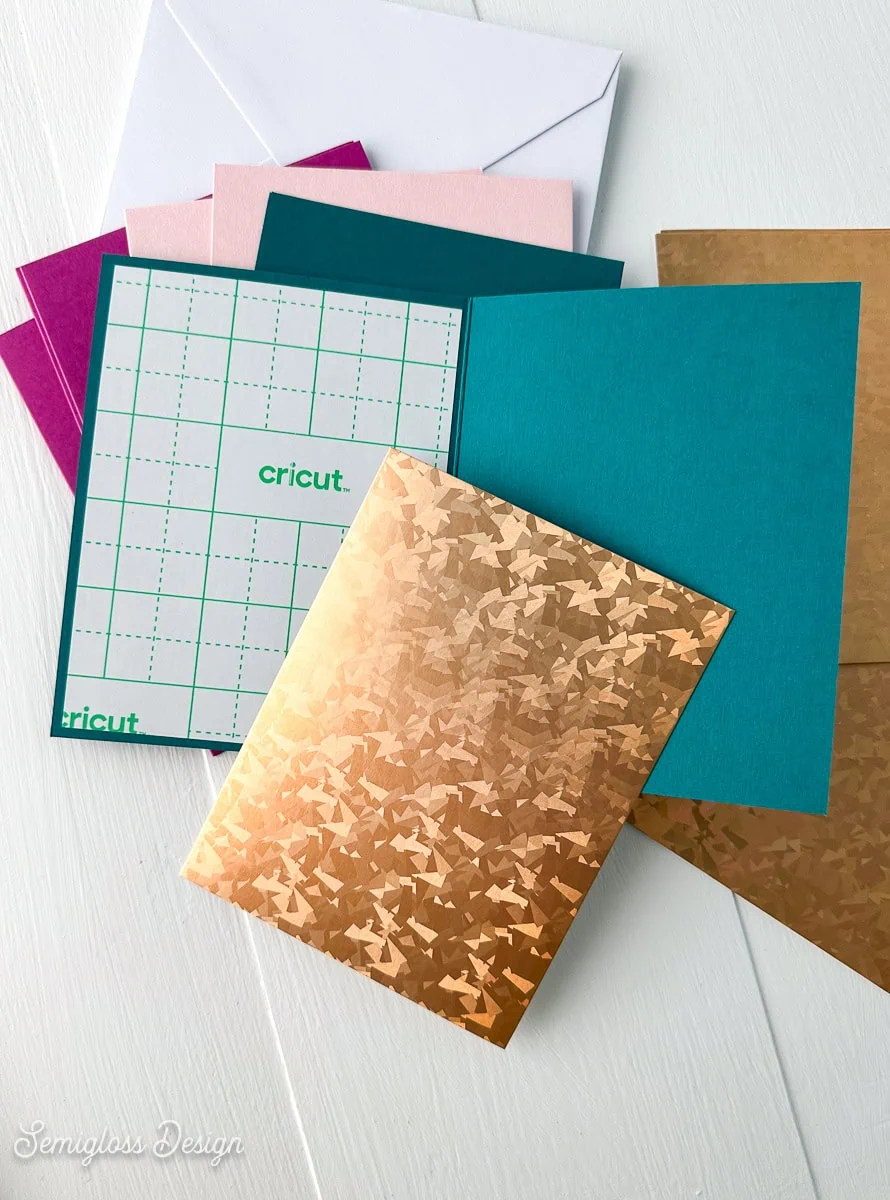
- Cricut Cutaway Card kit
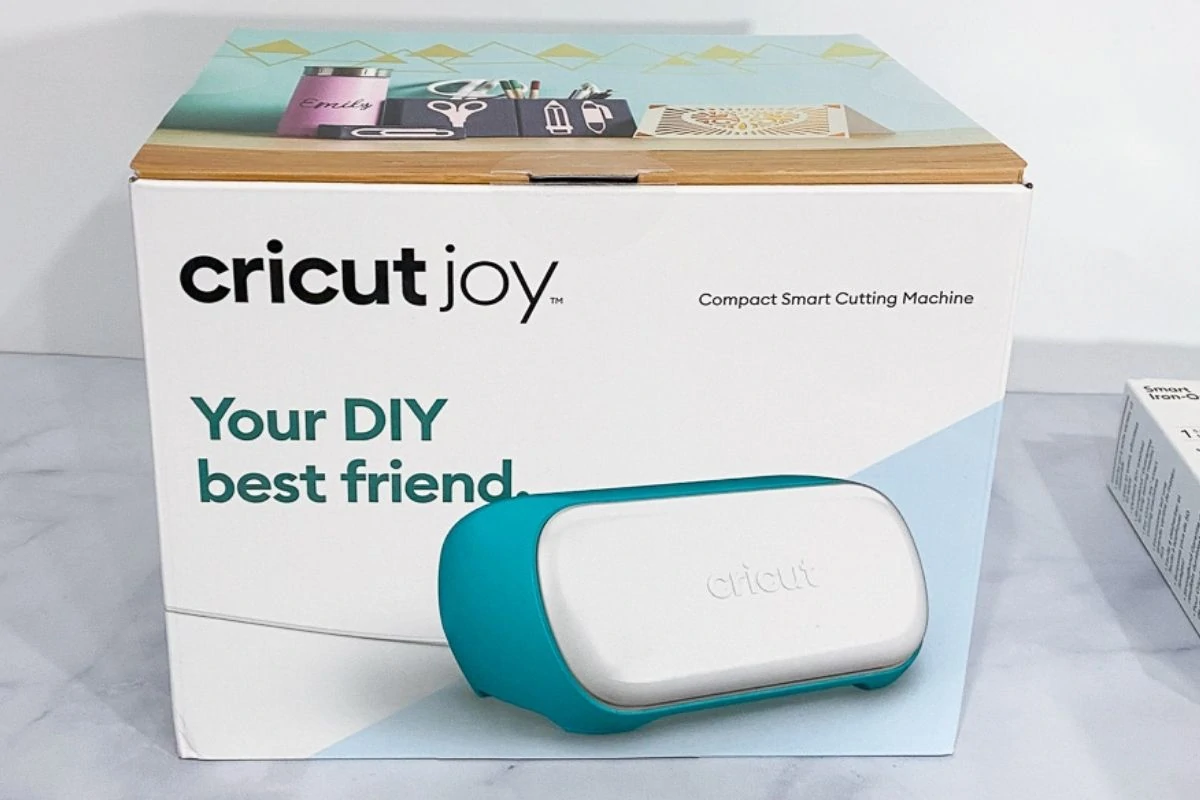
- Cricut (I used my Cricut Maker 3)
- Cricut Card Mat
- Cardstock
- Glitter Cardstock
- Glue Pen
- SVG (link at the bottom of the post)
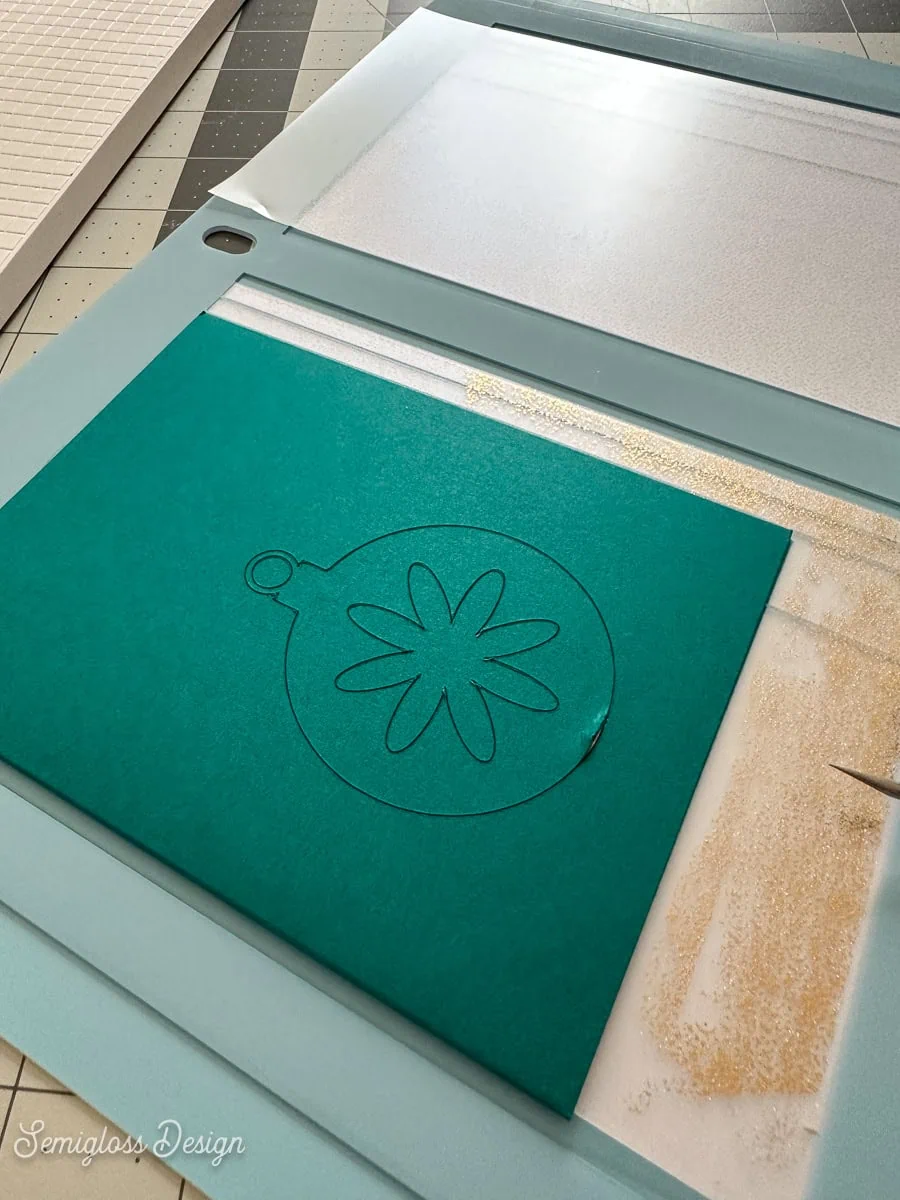
Cutting the Card
These are directions for using the card mat. If you don’t have a card mat, you will need to position the ornament in the correct place on the mat setup page.
You can use a preset material size or you can eyeball it using the grid of the mat. Then turn the design upside down so that it cuts on the correct part of the card.
(The card mat really simplifies this process, though, so you might want to pick one up the next time they’re on sale.)
Check out this post if you’re new to the card mat.
- Upload the design as usual.
- Resize and position if needed. The SVG provided is for the 4.25 x 5.5 card size. If you’re using another card size, it will need to be resized.
- Ungroup everything and attach the letters.
- Hide the letter and white letter background layer by clicking the eye icon.
- Click Make.
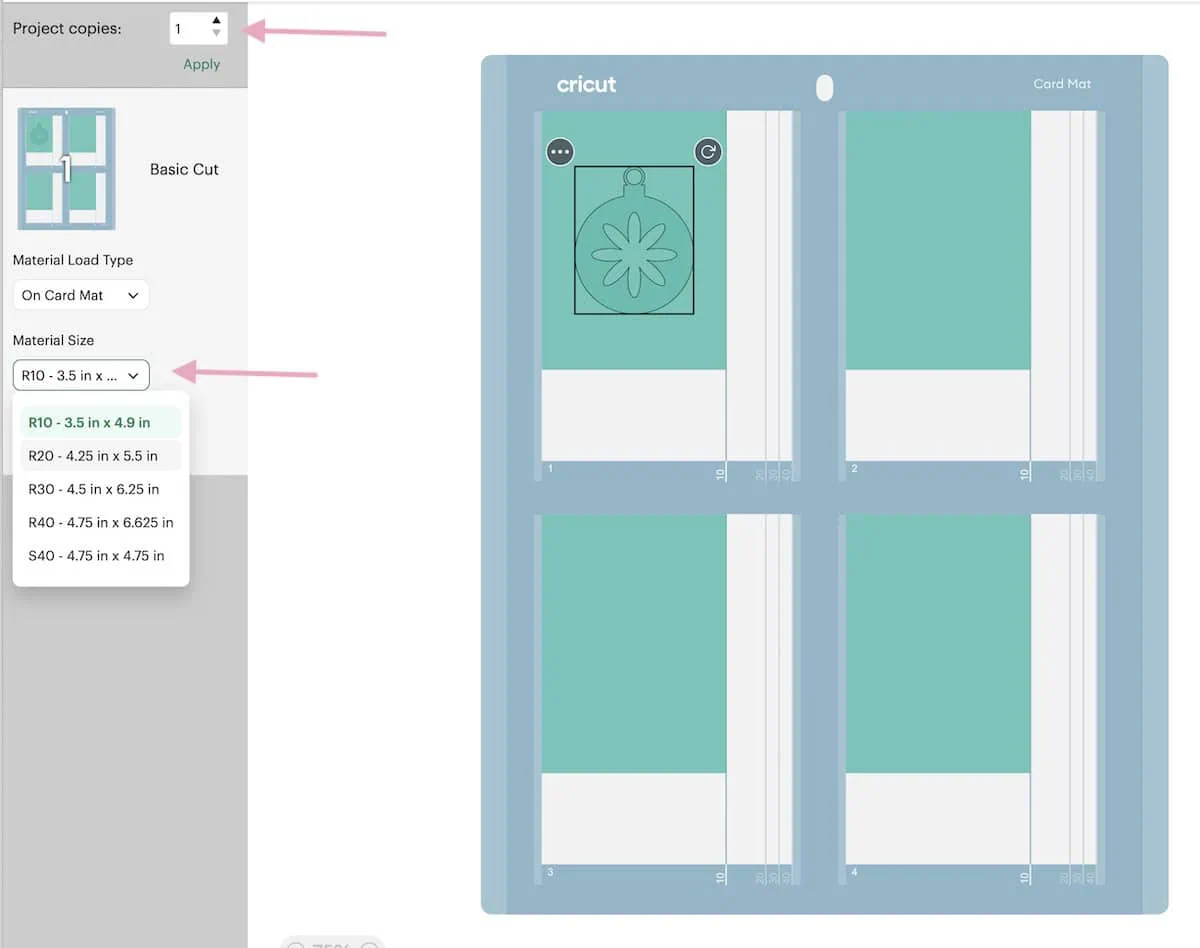
- Choose the card mat from the options.
- Choose the correct size in the drop-down menu on the mat set-up page. You can also set it to cut 4 cards at once.

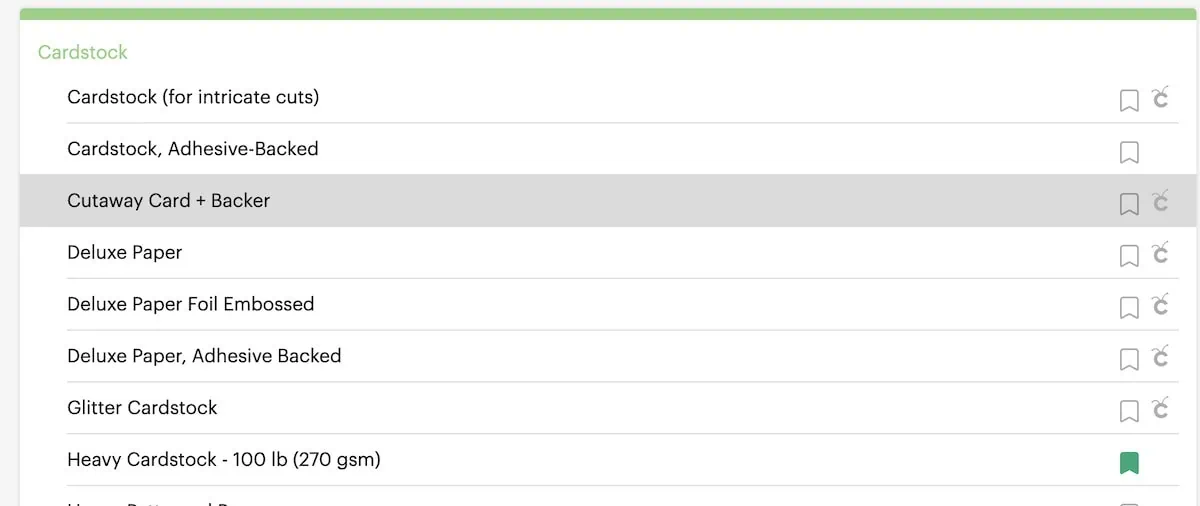
- Select Cutaway “Card and Backer” in the material selection. It’s located under cardstock.

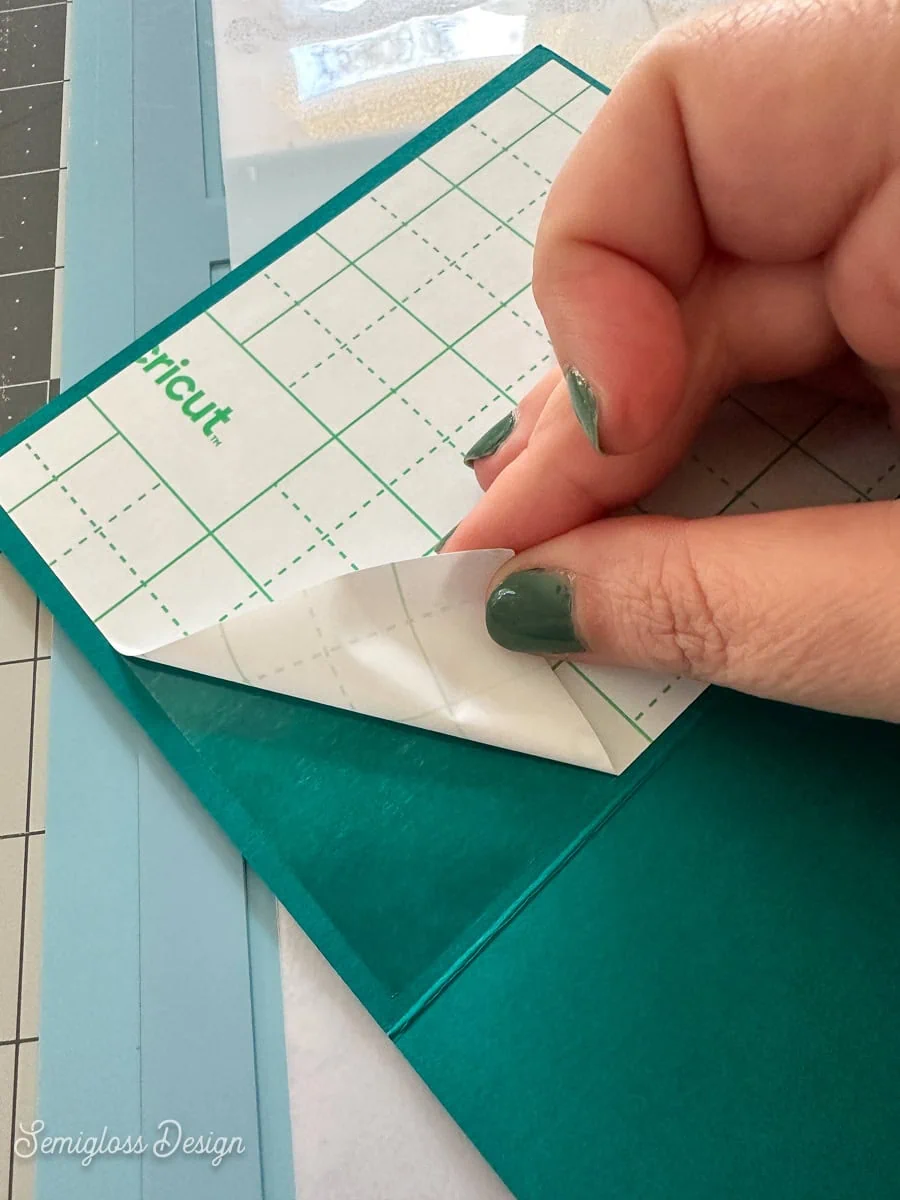
- Peel the backing from the card.

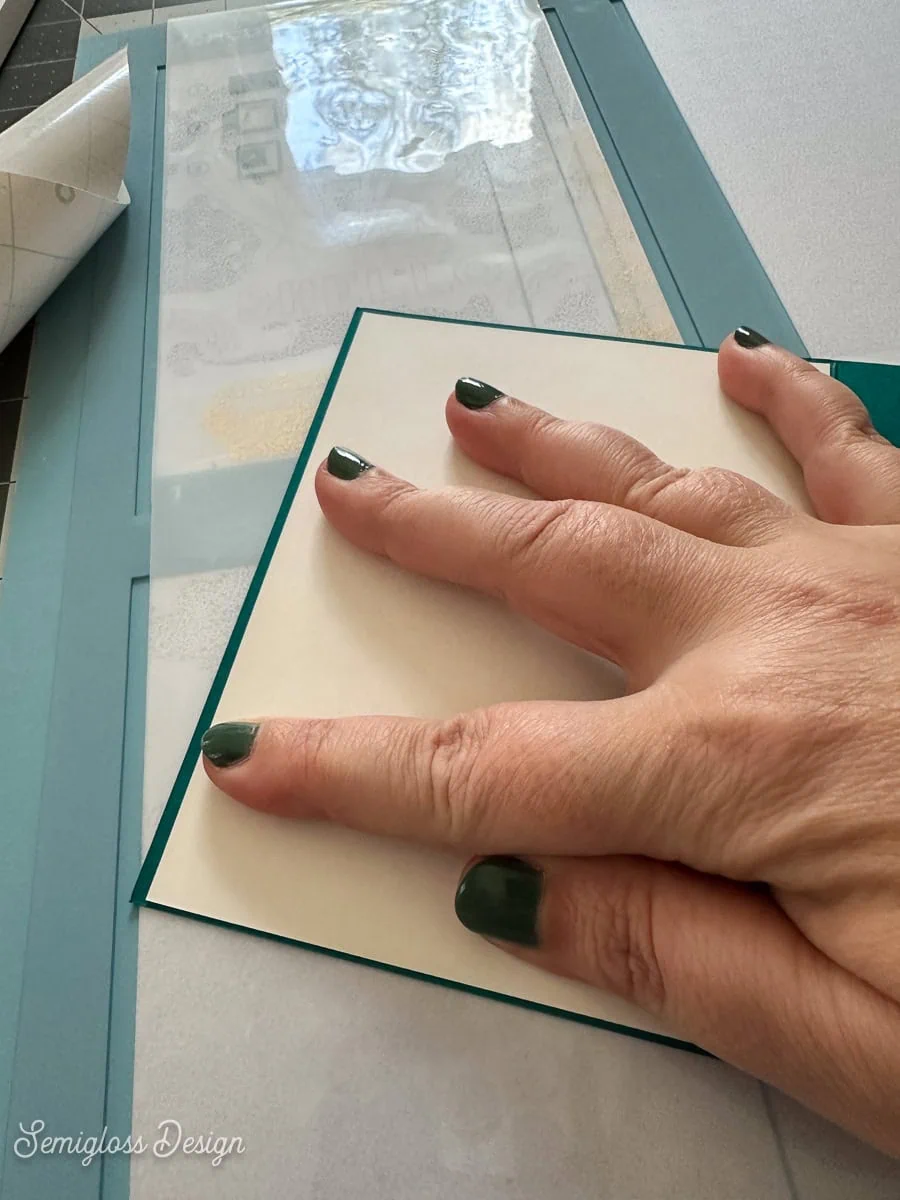
- Place the backer card shiny side down onto the sticky surface.
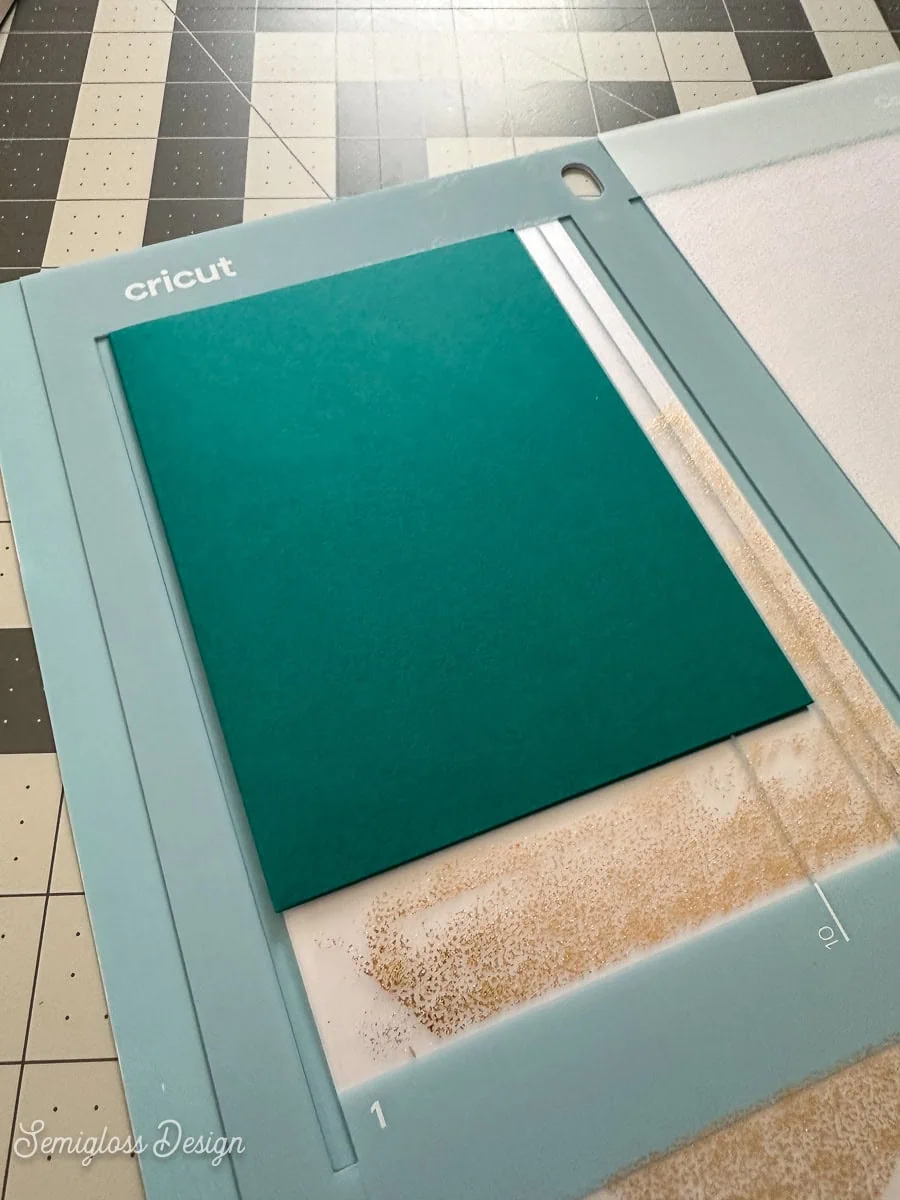
- Insert the card into the card mat.
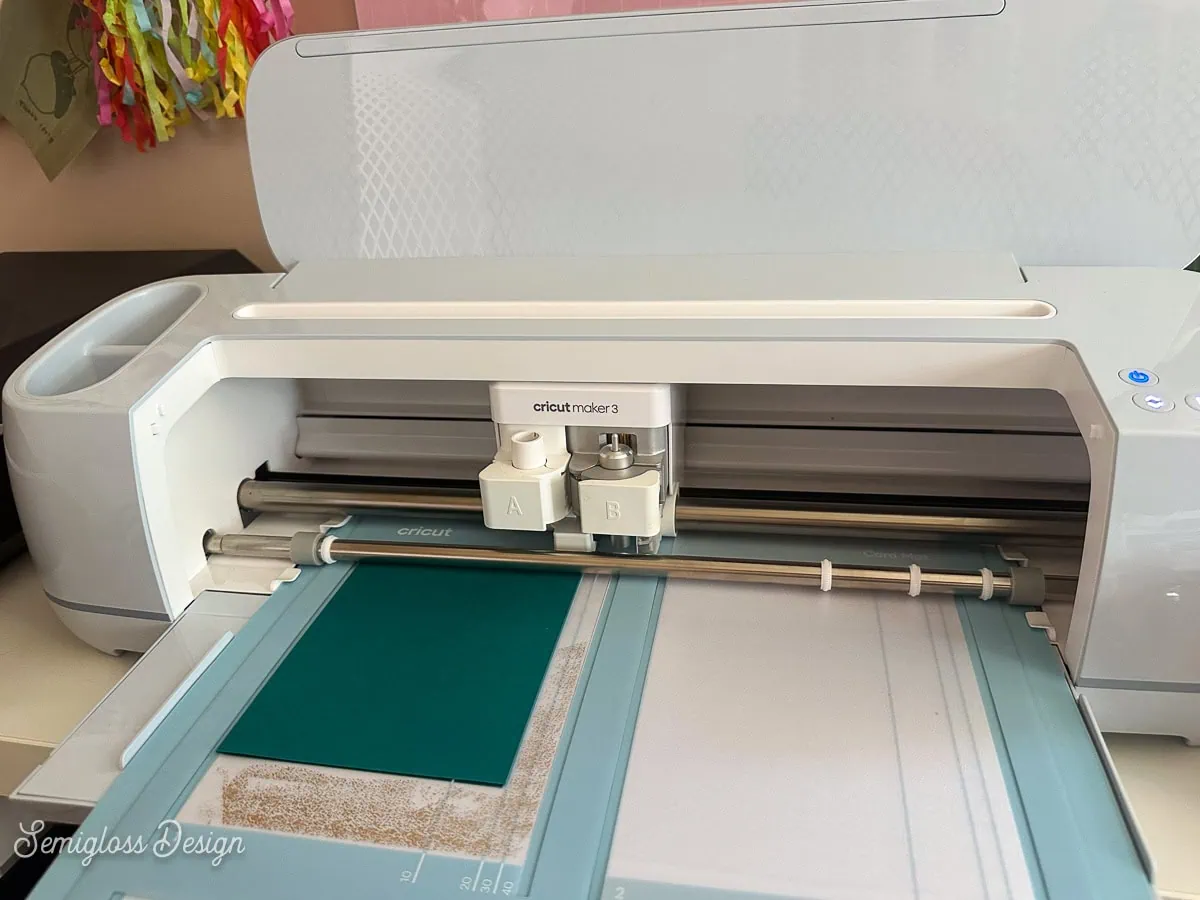
- Load the mat and press the start button to make it cut.

- Unload the mat when it’s finished.
- Use caution when weeding the cutaway card. Sharp tools can scratch the surface. Instead, try curling the card to make the weeded portion pop away.
- Remove the card from the card mat.
- Go back to the canvas in Cricut Design Space and hide the ornament. Make the lettering and white backing visible.
- Cut these using cardstock and glitter cardstock as usual on the standard mat.
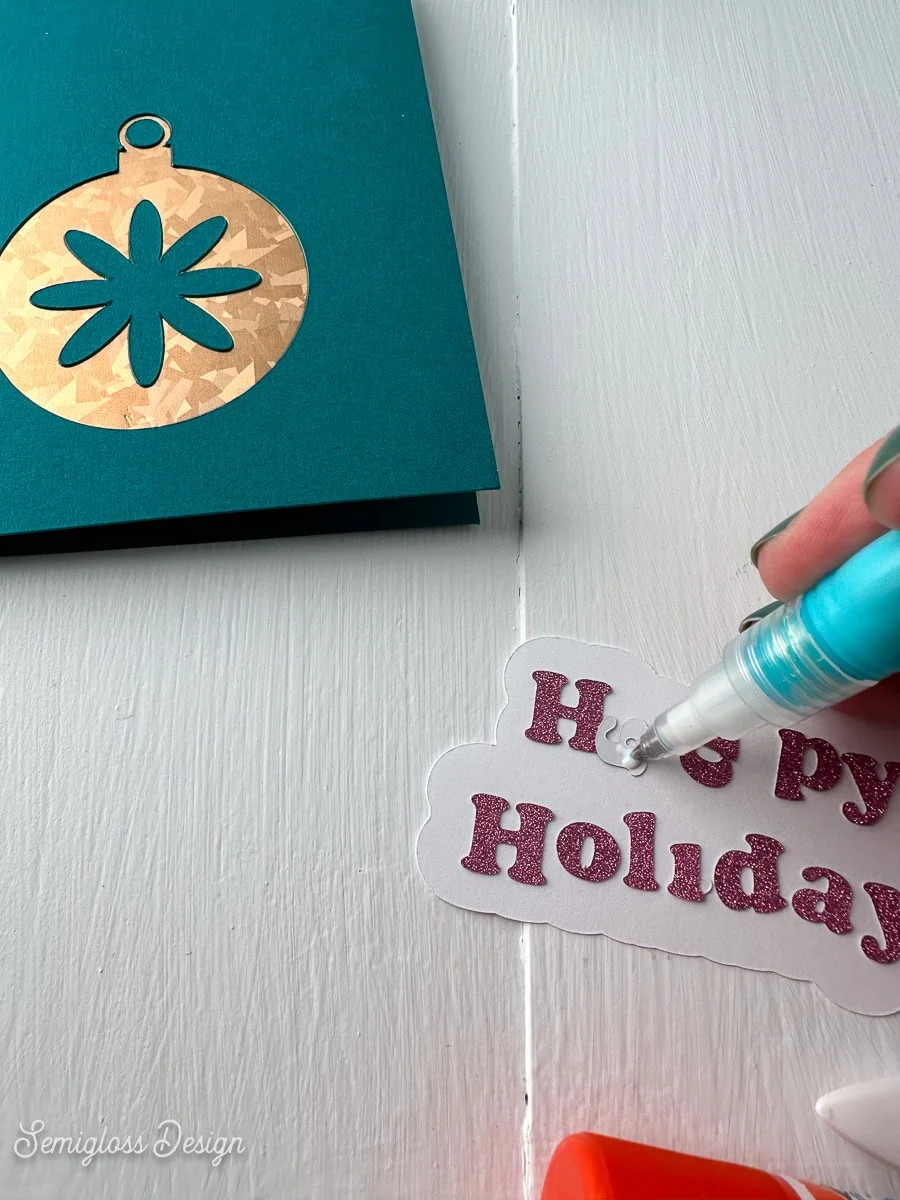
Assembling the Card
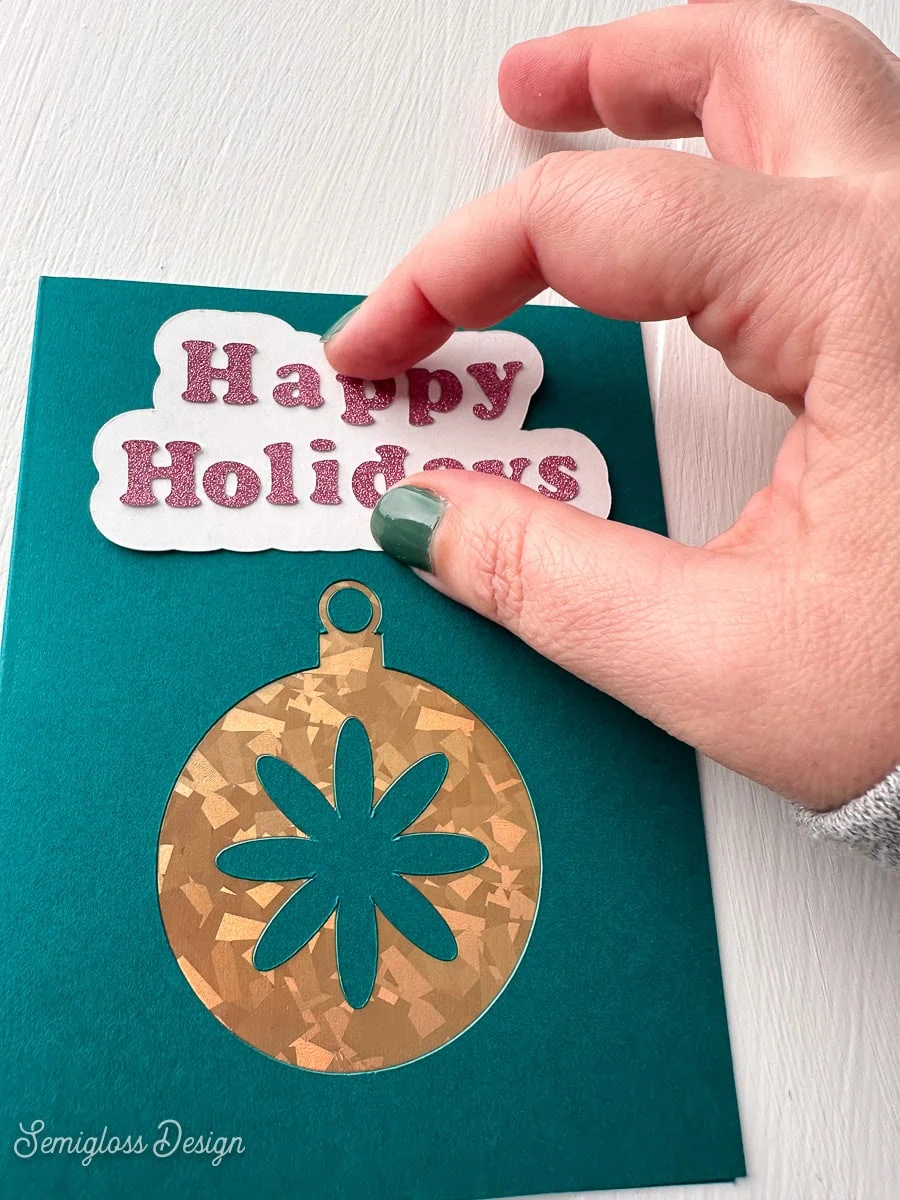
- Use a glue pen to apply each letter to the card. Start at the center to make sure that all of the letters fit. (You can also use washi tape to keep everything aligned. Washi tape is gentle enough to use on paper without ripping it.)
- Center the white backing at the top of the card and use glue to attach it.
- Let the glue dry.

Tips for Using Cutaway Cards
- If you’re new to cutaway cards, start with a very simple design. Intricate designs can be harder to get right since weeding is more complicated.
- Use a sharp blade. If it’s not a new blade, stab a ball of tin foil about 20 times. This cleans the blade and sharpens it a bit.
- Be careful using weeding tools. They can scratch the foiled backer surface.
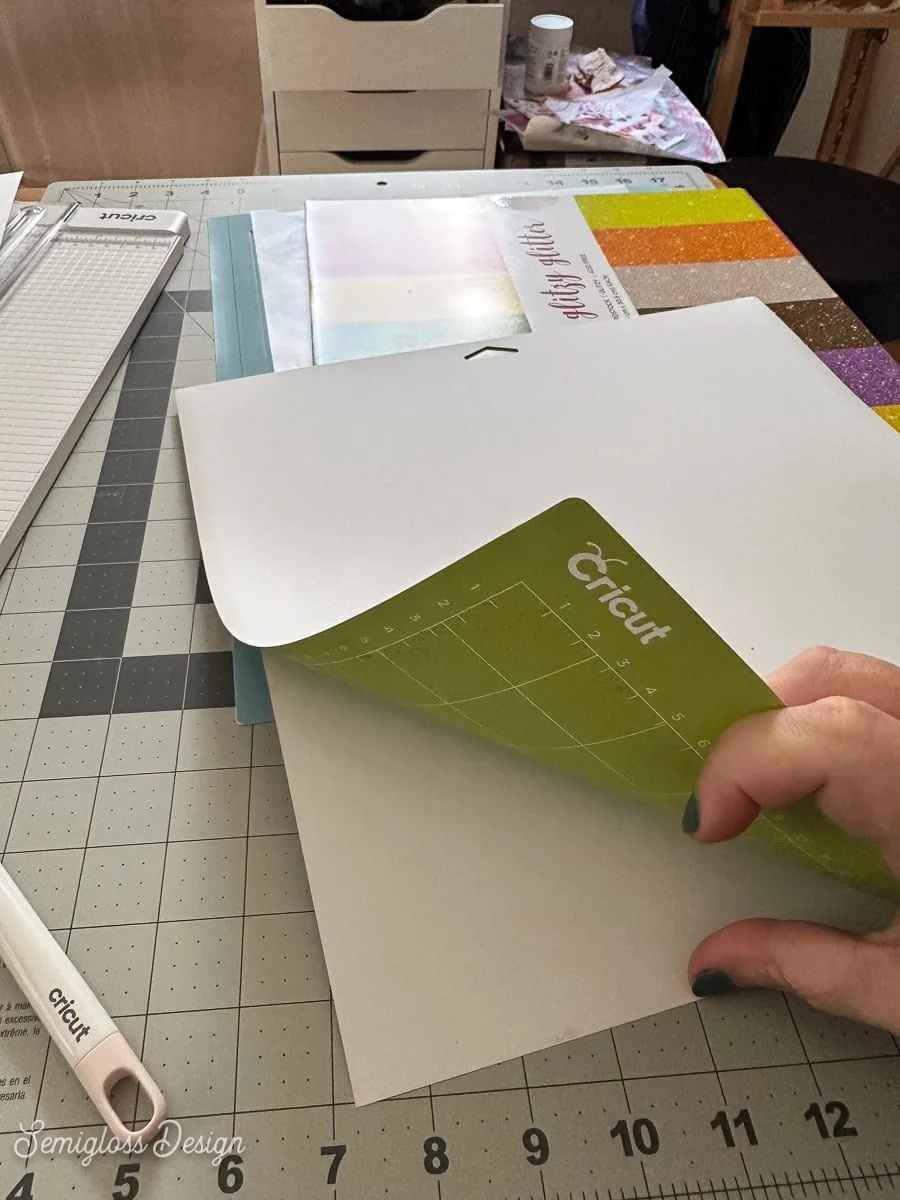
- When cutting cardstock, peel the mat away from the paper. This will prevent the paper from curling.

Get access to my SVG Library.
Get access to over 50 SVG sets and Cricut cheat sheets. Join my SVG library.
Download a Christmas Card Design
All downloads are for personal use only. Please do not redistribute or sell files.
You might also like:
Pin for Later!

Emy is a vintage obsessed mama of 2 DIYer who loves sharing affordable solutions for common home problems. You don’t need a giant budget to create a lovely home. Read more…