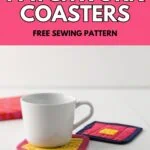
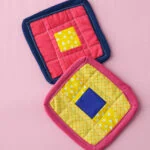
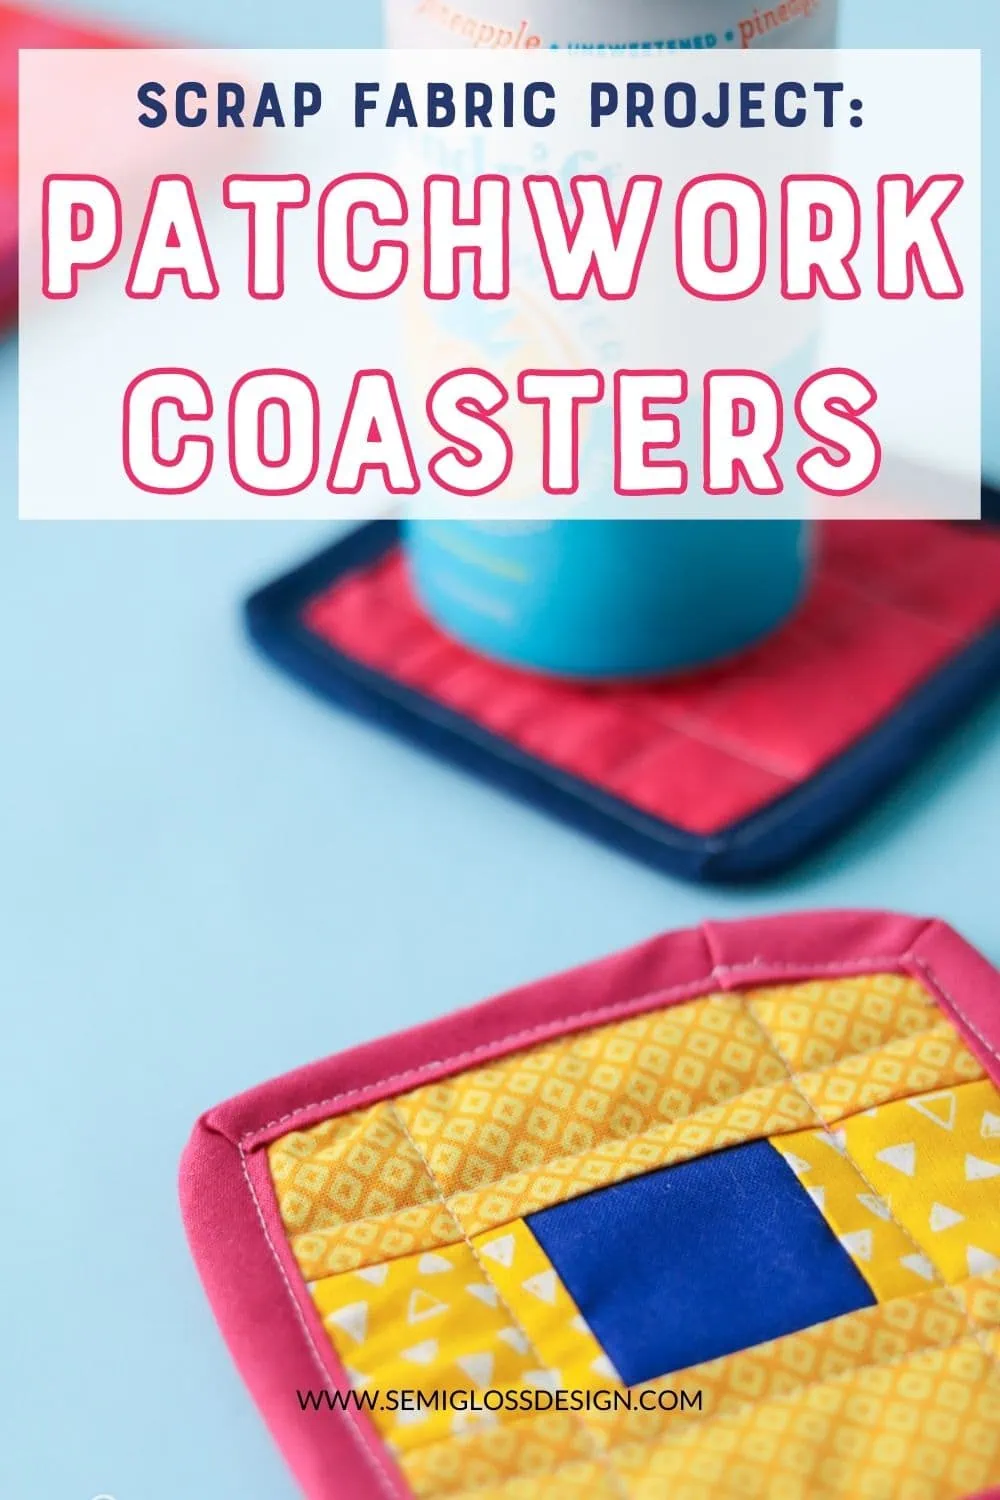
Easy to Make Quilted Patchwork Coasters
Learn how to make easy quilted patchwork coasters. These fabric coasters are easy to make, even if you’re new to sewing. I made two coasters in less than 30 minutes.
This post contains affiliate links. By purchasing an item through an affiliate link, I earn a small commission at no extra cost to you. As an Amazon Associate I earn from qualifying purchases.
Every winter, I get obsessed with quilting again. This year is no different, but right now, I’m short on time. And space.
Instead of making an entire quilt, I’m making some quick quilted coasters. Say that three times fast.
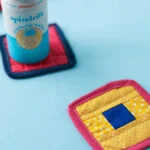
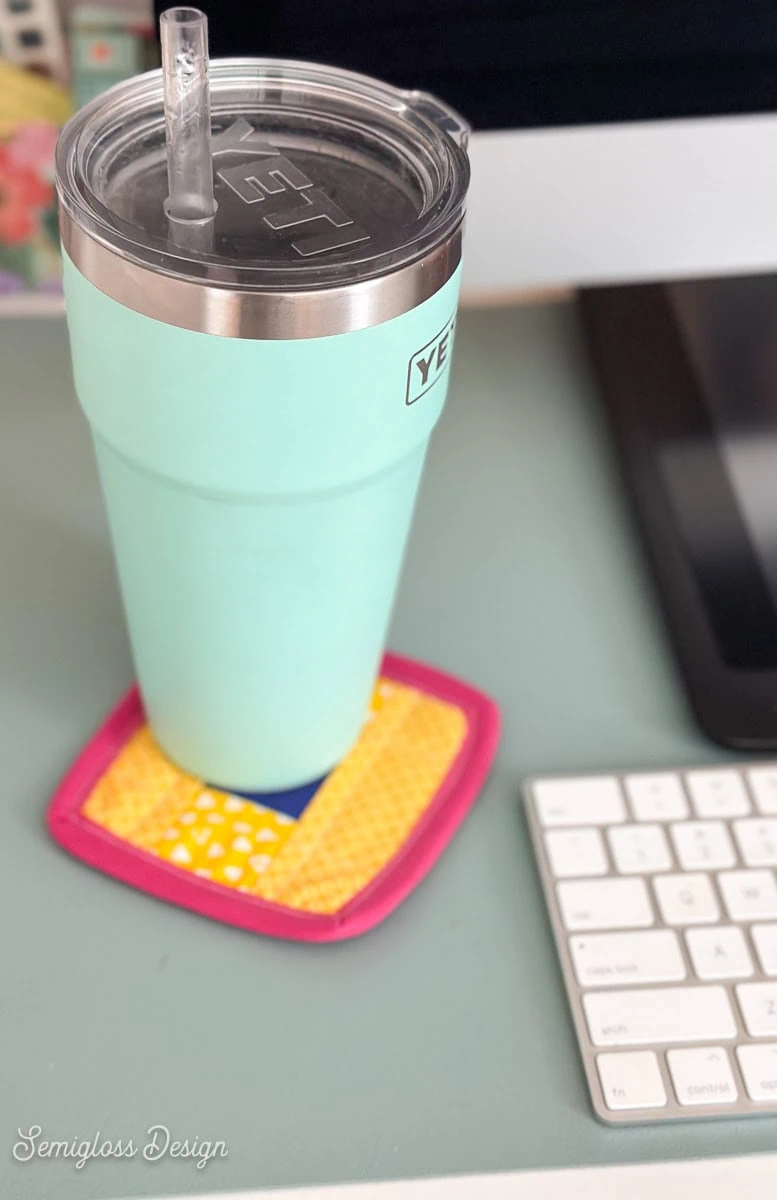
I’ve been wanting fabric coasters for my desk for a while. Regular coasters don’t soak up condensation, and I don’t want water sitting on my desk near my keyboard.
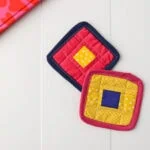
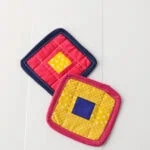
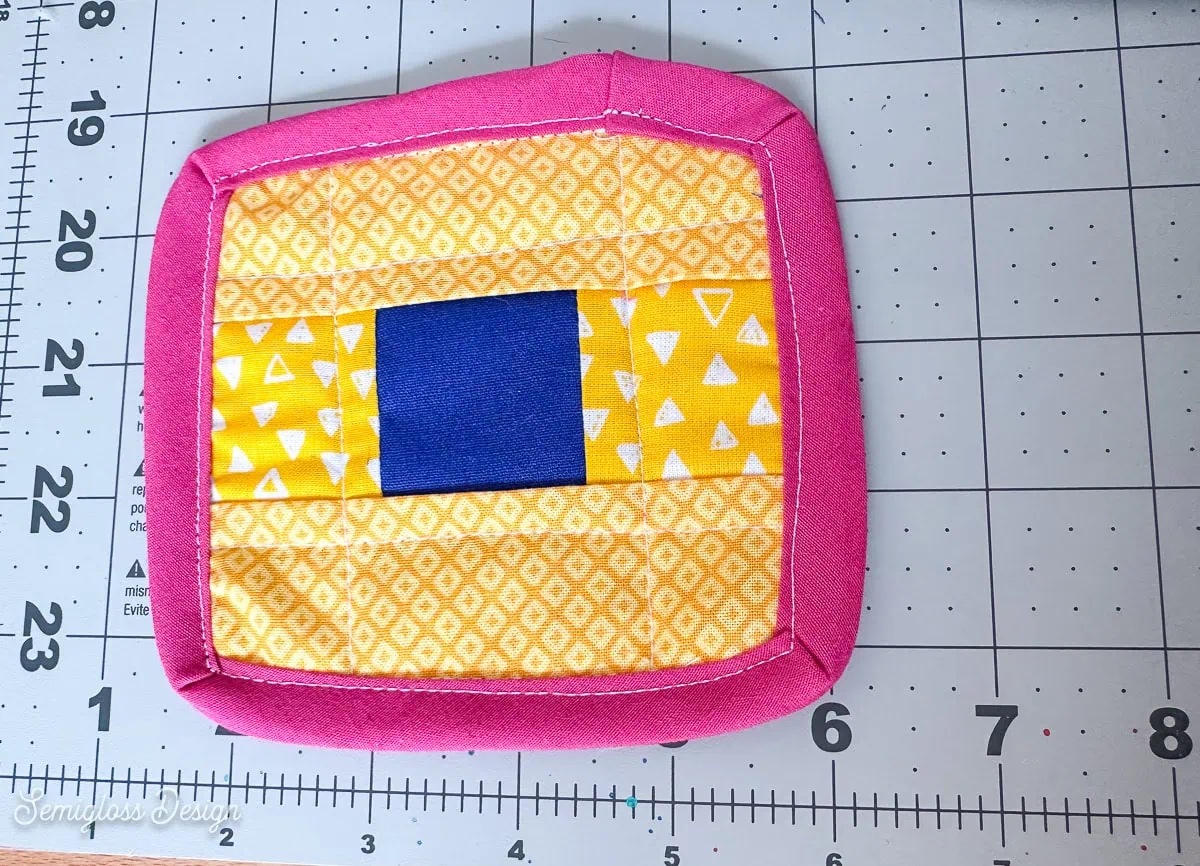
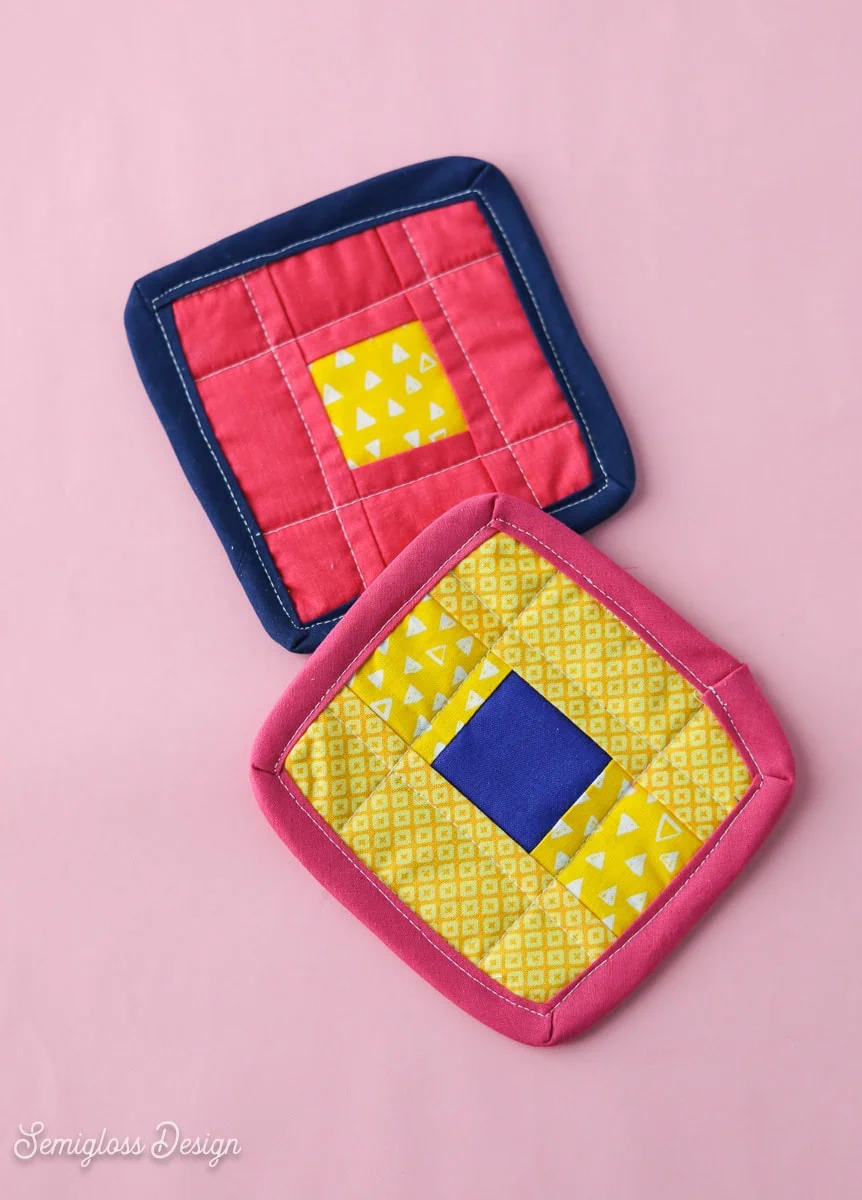
So, I made these fun coasters. As I’m writing this, I’m using one, and I’m so glad I took the time to make them—such a happy addition to my desk.
DIY Quilted Patchwork Coasters
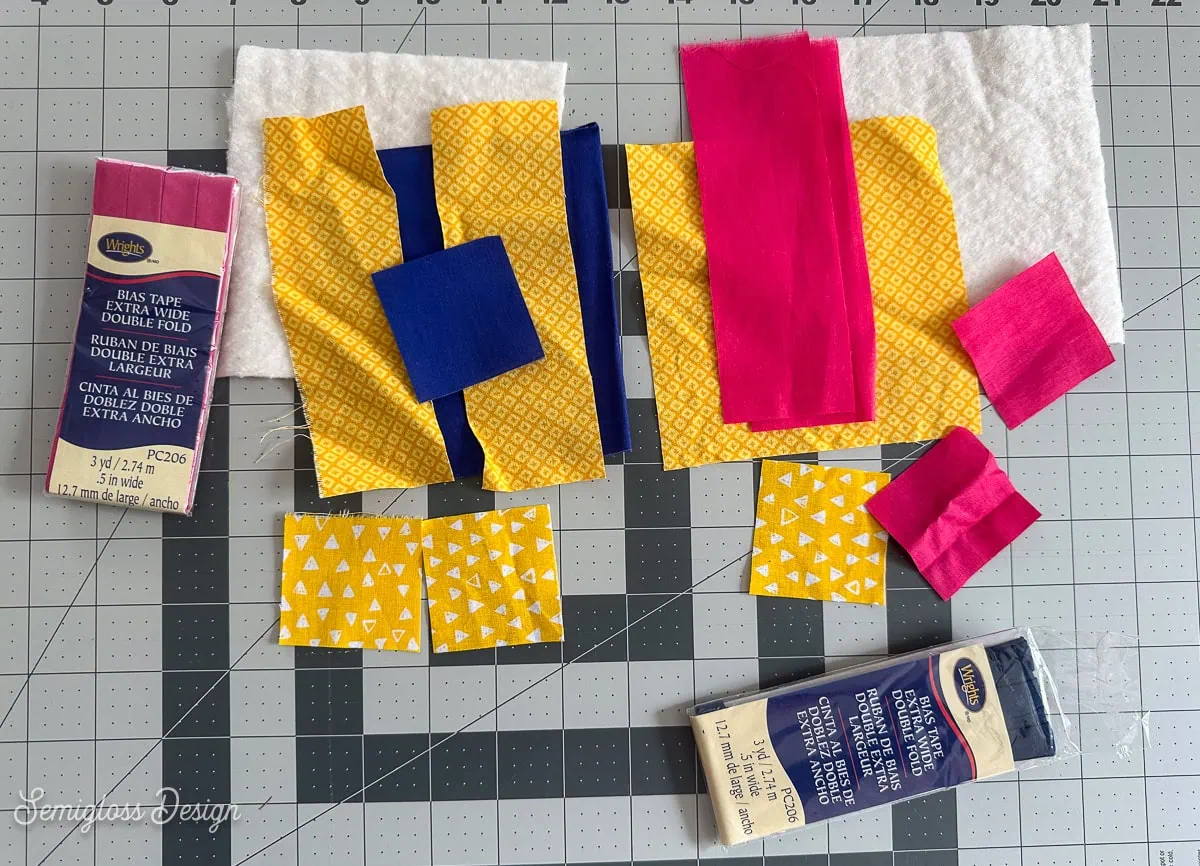
Supplies Needed:
- Fabrics (scraps work great since the pieces are so small)
- Batting
- Sewing Machine (I use this sewing machine, but it’s probably not the best for beginners.)
- Rotary Cutter
- Rotary Cutting Mat
- Quilting Ruler
- Iron
- Double Fold Bias Tape (Make sure it’s double fold!)
- Thread (use matching thread for less visible lines.)
- Printable Pattern (This pattern is pretty simple, but I did whip up a printable version if you want. The link is at the bottom of this post.)
Cutting List
Makes 1 coaster
Fabric 1
- (2) 2″ x 5″
- (2) 2″ x 2″
Fabric 2
- 2″ x 2″
Fabric 3 (Backing Fabric)
- 5″ x 5″
Batting
- 5″ x 5″
Directions
Use a 1/4″ seam when sewing. Press seams to one side as you go. Trim all threads as you go.
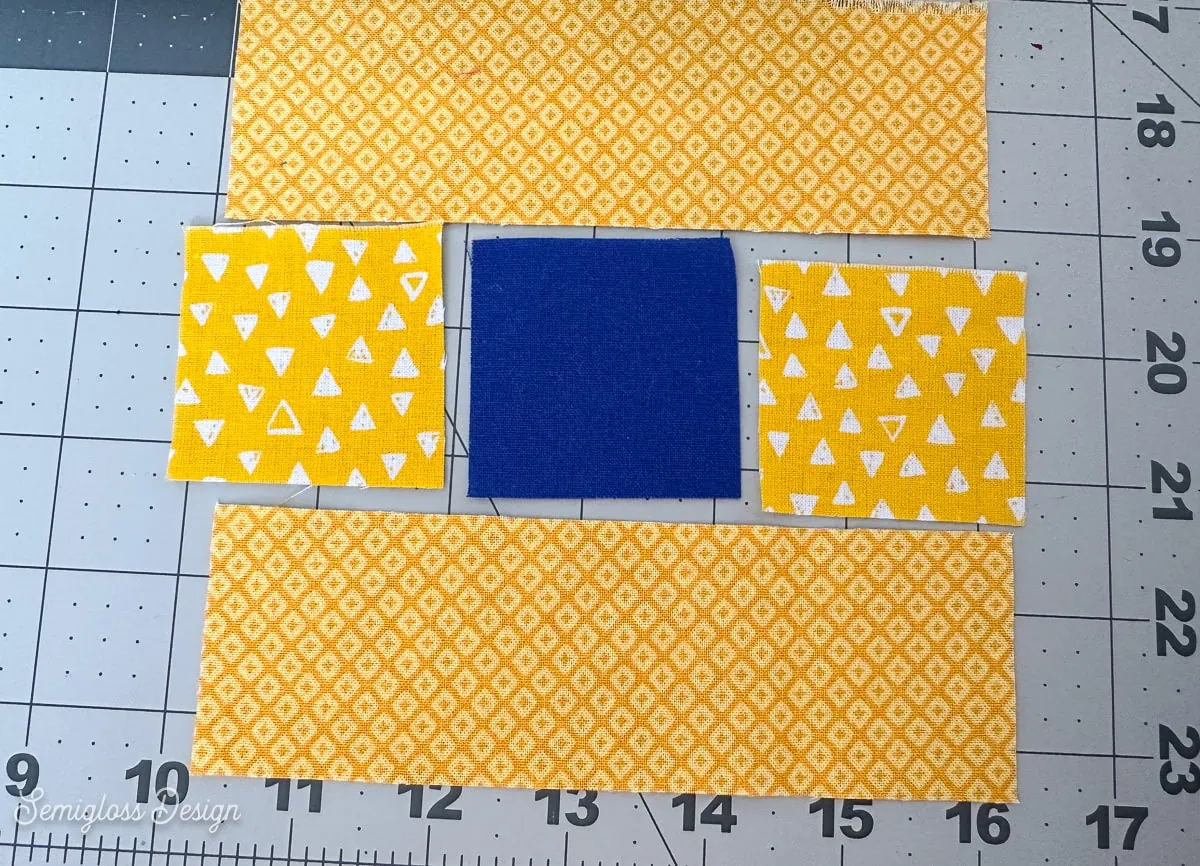
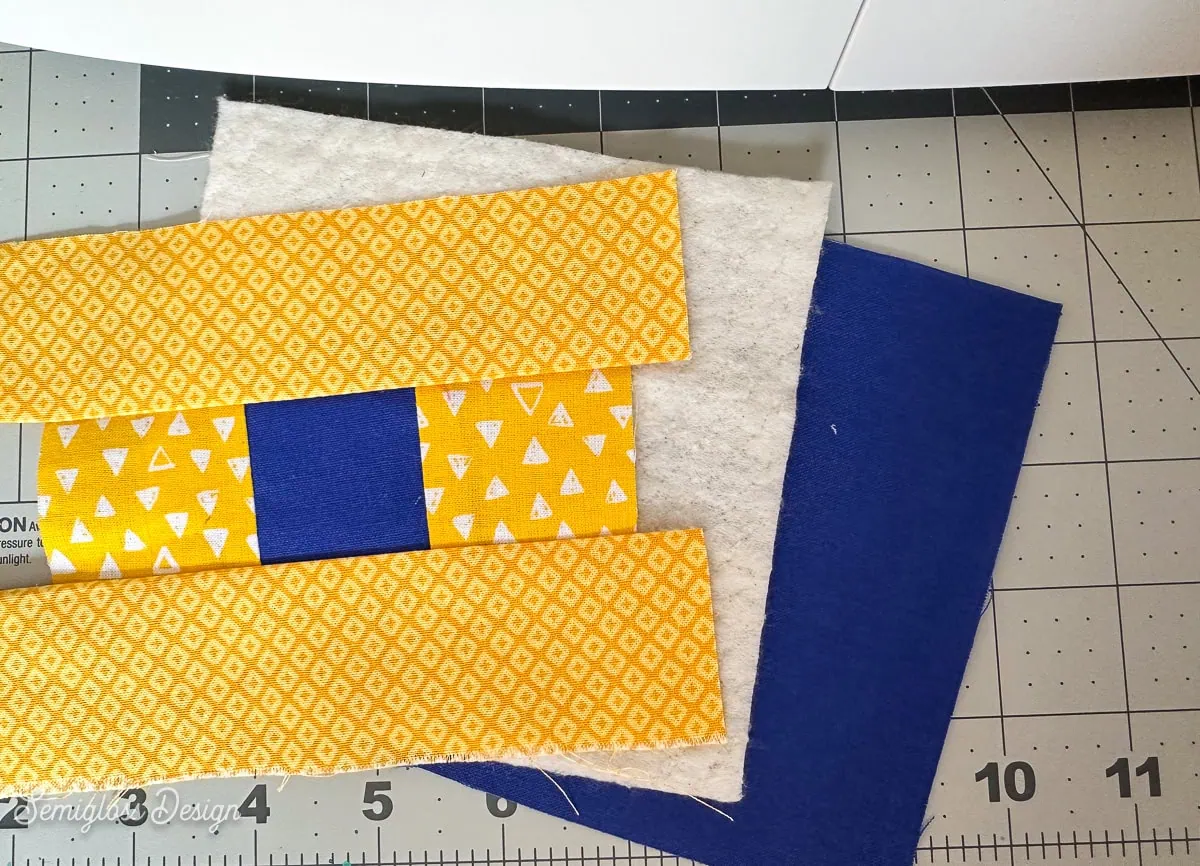
- Cut fabric as indicated in the cut list. Press fabric if needed.
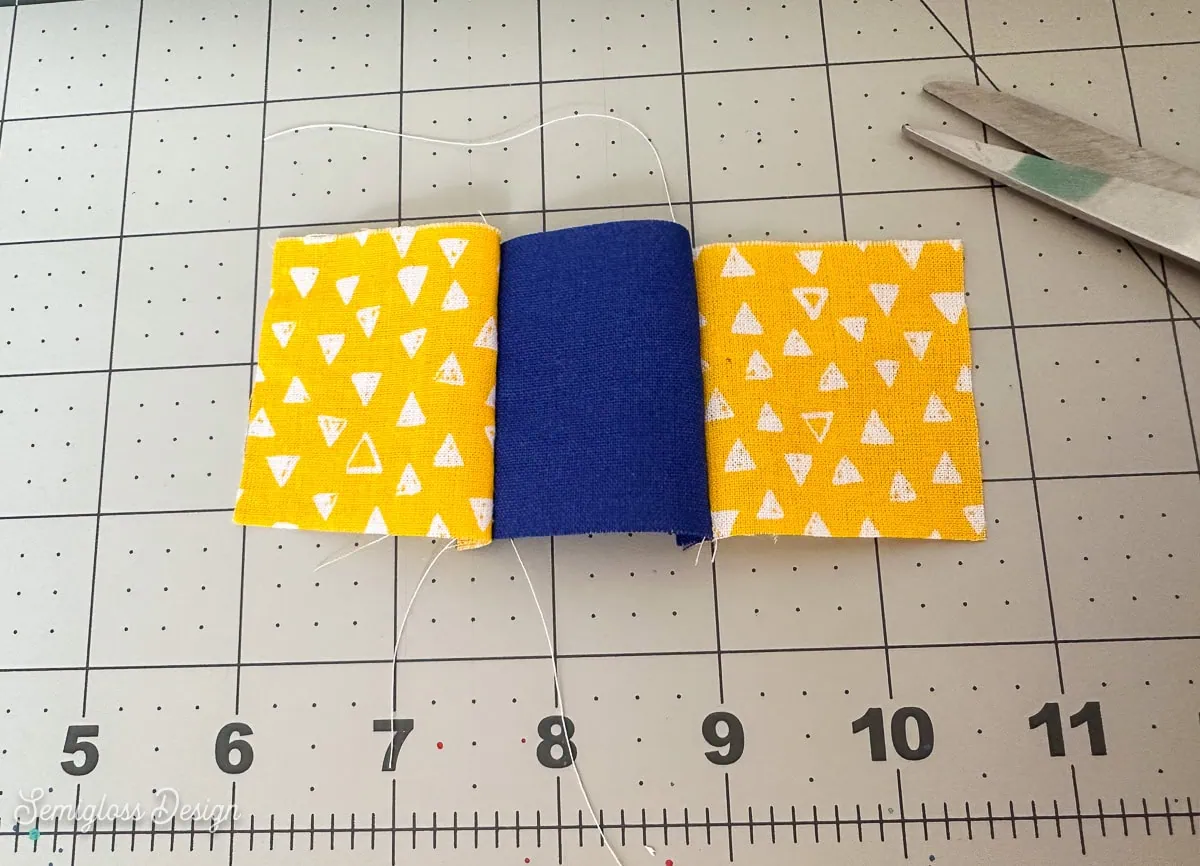
- Sew the small squares together first.

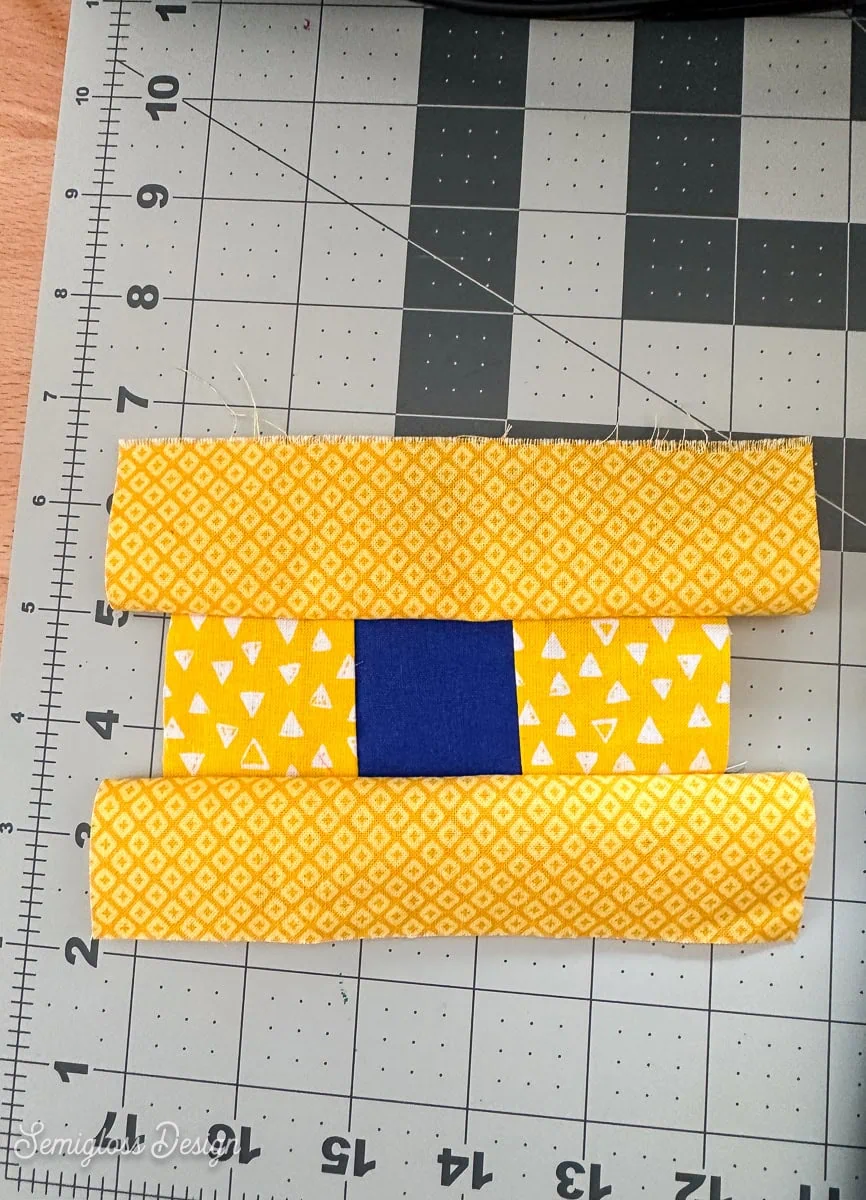
- Sew the longer pieces to each side of the strip that you just made.

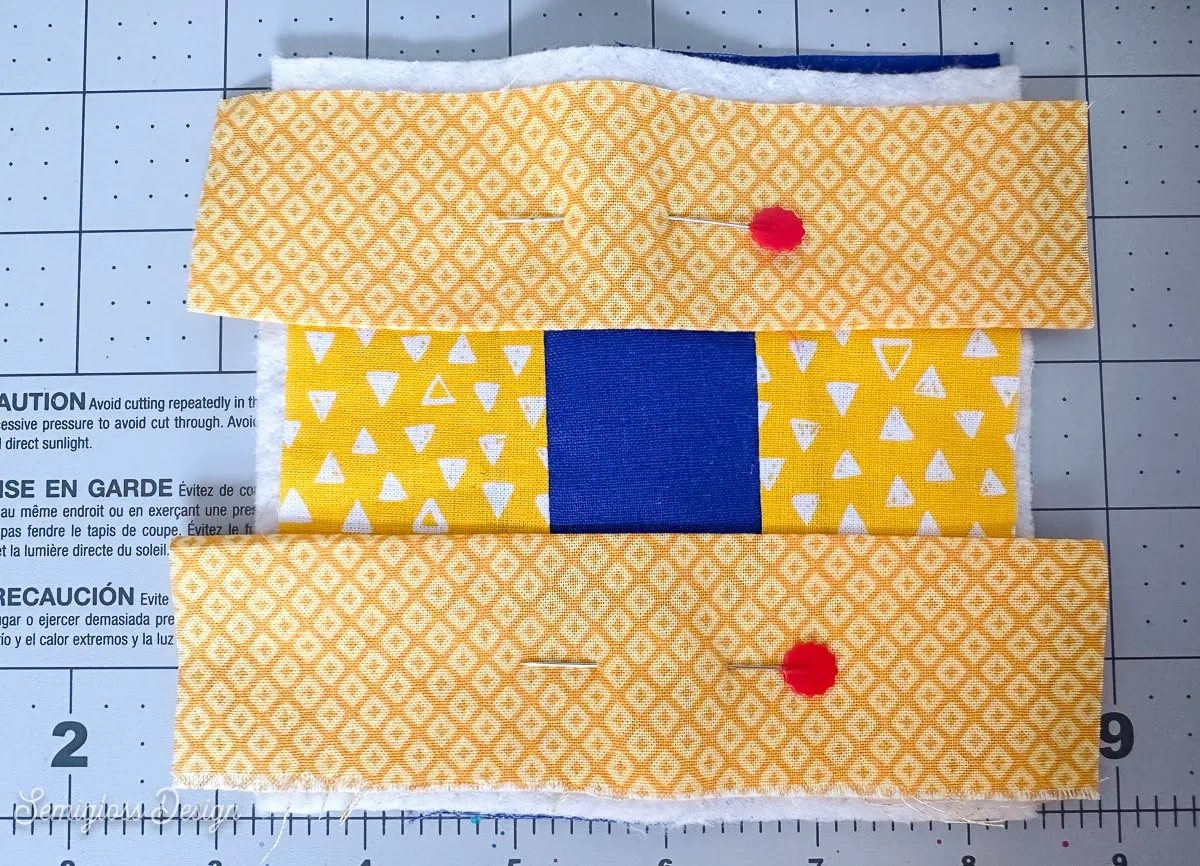
- Make a little quilt sandwich with the backing pattern side down on the bottom, the batting in the middle, and the patchwork piece on top.
- Pin it all together.
- Use your sewing machine to quilt the coaster. I’m just using a simple grid pattern, but you could do concentric squares or anything you want.
- Square up the coaster. Use your rotary cutter to cut off any excess fabric to make the coaster square. I normally start on the side that’s the closest to perfect. If none are, it doesn’t matter. Just make sure not to cut it too small.
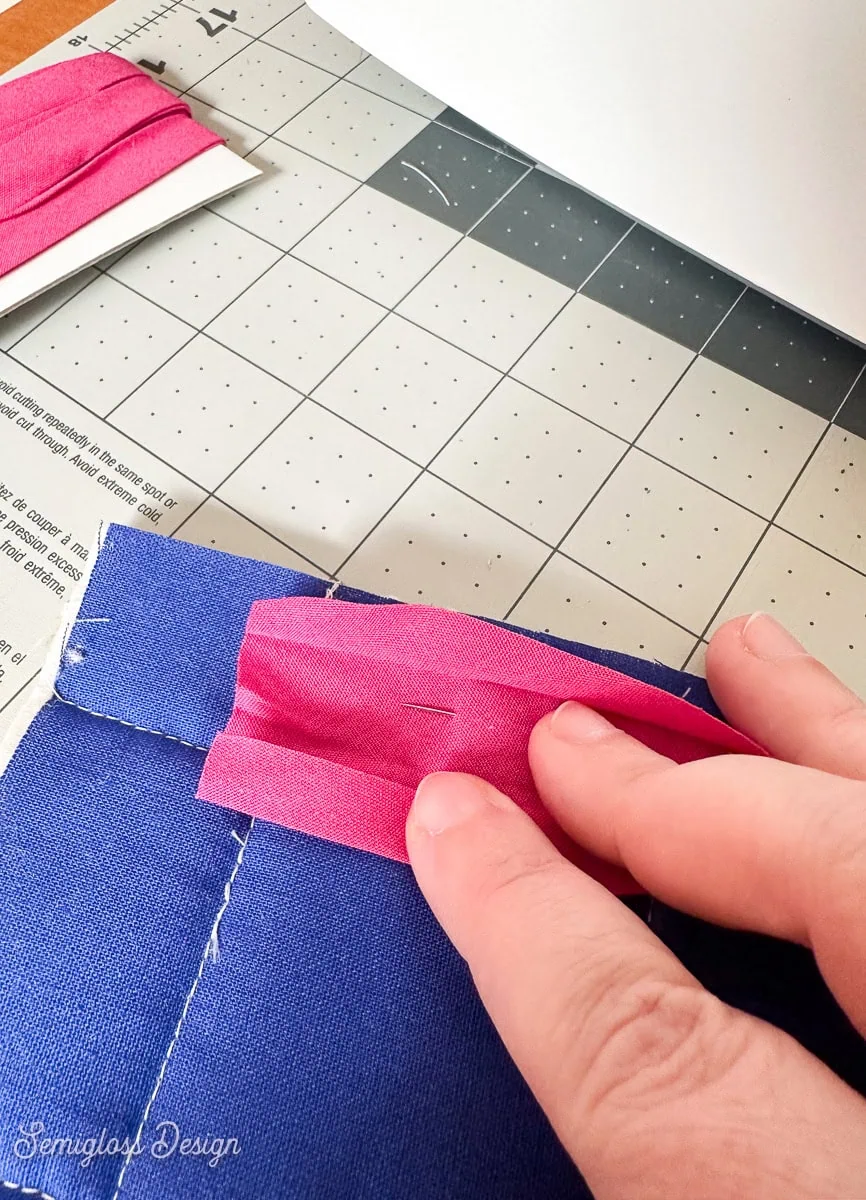
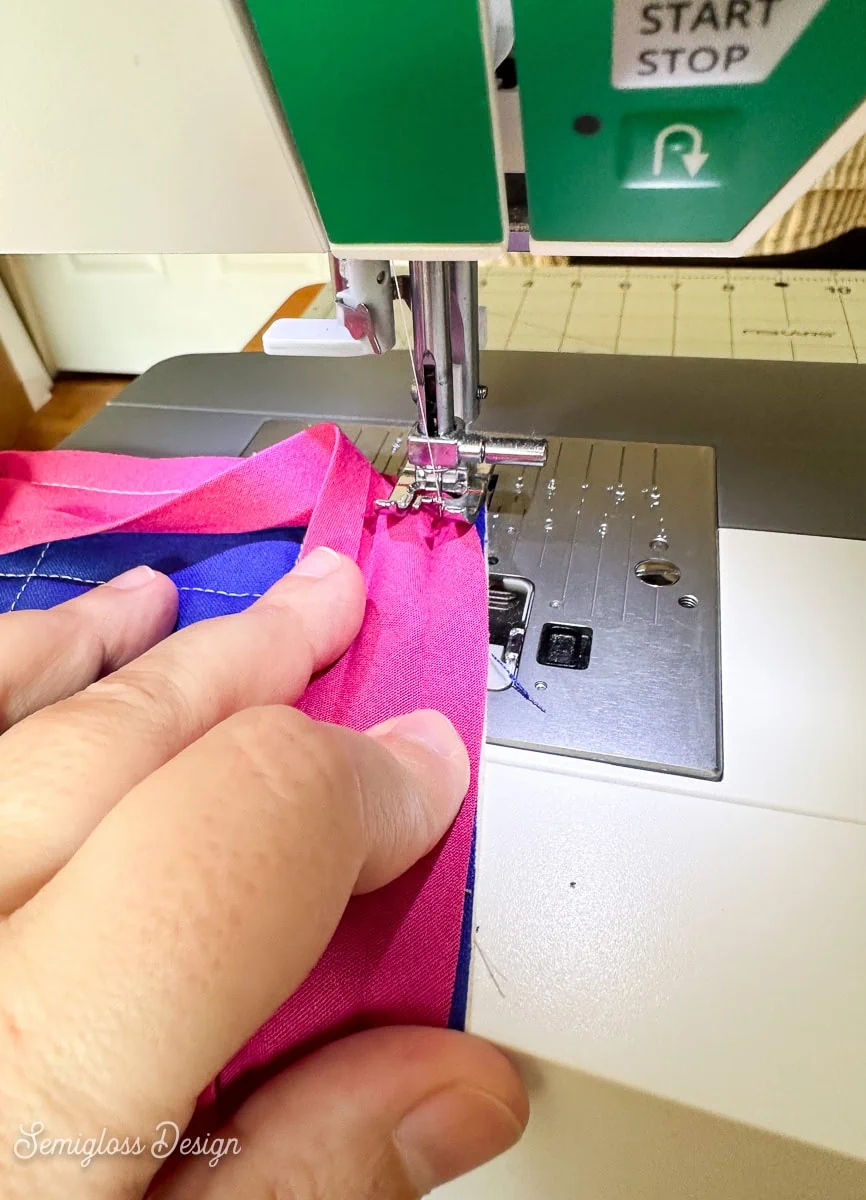
- Open the bias tape and place it face-down on the back of the coaster. Pin in place if needed.
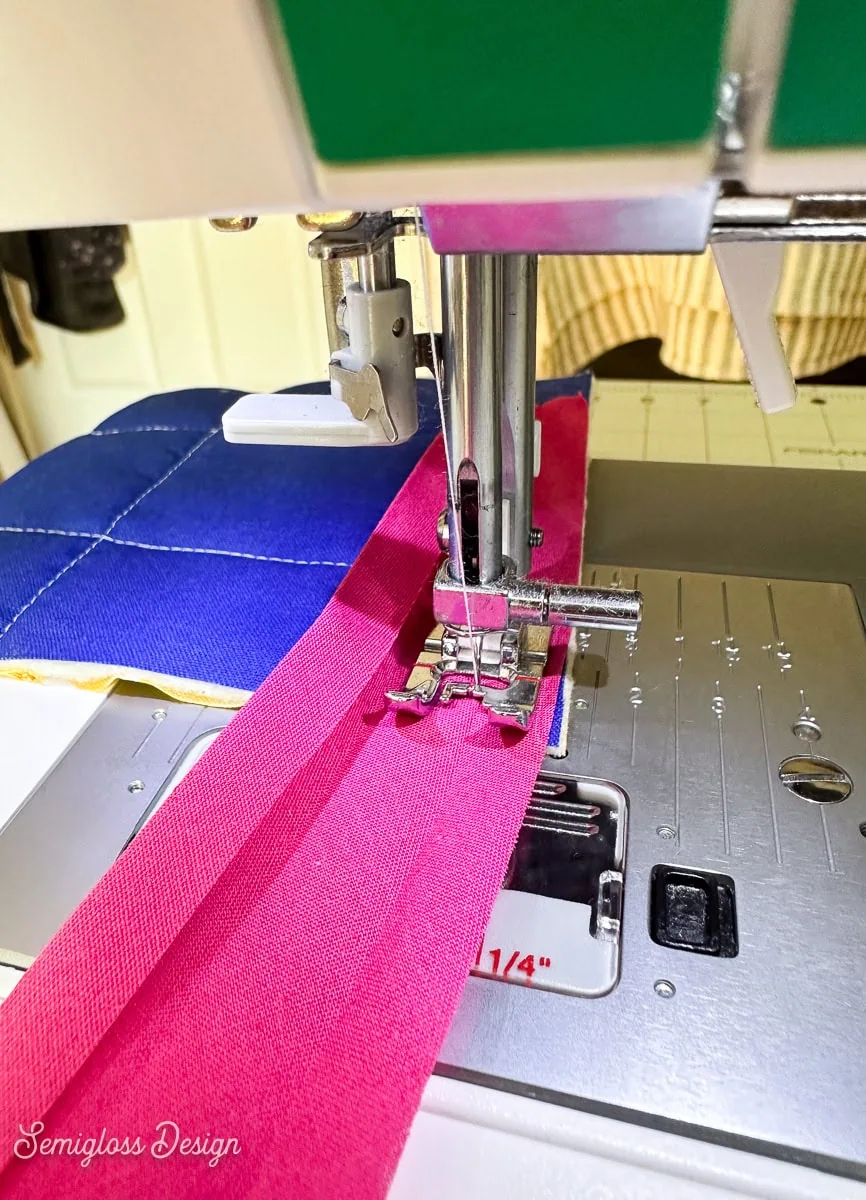
- Sew along the fold line.
- When you get to the corners, stop the machine with the needle in the fabric (use the hand wheel if needed to get to the right place.) Lift the foot and pivot the coaster into place. Tuck any excess bias tape out of the way. Continue sewing.
- When you get to the end, cut the tape a little longer than it needs to be. Don’t sew over it just yet.
- Trim the corners if desired. This creates less bulky corners but can also create slightly rounded corners.
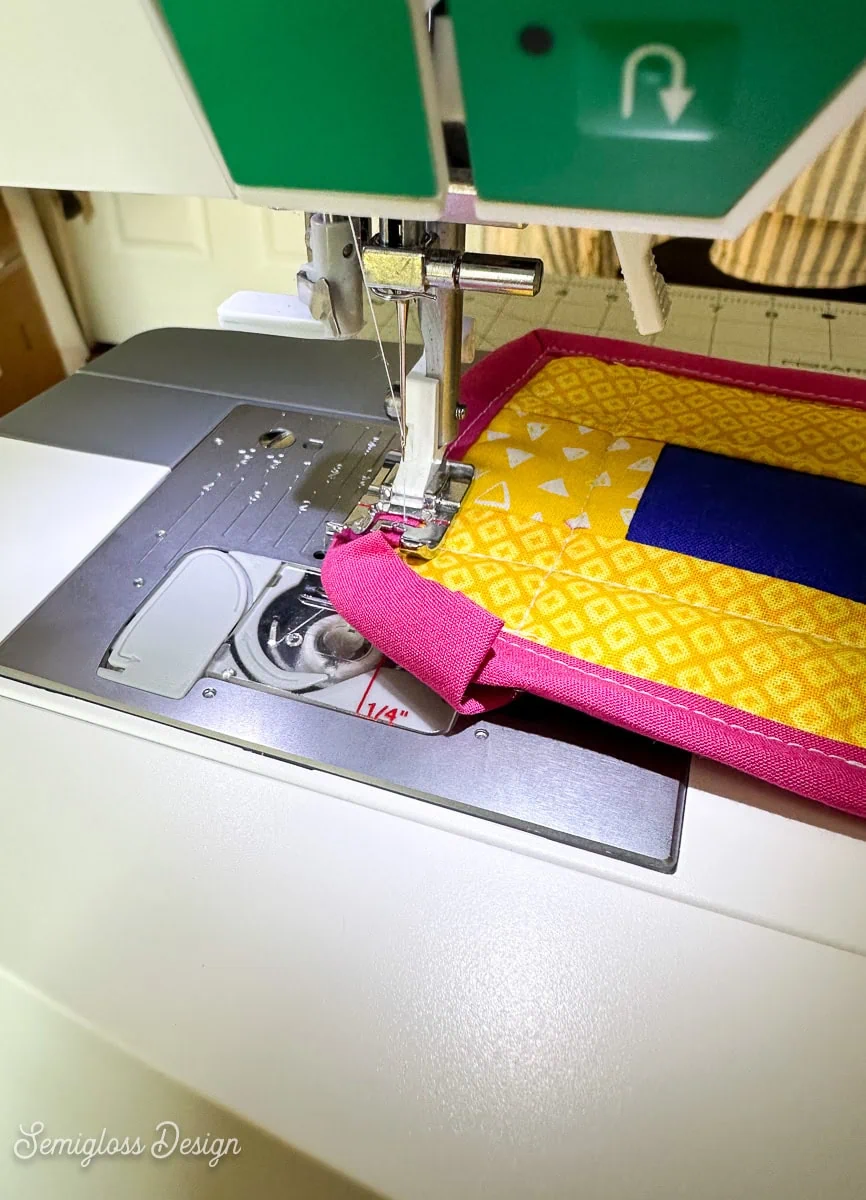
- Finally, fold the bias tape to the top and top-stitch along the edge. When you reach the corners, fold the excess tape to create a crease.
- Fold the edge in and sew across the edge.
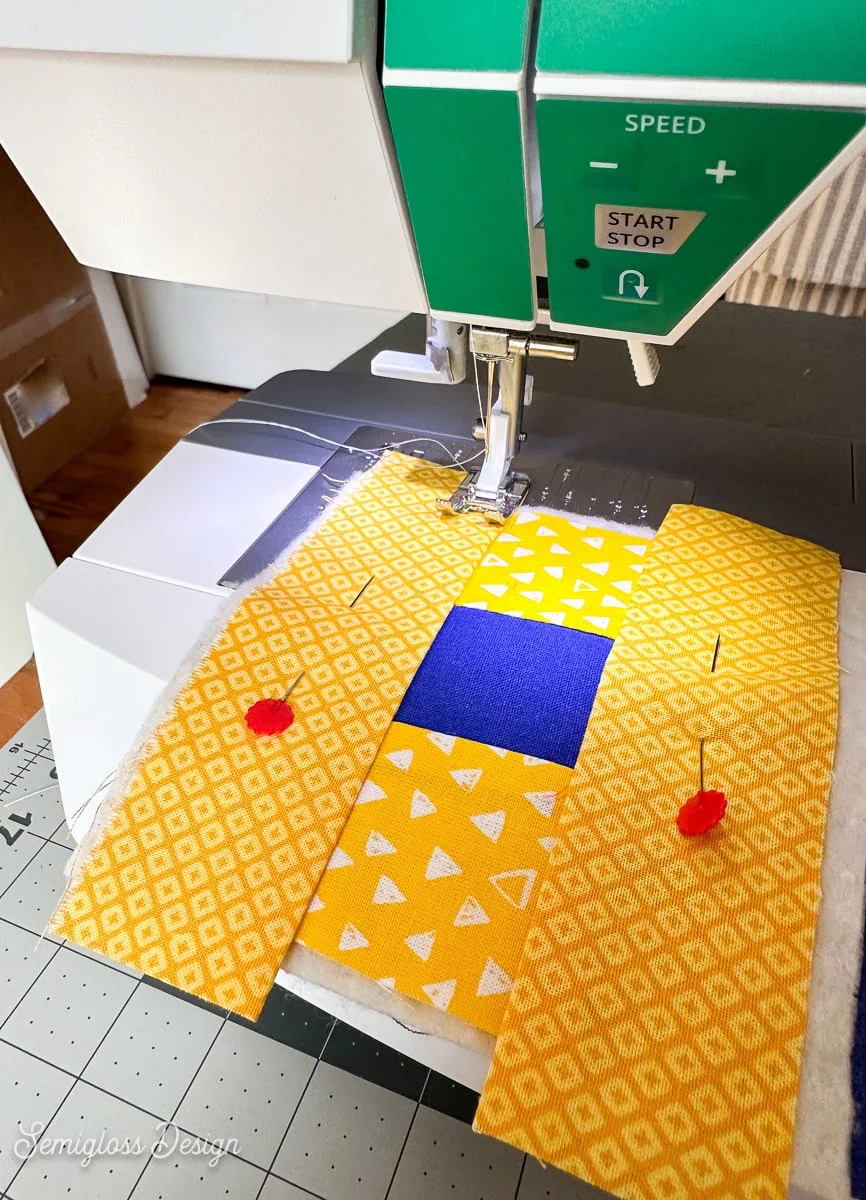 I’m just using a simple grid pattern, but you could do concentric squares or anything you want.
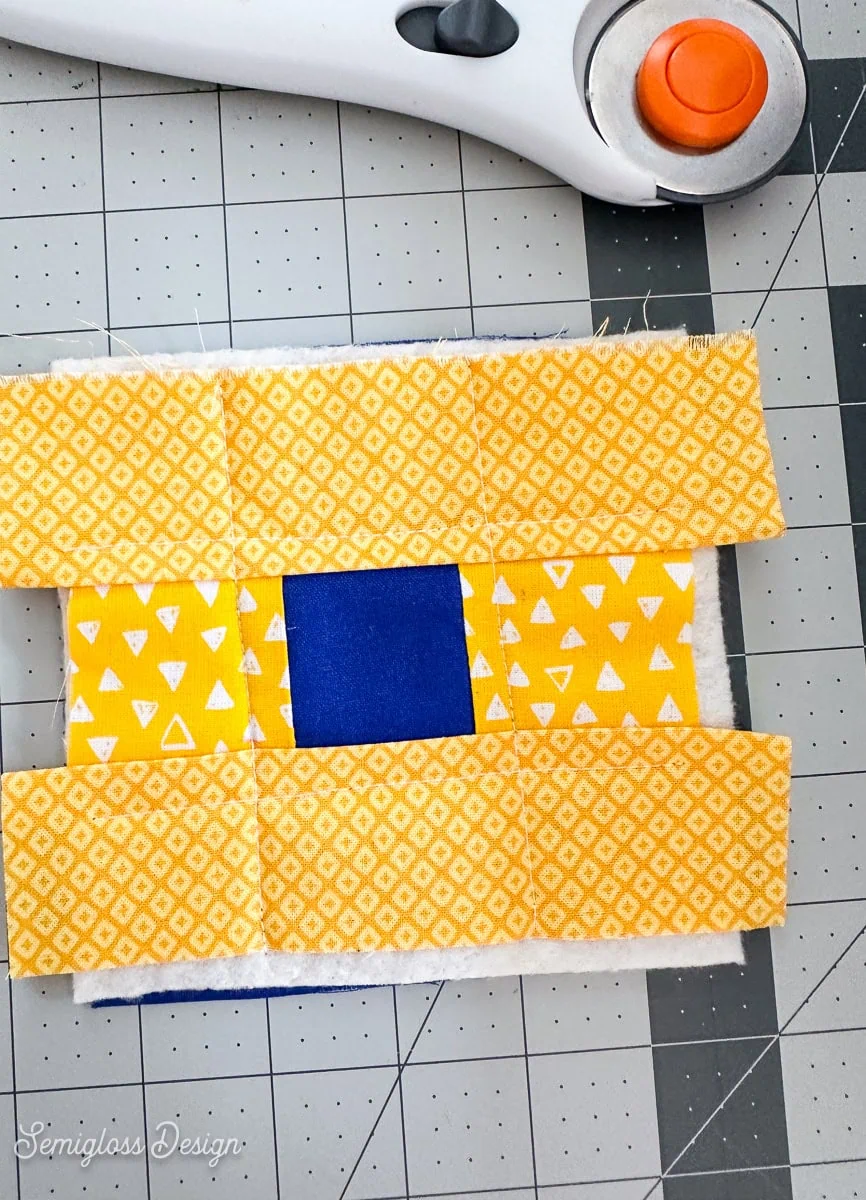
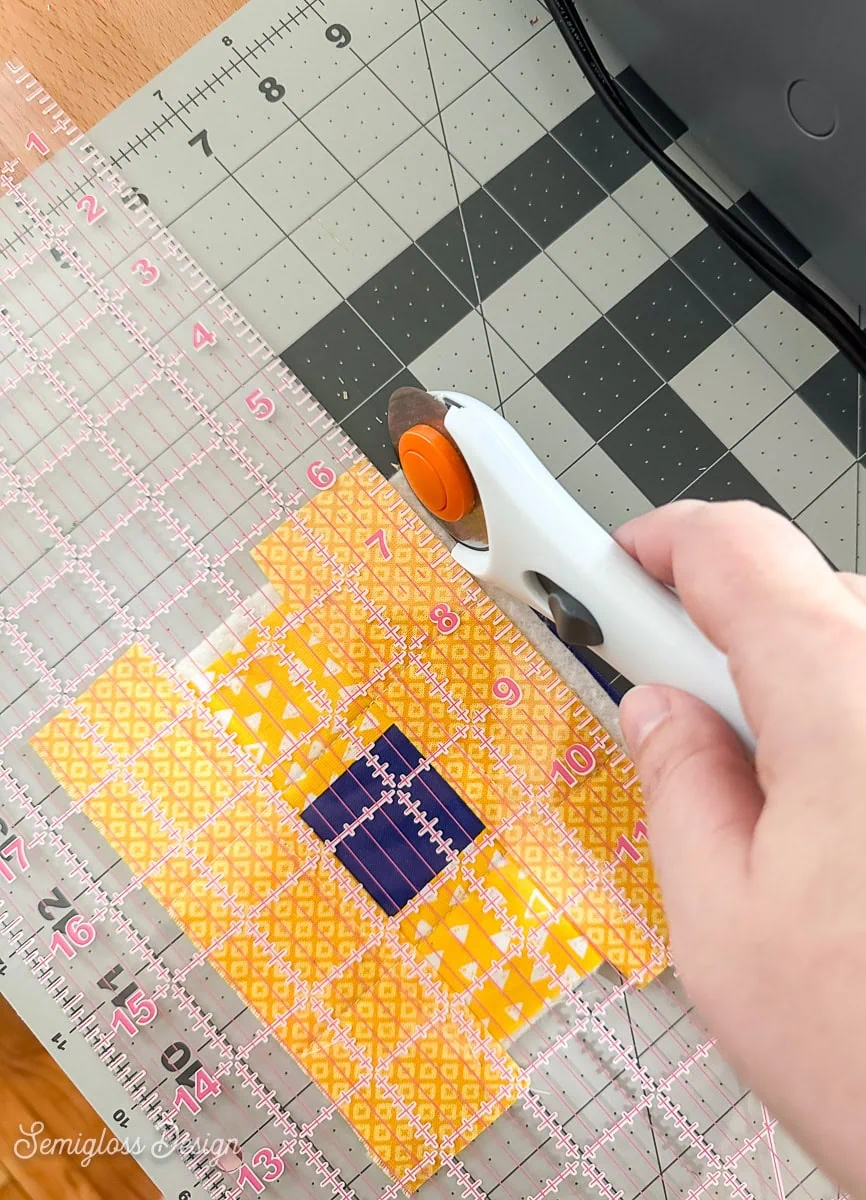 I normally start on the side that’s the closest to perfect. If none are, it doesn’t matter. Just make sure not to cut it too small.
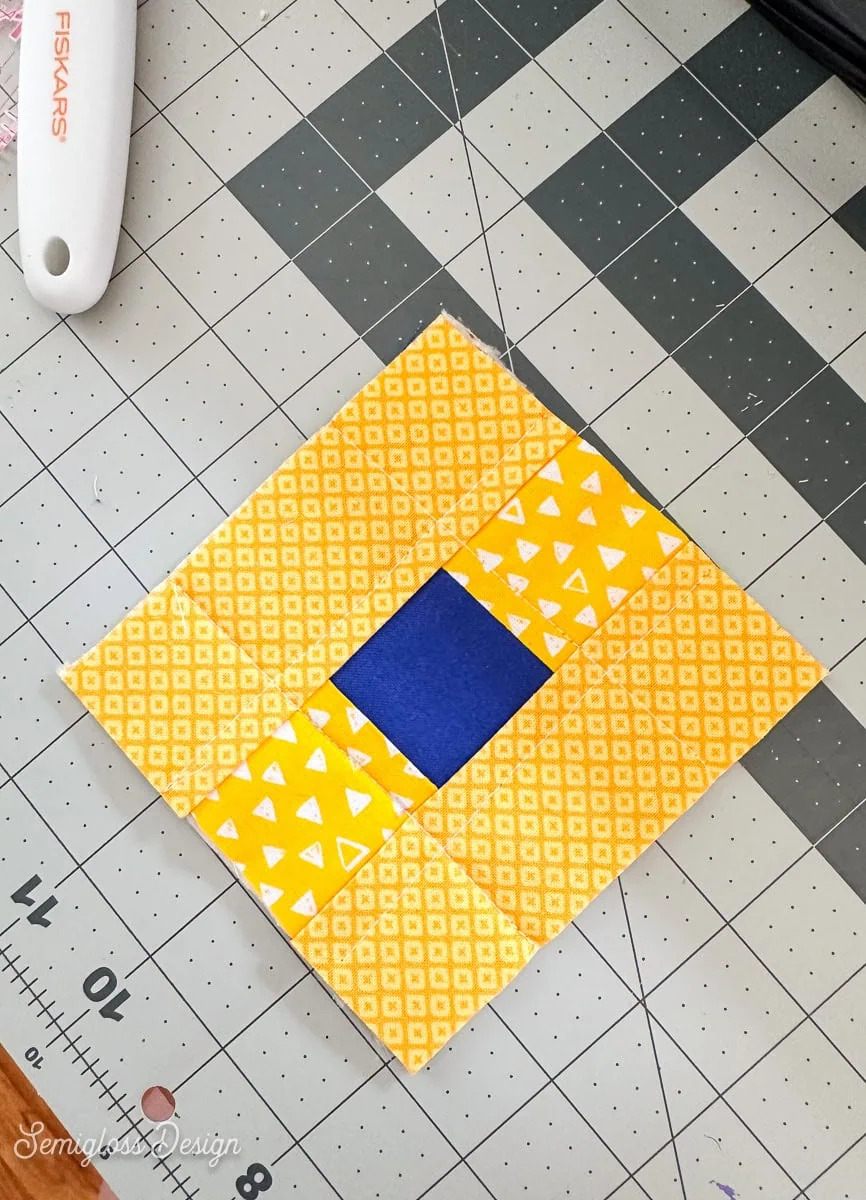
 Tuck any excess bias tape out of the way. Continue sewing.
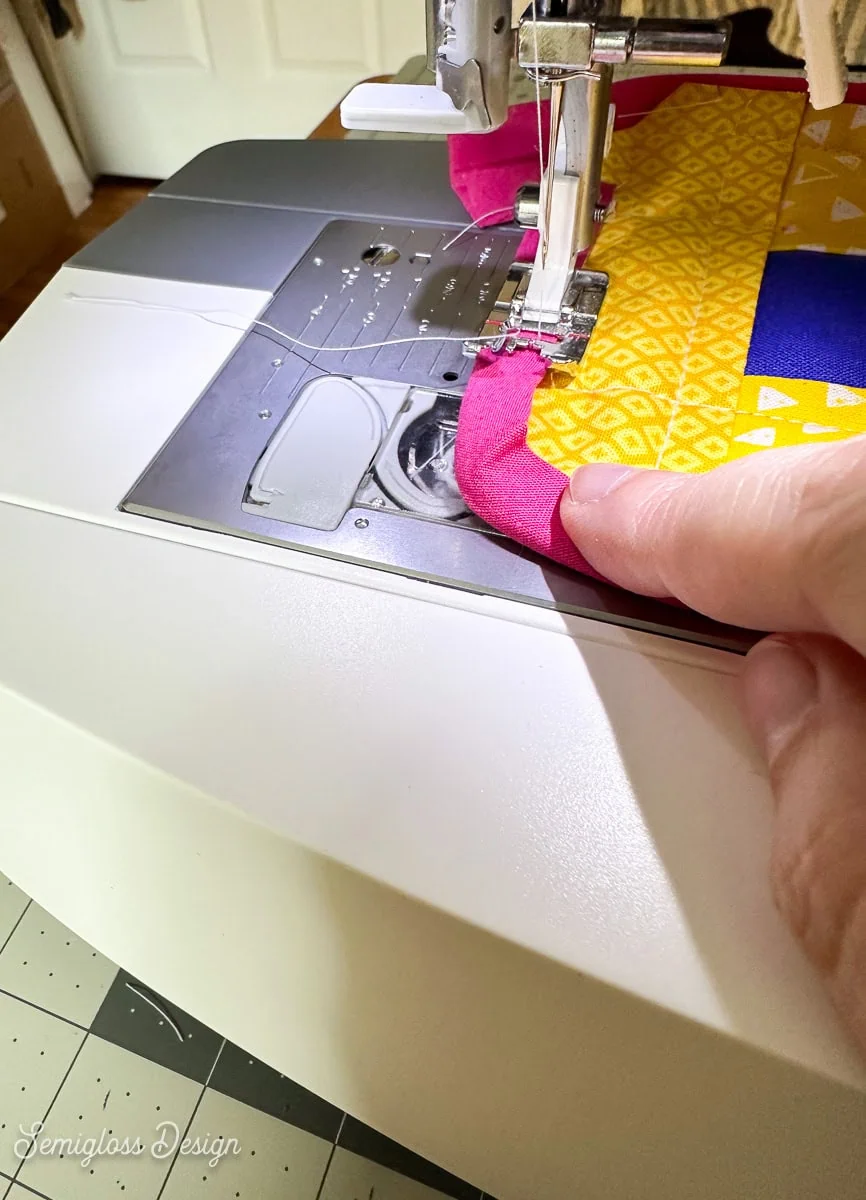
Download the Printable Pattern
This is a PDF pattern.
All downloads are for personal use only. Please do not redistribute or sell files.
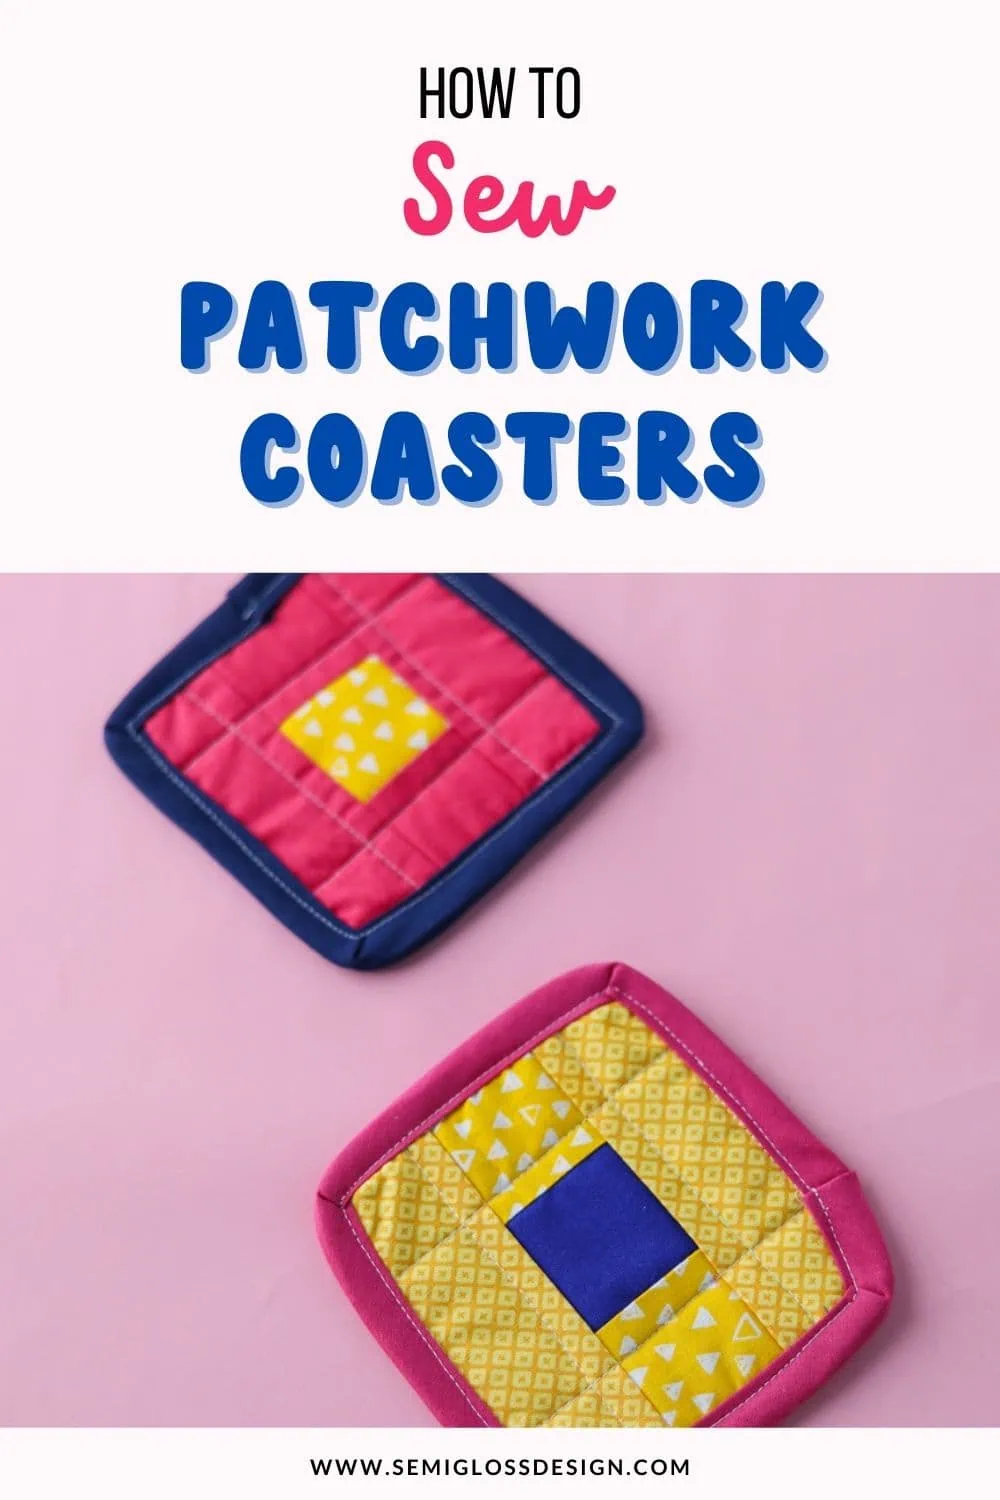
Pin for Later!

Emy is a vintage obsessed mama of 2 DIYer who loves sharing affordable solutions for common home problems. You don’t need a giant budget to create a lovely home. Read more…